Skip to content
YARNutopia & M0re
All things Yarn Related: Crochet, DIY, and Crafts
Blog
365 Days of Granny Squares
Stitch Gallery & Glossary
Crochet Video Tutorials
Frequently Asked Questions
Crochet Glossary: Learn the Lingo
Contact
Search
Search
Blankets
YARNutoia & More
Gifting Crochet Blankets
This helped get my cro-jo back!
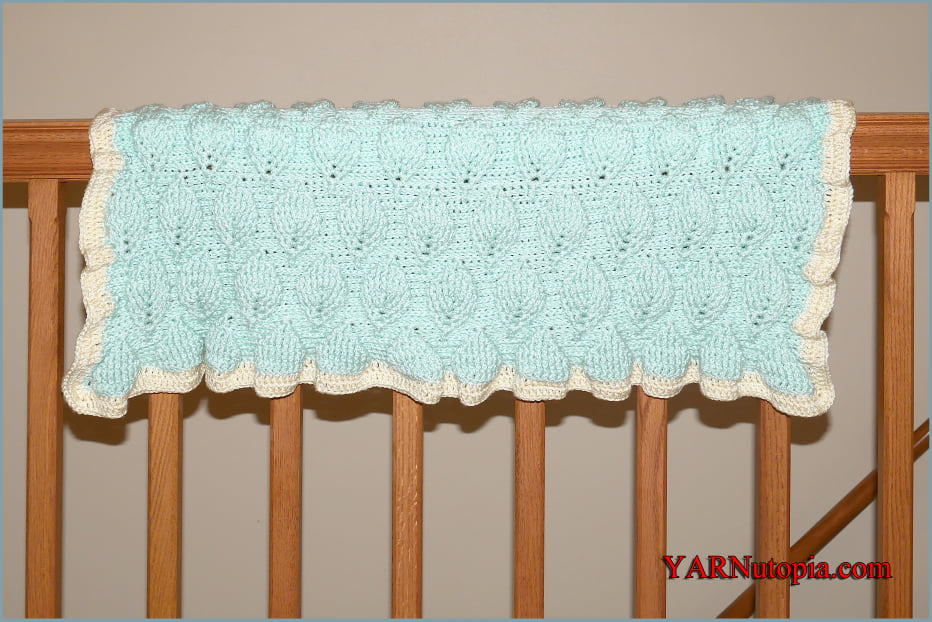
FREE Crochet Video Tutorial: Cuddle Up Baby Blanket
FREE Written Crochet Pattern: Cuddle Up Baby Blanket
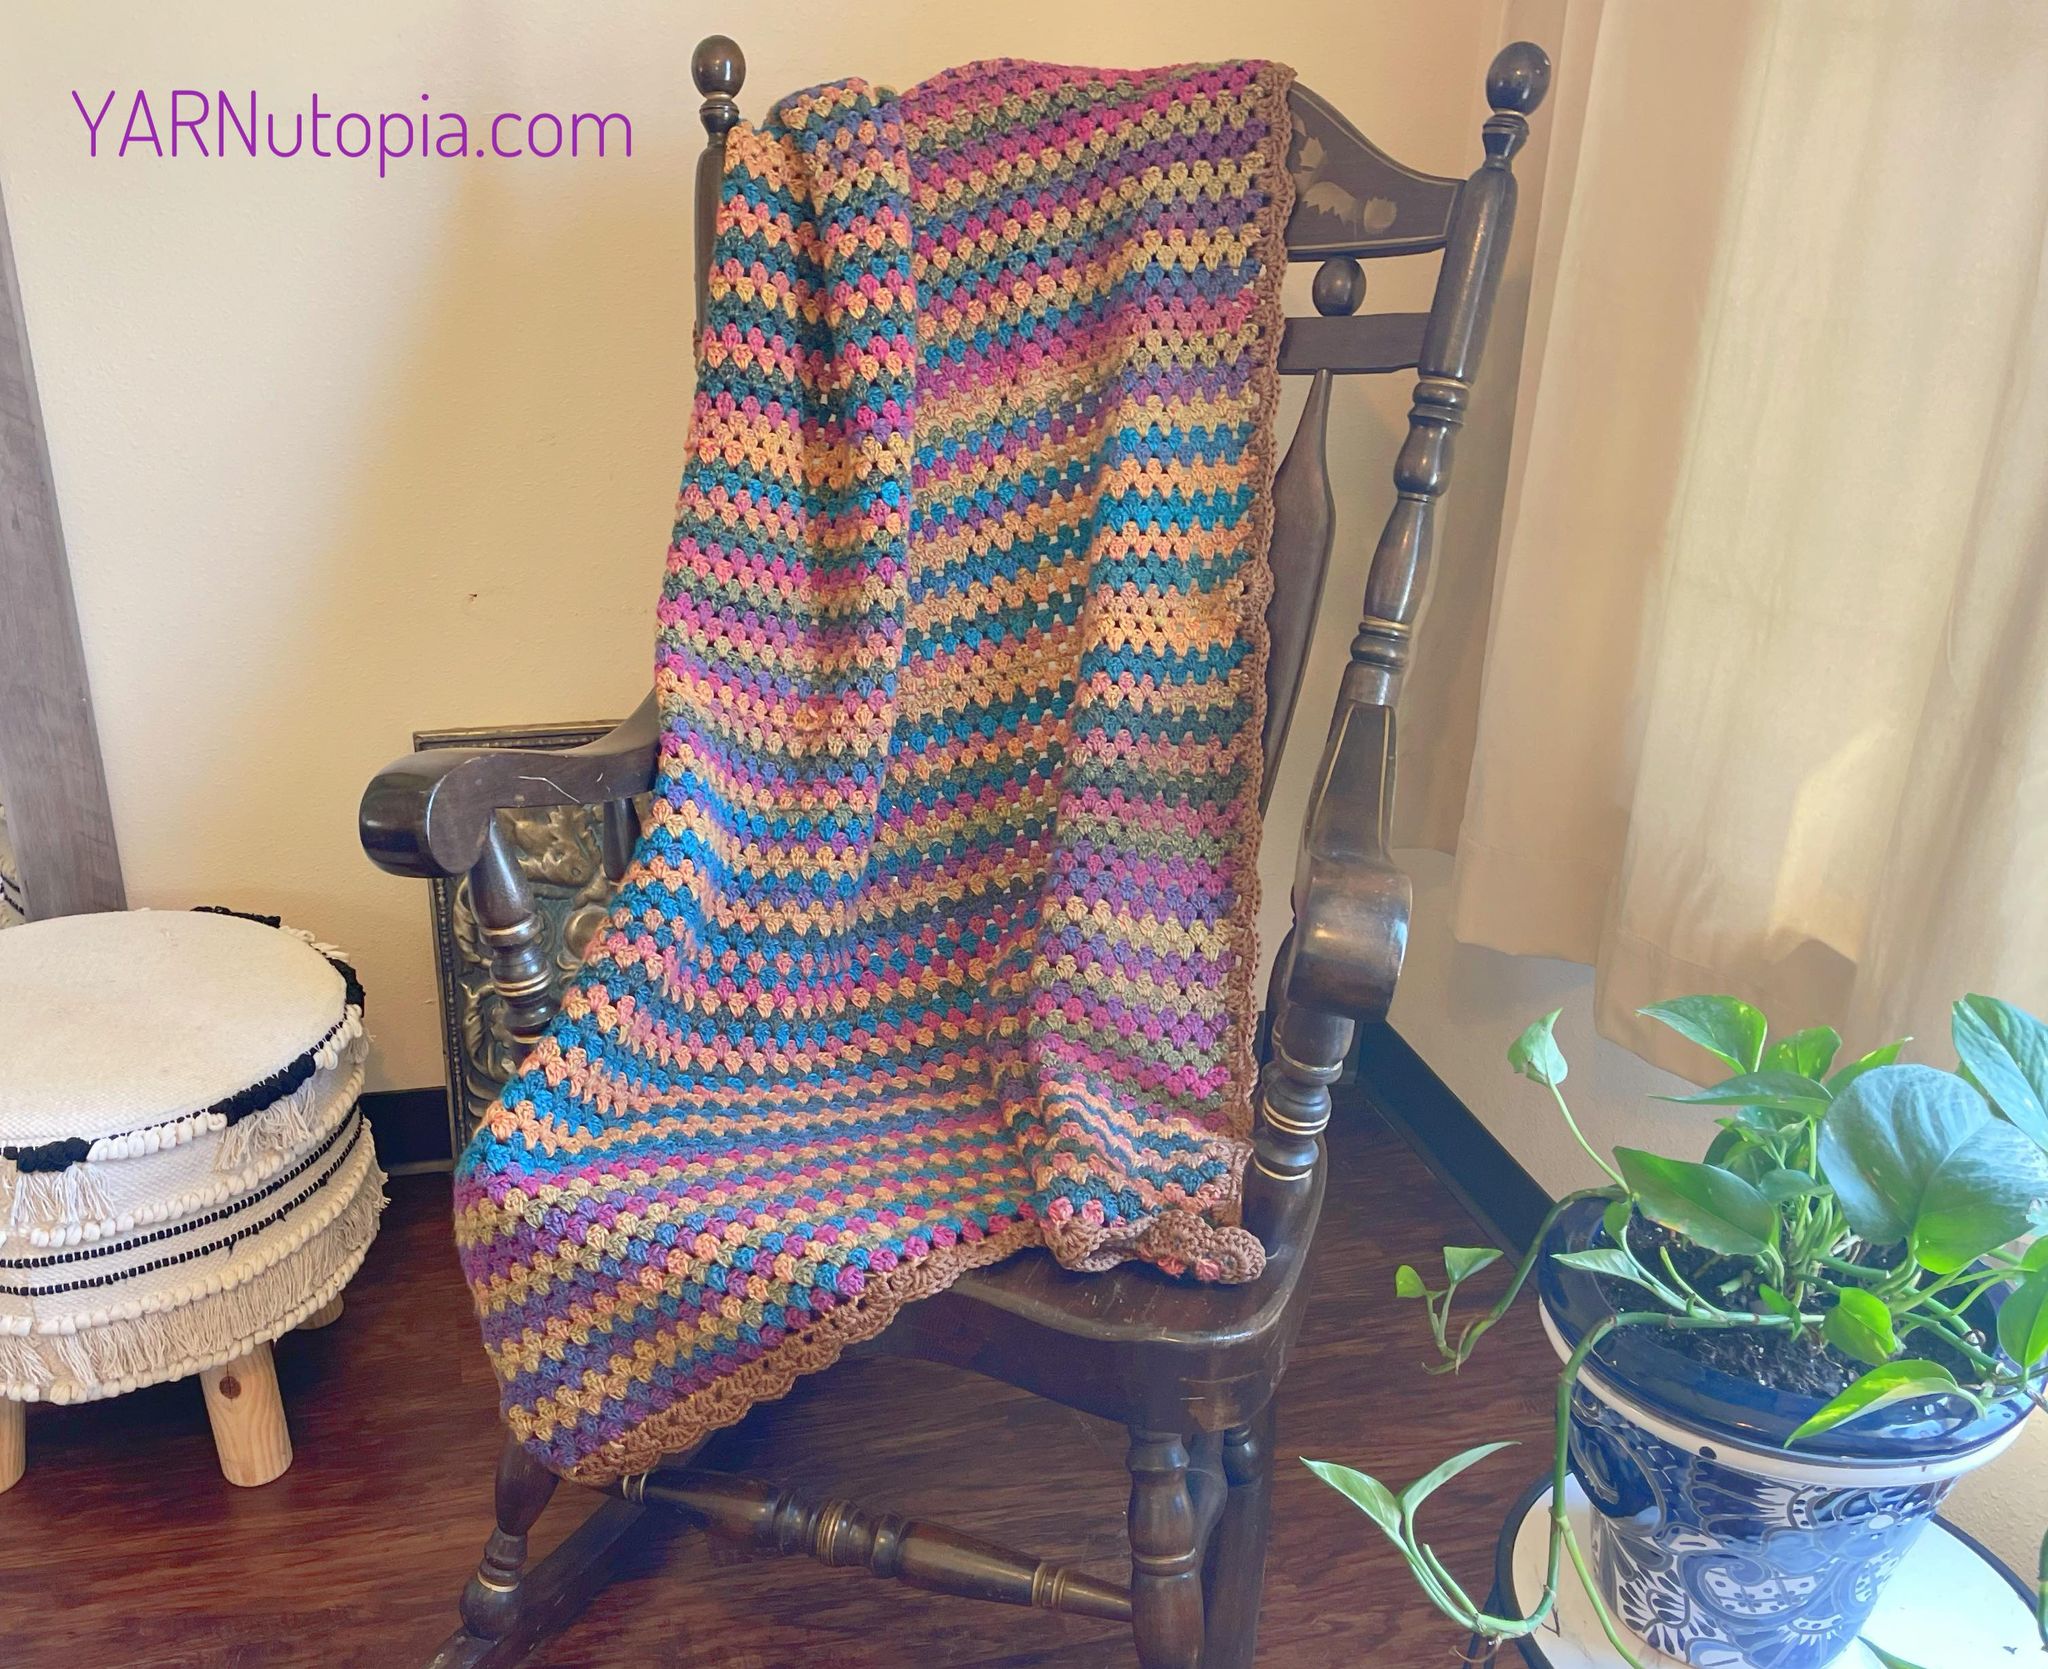
FREE Written Crochet Pattern: Boho Throw Blanket
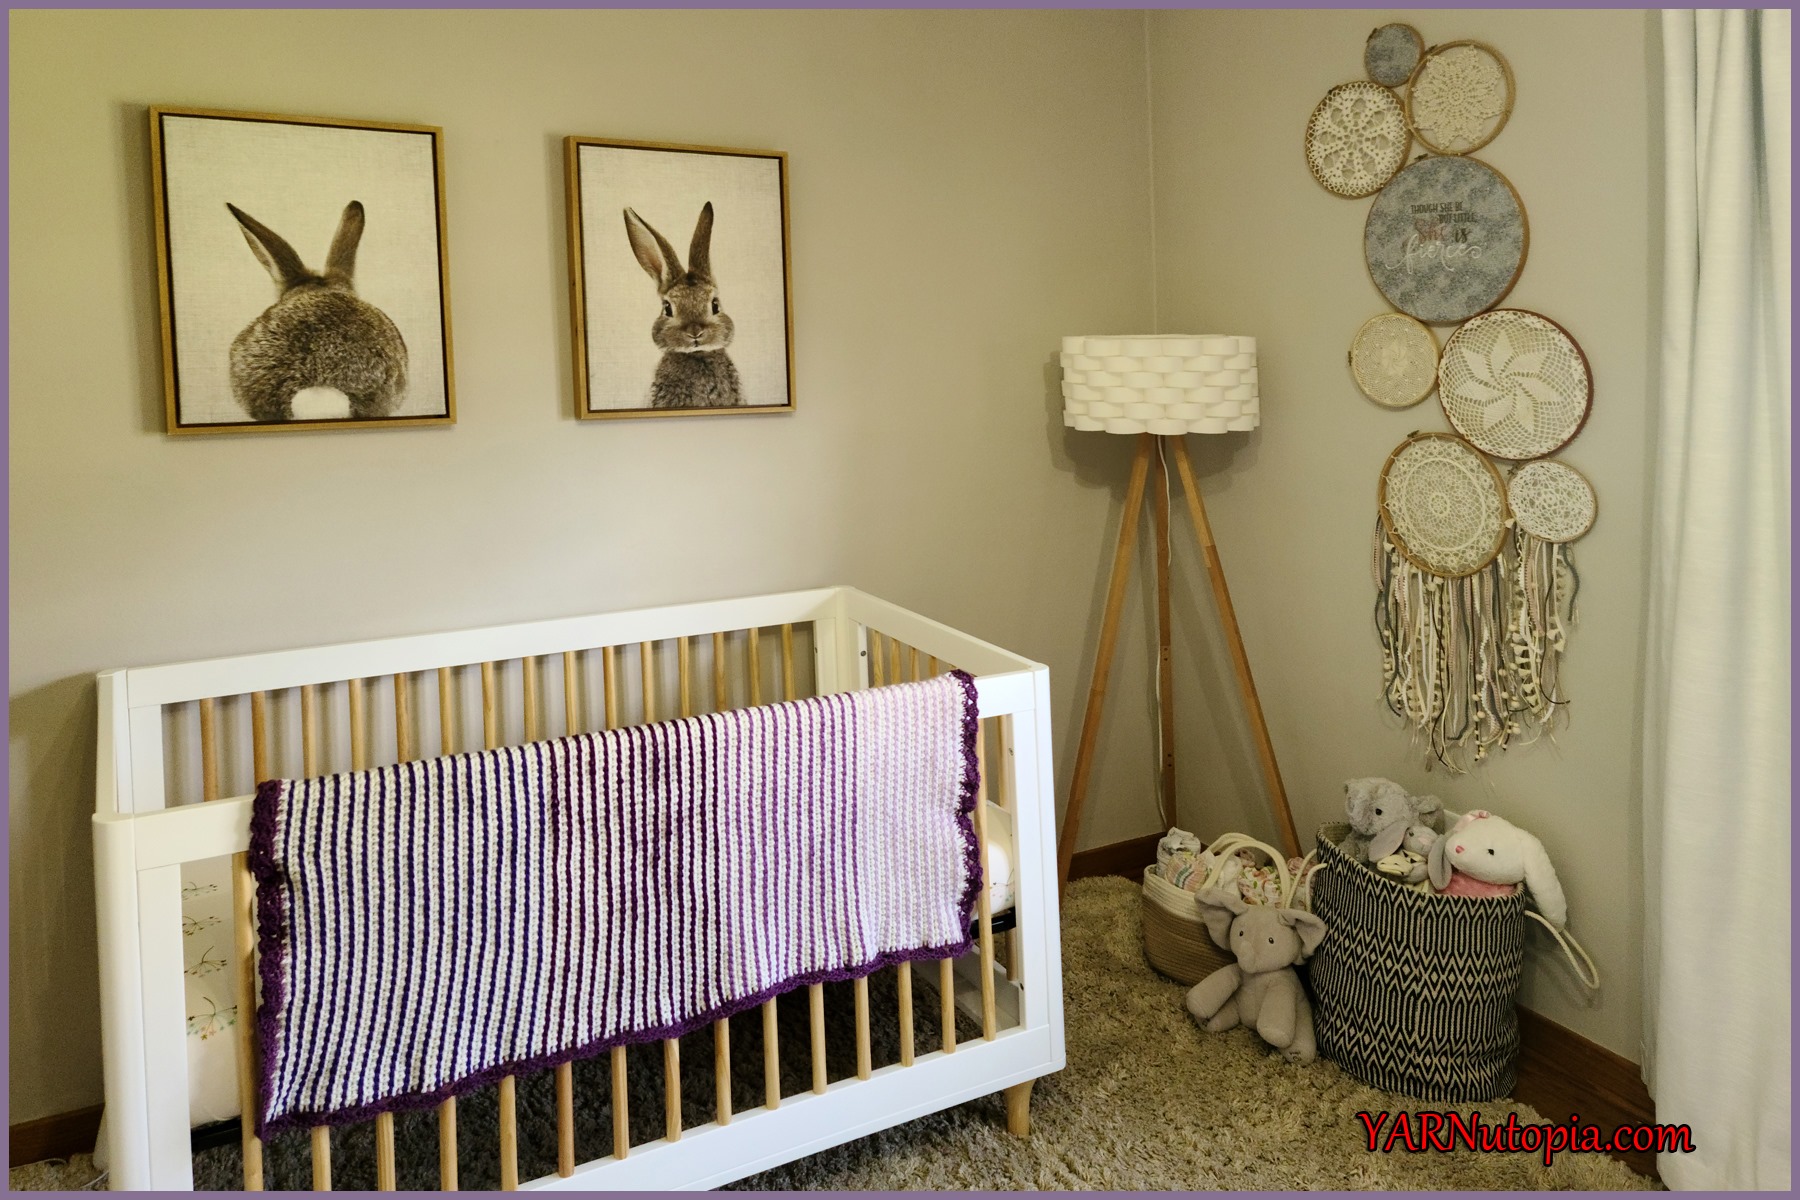
FREE Written Crochet Pattern: Snuggle Me Up Baby Blanket
FREE Crochet Video Tutorial: Snuggle Me Up Baby Blanket
FREE Written Crochet Pattern: Aspen Baby Blanket
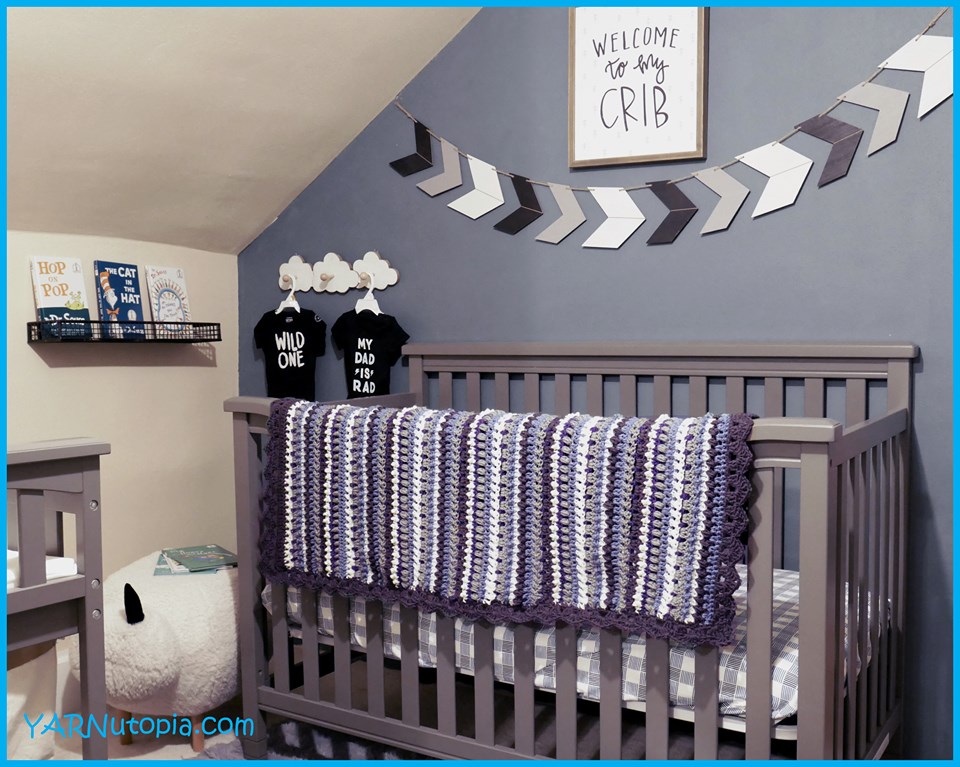
FREE Written Crochet Pattern: Ombre Striped Baby Blanket
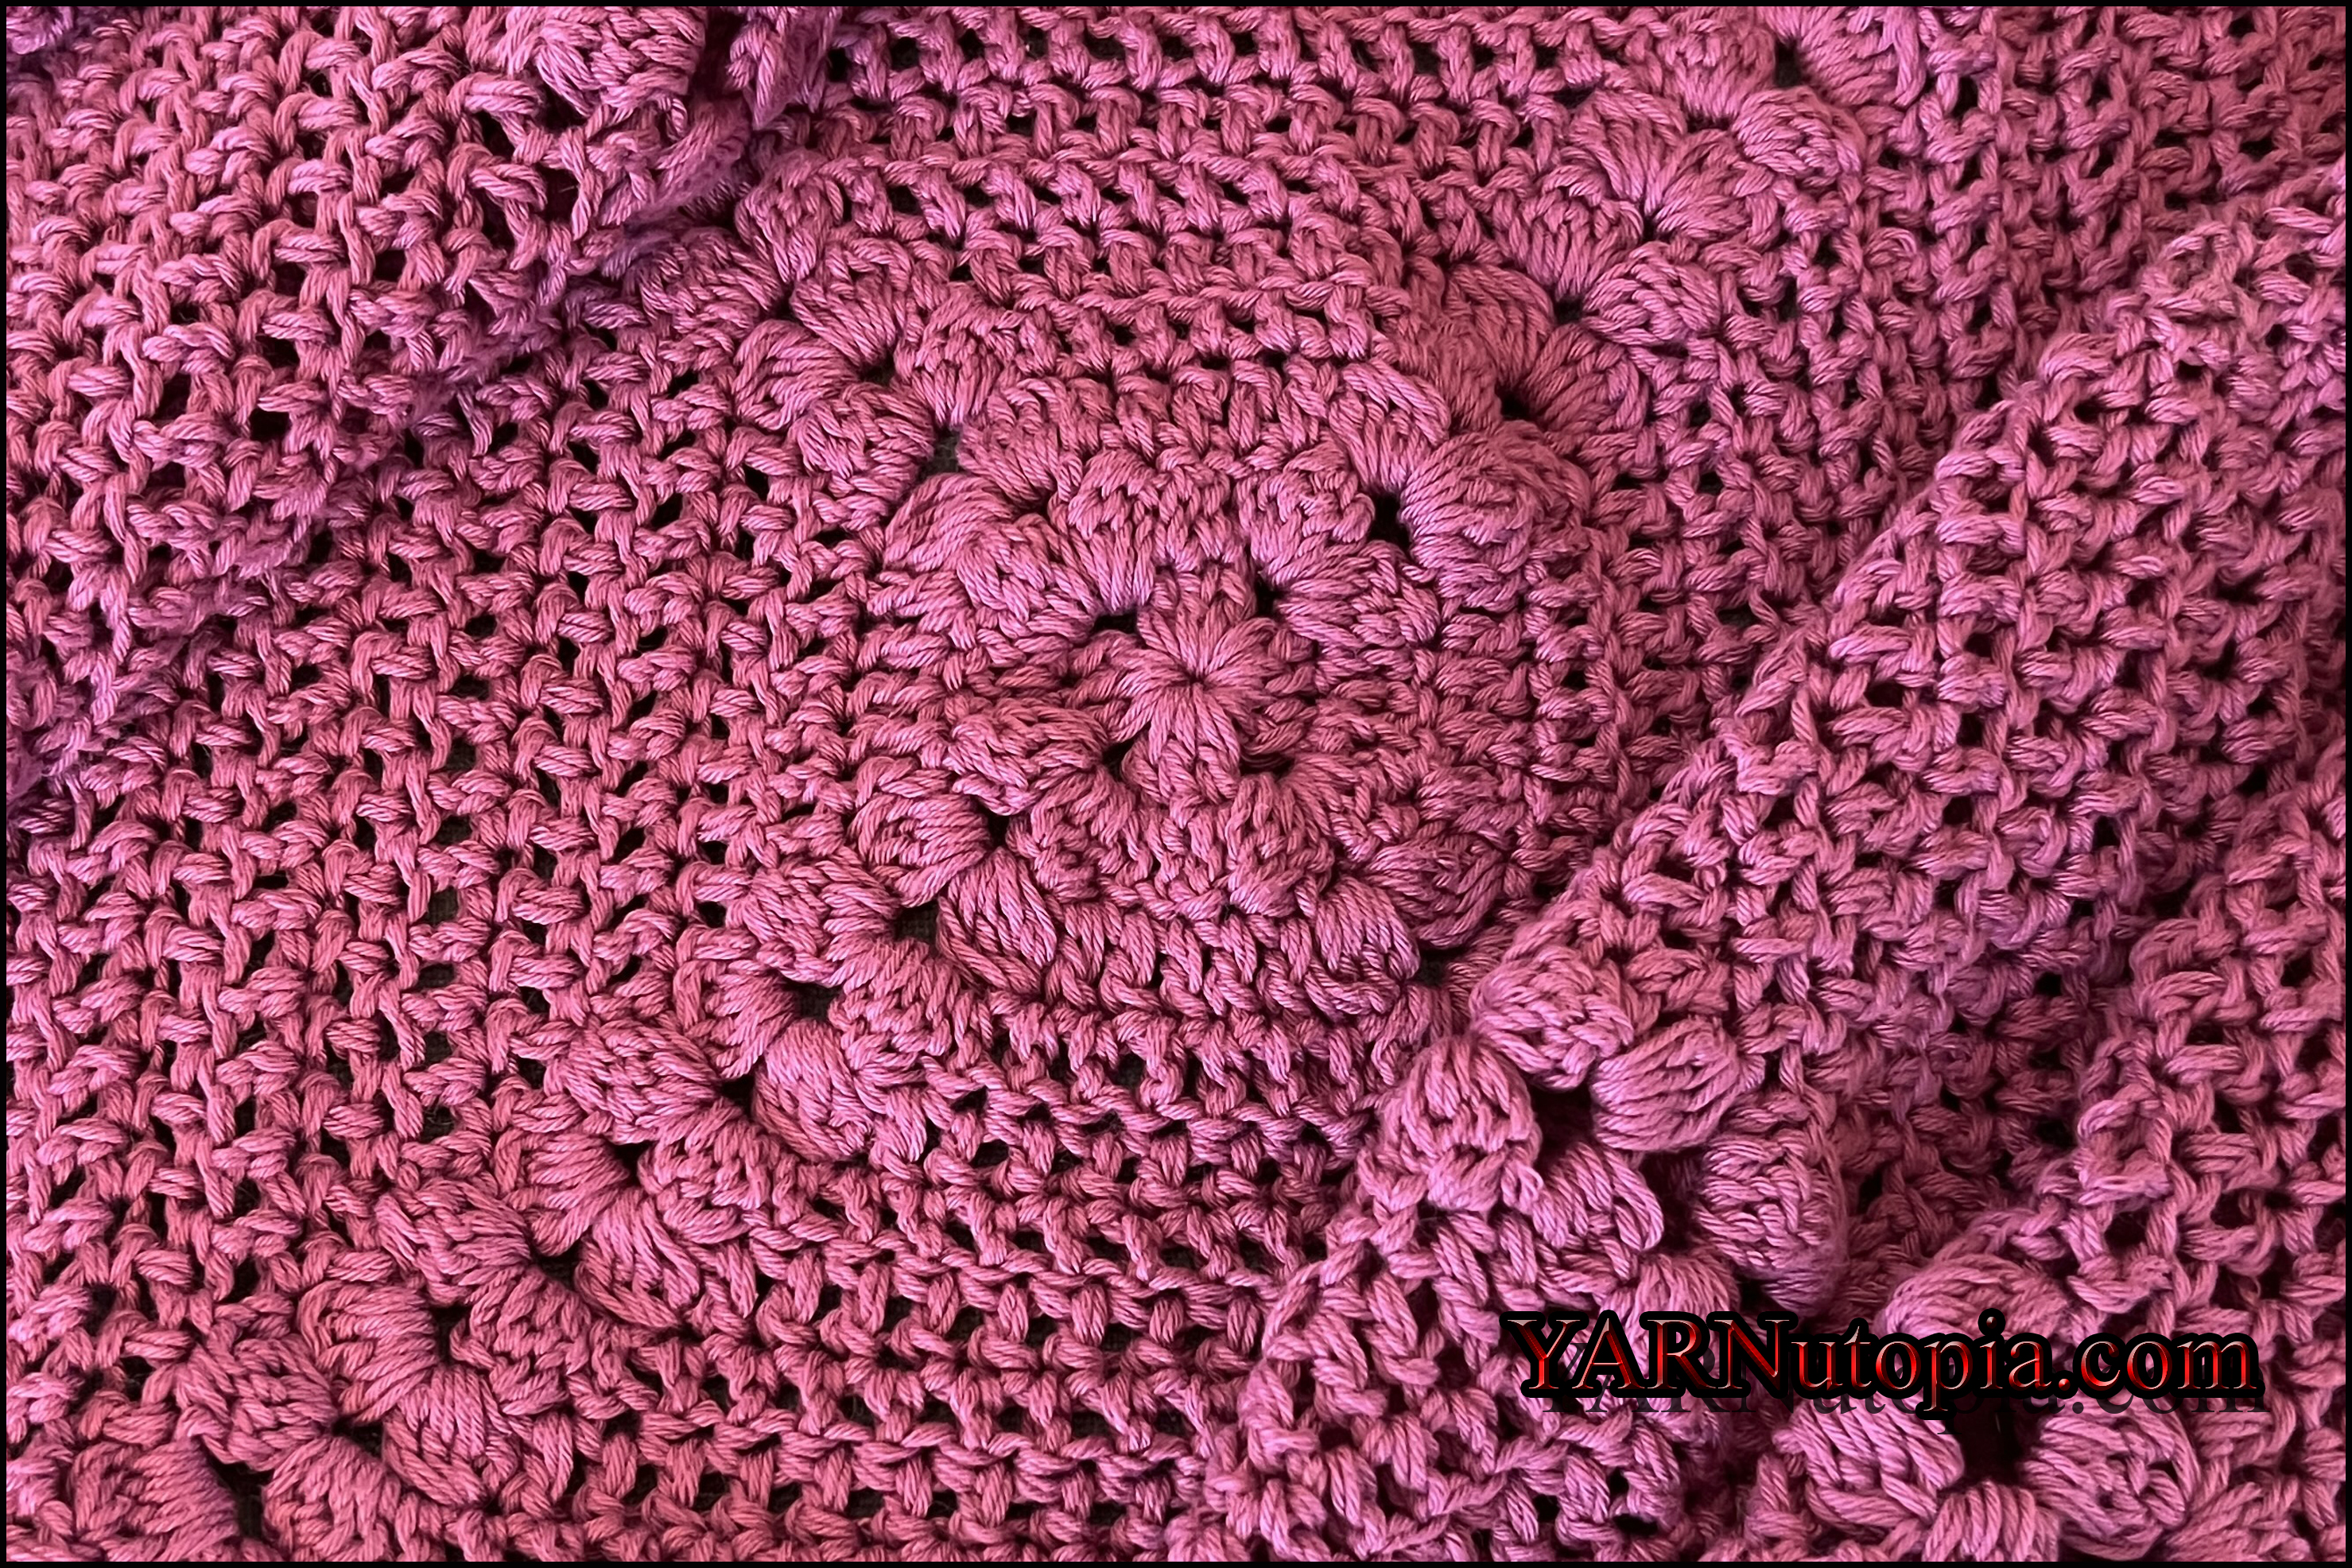
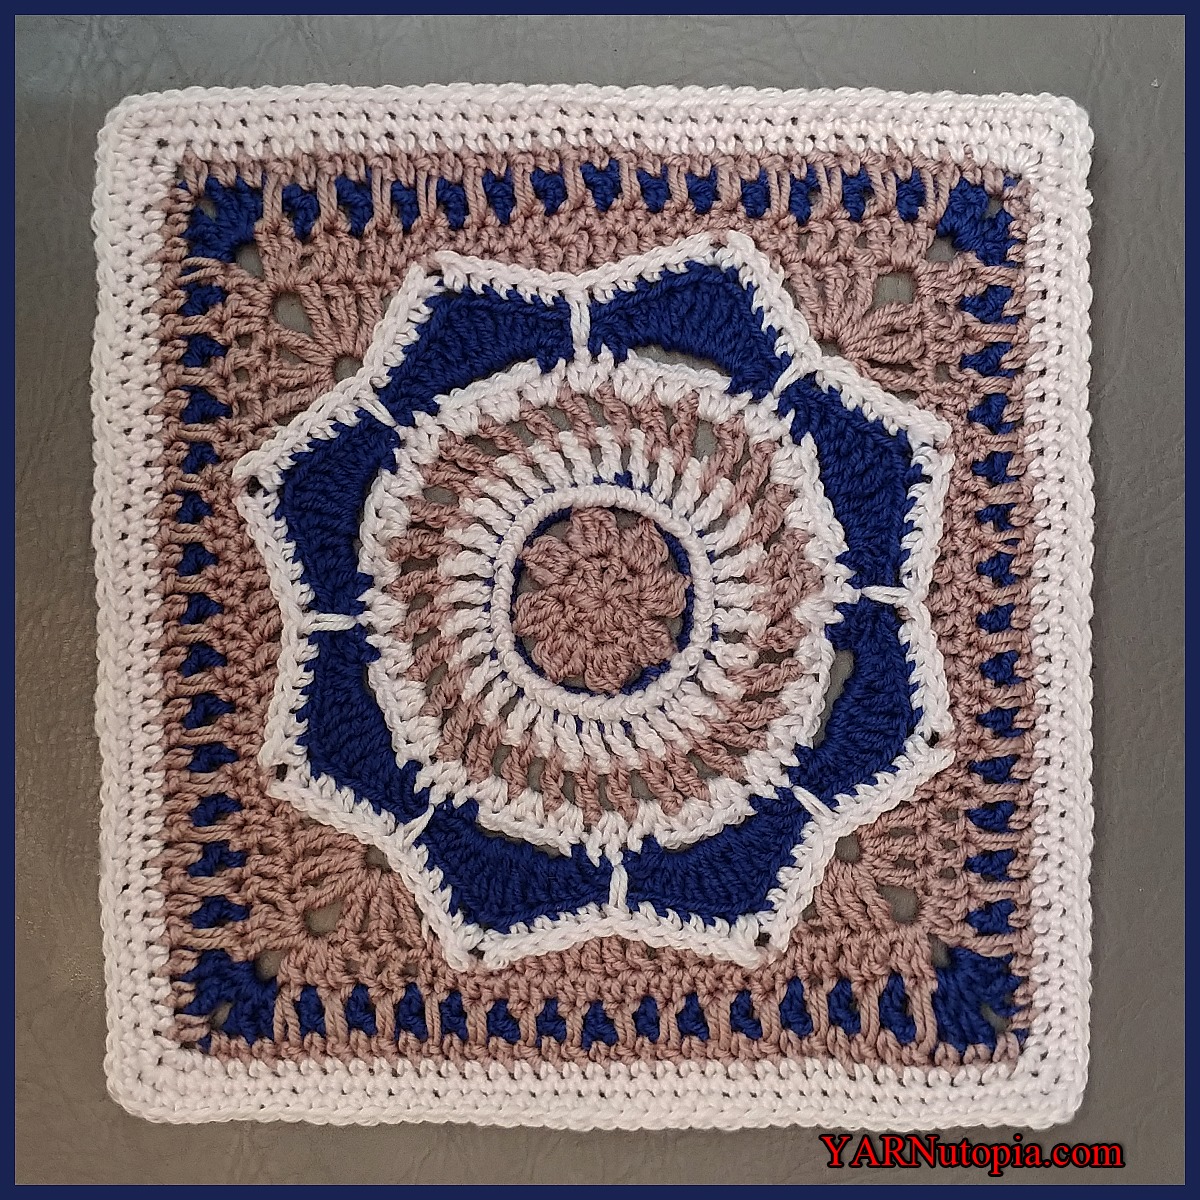
Crochet Tutorial: Where Love Grows Afghan Block
FREE Crochet Tutorial: Happy Hues Sampler Baby Blanket
Crochet Tutorial: Wiggles & Giggles Baby Blanket
Knitting Tutorial: Finger Knitting The Fluffy Hugs Chunky Blanket
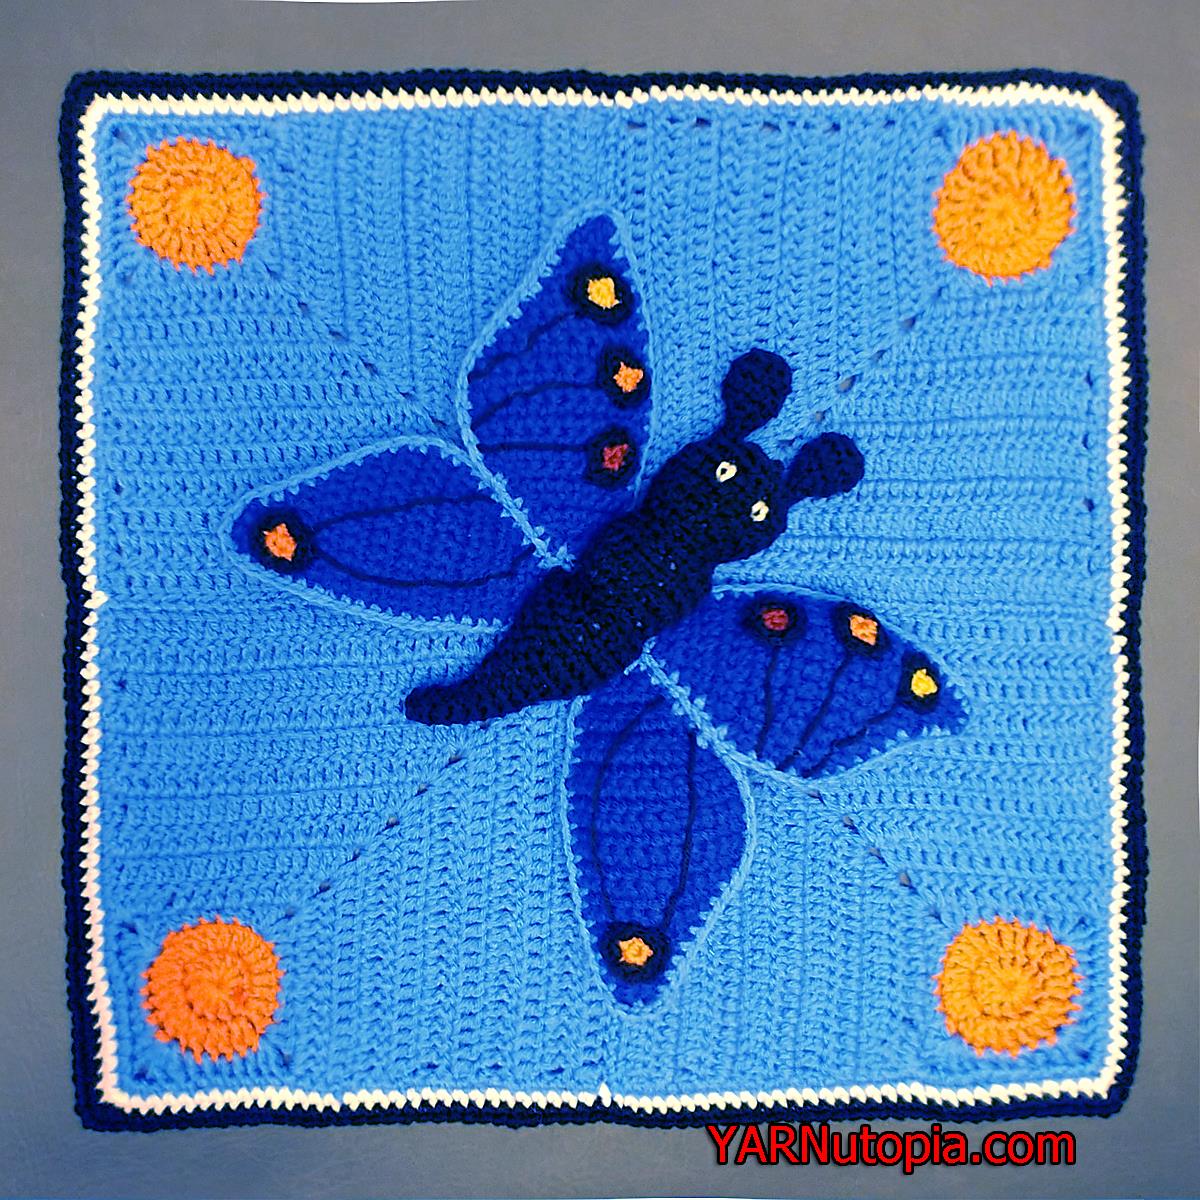
Crochet Tutorial: Butterfly Lovey
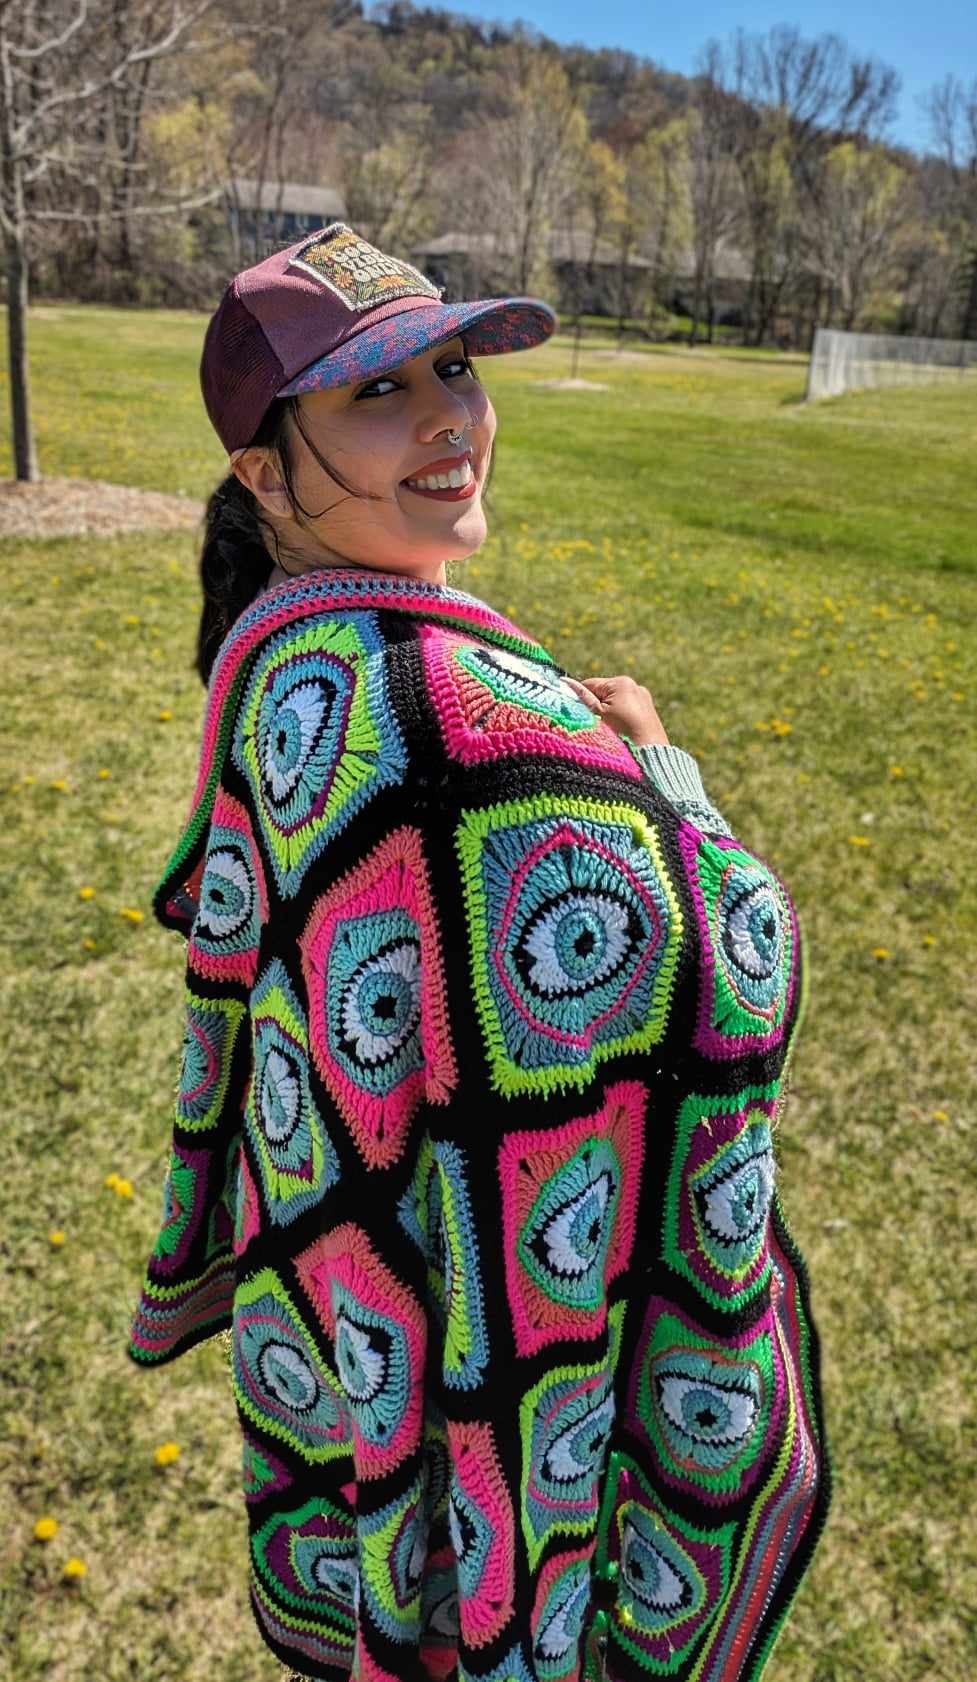
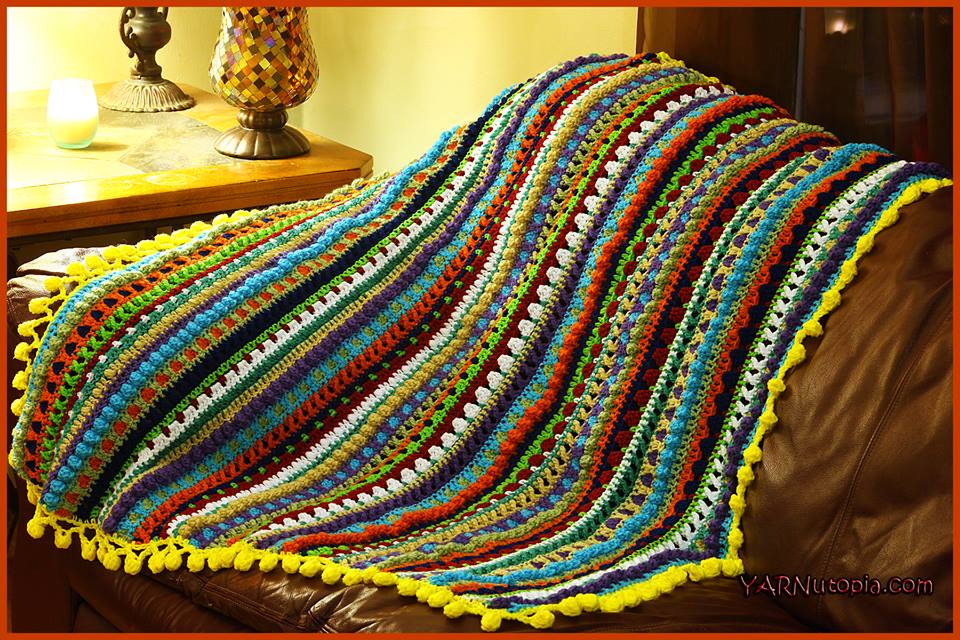
Crochet Tutorial: Colorful Visions Afghan
My Top 10 Crochet Patterns of 2017
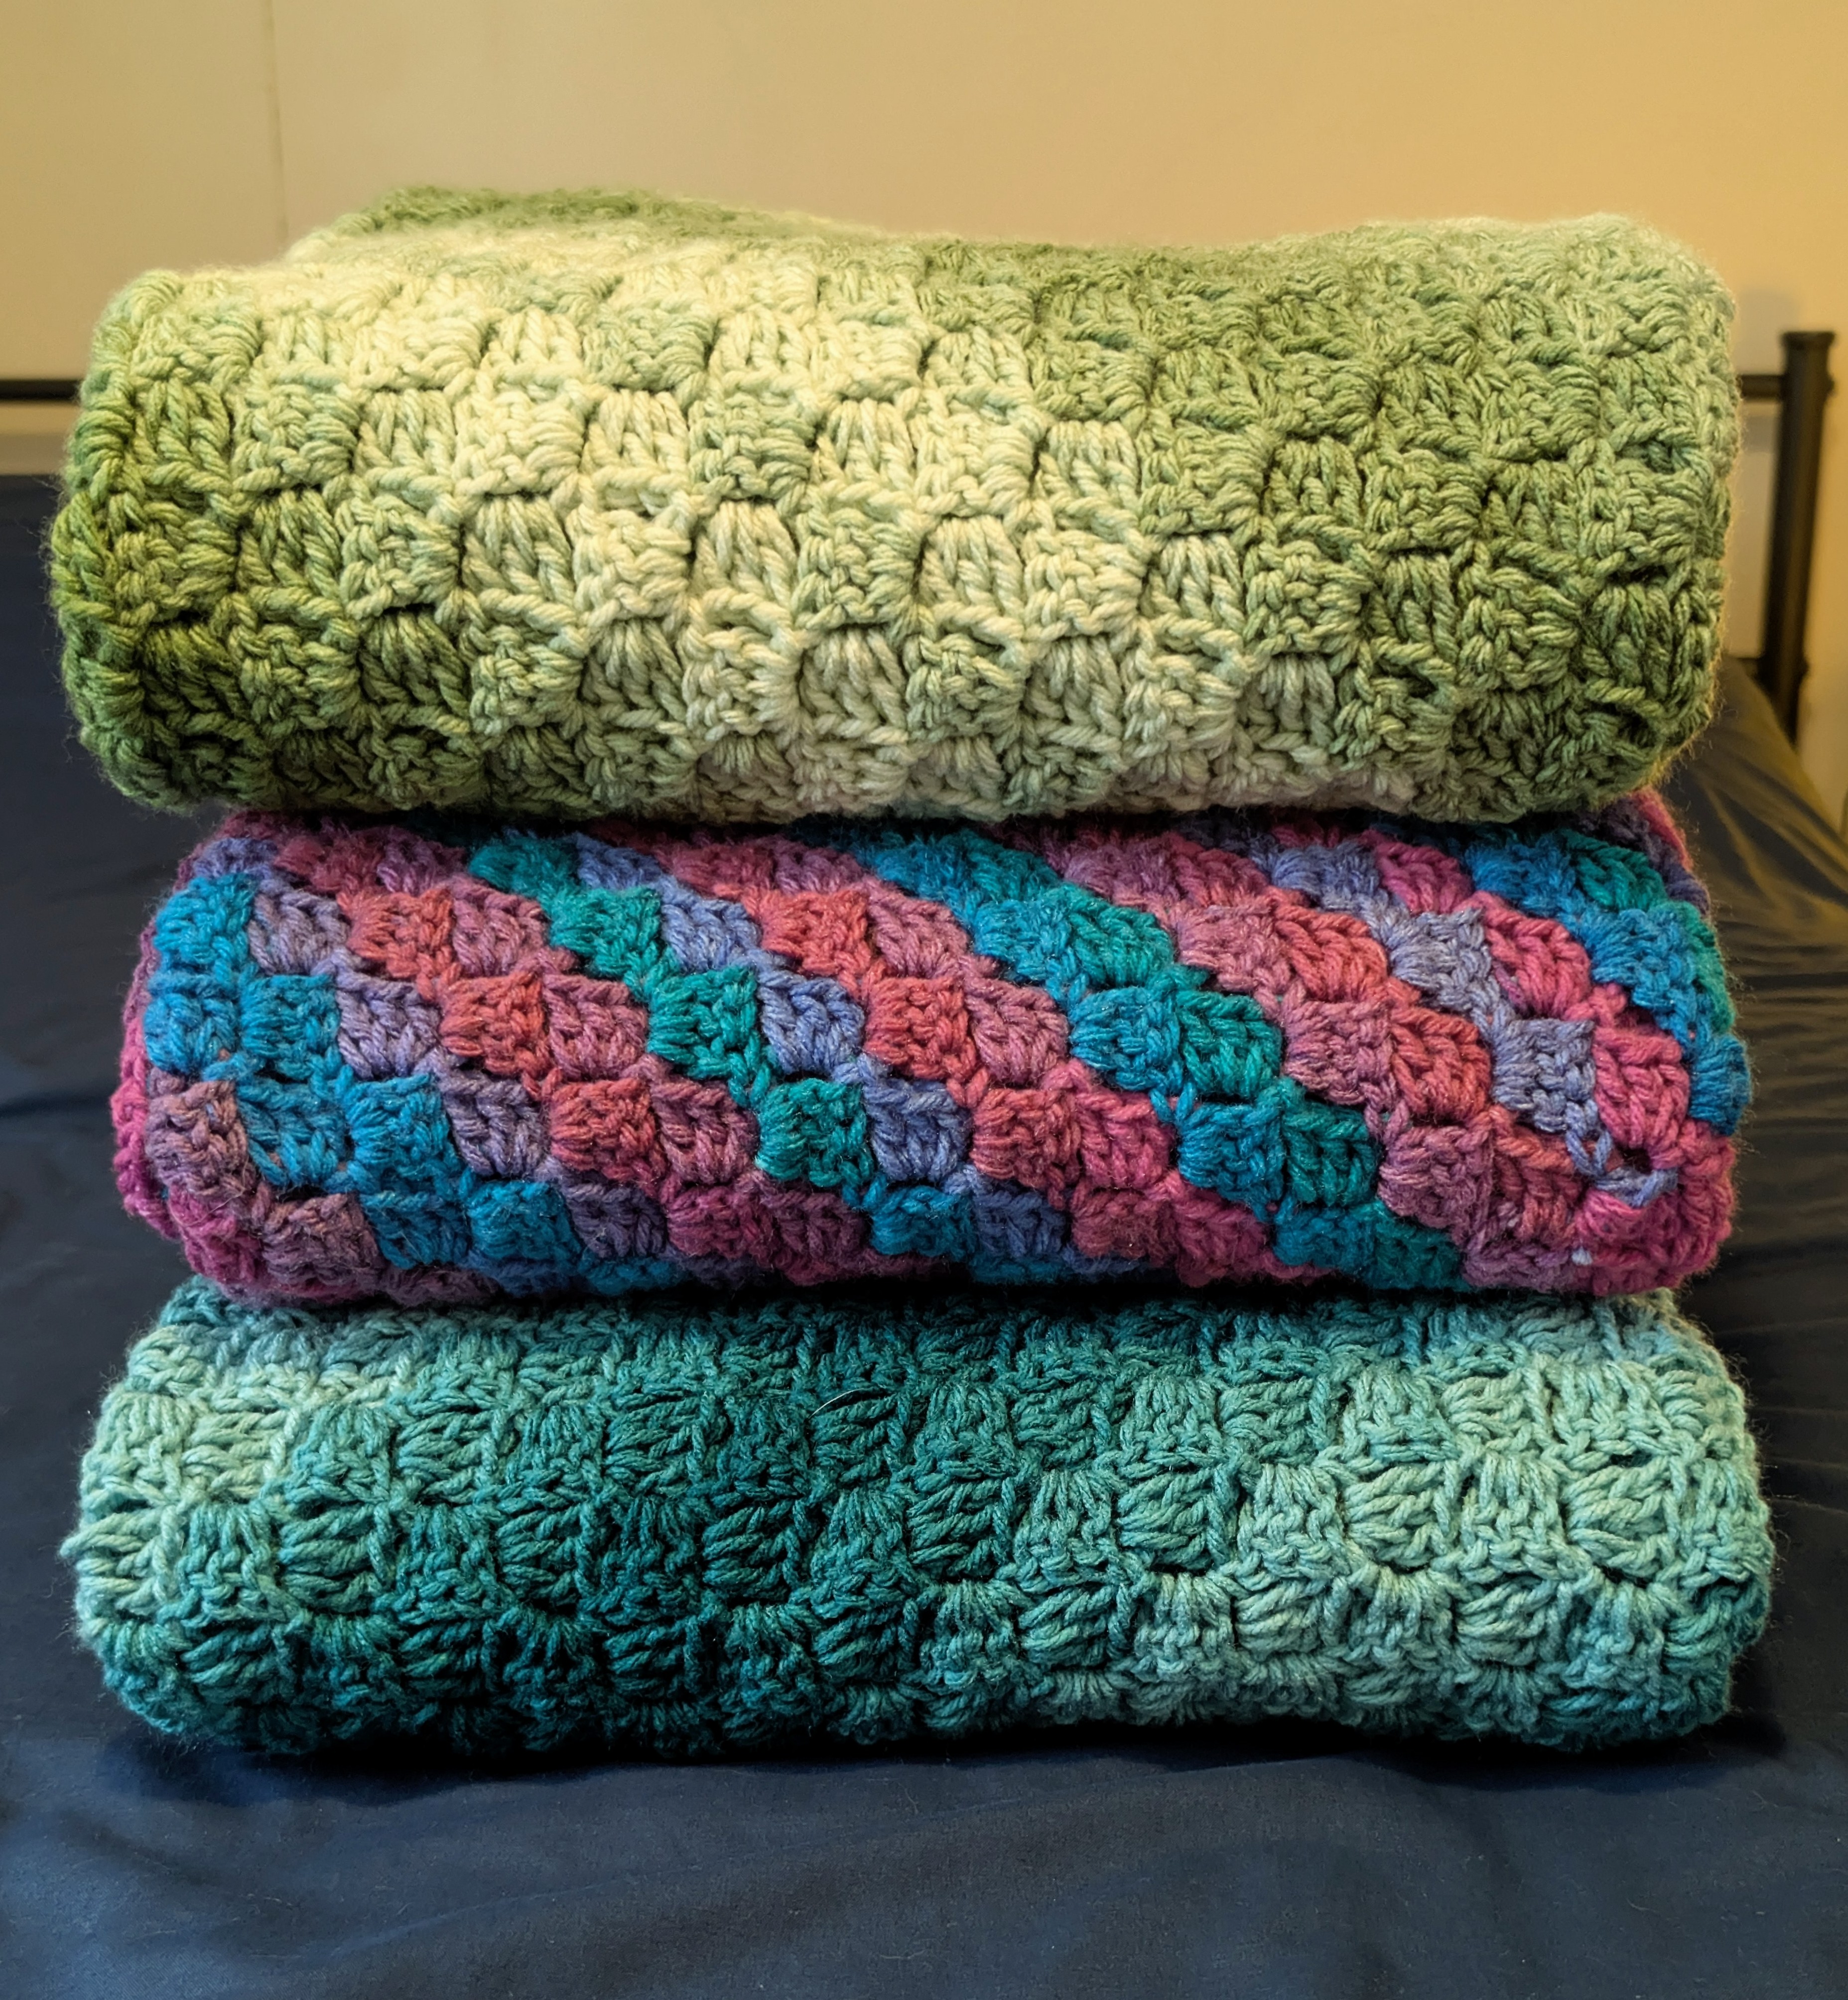
Crochet Tutorial: Chunky Basketweave Blanket
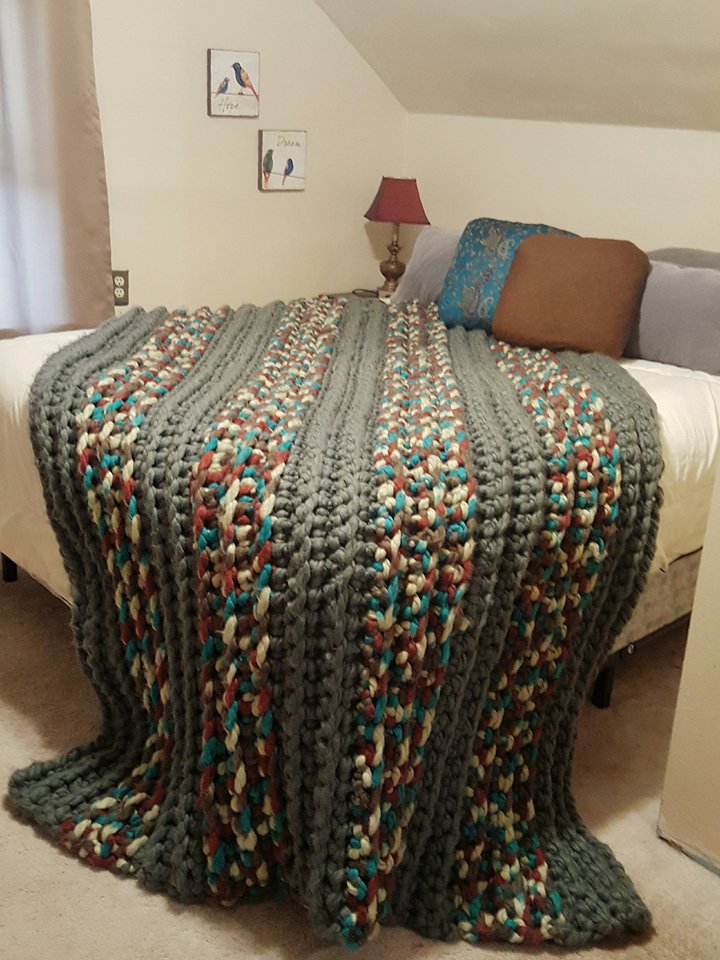
Crochet Tutorial: The Cozy Colossal Blanket
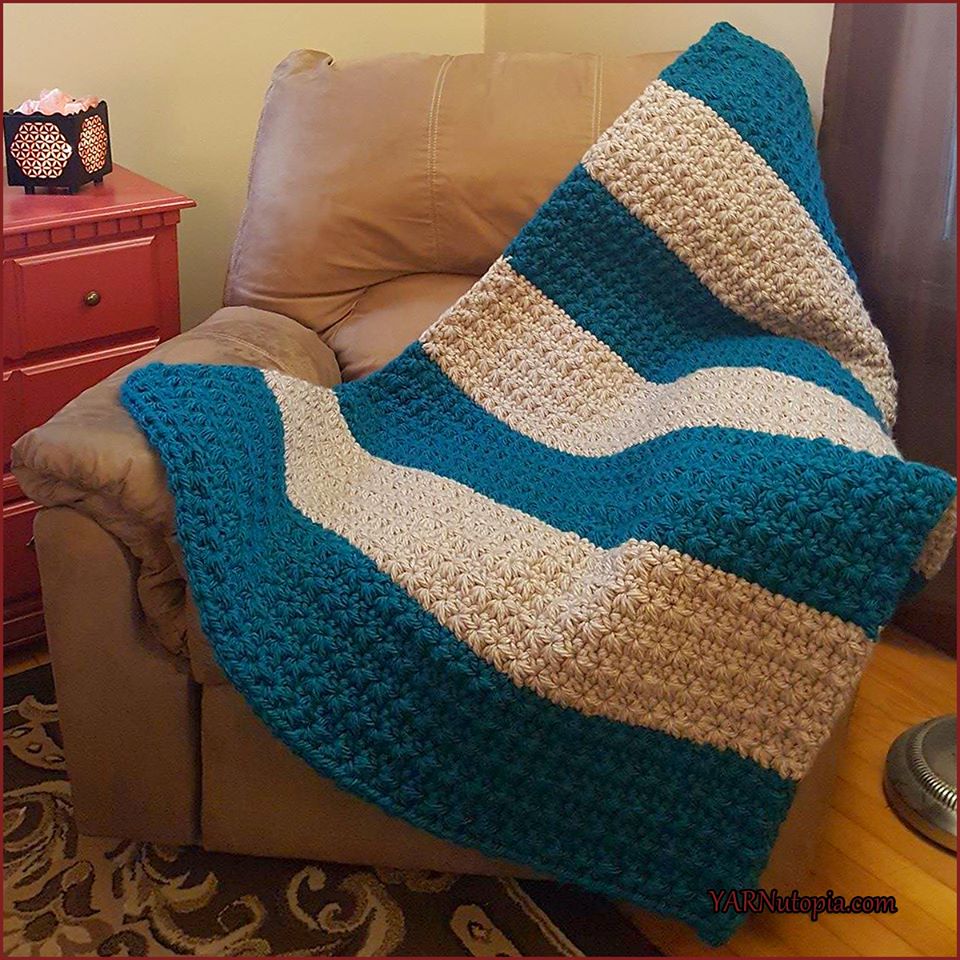
Crochet Tutorial: Star Stitches and Stripes Chunky Blanket
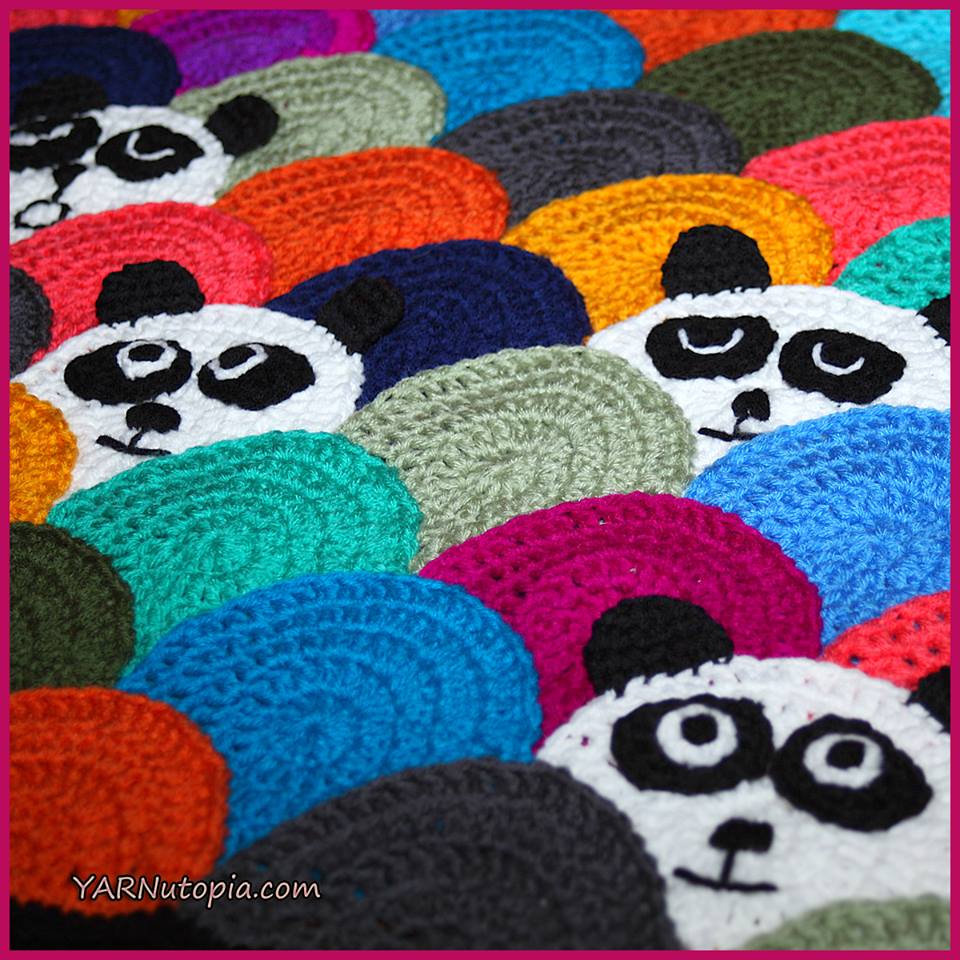
Crochet Tutorial: Roly Poly Panda Quilt
Free Crochet Pattern: Color Pop Baby Blanket
Crochet Tutorial: Nintendo NES Controller Pixel Blanket
Loading Comments...
Write a Comment...
Email (Required)
Name (Required)
Website