Skip to content
YARNutopia & M0re
All things Yarn Related: Crochet, DIY, and Crafts
Blog
365 Days of Granny Squares
Stitch Gallery & Glossary
Crochet Video Tutorials
Frequently Asked Questions
Crochet Glossary: Learn the Lingo
Contact
FREE Crochet Pattern: Mischief Maker Beanie
The Beholder & Cthulhu Hats for Halloween
Happy Halloween 2025
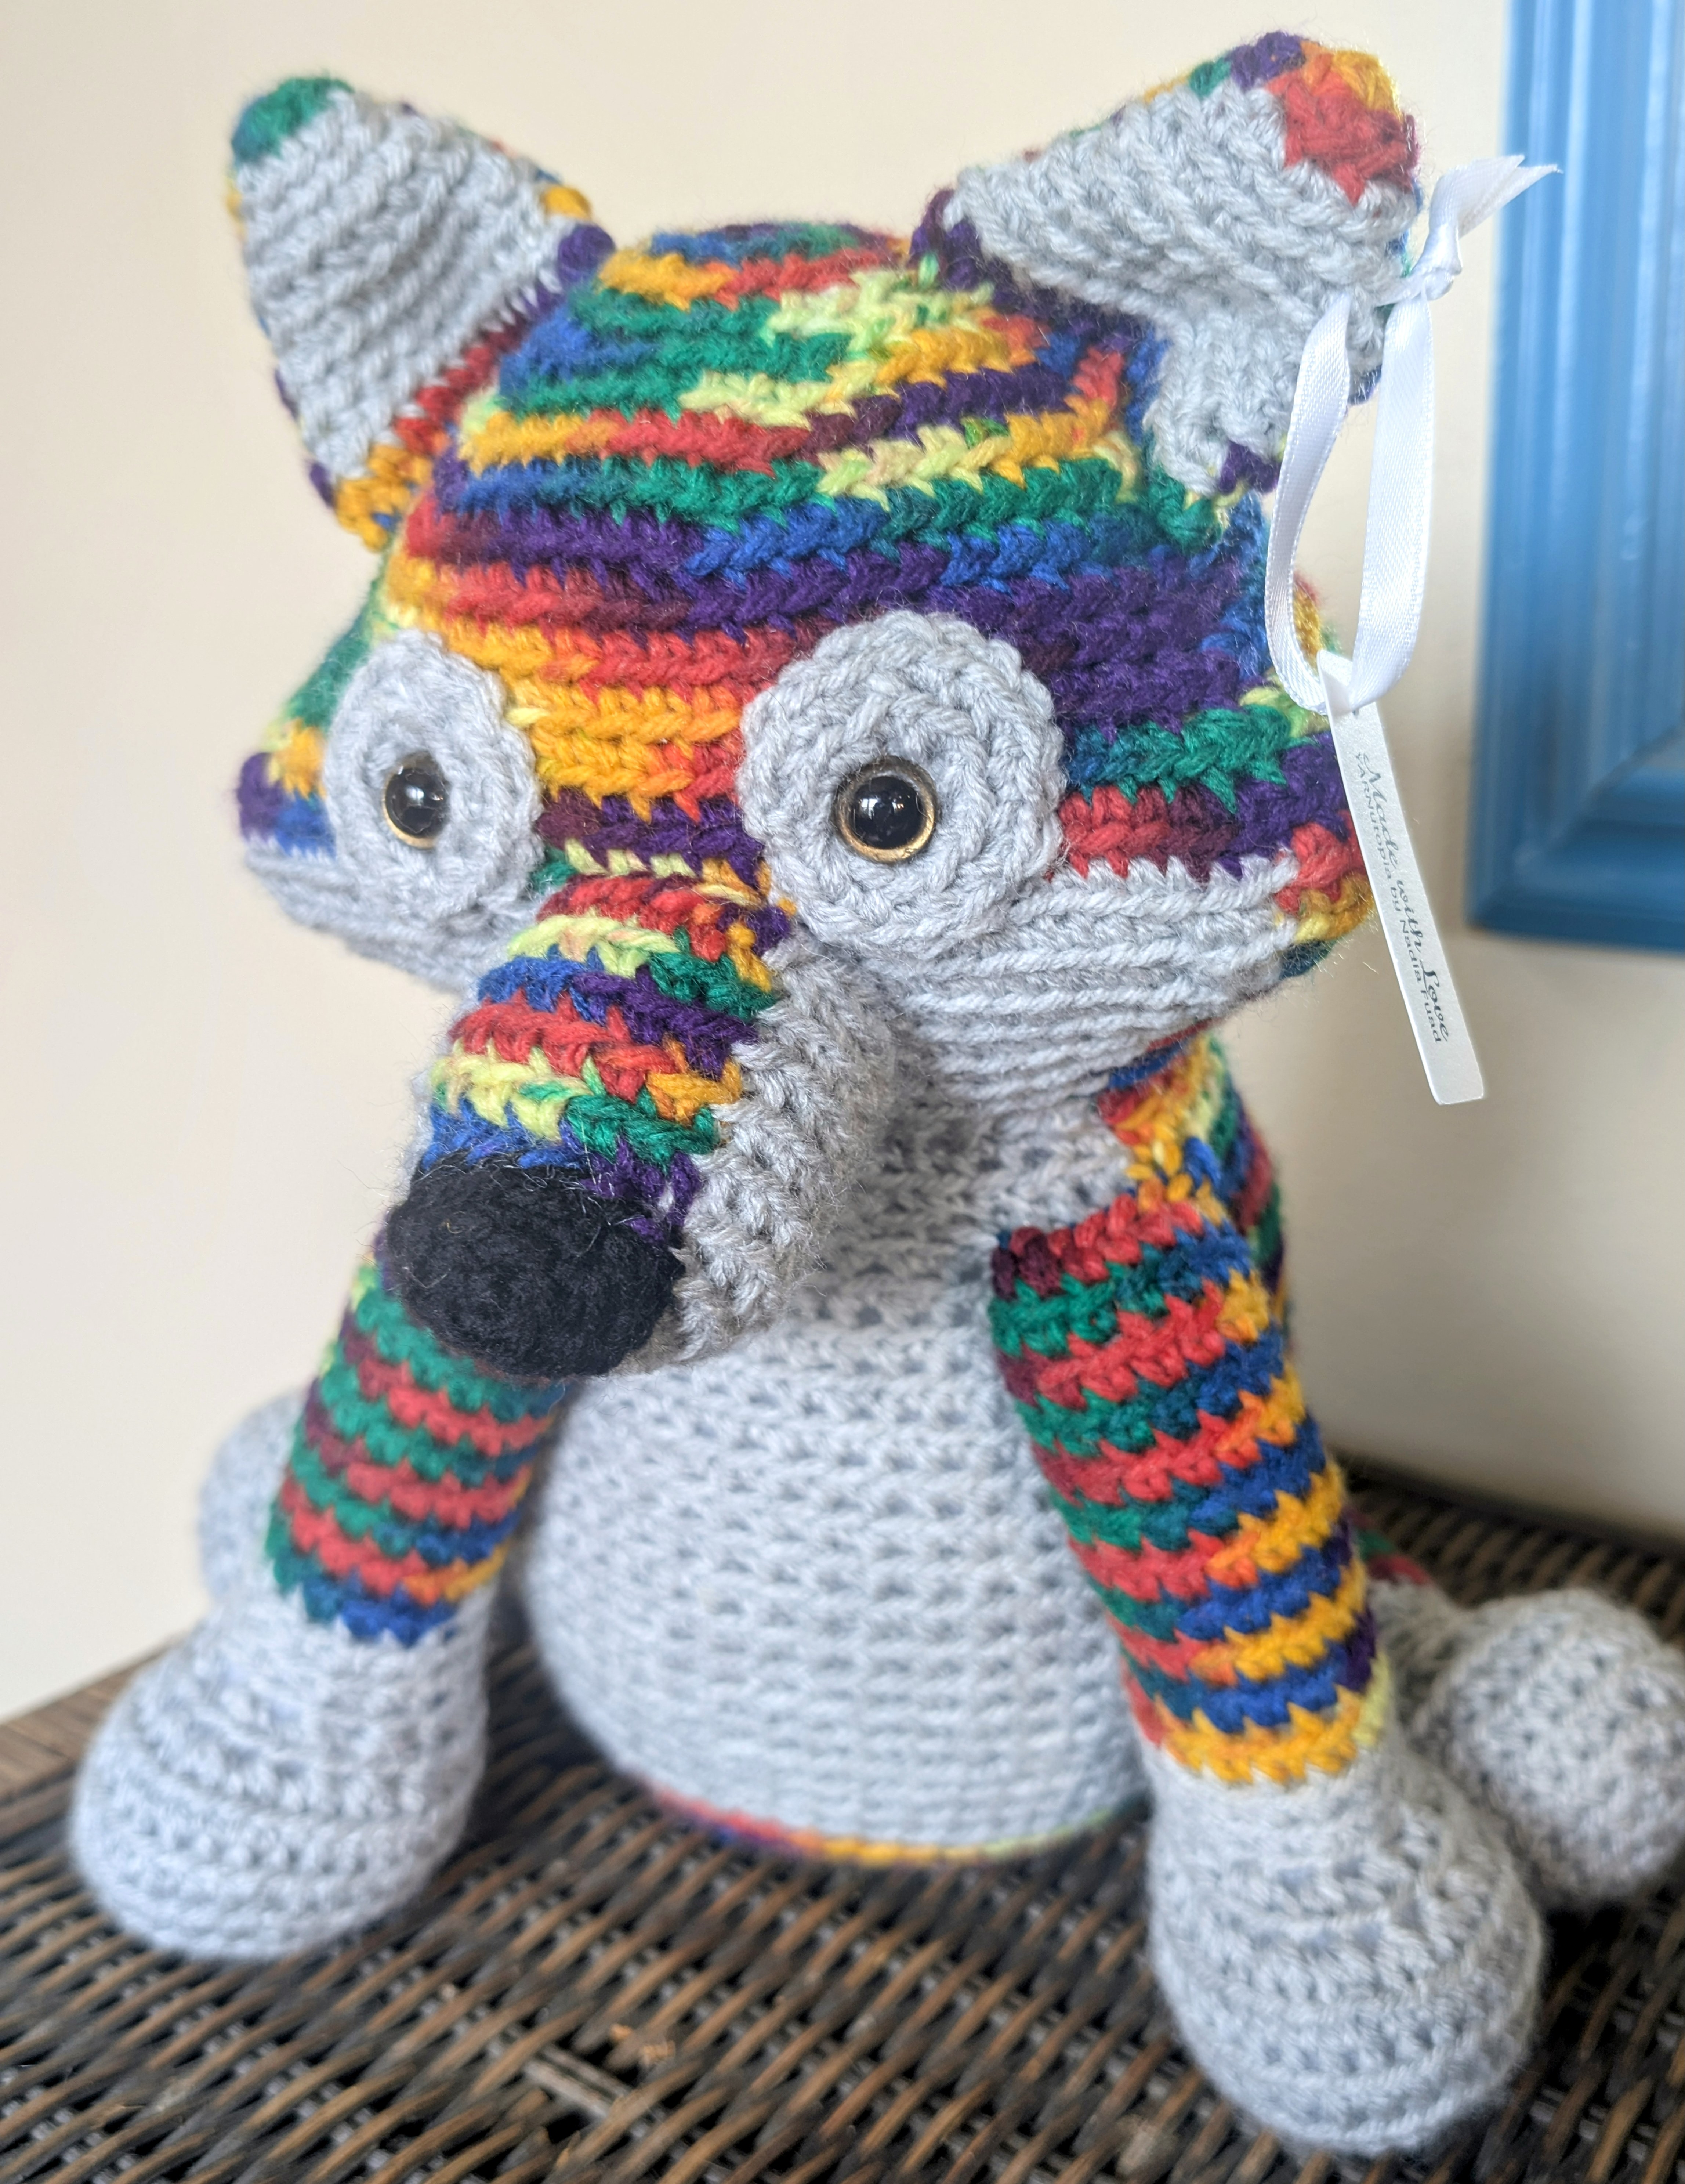
A Special Order: Crochet Amigurumi
Summer Crochet Halter Tops: A Stylish and Breezy Wardrobe Essential
Peanut Butter and Carrot Dog Treats
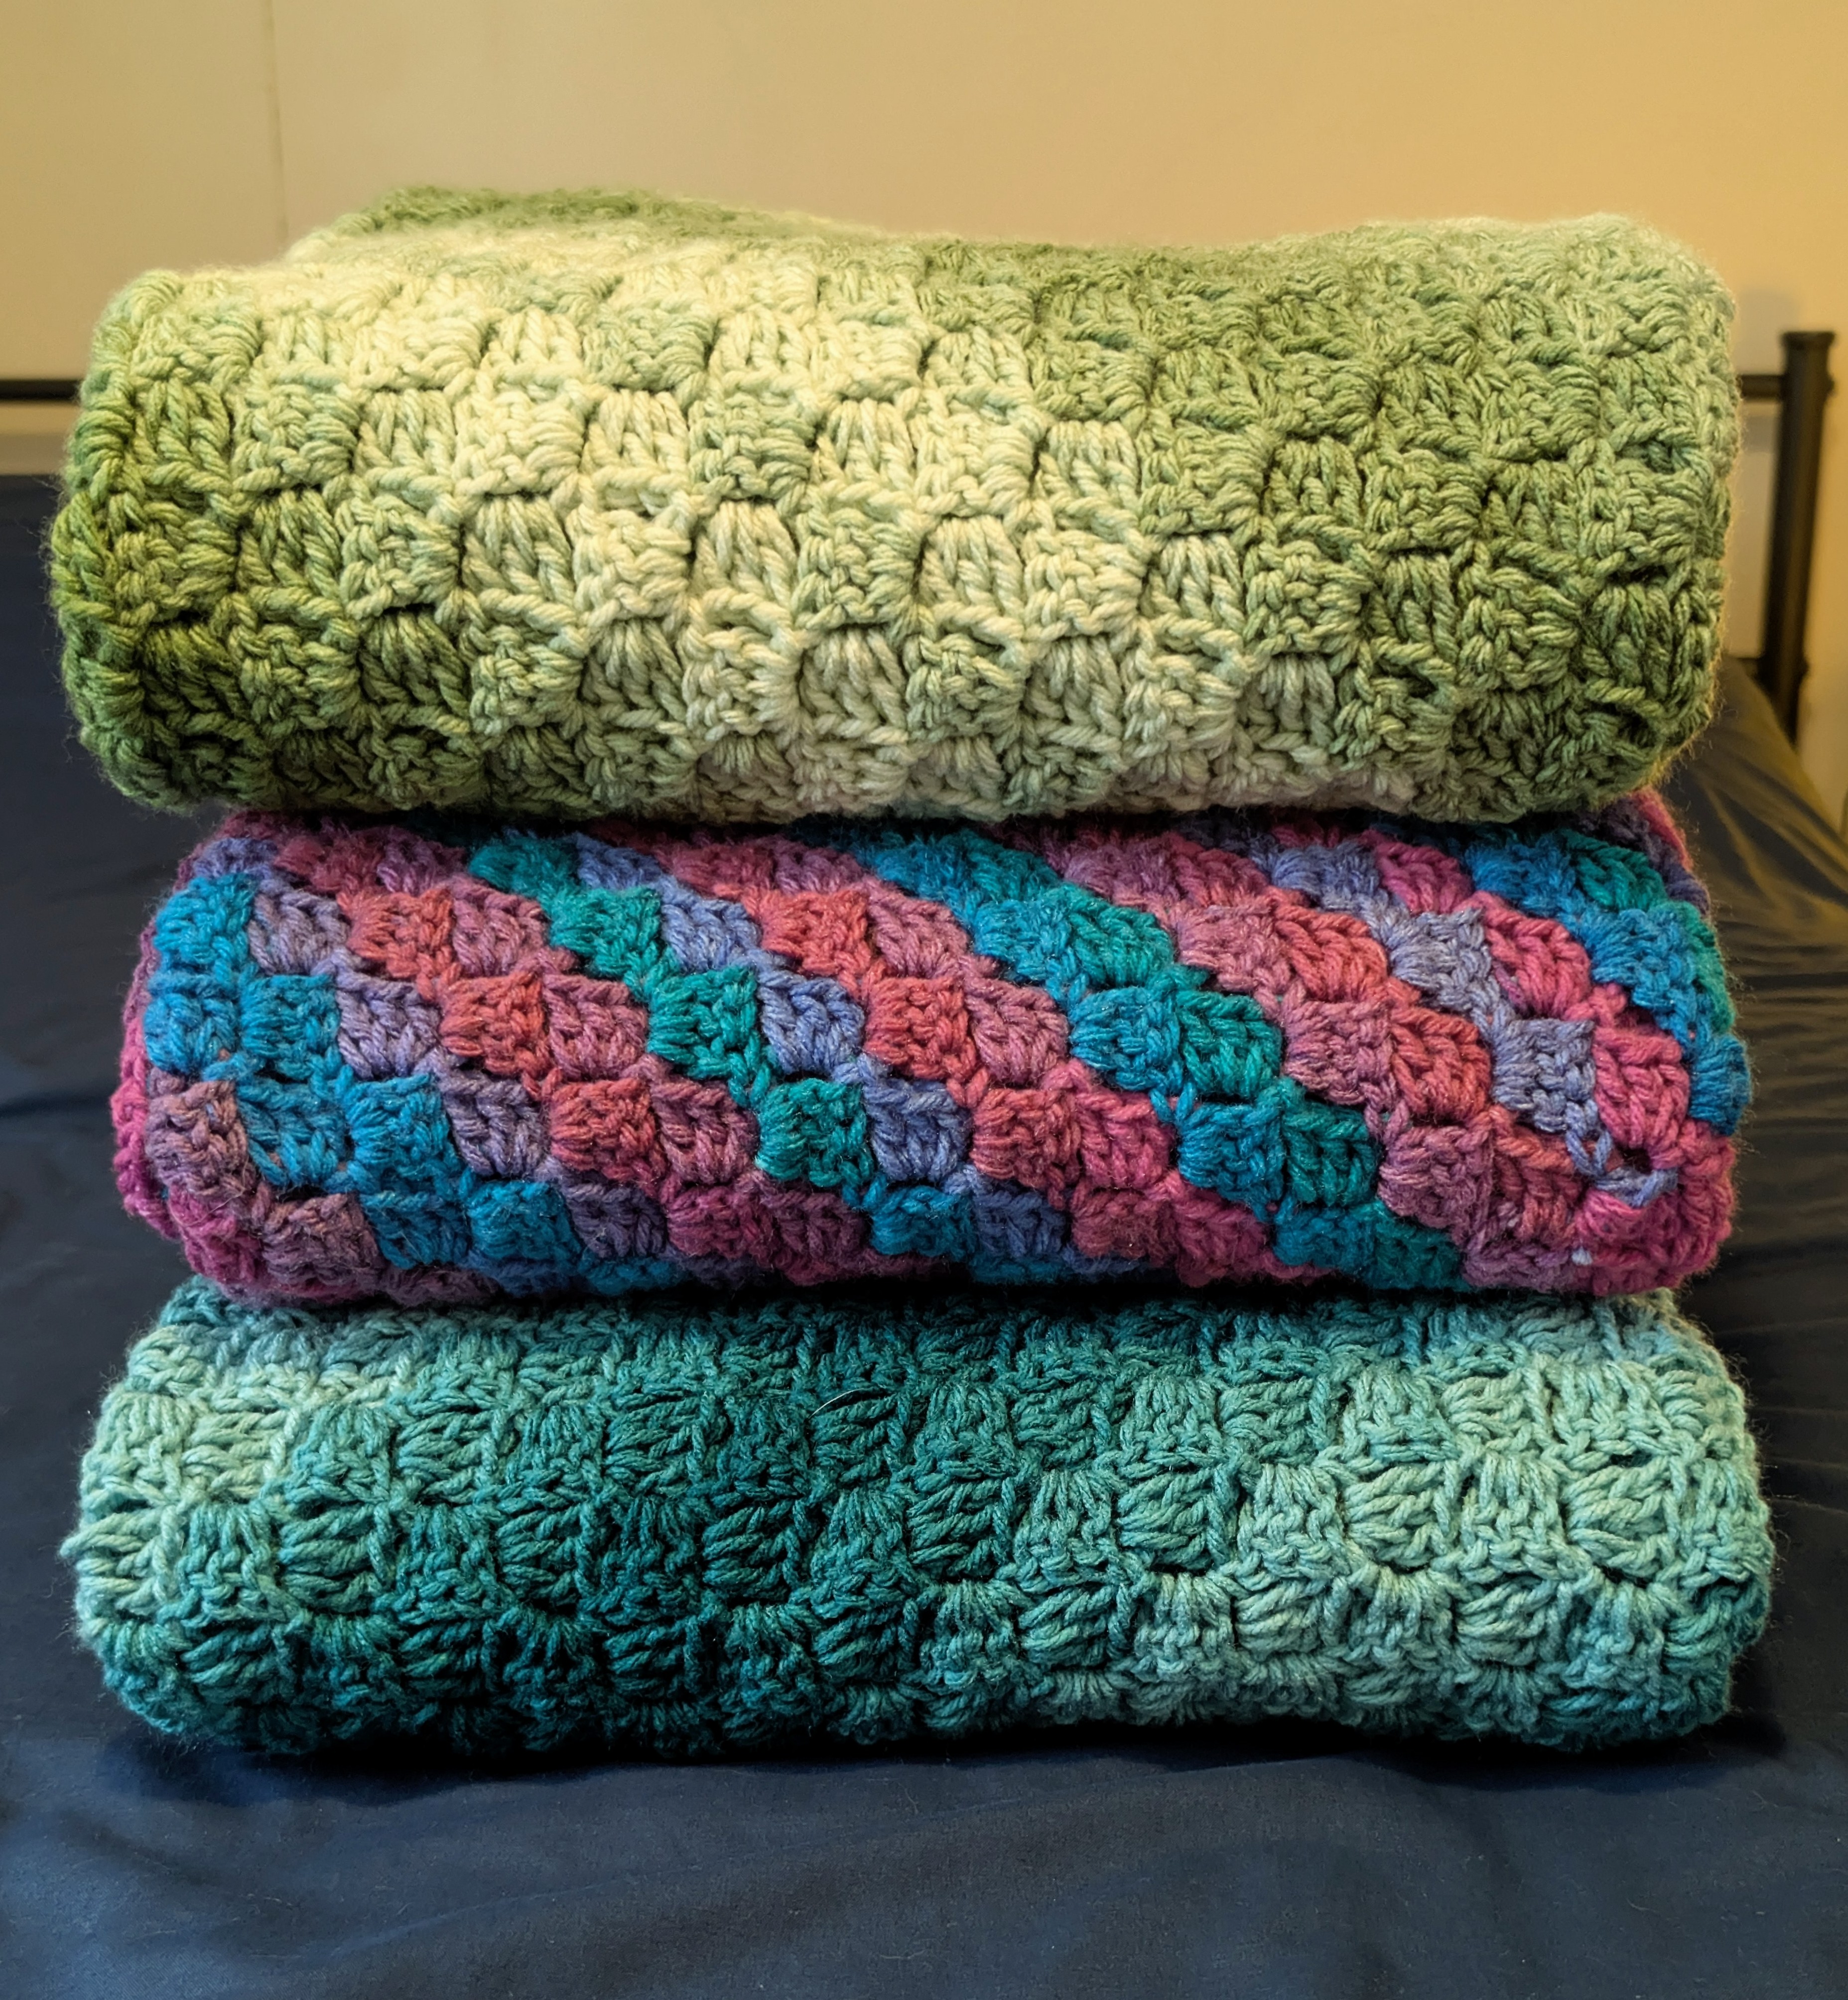
Gifting Crochet Blankets
Gifting Crochet Mushroom Keychains at Music Festivals
Crafting Over the Weekend: A Stay-Home Retreat
Happy Halloween 2024 – PLUS FREE Crochet Pattern
This helped get my cro-jo back!
FREE Written Crochet Pattern: Ghost Hat
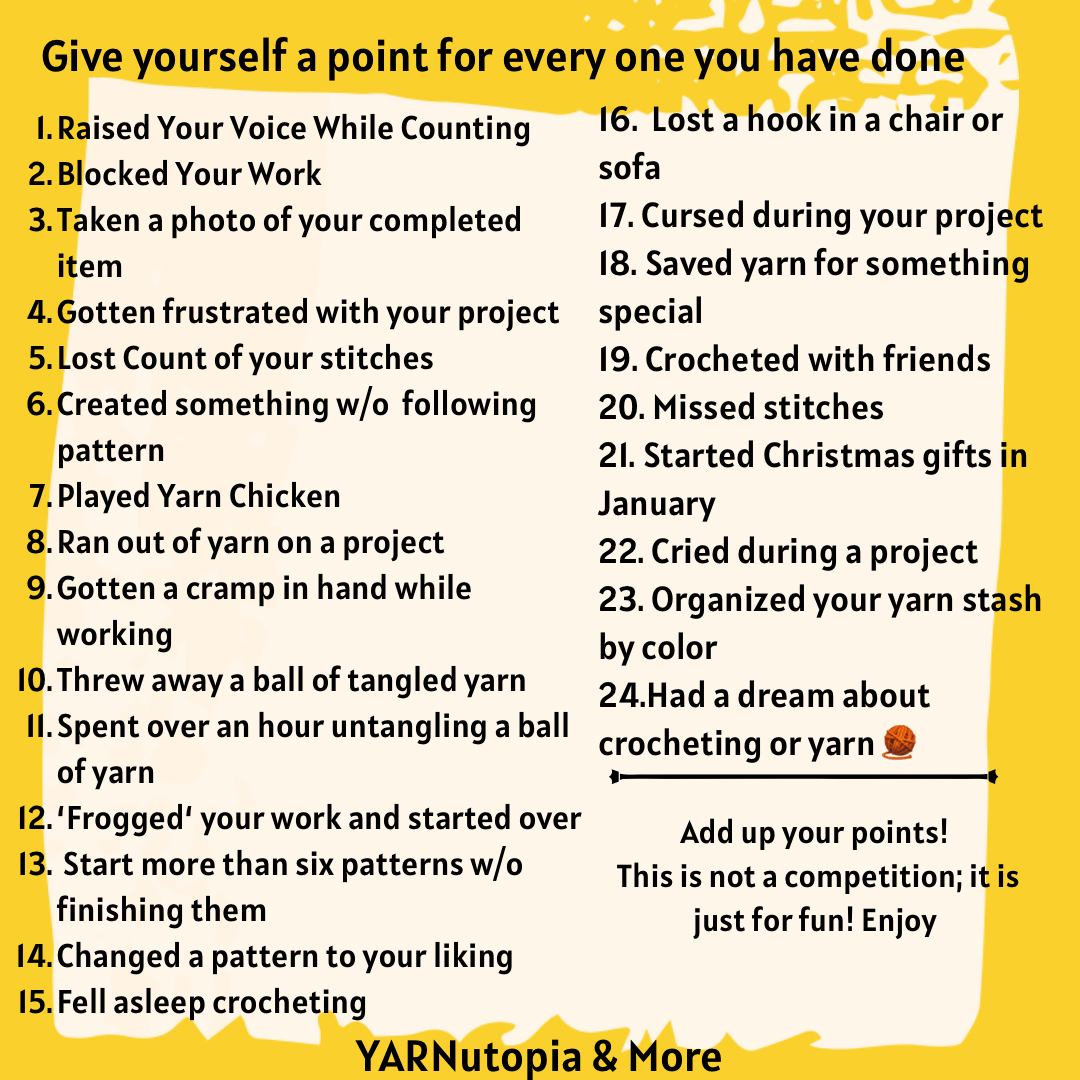
Crochet Game! Add The Points
The History of the Crochet Hook
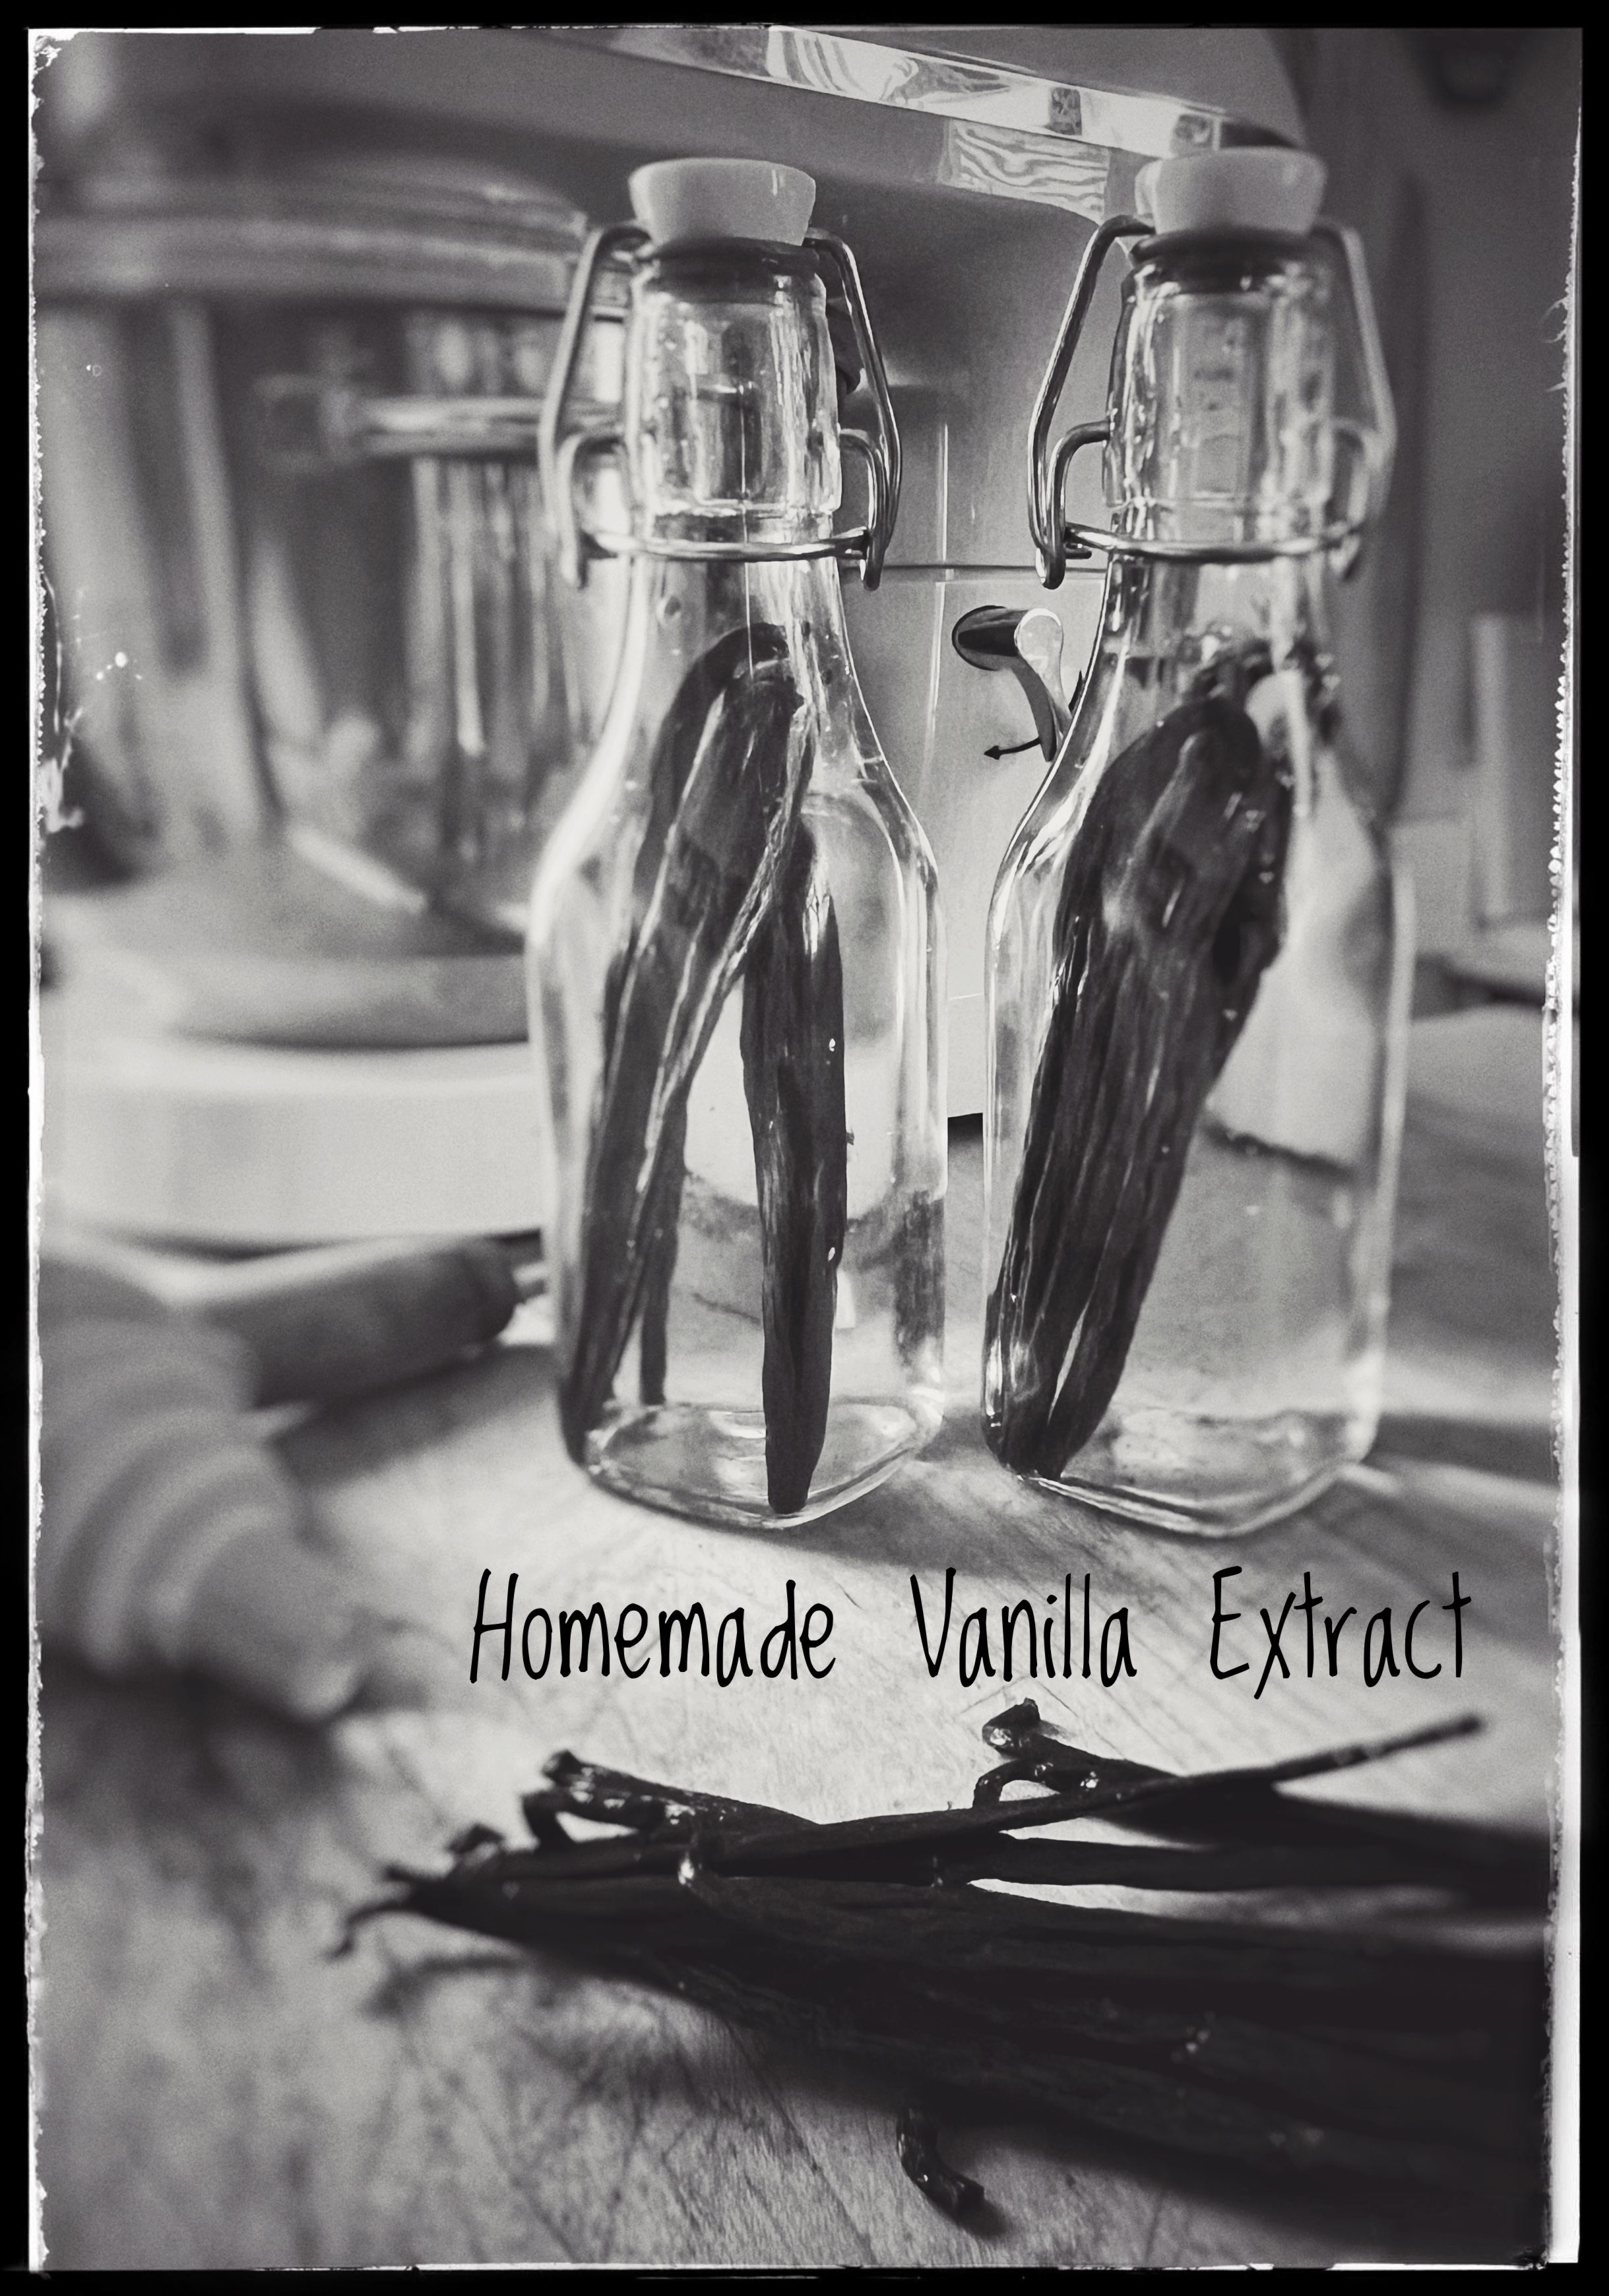
How to: Make Homemade Vanilla Extract
The Rewarding Journey of Being a Foster Parent
FREE Written Crochet Pattern: Doll Clothes
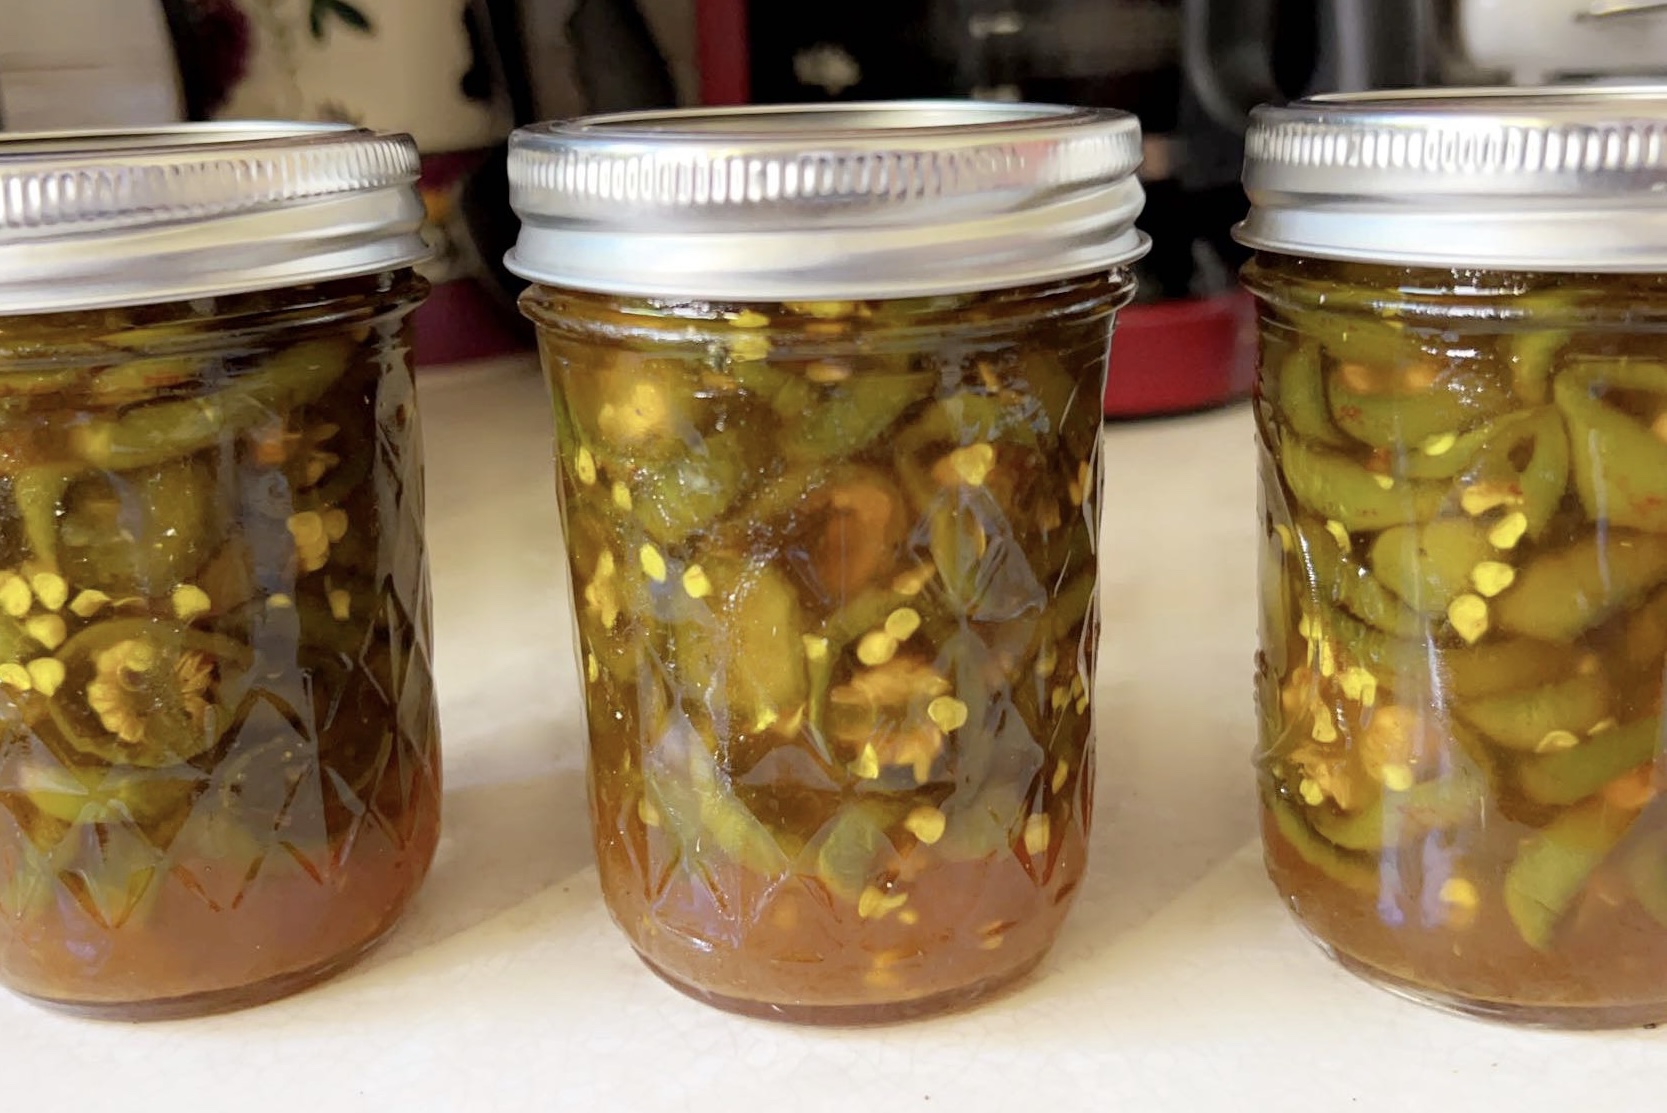
How to: Make Cowboy Candy – Candied Jalapeños
Oh My-Planta! Gnats Attacked Our Plants!
Projects to Crochet In A Hurry
FREE Crochet Video Tutorial: Beach Vibes Bucket Hat
FREE Written Crochet Pattern: Beach Vibes Bucket Hat
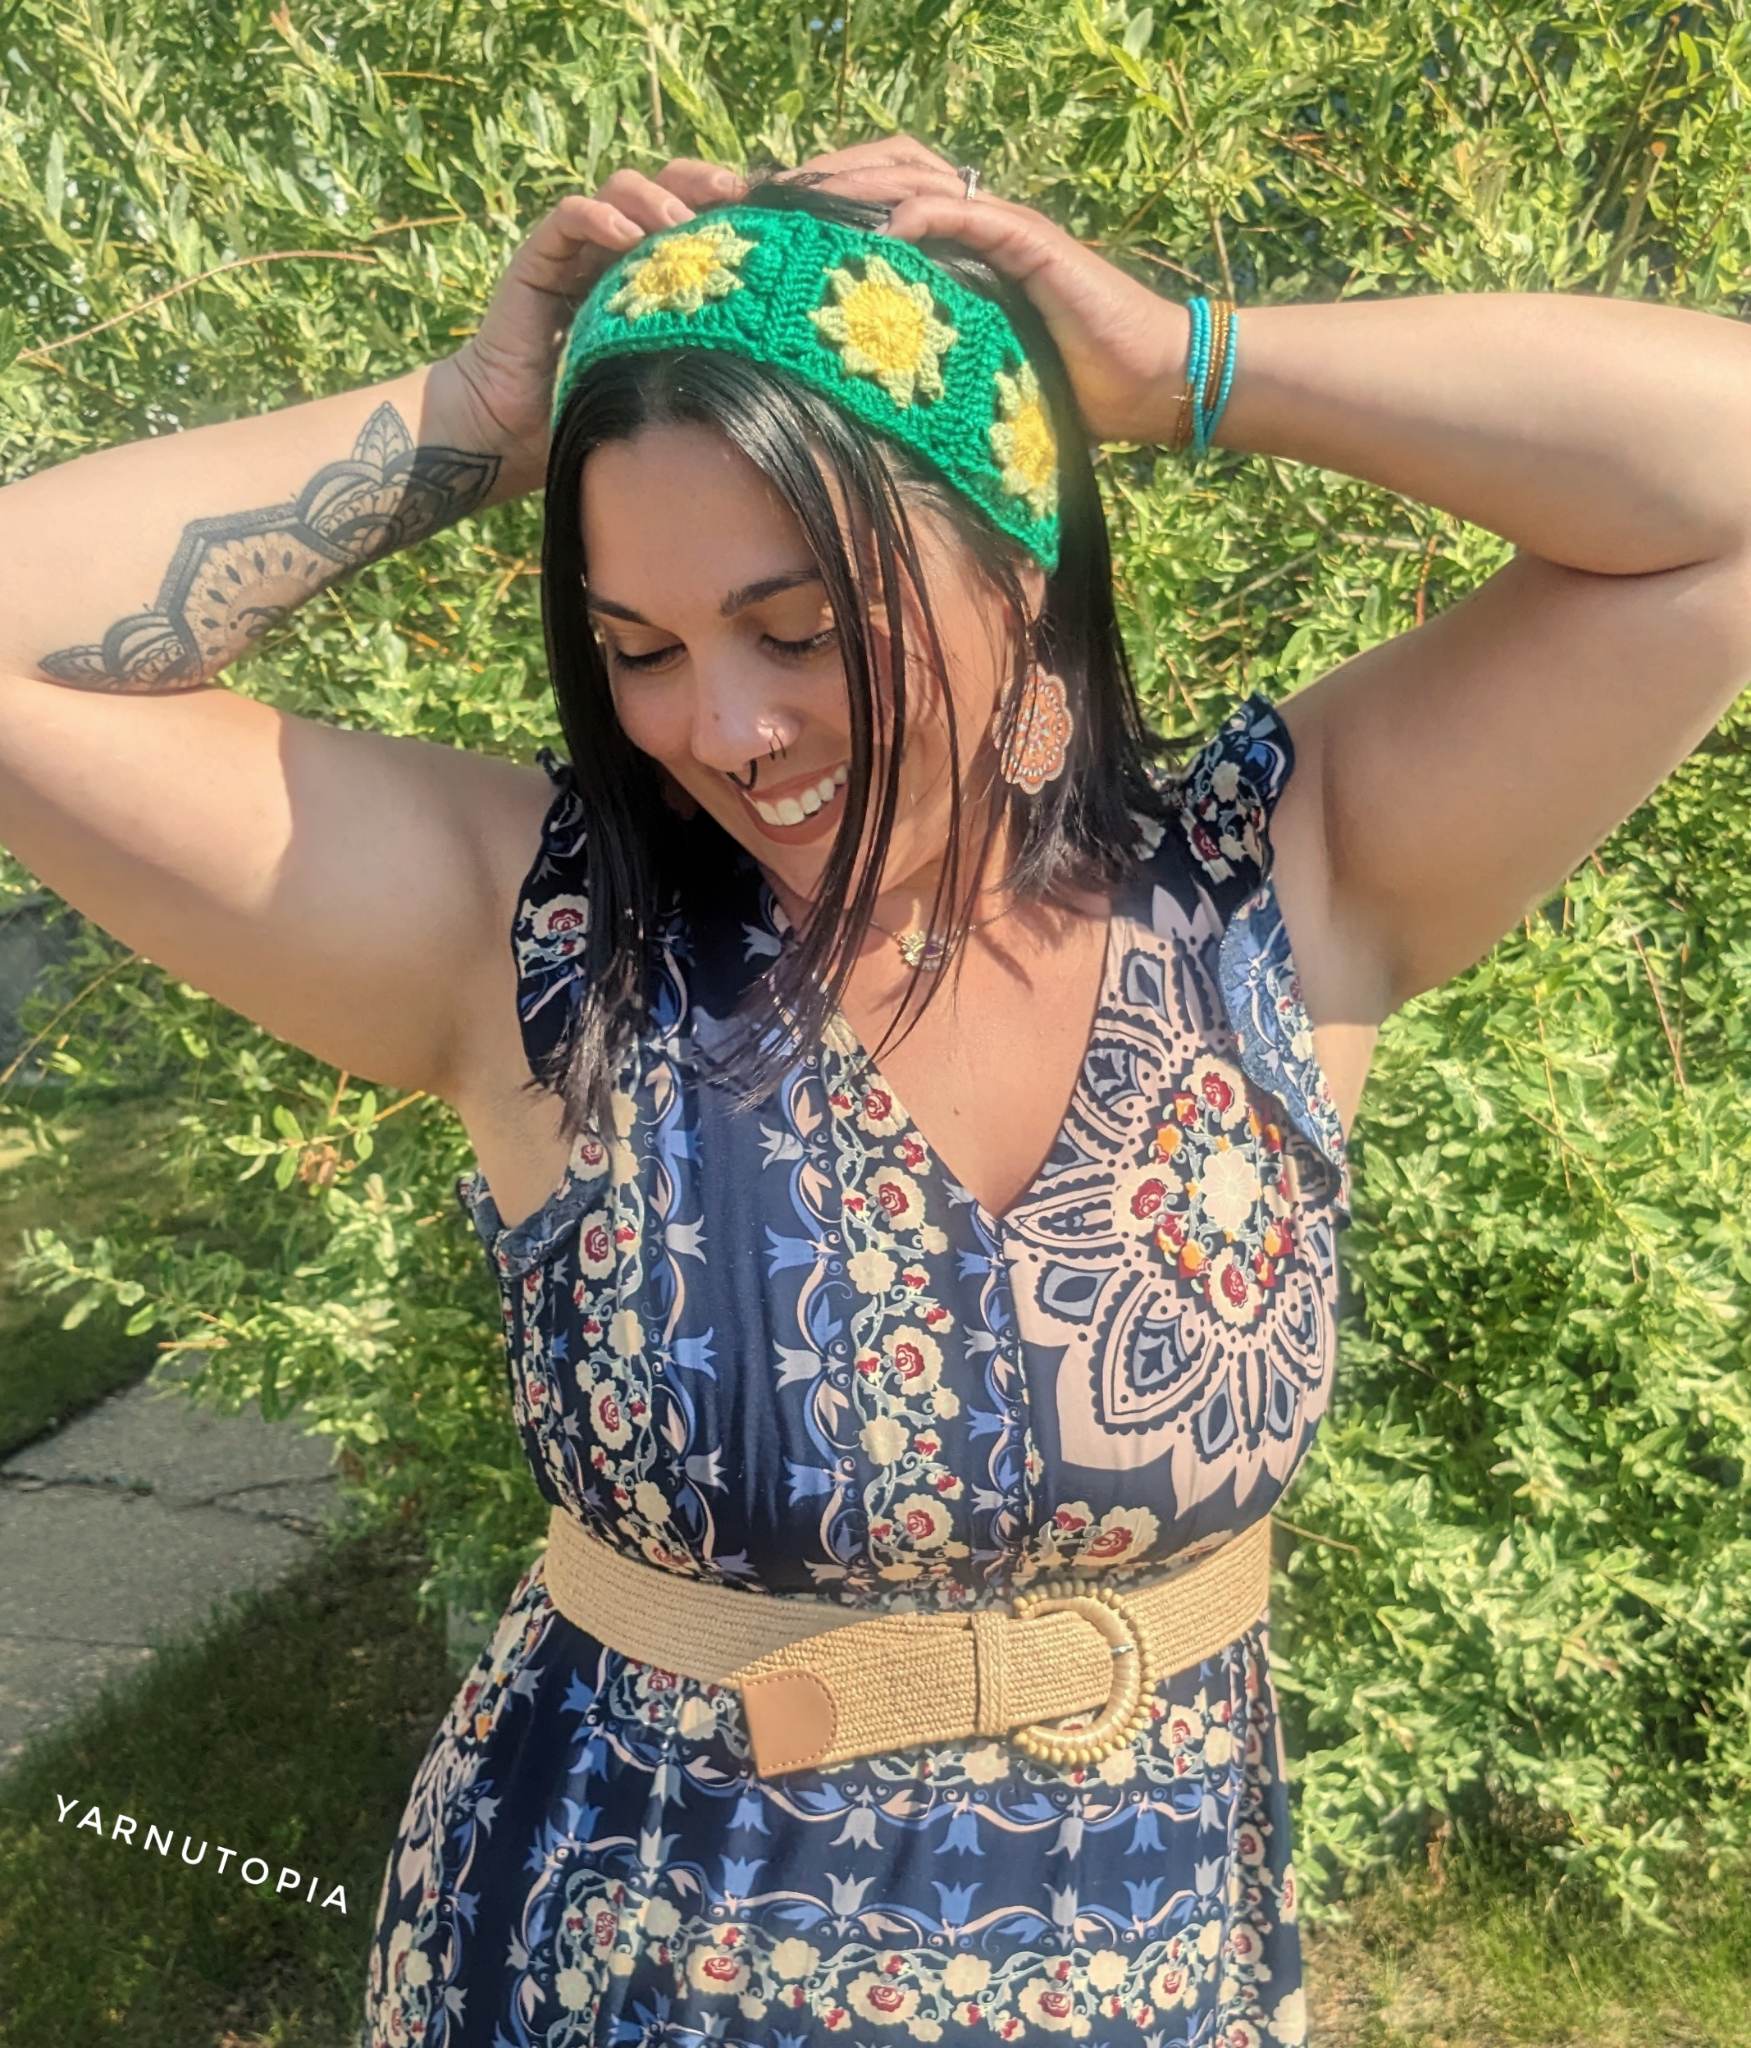
FREE Written Crochet Pattern: Starburst Garden Headband
FREE Written Crochet Pattern: Rainbow Summer Shorts
FREE Crochet Video Tutorial: Rainbow Summer Shorts
FREE Written Crochet Pattern: Off to the Market Bag
FREE Written Crochet Pattern: Hanging Planter Basket
How to Make: Pretzel Bites
FREE Crochet Video Tutorial: Seat Belt Shoulder Strap Cover
FREE Written Crochet Pattern: Seat Belt Shoulder Strap Cover
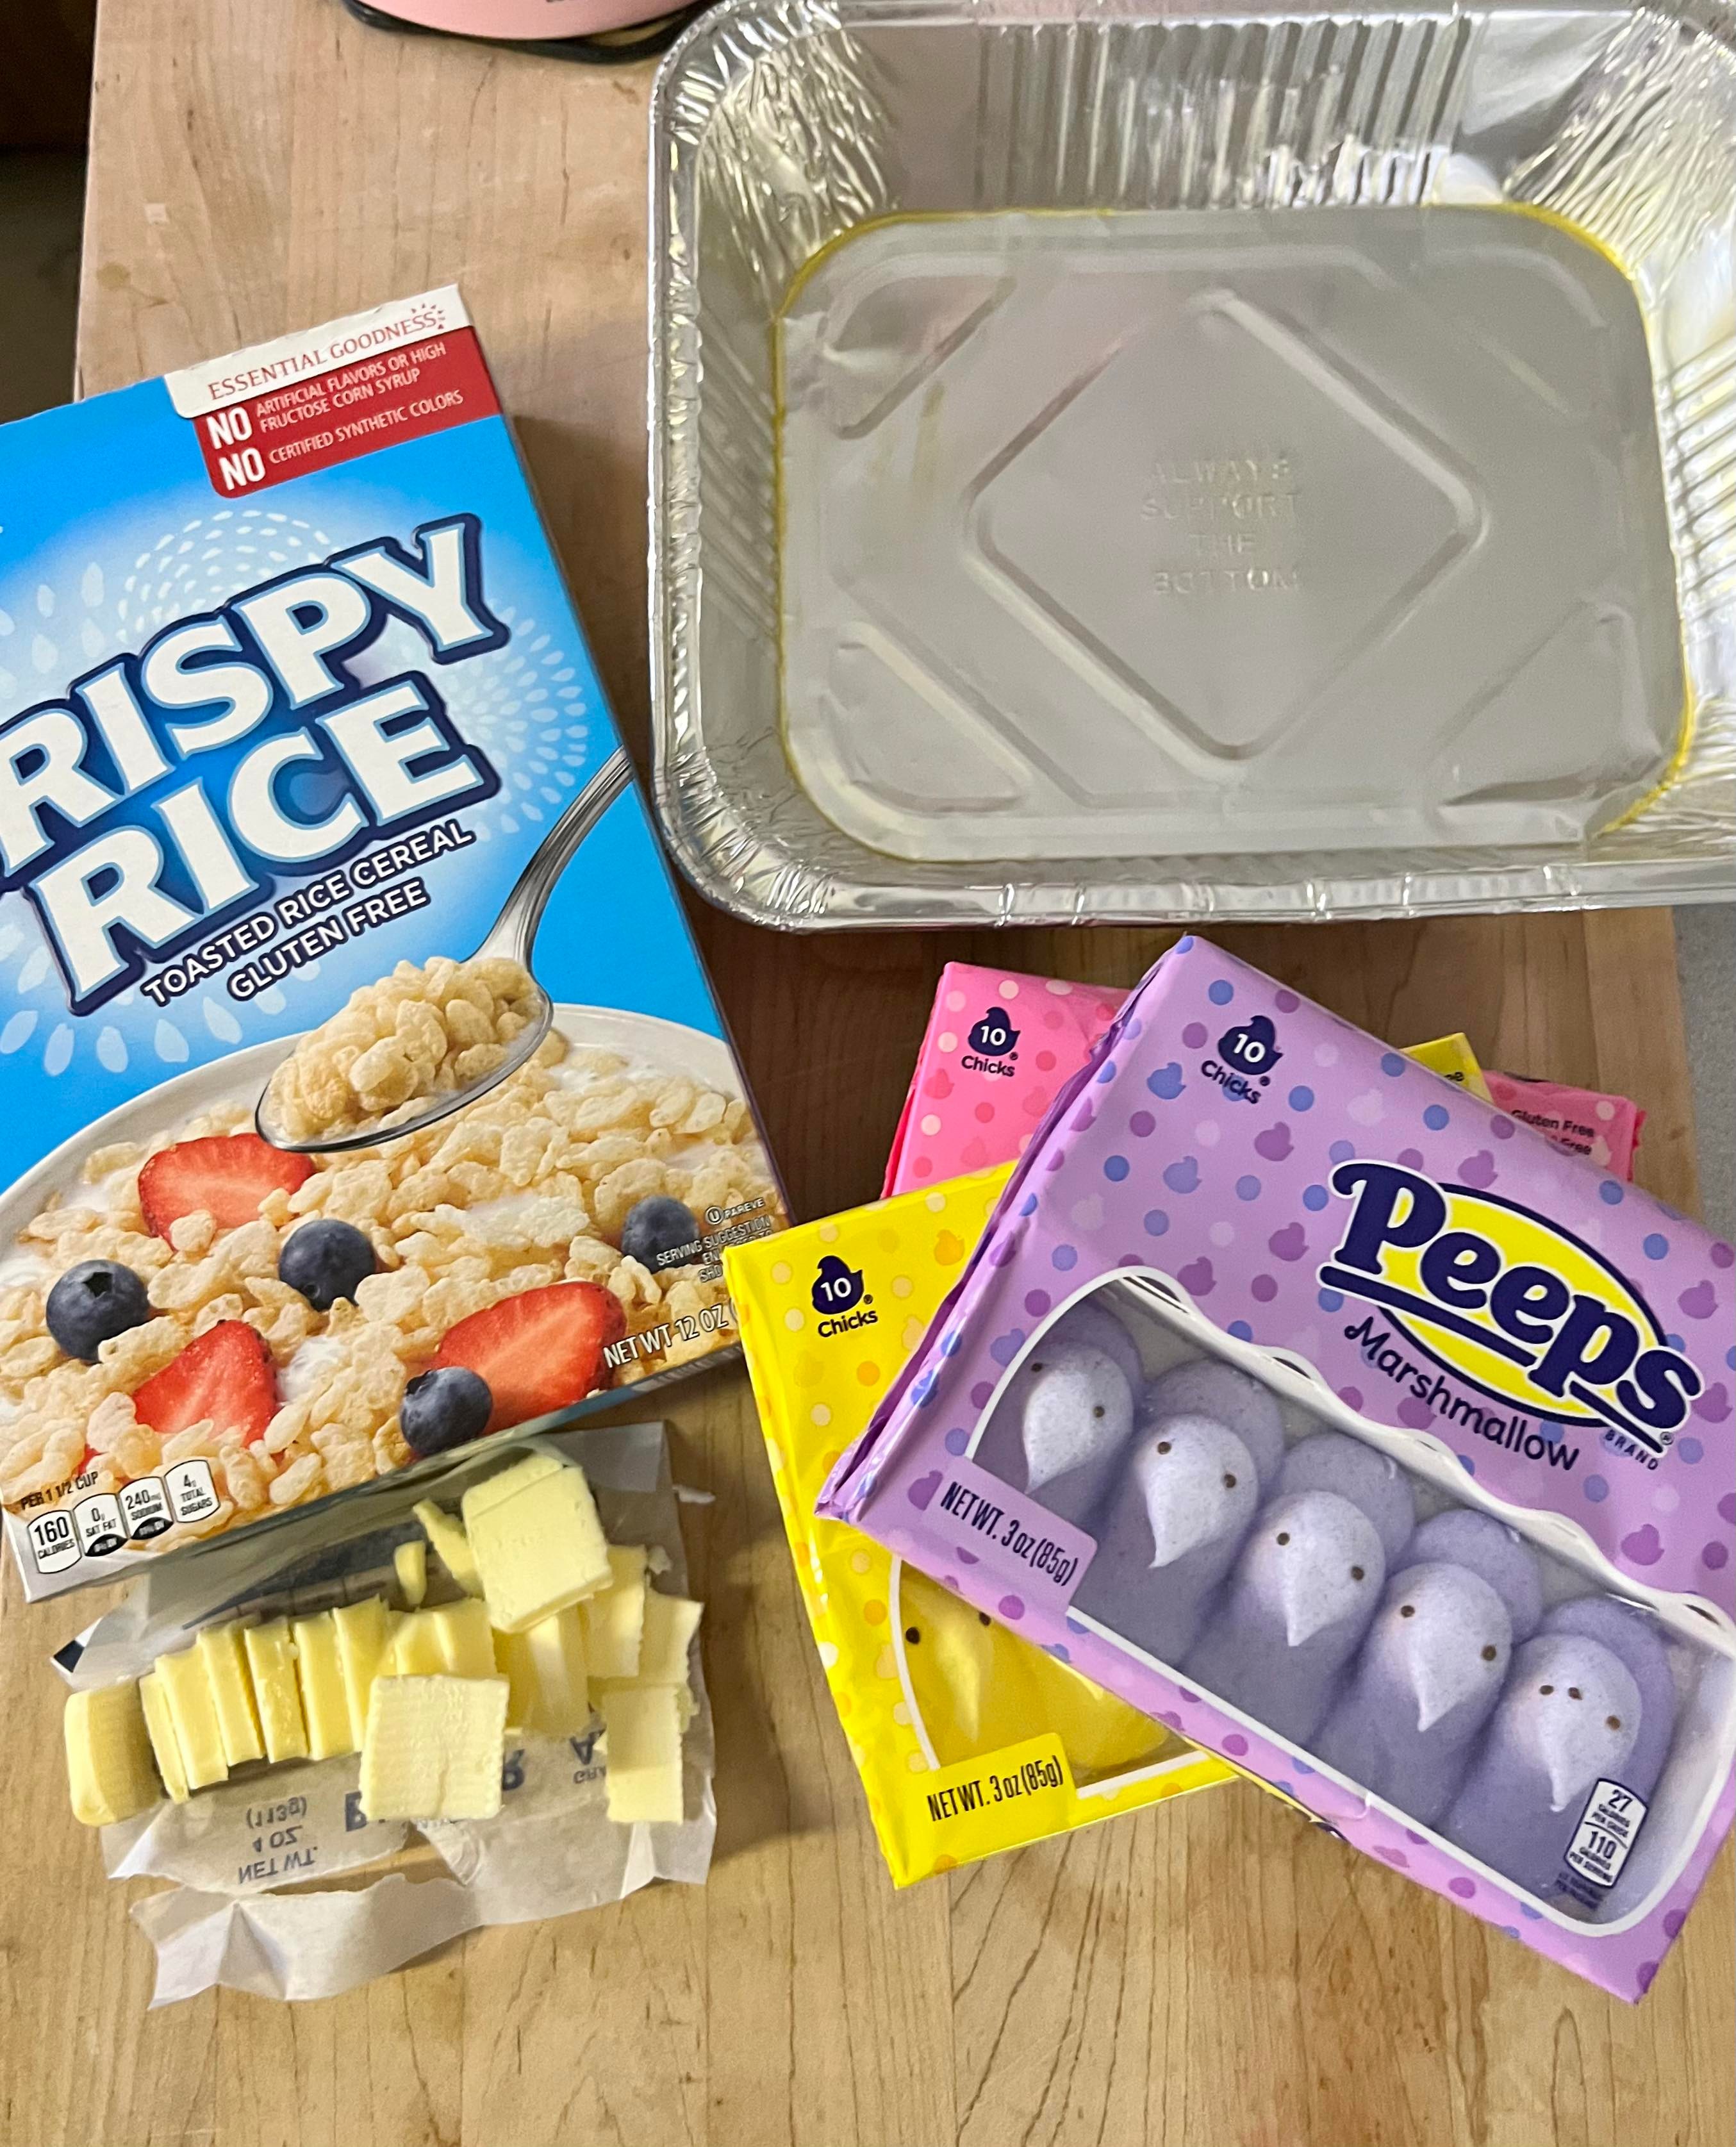
How to Make: Rice Crispy Peep Treats
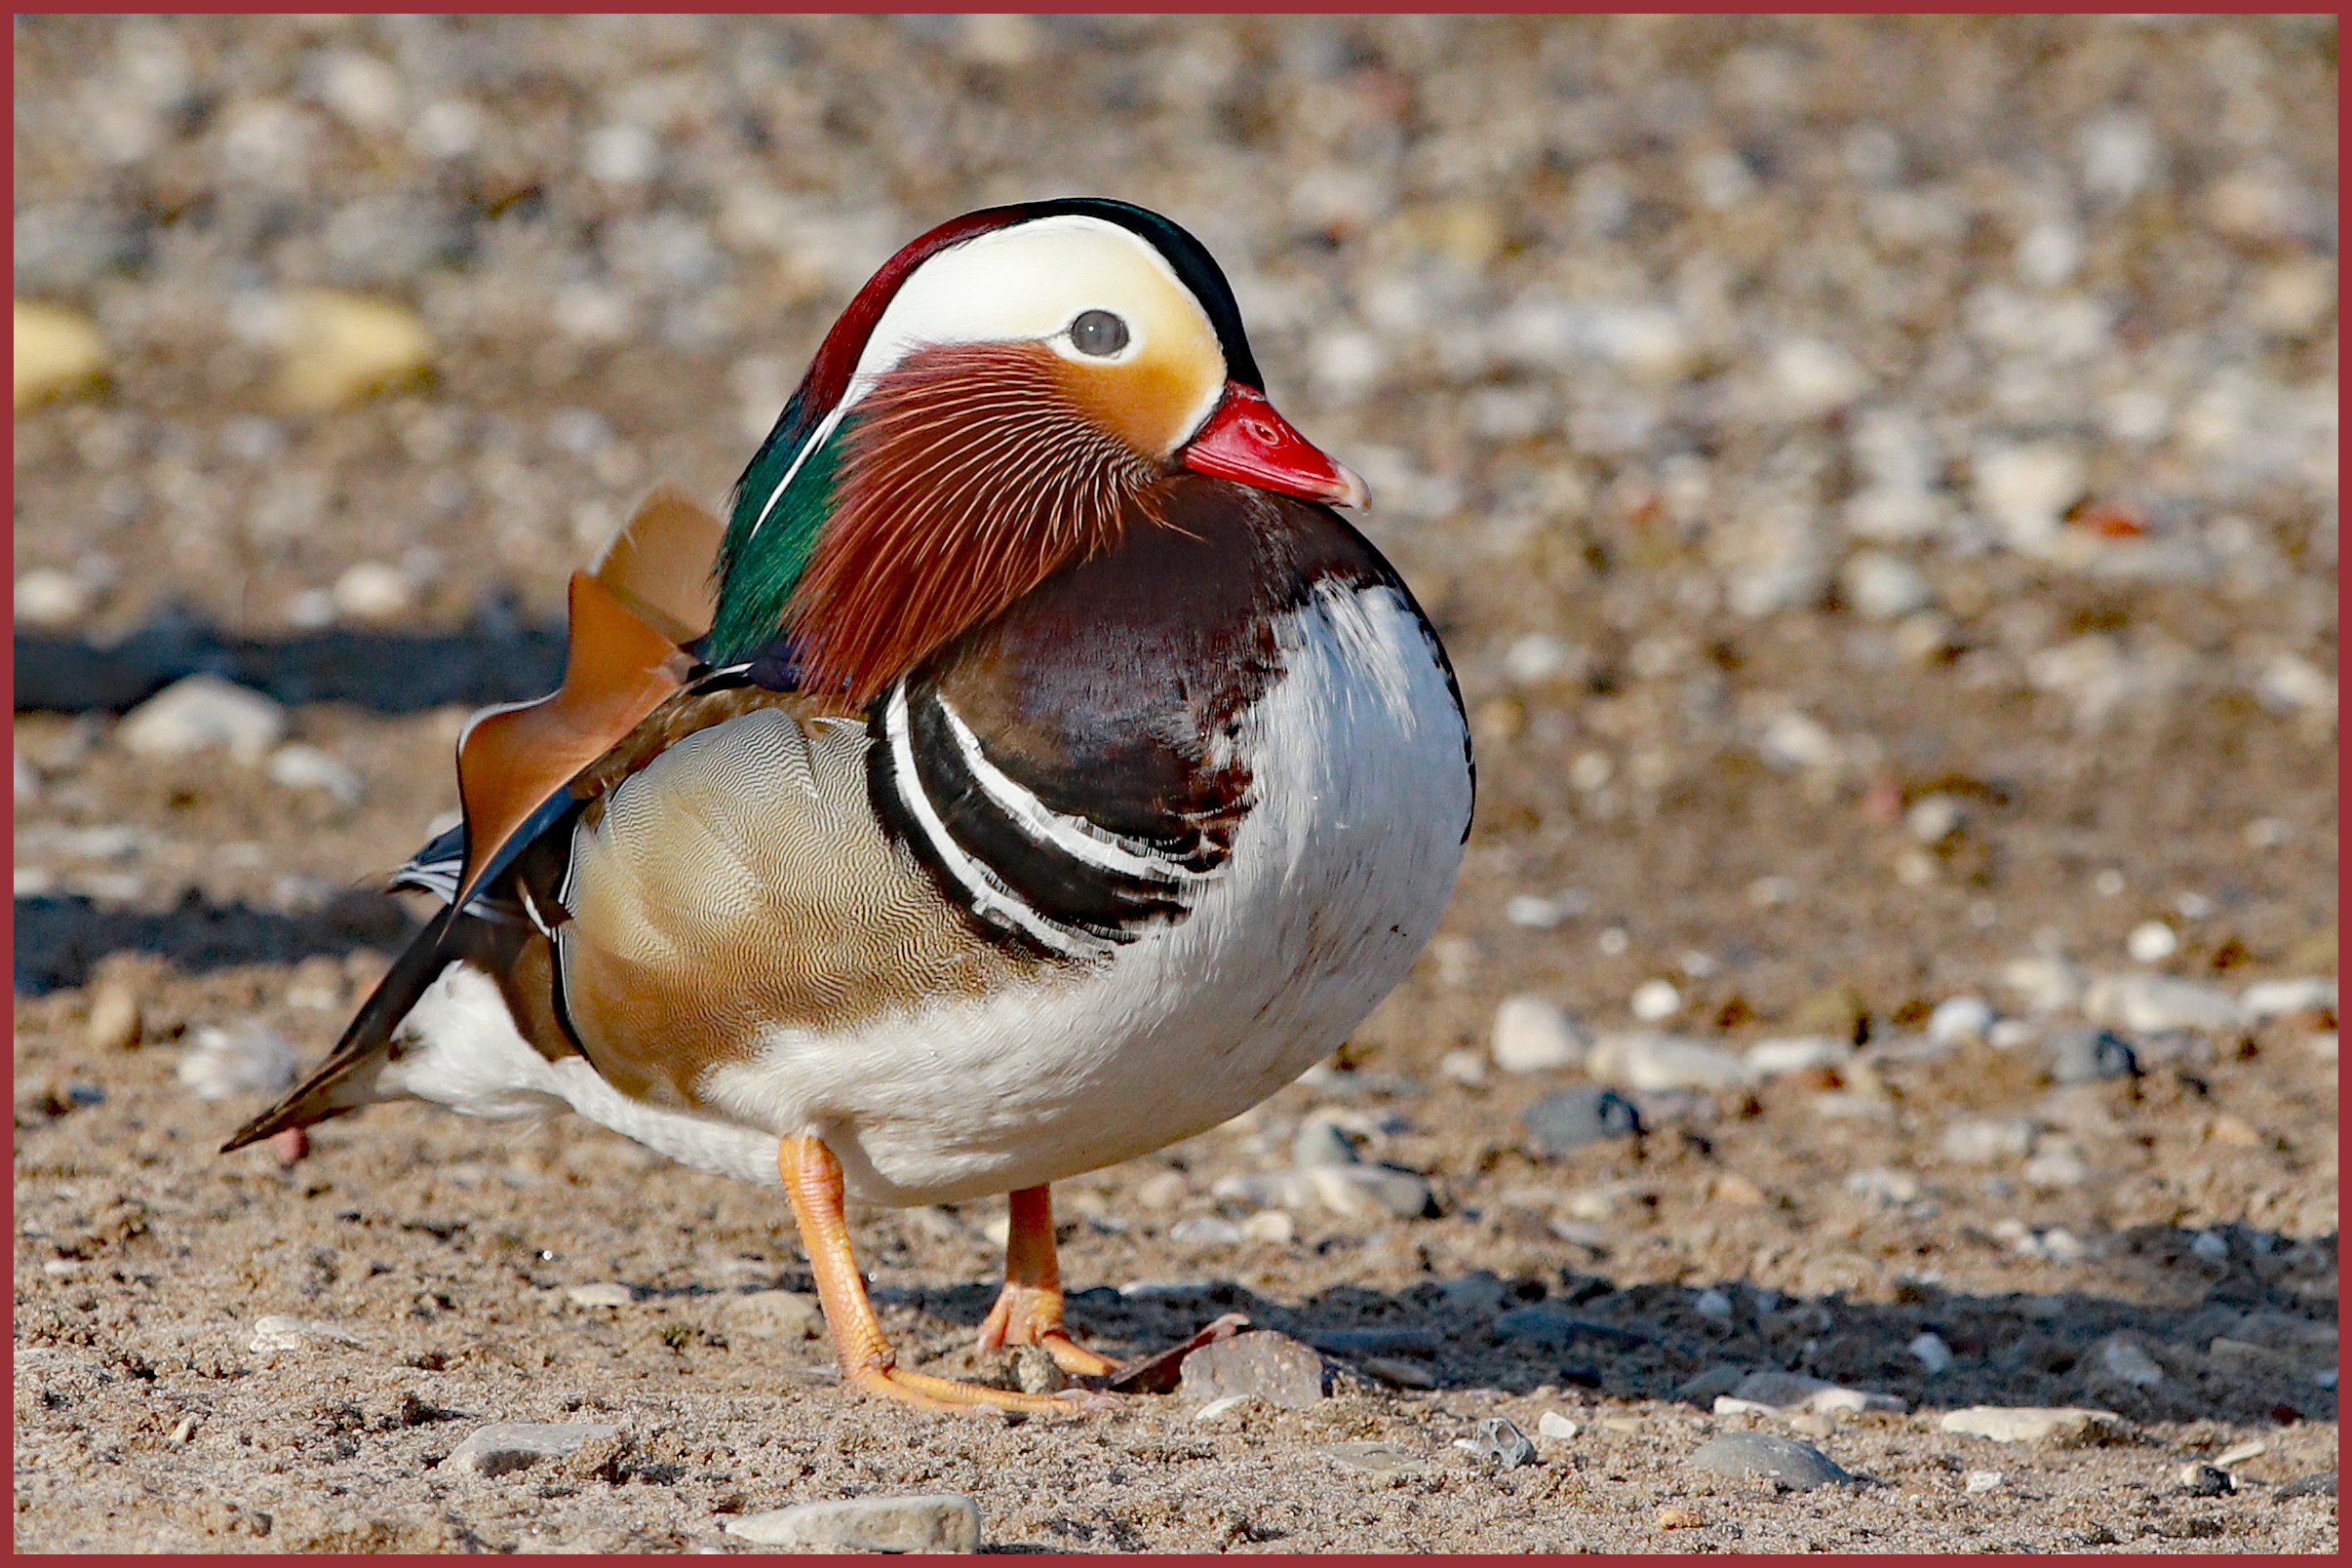
Mandarin Duck Sighting on Milwaukee Lakeshore, WI
How to: Cook Crockpot Creamy Chicken Spaghetti
FREE Written Crochet Pattern: Winter Fur Snood
FREE Crochet Video Tutorial: Winter Fur Snood
How to make: 4-ingredient no-knead artisan bread in cast iron Dutch oven
FREE Crochet Video Tutorial: Evergreen Ski Hat
FREE Written Crochet Pattern: Evergreen Ski Hat
FREE Crochet Video Tutorial: Cuddle Up Baby Blanket
FREE Written Crochet Pattern: Cuddle Up Baby Blanket
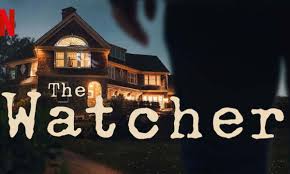
What did I just watch?
Asking a Favor!
Happy Halloween 2022 from YARNutopia!
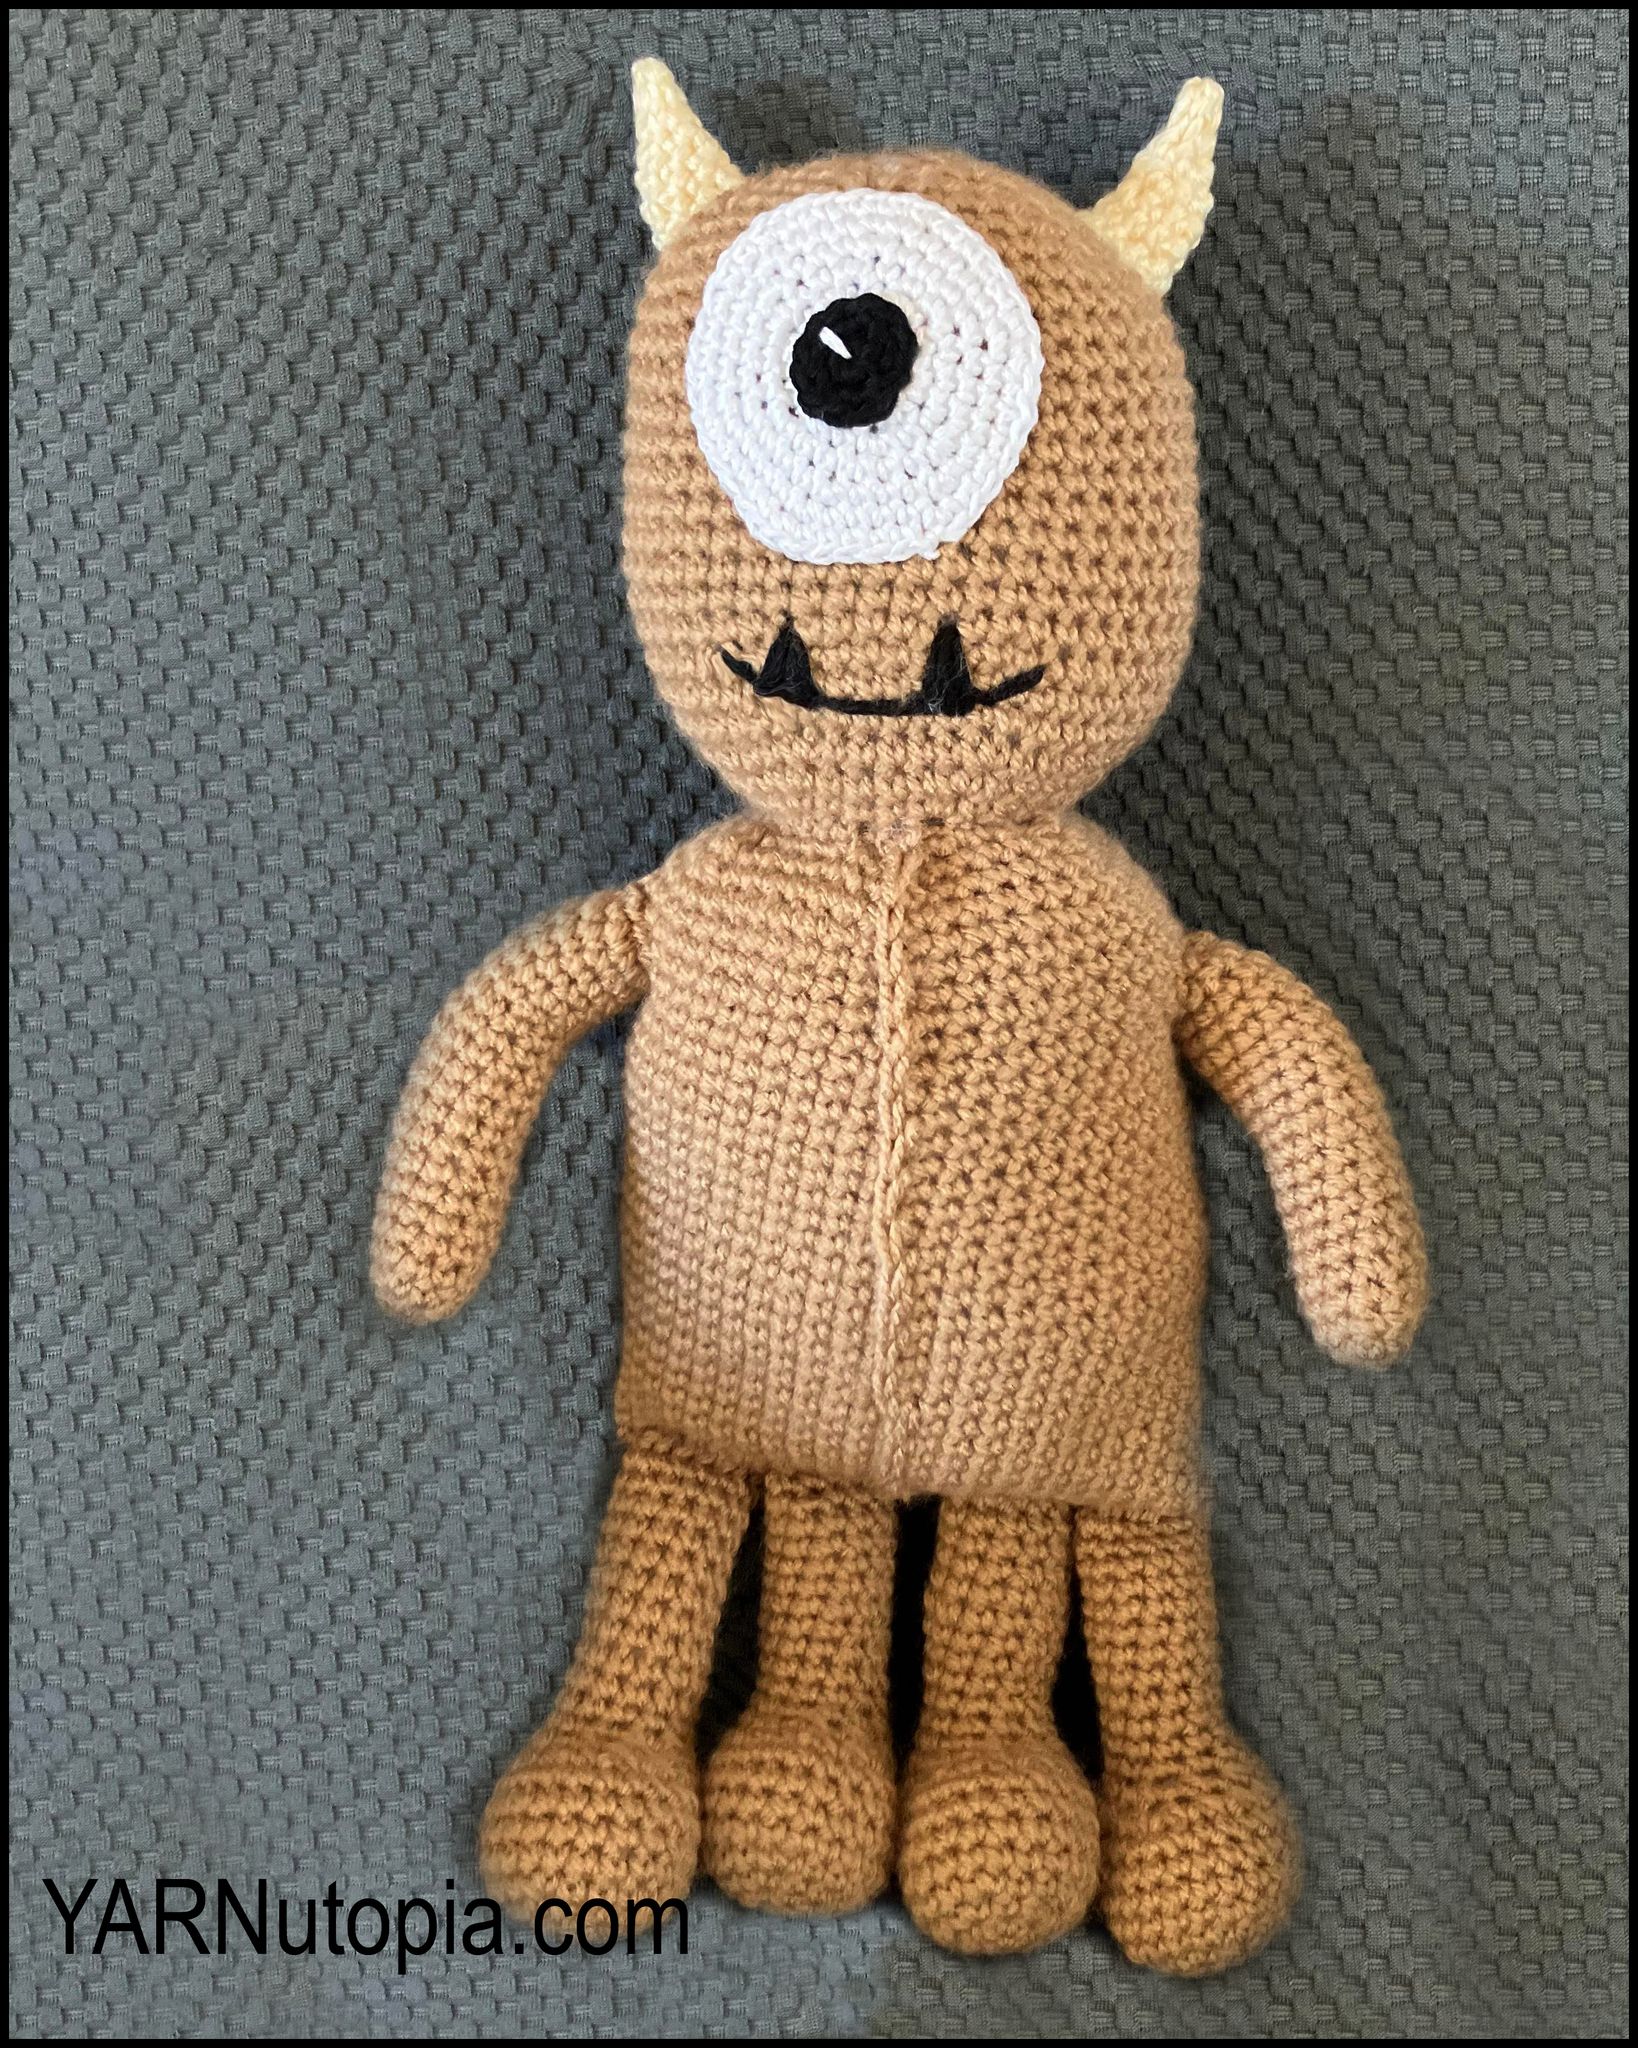
FREE Written Crochet Pattern: Monster/Alien Stuffed Toy Amigurumi
FREE Written Crochet Pattern: Toddler Monster Costume
FREE Written Crochet Pattern: Fuzzy Monster Hat with Horns
How to: Create Decor Using Mod Podge
How To Bake Zucchini Banana Bread
Our Introduction!
Taking A New Direction
1
2
3
…
14
Next Page
Loading Comments...
Write a Comment...
Email (Required)
Name (Required)
Website