Skip to content
YARNutopia & M0re
All things Yarn Related: Crochet, DIY, and Crafts
Blog
365 Days of Granny Squares
Stitch Gallery & Glossary
Crochet Video Tutorials
Frequently Asked Questions
Crochet Glossary: Learn the Lingo
Contact
Search
Search
Video Tutorial
YARNutoia & More
FREE Crochet Video Tutorial: Beach Vibes Bucket Hat
FREE Written Crochet Pattern: Rainbow Summer Shorts
FREE Crochet Video Tutorial: Rainbow Summer Shorts
How to Make: Pretzel Bites
How to make: 4-ingredient no-knead artisan bread in cast iron Dutch oven
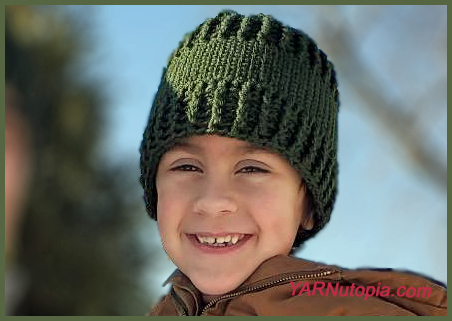
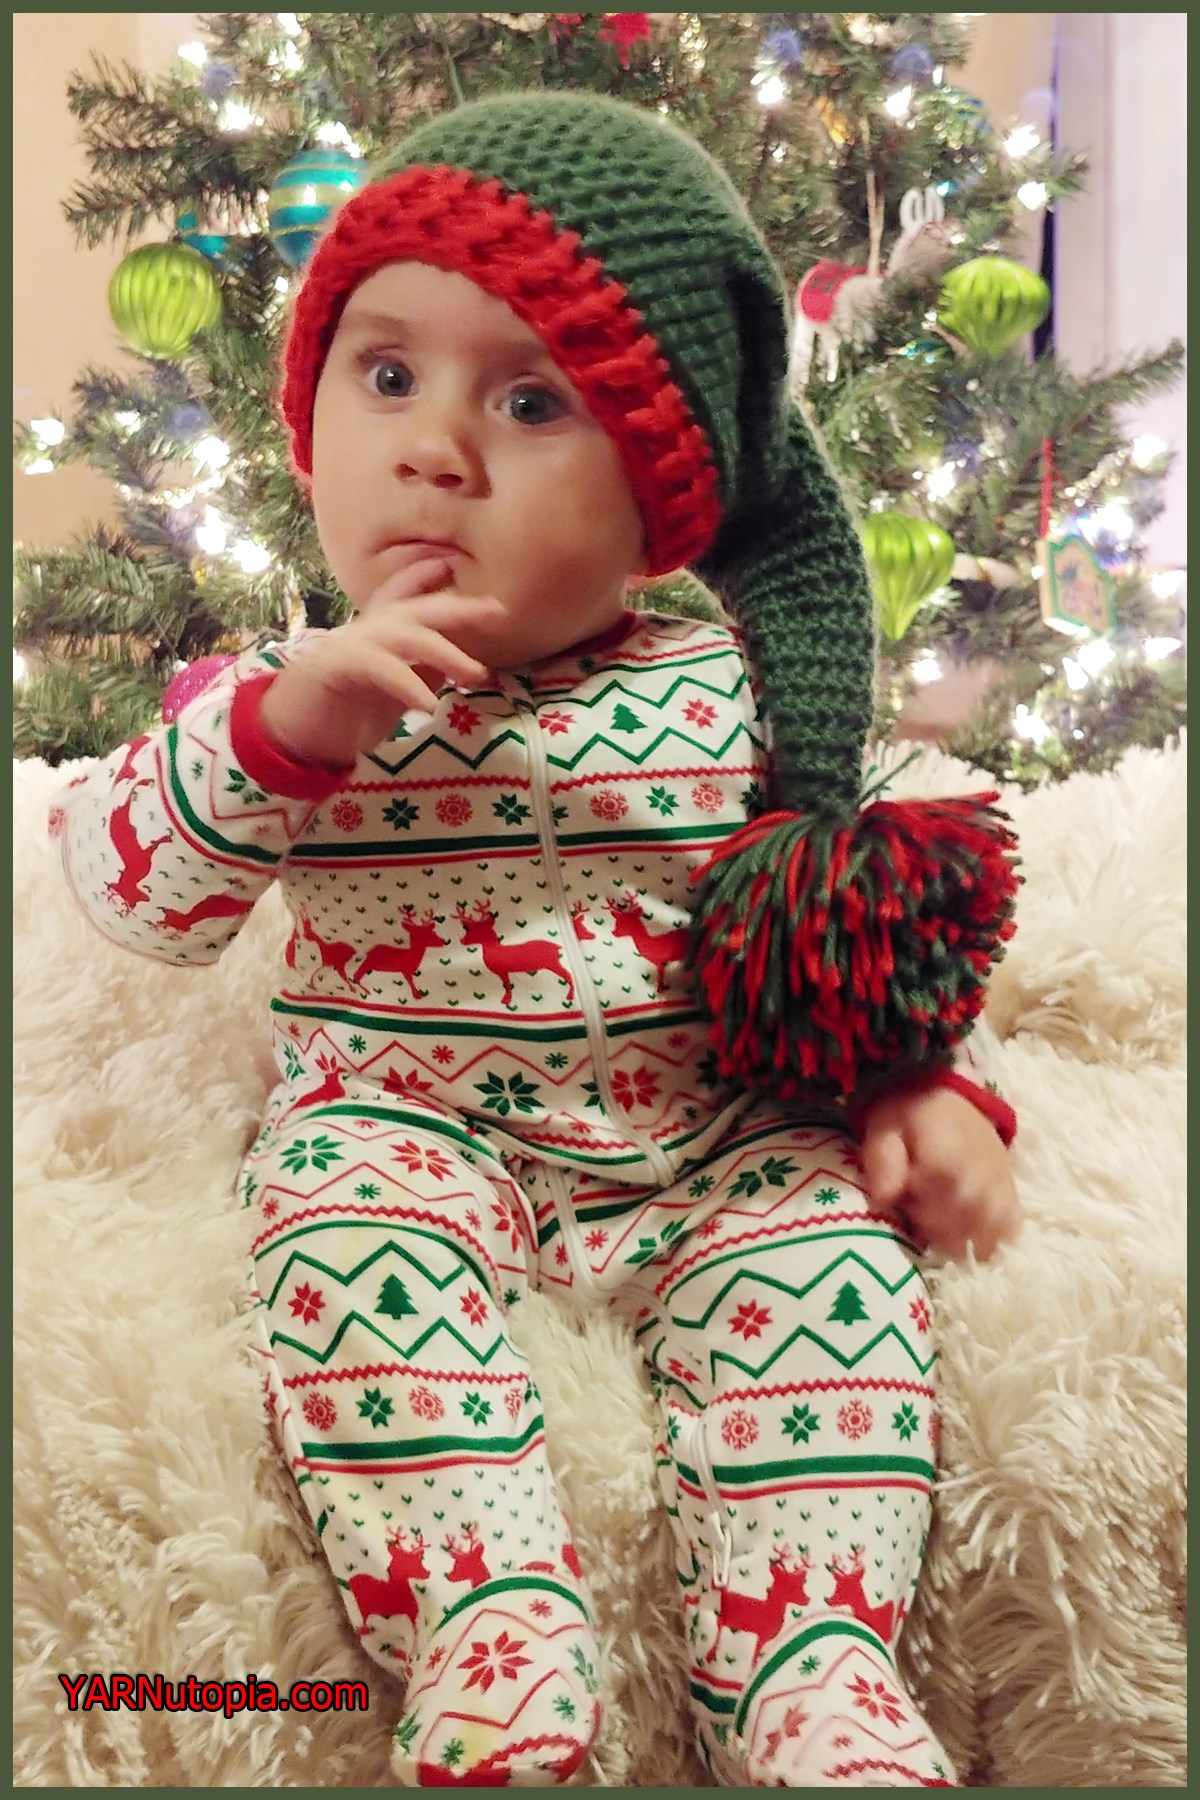
FREE Crochet Video Tutorial: Evergreen Ski Hat
FREE Crochet Video Tutorial: Cuddle Up Baby Blanket
FREE Crochet Video Tutorial: Summer Mini Tote
FREE Crochet Video Tutorial: Catchin’ Waves Crop Top
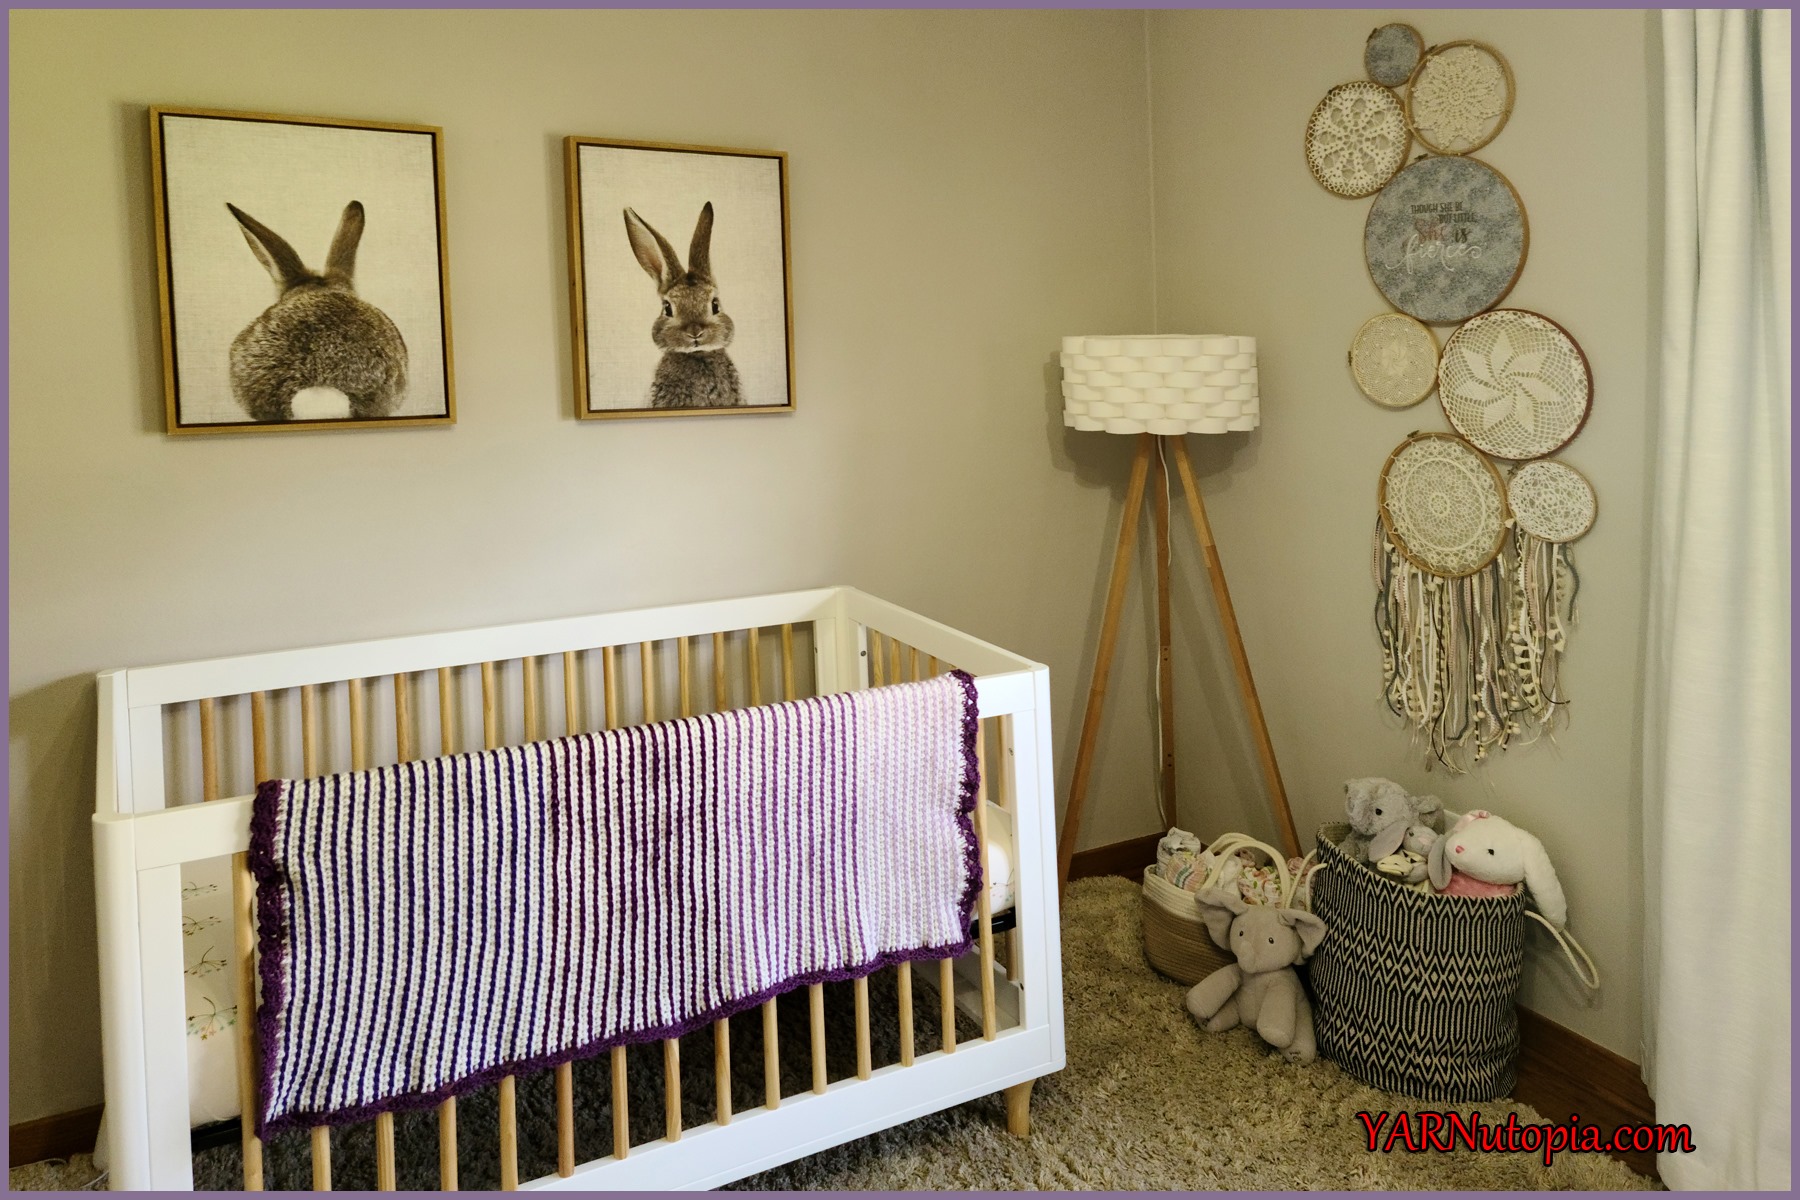
FREE Written Crochet Pattern: Snuggle Me Up Baby Blanket
FREE Crochet Video Tutorial: Snuggle Me Up Baby Blanket
FREE Crochet Video Tutorial: Day & Night Mesh Sweater
FREE Crochet Video Tutorial: Painted Gray Scarf
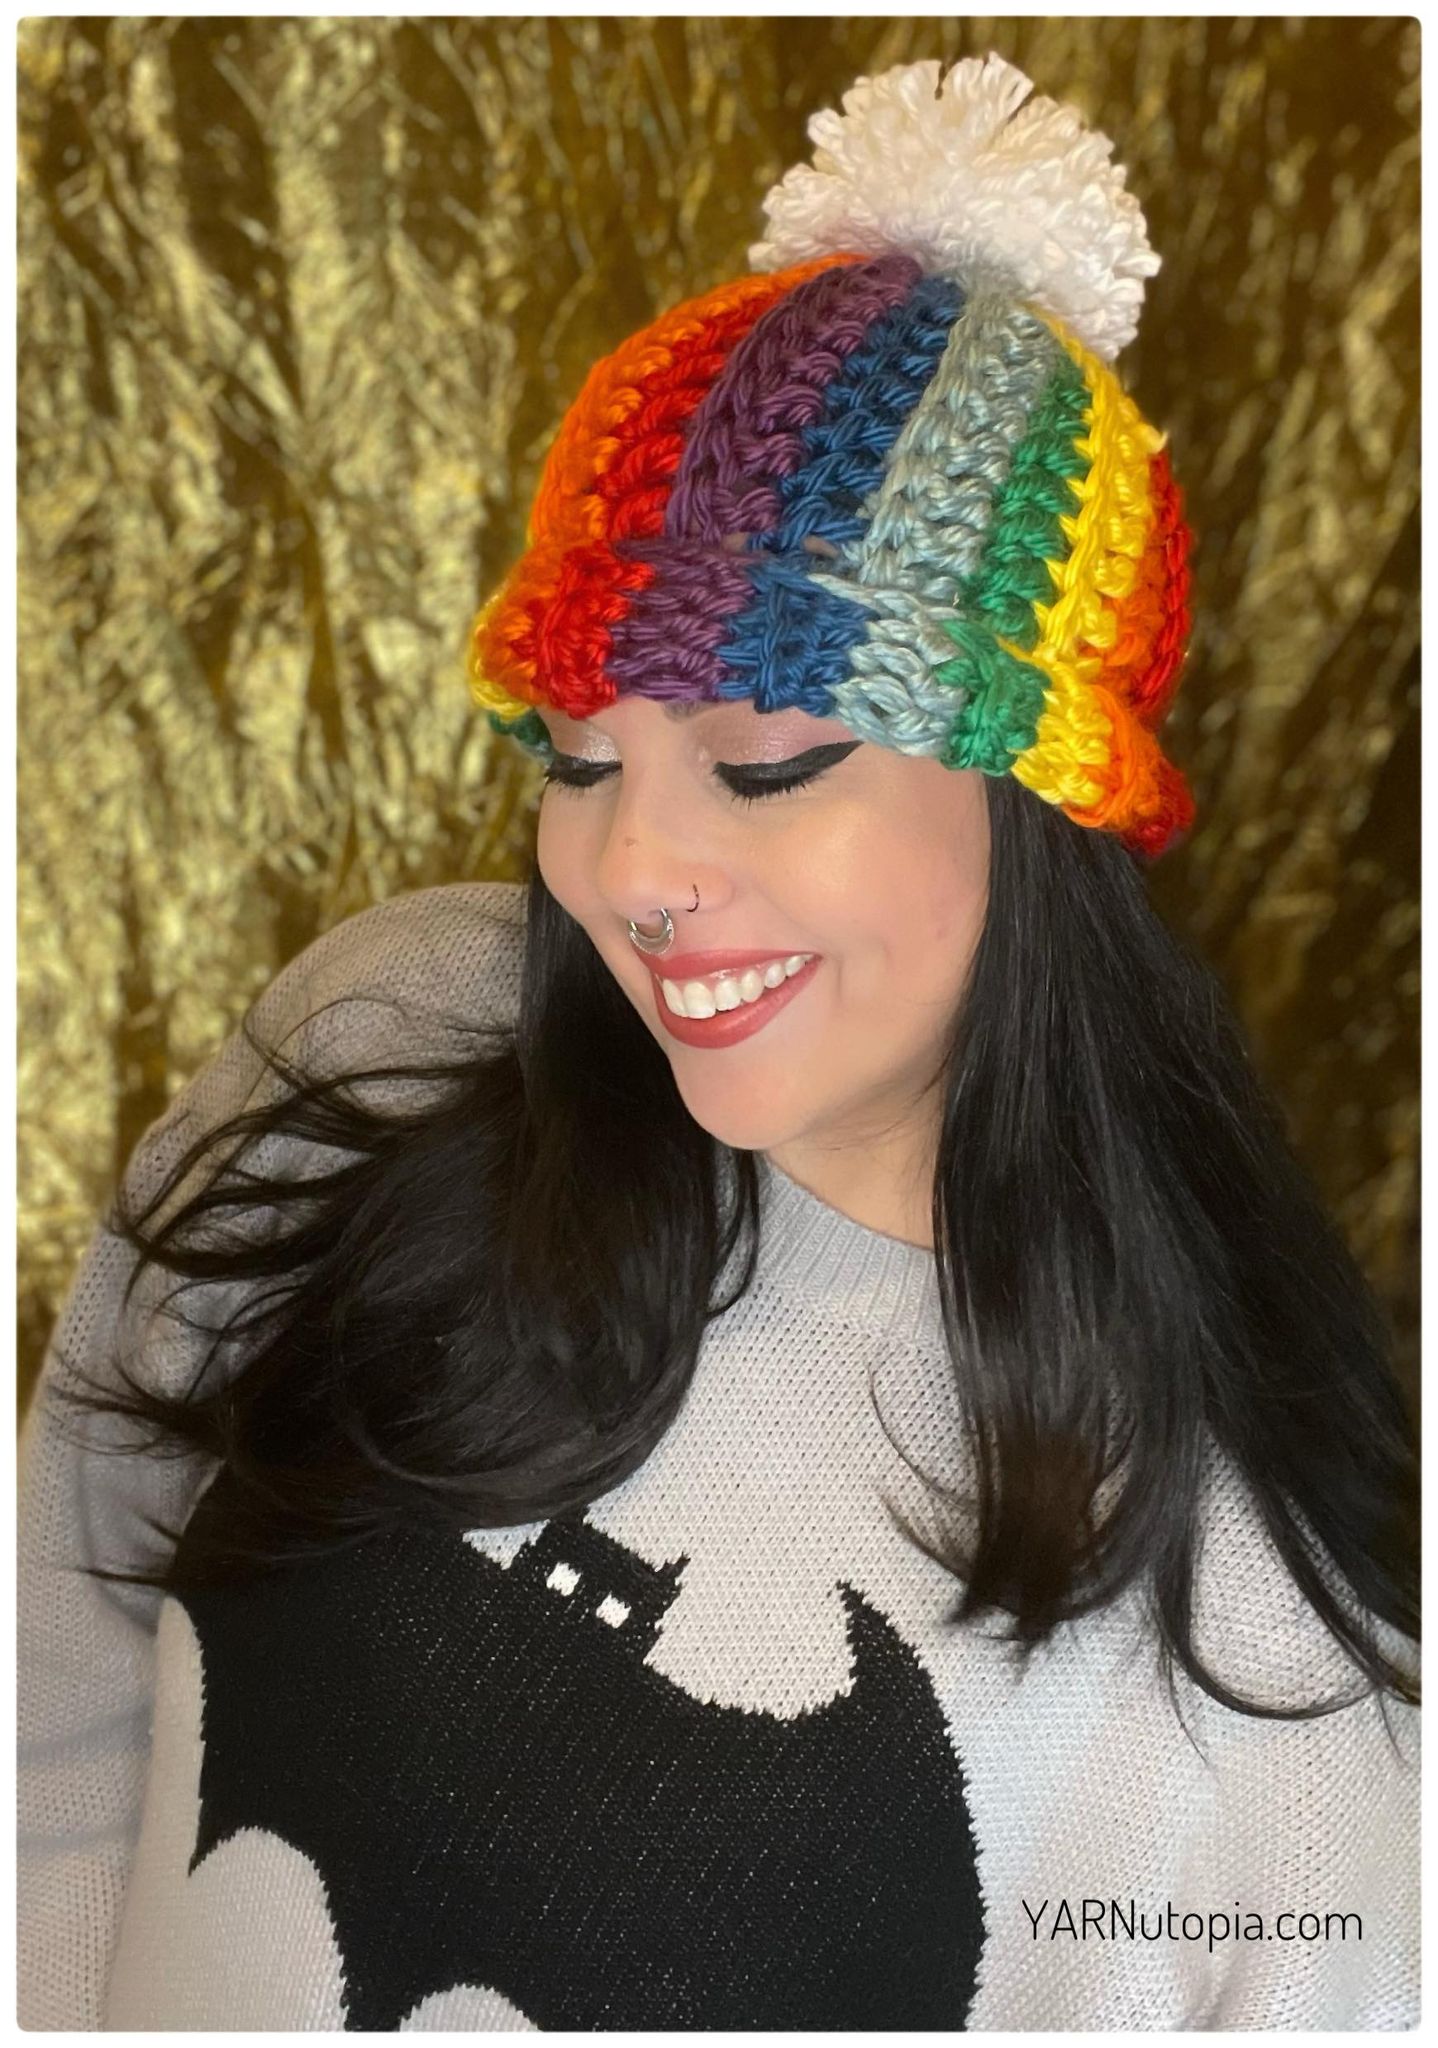
FREE Crochet Video Tutorial: Rainbow Pom Hat
FREE Crochet Video Tutorial: Ruffled Trim Sweater Vest
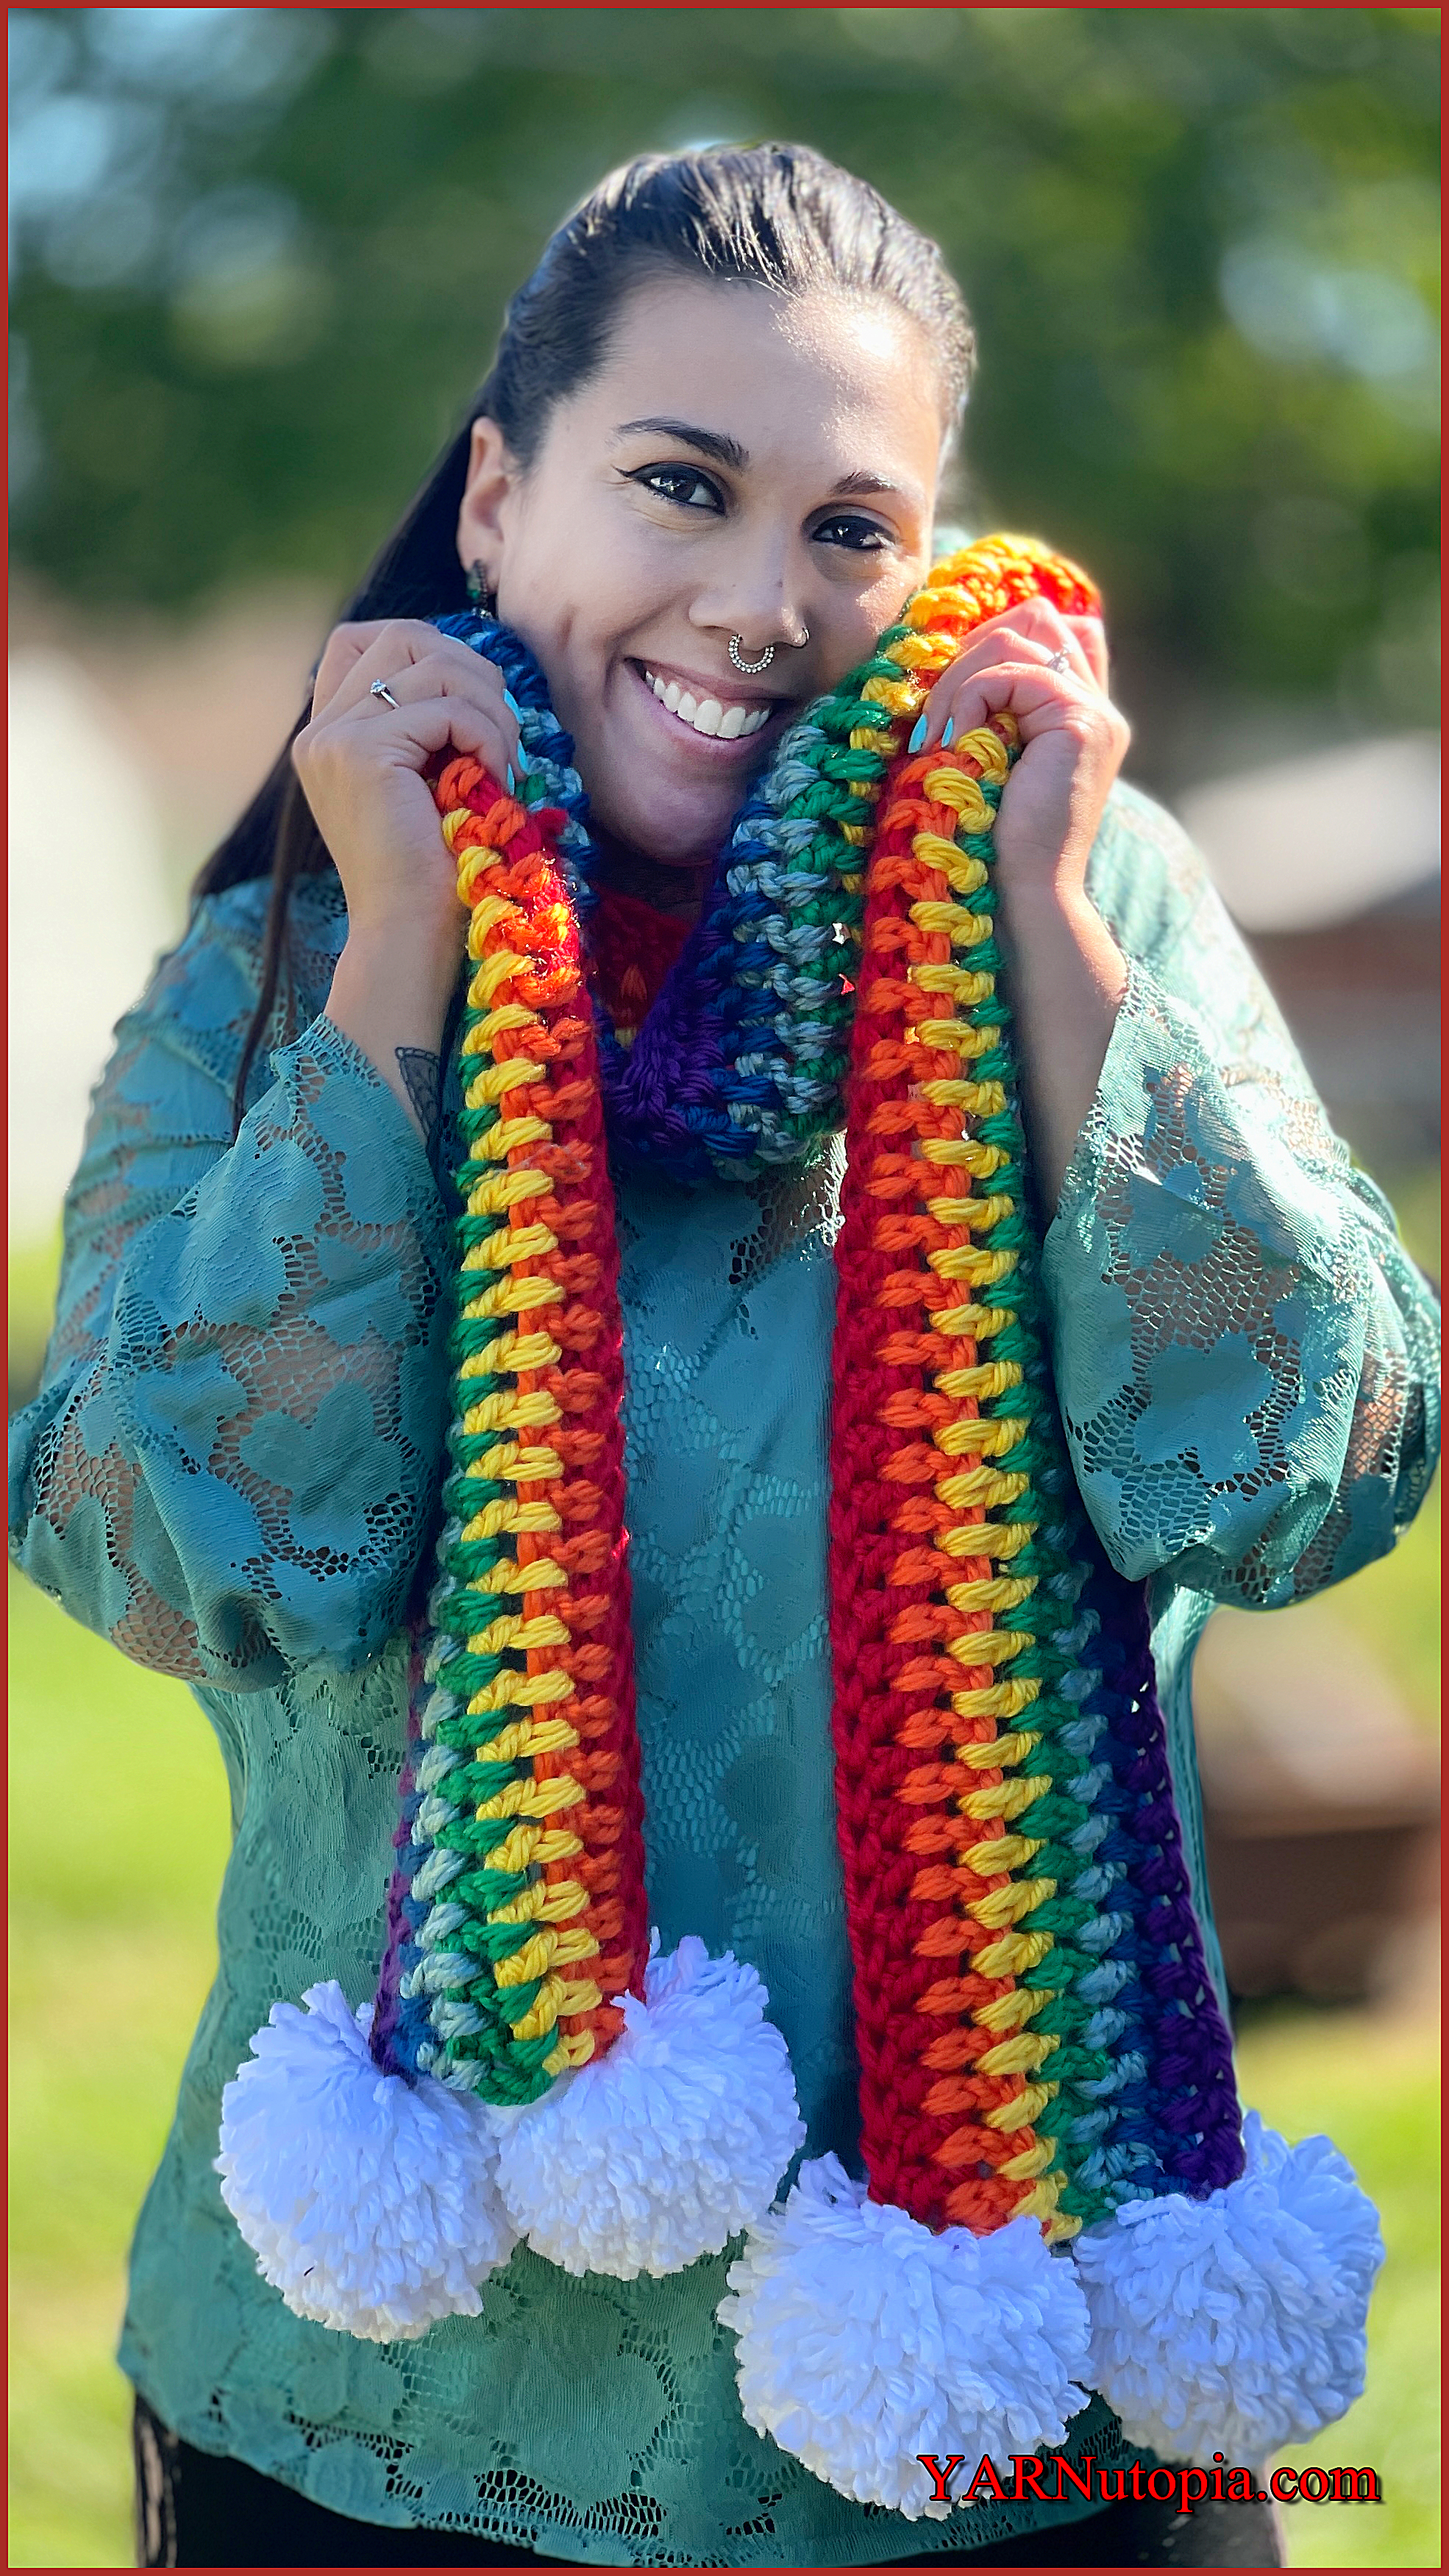
FREE Crochet Video Tutorial: Chunky Rainbow Pom Scarf
Stitch Gallery & Glossary Episode #25: Thermal Stitch (Single Crochet)
12 Days of Christmas: Shell Stitch Fingerless Gloves FREE CROCHET PATTERN
12 Days of Christmas: Snowman Coasters
FREE Crochet Video Tutorial: Blaze Orange Woodsman Hat
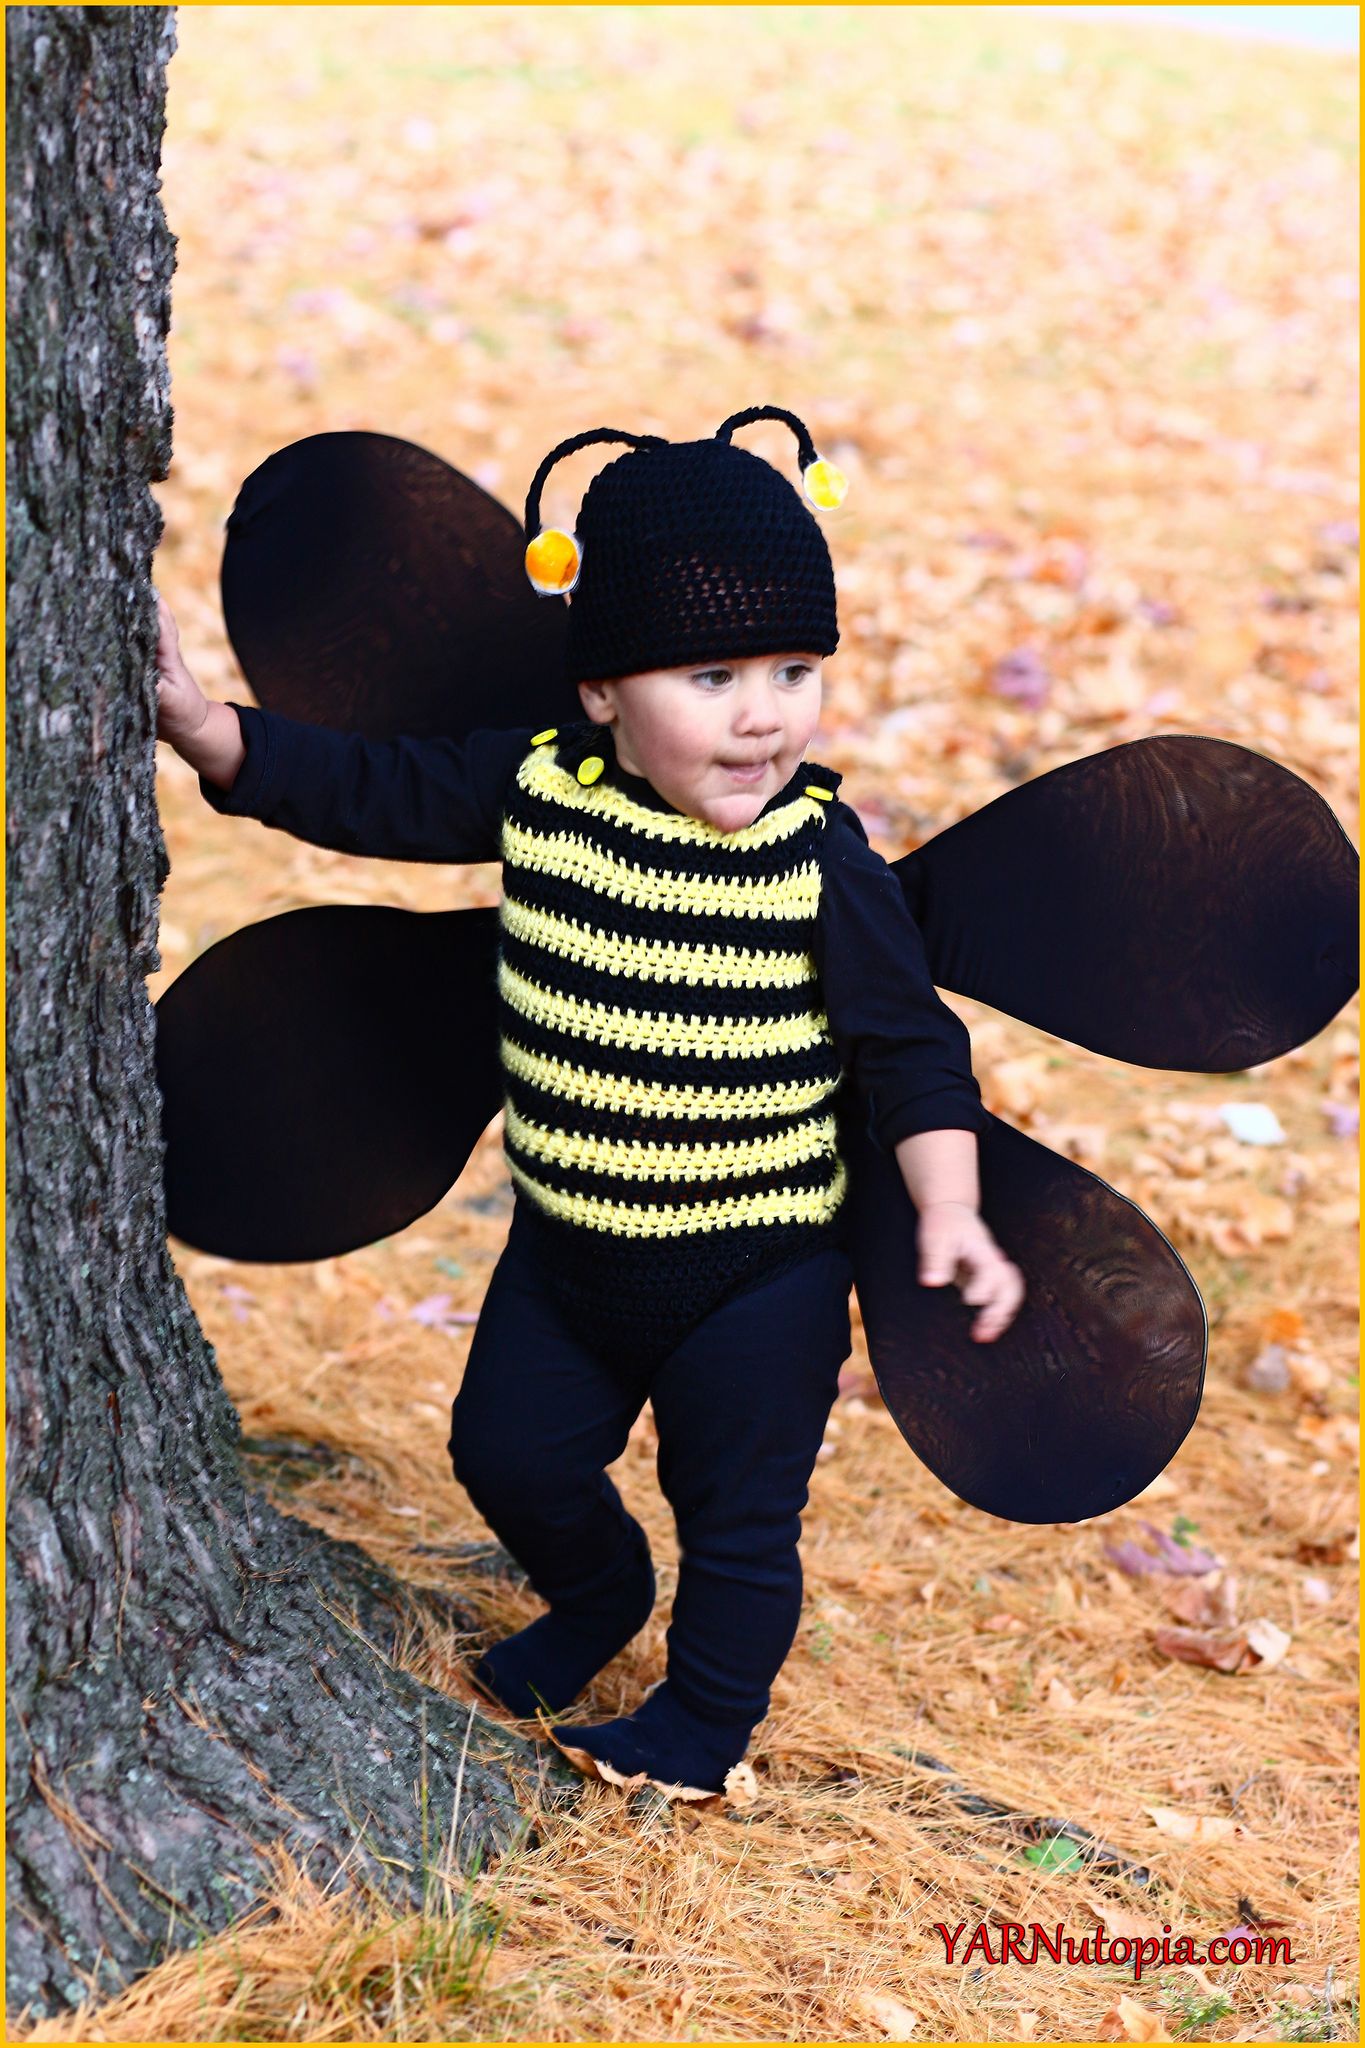
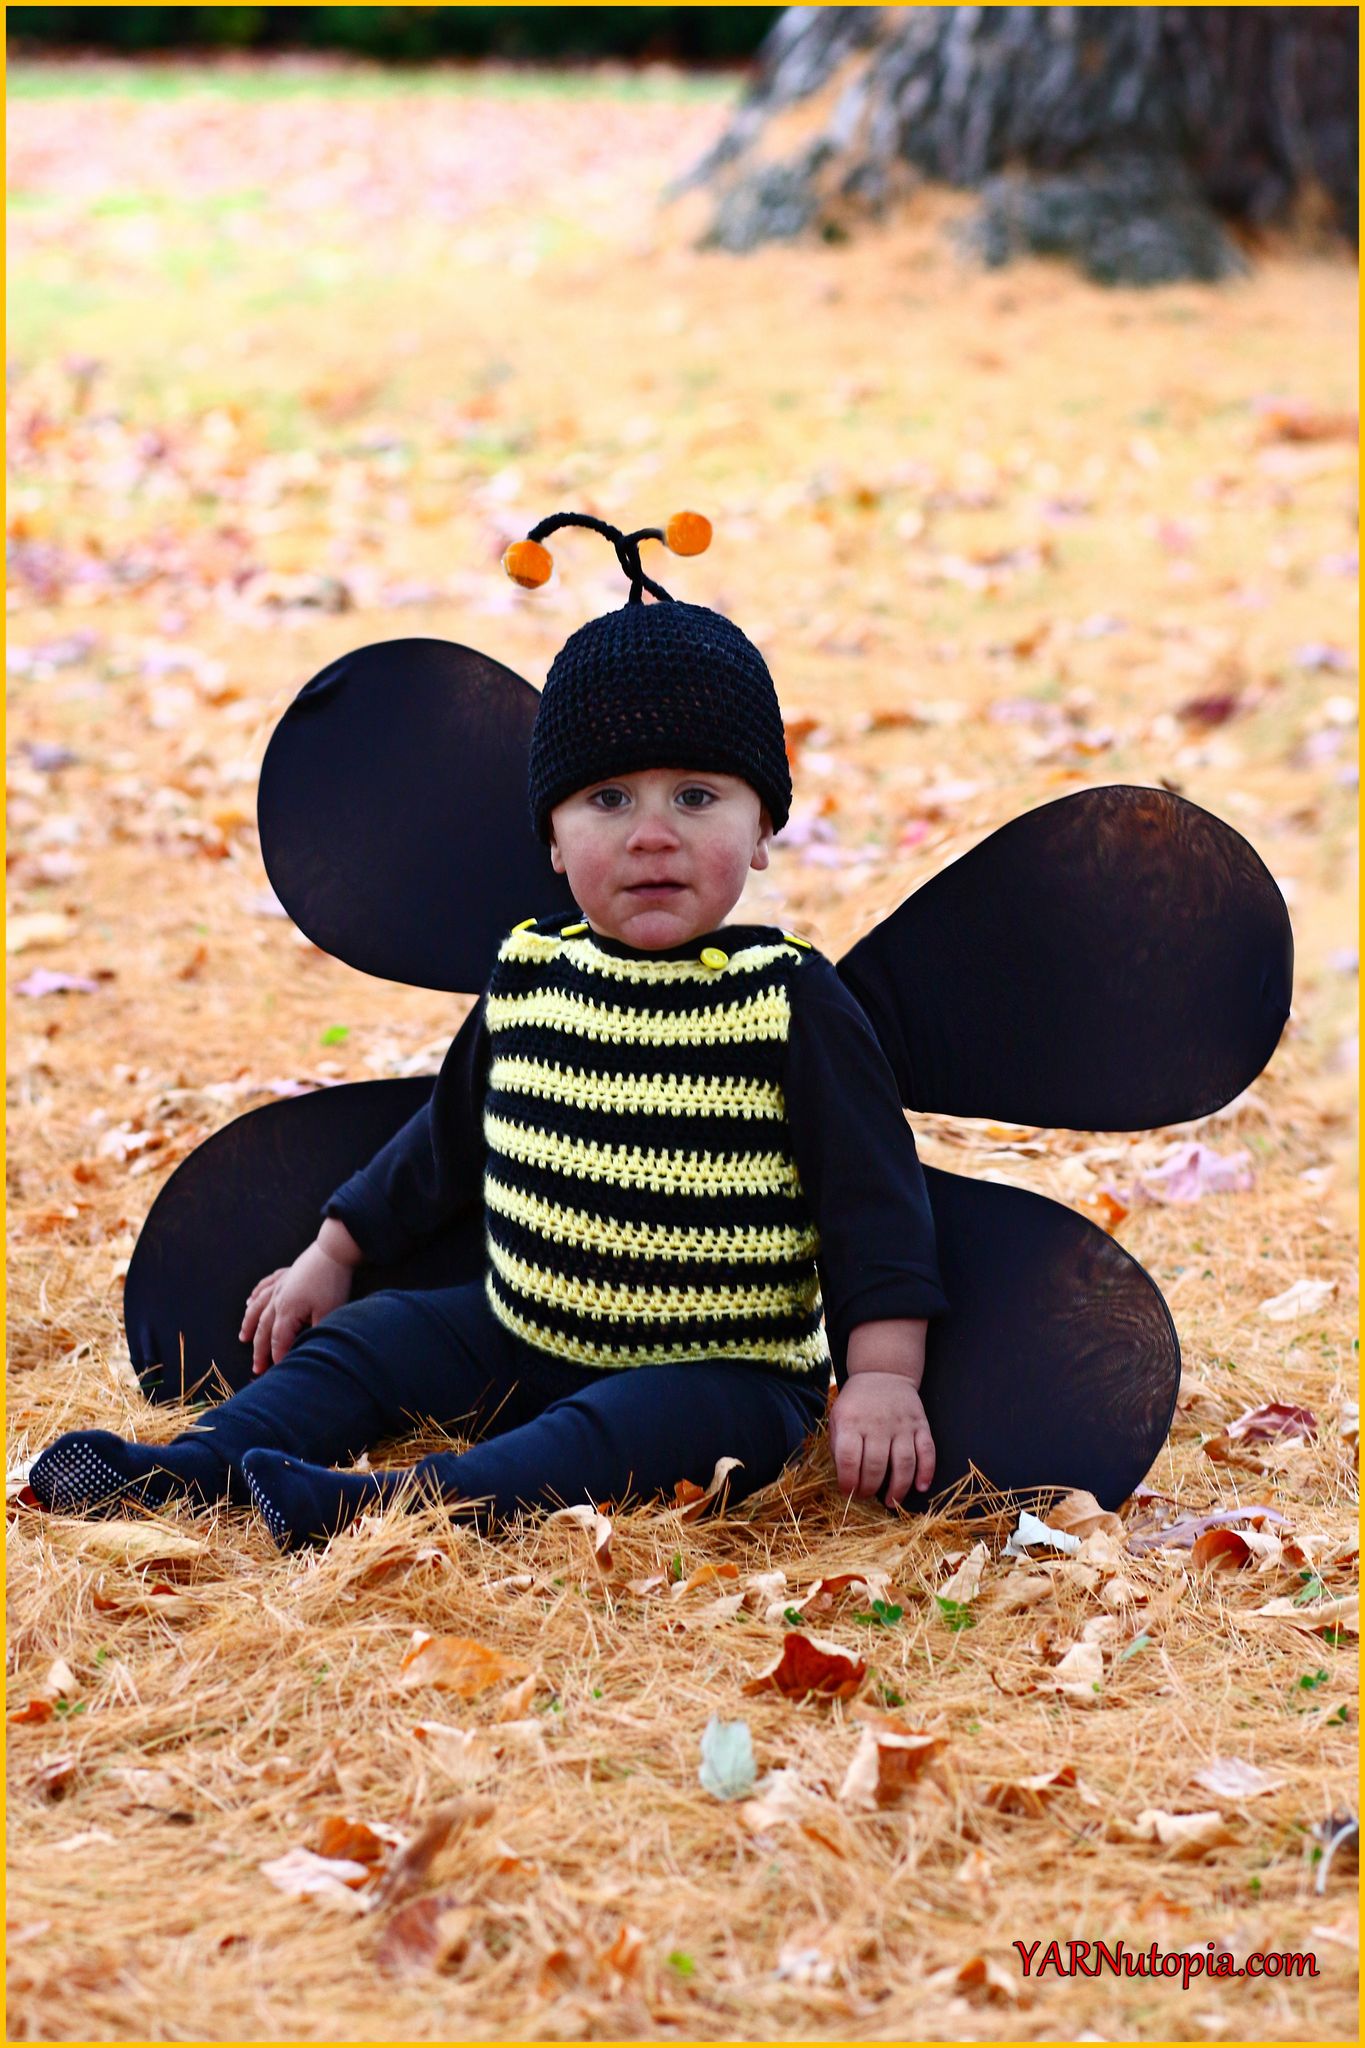
FREE Crochet Video Tutorial: Bumble Bee Romper and Beanie Costume
FREE Written Crochet Pattern: Bumble Bee Romper and Beanie Costume
FREE Crochet Video Tutorial: Stadium Pom Beanie
FREE Crochet Video Tutorial: Offbeat Baby Cardigan
FREE Crochet Video Tutorial: Summer Fun Sweater
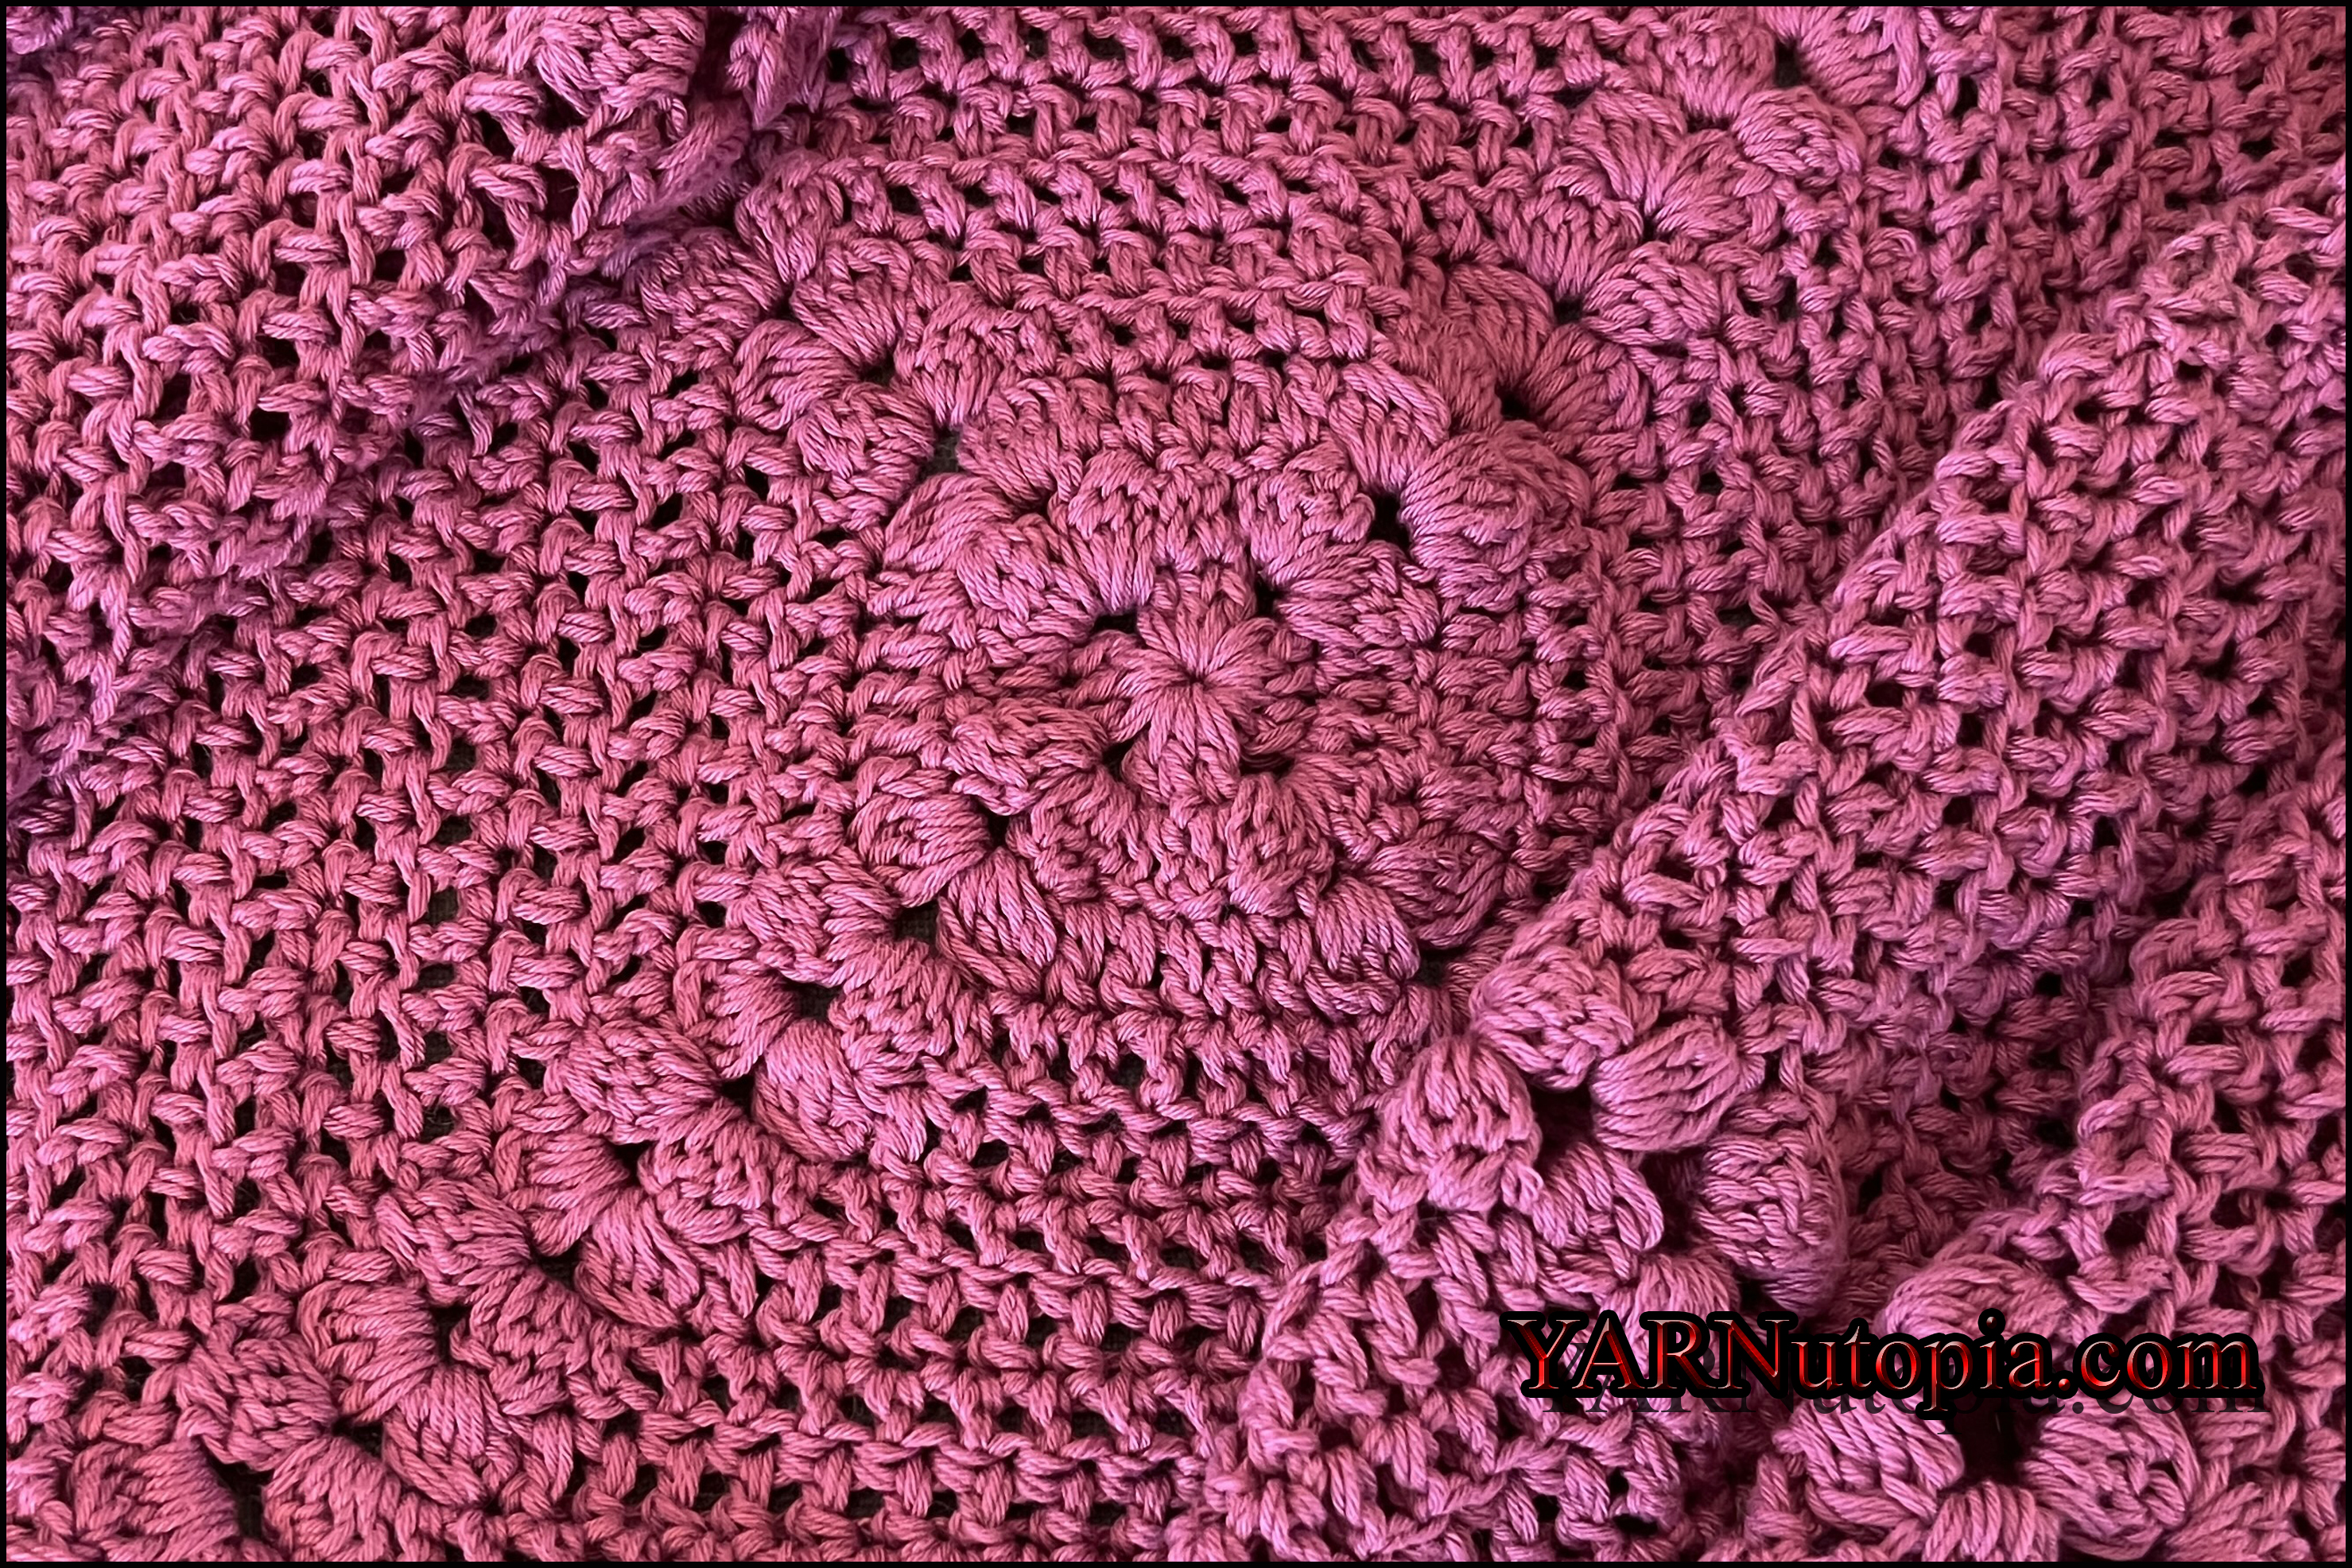
FREE Crochet Video Tutorial: Simply Bright Granny Square
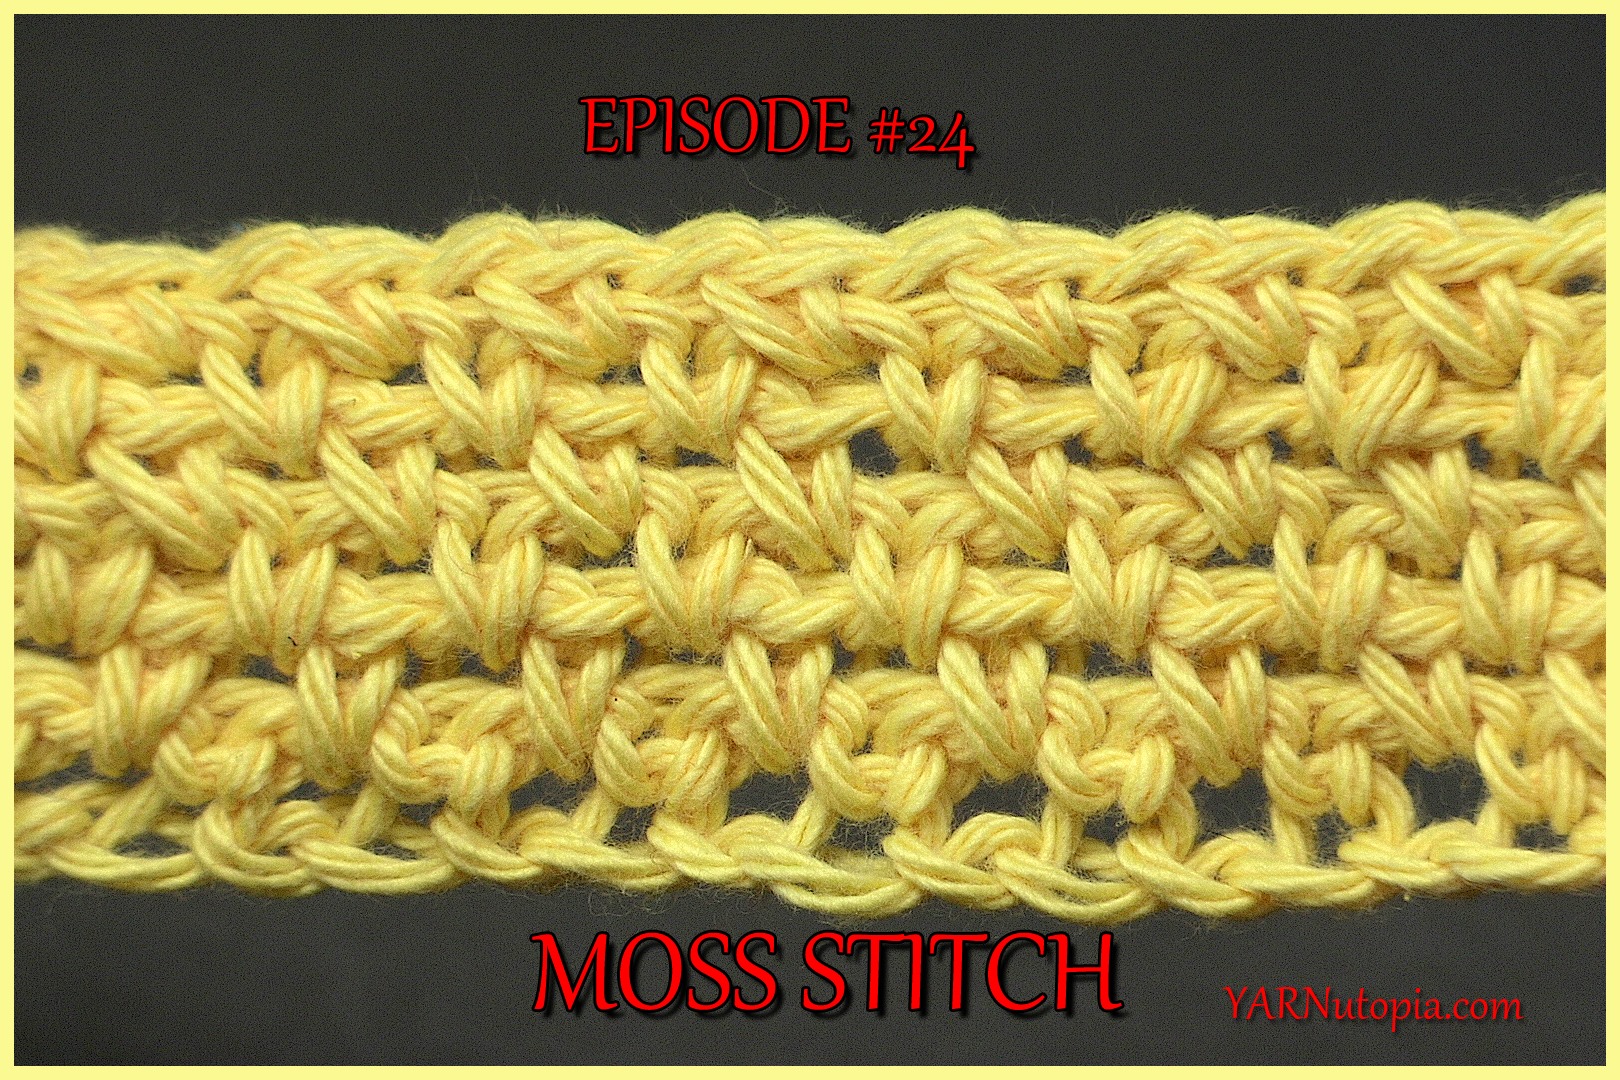
Stitch Gallery & Glossary Episode #24: Moss Stitch
FREE Crochet Video Tutorial: Chevron Washcloth
FREE Crochet Video Tutorial: Ombre Striped Baby Blanket
FREE Crochet Video Tutorial: Hand Sanitizer Cozy
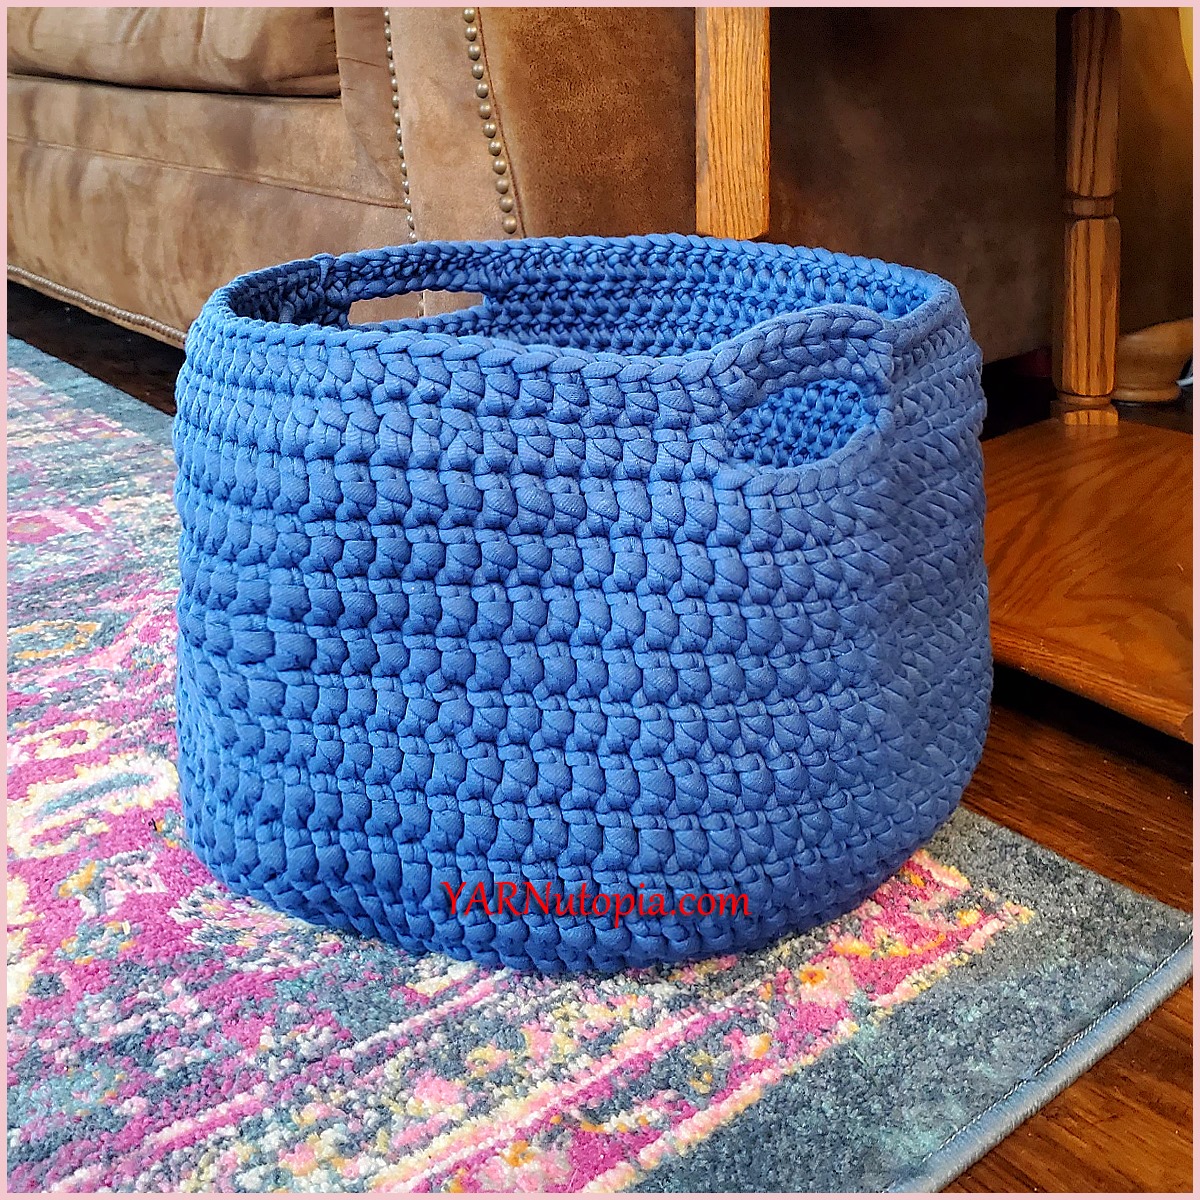
FREE Crochet Video Tutorial: Large Basket using Chunky Yarn
Carving a Crochet Hook
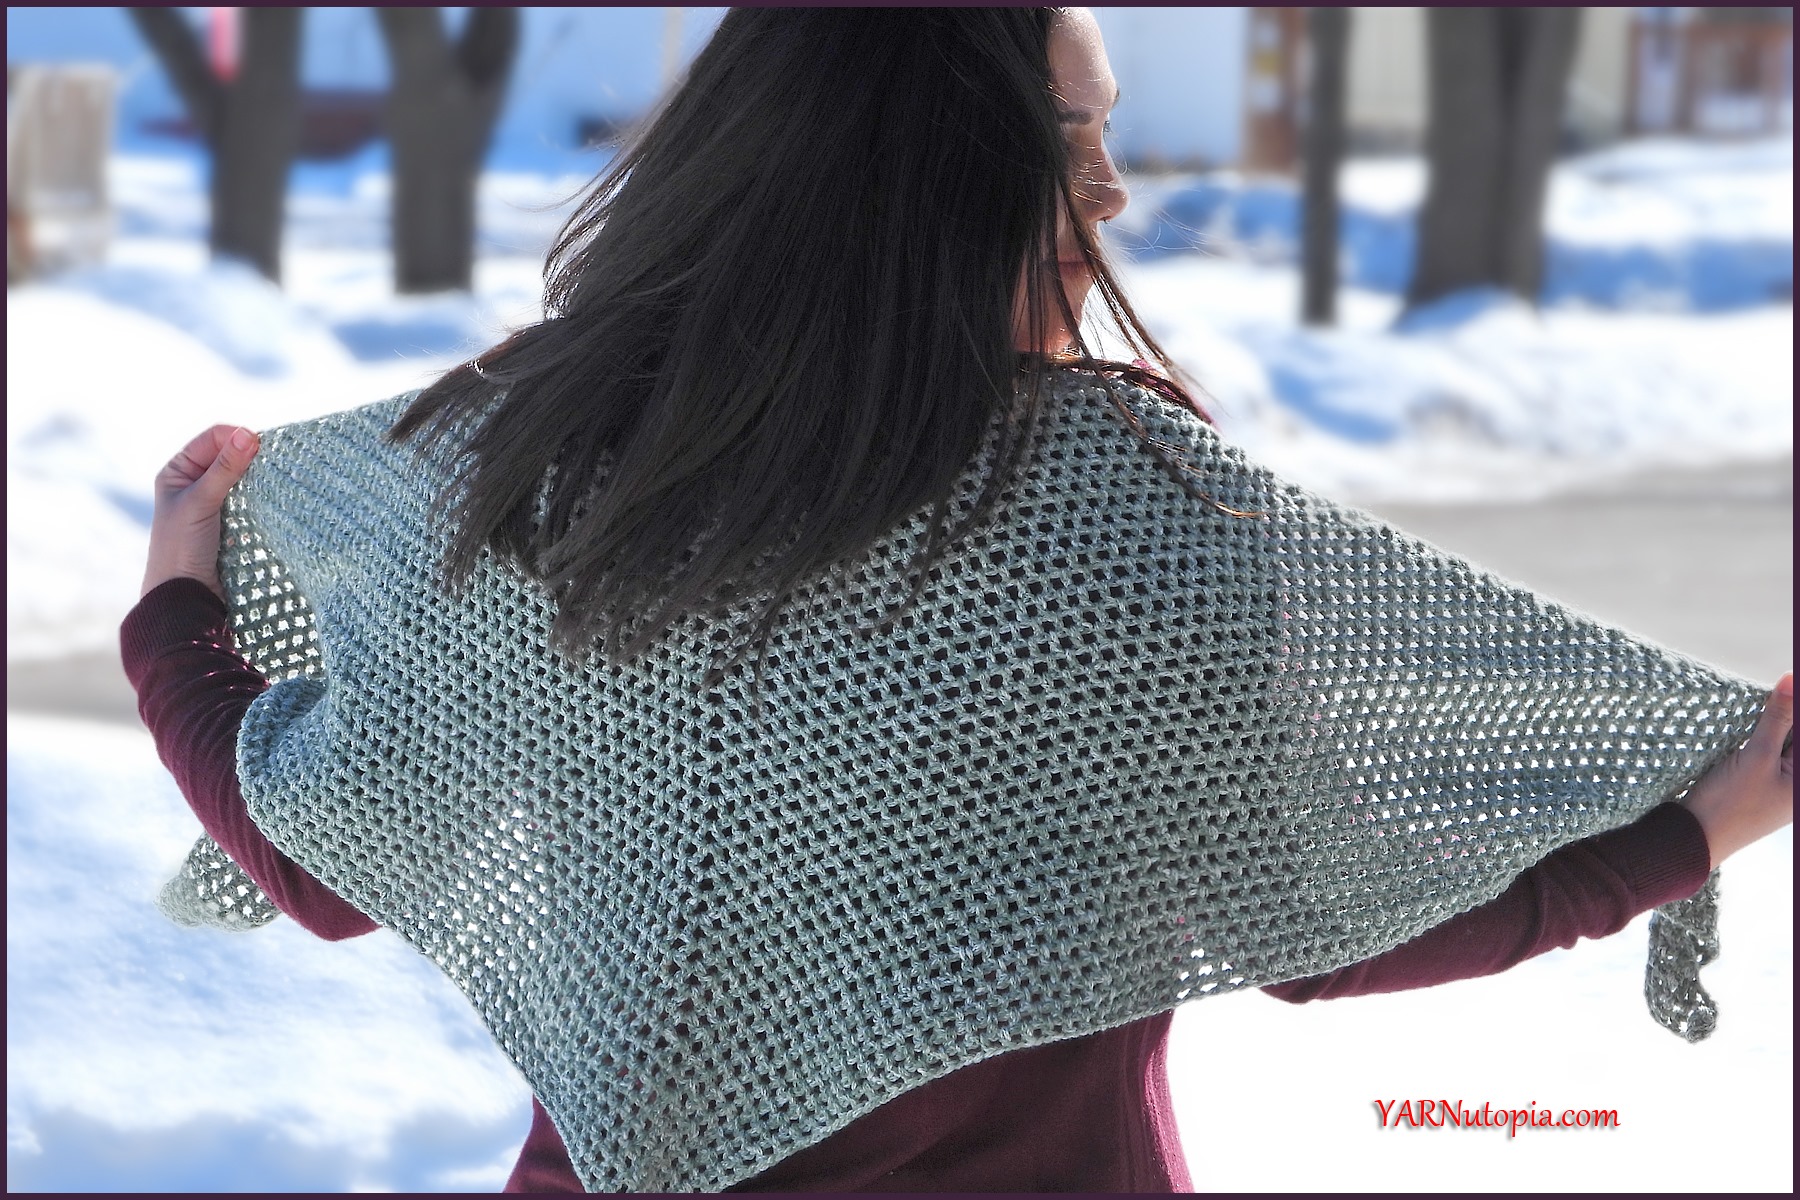
FREE Crochet Video Tutorial: Simple Spring Shawl
FREE Crochet Video Tutorial: Wee One Baby Bonnet
FREE Crochet Video Tutorial: Book Sleeve
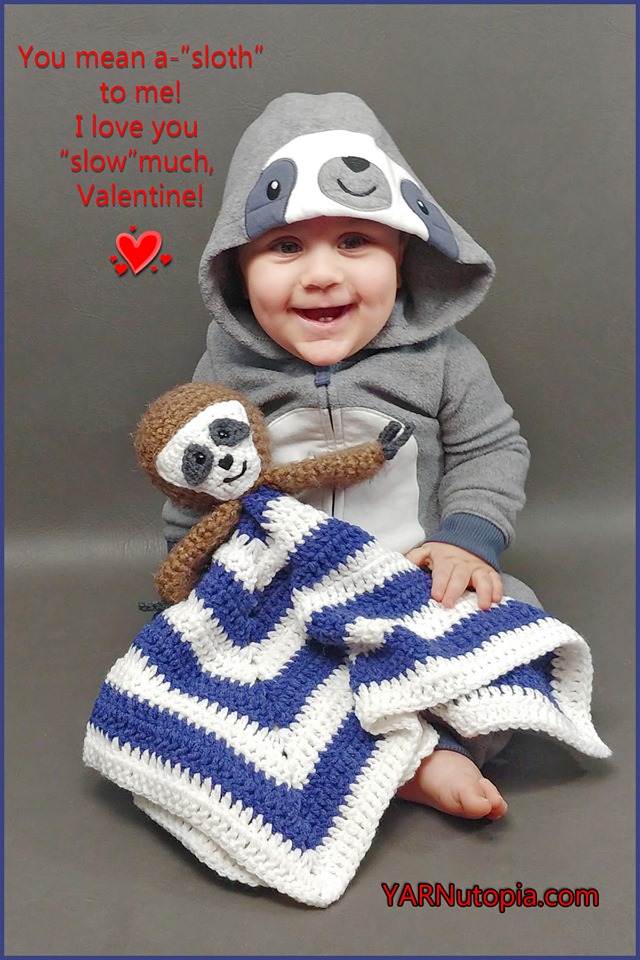
FREE Crochet Video Tutorial: Sloth Lovey
FREE Crochet Video Tutorial: Alien Puppet
FREE Crochet Video Tutorial: Two Stitch Grande Scarf
12 Days of Christmas: Simple Stocking Hat – FREE Crochet Video Tutorial
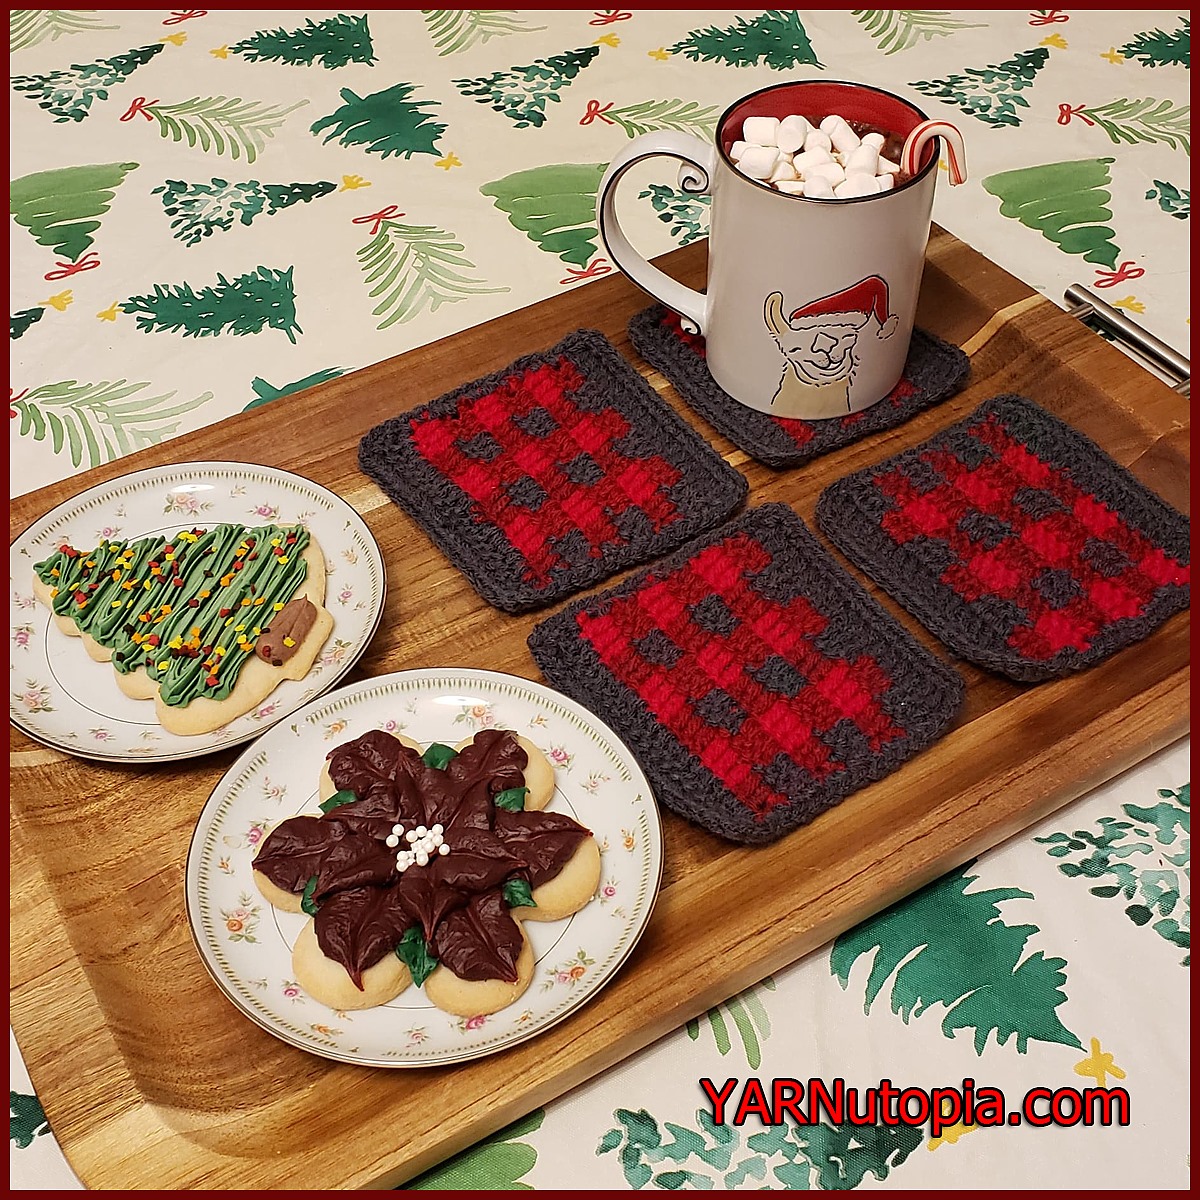
12 Days of Christmas: Buffalo Plaid Coasters – FREE Crochet Video Tutorial
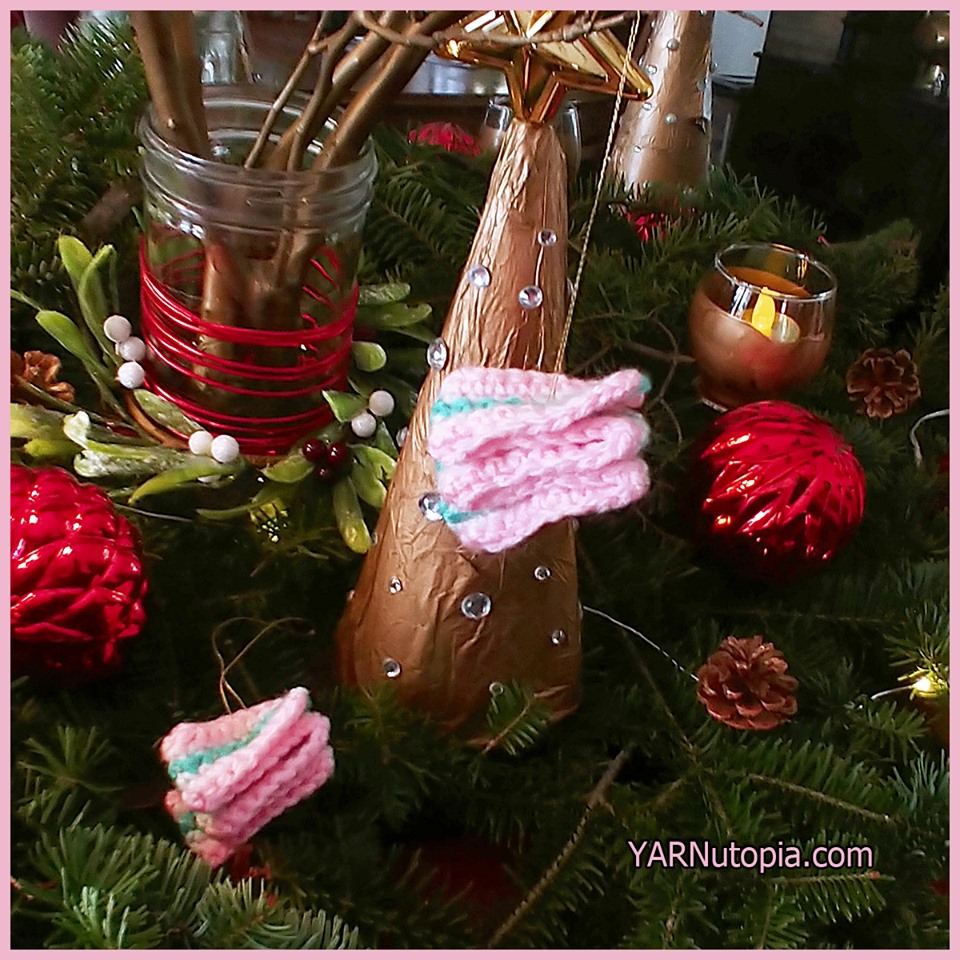
12 Days of Christmas: Candy Curl Swirl Ornament – FREE Written Crochet Pattern and Video Tutorial
12 Days of Christmas: Beanie with Bling – FREE Crochet Video Tutorial
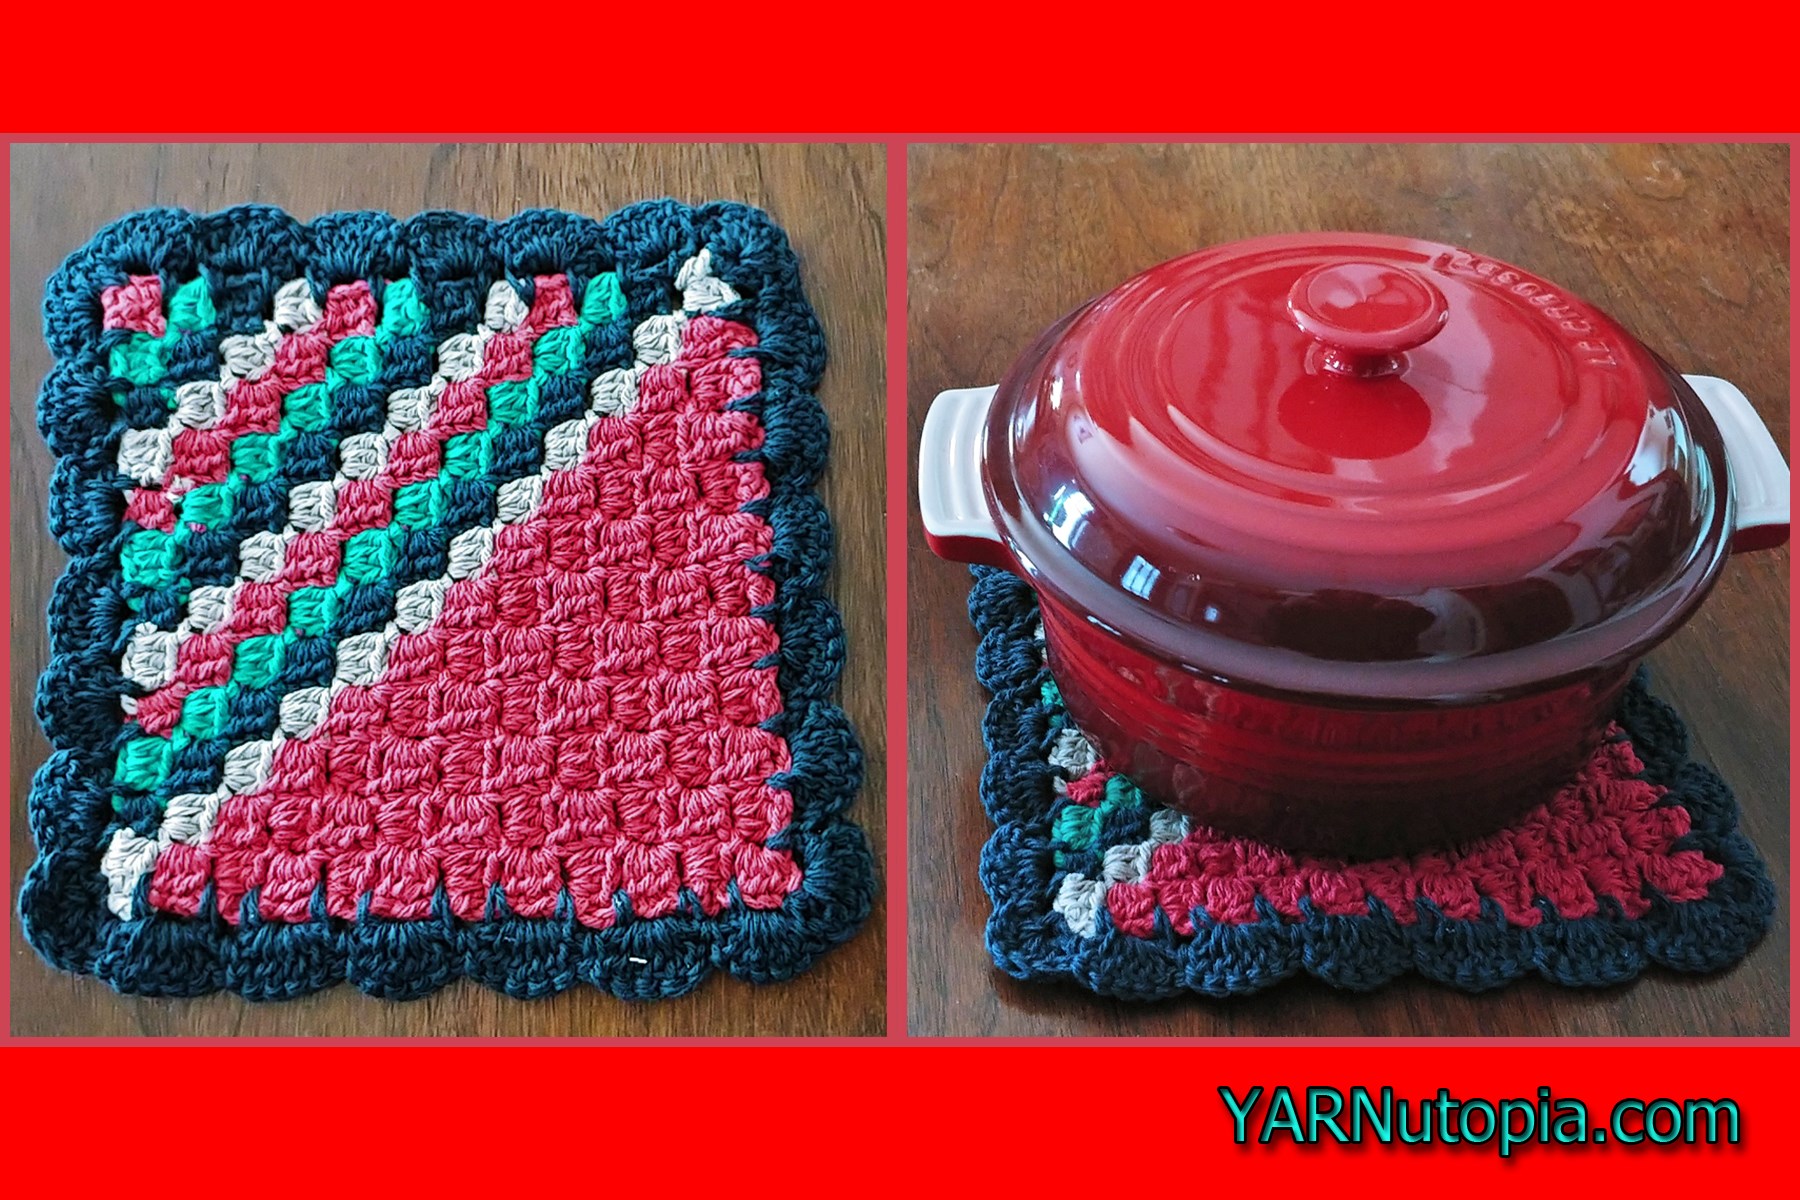
12 Days of Christmas: Corner to Corner (C2C) Holiday Hot Pad – FREE Crochet Video Tutorial
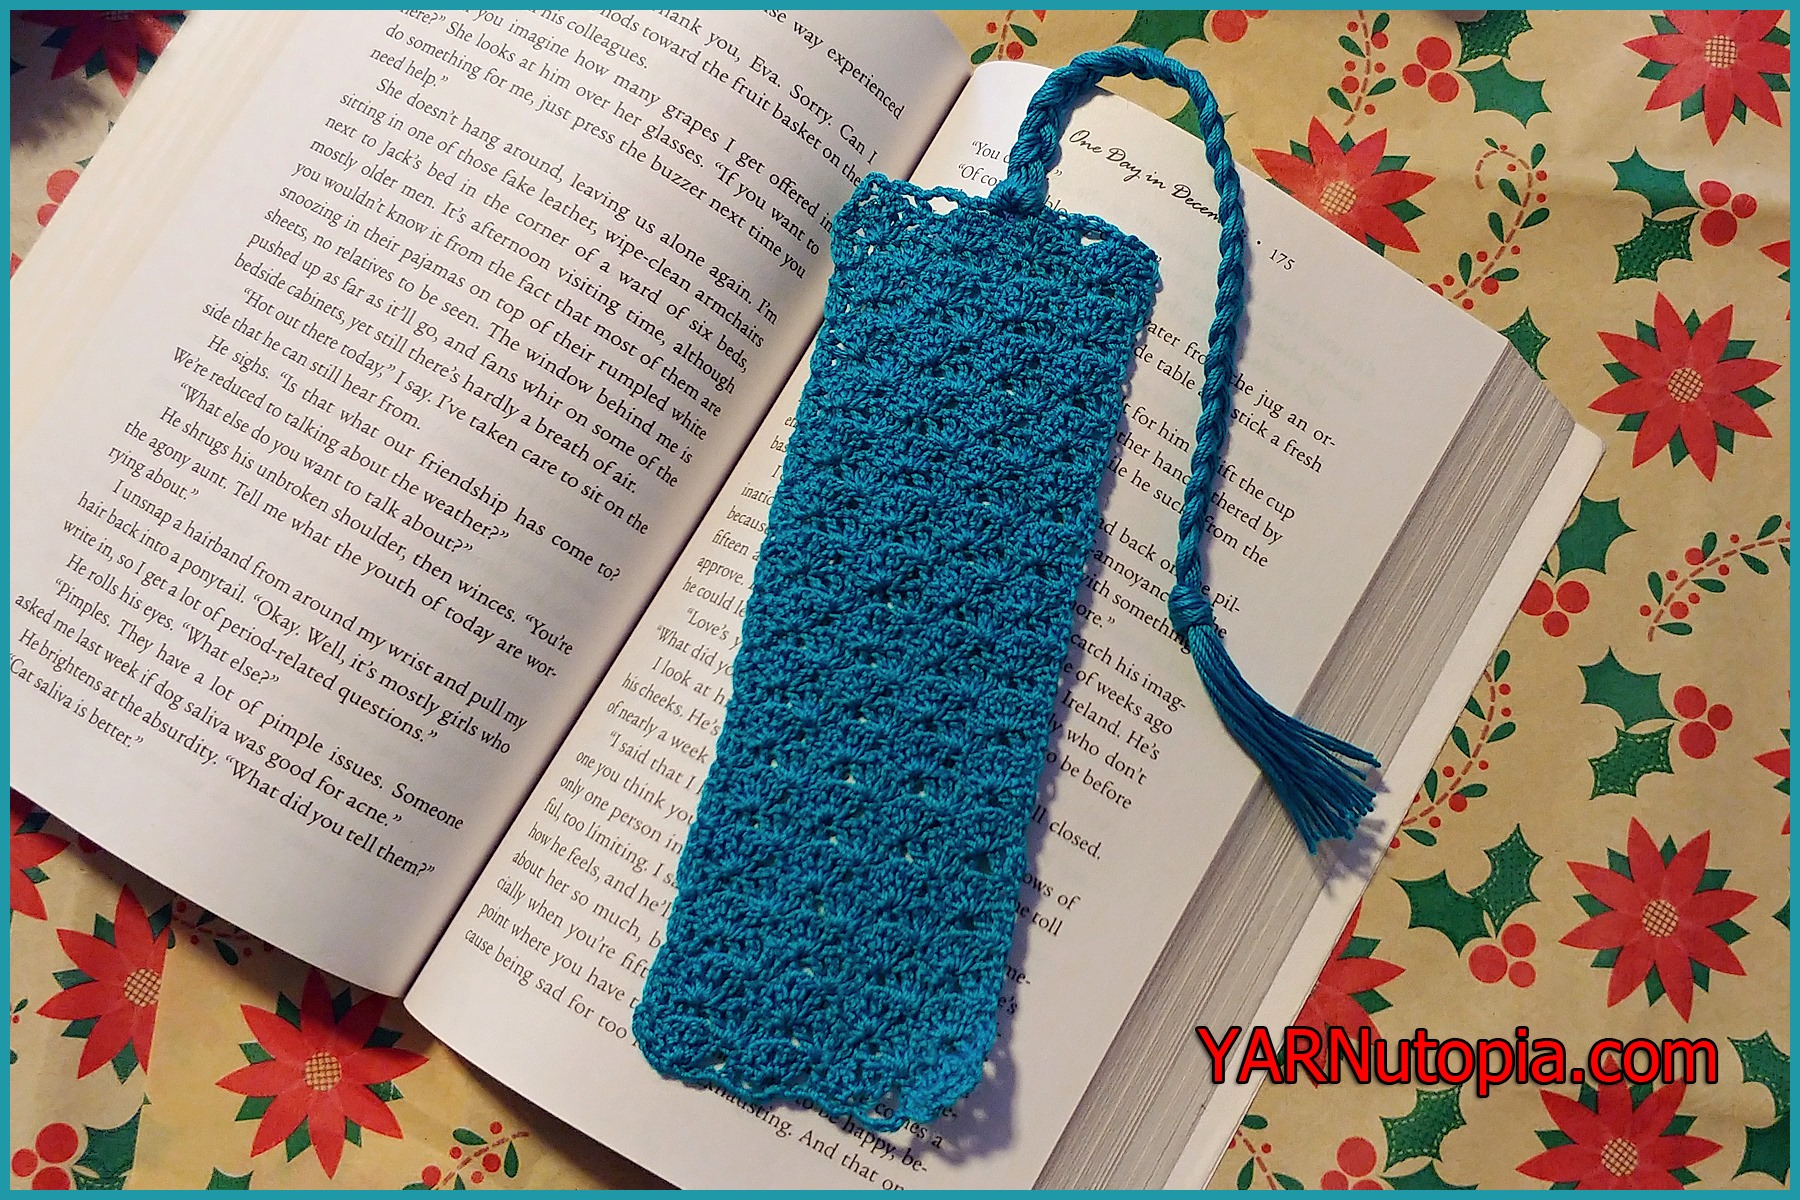
12 Days of Christmas: Lace Shell Bookmark – FREE Crochet Video Tutorial
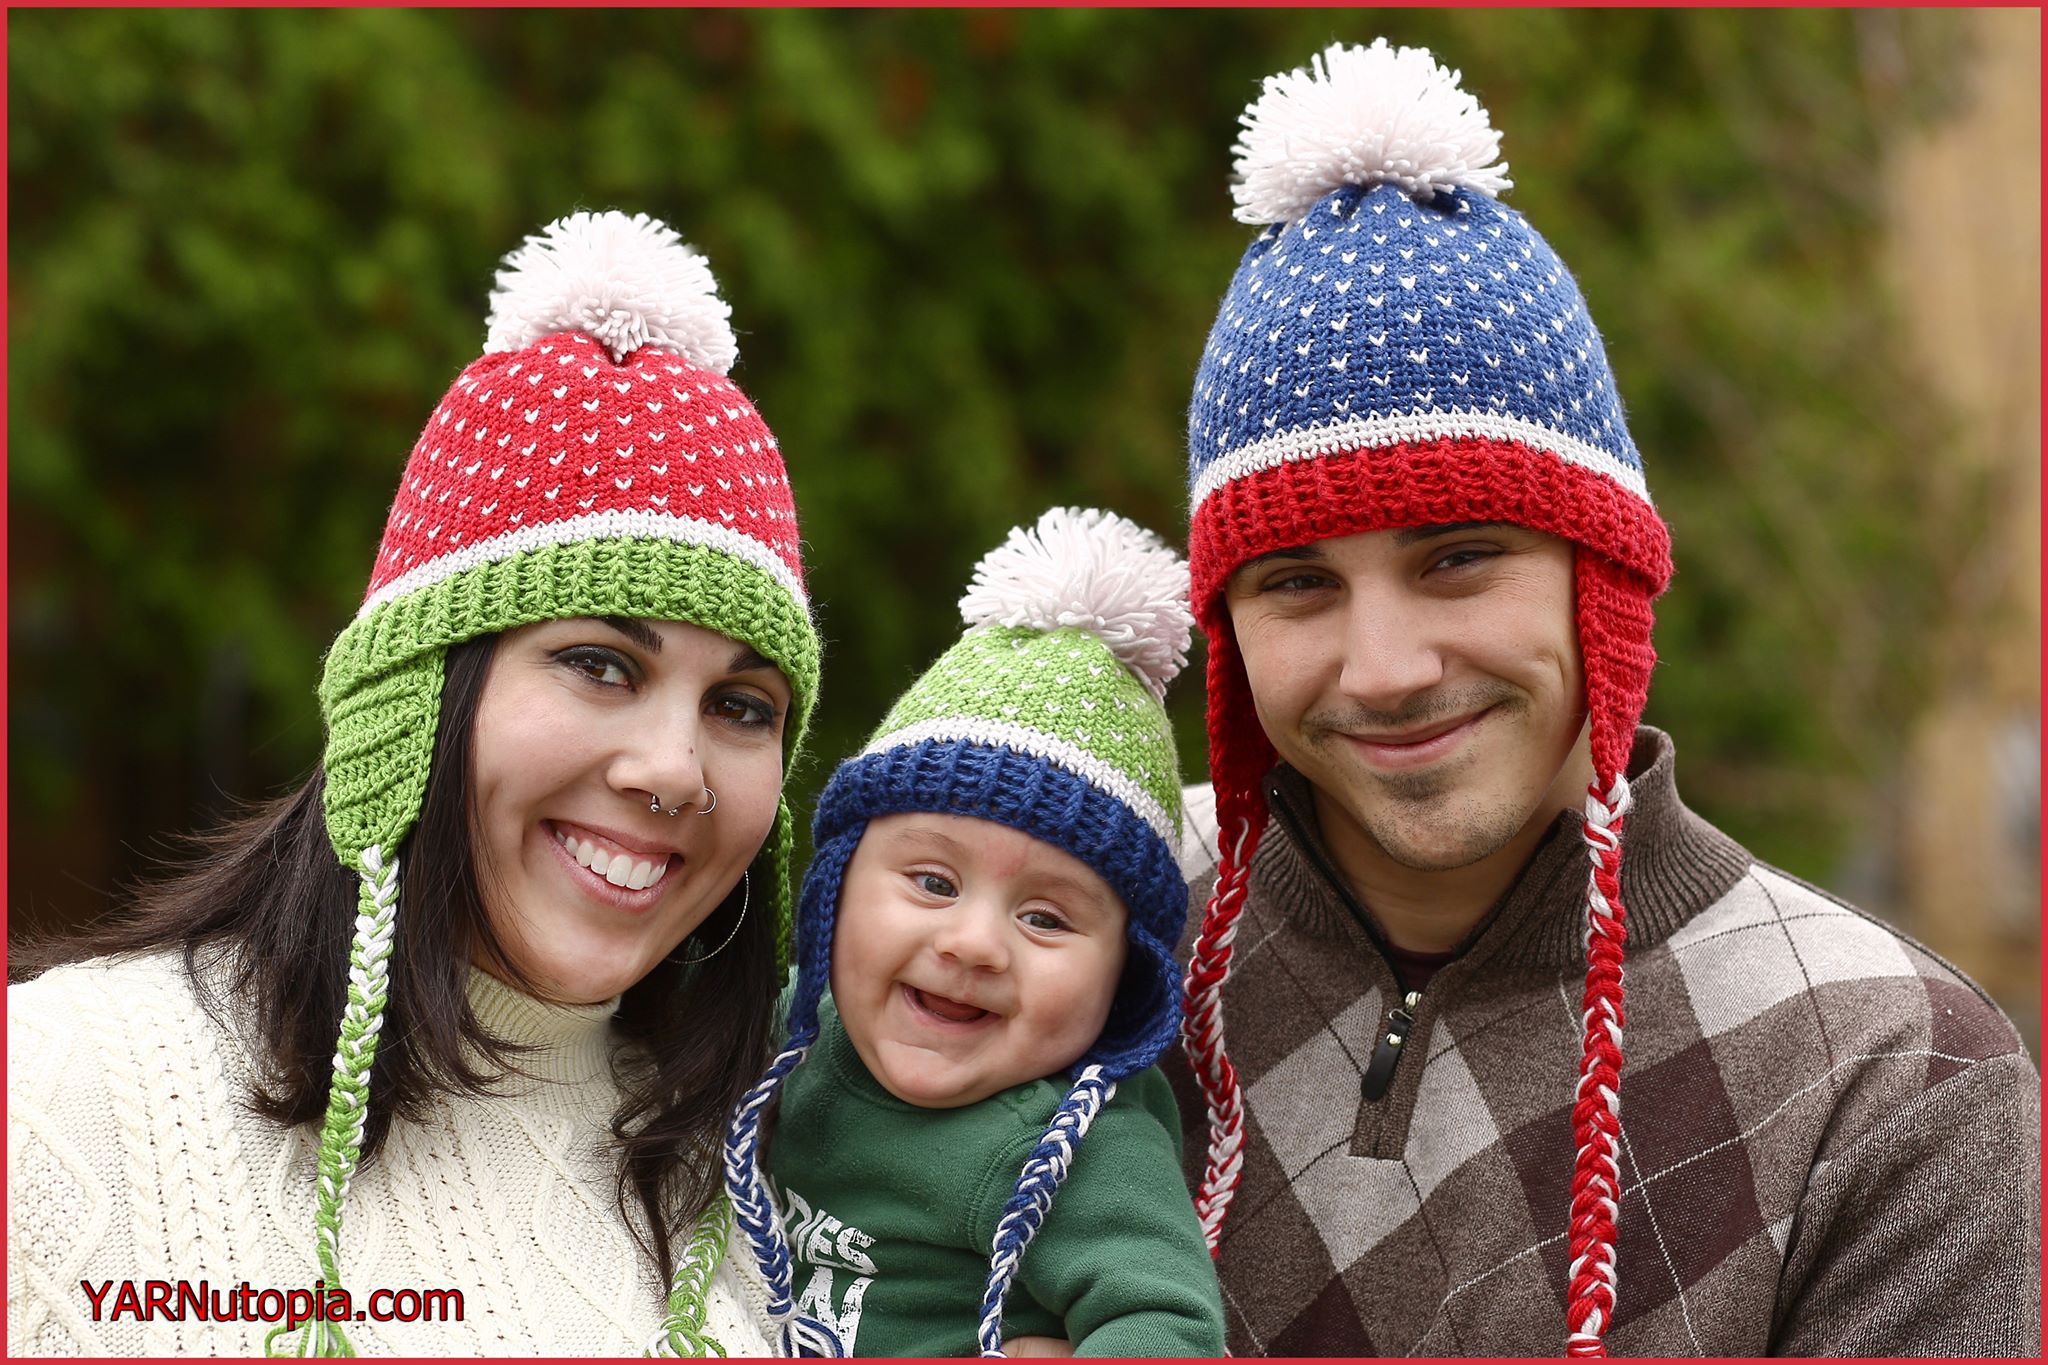
FREE Crochet Video Tutorial: Family Fair Isle Hat
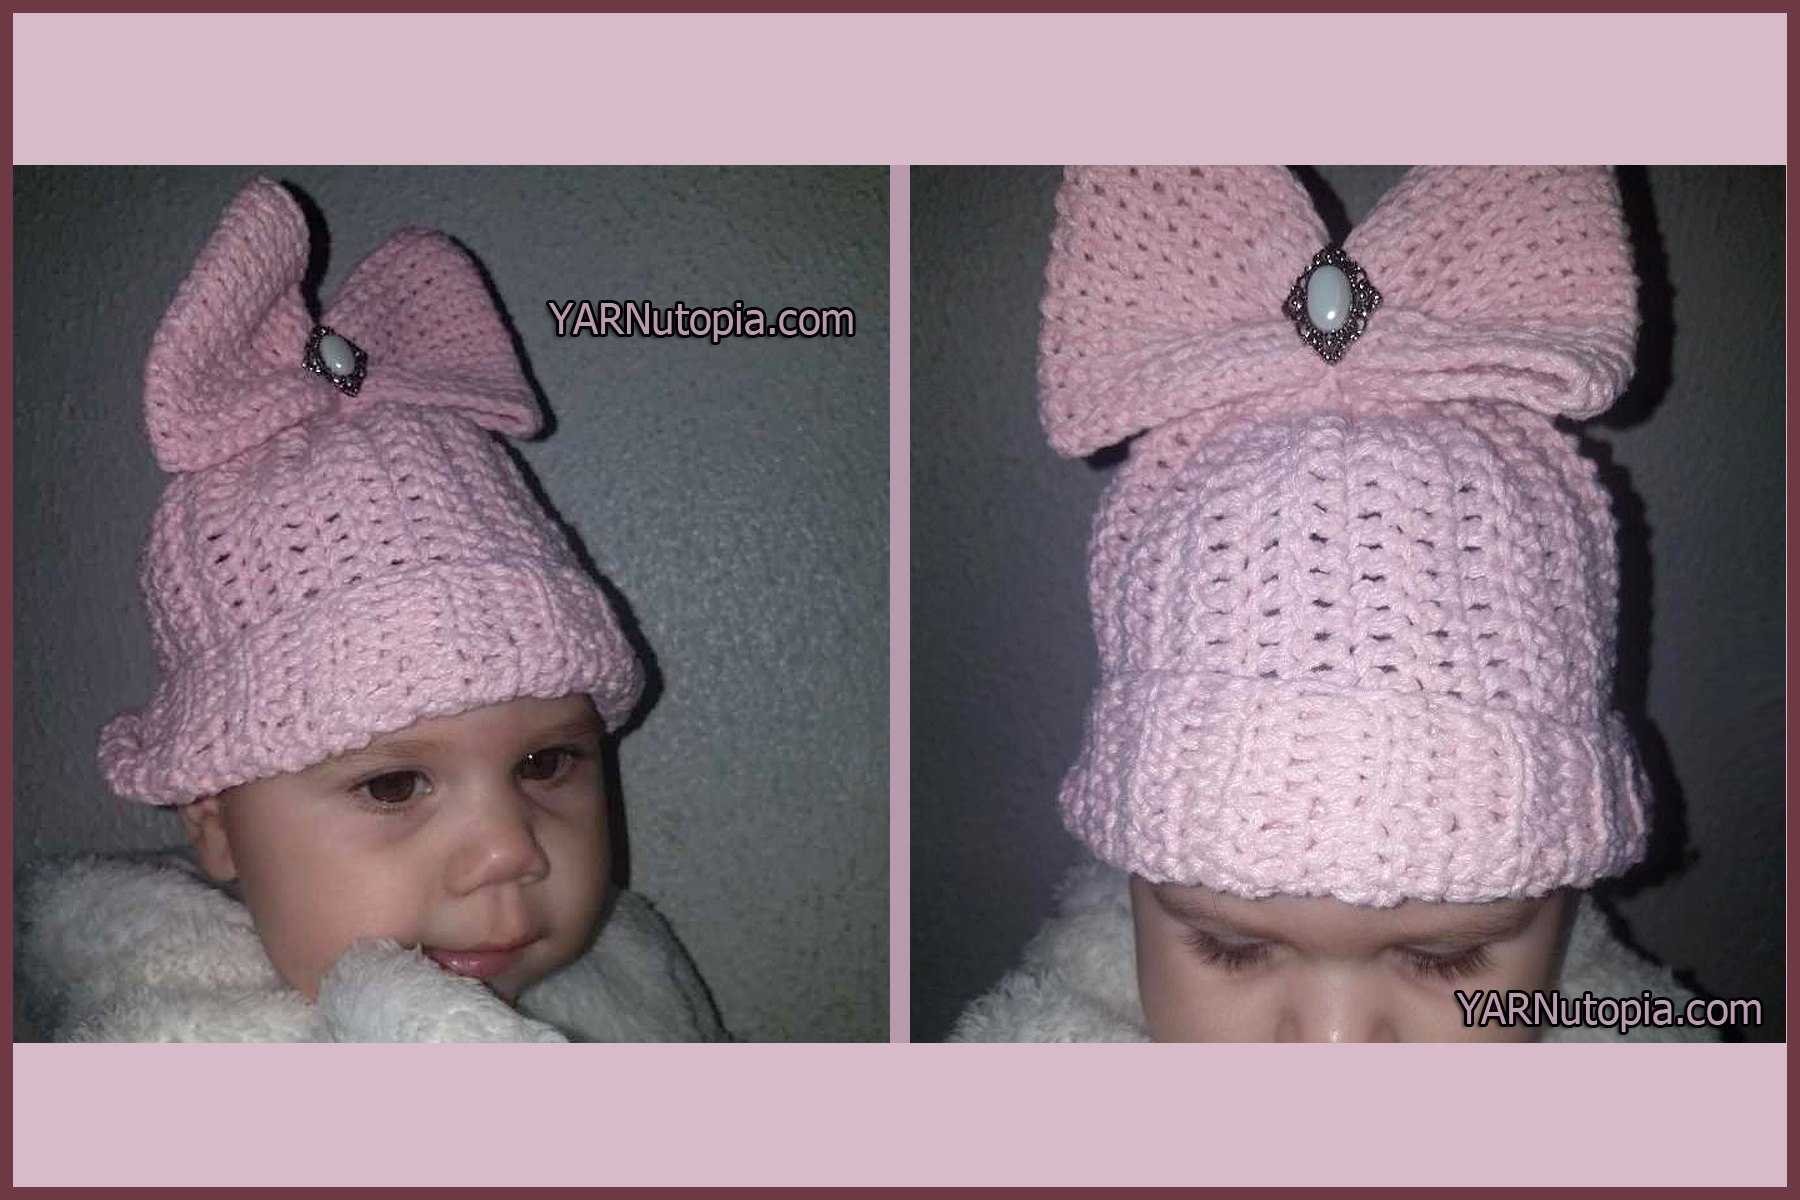
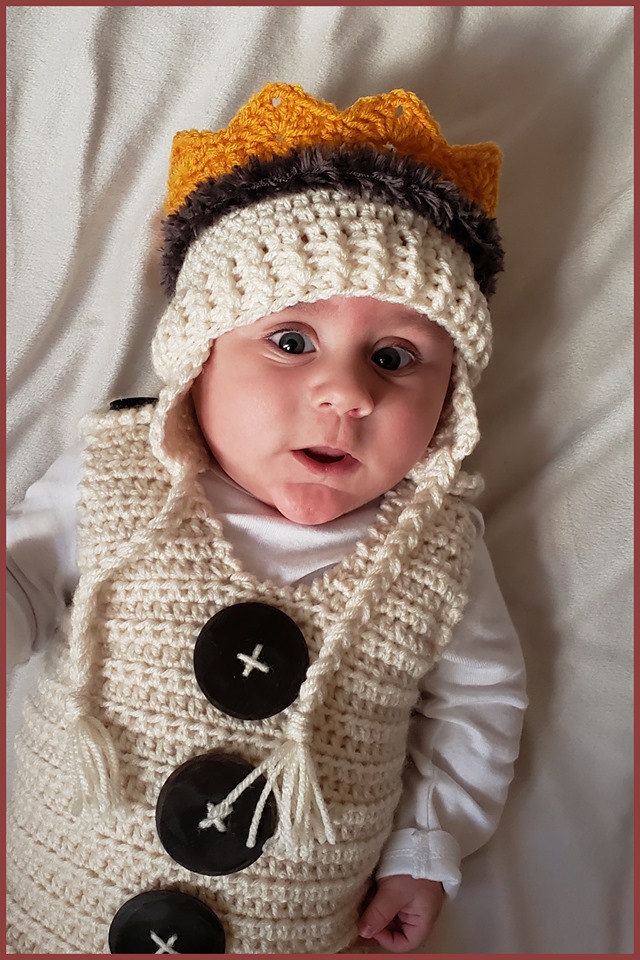
FREE Crochet Video Tutorial: Baby Crown Earflap Hat
FREE Written Crochet Pattern: King Crown
FREE Crochet Video Tutorial: King Crown
FREE Crochet Video Tutorial: The Sweet Dream Bonnet
FREE Written Crochet Pattern: The Sweet Dream Bonnet
1
2
3
…
9
Next Page
Loading Comments...
Write a Comment...
Email (Required)
Name (Required)
Website