YARNutopia & M0re
All things Yarn Related: Crochet, DIY, and Crafts
Blog
365 Days of Granny Squares
Stitch Gallery & Glossary
Crochet Video Tutorials
Frequently Asked Questions
Crochet Glossary: Learn the Lingo
Contact
Search
Search
amigurumi
YARNutoia & More
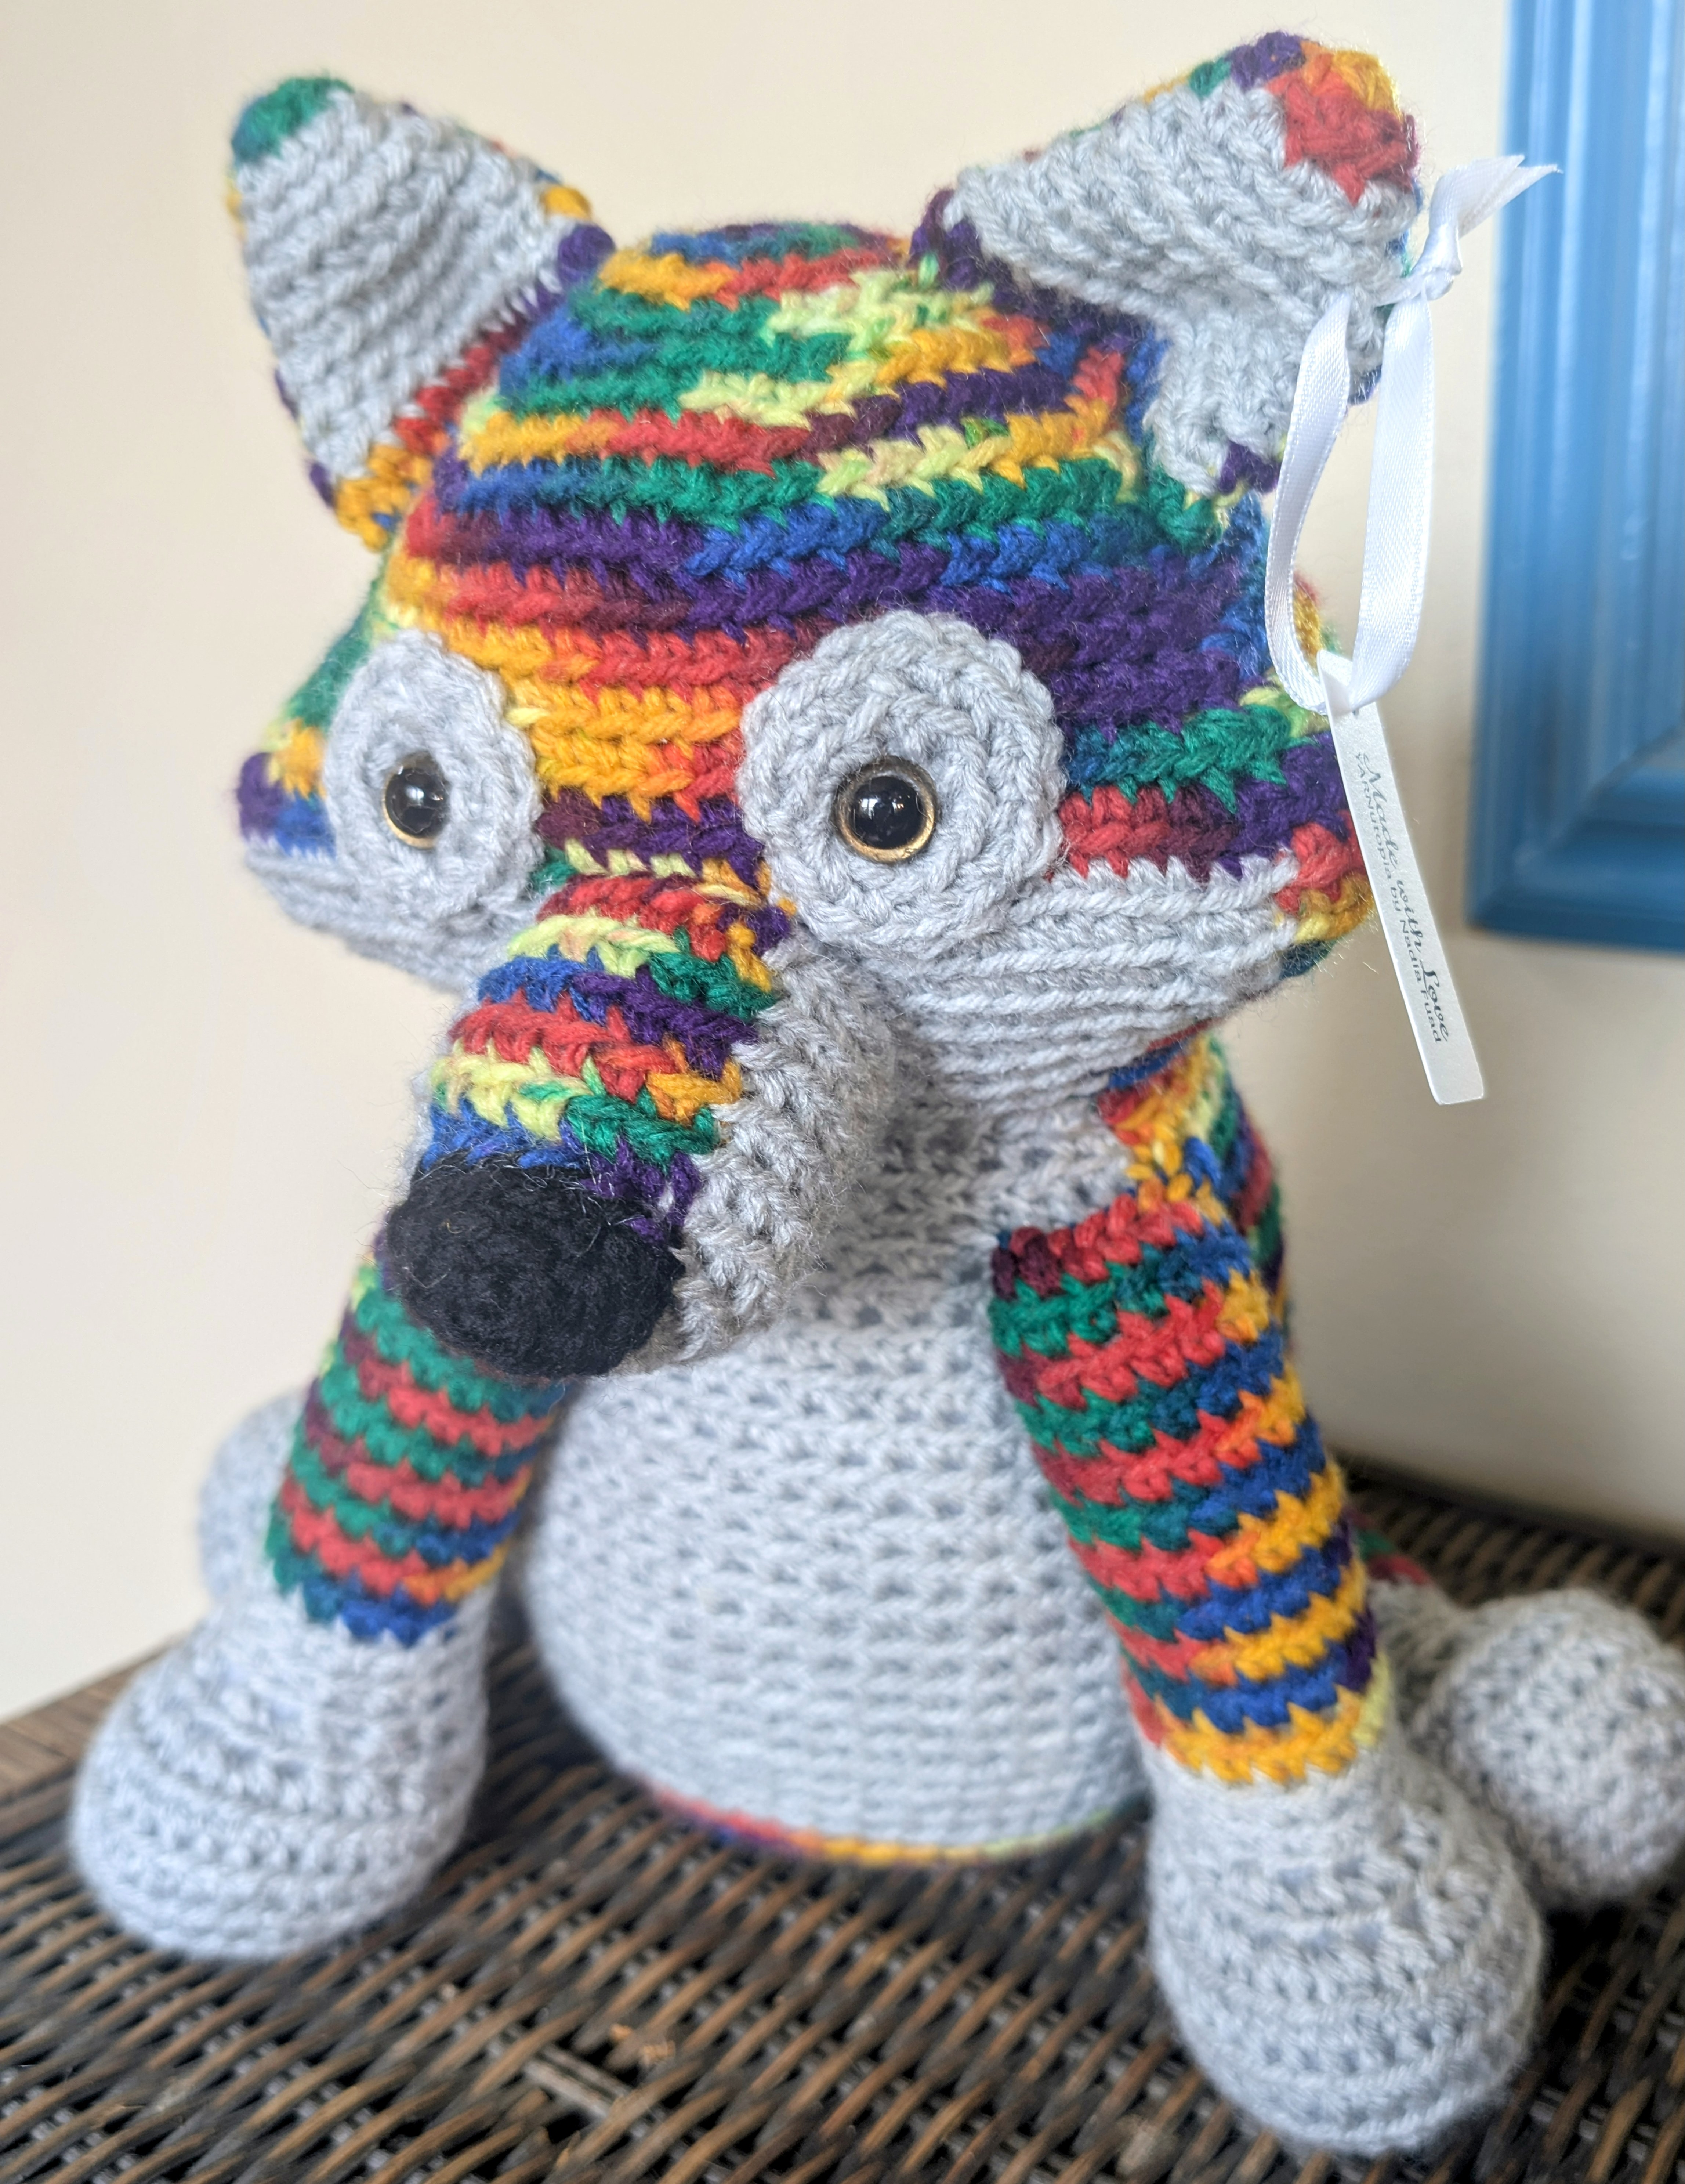
A Special Order: Crochet Amigurumi
Gifting Crochet Mushroom Keychains at Music Festivals
Happy Halloween 2022 from YARNutopia!
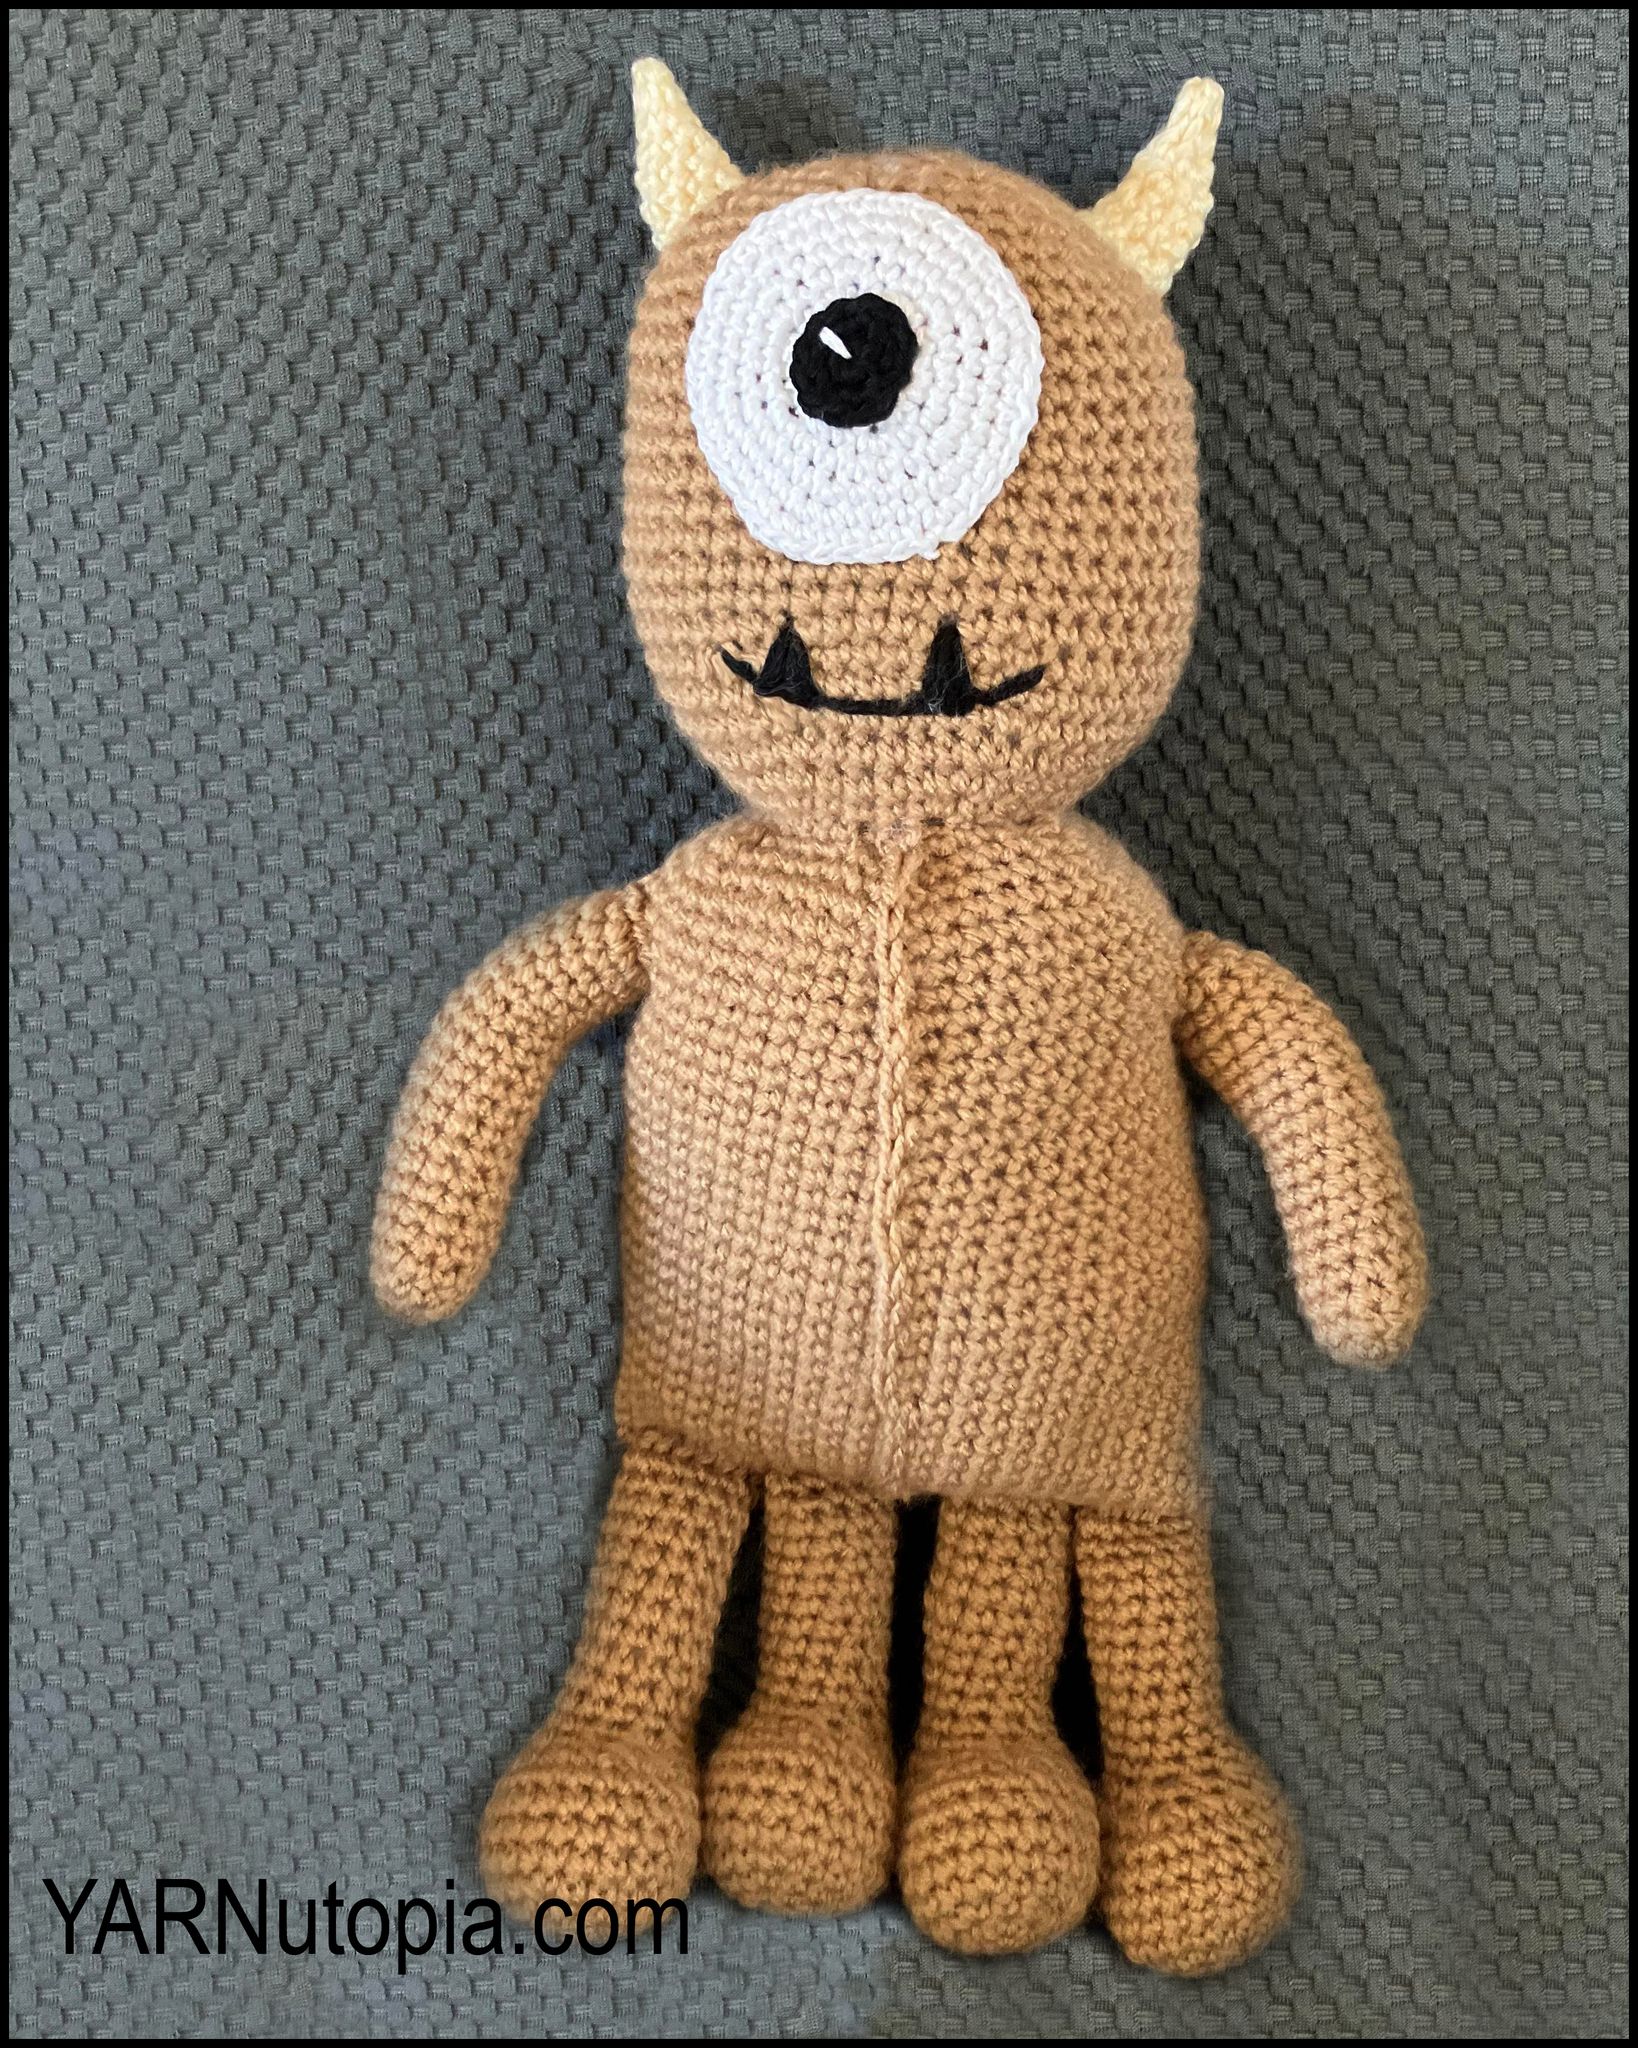
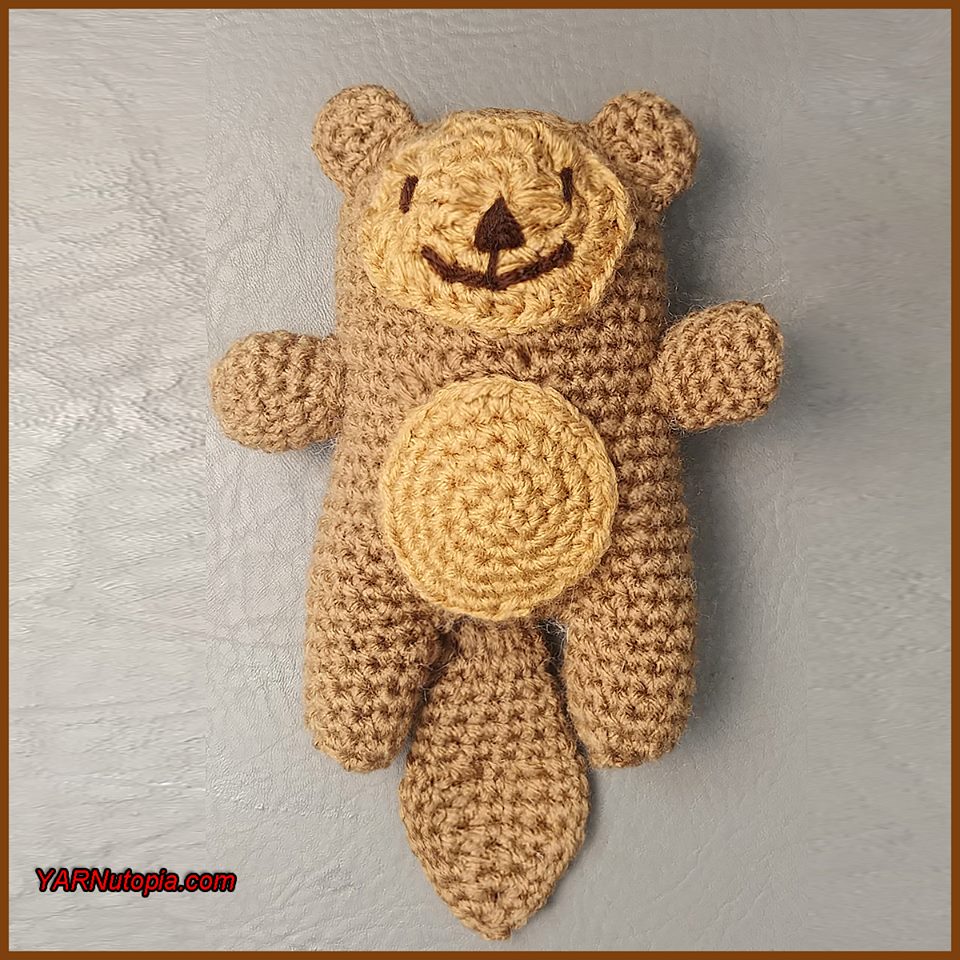
FREE Written Crochet Pattern: Monster/Alien Stuffed Toy Amigurumi
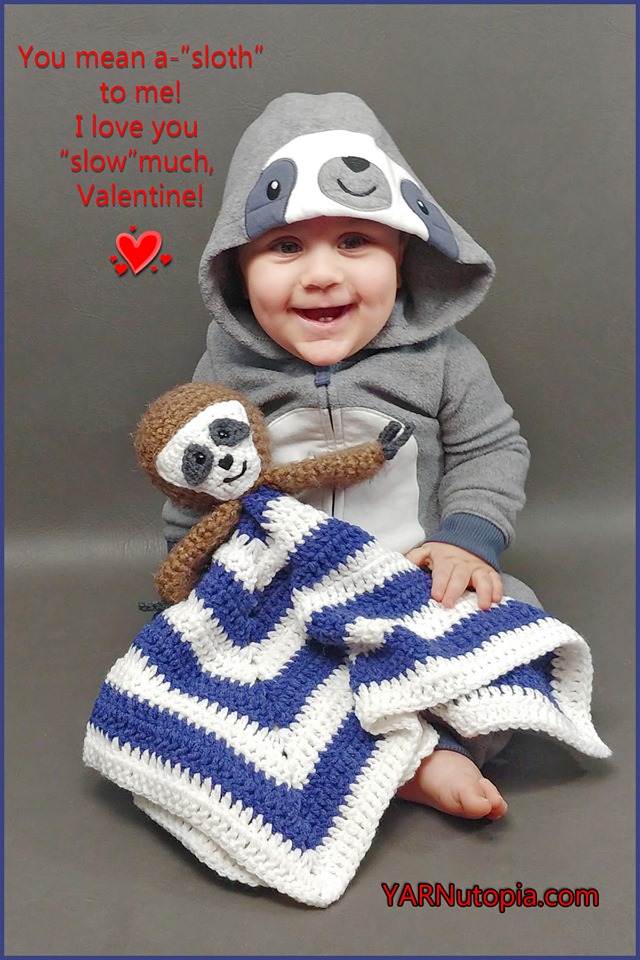
FREE Written Crochet Pattern: Sloth Lovey
FREE Written Crochet Pattern: Cow Amigurumi
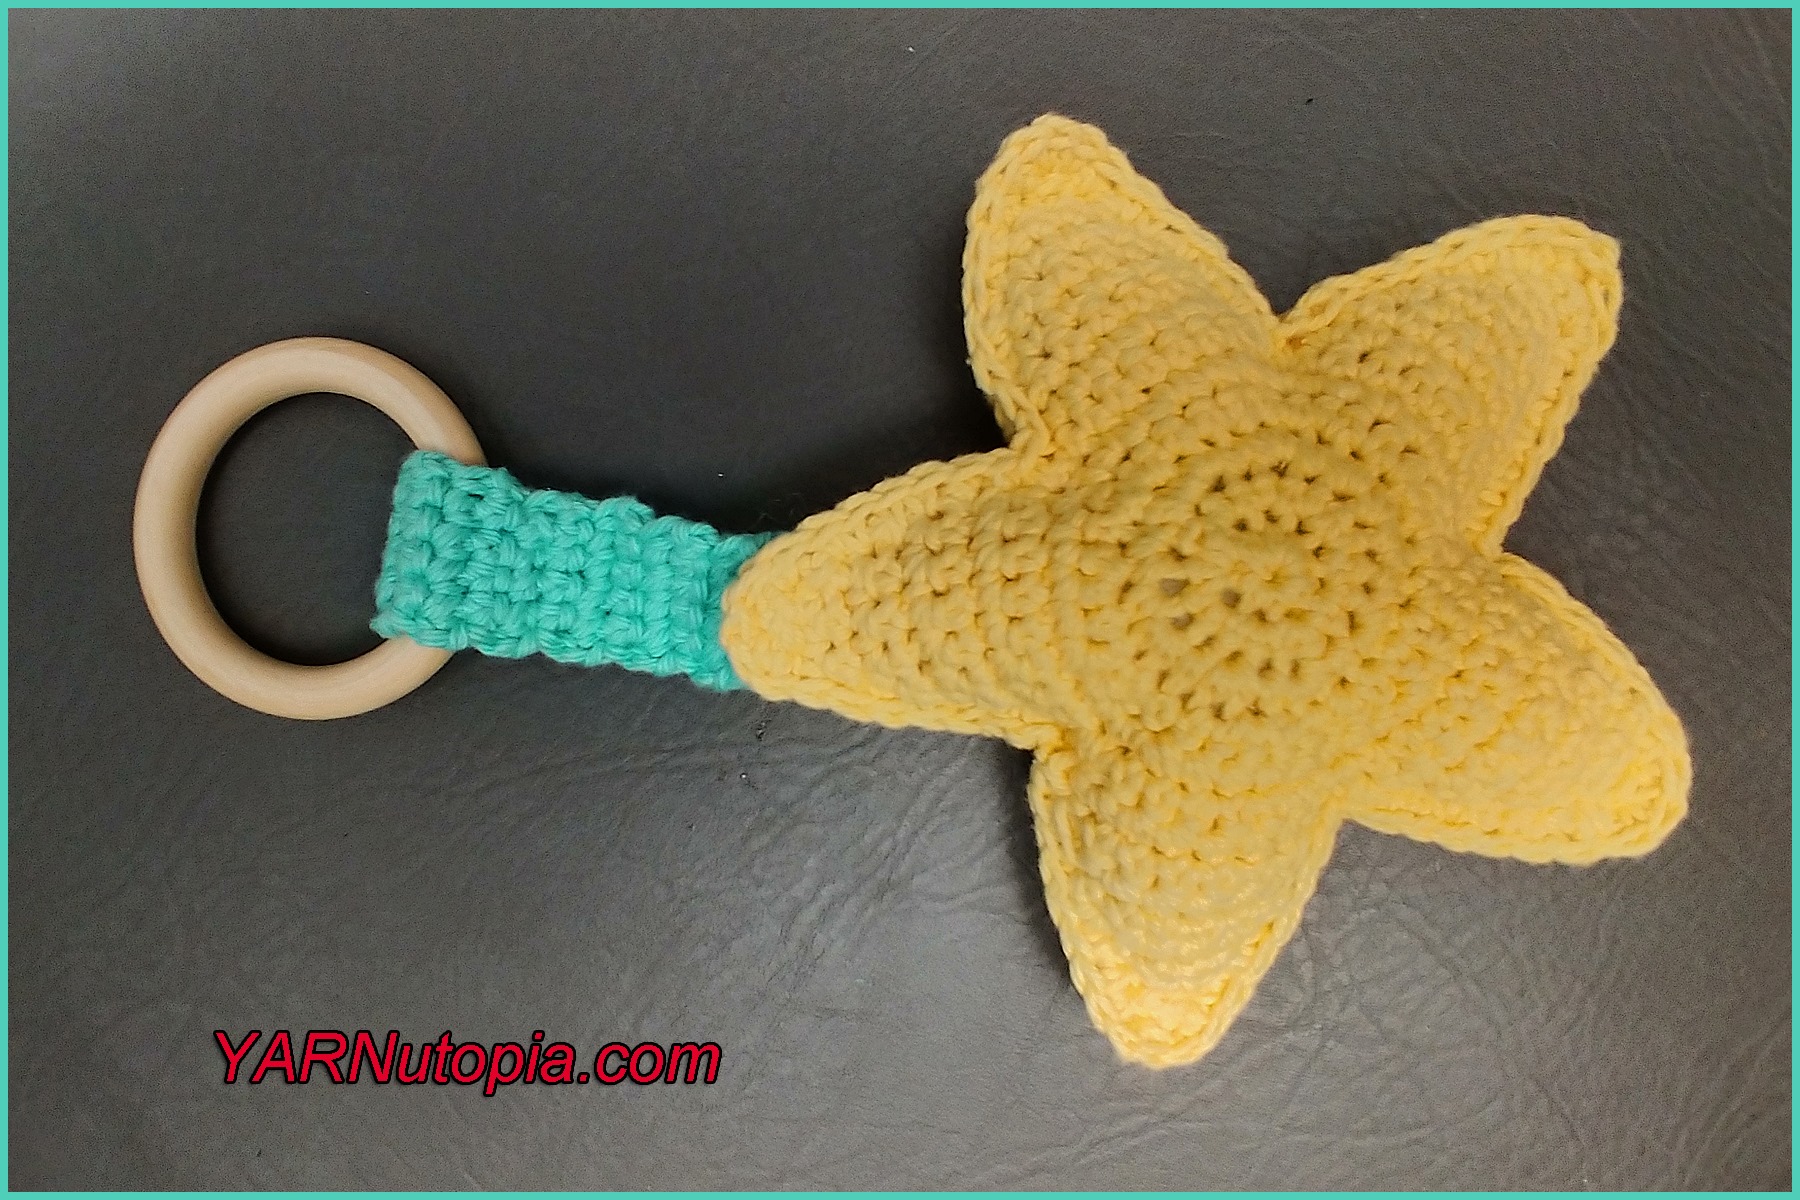
Crochet Tutorial: Star Ring Rattle Teething Toy
Crochet Tutorial: Otter Amigurumi
Crochet Tutorial: Bunch of Grapes Amigurumi
Crochet Tutorial: Octopus Keychain
Crochet Tutorial: Egg Amigurumi
Crochet Tutorial: Anatomical Heart Amigurumi
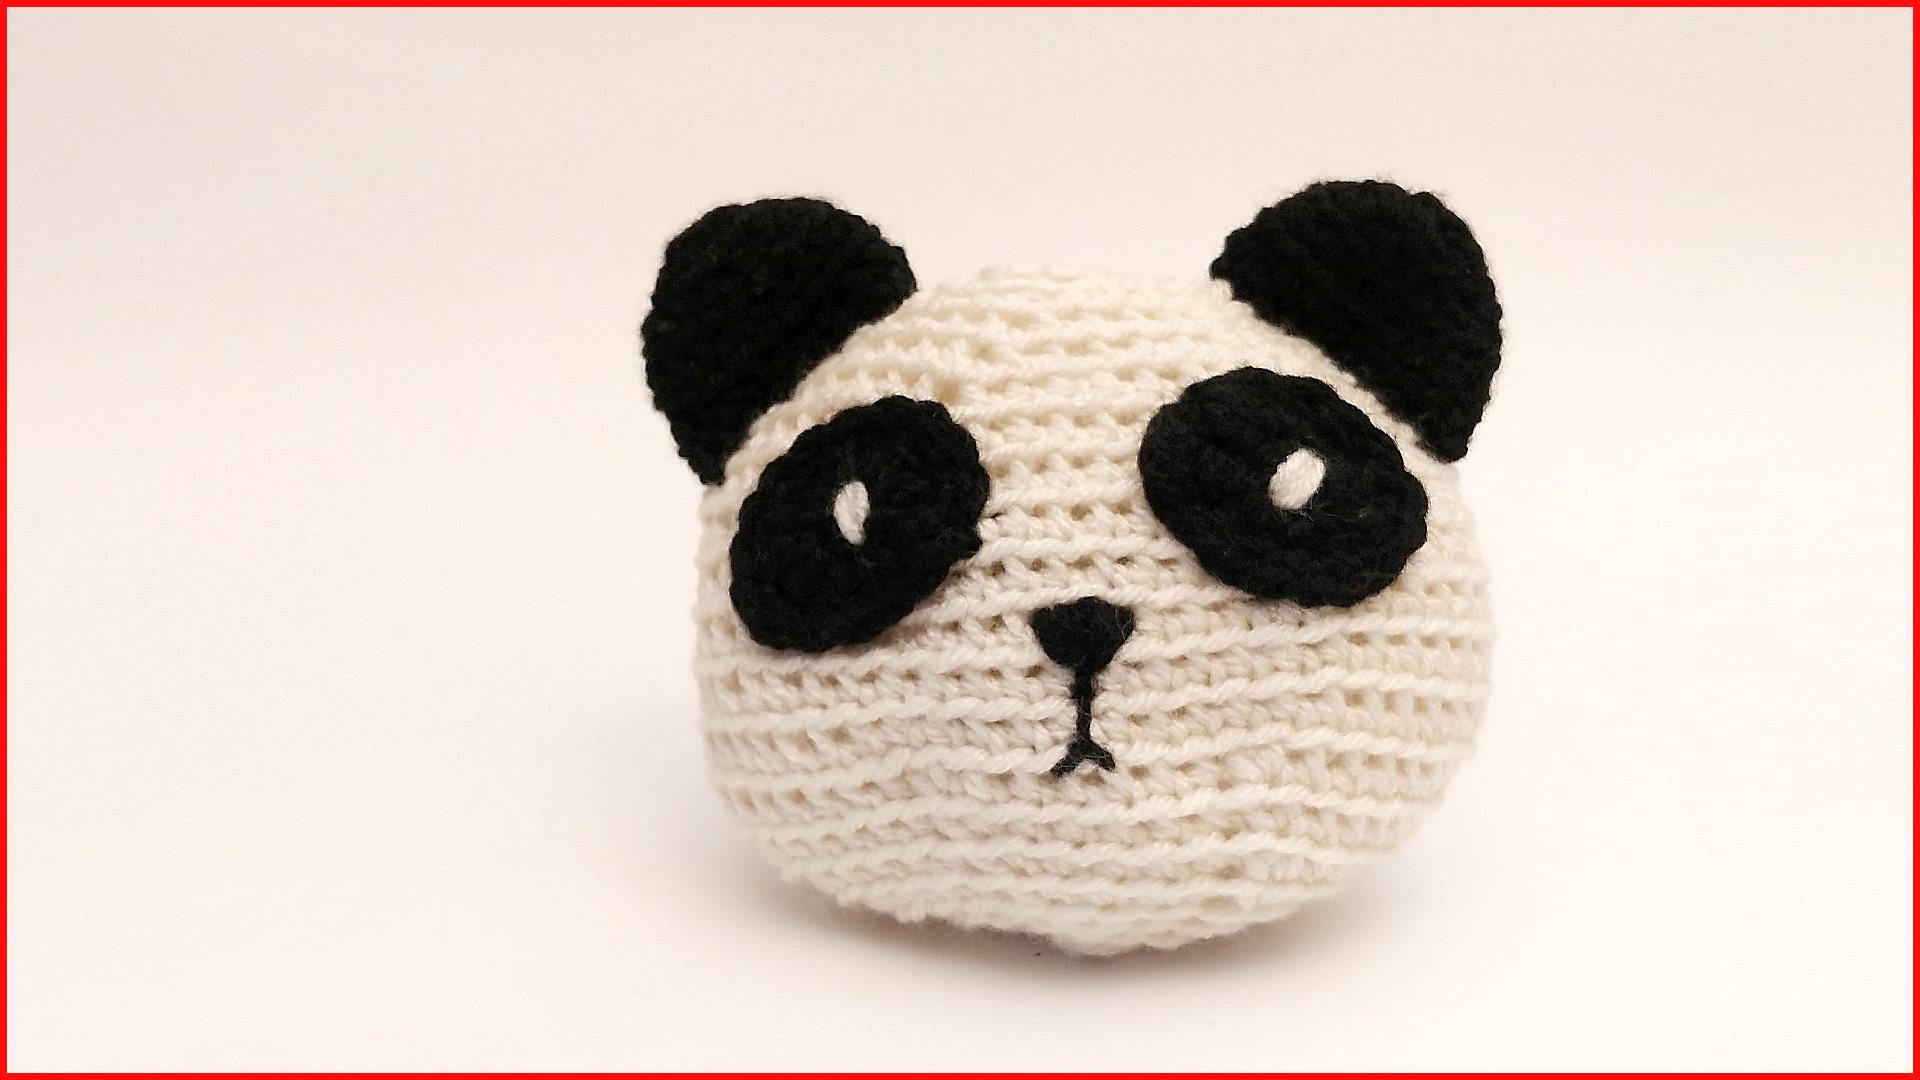
Crochet Tutorial: Panda Plush Amigurumi
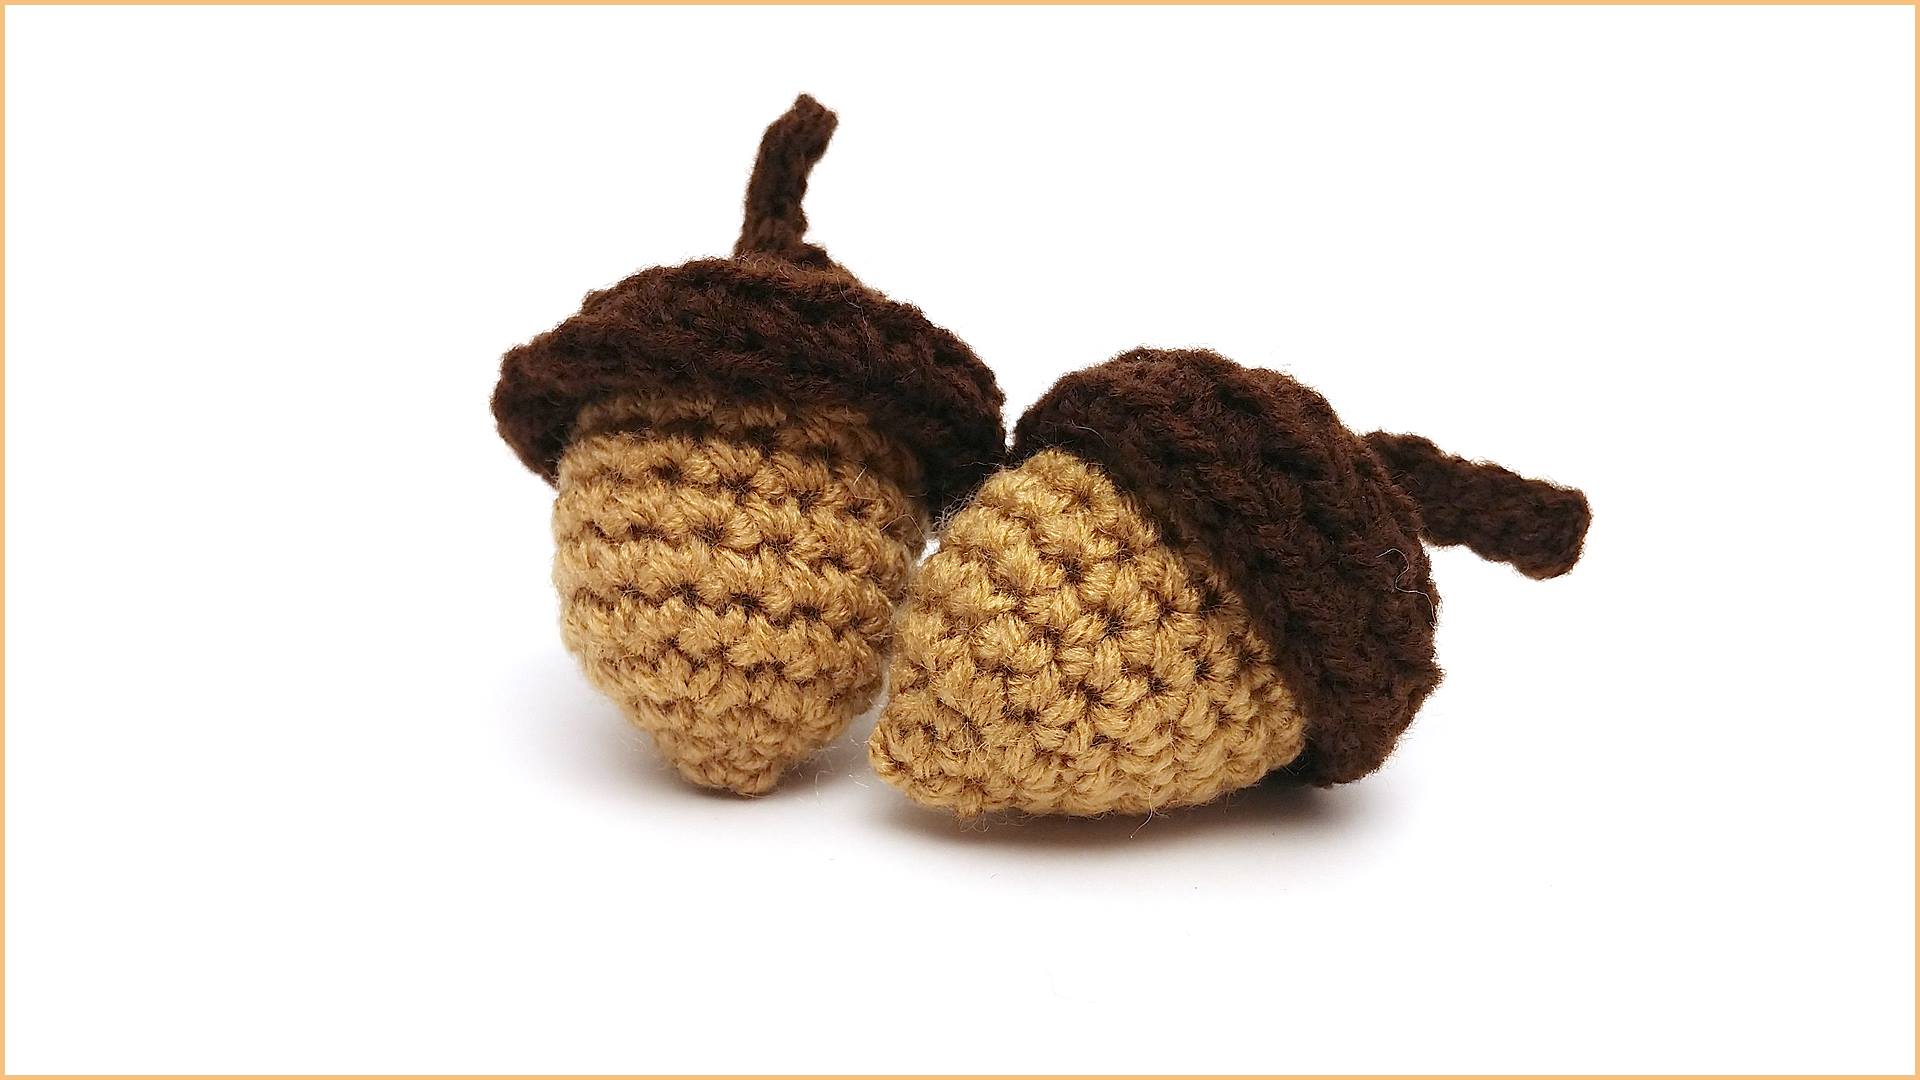
Crochet Tutorial: Acorn Amigurumi
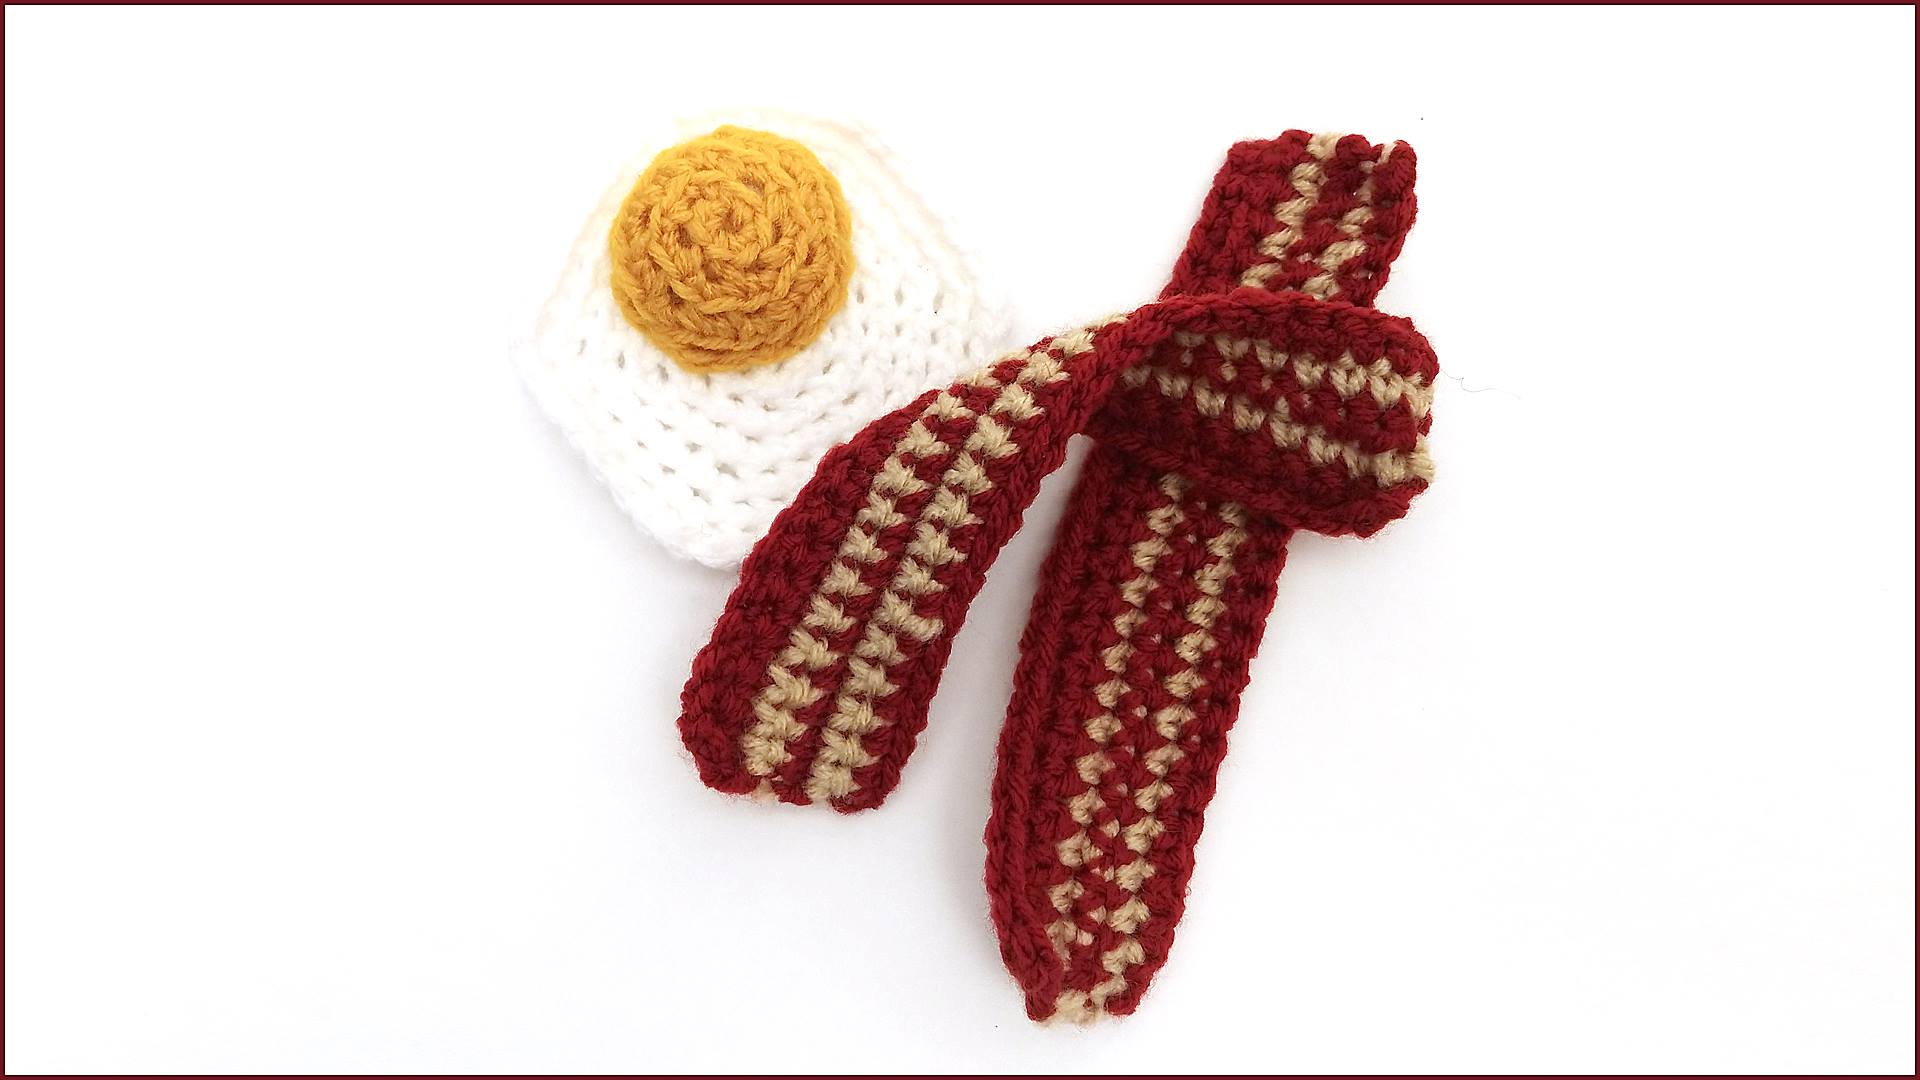
Crochet Tutorial: Bacon and Eggs Amigurumi
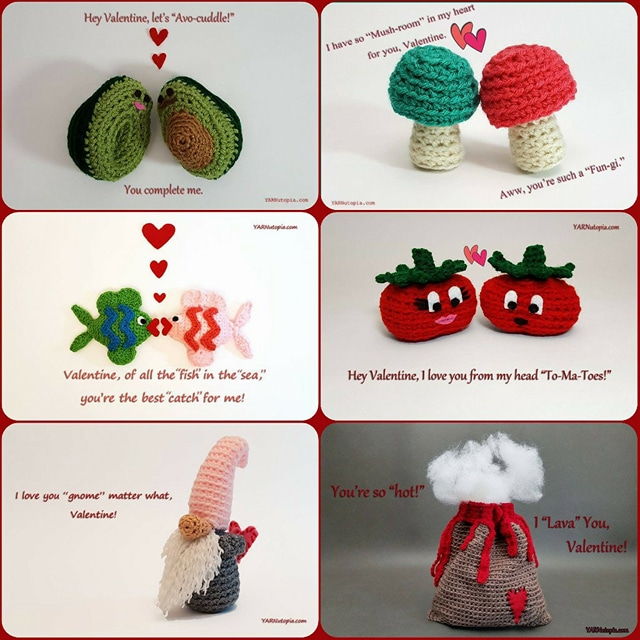
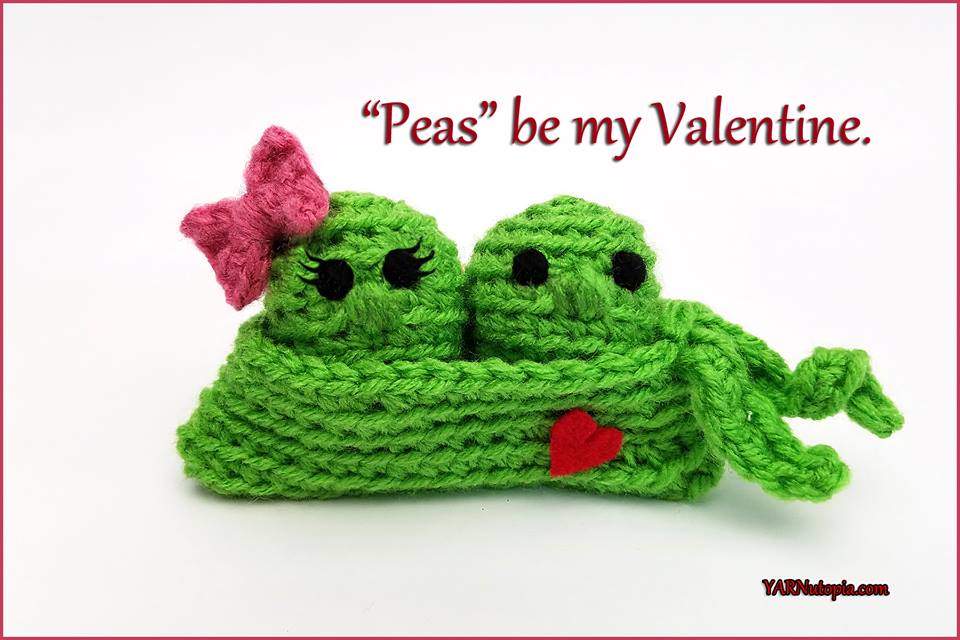
Punny Valentine’s: “Love” a Good Pun
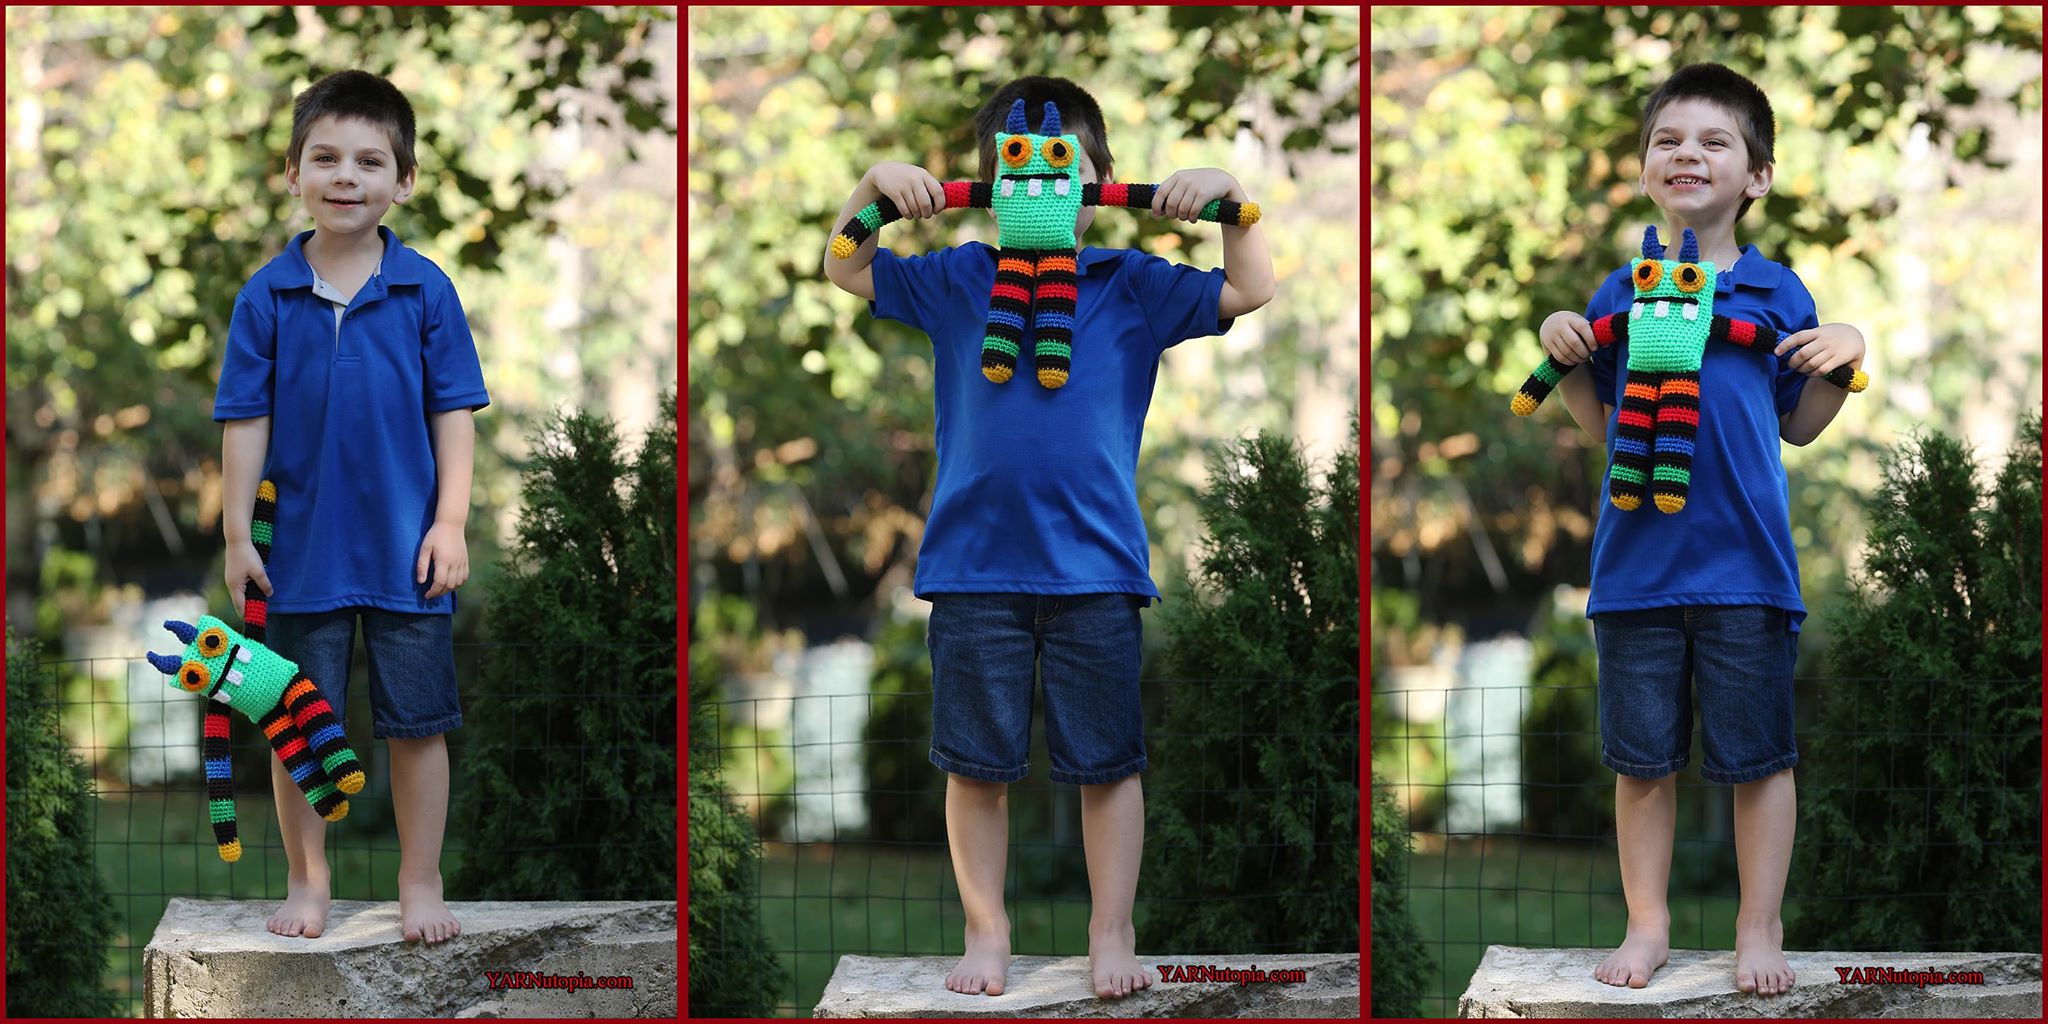
Crochet Tutorial: Frederick the Misfit Monster Toy
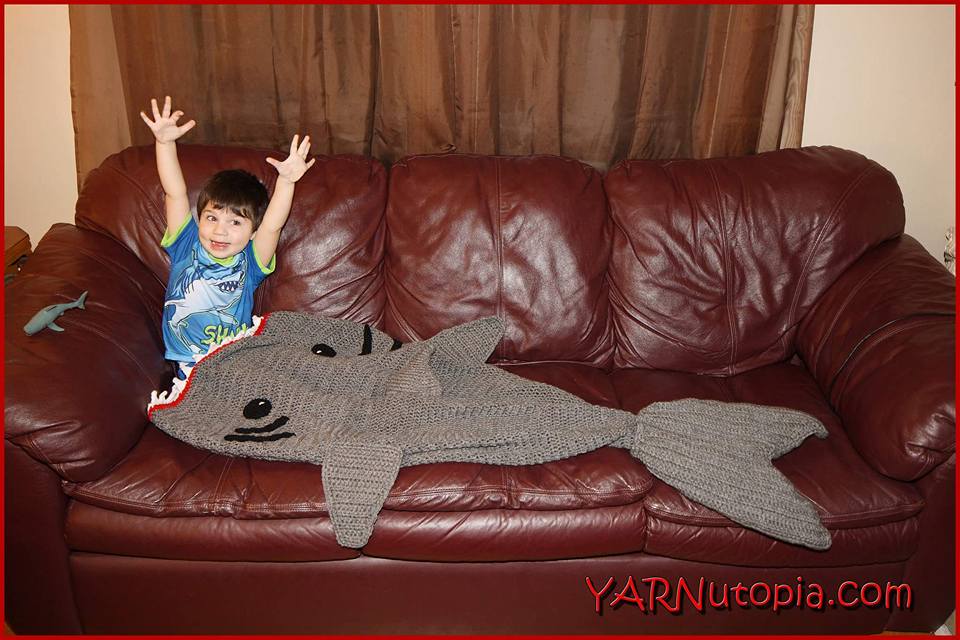
Shark Week Crochet Round-Up
Crochet Tutorial: Flamingo Feet Baby Booties
I made the One Skein Bunny!
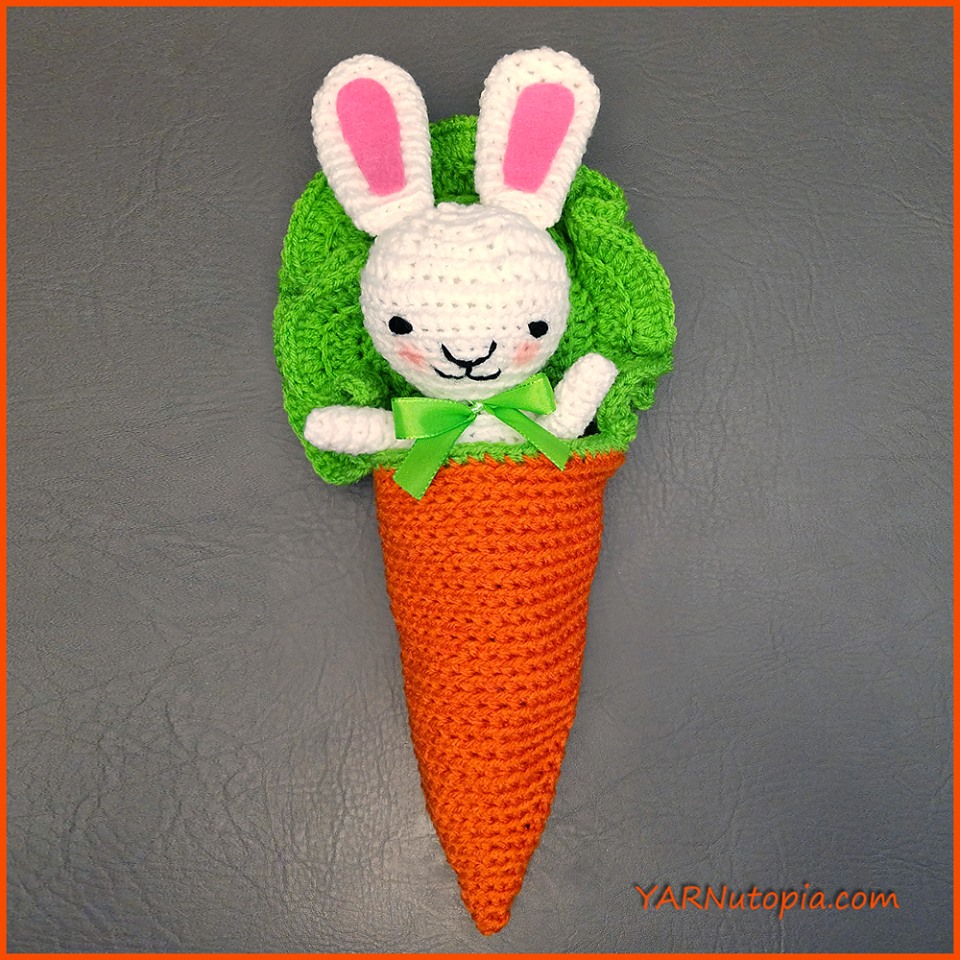
Crochet Tutorial: Bunny Amigurumi in a Carrot Cocoon
Crochet Tutorial: Gnome Amigurumi
Crochet Tutorial: Bumble Bee Amigurumi
Crochet Tutorial: Tomato Amigurumi
Crochet Tutorial: Avocado Amigurumi
Crochet Tutorial: Mushroom Amigurumi
Crochet Tutorial: Mouse and Cheese Amigurumi
Crochet Tutorial: Two Peas in a Pod
My Punny Valentine!
Crochet Tutorial: Dolls-Bride and Groom
Loading Comments...
Write a Comment...
Email (Required)
Name (Required)
Website