Skip to content
YARNutopia & M0re
All things Yarn Related: Crochet, DIY, and Crafts
Blog
365 Days of Granny Squares
Stitch Gallery & Glossary
Crochet Video Tutorials
Frequently Asked Questions
Crochet Glossary: Learn the Lingo
Contact
Search
Search
bird
YARNutoia & More
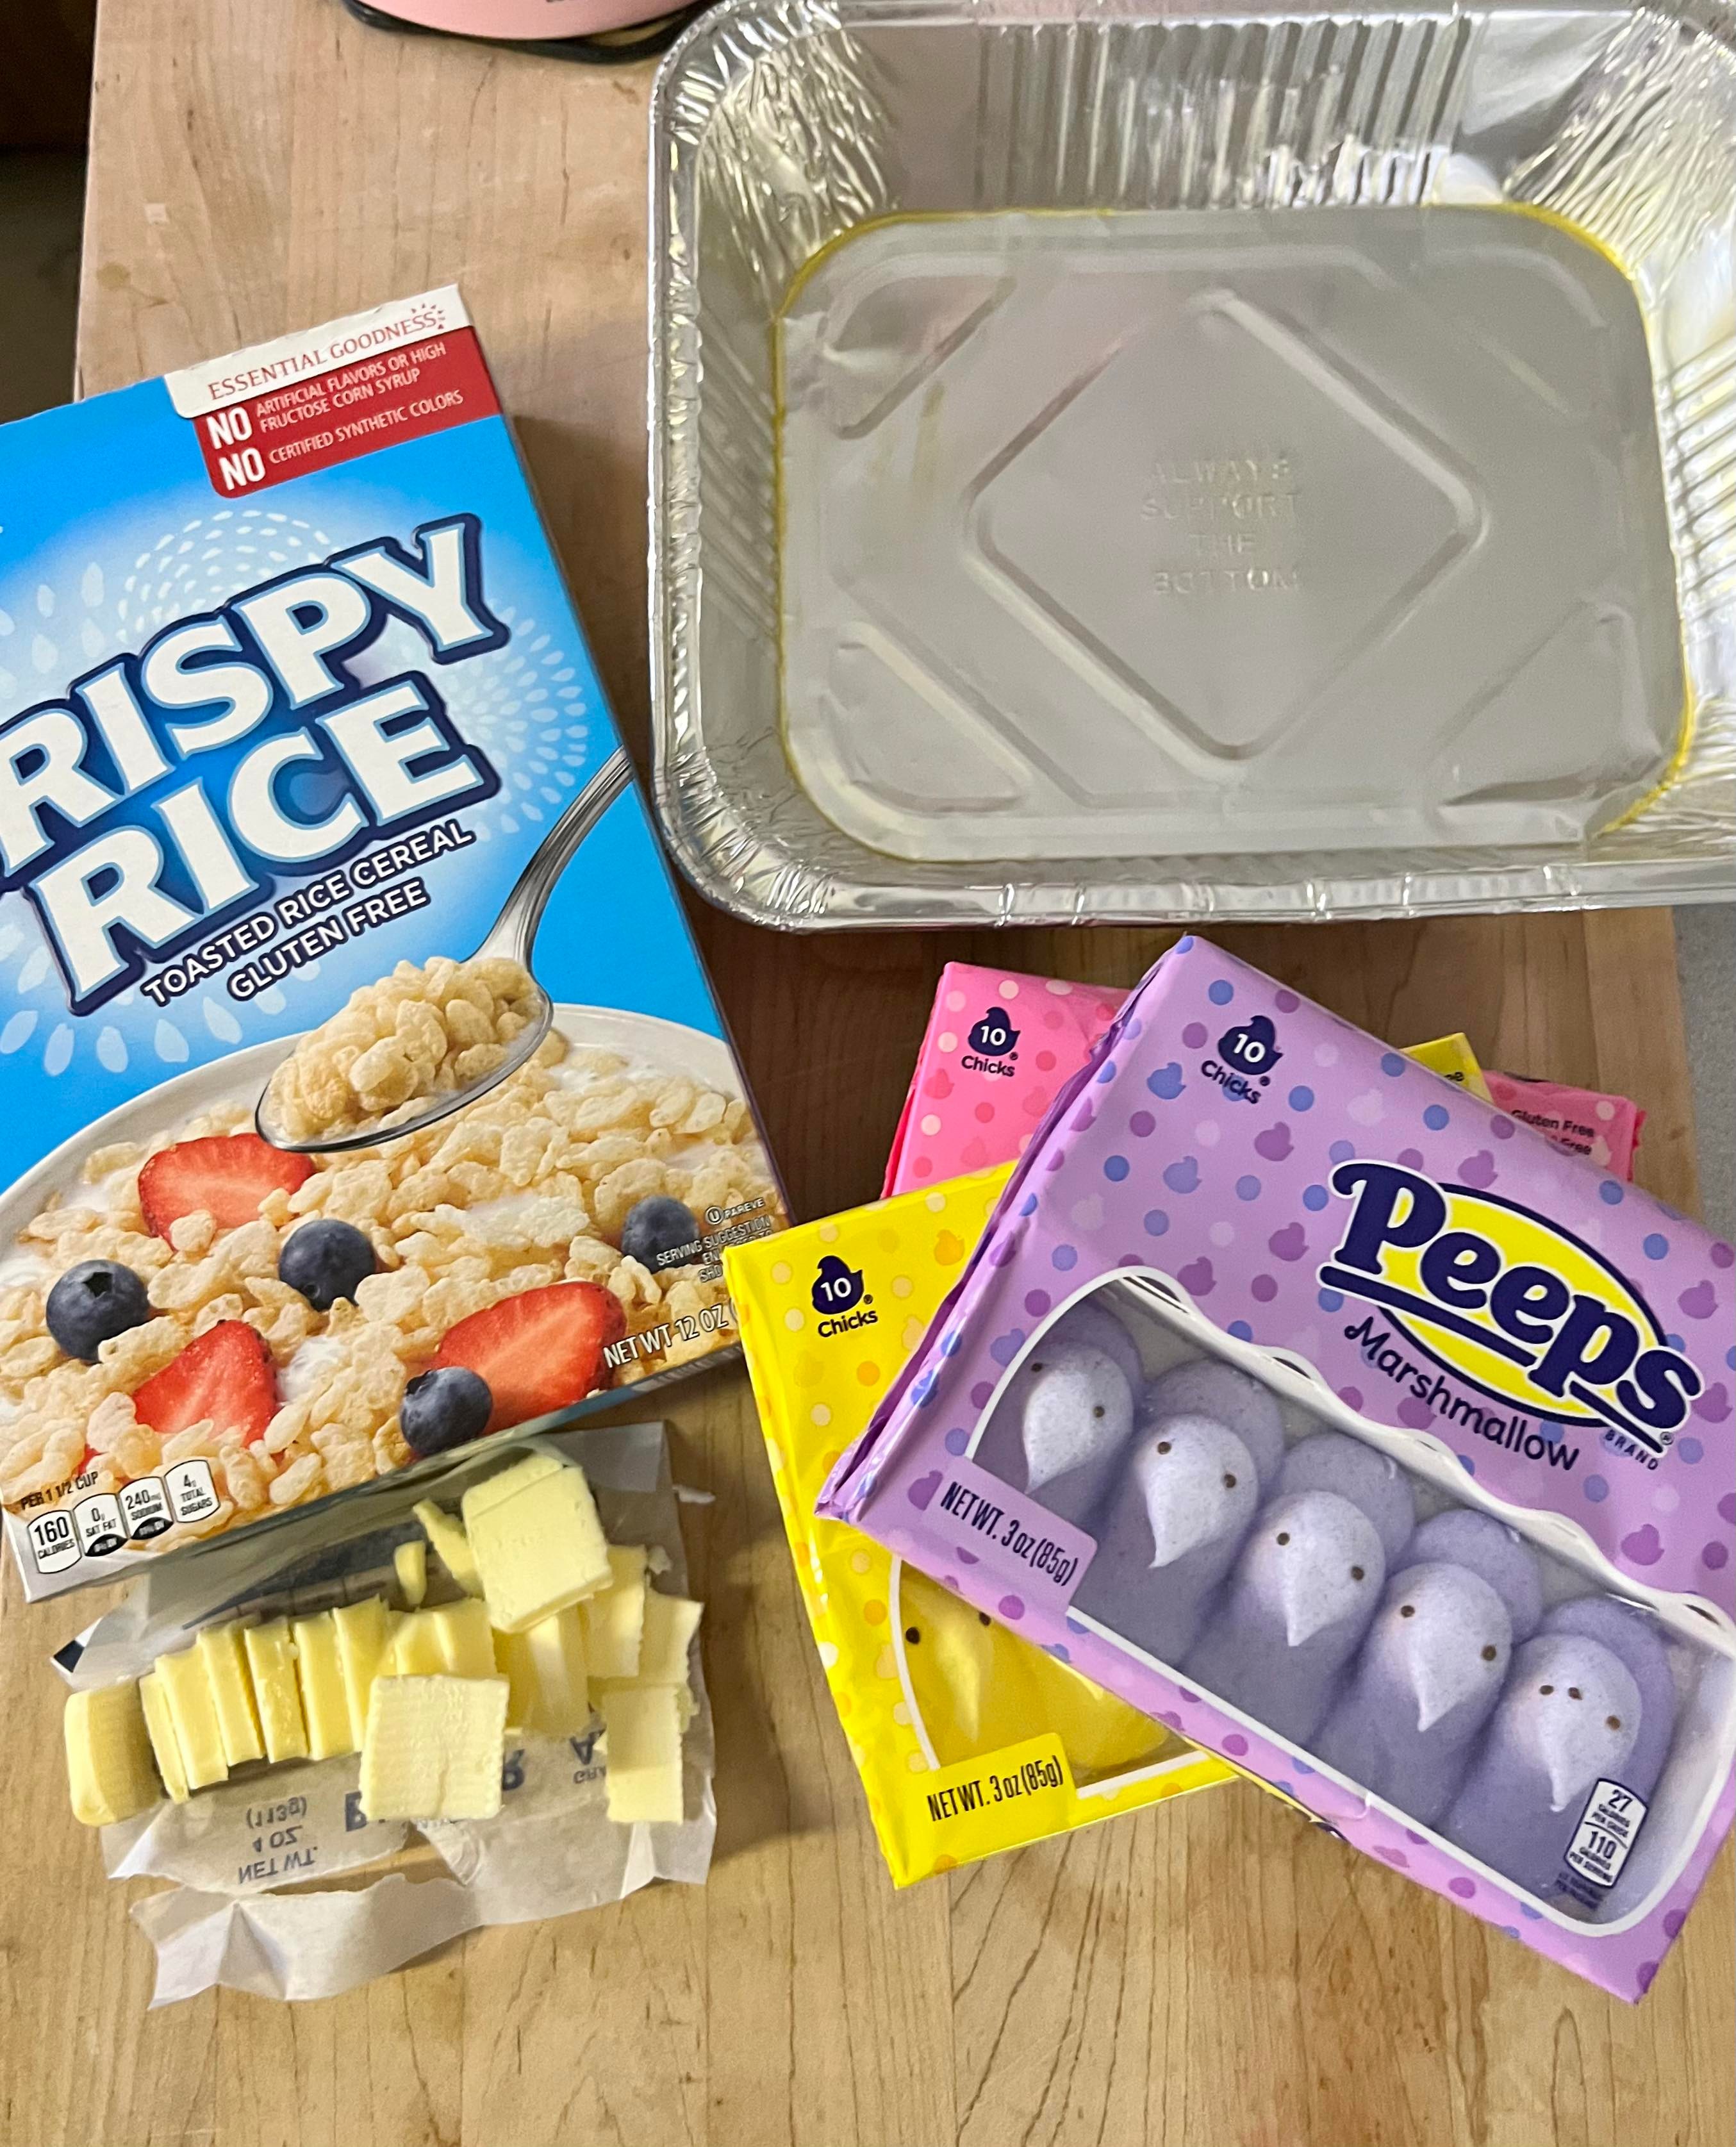
How to Make: Rice Crispy Peep Treats
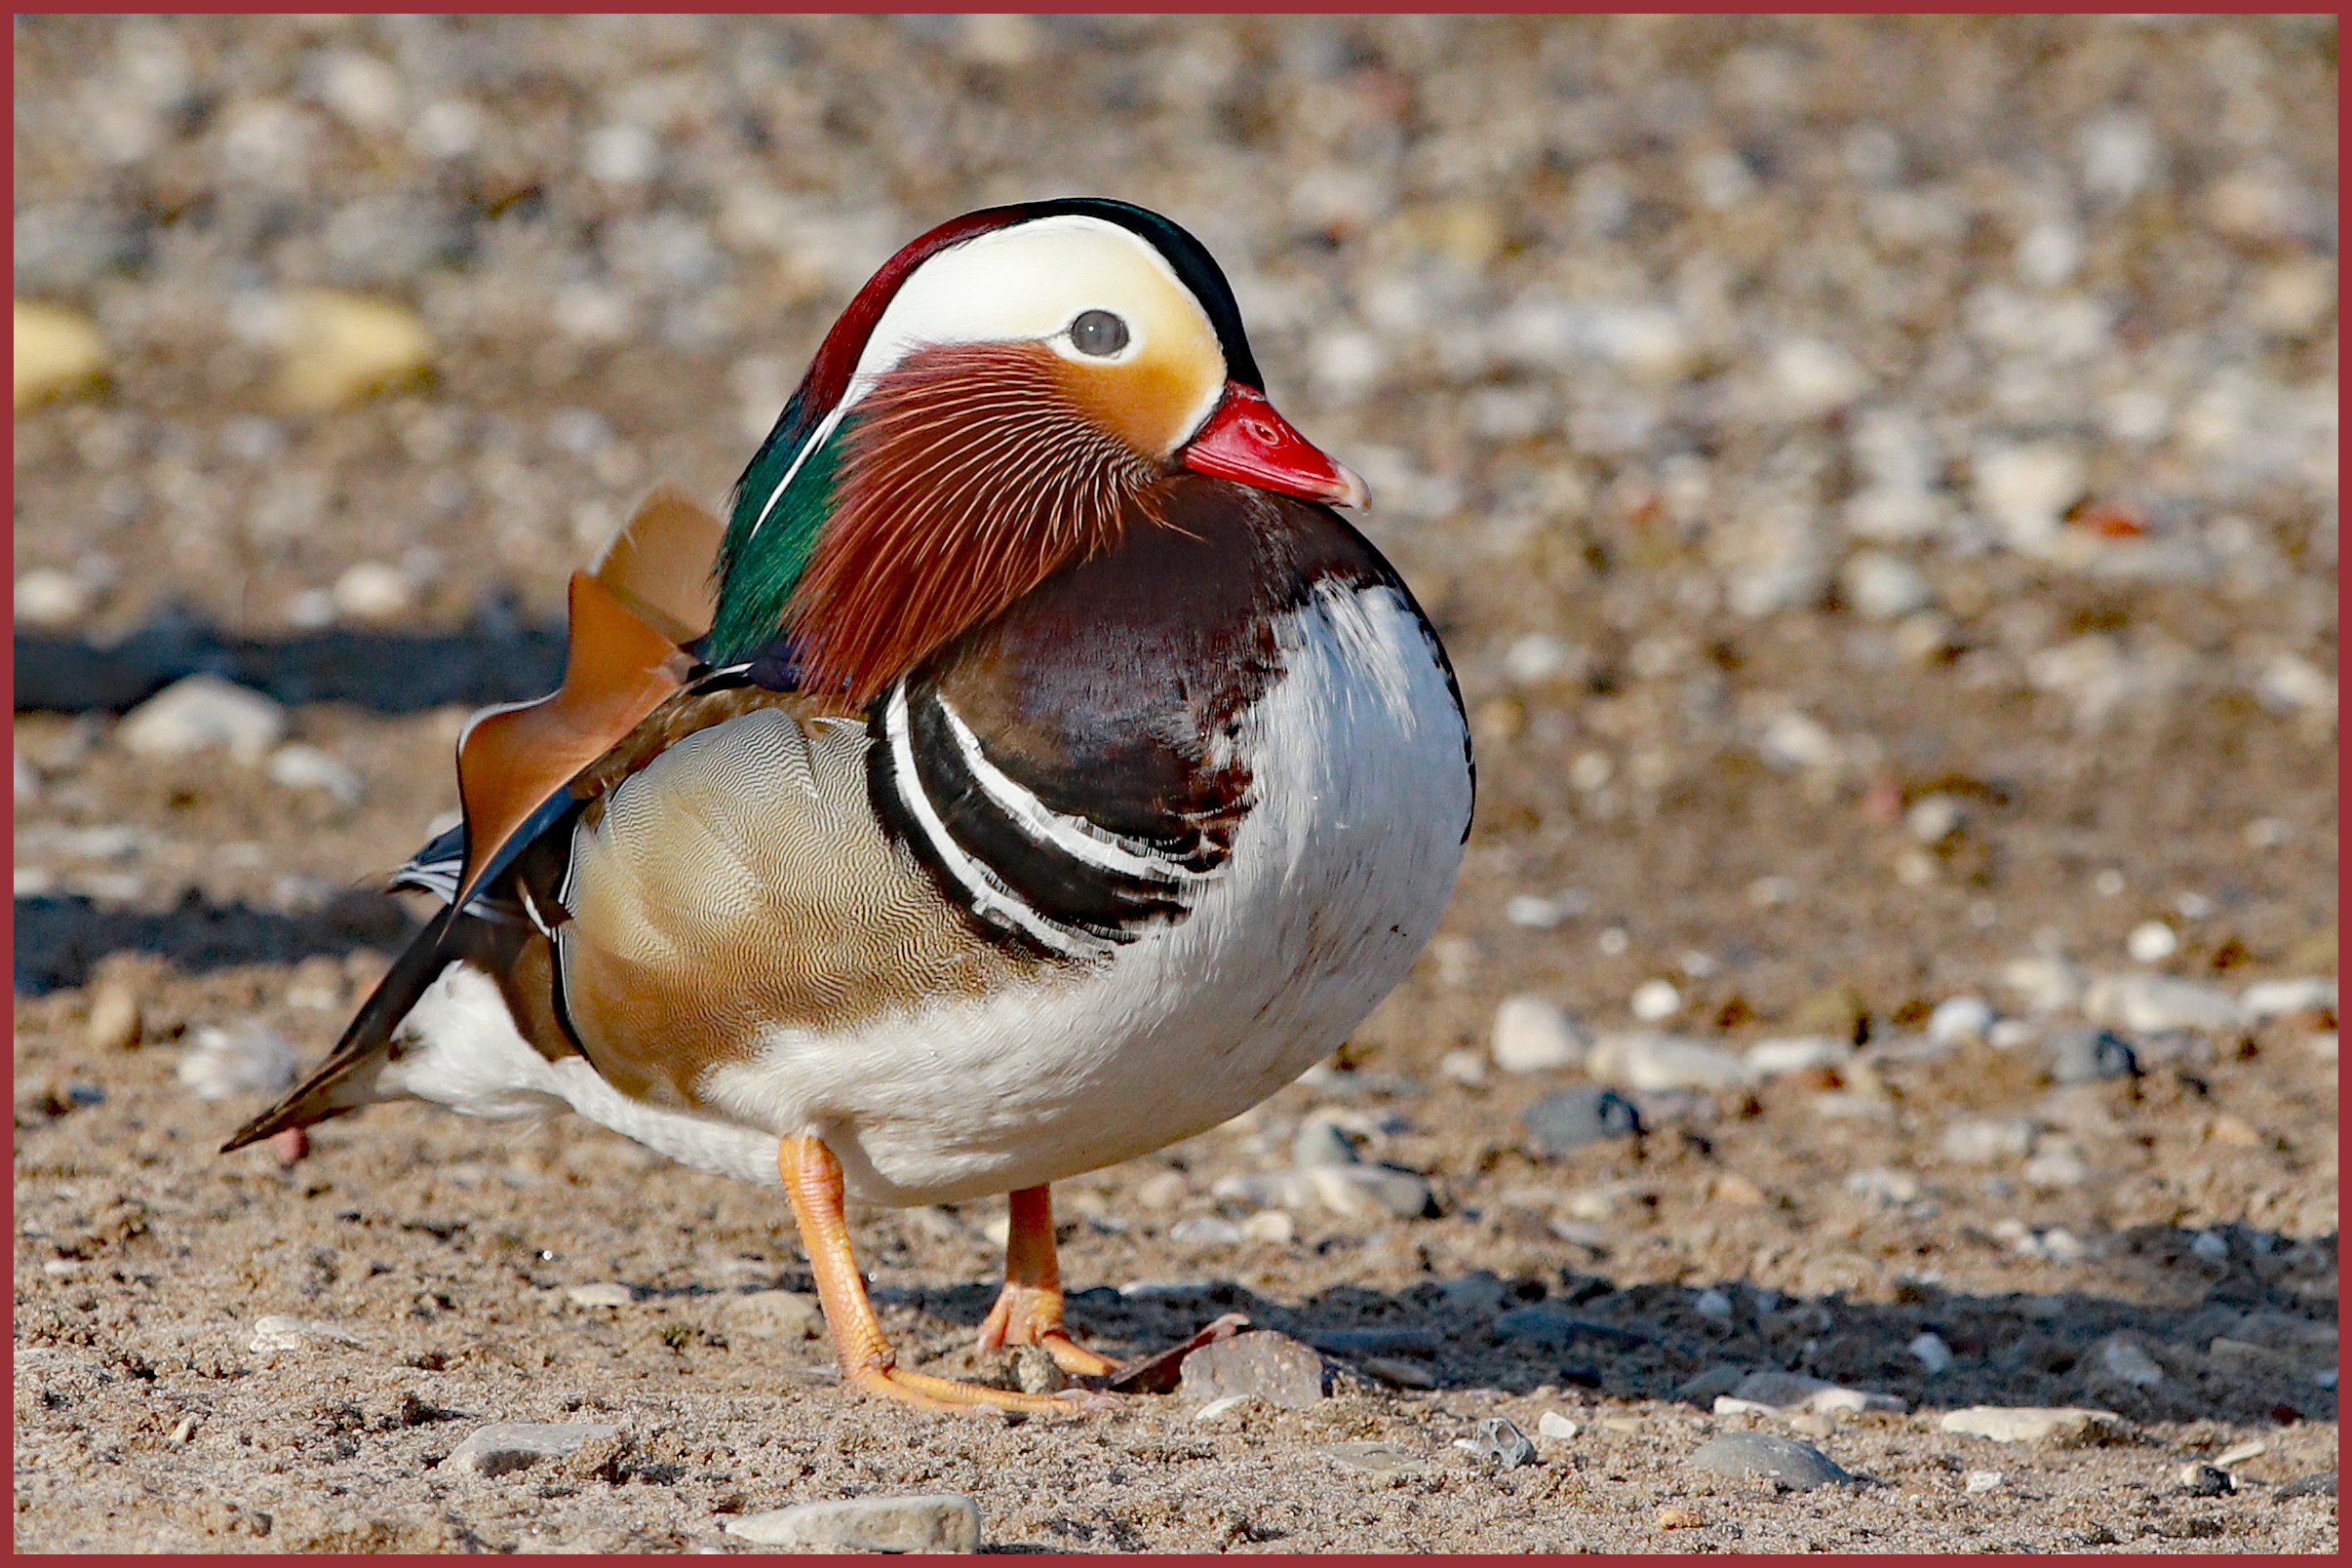
Mandarin Duck Sighting on Milwaukee Lakeshore, WI
Crochet Tutorial: Owl Be Warm Hat
12 Days of Christmas Ornament Collection
12 Days of Christmas: Penguin Ornament
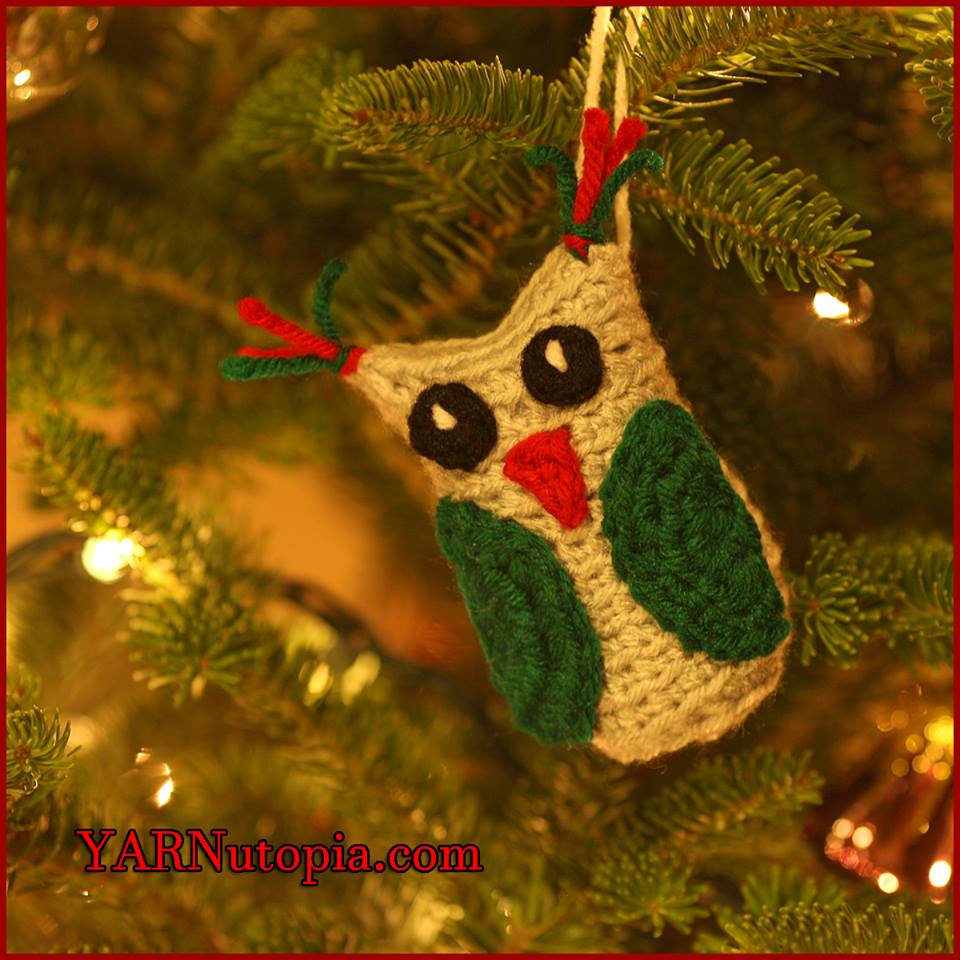
12 Days of Christmas: Owl Ornament
Crochet Tutorial: Flamingo Feet Baby Booties
Crochet Tutorial: Owl Mask
My Punny Valentine!
Crochet Tutorial: Turkey Hat
Crochet Tutorial: Owl Amigurumi using the Crocodile Stitch
Loading Comments...
Write a Comment...
Email (Required)
Name (Required)
Website