Skip to content
YARNutopia & M0re
All things Yarn Related: Crochet, DIY, and Crafts
Blog
365 Days of Granny Squares
Stitch Gallery & Glossary
Crochet Video Tutorials
Frequently Asked Questions
Crochet Glossary: Learn the Lingo
Contact
Search
Search
cap
YARNutoia & More
Crochet Tutorial: Elf Ears
Crochet Tutorial: Chunky Sport Hat
Crochet Tutorial: Boho Pom Hat
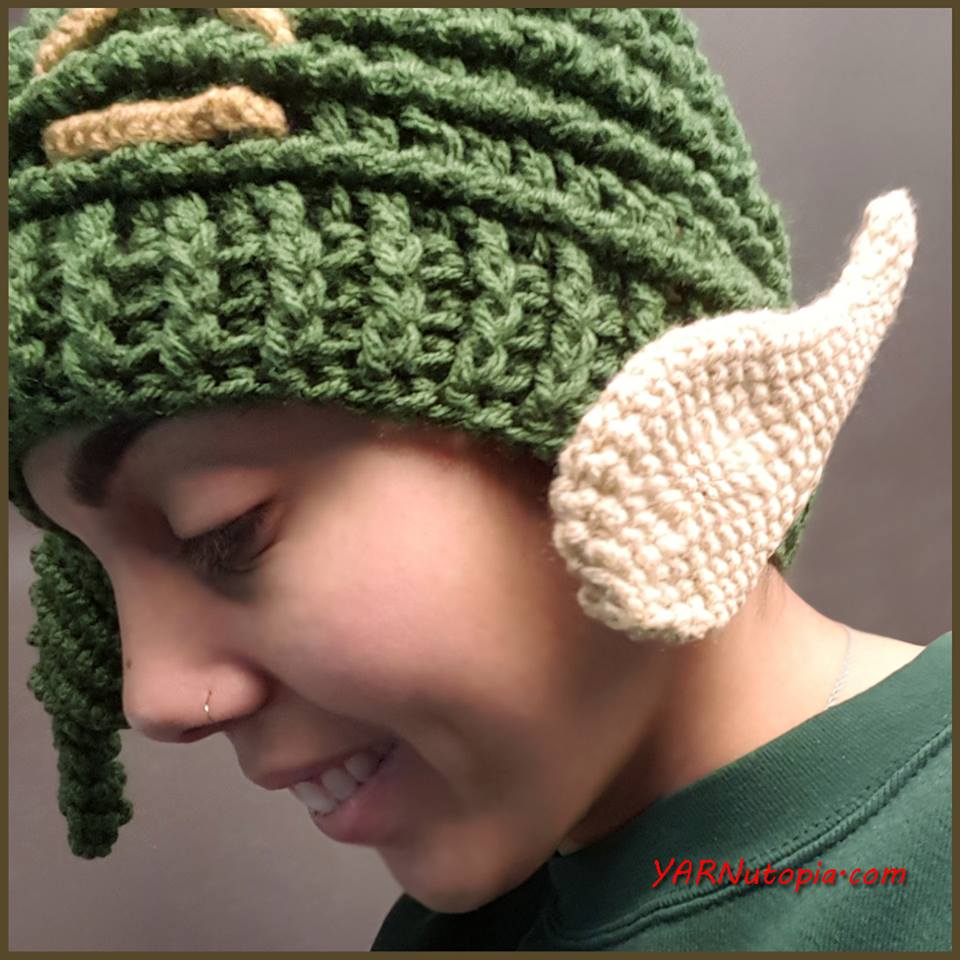
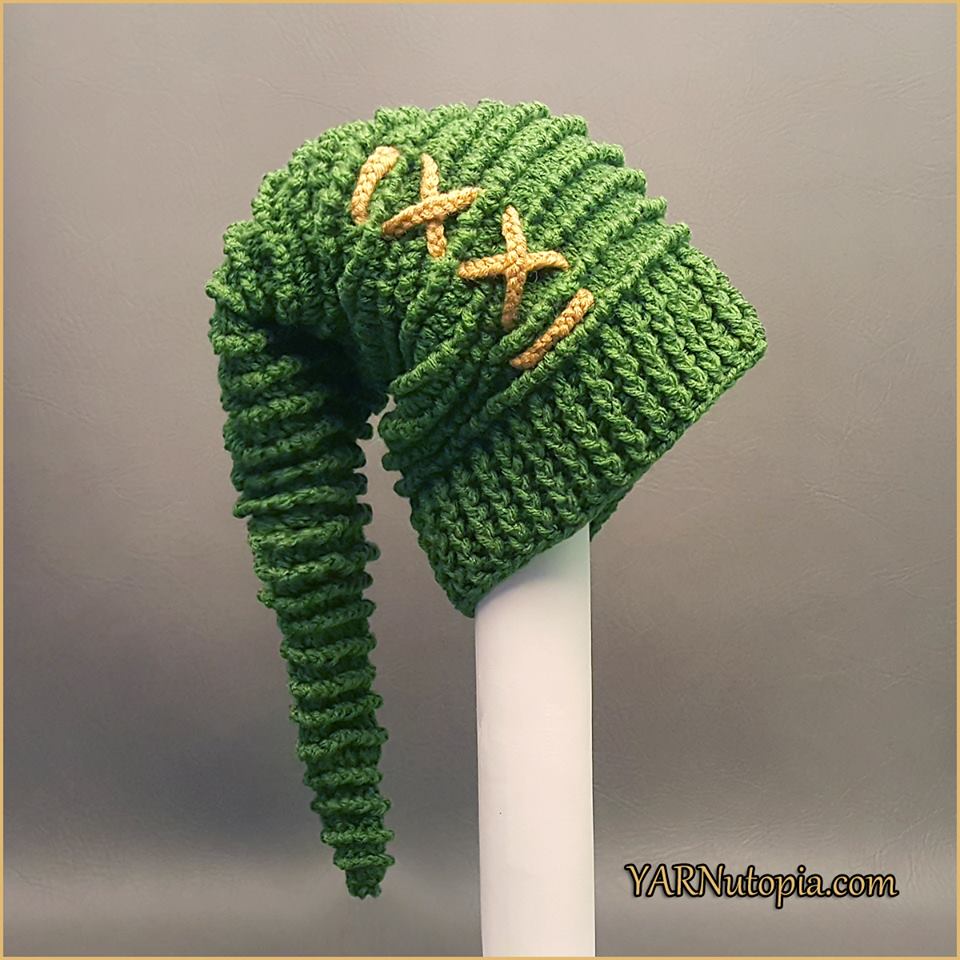
Crochet Tutorial: Link to the Past Stocking Cap
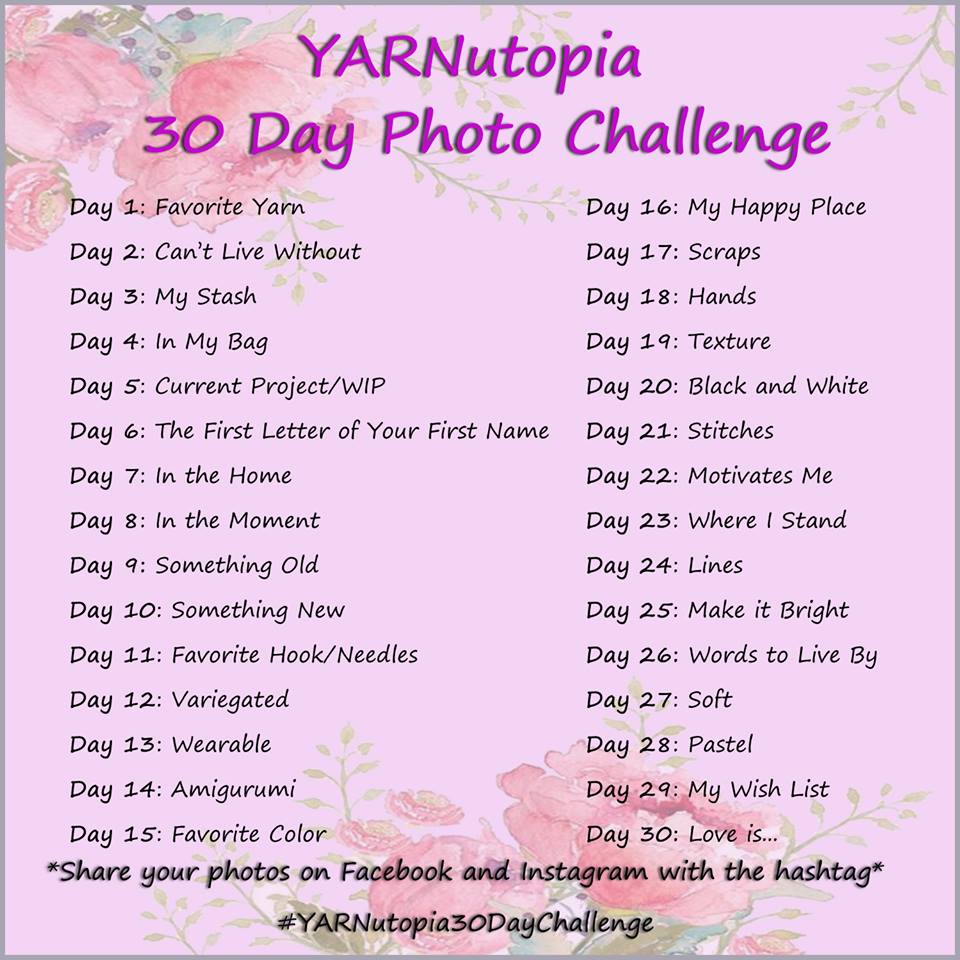
YARNutopia 30 Day Photo Challenge
Crochet Tutorial: The Fur Chapeau
Four Piece Baby Boy Layette Set
Four Piece Mini Square Baby Layette Set
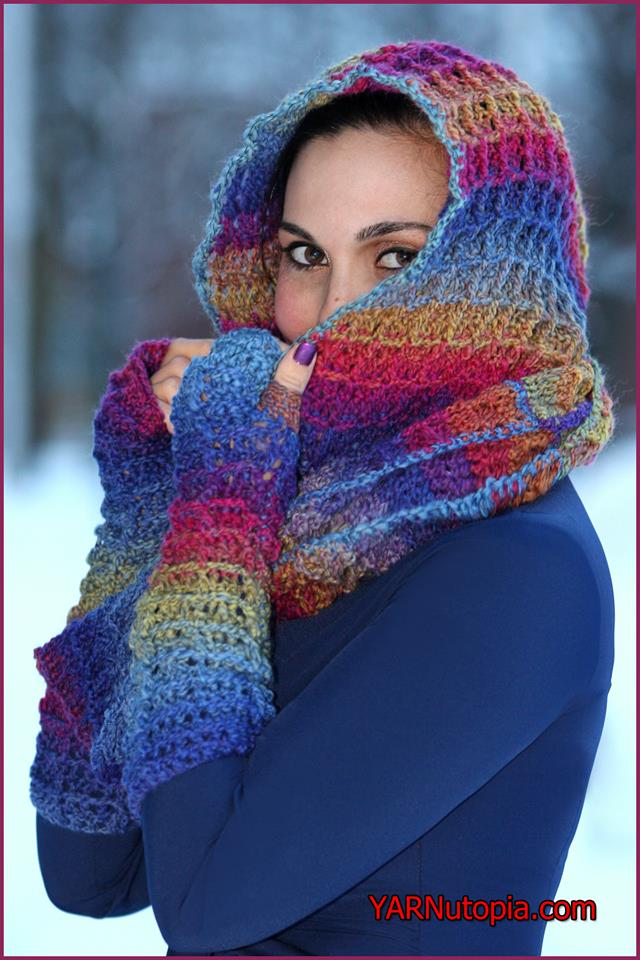
Crochet Tutorial: Warm Waffles Hooded Cowl
Crochet Tutorial: Let Your Buns Out Hat
Crochet Tutorial: Shred the Slopes Hat
Crochet Tutorial: Gorilla Hat
Crochet Tutorial: Faux Fur Trapper Hat
Crochet Tutorial: Beast Hat
Crochet Tutorial: Enchanted Rose Cape
Pokémon Go Style
Crochet Pattern: Cheshire Cat Tail
How to Crochet: Minecraft Creeper Hat
Crochet Tutorial: Cable Crochet Headband
Crochet Tutorial: Hometown Honey Sunhat
Crochet Tutorial: Elmo Hat
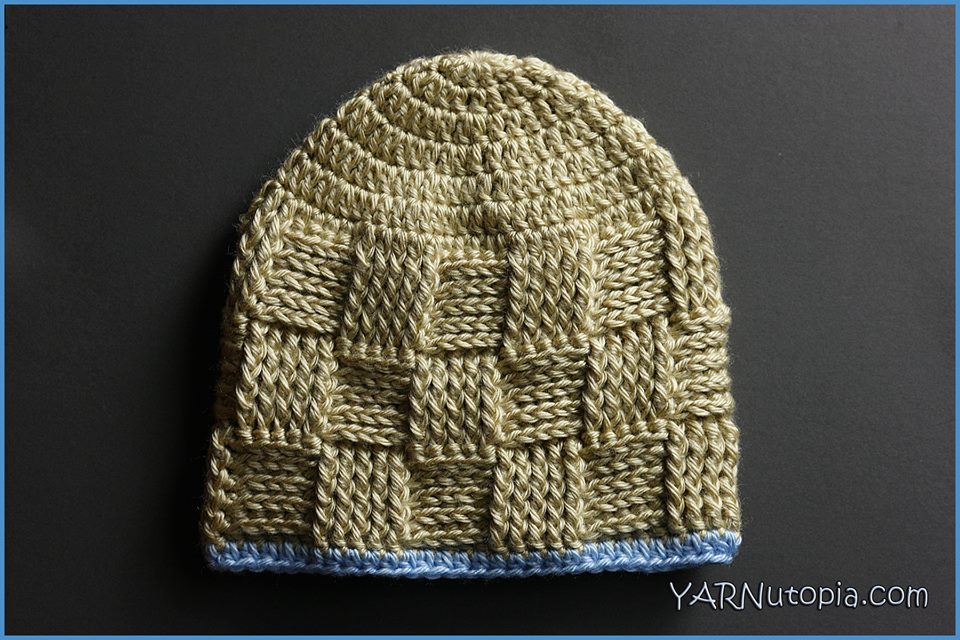
Crochet Tutorial: Basket Weave Baby Hat
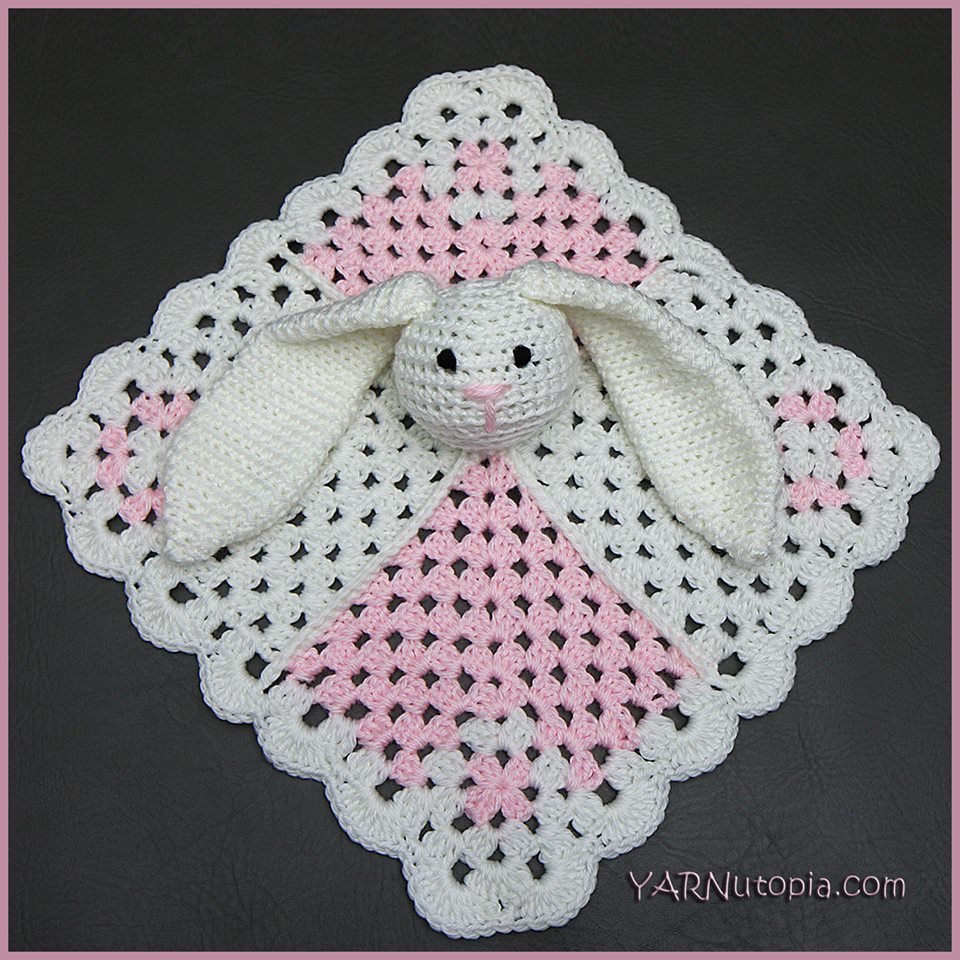
Crochet Tutorial: Mini Square Bunny Lovey
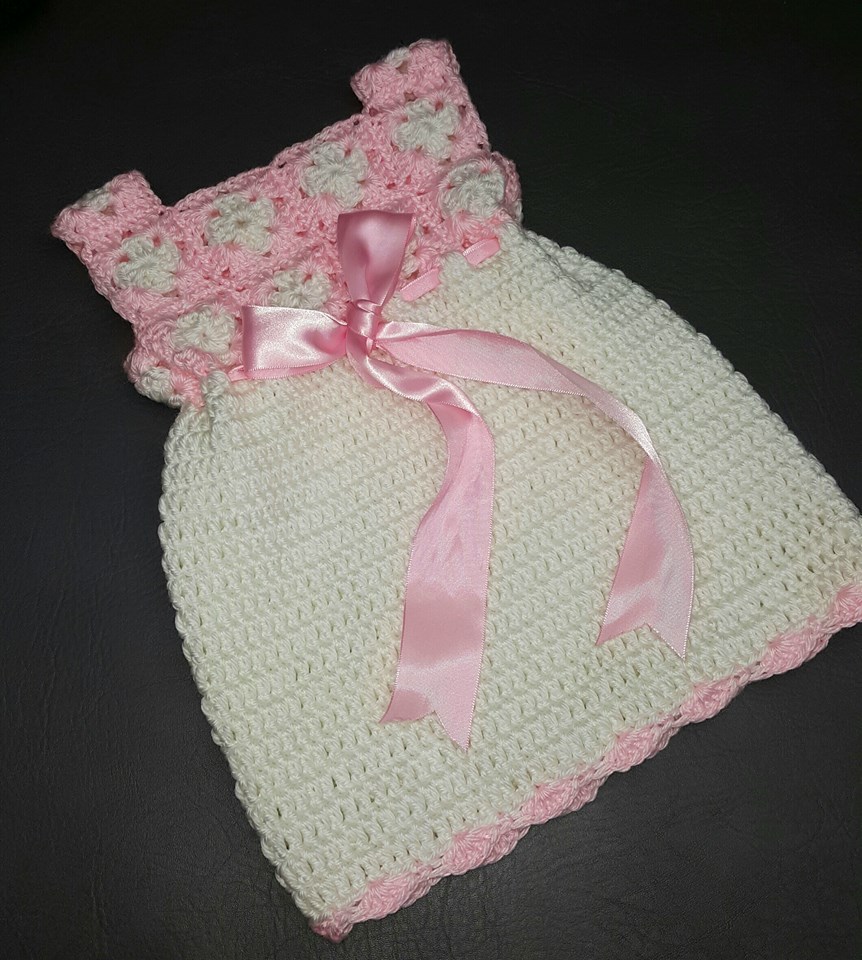
Crochet Tutorial: Mini Square Baby Dress
Crochet Tutorial: Mini Square Infant Hat
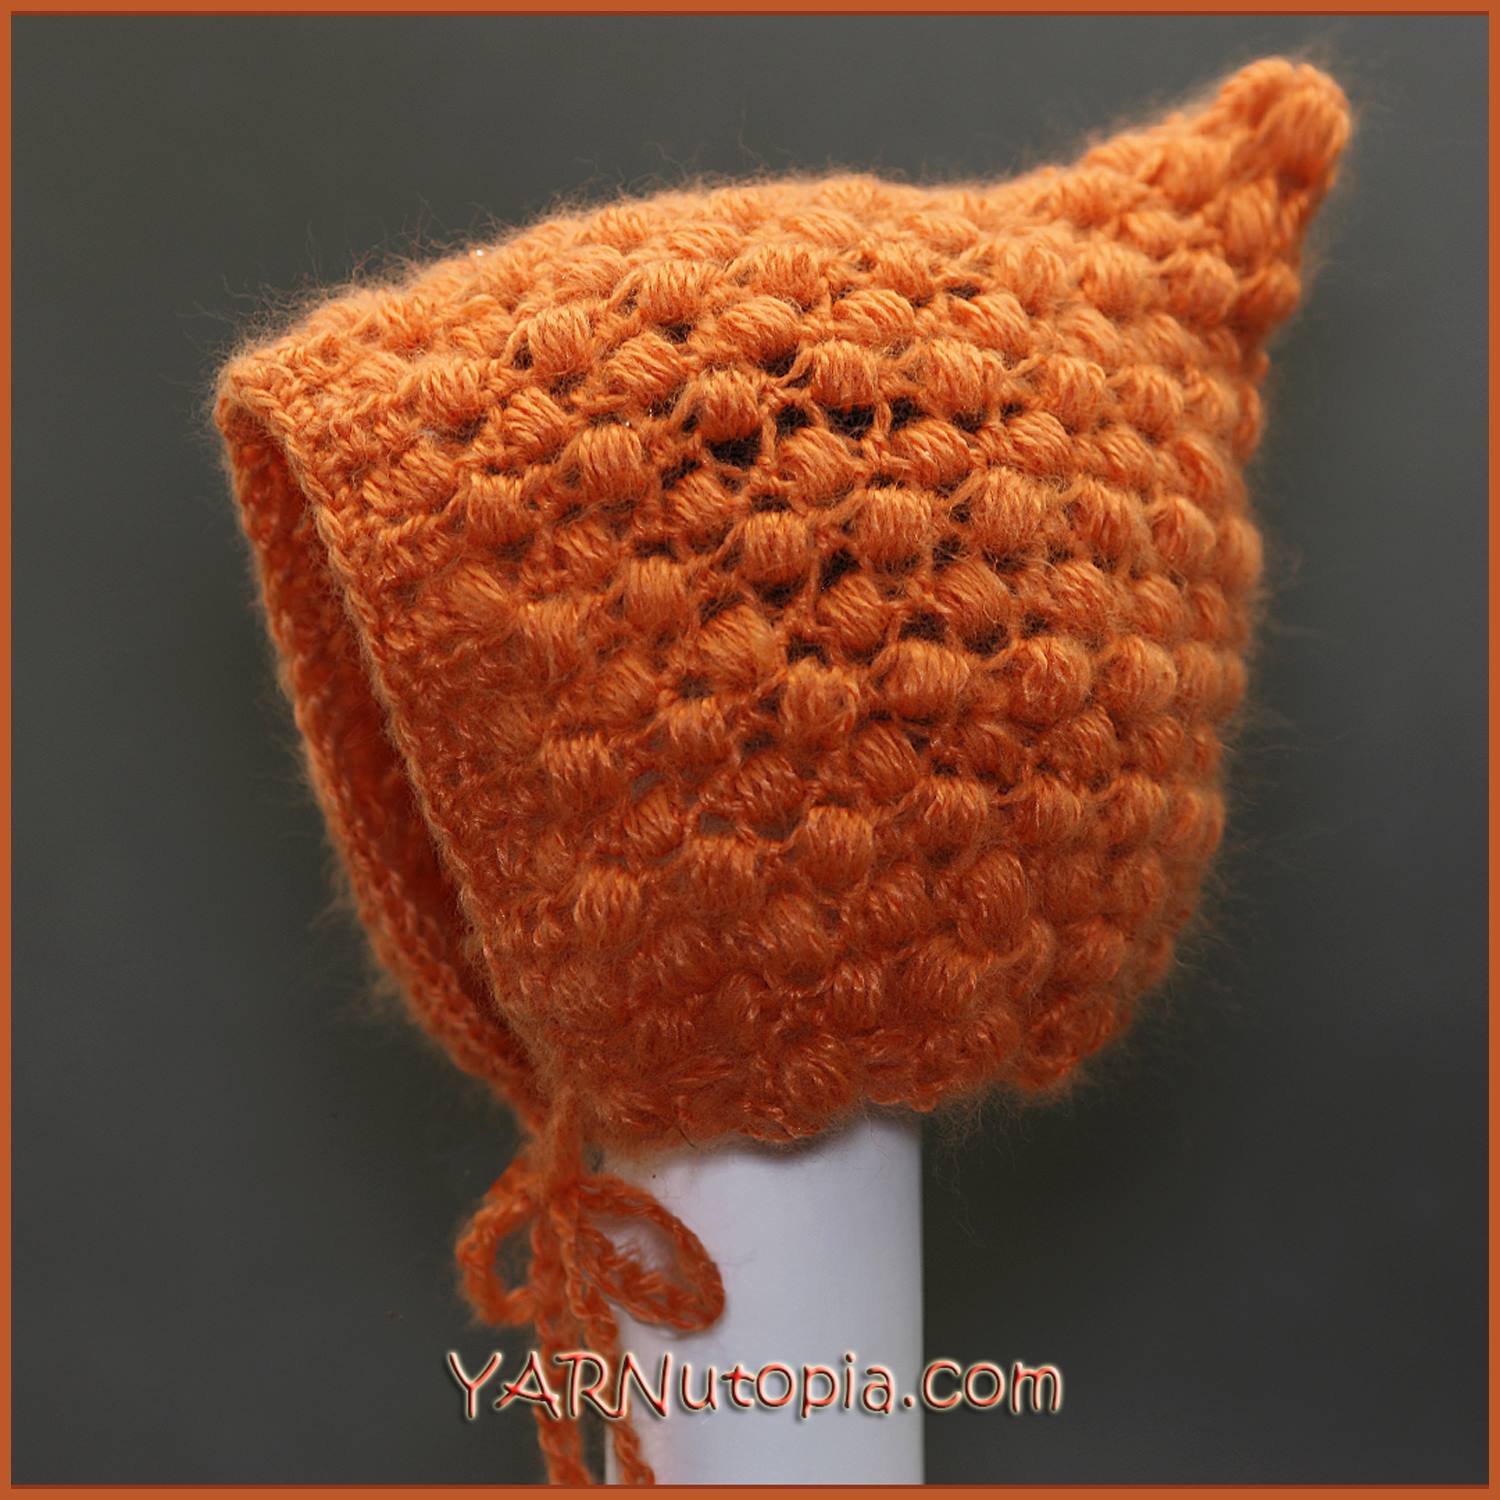
Crochet Tutorial: Pixie Puff Baby Bonnet
Crochet Tutorial: Slouchy Mesh Hat with Brim
Crochet Tutorial: Football Headband
Crochet Tutorial: Turban Headband
Crochet Tutorial: The Happy Snowman Headband
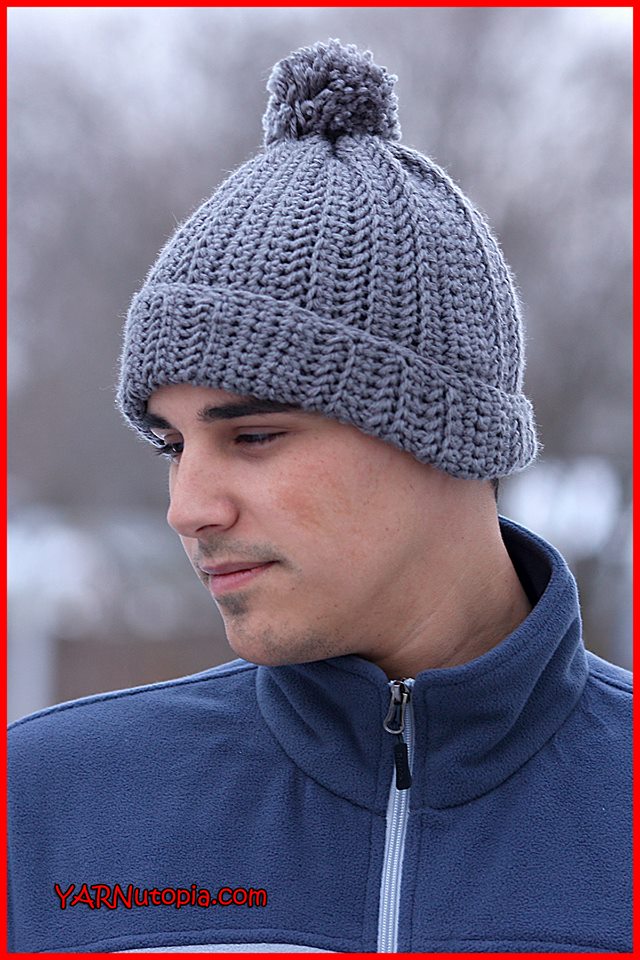
Crochet Tutorial: Chunky Beanie Hat with Pom
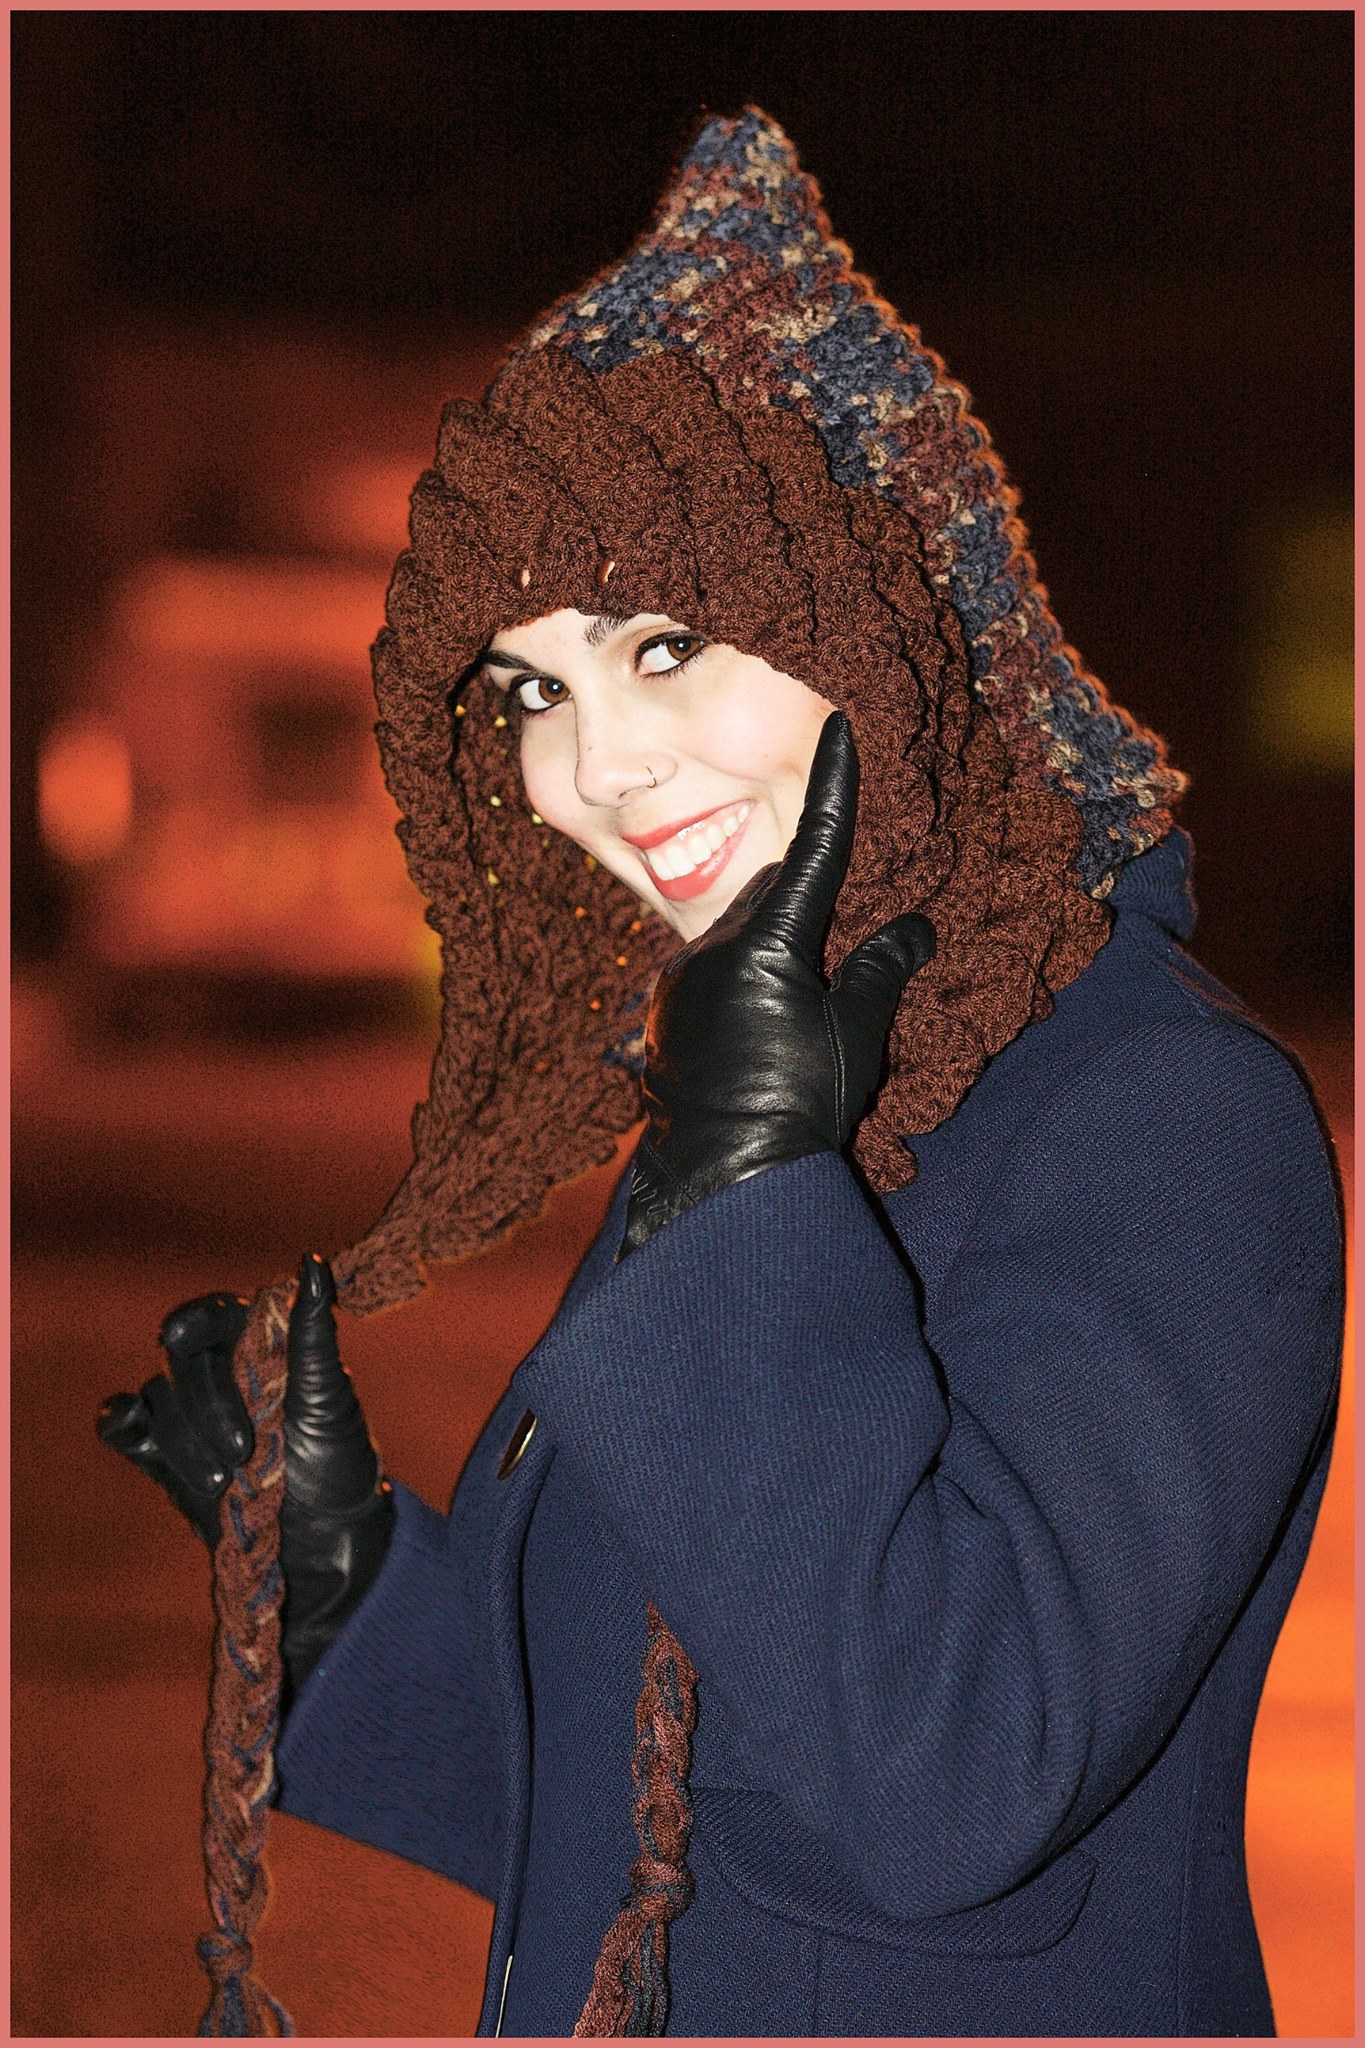
Crochet Tutorial: The Enchantress Bonnet
Crochet Tutorial: Chunky Wavy Hat with a Pom
Crochet Tutorial: The Gentleman’s Scarf
Crochet Tutorial: Turkey Hat
Crochet Tutorial: Cheshire Cat Hoodie
Crochet Tutorial: Sugar Skull Ski Mask
Crochet Tutorial: Pop Art Wig
Crochet Tutorial: Yoda Hat (Toddler Size)
Crochet Tutorial: Ninja Turtle Hat
Crochet Tutorial: Slouchy Hat
Crochet Tutorial: Frankenstein Hat
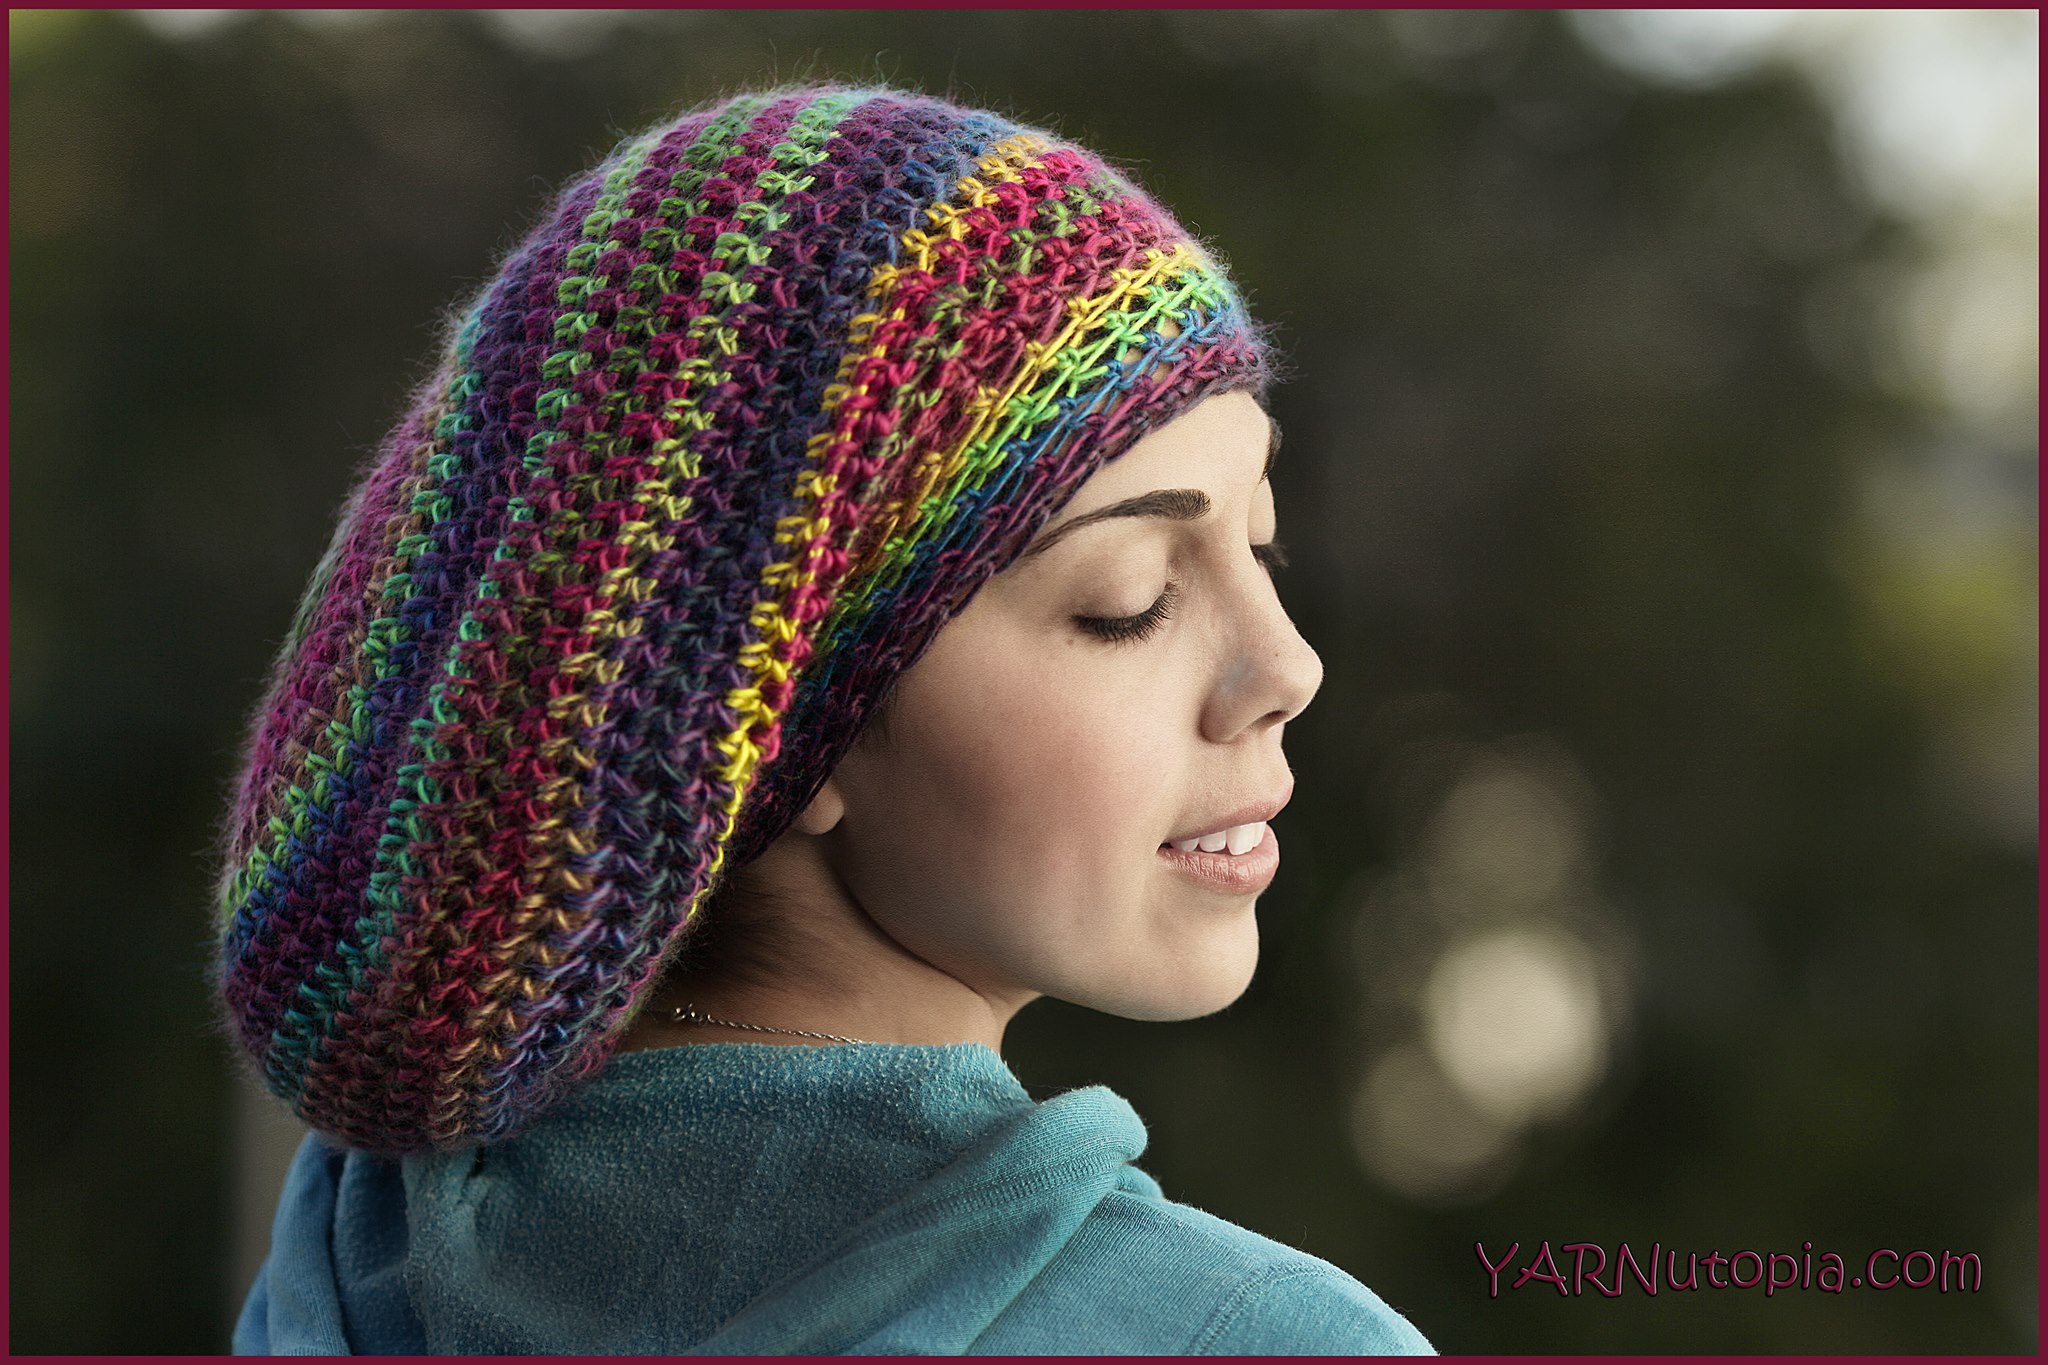
Crochet Tutorial: One Skein Beret
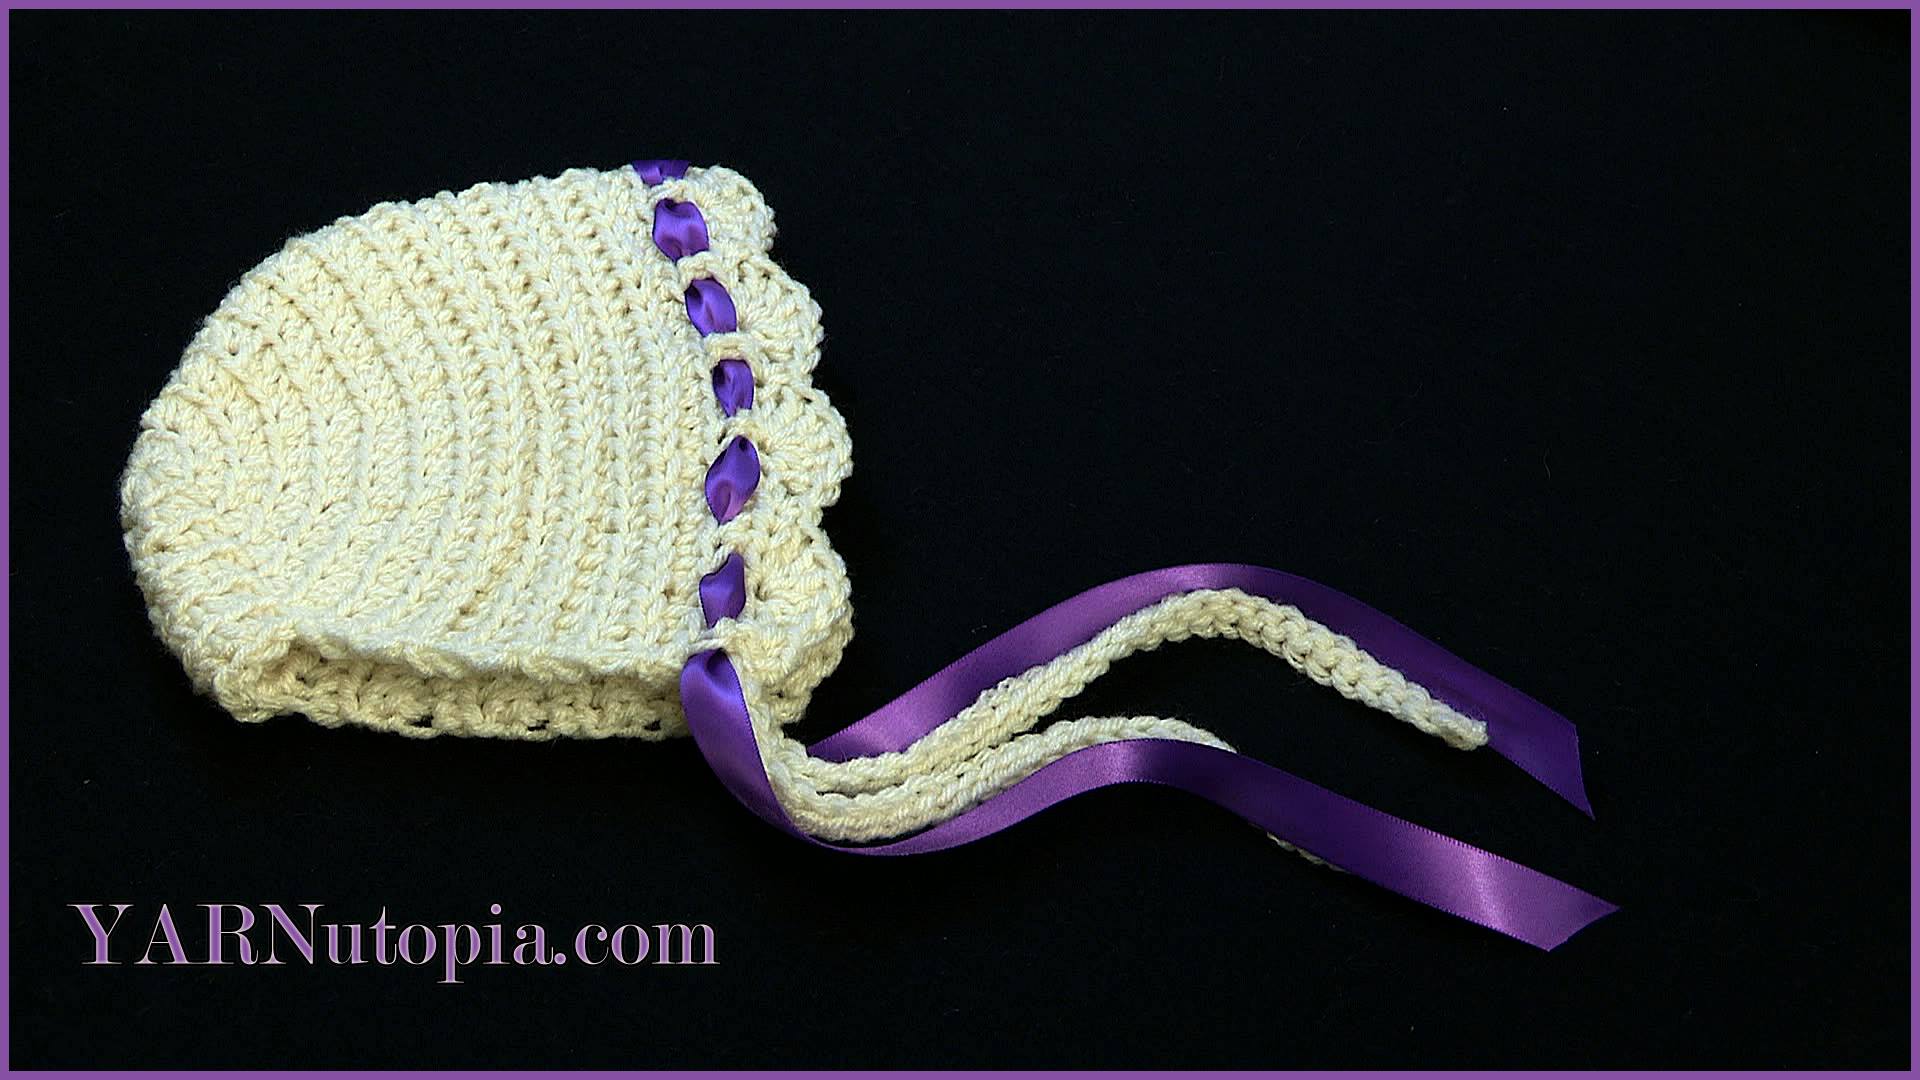
Crochet Tutorial: Vintage Inspired Baby Bonnet
Crochet Tutorial: 3-Piece Bow-tastic Baby Outfit
Crochet Tutorial: Ribbon and Bow Hat
Crochet Tutorial: Puff Stitch Beard
Crochet Tutorial: Knight in Shining Armor Hat
Crochet Tutorial: Vintage Style Football Helmet
Crochet Tutorial: How to Crochet a Badger Hat
Previous Page
1
2
3
Next Page
Loading Comments...
Write a Comment...
Email (Required)
Name (Required)
Website