Skip to content
YARNutopia & M0re
All things Yarn Related: Crochet, DIY, and Crafts
Blog
365 Days of Granny Squares
Stitch Gallery & Glossary
Crochet Video Tutorials
Frequently Asked Questions
Crochet Glossary: Learn the Lingo
Contact
Search
Search
fashion blogger
YARNutoia & More
FREE Crochet Pattern: Mischief Maker Beanie
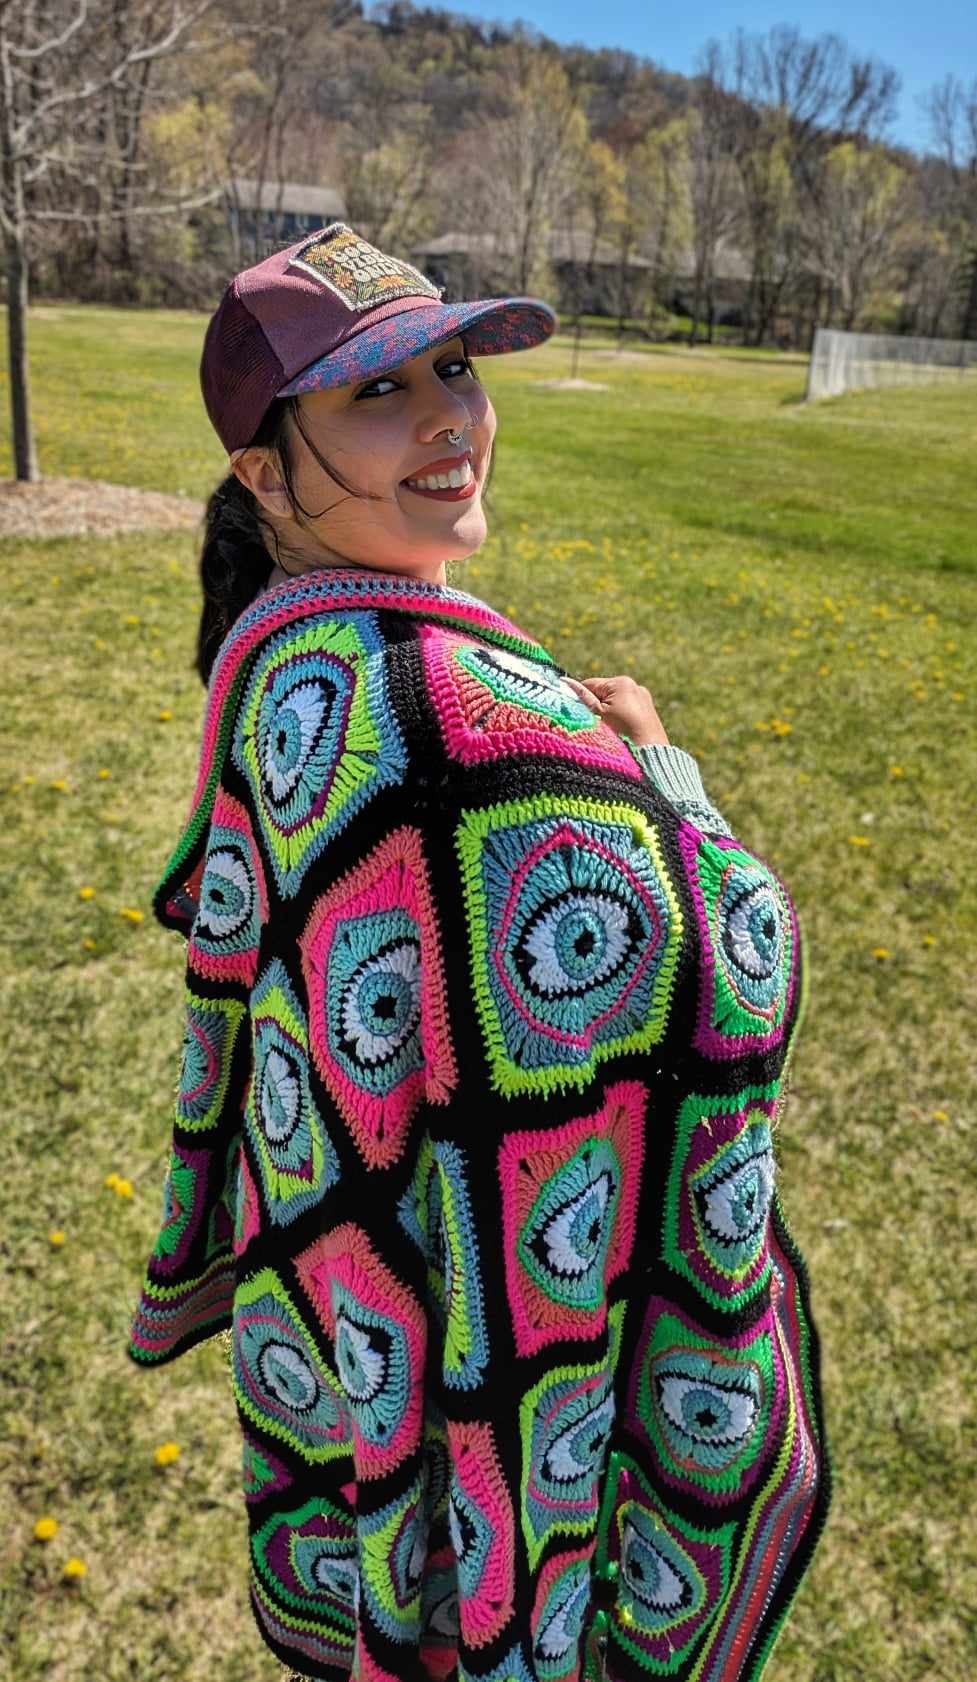
The Beholder & Cthulhu Hats for Halloween
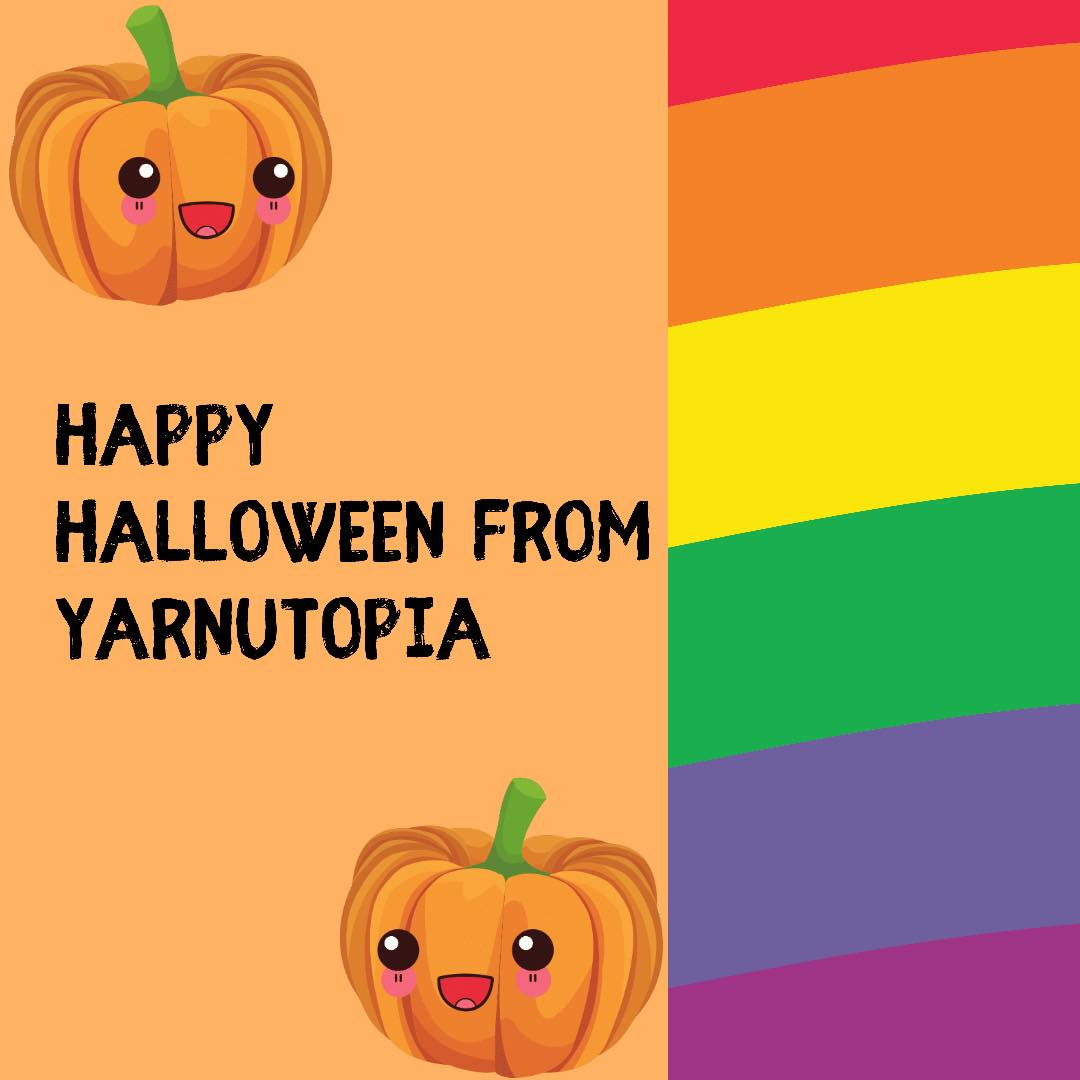
Happy Halloween 2025
Summer Crochet Halter Tops: A Stylish and Breezy Wardrobe Essential
This helped get my cro-jo back!
FREE Written Crochet Pattern: Ghost Hat
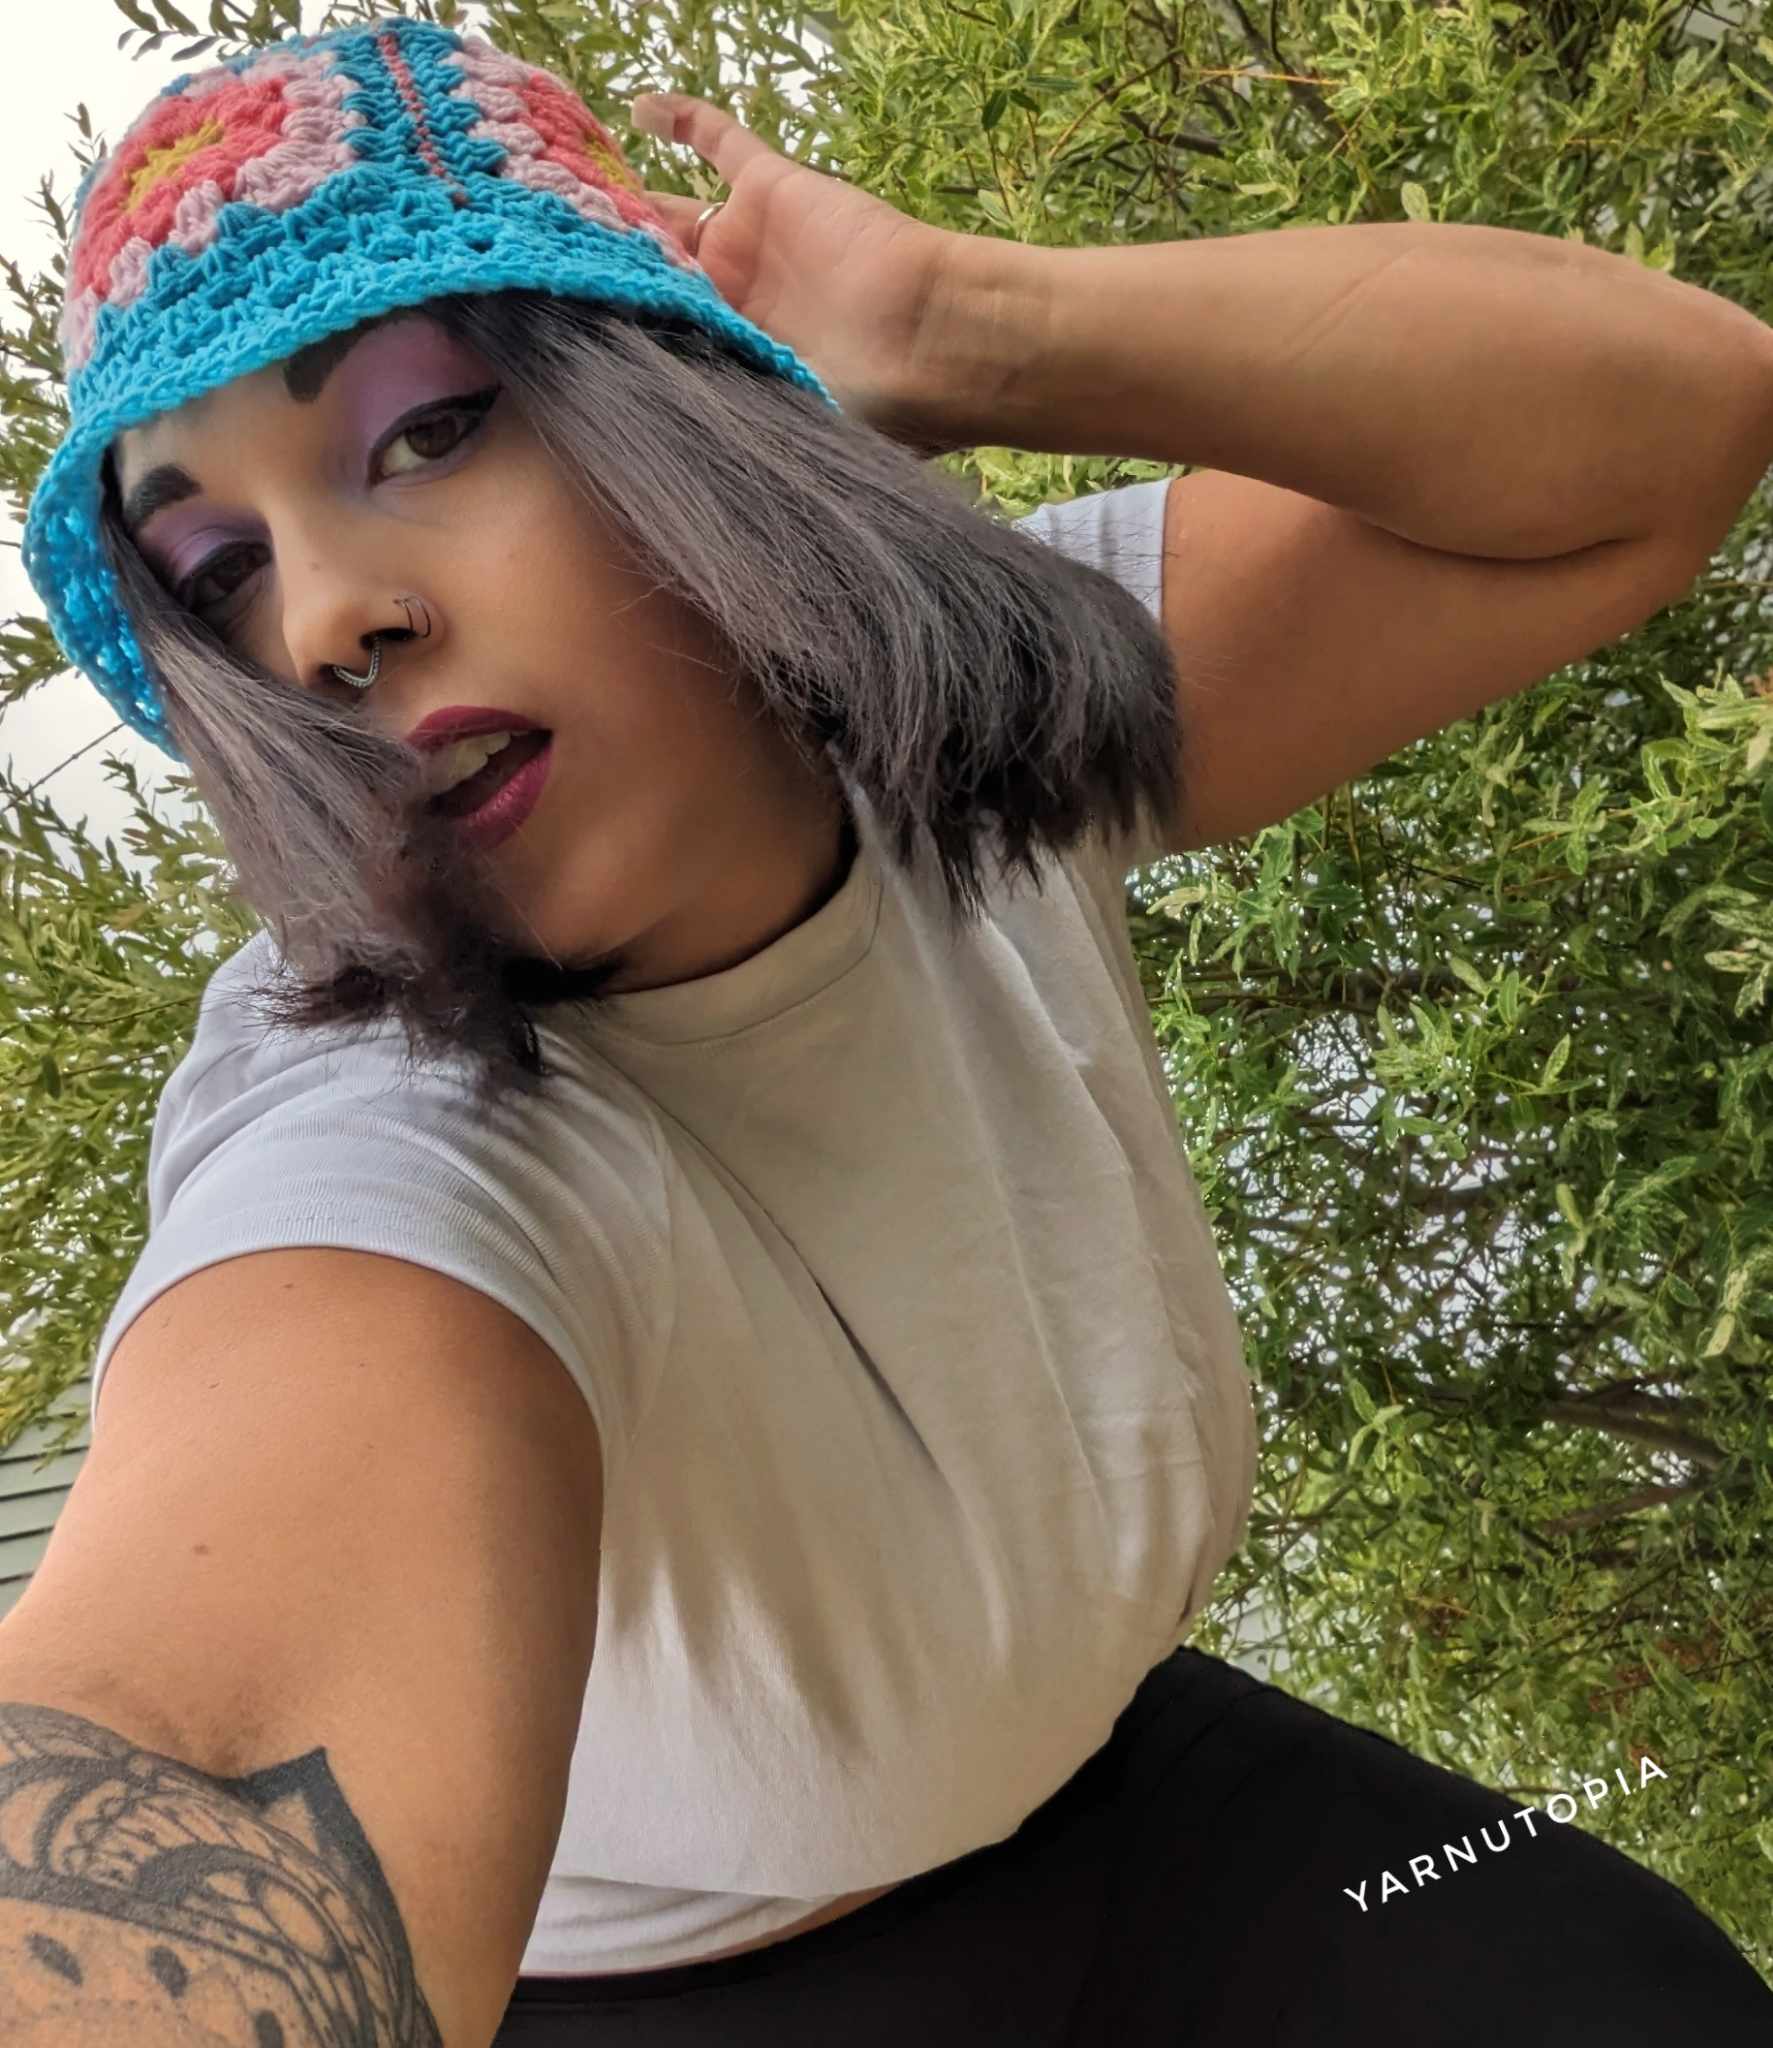
FREE Crochet Video Tutorial: Beach Vibes Bucket Hat
FREE Written Crochet Pattern: Beach Vibes Bucket Hat
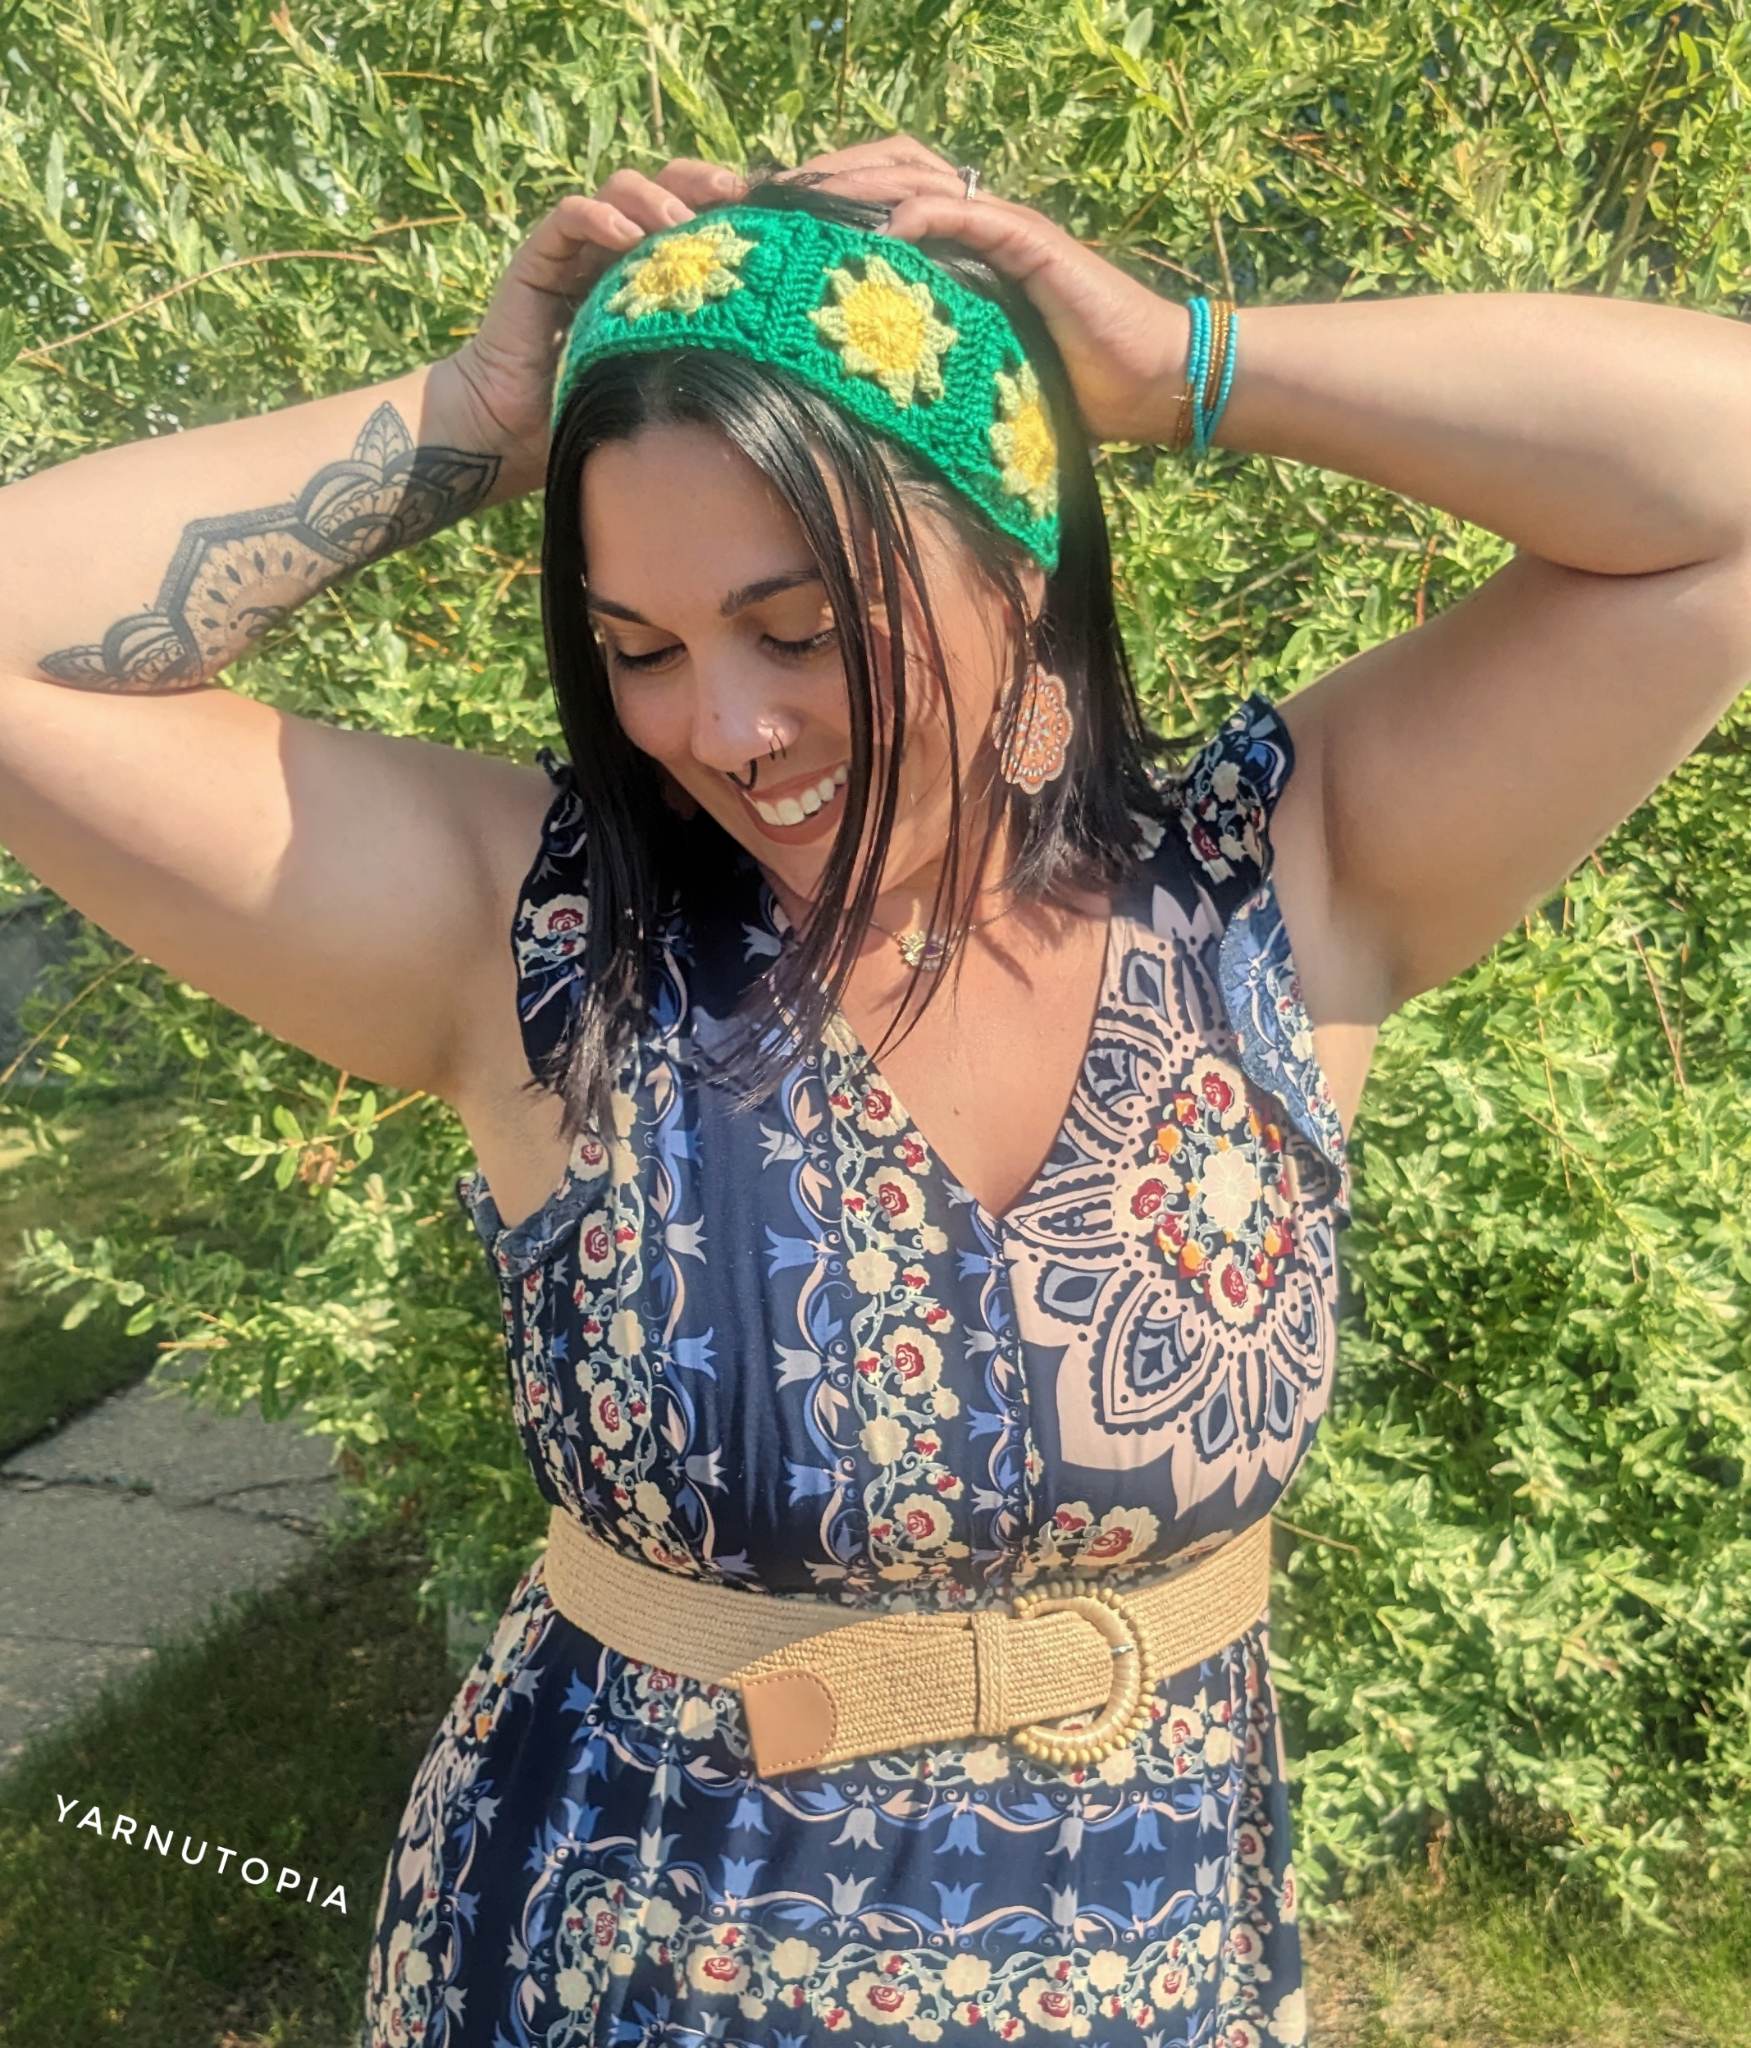
FREE Written Crochet Pattern: Starburst Garden Headband
FREE Written Crochet Pattern: Rainbow Summer Shorts
FREE Crochet Video Tutorial: Rainbow Summer Shorts
FREE Written Crochet Pattern: Off to the Market Bag
FREE Crochet Video Tutorial: Seat Belt Shoulder Strap Cover
FREE Written Crochet Pattern: Seat Belt Shoulder Strap Cover
FREE Written Crochet Pattern: Winter Fur Snood
FREE Crochet Video Tutorial: Winter Fur Snood
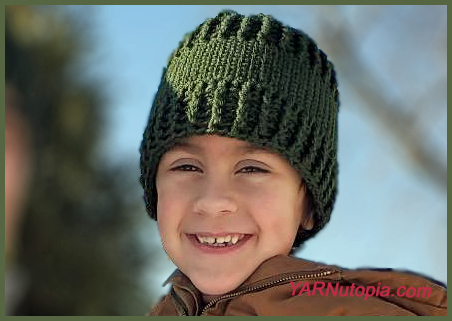
FREE Crochet Video Tutorial: Evergreen Ski Hat
FREE Written Crochet Pattern: Evergreen Ski Hat
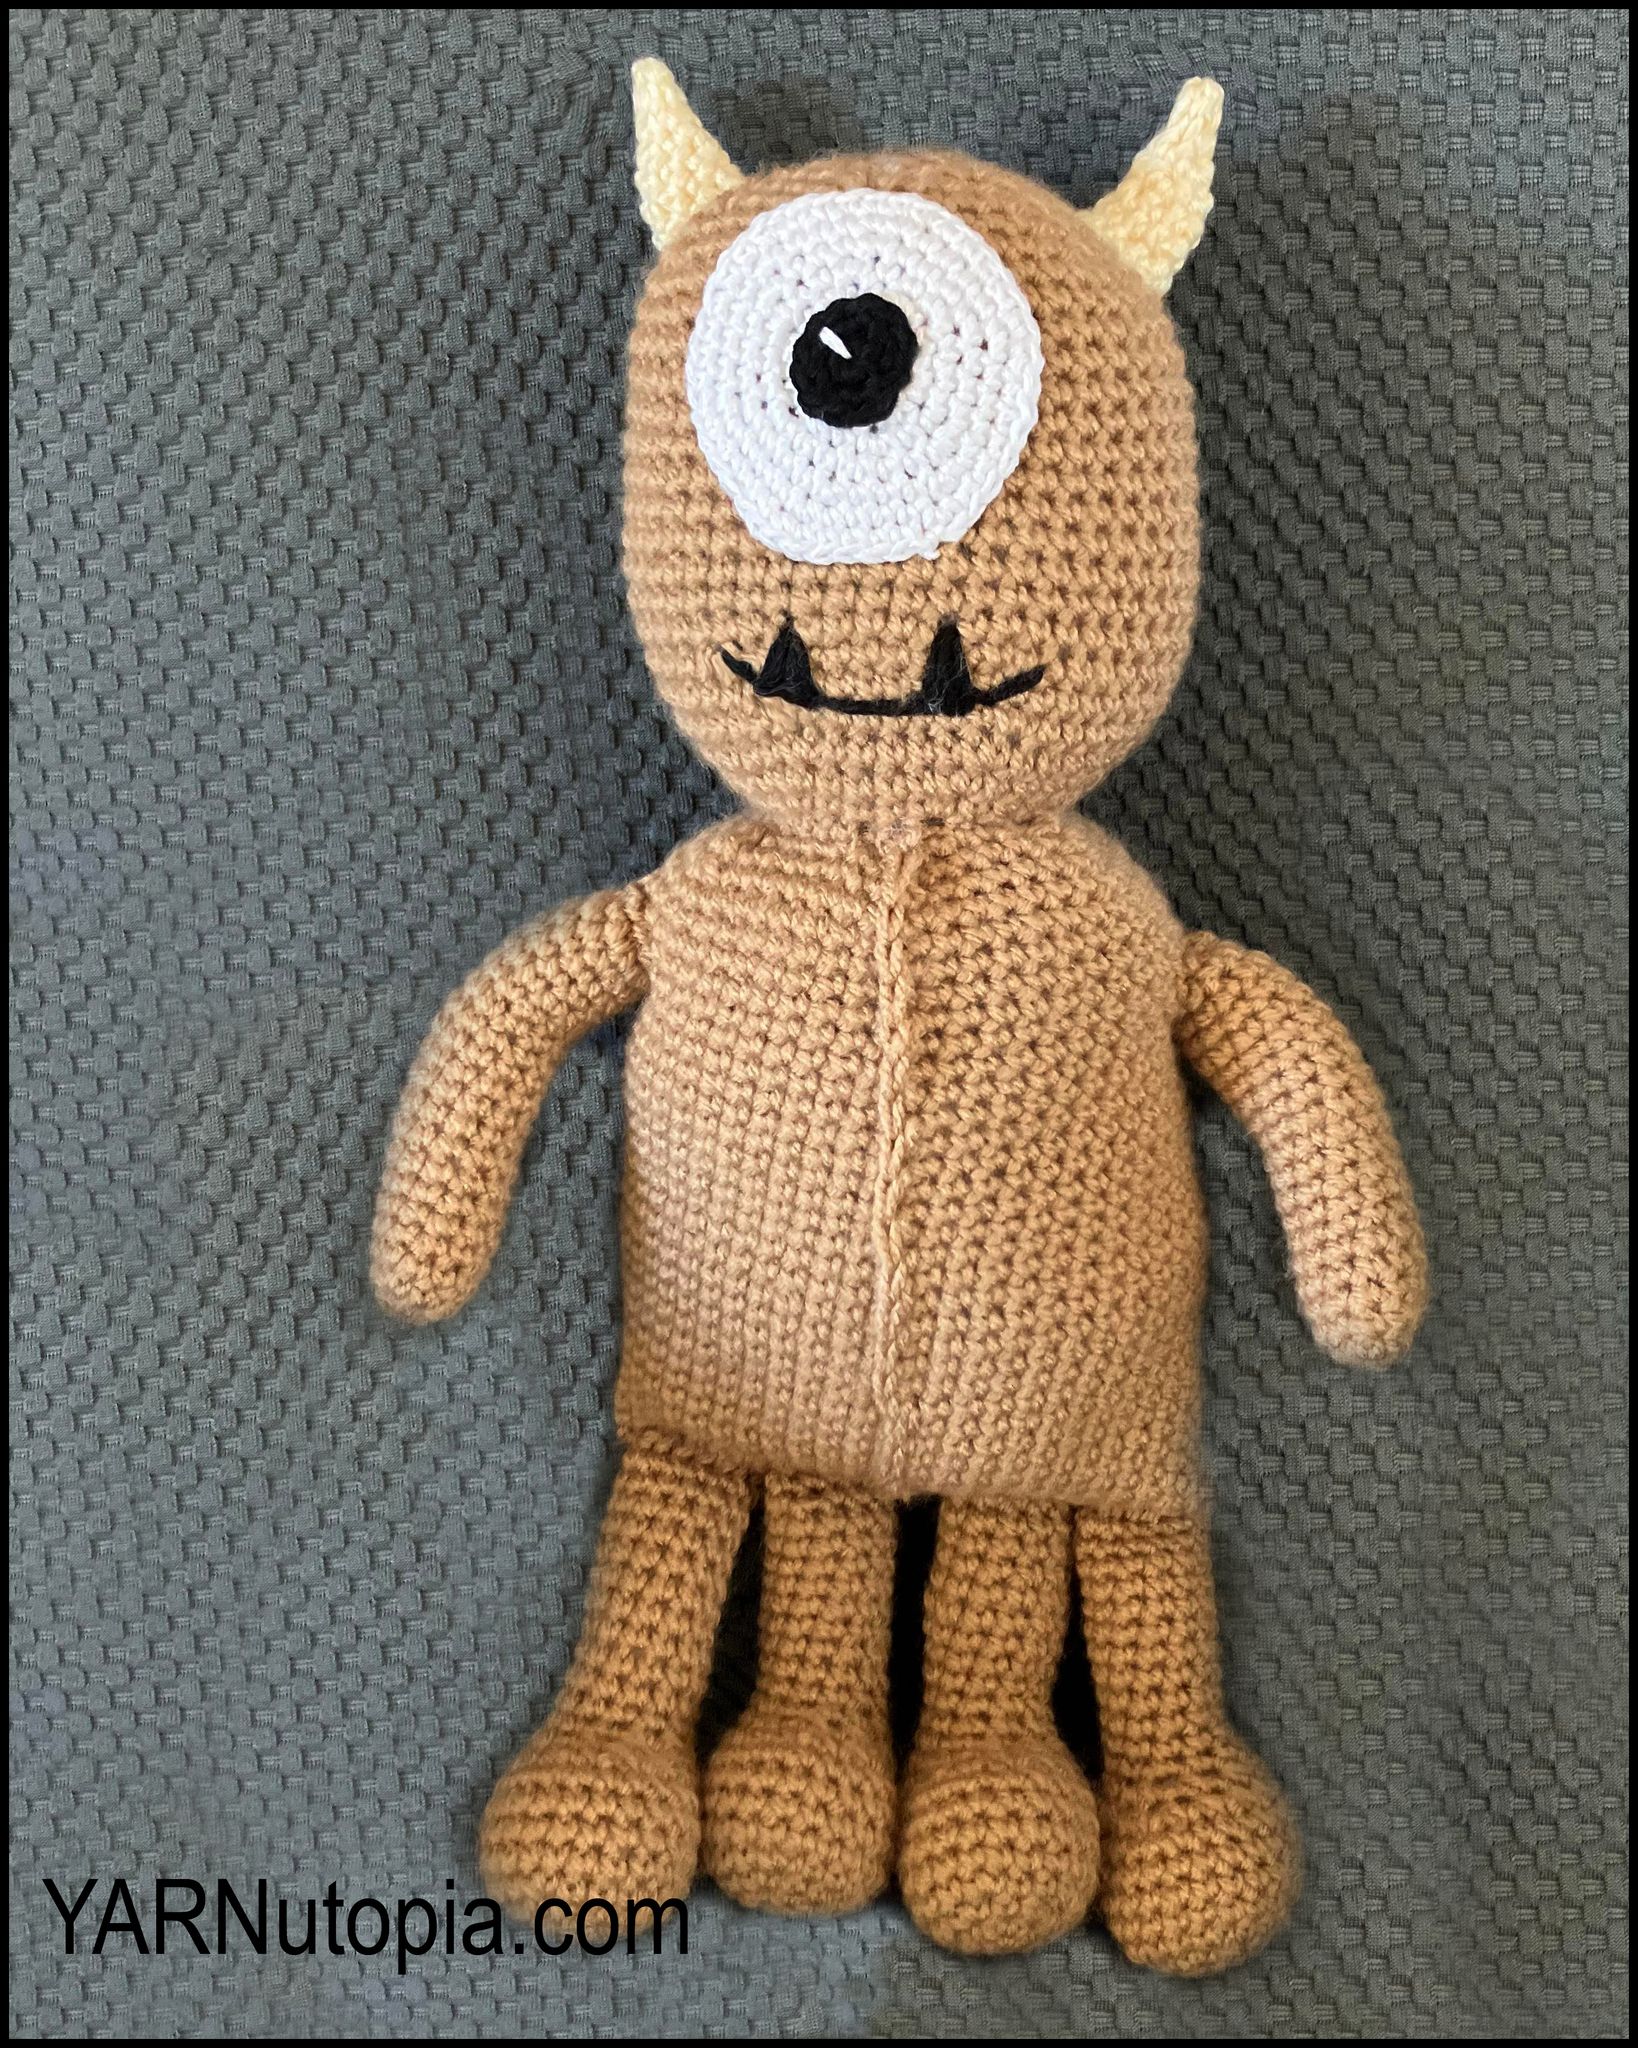
FREE Written Crochet Pattern: Monster/Alien Stuffed Toy Amigurumi
FREE Written Crochet Pattern: Toddler Monster Costume
FREE Written Crochet Pattern: Fuzzy Monster Hat with Horns
Our Introduction!
Taking A New Direction
FREE Crochet Video Tutorial: Summer Mini Tote
FREE Crochet Video Tutorial: Catchin’ Waves Crop Top
FREE Written Crochet Pattern: Catchin’ Waves Crop Top
FREE Written Crochet Pattern: Snuggle Me Up Baby Blanket
FREE Crochet Video Tutorial: Day & Night Mesh Sweater
FREE Written Crochet Pattern: Day & Night Mesh Sweater
FREE Crochet Video Tutorial: Painted Gray Scarf
FREE Written Crochet Pattern: Winter Cat Hat
FREE Written Crochet Pattern: Holiday Stocking Hat
Happy Halloween 2021
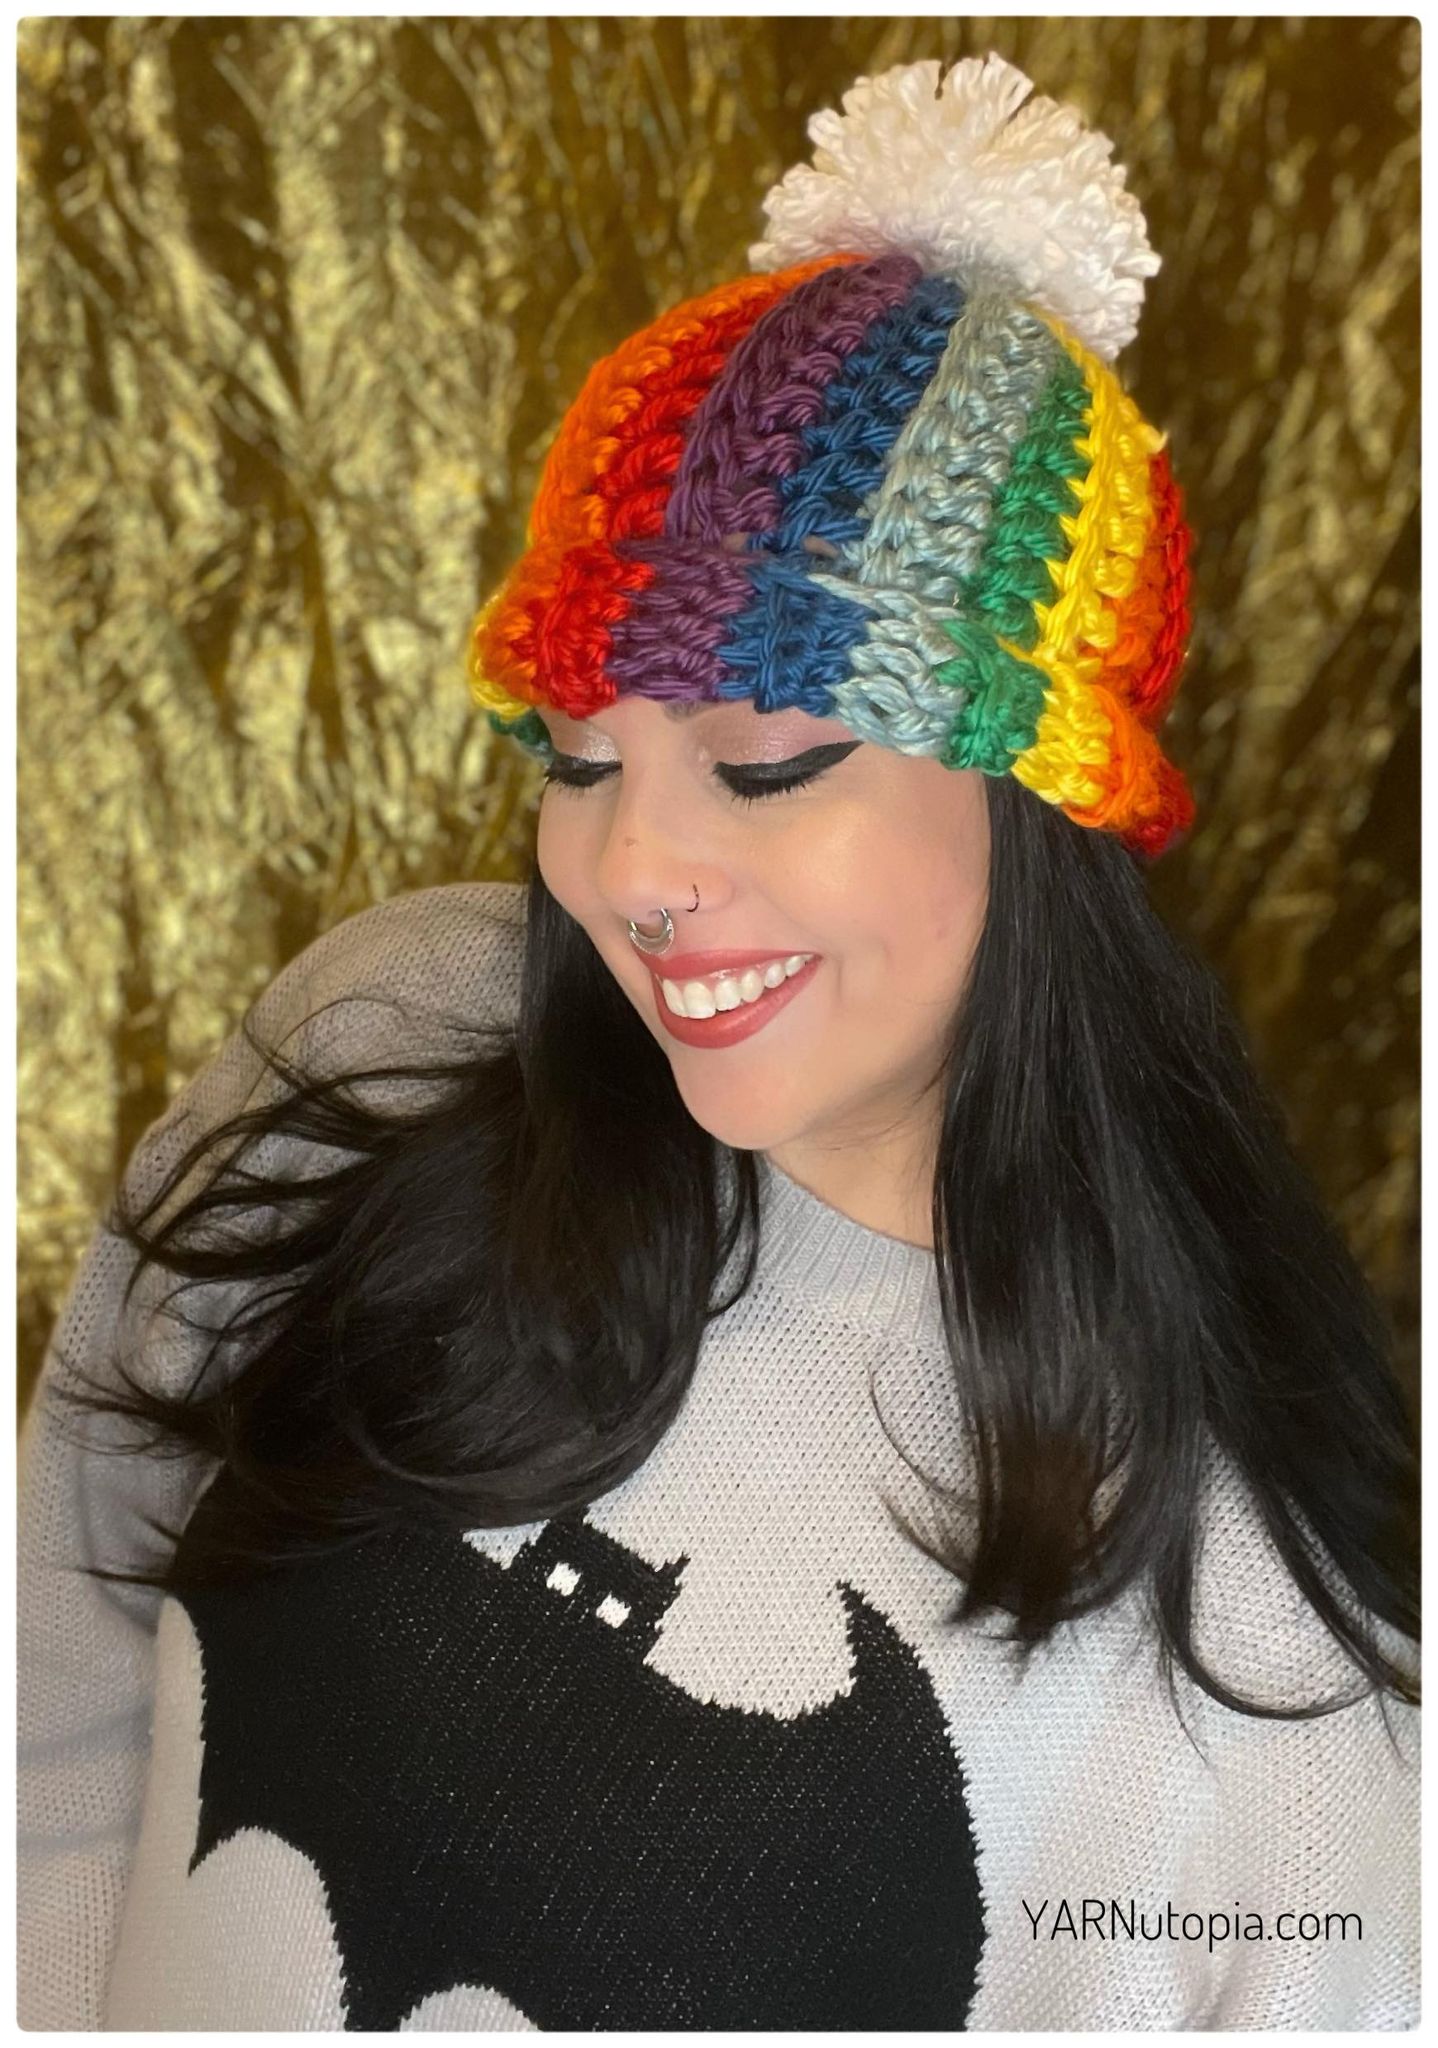
FREE Written Crochet Pattern: Rainbow Pom Hat
FREE Crochet Video Tutorial: Rainbow Pom Hat
FREE Written Crochet Pattern: Ruffled Trim Sweater Vest
FREE Crochet Video Tutorial: Ruffled Trim Sweater Vest
FREE Written Crochet Pattern: Chunky Rainbow Pom Scarf
FREE Crochet Video Tutorial: Chunky Rainbow Pom Scarf
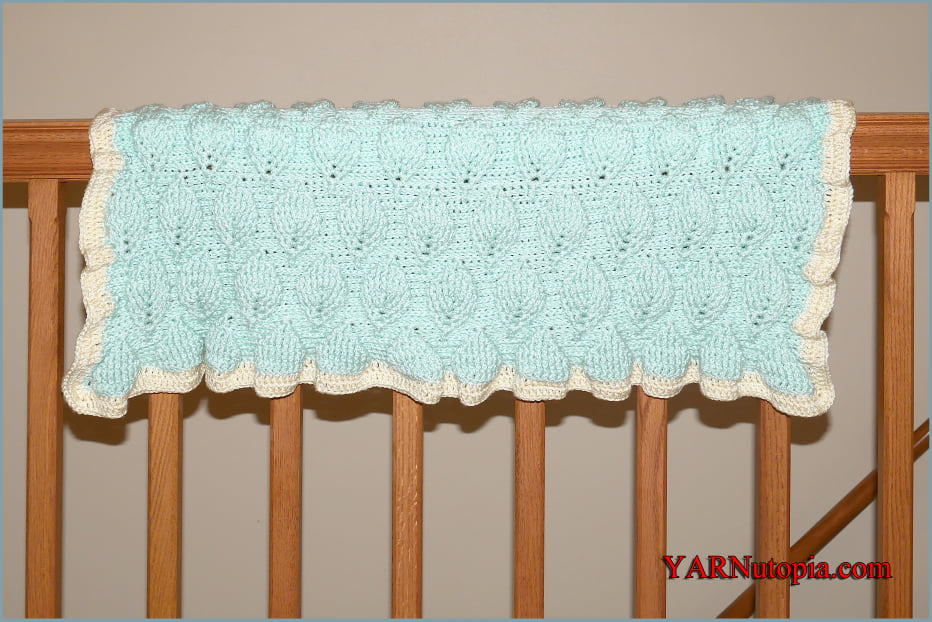
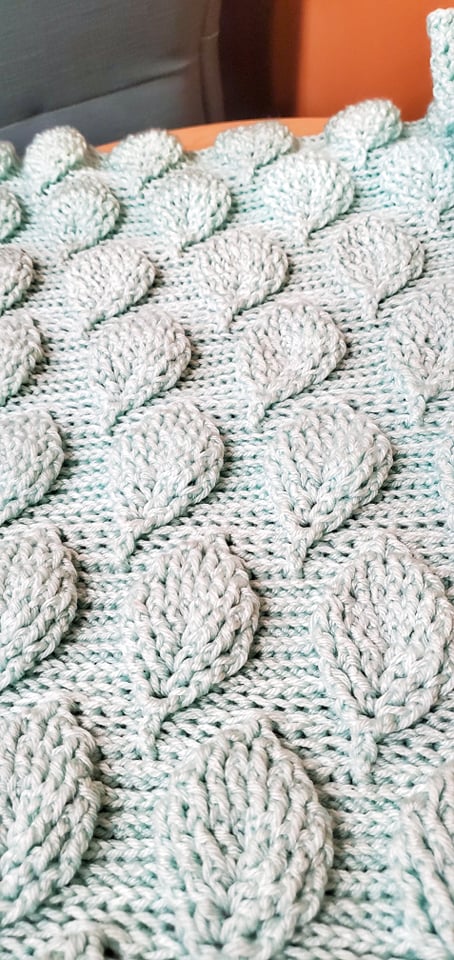
FREE Written Crochet Pattern: Aspen Baby Blanket
Time to Change Direction
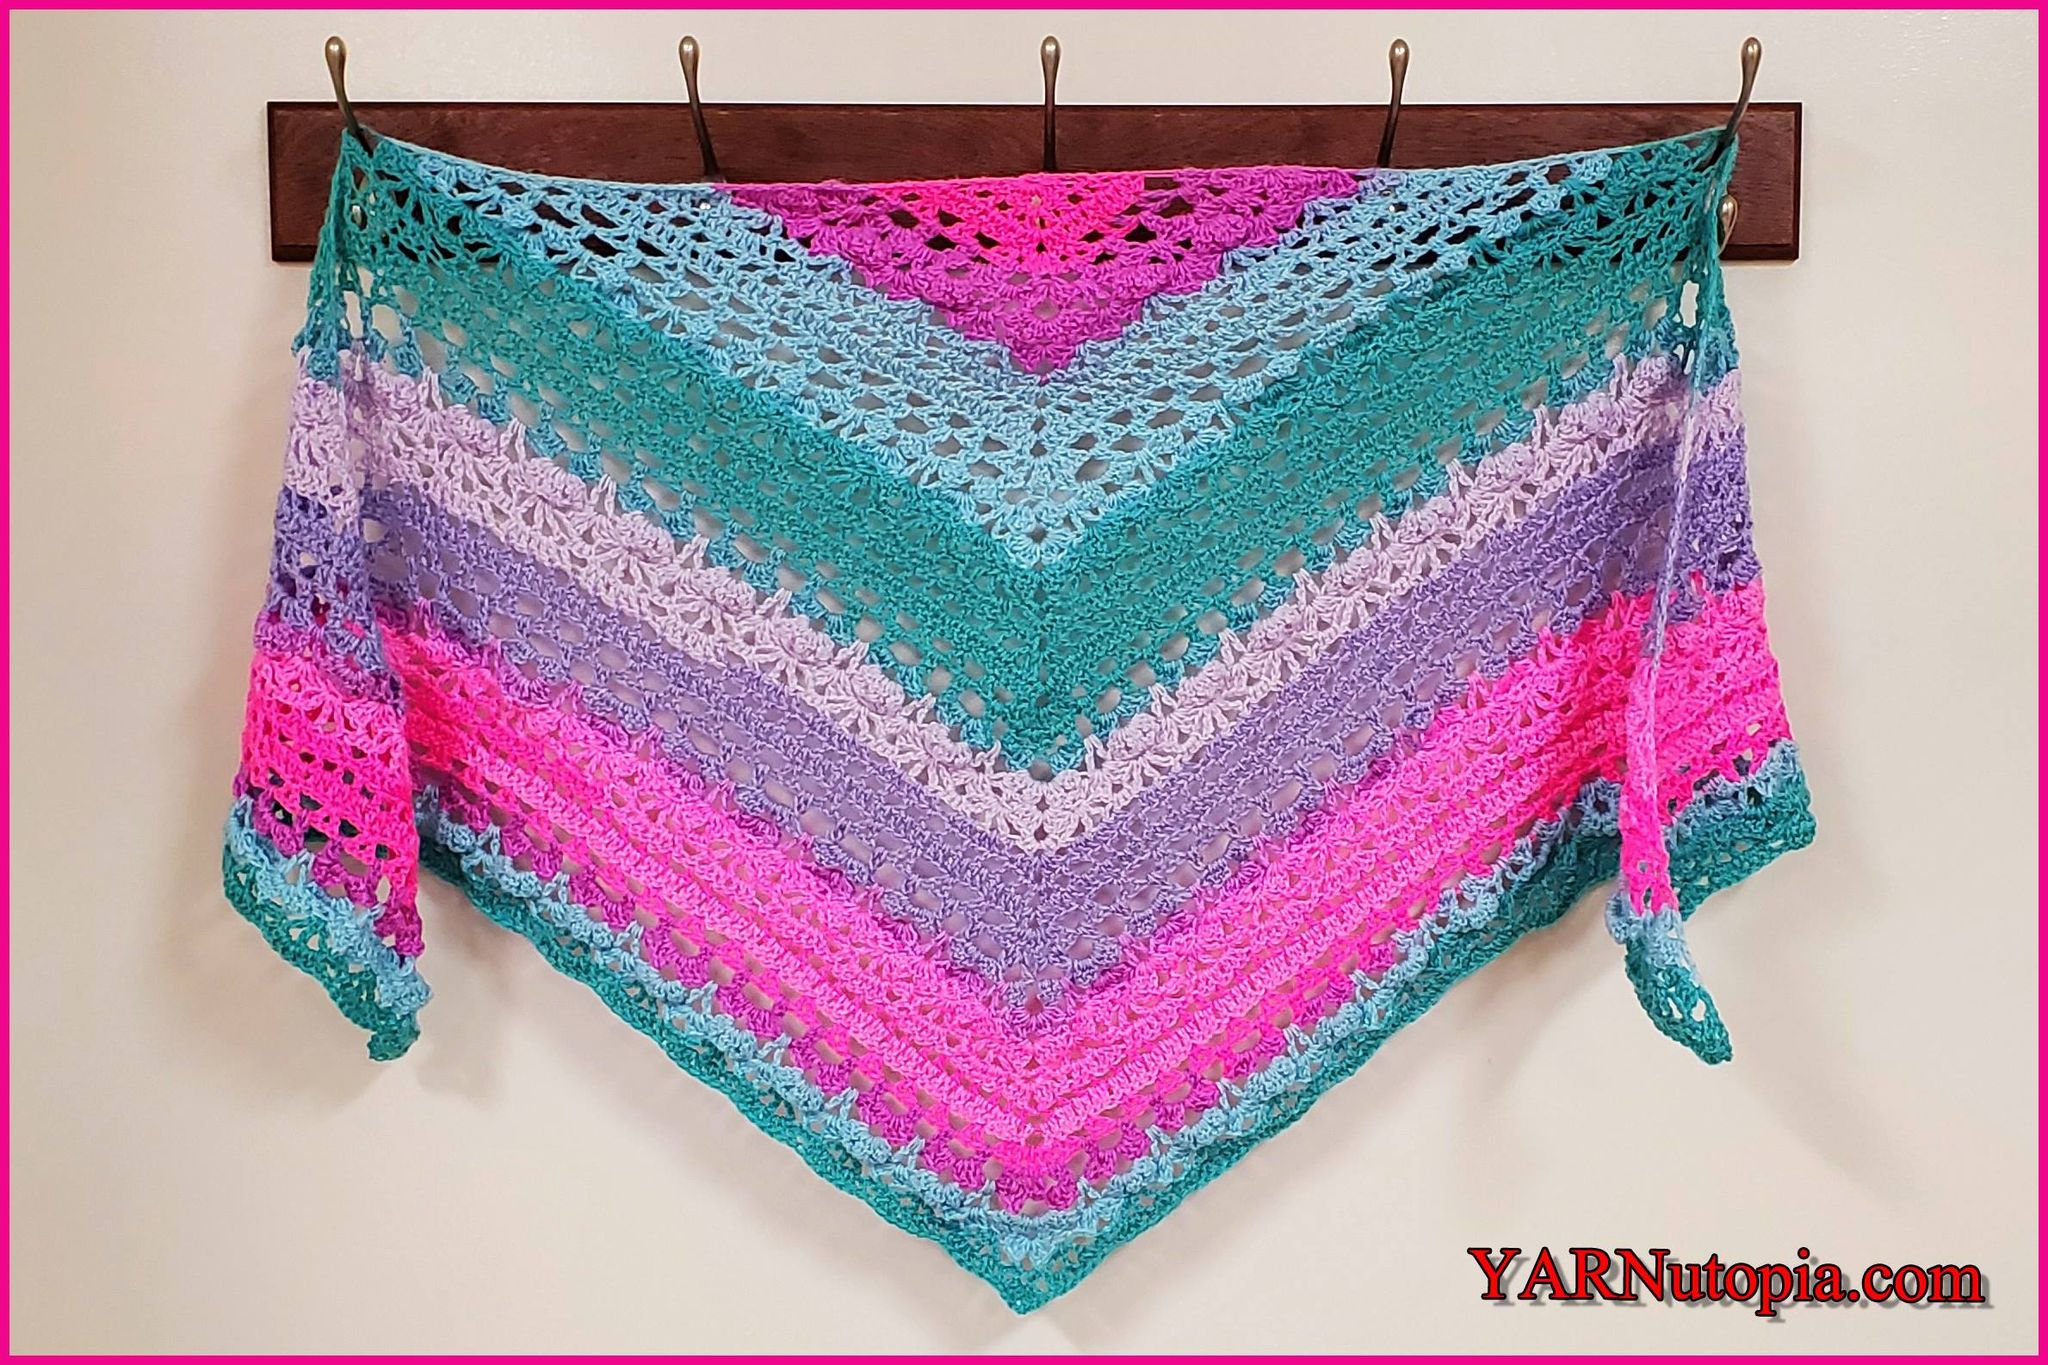
FREE Written Crochet Pattern: Summer Breeze Triangle Shawl
FREE Written Crochet Pattern: Hair Scrunchies
Stitch Gallery & Glossary Episode #25: Thermal Stitch (Single Crochet)
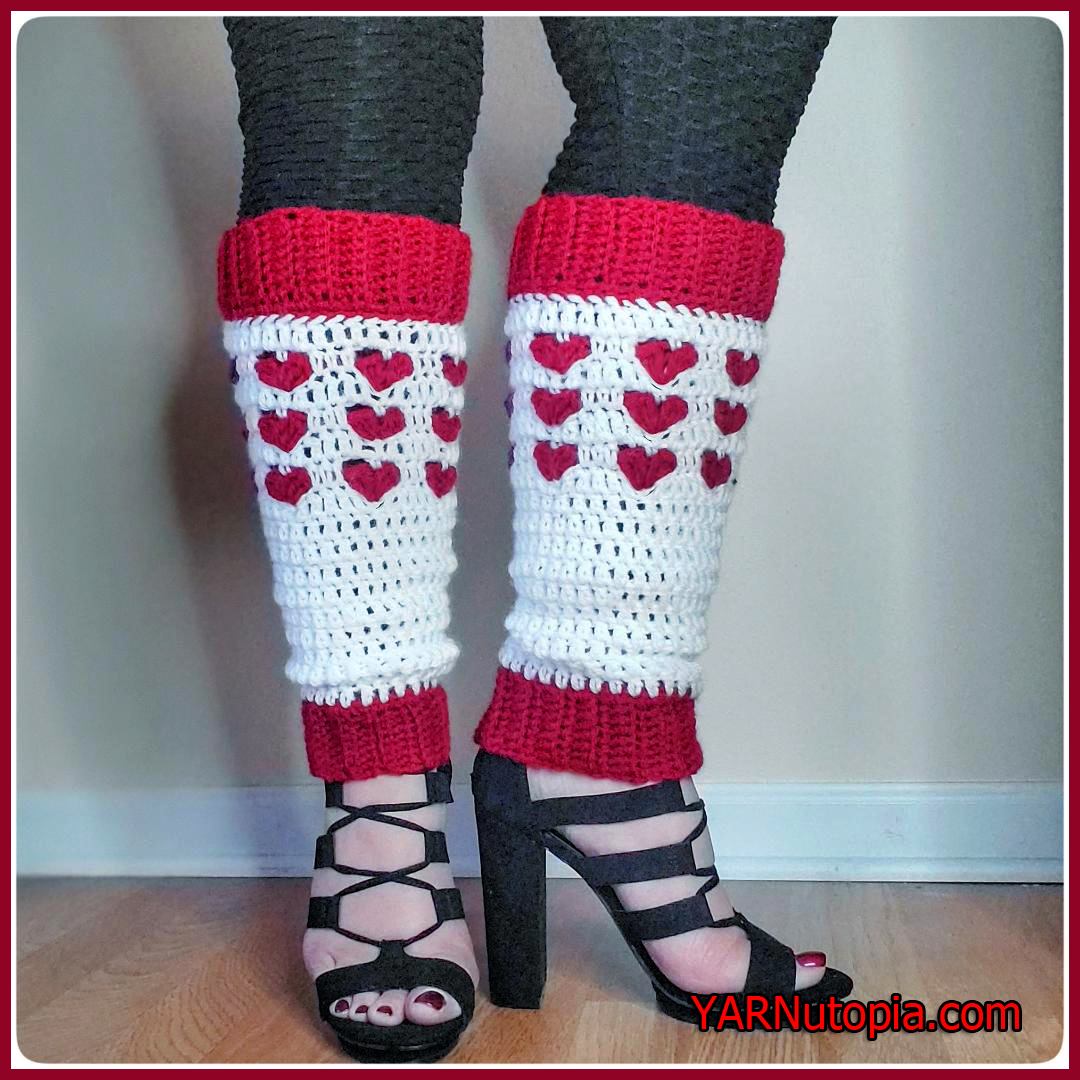
FREE Written Crochet Pattern: Happy Heart Stitch Leg Warmers
FREE Written Crochet Pattern: Winter Stripes Scarf
Valentine’s Day Crochet Patterns
FREE Written Crochet Pattern: New Year, New Me Chunky Hat
12 Days of Christmas: Shell Stitch Fingerless Gloves FREE CROCHET PATTERN
FREE Crochet Video Tutorial: Blaze Orange Woodsman Hat
1
2
3
…
8
Next Page
Loading Comments...
Write a Comment...
Email (Required)
Name (Required)
Website