YARNutopia & M0re
All things Yarn Related: Crochet, DIY, and Crafts
Blog
365 Days of Granny Squares
Stitch Gallery & Glossary
Crochet Video Tutorials
Frequently Asked Questions
Crochet Glossary: Learn the Lingo
Contact
Search
Search
flower
YARNutoia & More
FREE Written Crochet Pattern: Beach Vibes Bucket Hat
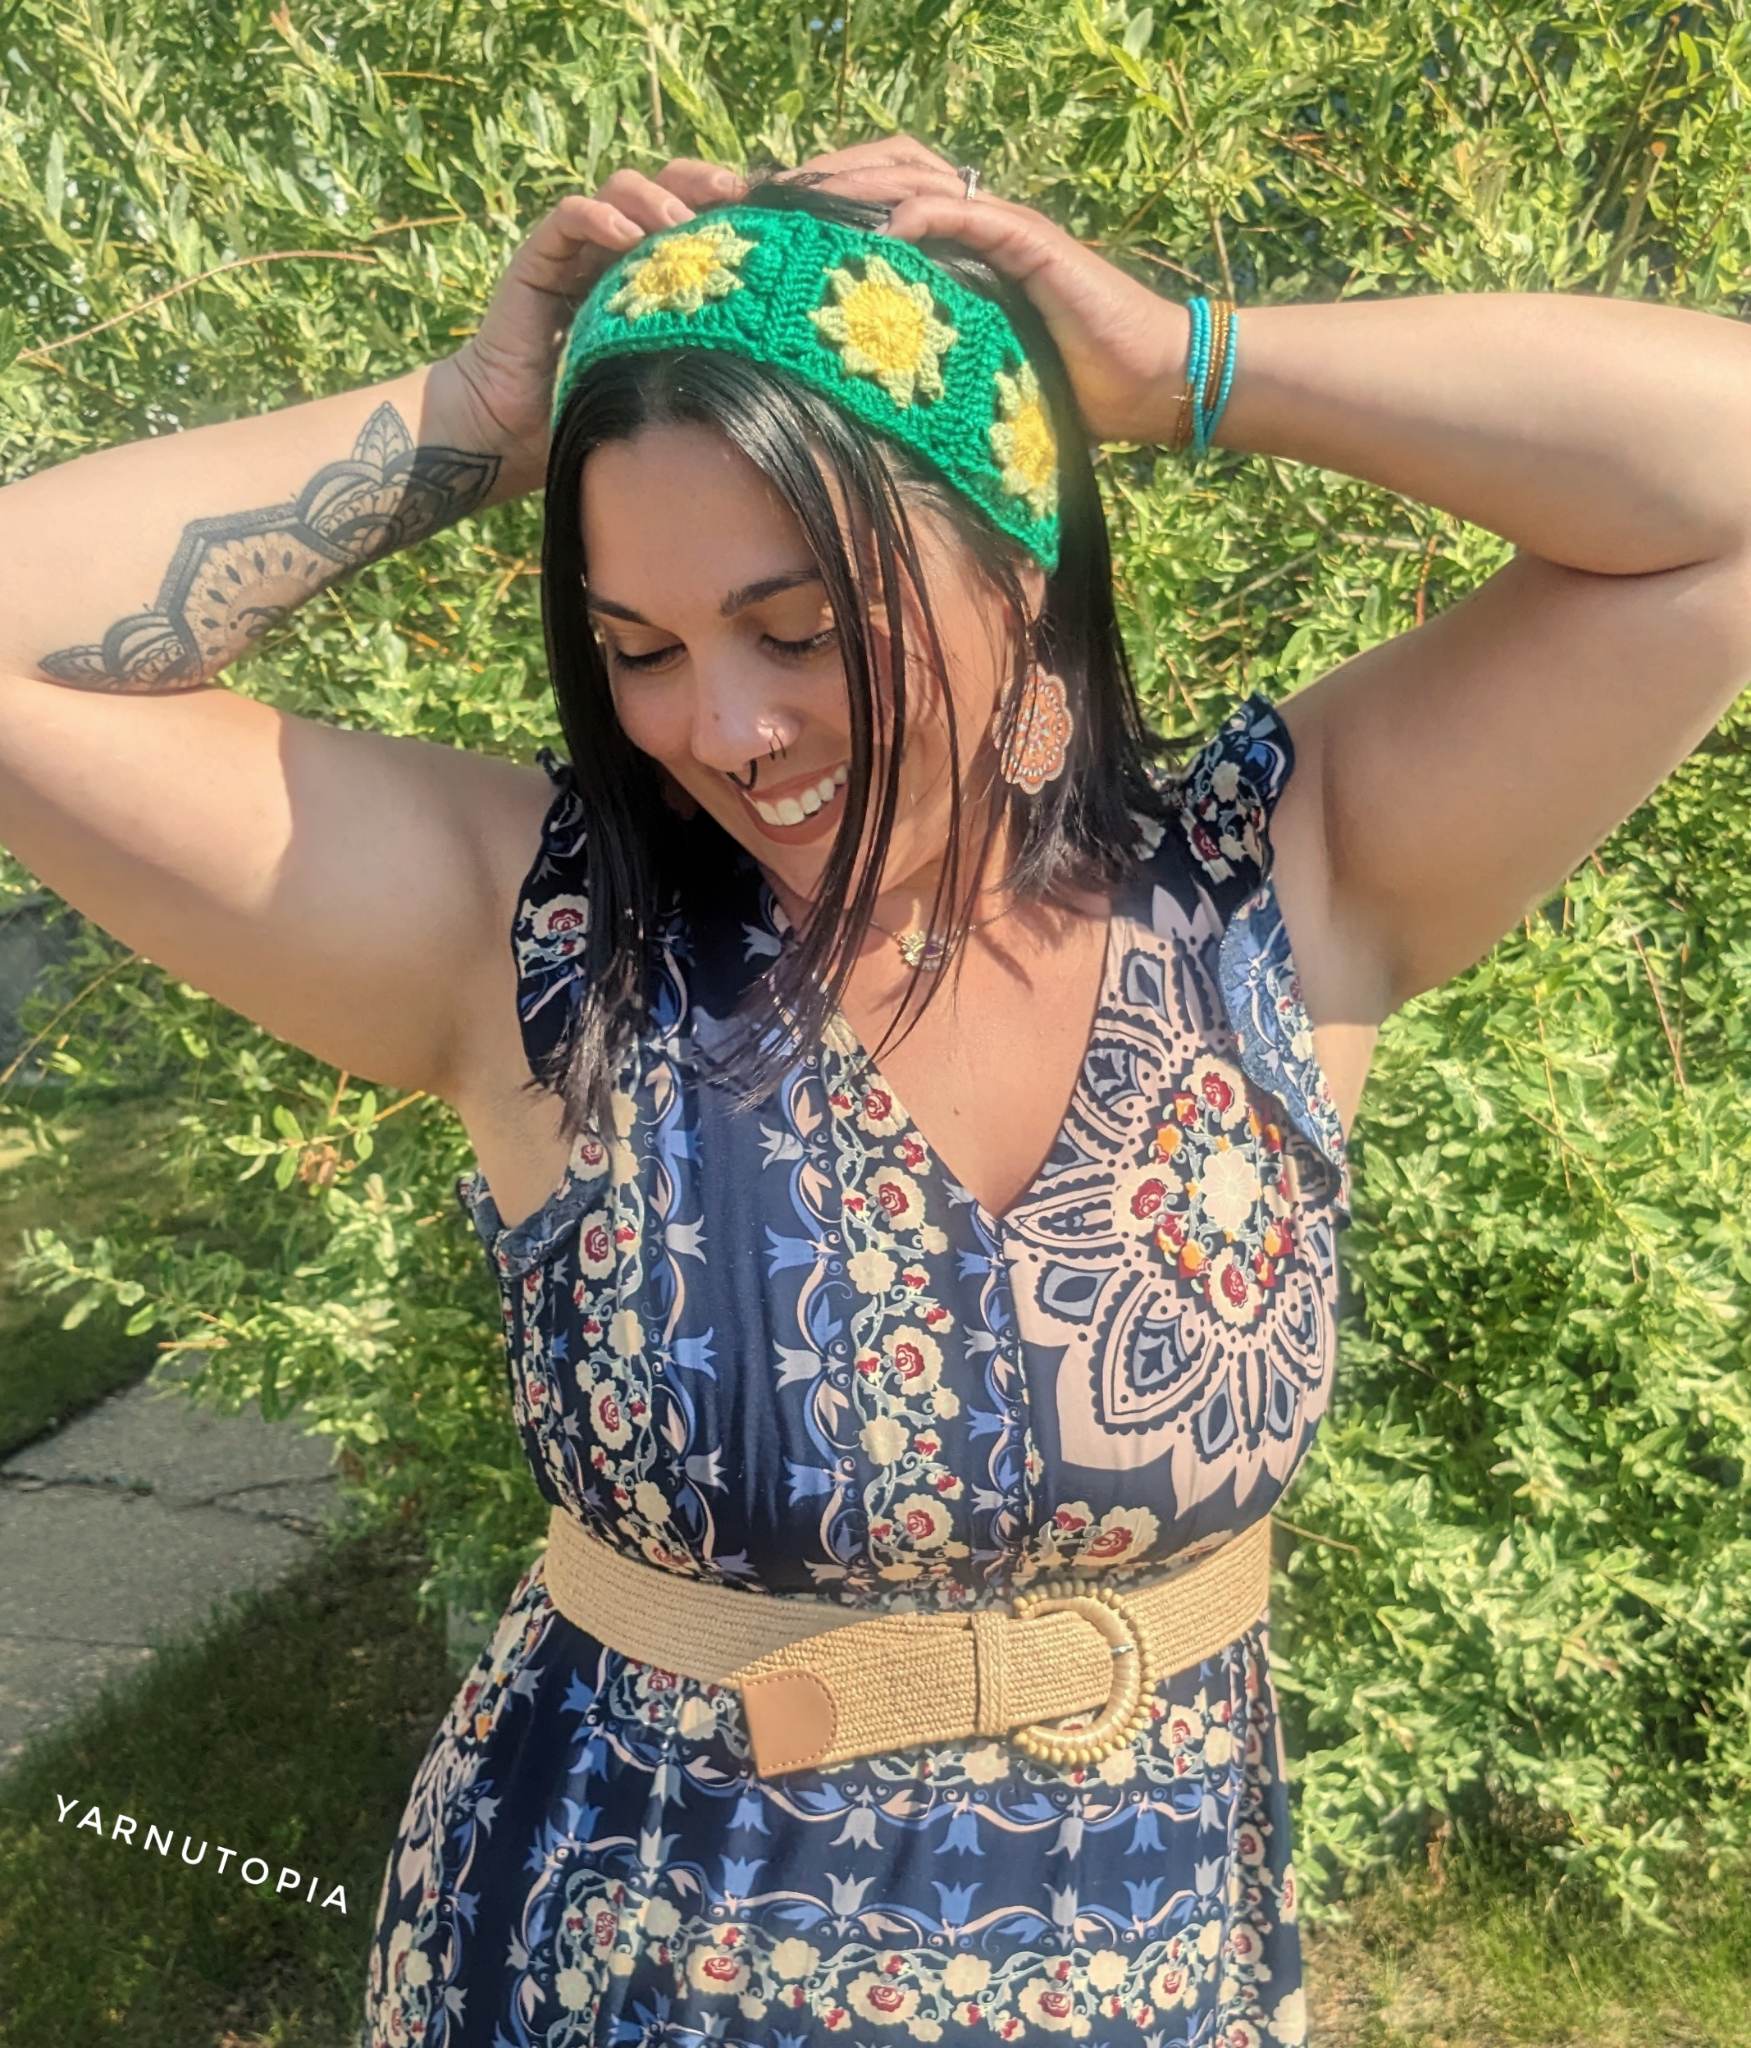
FREE Written Crochet Pattern: Starburst Garden Headband
FREE Written Crochet Pattern: Hanging Planter Basket
FREE Crochet Video Tutorial: Seat Belt Shoulder Strap Cover
FREE Written Crochet Pattern: Seat Belt Shoulder Strap Cover
How to Crochet Tutorial: Rose Flower Headband & Floral Wedding Bouquet
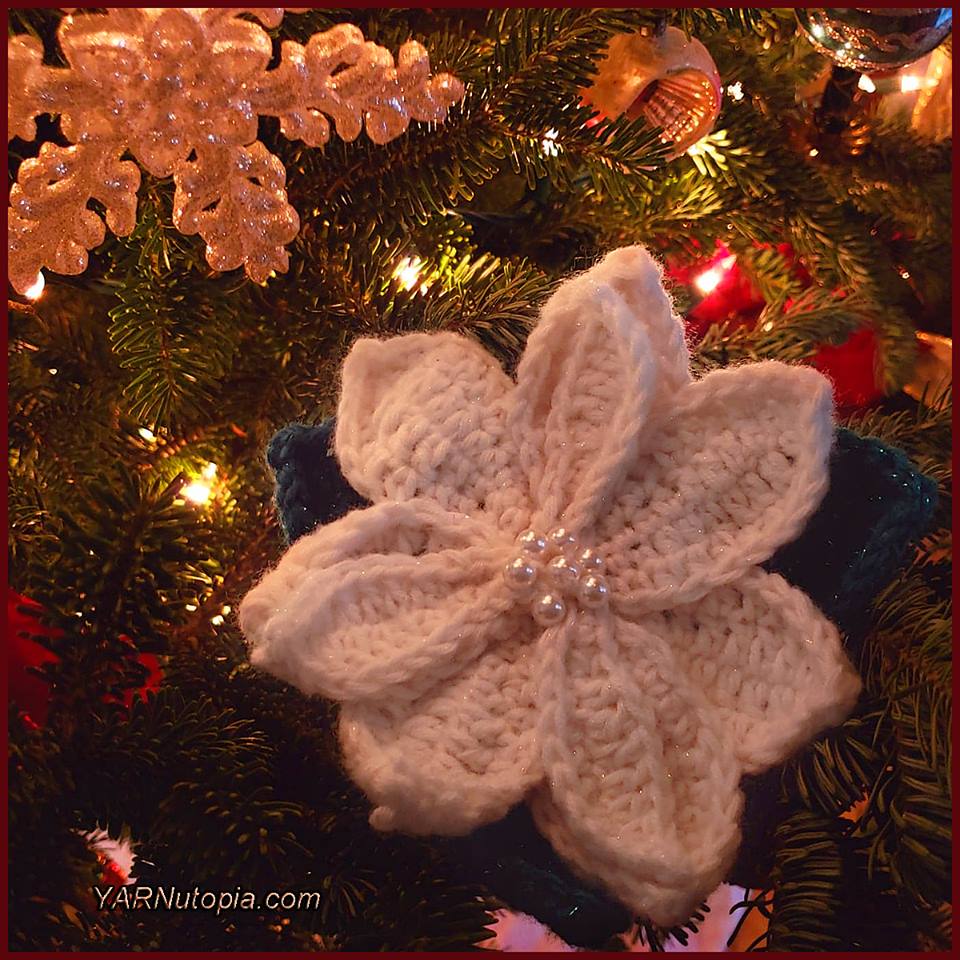
12 Days of Christmas: Poinsettia with Pearls
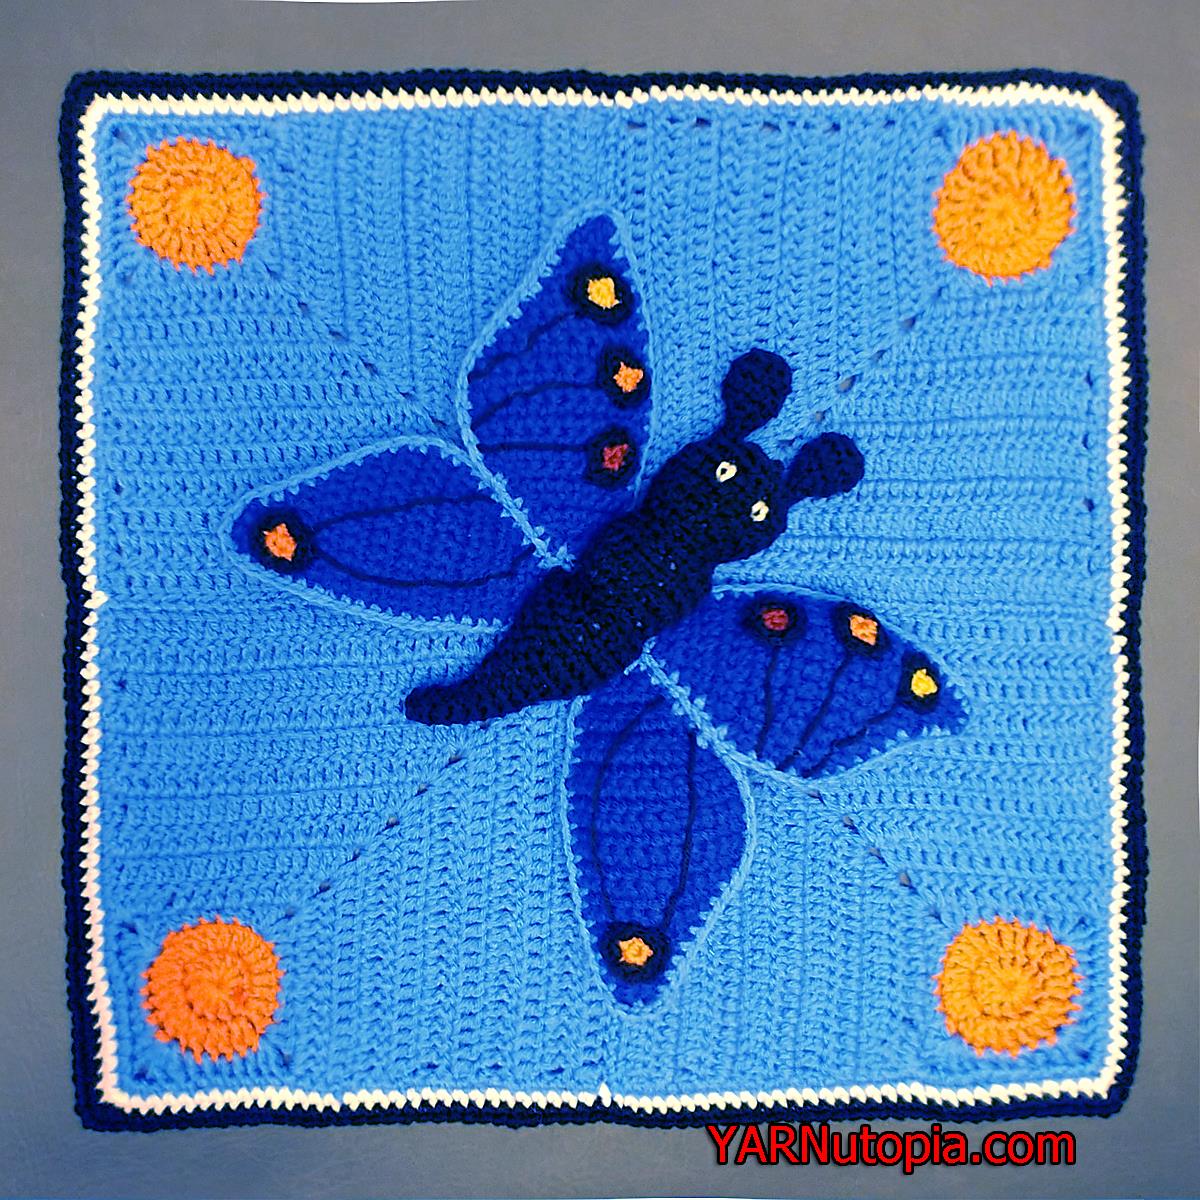
Crochet Tutorial: Butterfly Lovey
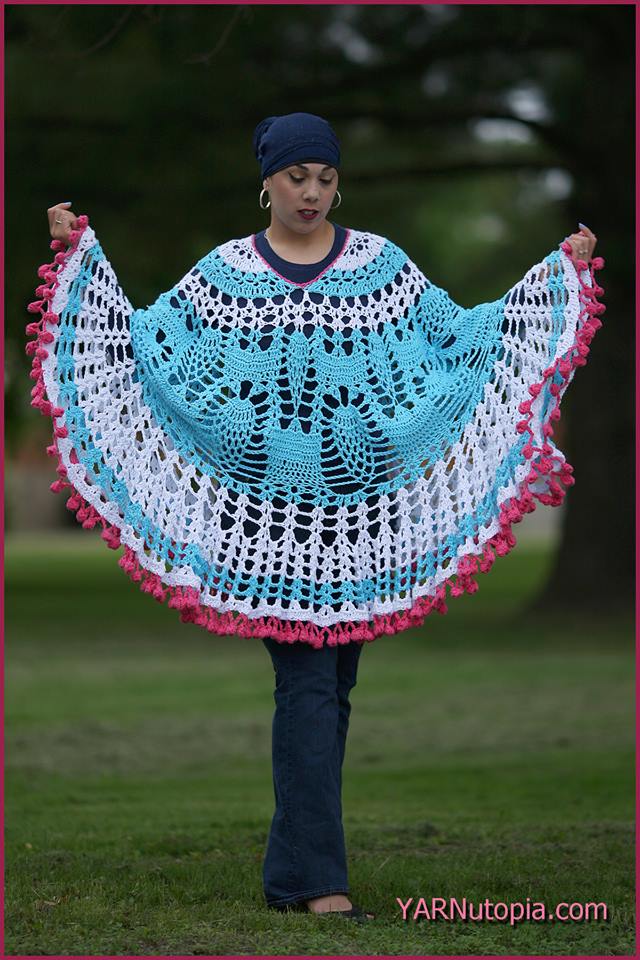
Crochet Tutorial: Pom Poms and Pineapples Poncho
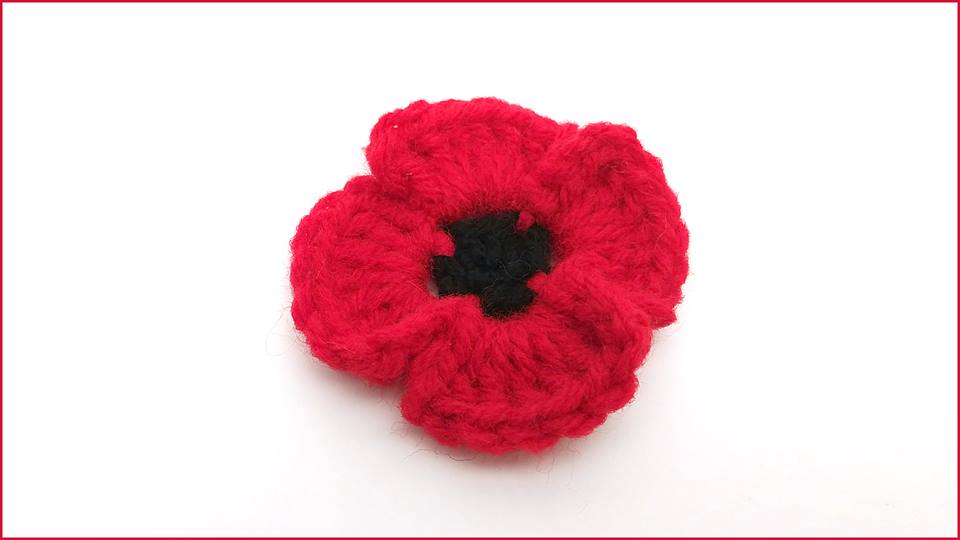
Crochet Tutorial: Poppy Flower
12 Days of Christmas: Cactus Ornament
Crochet Tutorial: Destiny Headband
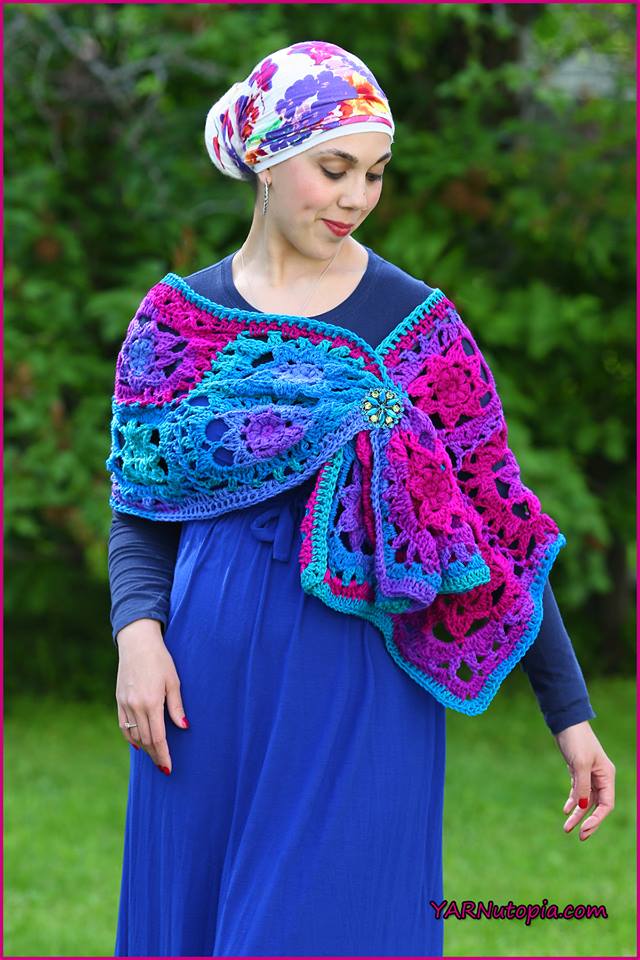
Crochet Tutorial: Jewel-Tone Lotus Wrap
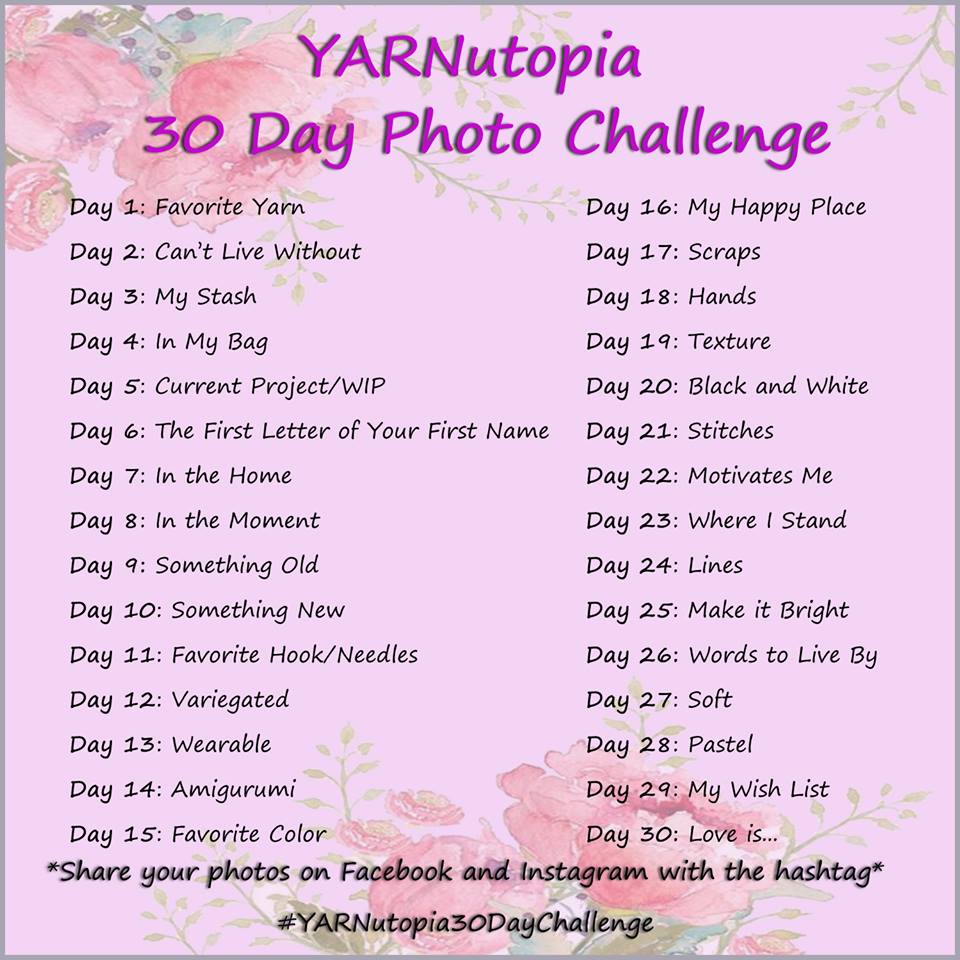
YARNutopia 30 Day Photo Challenge
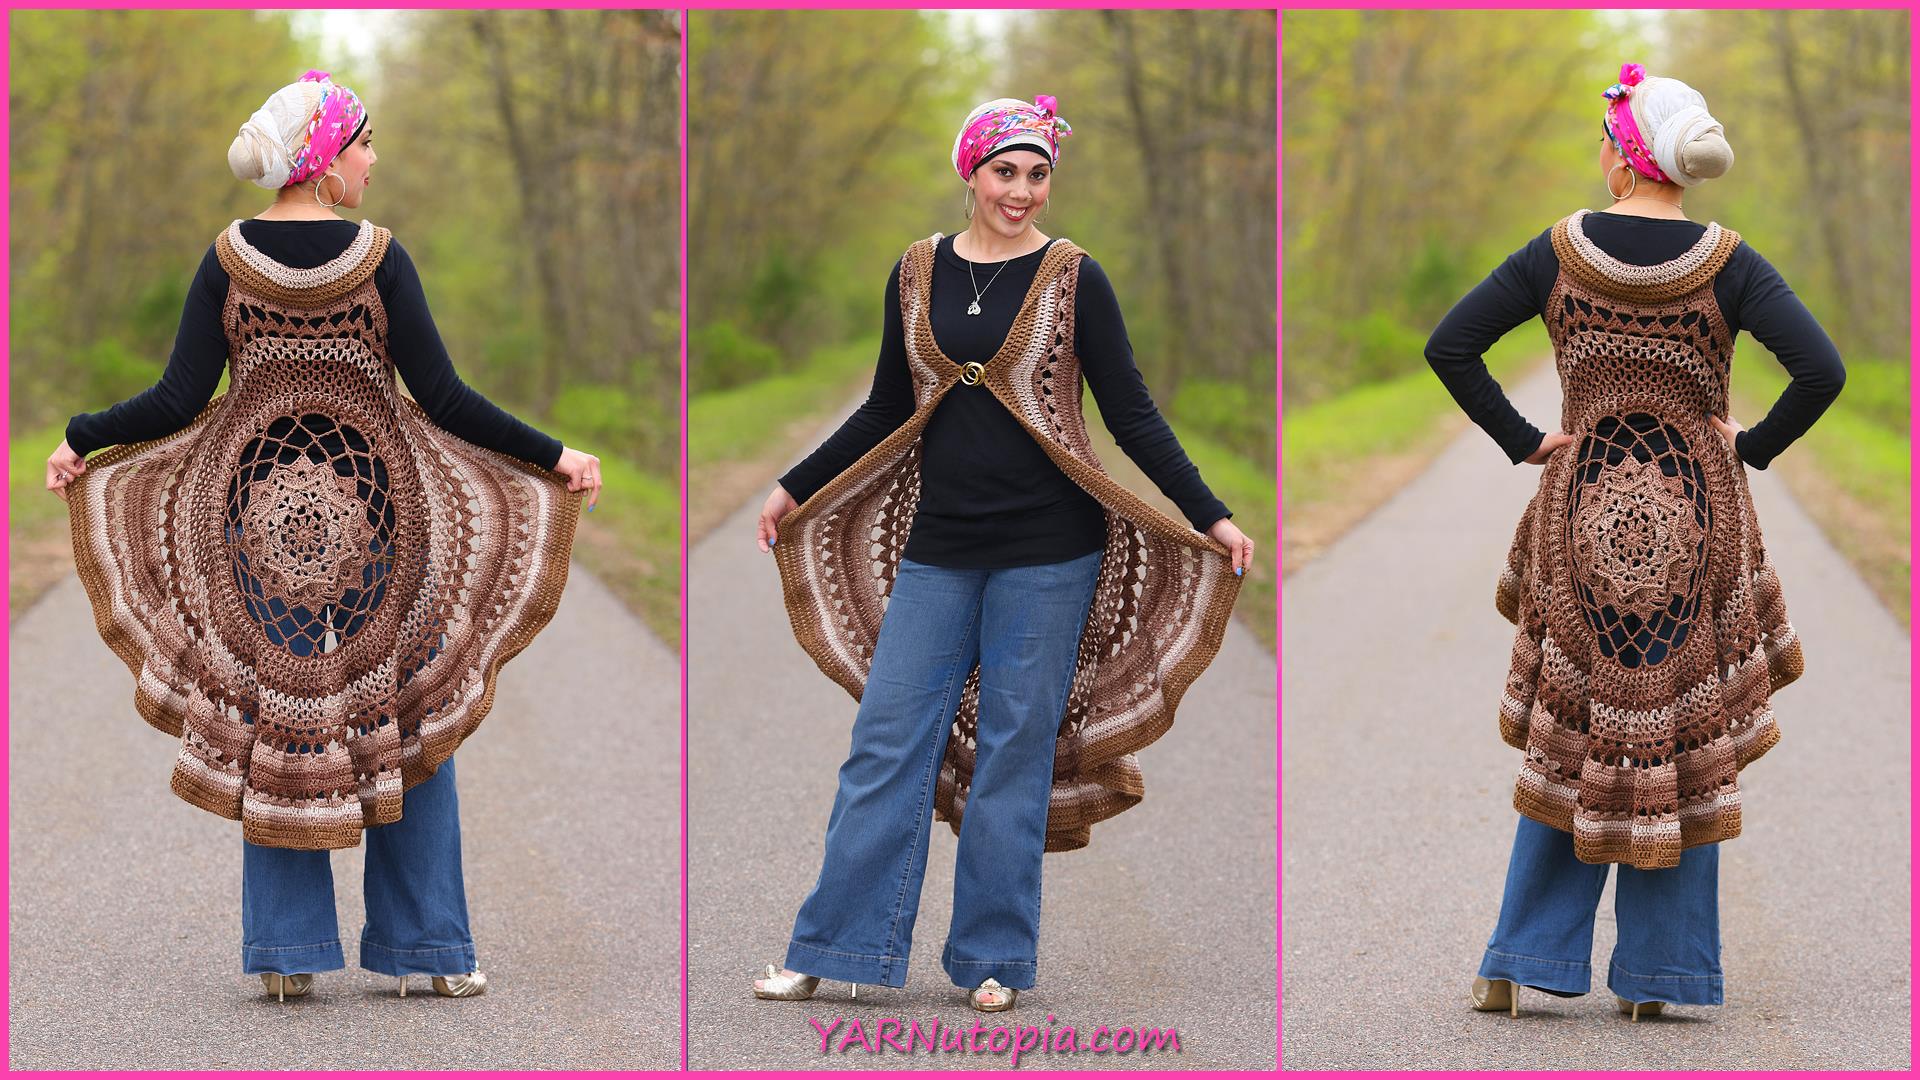
Crochet Tutorial: Spring Sun Mandala Vest
Crochet Tutorial: 3 in 1 Boho Style Wrap
Easter Pattern Round-Up
I made the One Skein Bunny!
Set of 4 Character Masks
Crochet Tutorial: Fox Mask
Crochet Tutorial: Owl Mask
Crochet Tutorial: Bunny Rabbit Mask
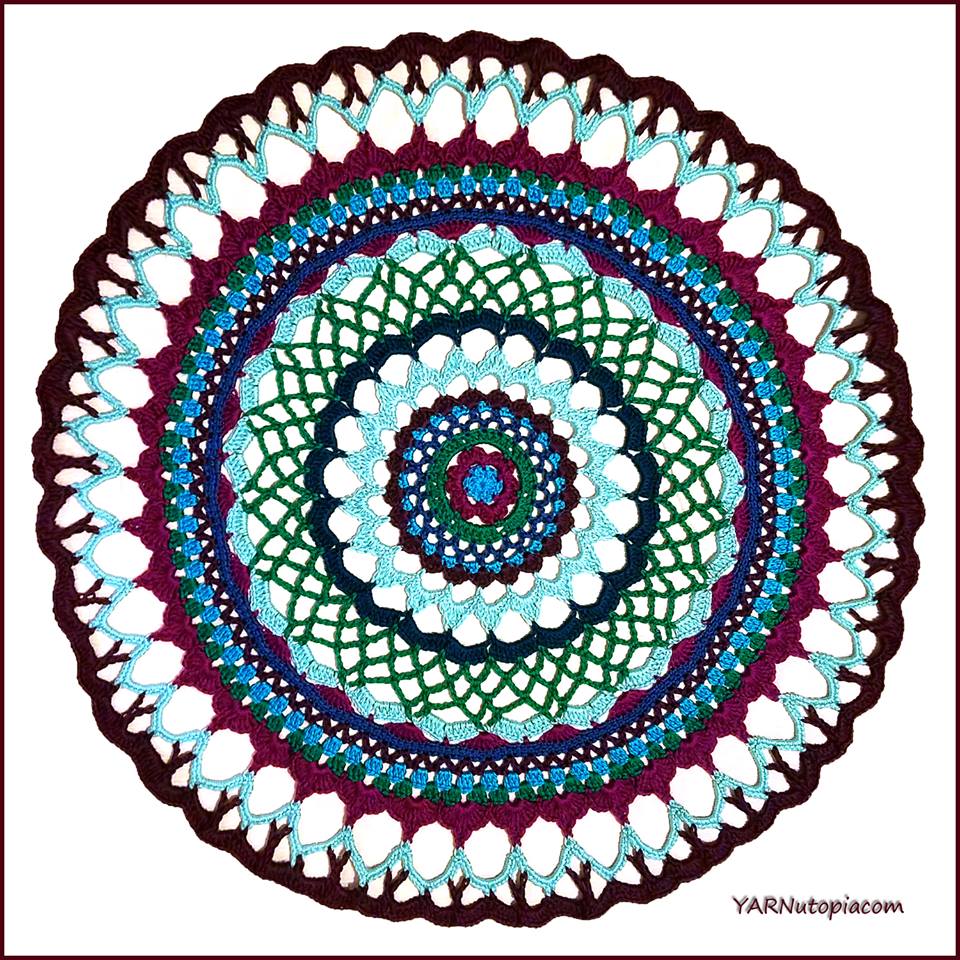
Crochet Tutorial: Henna Inspired Mandala
Crochet Tutorial: Make-up Brush Case
We’re tying the knot with yarn!
Crochet Tutorial: Bumble Bee Amigurumi
Crochet Tutorial: Mushroom Amigurumi
Crochet Tutorial: Leaf Applique
Inner Peace Blanket
Yay! I did it!
Crochet Tutorial: Rustic Evergreen Ornament
Crochet Tutorial: Bows and Bells Napkin Rings
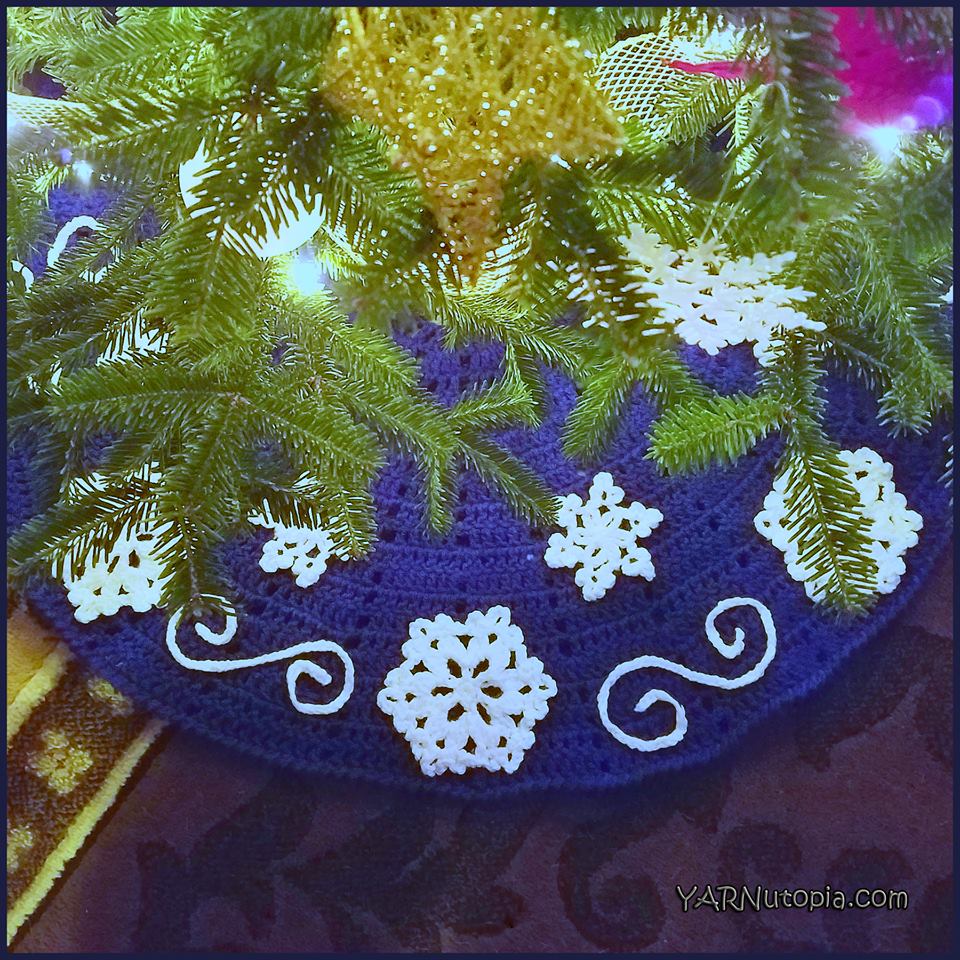
Crochet Tutorial: Fabulous Flurries Tree Skirt
Crochet Tutorial: Berry Giving Granny Square
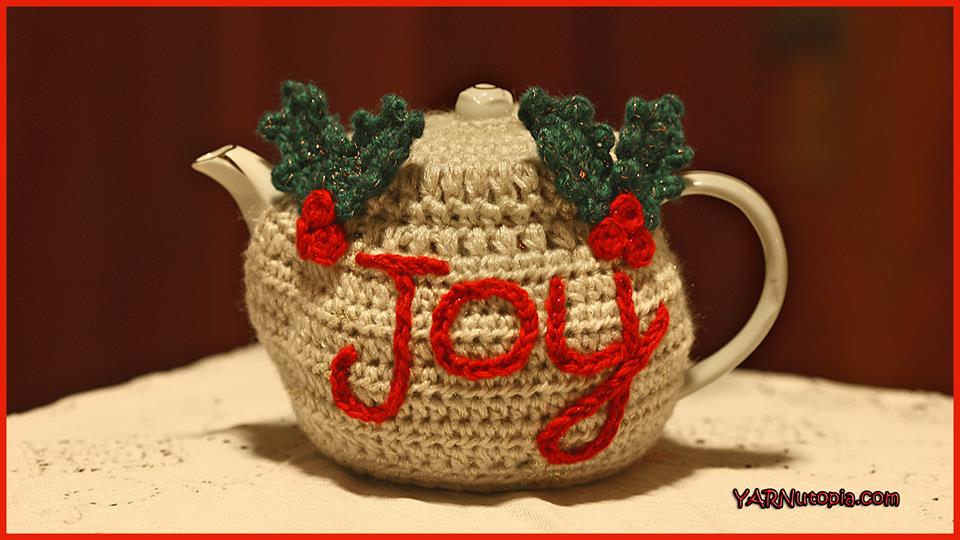
Crochet Tutorial: The Joyful Teapot Cozy
Crochet Tutorial: Fallen Leaves Cup Cozy
Crochet Tutorial: Dynamic Window Granny Square
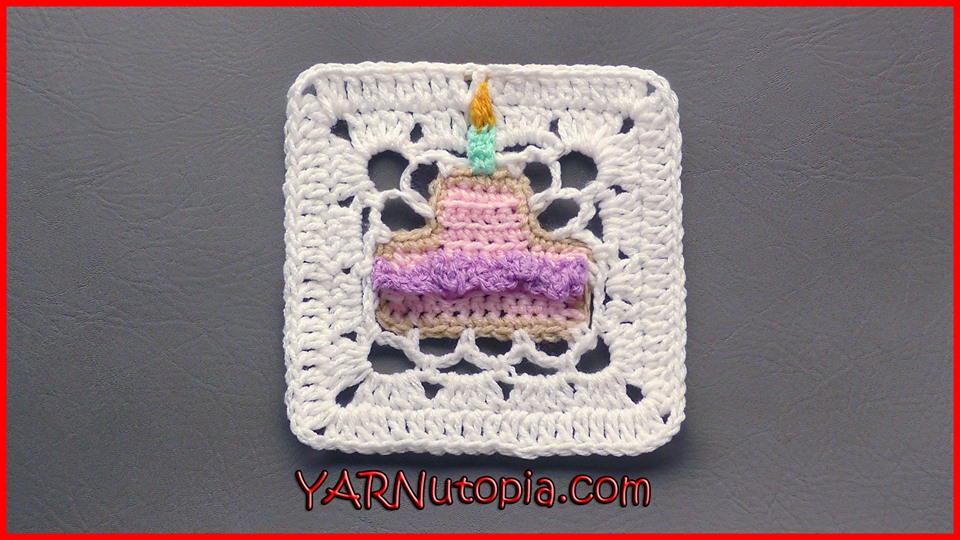
Crochet Tutorial: Birthday Wish Granny Square
Crochet Tutorial: Hello, Sunshine Granny Square
Crochet Tutorial: Autumn Meadow Granny Square
Happy Halloween!
Crochet Tutorial: Princess Costume
Crochet Tutorial: Wild Flower Days Granny Square
Crochet Tutorial: Soul Shine Granny Square
Crochet Tutorial: Sublime Light Granny Square
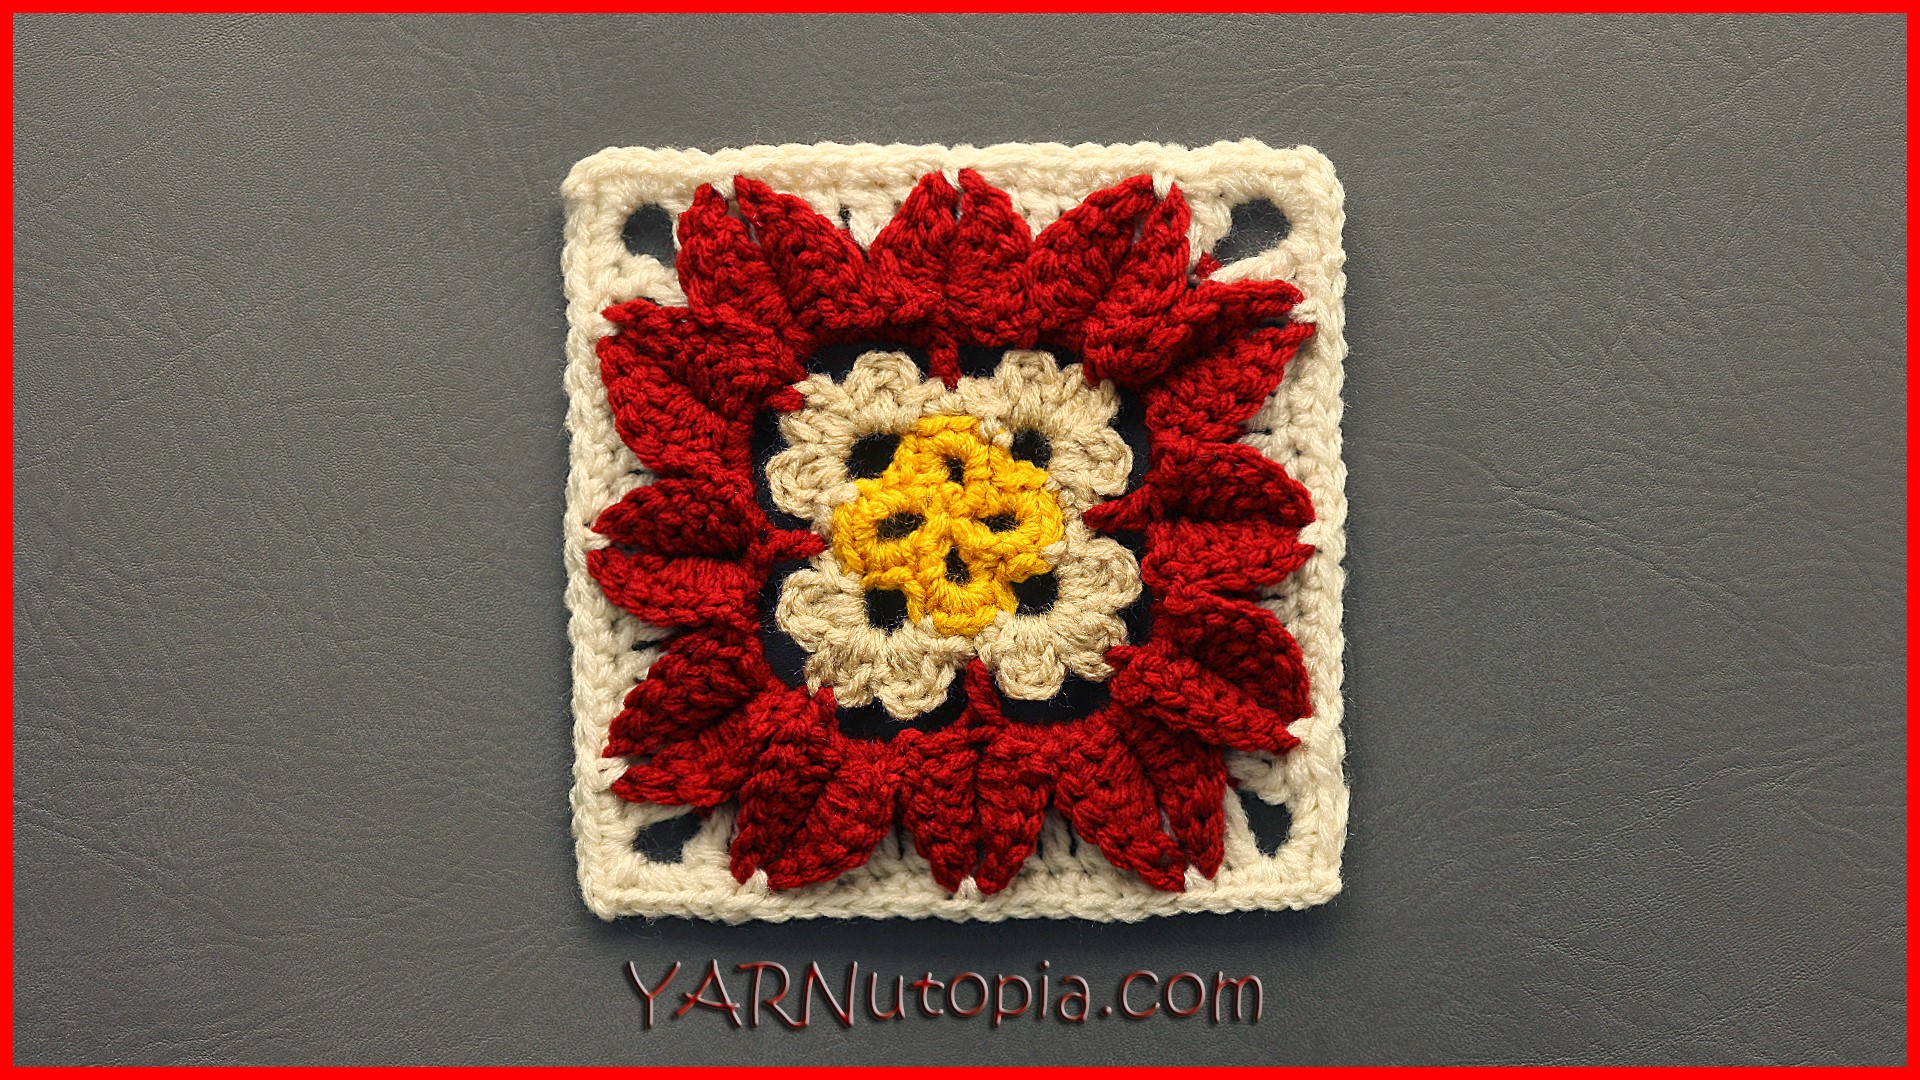
Crochet Tutorial: Autumn Flower Granny Square
Heart Will Lead You Home Blanket
Crochet Tutorial: In the Garden Granny Square
Crochet Tutorial: In Full Bloom Granny Square
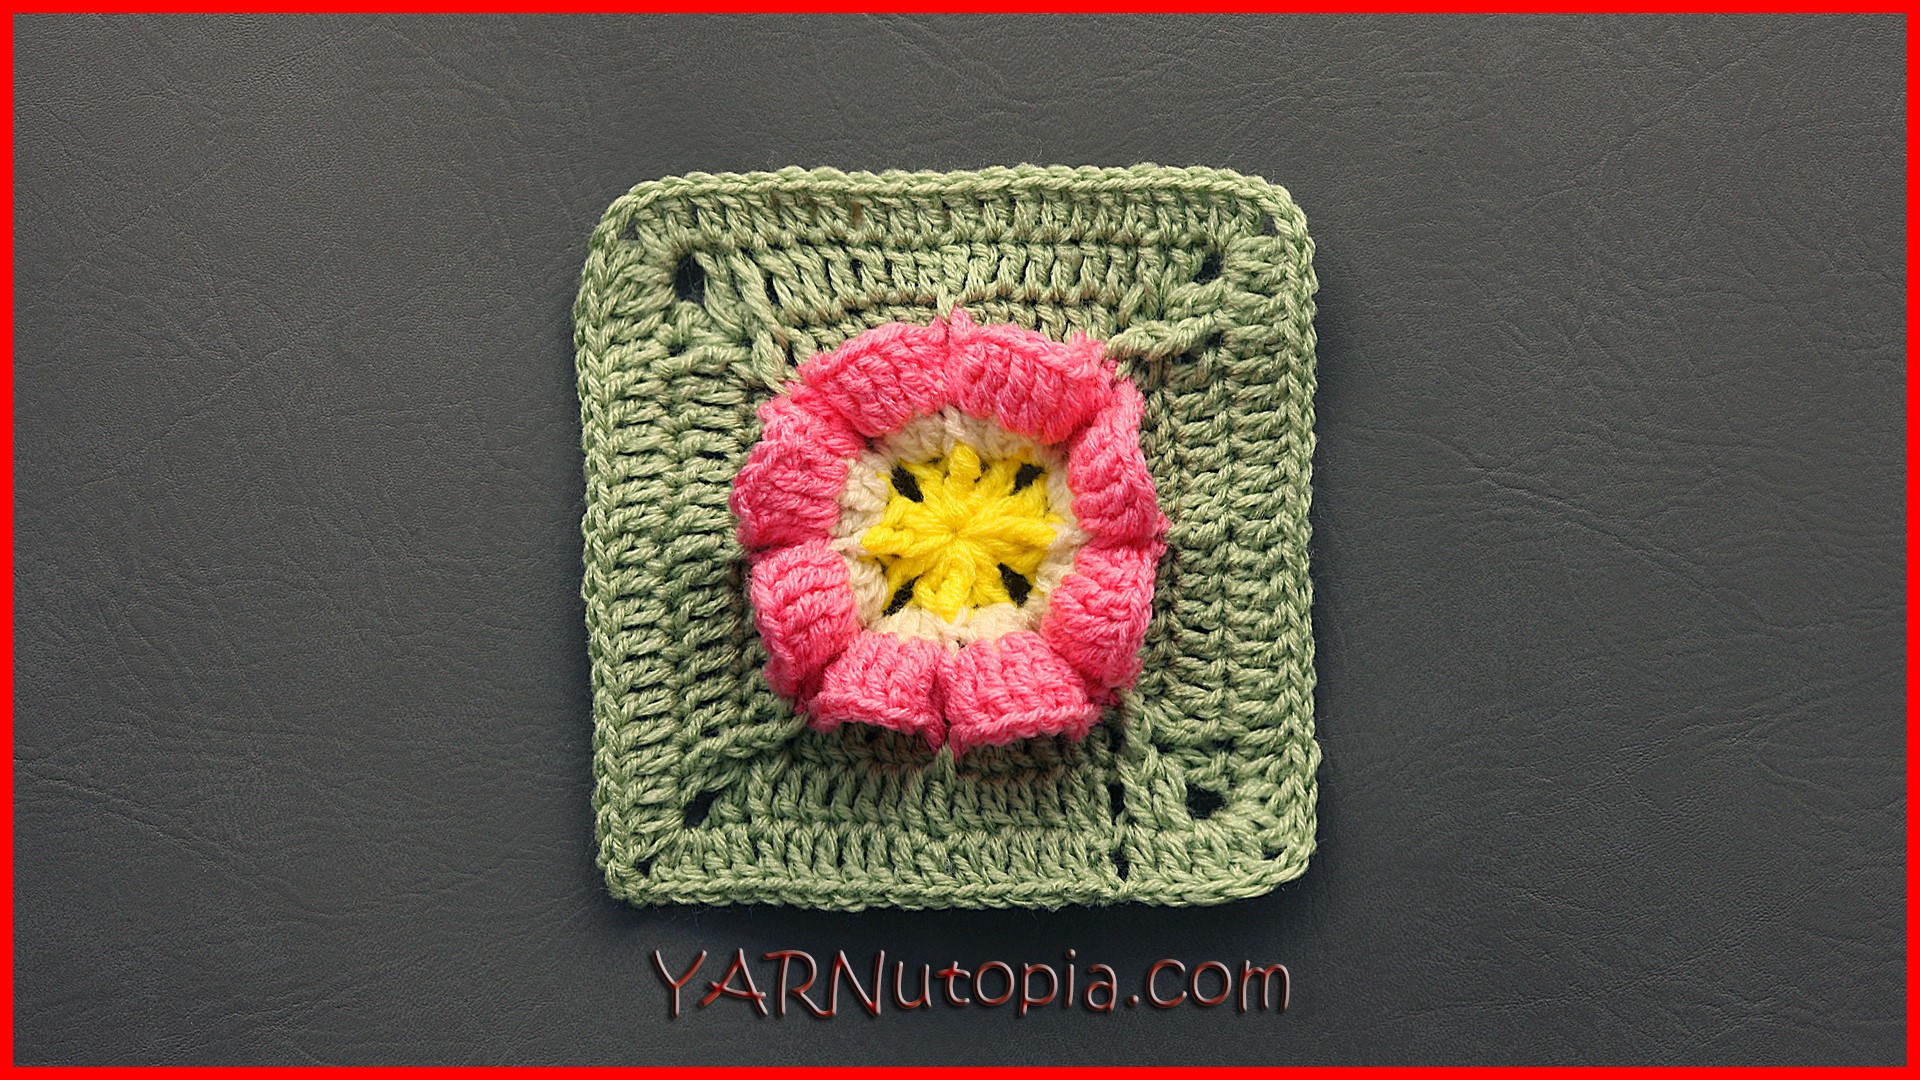
Crochet Tutorial: Wrinkled Rose Granny Square
1
2
Next Page
Loading Comments...
Write a Comment...
Email (Required)
Name (Required)
Website