Skip to content
YARNutopia & M0re
All things Yarn Related: Crochet, DIY, and Crafts
Blog
365 Days of Granny Squares
Stitch Gallery & Glossary
Crochet Video Tutorials
Frequently Asked Questions
Crochet Glossary: Learn the Lingo
Contact
Search
Search
halloween
YARNutoia & More
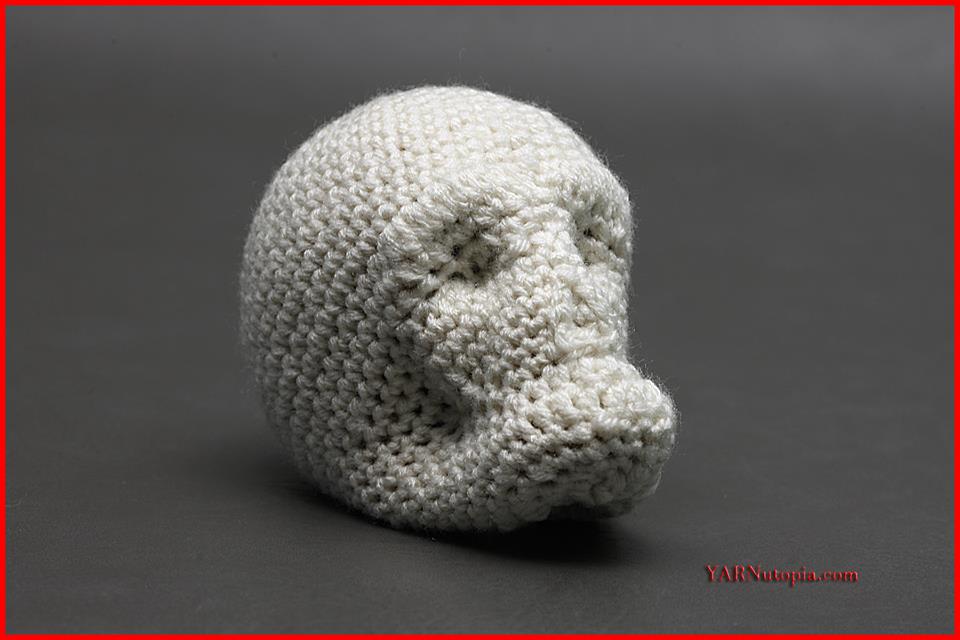
Crochet Tutorial: Crochet Around Mache-Skull
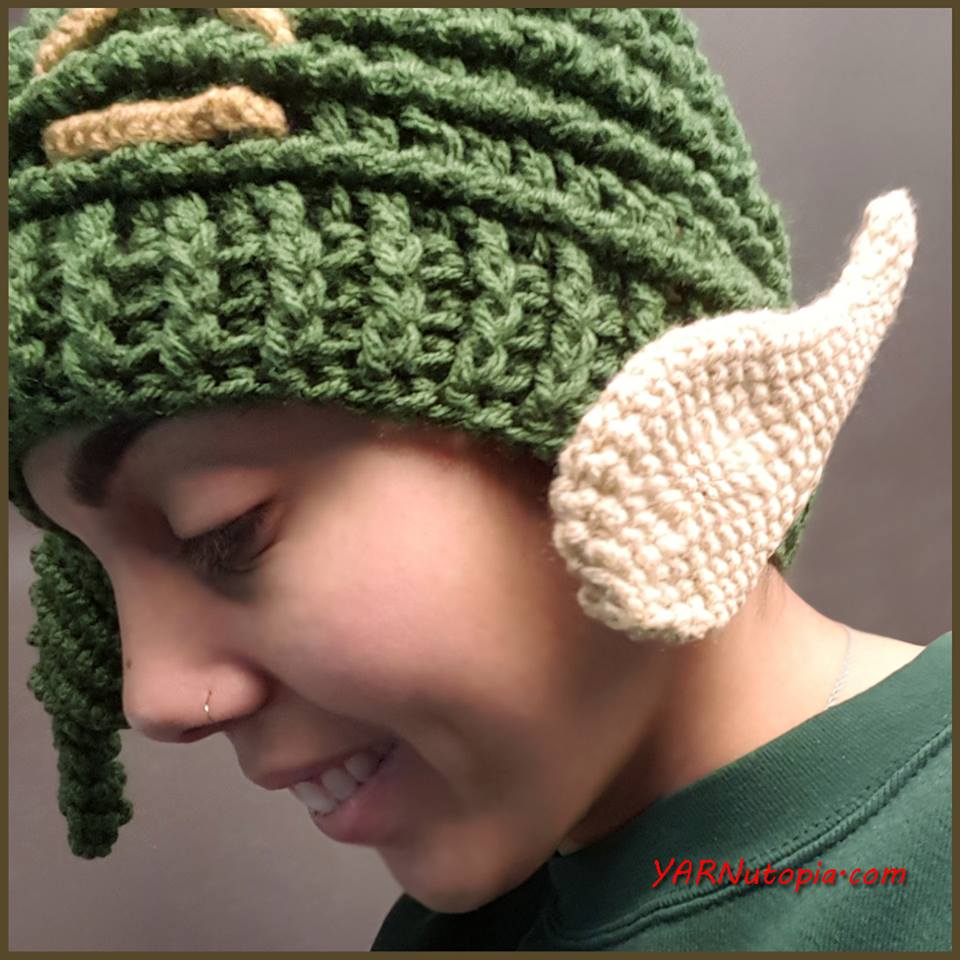
Crochet Tutorial: Elf Ears
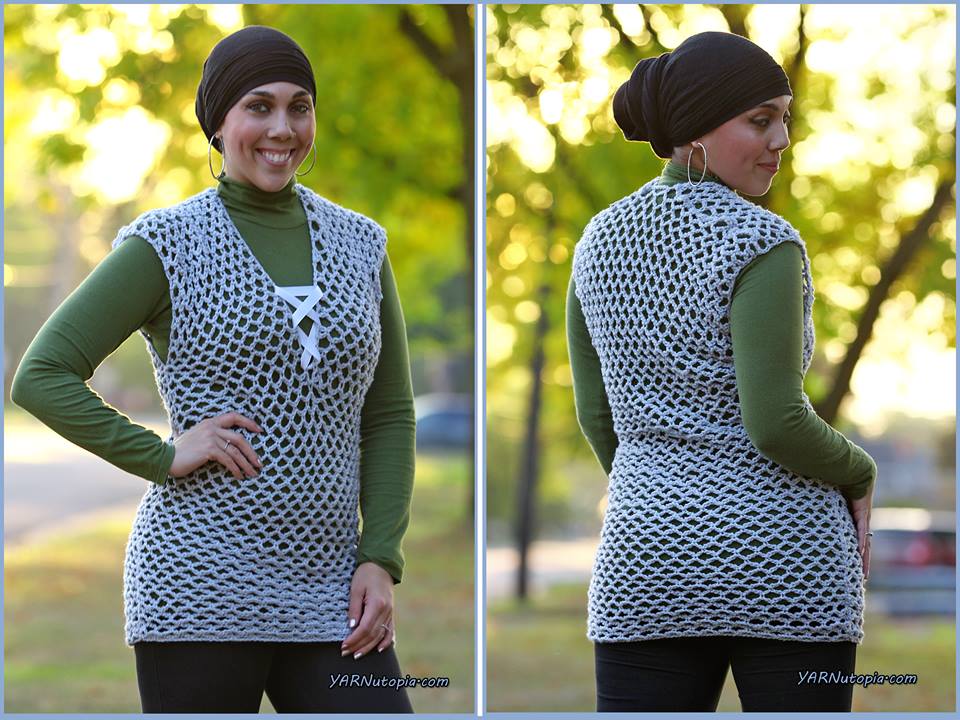
Crochet Tutorial: Chain-Link Tunic
Crochet Tutorial: Chunky Sport Hat
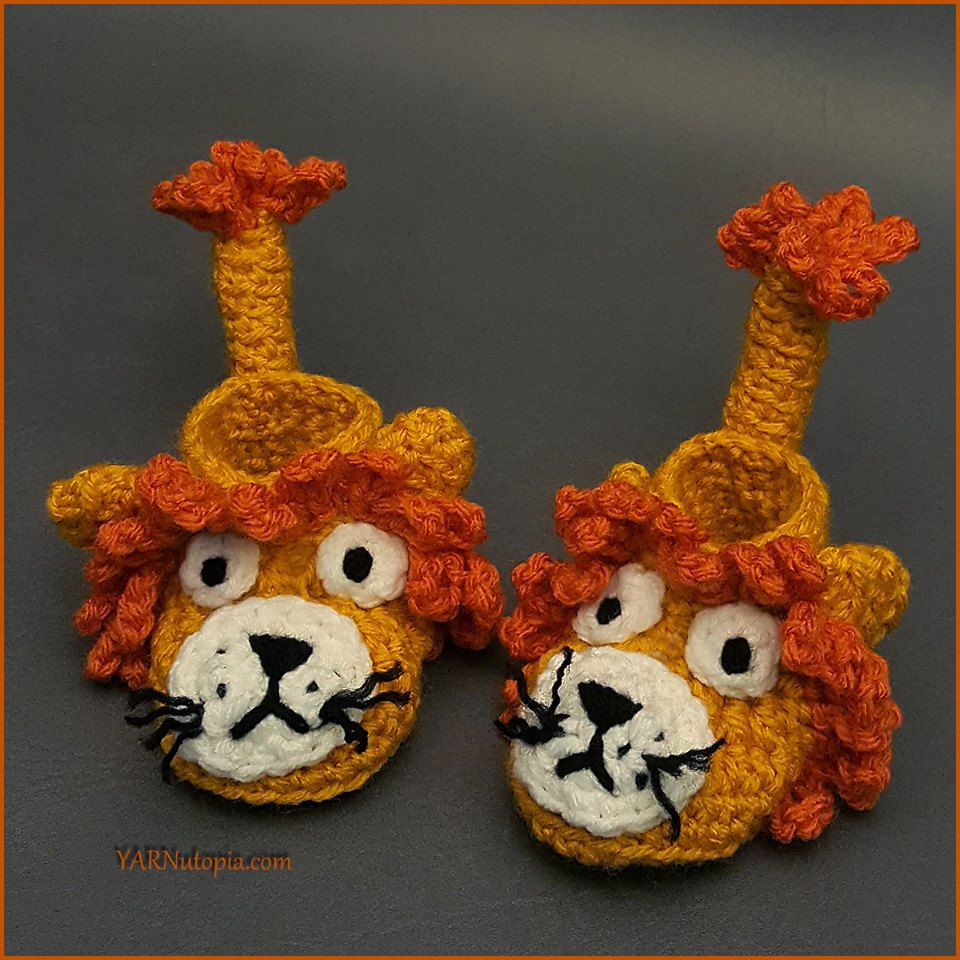
Crochet Tutorial: Little Lion Baby Booties
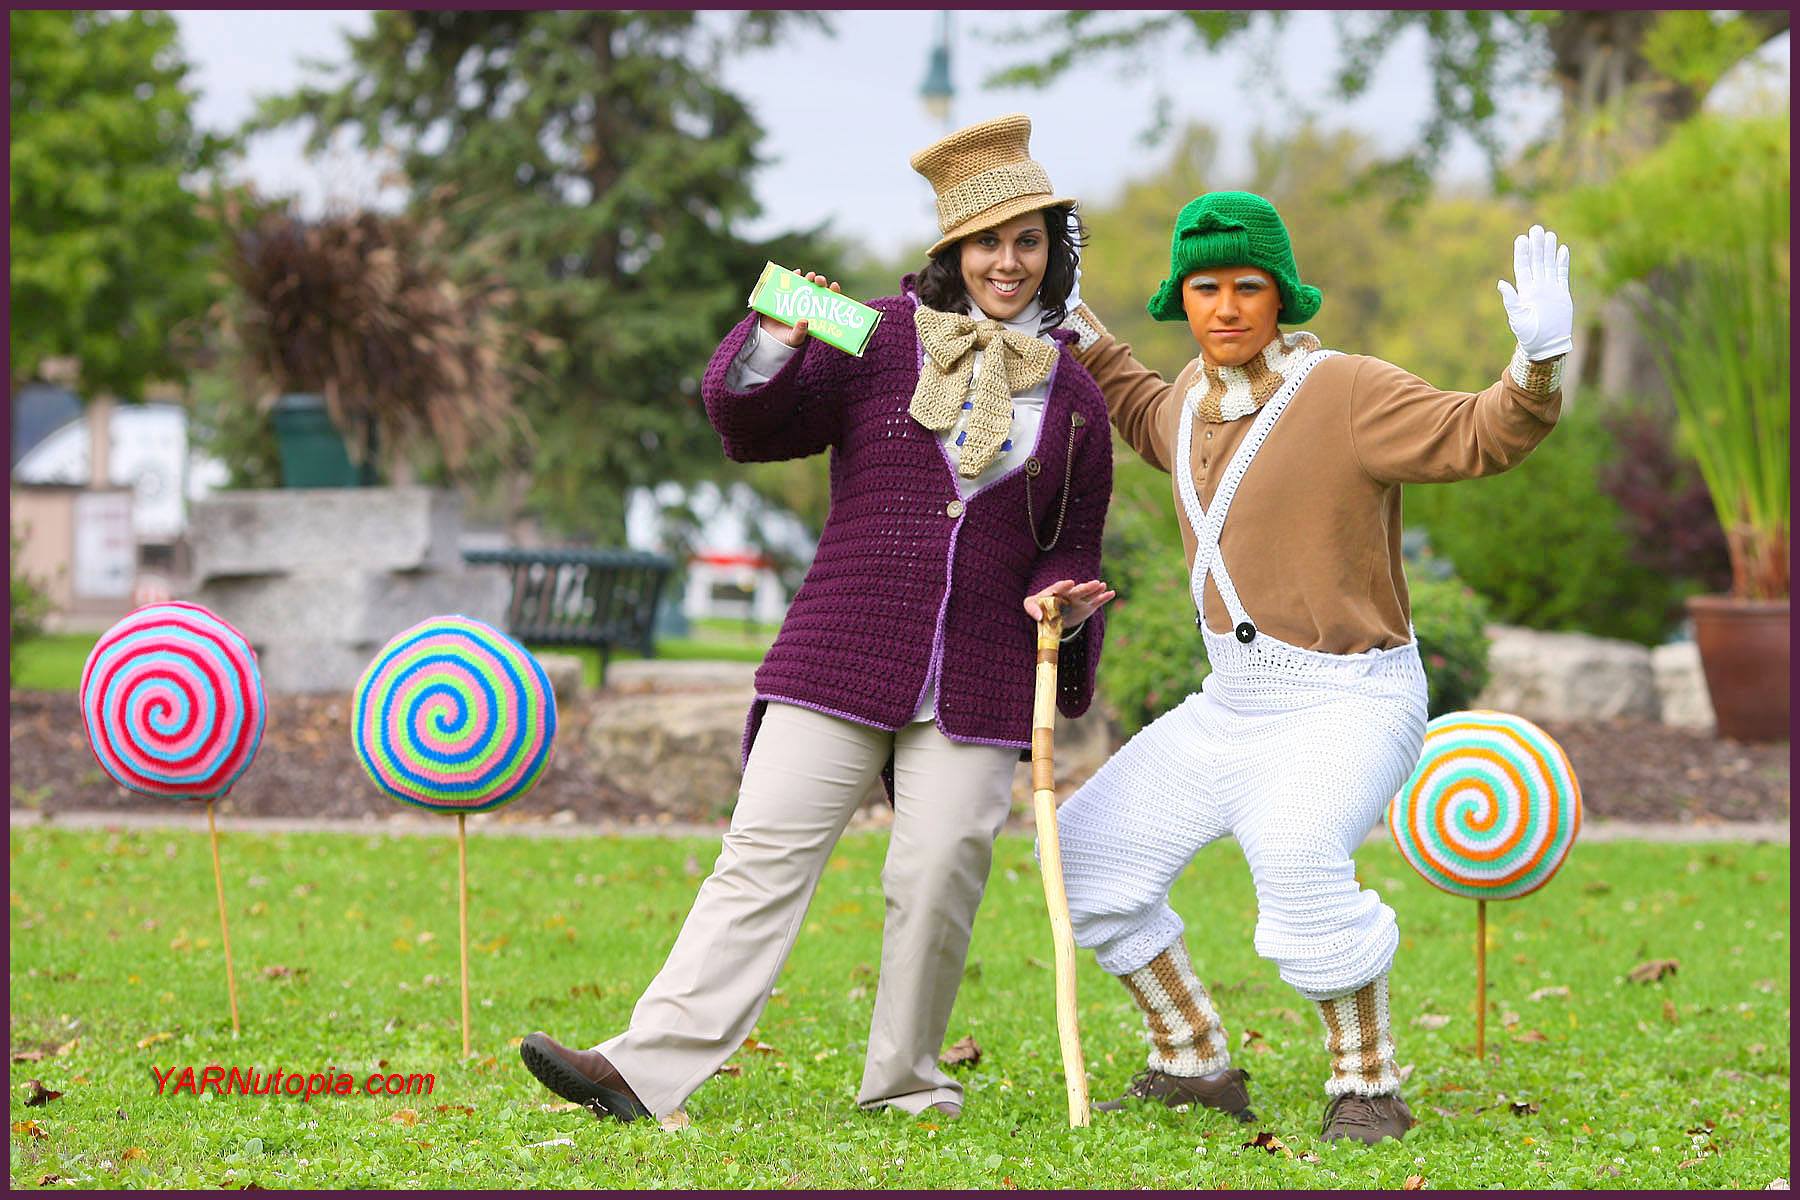
DIY Creative Crochet Costume Ideas
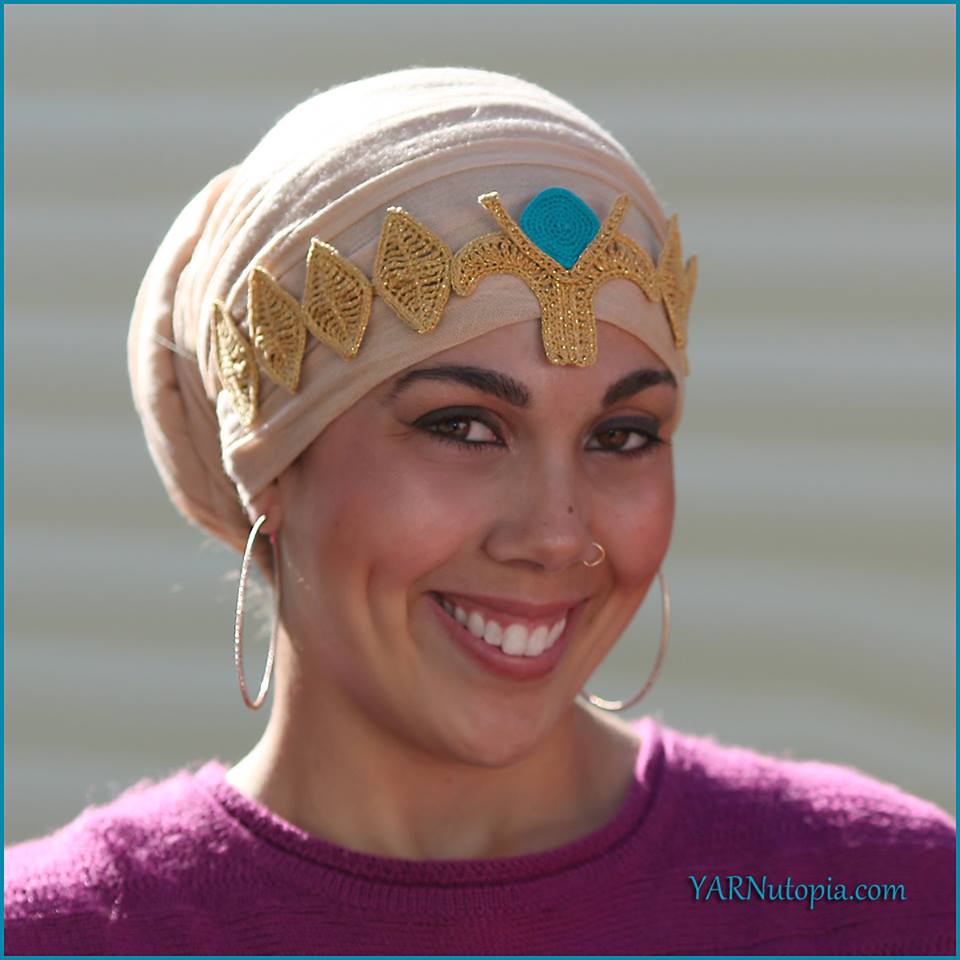
Crochet Tutorial: Destiny Headband
Crochet Tutorial: Link to the Past Stocking Cap
Crochet Tutorial: Kitty Cat Poncho
Easter Pattern Round-Up
All dogs go to heaven
Crochet Tutorial: Owl Mask
Crochet Tutorial: Bunny Rabbit Mask
Happy Halloween!
Crochet Tutorial: Princess Costume
Crochet Tutorial: Beast Costume Gloves
Crochet Tutorial: Halloween Table Runner
Crochet Tutorial: Autumn Flower Granny Square
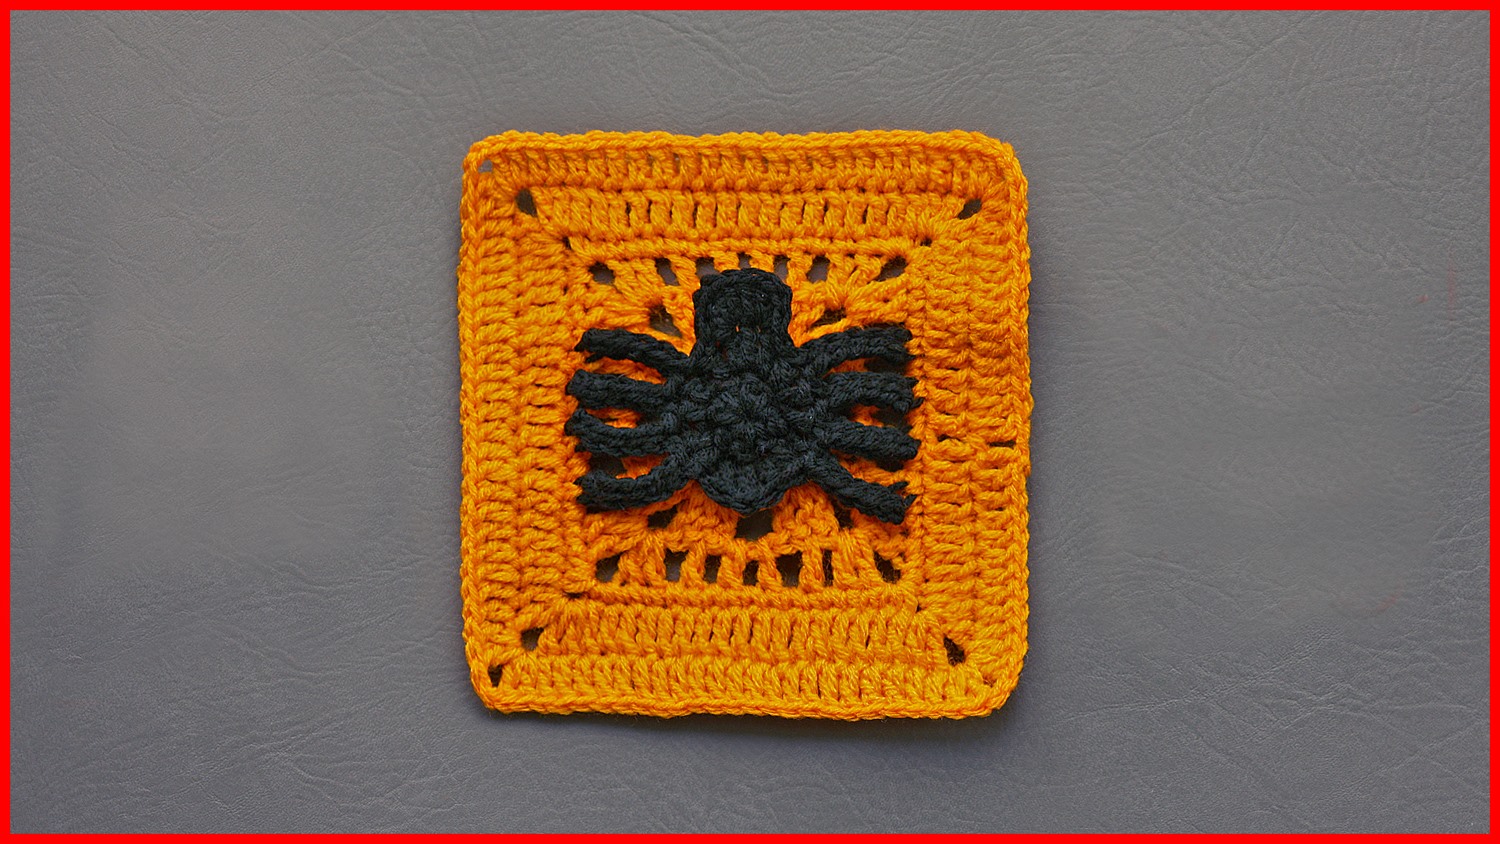
Crochet Tutorial: Spinning Spider Granny Square
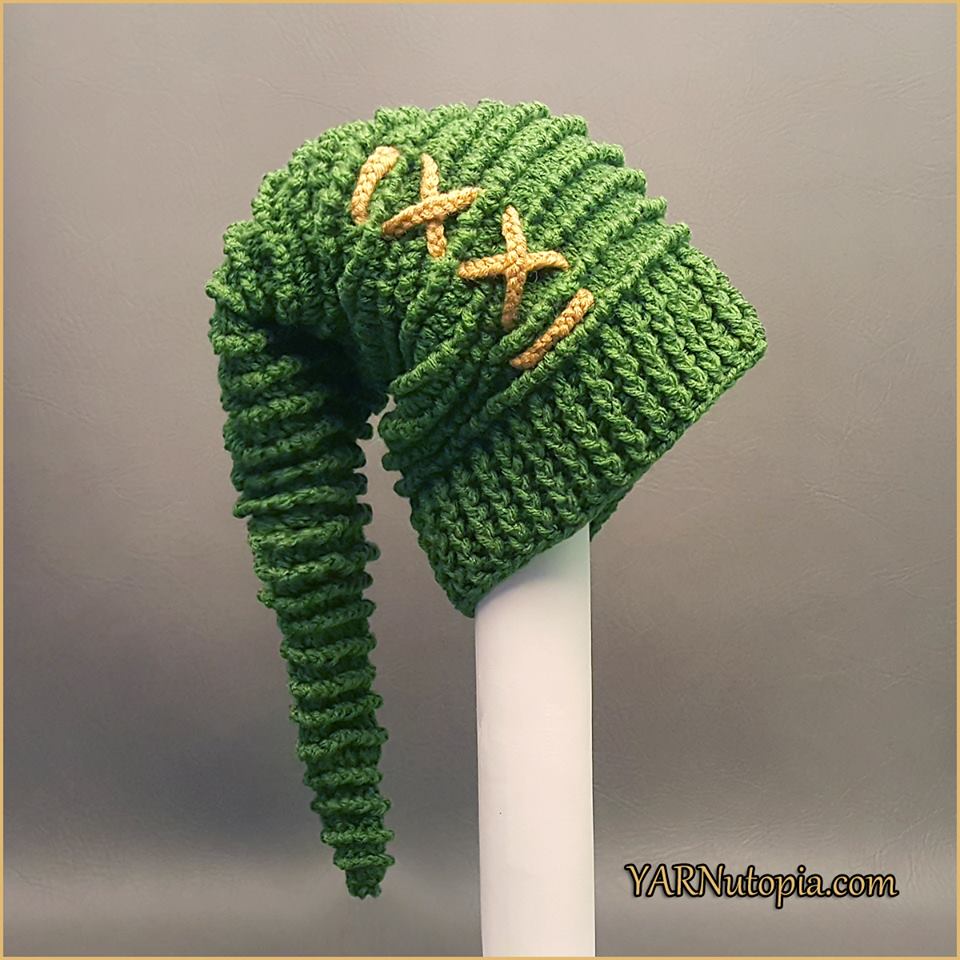
Crochet Tutorial: Gorilla Hat
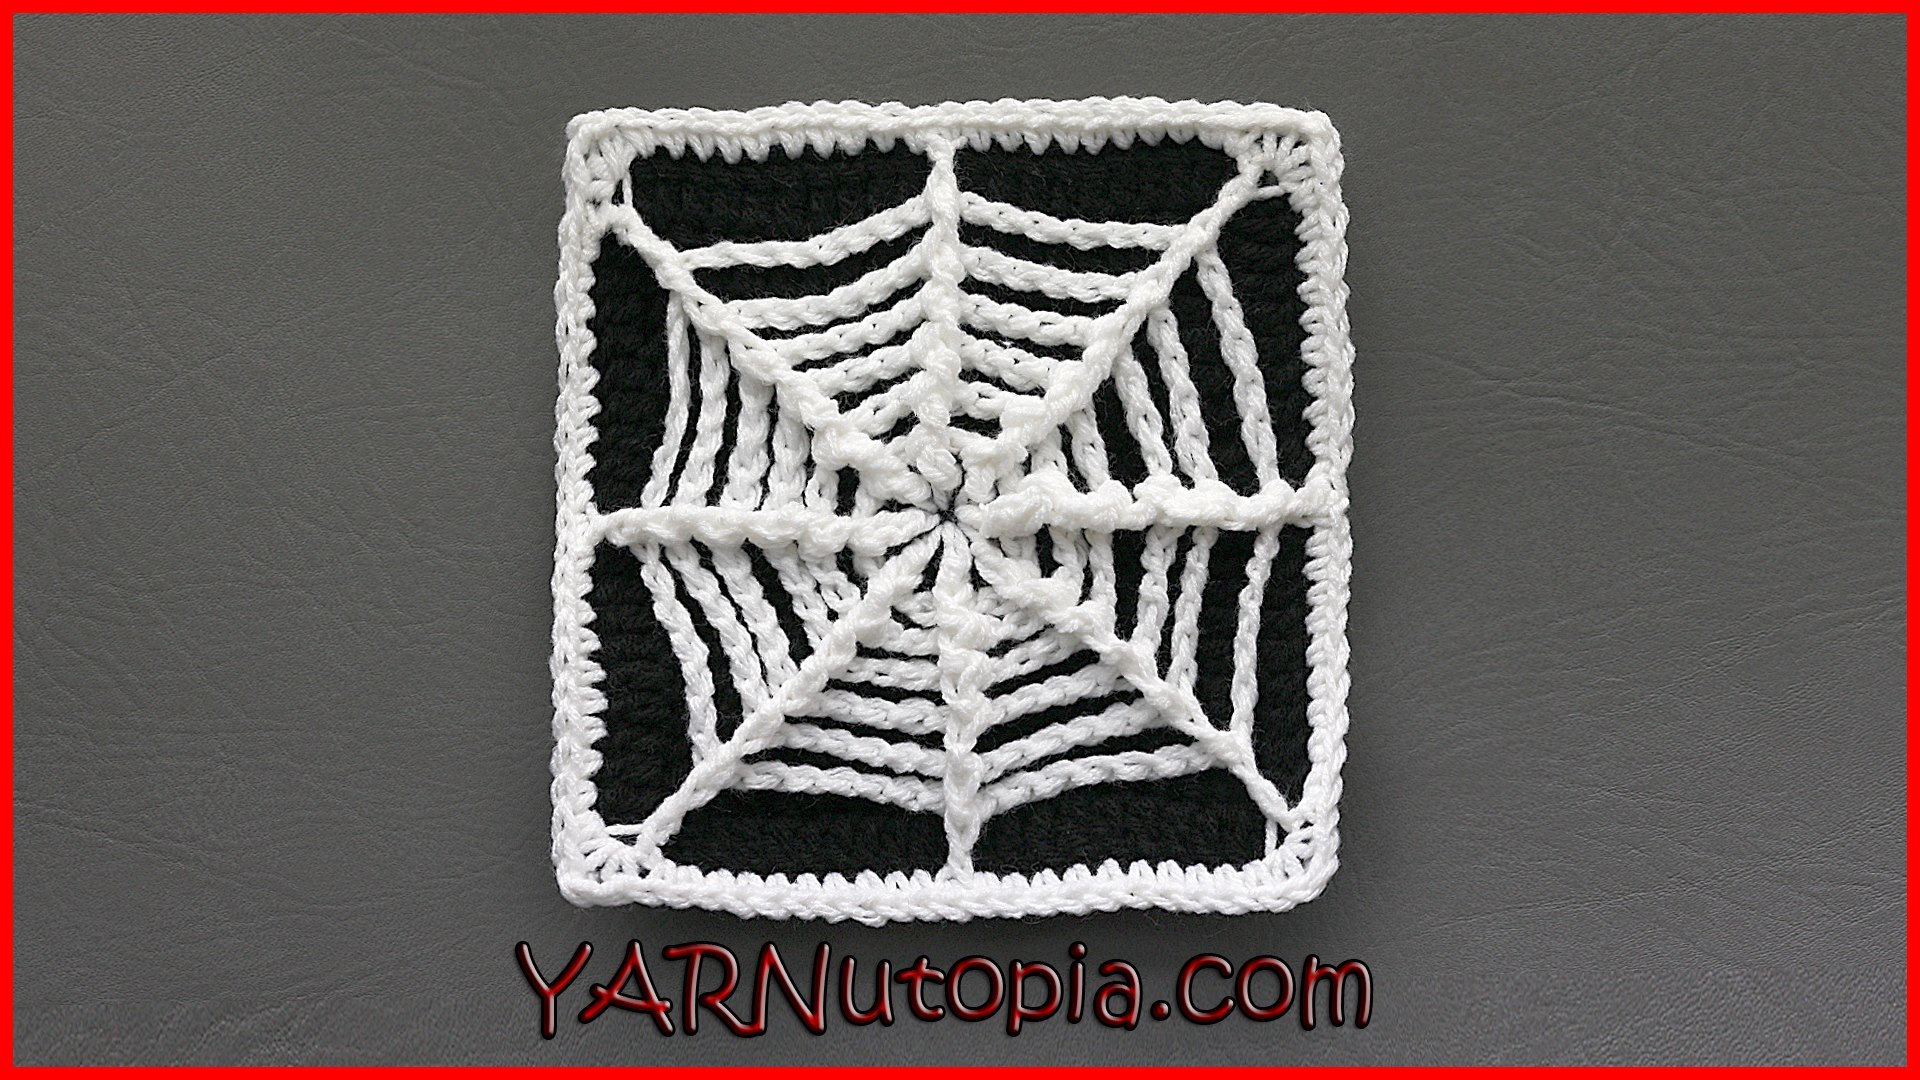
Crochet Tutorial: The Web We Weave Granny Square
Crochet Tutorial: Beast Hat
Crochet Tutorial: Enchanted Rose Cape
Pokémon Go Style
Crochet Pattern: Cheshire Cat Tail
Crochet Tutorial: Elmo Hat
Crochet Tutorial: Turkey Hat
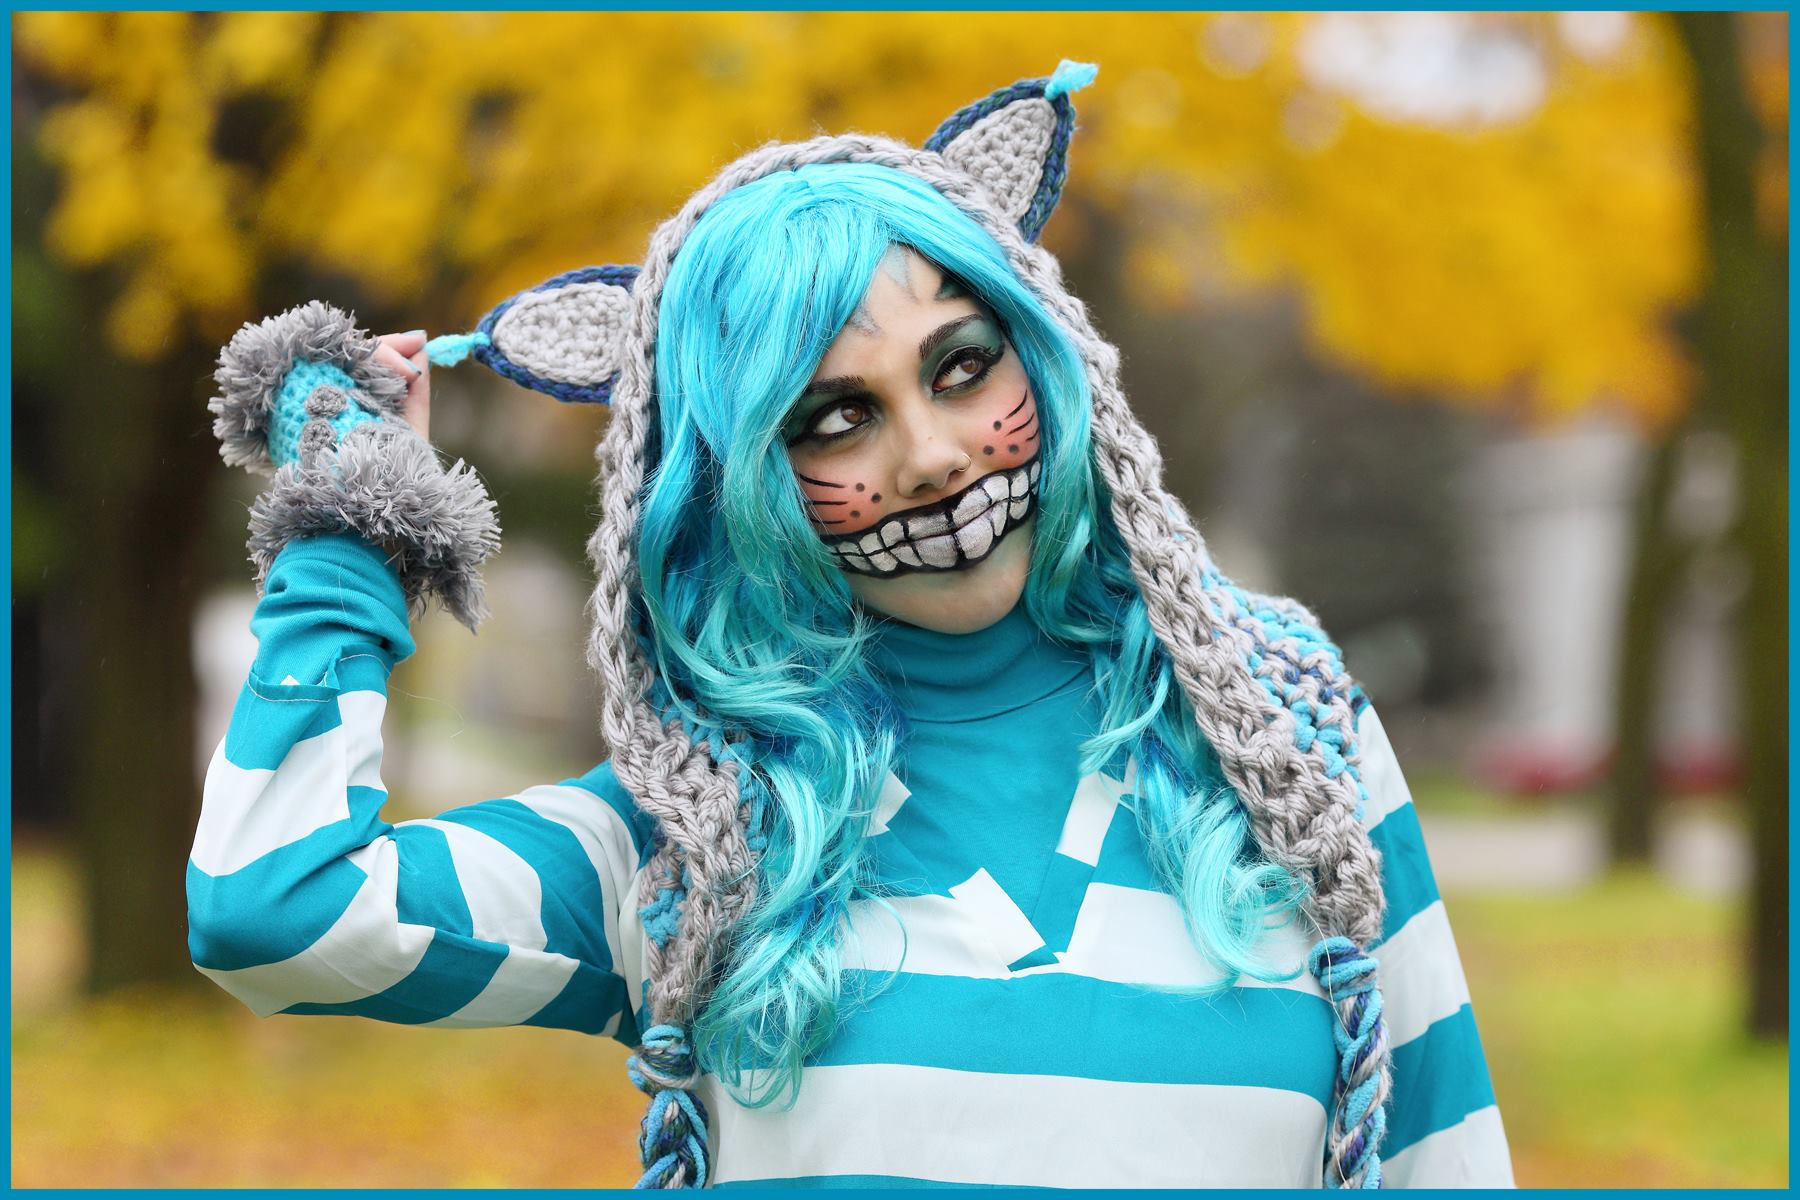
Crochet Tutorial: Cheshire Cat Hoodie
Crochet Tutorial: Sugar Skull Ski Mask
Crochet Tutorial: Pop Art Wig
Crochet Tutorial: Yoda Hat (Toddler Size)
Crochet Tutorial: Cat Paw Hand Warmers with Fur
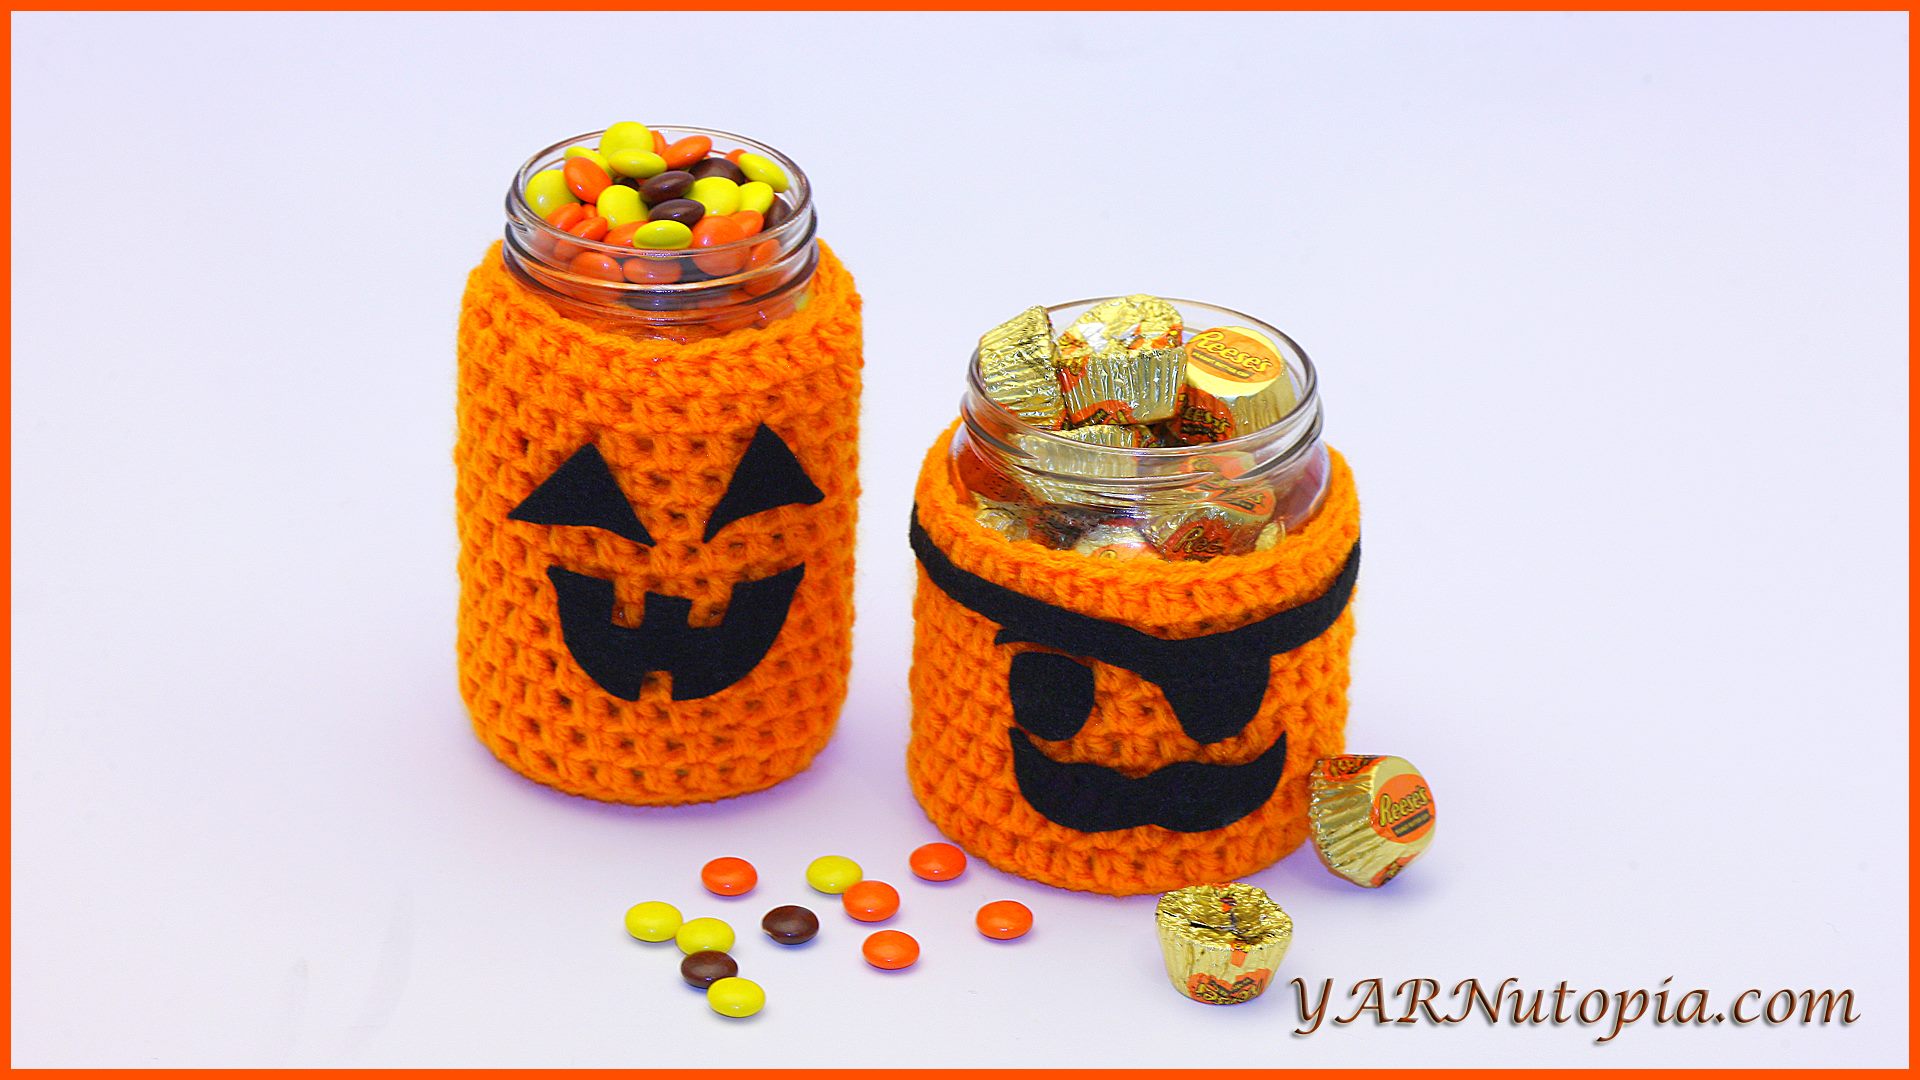
Crochet Tutorial: Seasonal Jar Covers
Crochet Tutorial: Spooky Eyeballs
Crochet Tutorial: Trick-or-Treat Bag
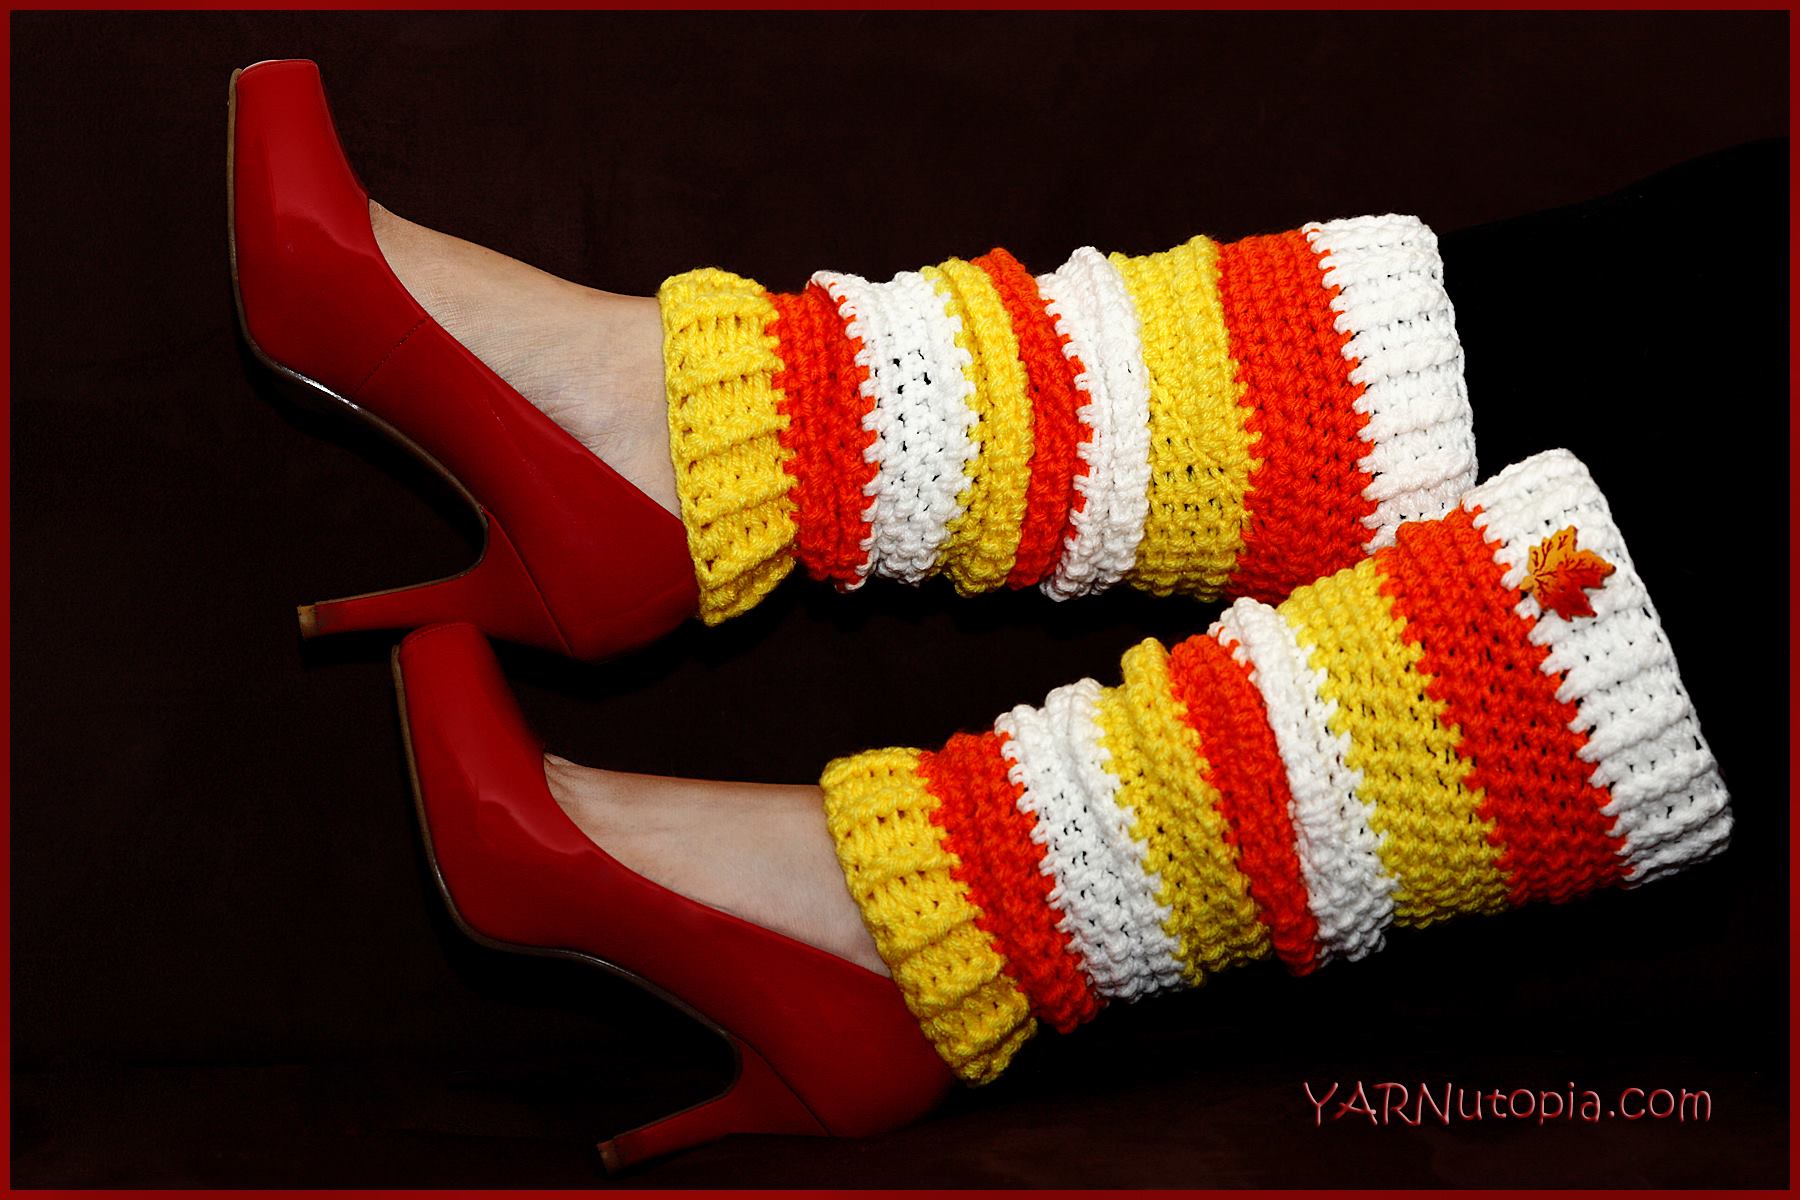
Crochet Tutorial: Candy Corn Leg Warmers
Previous Page
1
2
Loading Comments...
Write a Comment...
Email (Required)
Name (Required)
Website