Skip to content
YARNutopia & M0re
All things Yarn Related: Crochet, DIY, and Crafts
Blog
365 Days of Granny Squares
Stitch Gallery & Glossary
Crochet Video Tutorials
Frequently Asked Questions
Crochet Glossary: Learn the Lingo
Contact
Search
Search
hat
YARNutoia & More
FREE Crochet Pattern: Mischief Maker Beanie
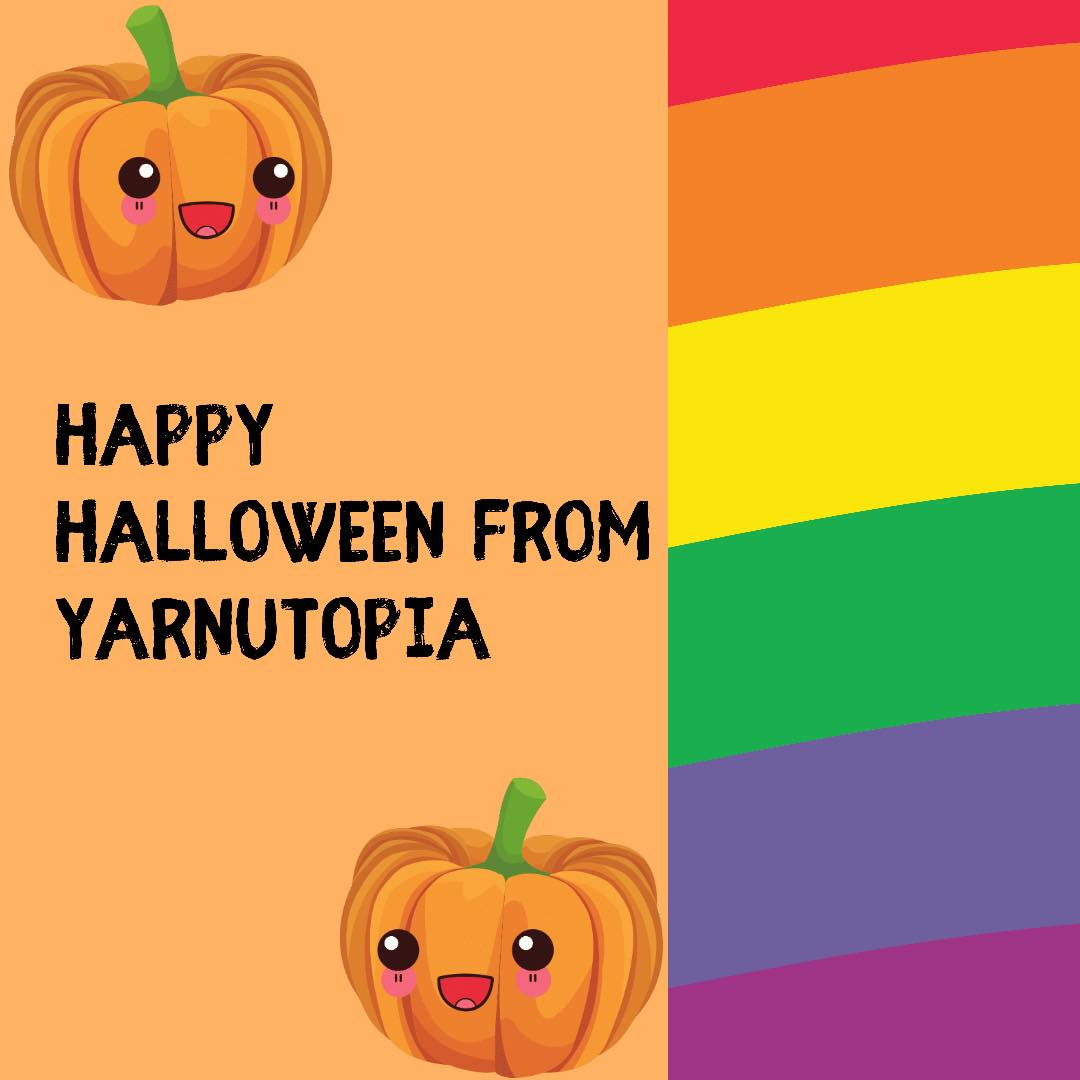
Happy Halloween 2025
Happy Halloween 2024 – PLUS FREE Crochet Pattern
FREE Written Crochet Pattern: Ghost Hat
FREE Crochet Video Tutorial: Beach Vibes Bucket Hat
FREE Written Crochet Pattern: Beach Vibes Bucket Hat
FREE Crochet Video Tutorial: Winter Fur Snood
FREE Crochet Video Tutorial: Evergreen Ski Hat
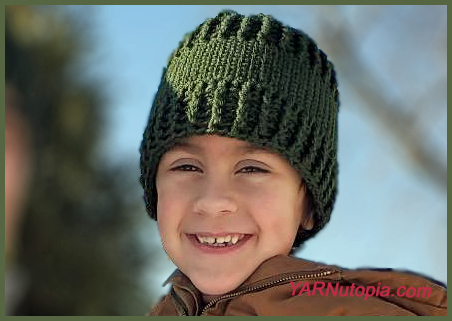
FREE Written Crochet Pattern: Evergreen Ski Hat
Happy Halloween 2022 from YARNutopia!
FREE Written Crochet Pattern: Fuzzy Monster Hat with Horns
FREE Written Crochet Pattern: Winter Cat Hat
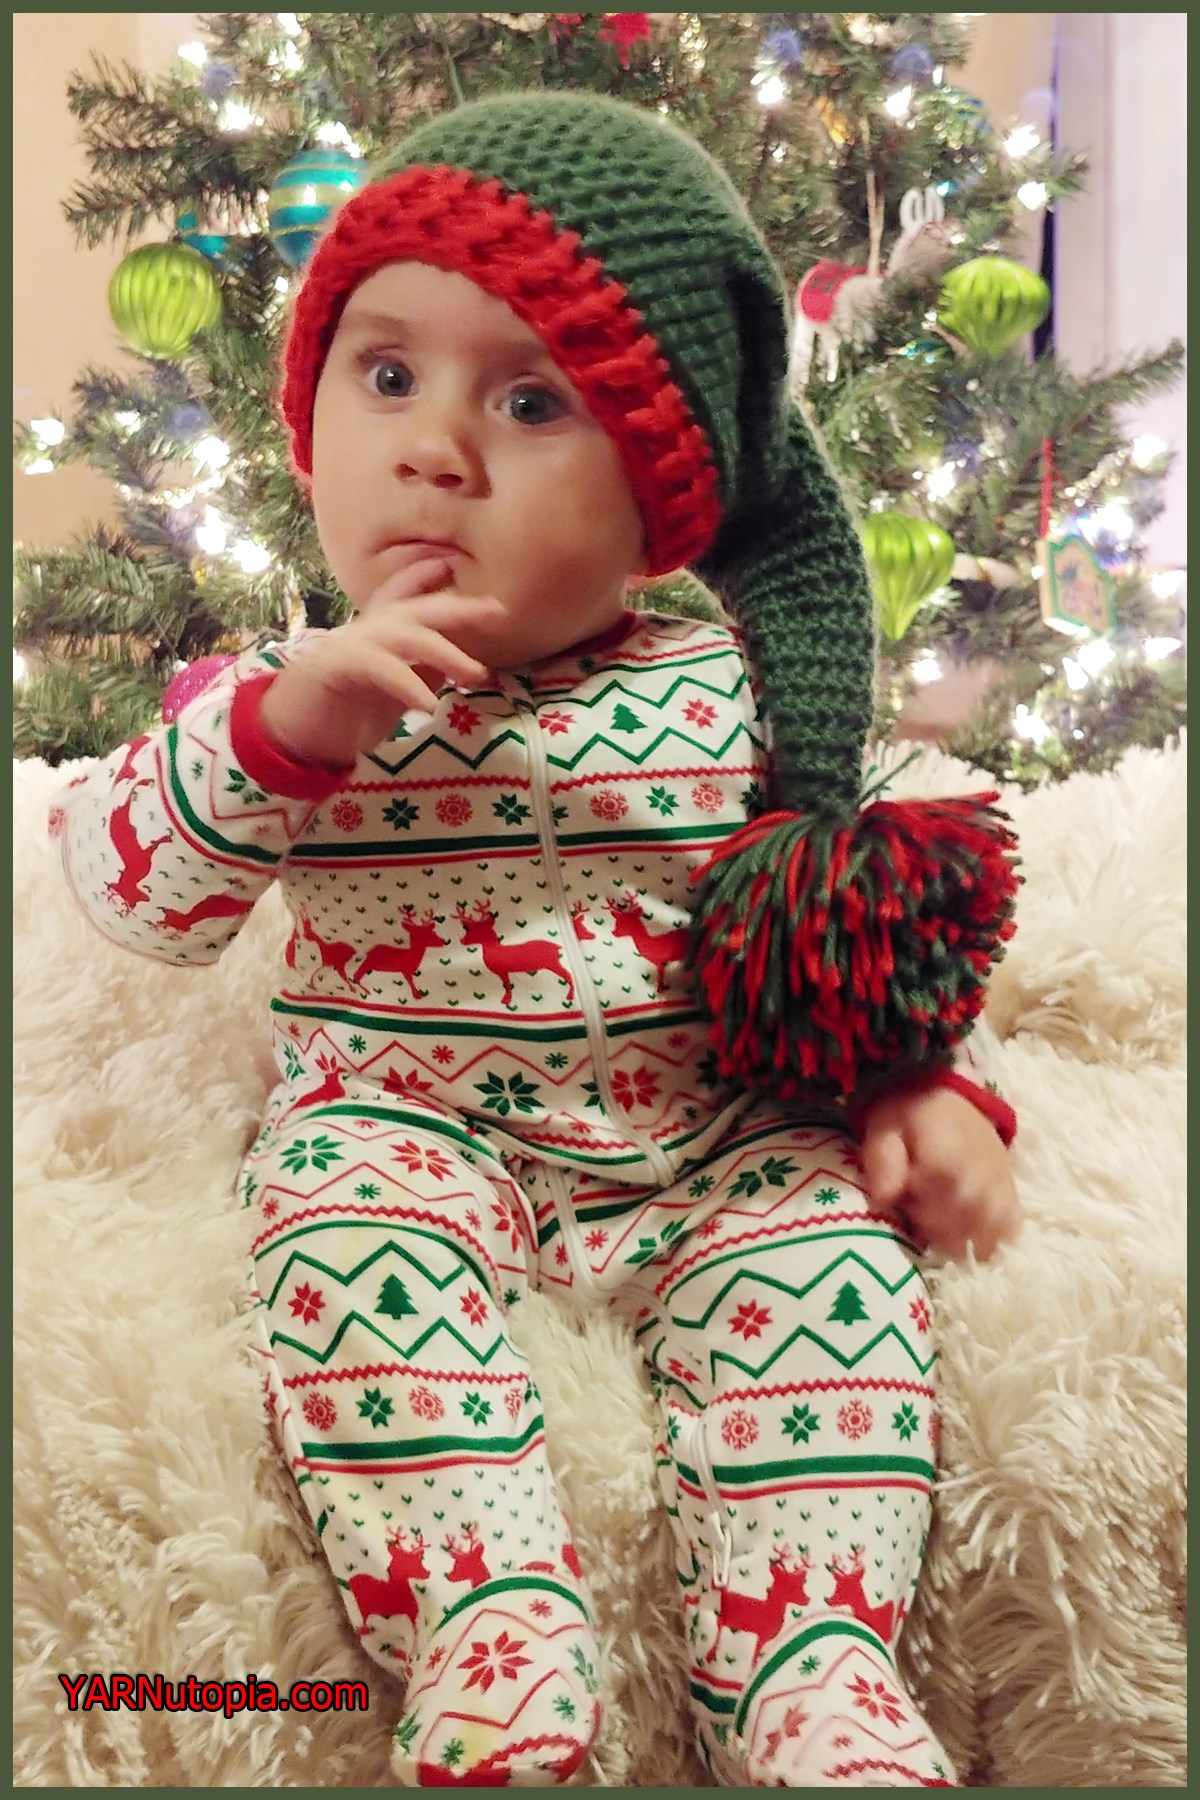
FREE Written Crochet Pattern: Holiday Stocking Hat
Happy Halloween 2021
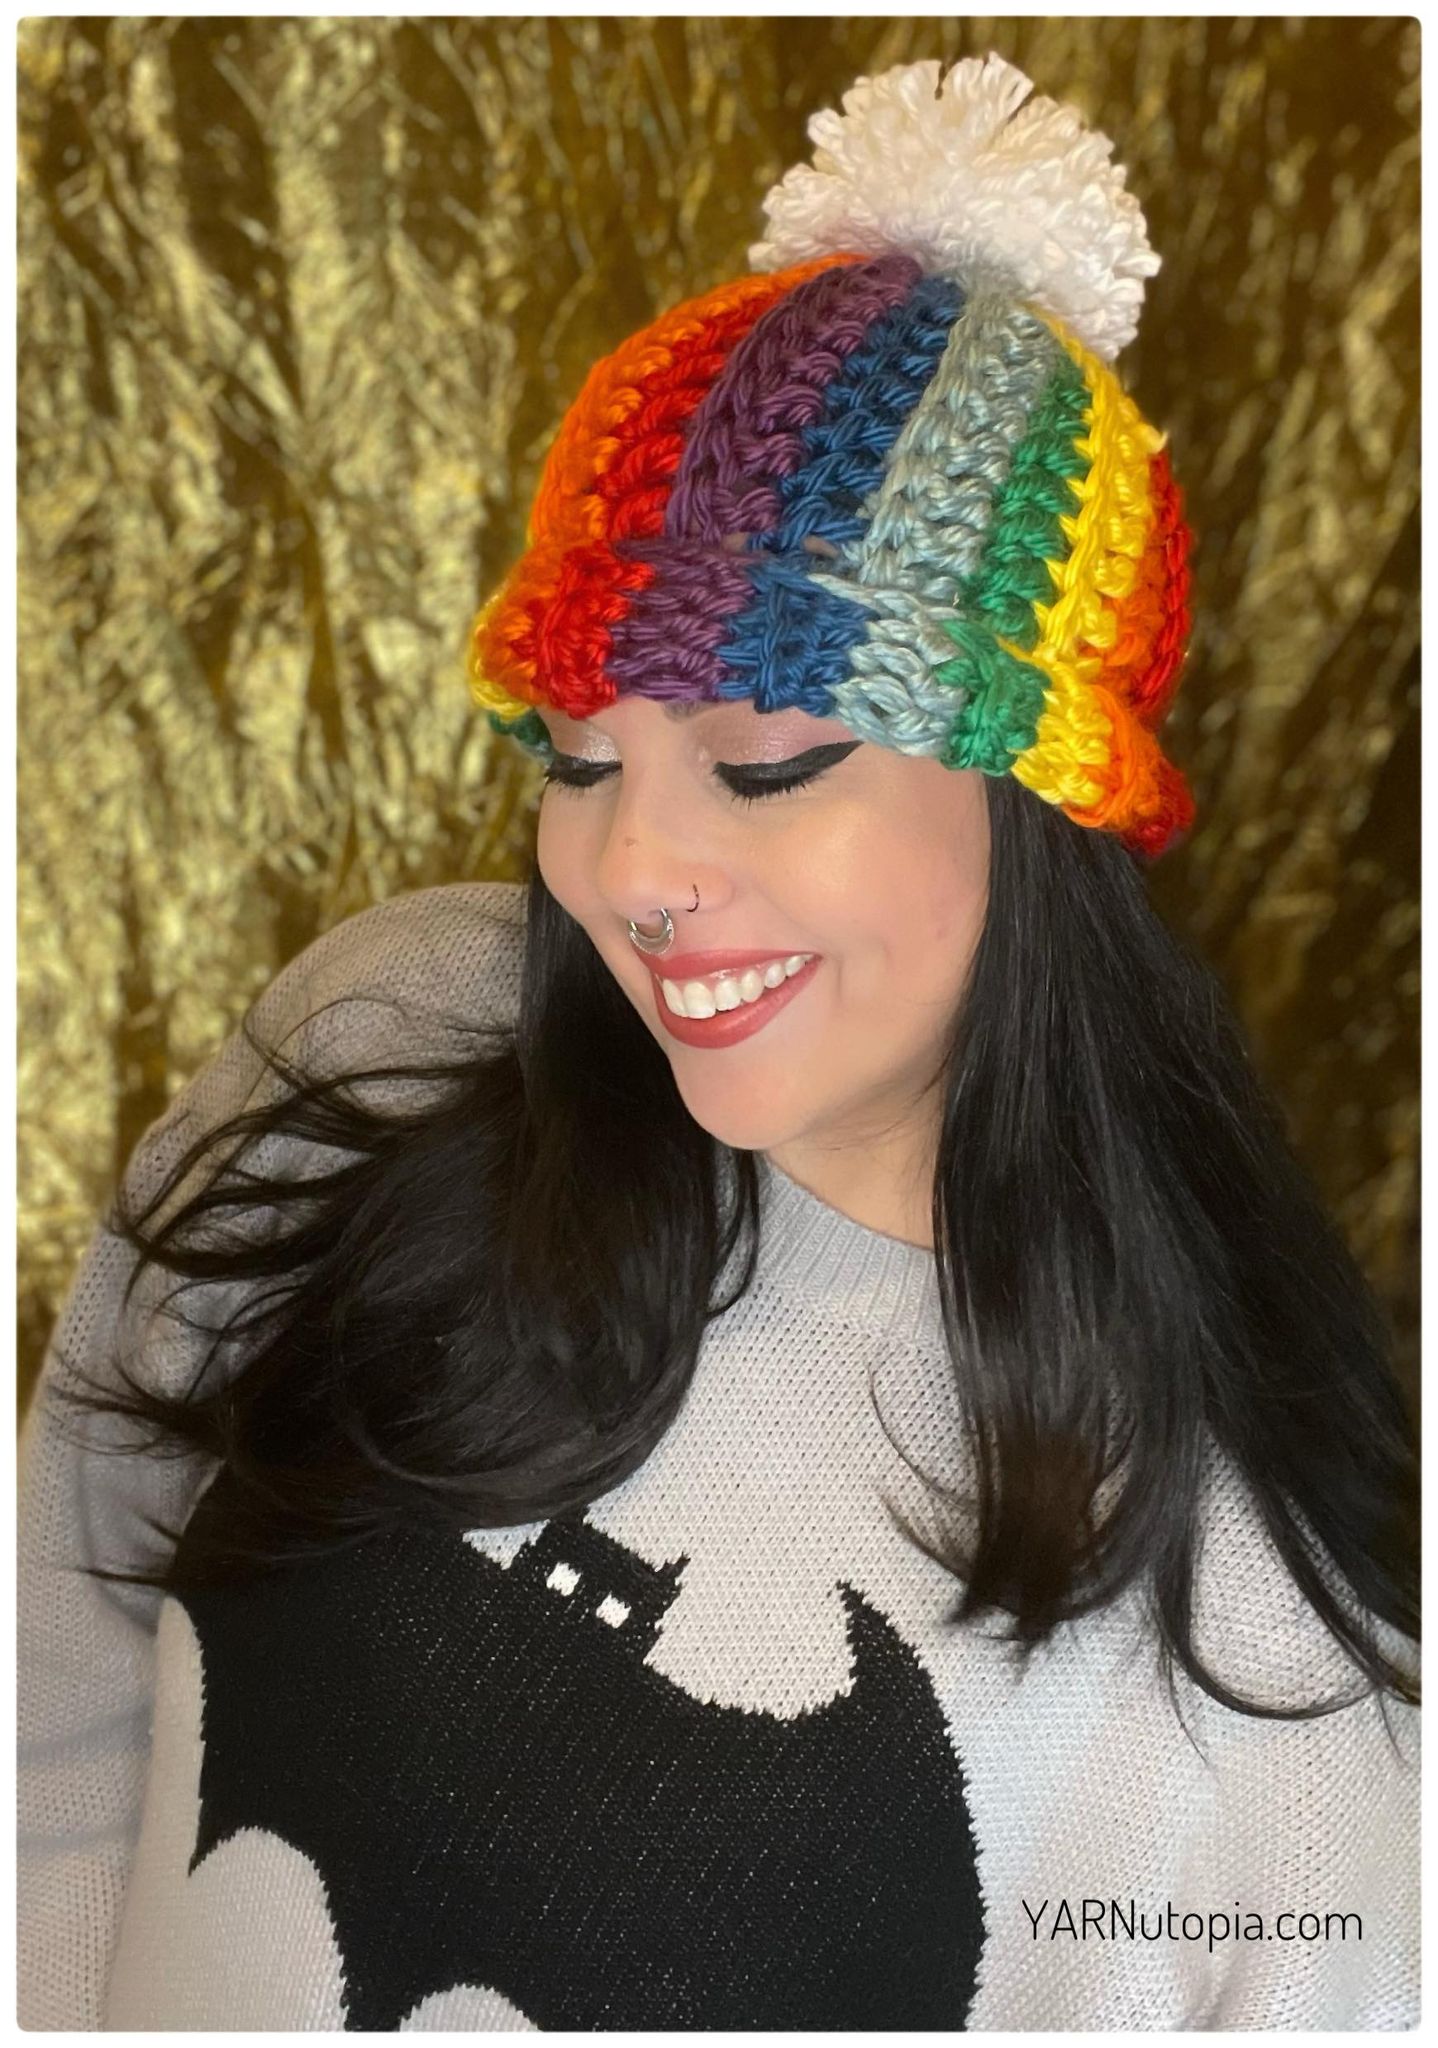
FREE Written Crochet Pattern: Rainbow Pom Hat
FREE Crochet Video Tutorial: Rainbow Pom Hat
FREE Written Crochet Pattern: New Year, New Me Chunky Hat
FREE Crochet Video Tutorial: Blaze Orange Woodsman Hat
FREE Written Crochet Pattern: Blaze Orange Woodsman Hat
Happy Halloween 2020
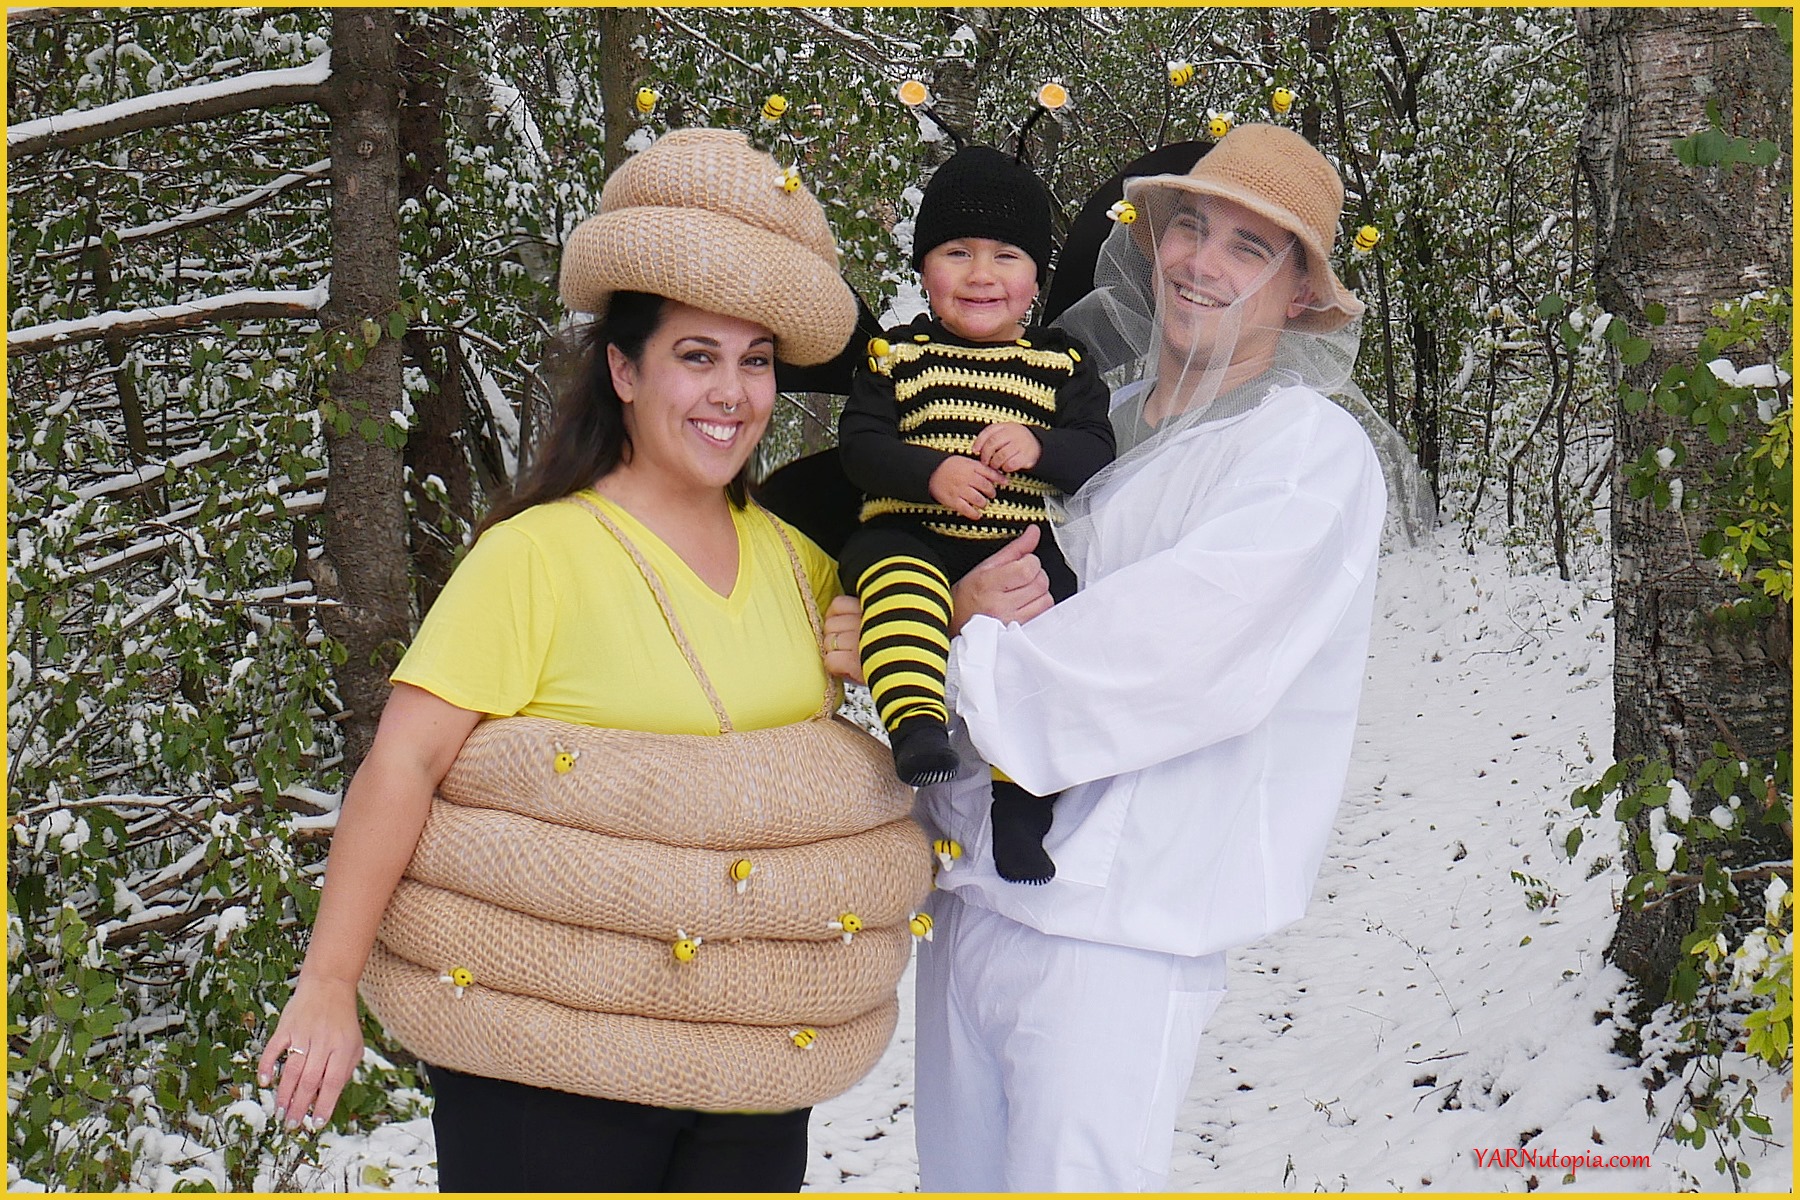
FREE Written Crochet Pattern: Honey Bee Sunhat
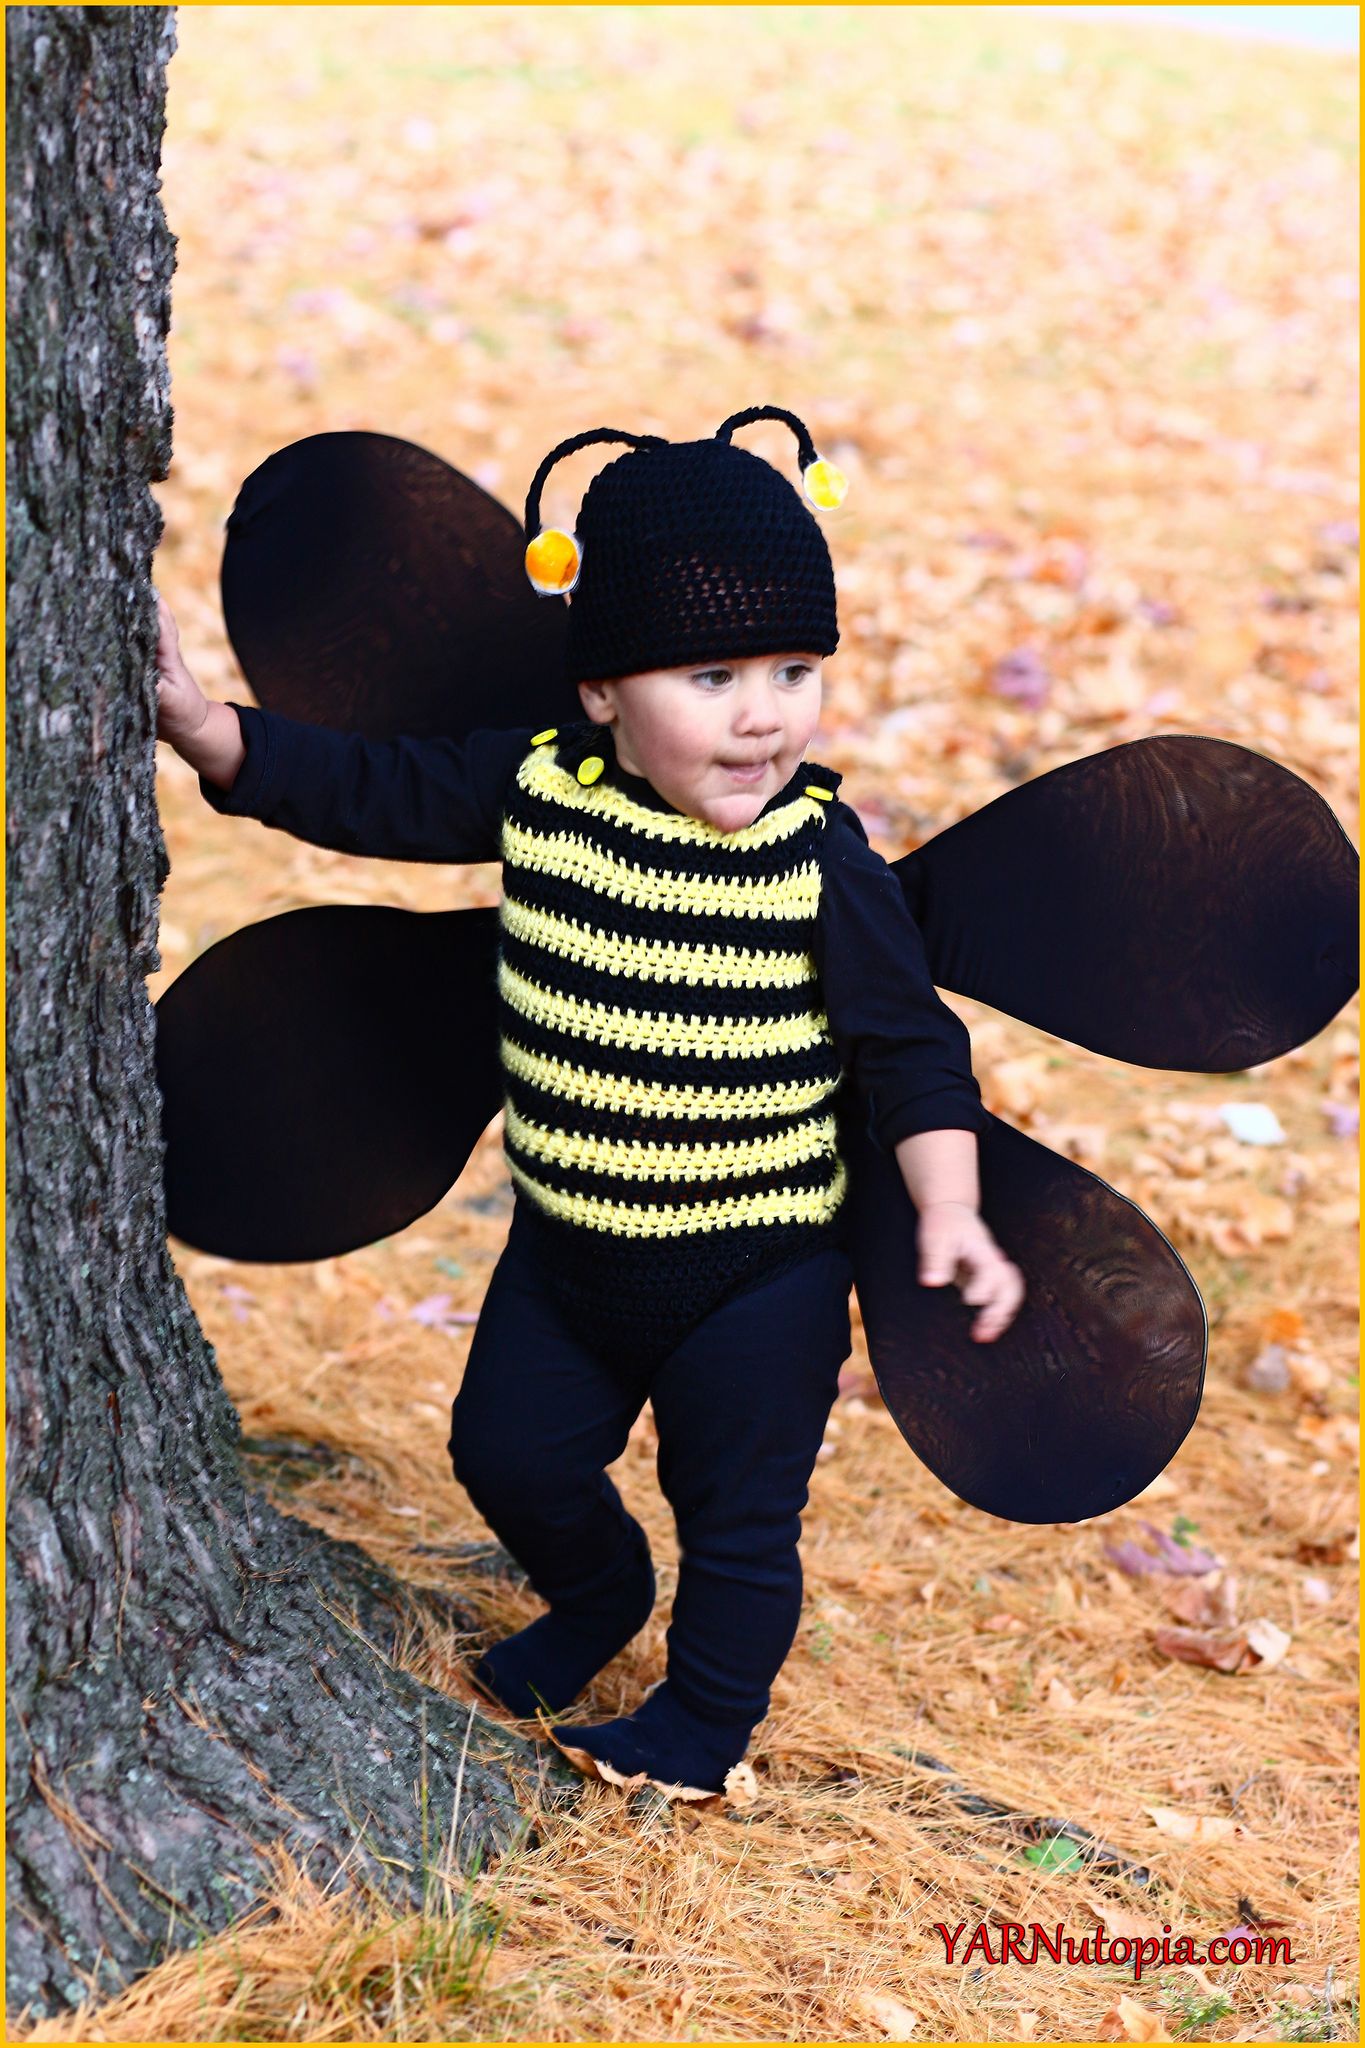
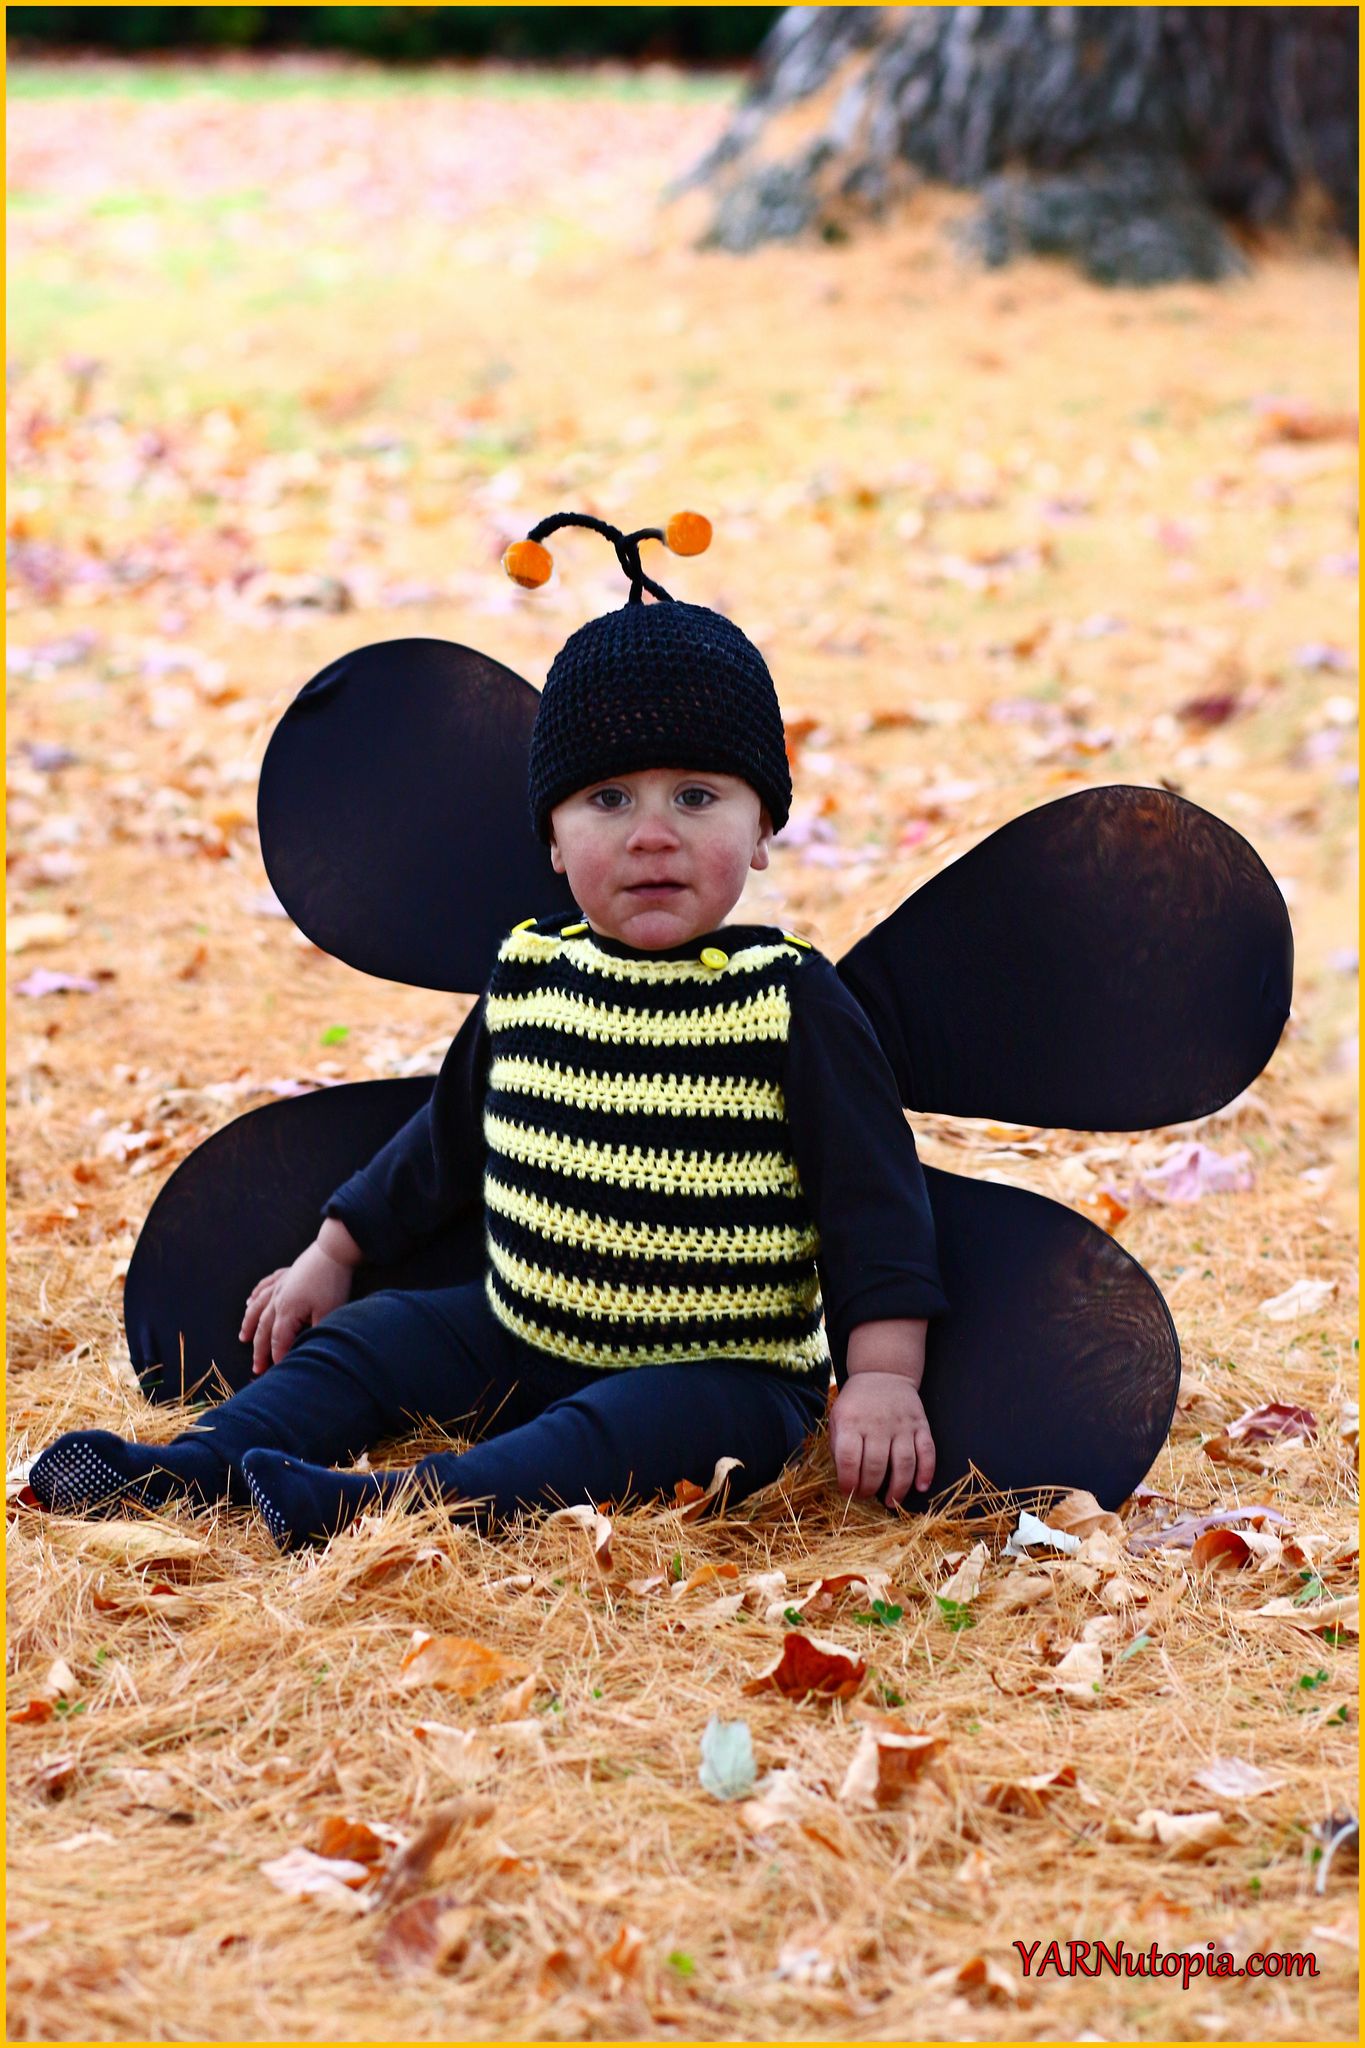
FREE Crochet Video Tutorial: Bumble Bee Romper and Beanie Costume
FREE Written Crochet Pattern: Bumble Bee Romper and Beanie Costume
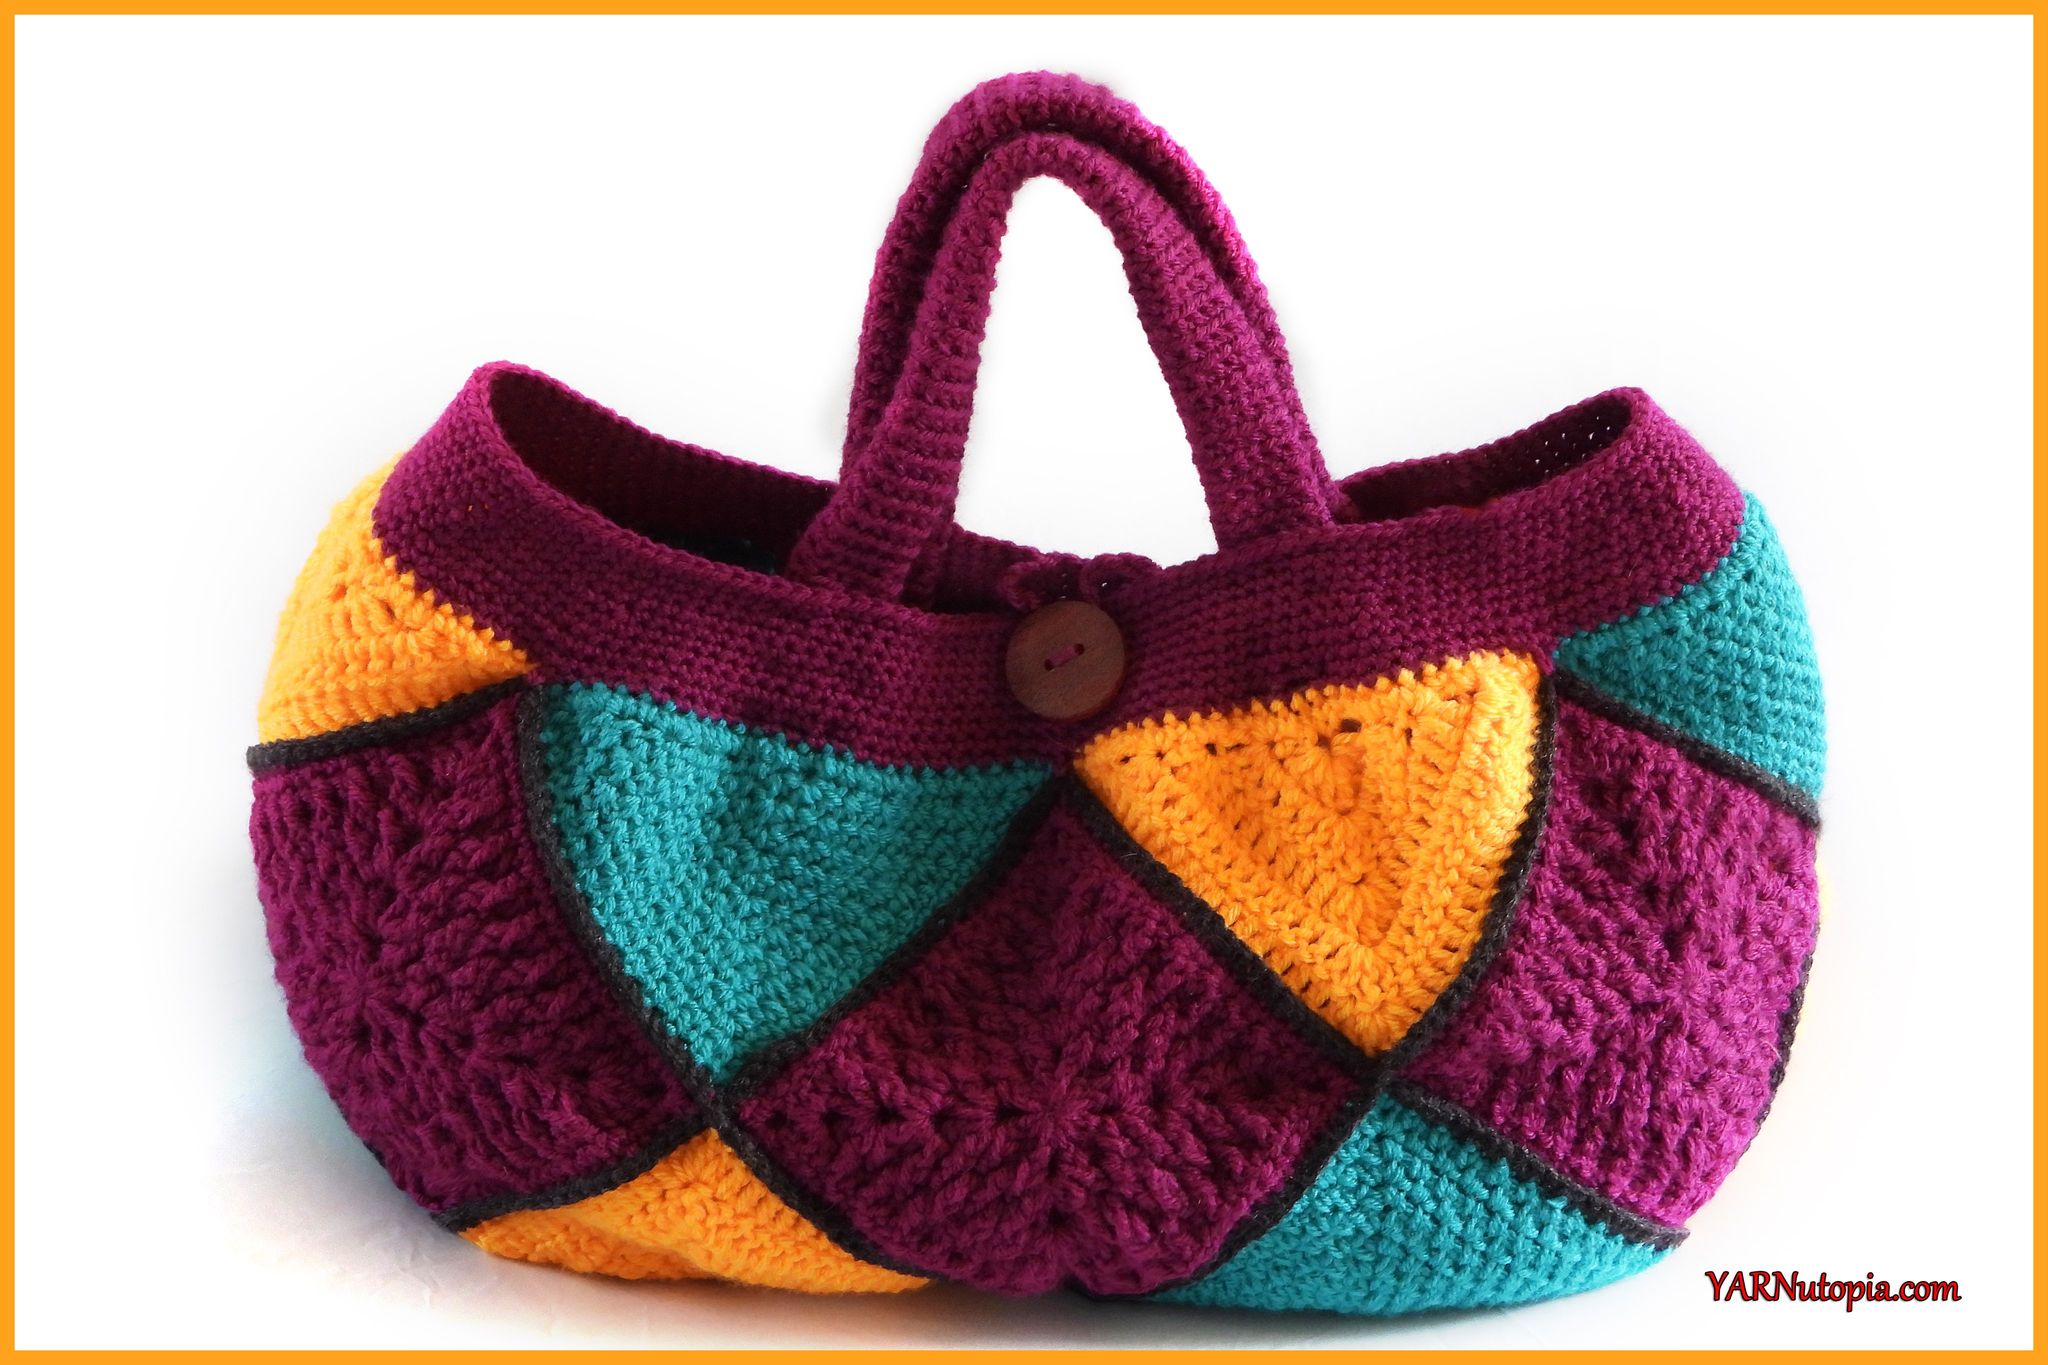
FREE Written Crochet Pattern: Mystery Medley Tote Bag
FREE Written Crochet Pattern: Sign of The Times Beanie Hat
FREE Crochet Video Tutorial: Stadium Pom Beanie
FREE Written Crochet Pattern: Stadium Pom Beanie
FREE Written Crochet Pattern: Tiger Hat with Earflaps
FREE Crochet Video Tutorial: Wee One Baby Bonnet
FREE Crochet Video Tutorial: Sweetheart Baby Hat
12 Days of Christmas 2019
12 Days of Christmas: Simple Stocking Hat – FREE Crochet Video Tutorial
12 Days of Christmas: Simple Stocking Hat – FREE Written Crochet Pattern
12 Days of Christmas: Beanie with Bling – FREE Crochet Video Tutorial
12 Days of Christmas: Beanie with Bling – FREE Written Crochet Pattern
FREE Crochet Video Tutorial: Family Fair Isle Hat
FREE Written Crochet Pattern: Family Fair Isle Hat
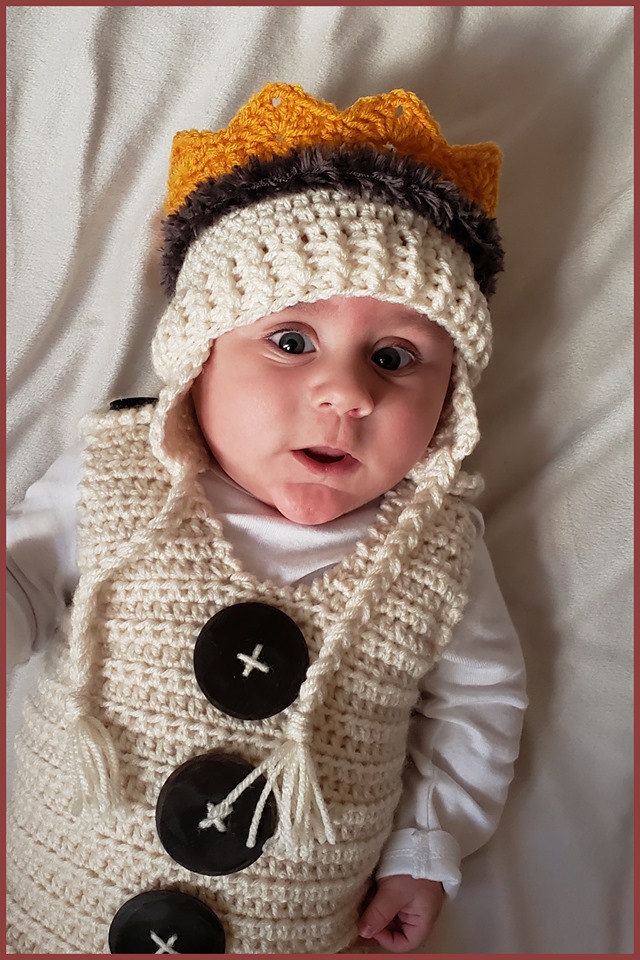
FREE Crochet Video Tutorial: Baby Crown Earflap Hat
FREE Written Crochet Pattern: The Baby Crown Earflap Hat
FREE Written Crochet Pattern: King Crown
FREE Crochet Video Tutorial: King Crown
FREE Crochet Video Tutorial: The Sweet Dream Bonnet
FREE Written Crochet Pattern: The Sweet Dream Bonnet
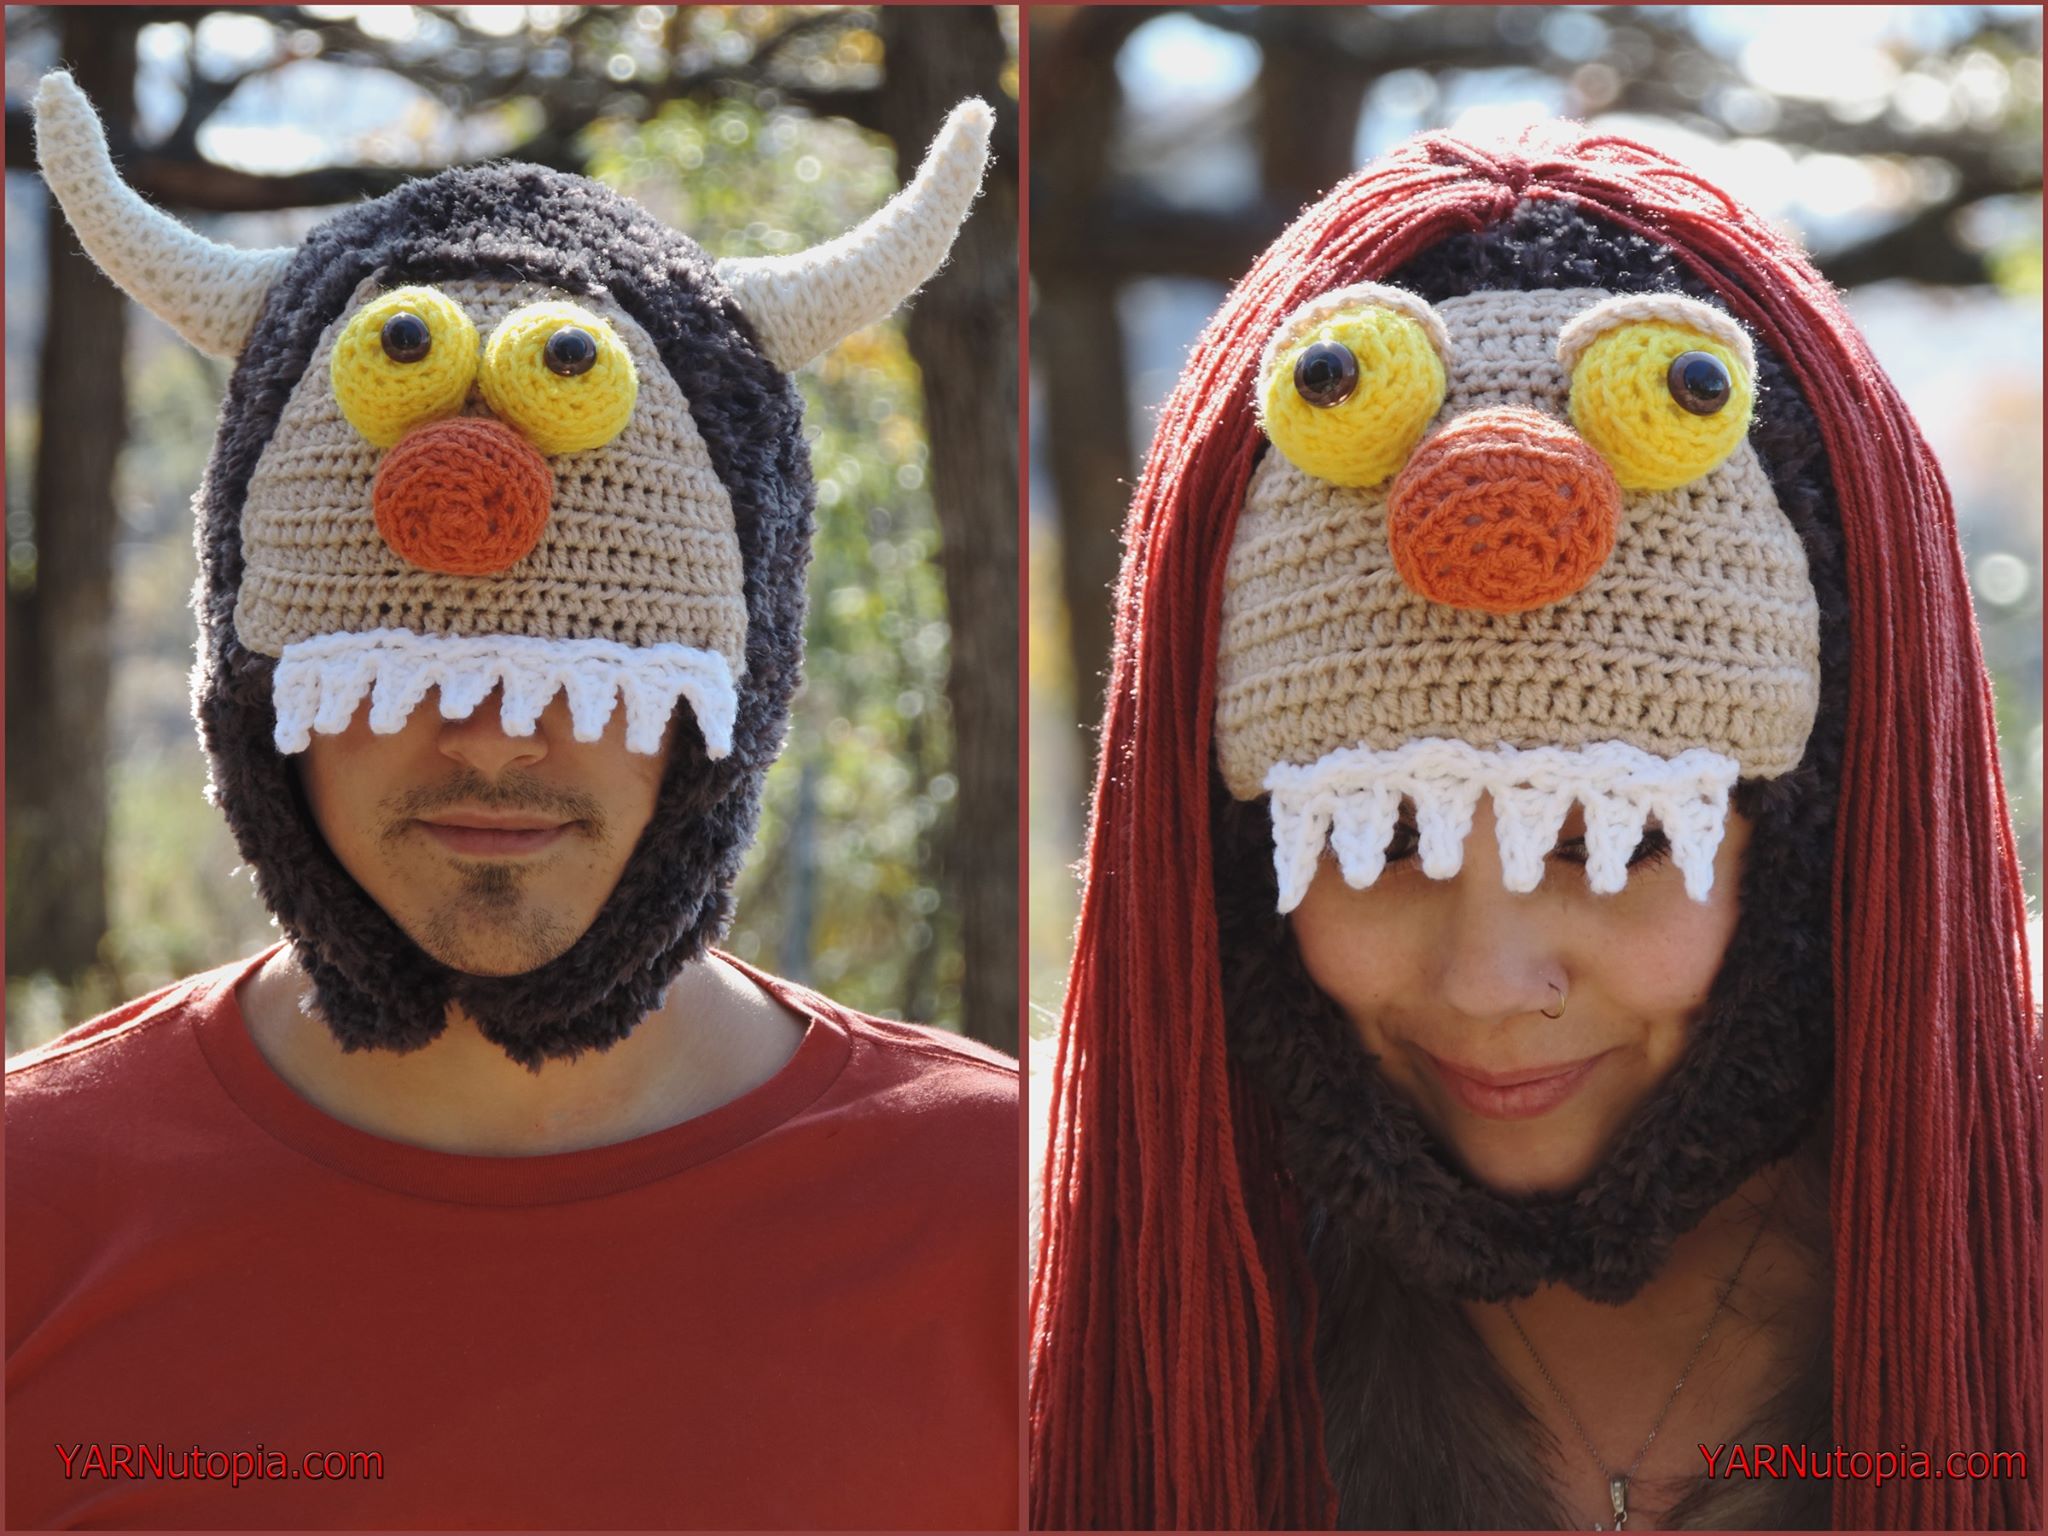
FREE Crochet Video Tutorial: Adult Sized Monster Hats (Male and Female Designs)
FREE Written Crochet Pattern: Adult Sized Monster Hats (Male and Female Designs)
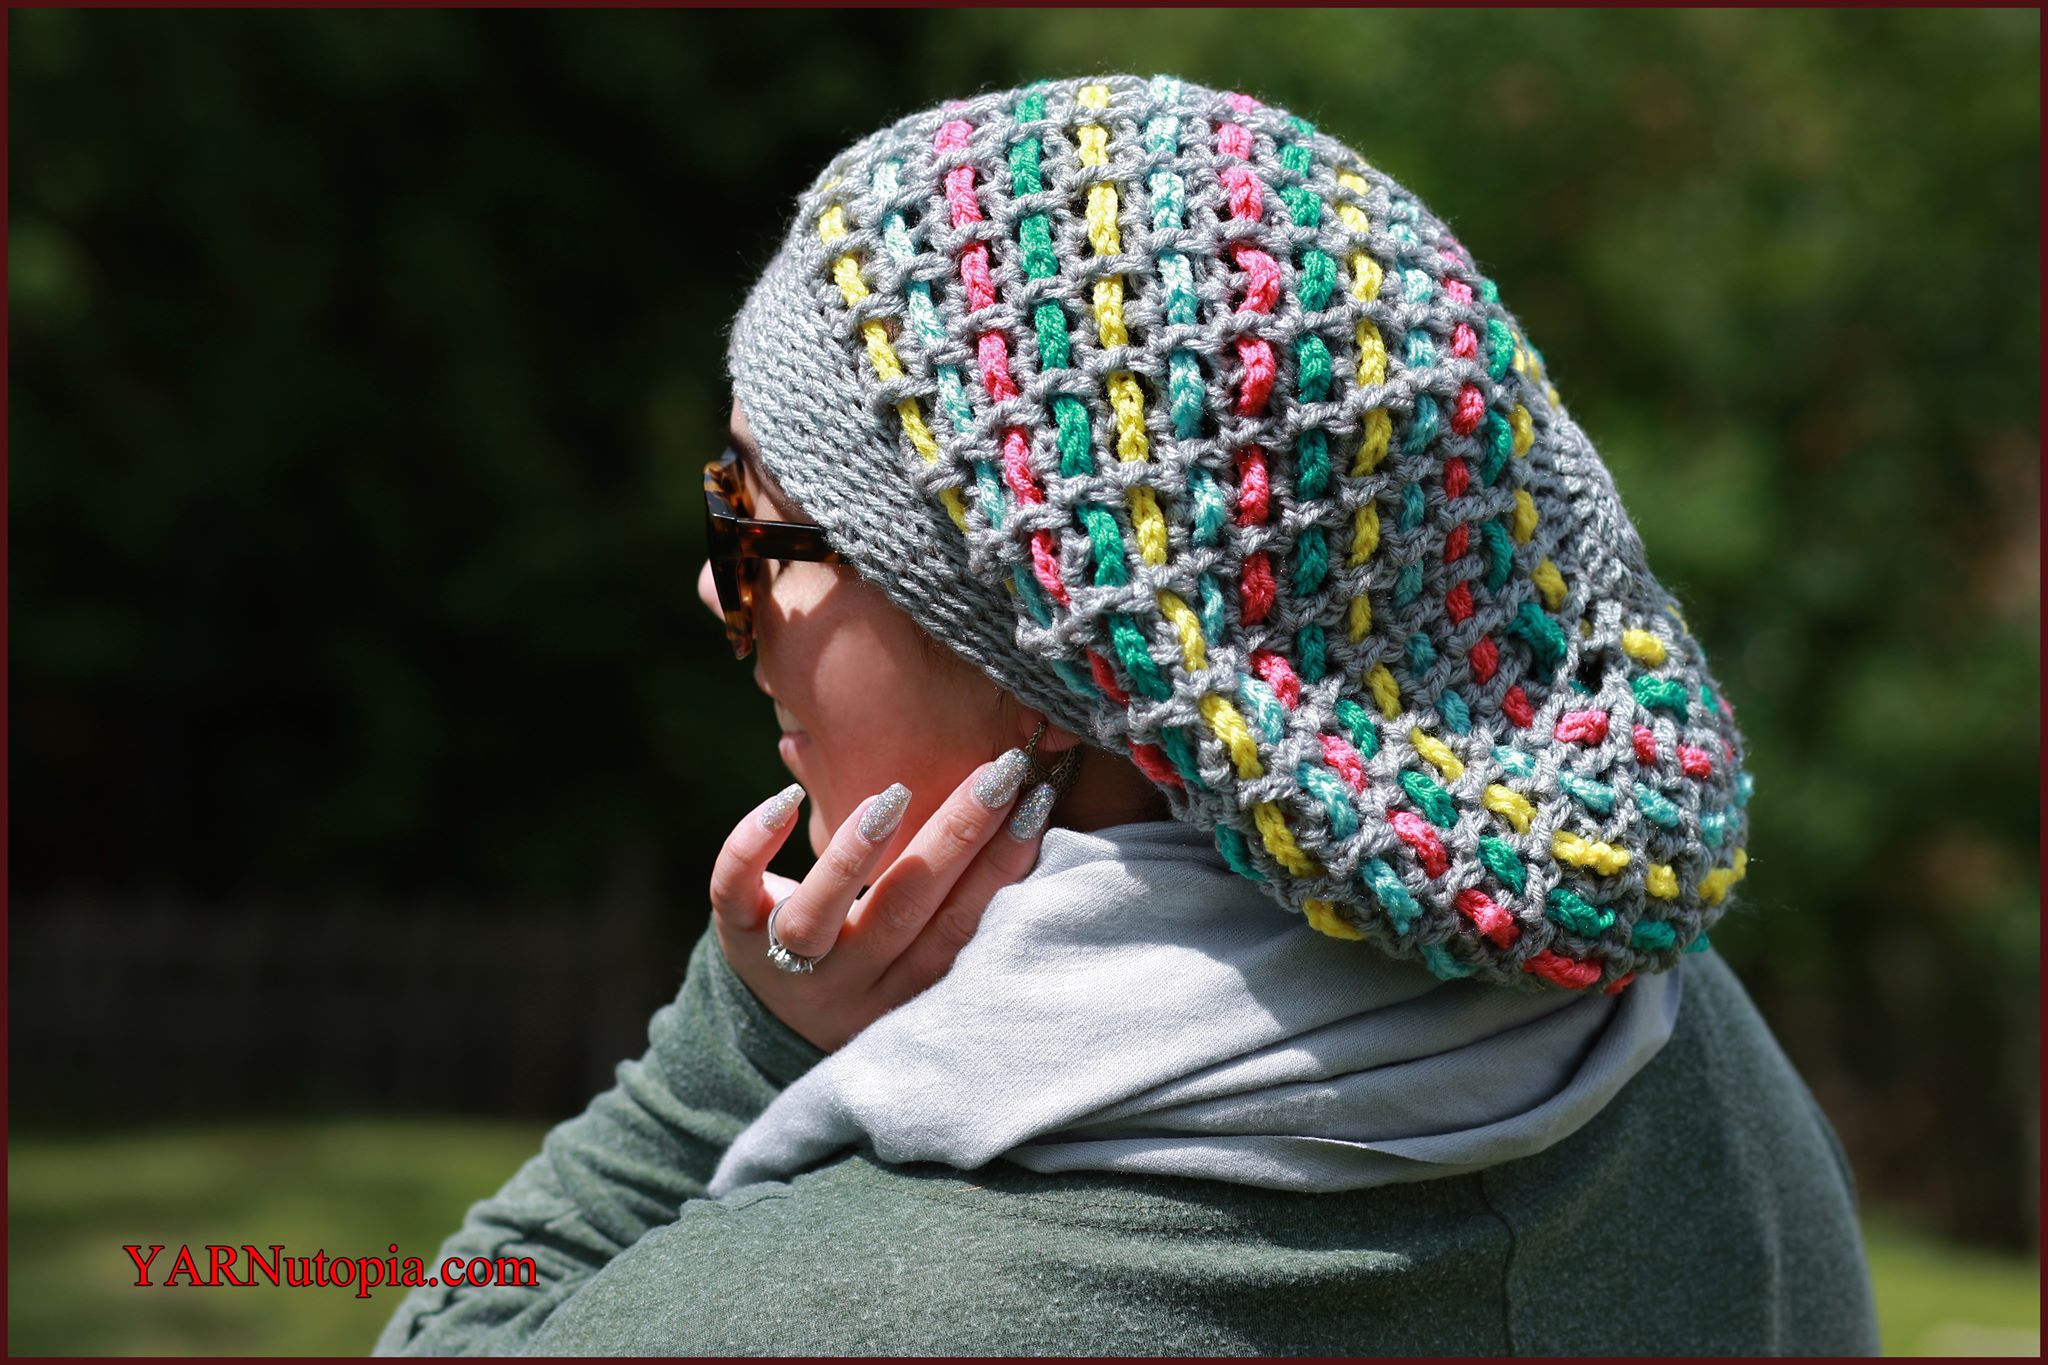
Crochet Tutorial: Chain Weaver Slouchy Hat
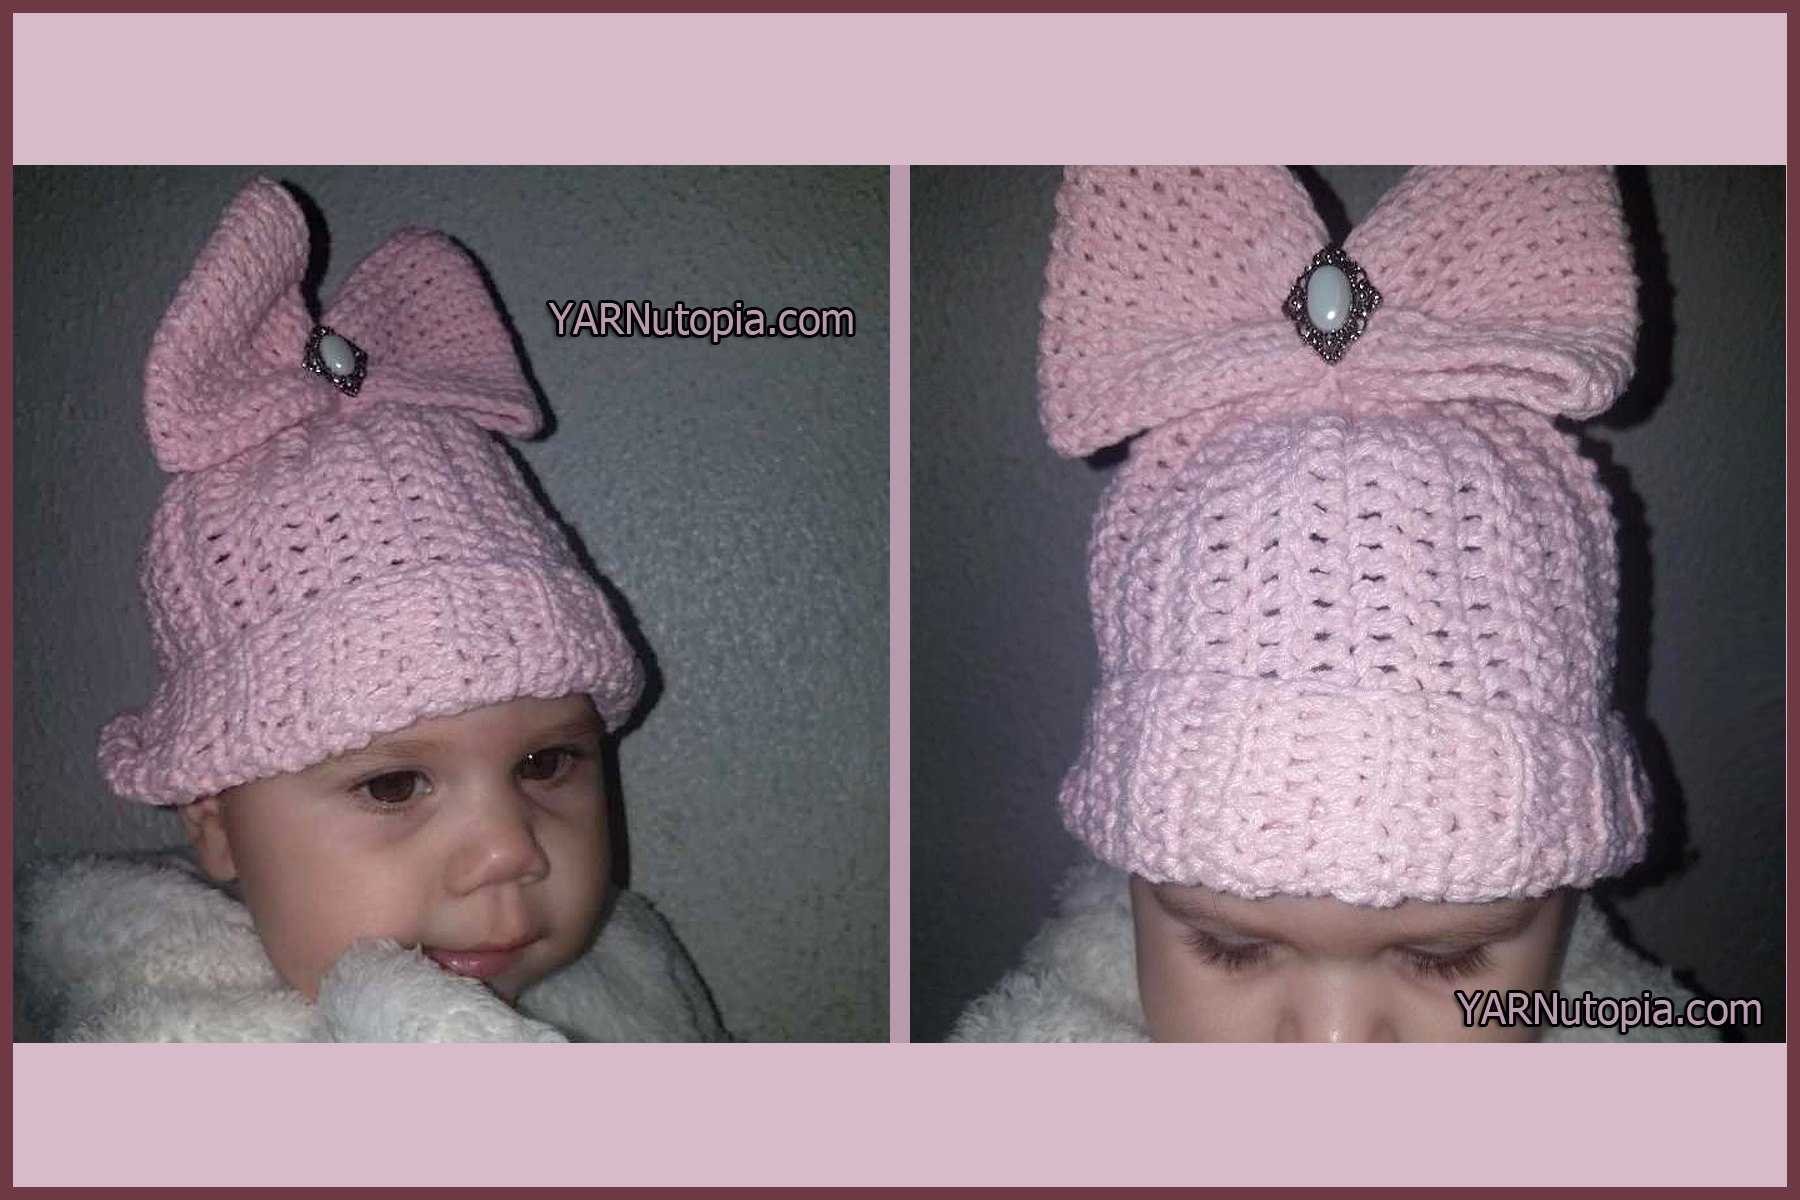
Crochet Tutorial: The Bow-tastic Hat
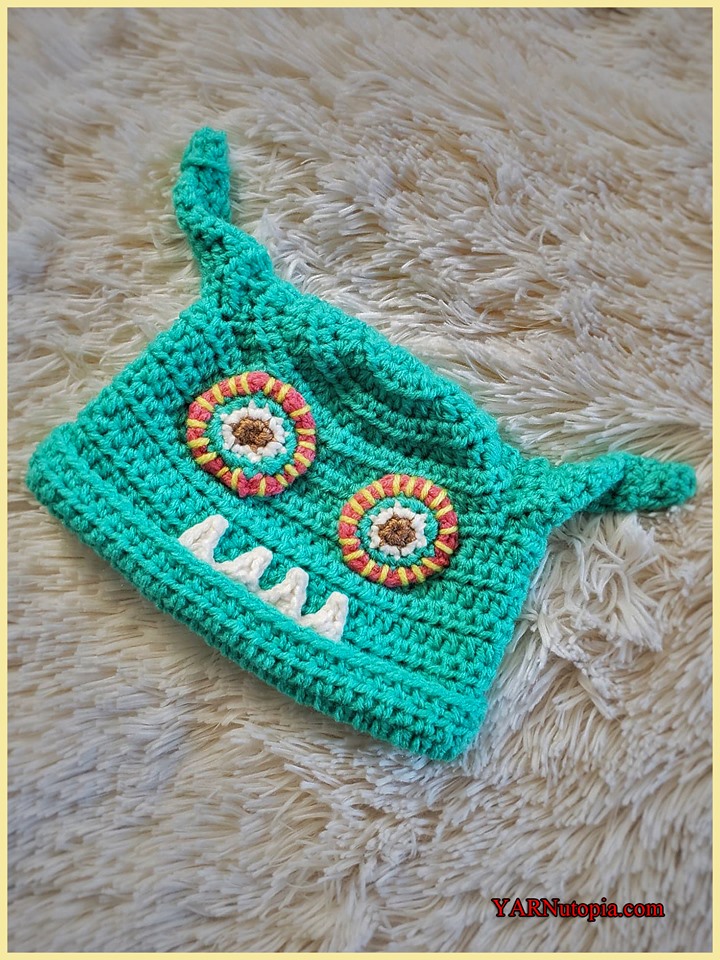
Crochet Tutorial: Misfit Monster Hat
Crochet Tutorial: Owl Be Warm Hat
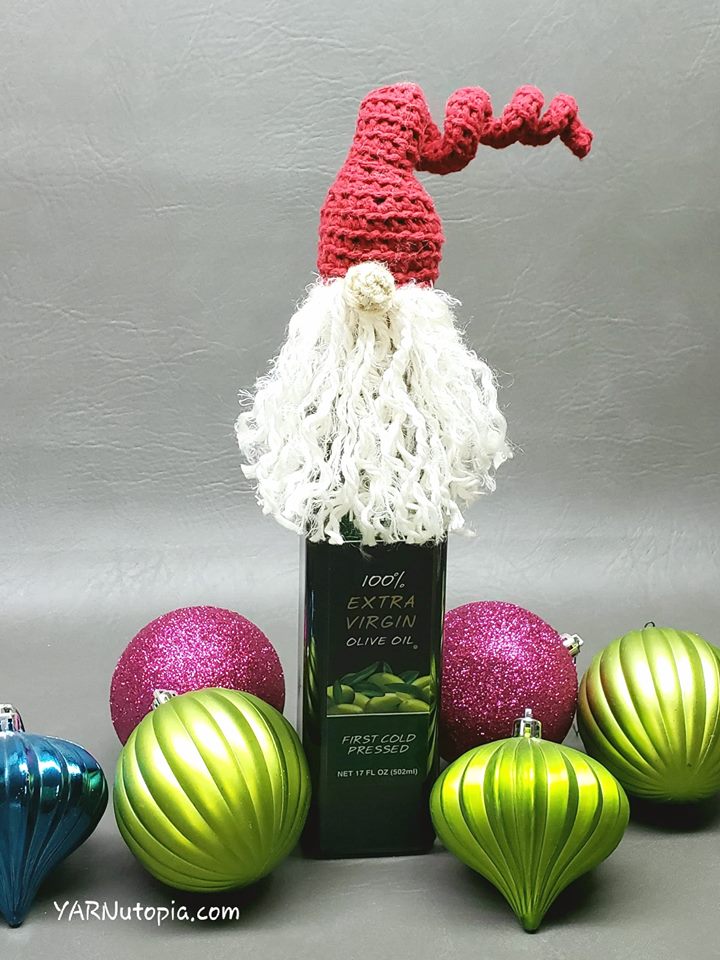
12 Days of Christmas: Santa Bottle Topper
1
2
3
Next Page
Loading Comments...
Write a Comment...
Email (Required)
Name (Required)
Website