Skip to content
YARNutopia & M0re
All things Yarn Related: Crochet, DIY, and Crafts
Blog
365 Days of Granny Squares
Stitch Gallery & Glossary
Crochet Video Tutorials
Frequently Asked Questions
Crochet Glossary: Learn the Lingo
Contact
Search
Search
slip stitch
YARNutoia & More
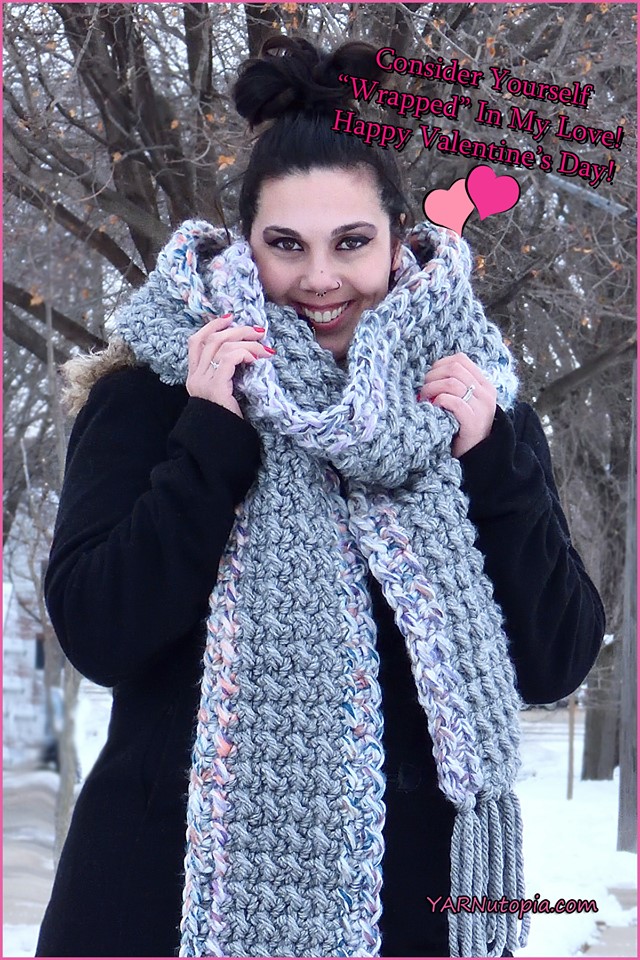
FREE Written Crochet Pattern: Two-Stitch Grande Scarf
Crochet Tutorial: Chunky Sport Hat
Crochet Tutorial: On the Fringe Cushion
Loading Comments...
Write a Comment...
Email (Required)
Name (Required)
Website