Skip to content
YARNutopia & M0re
All things Yarn Related: Crochet, DIY, and Crafts
Blog
365 Days of Granny Squares
Stitch Gallery & Glossary
Crochet Video Tutorials
Frequently Asked Questions
Crochet Glossary: Learn the Lingo
Contact
Search
Search
toys
YARNutoia & More
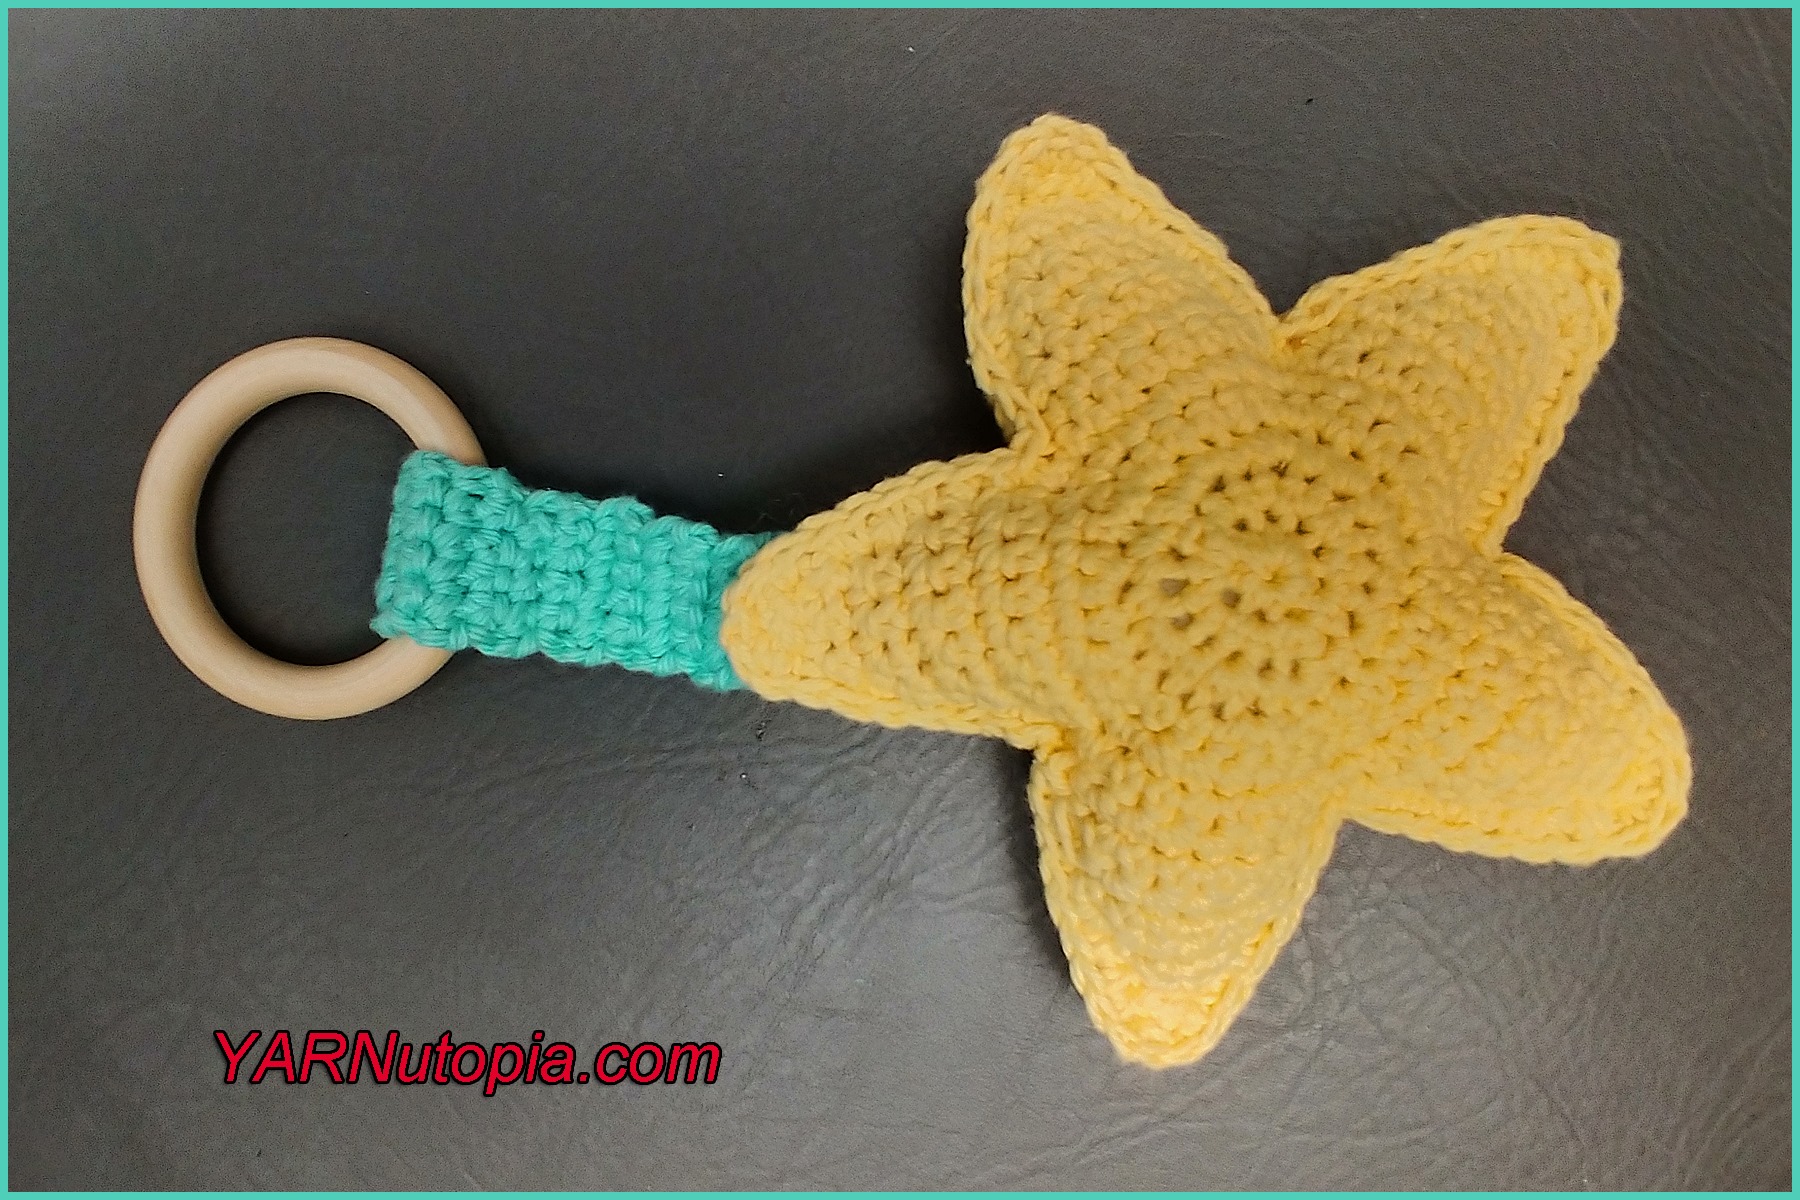
Crochet Tutorial: Star Ring Rattle Teething Toy
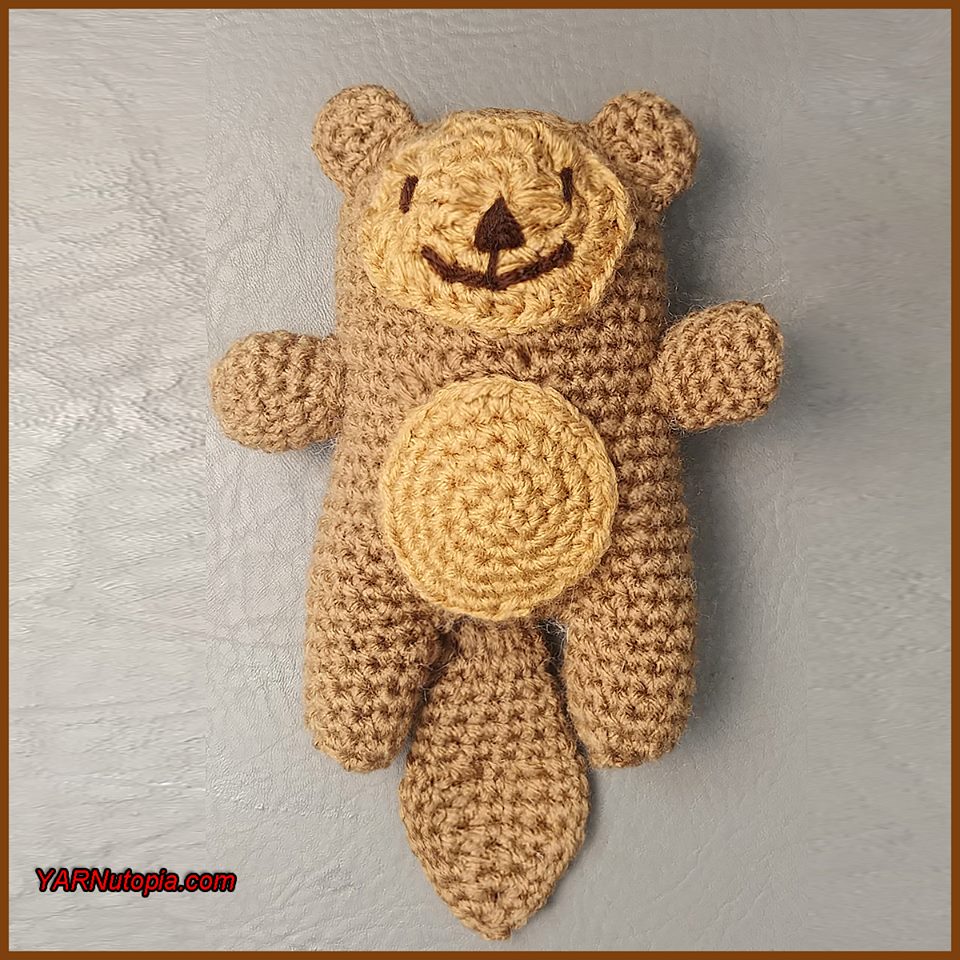
Crochet Tutorial: Otter Amigurumi
Crochet Tutorial: Bunch of Grapes Amigurumi
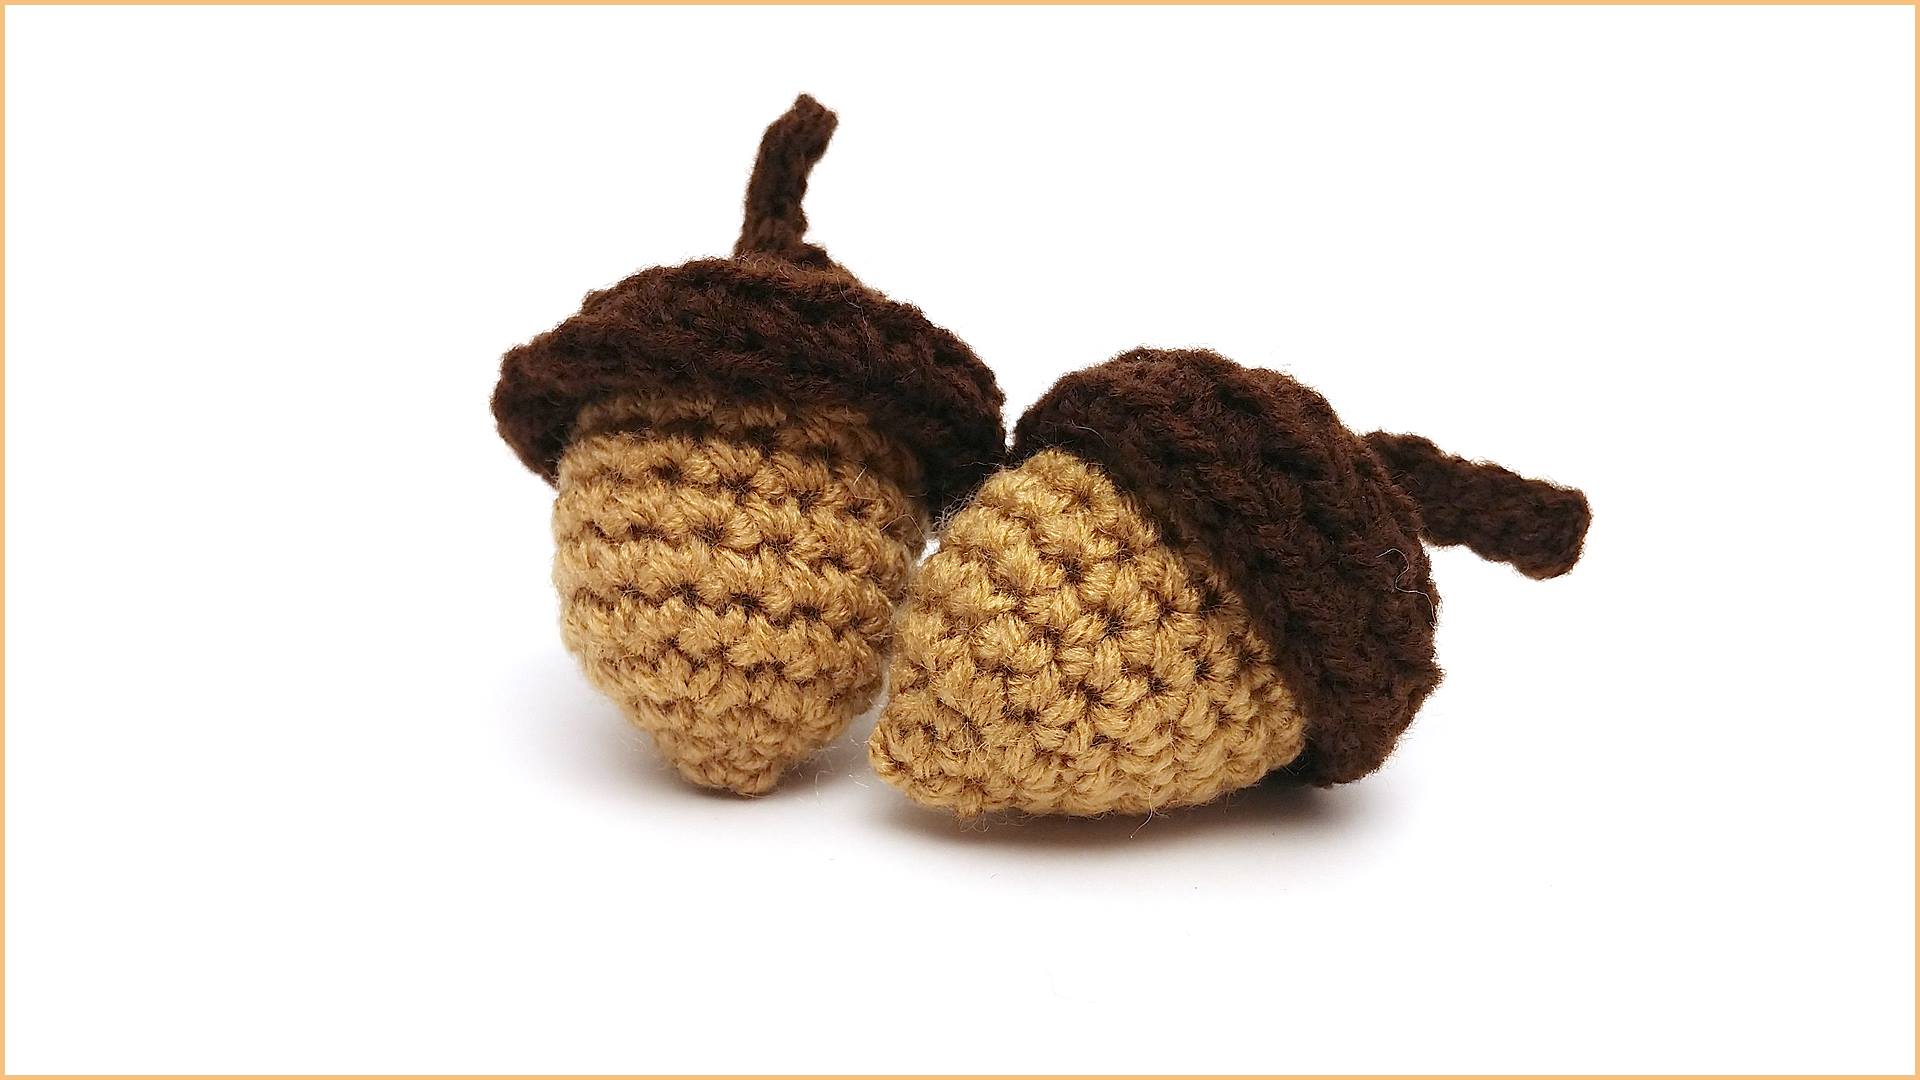
Crochet Tutorial: Acorn Amigurumi
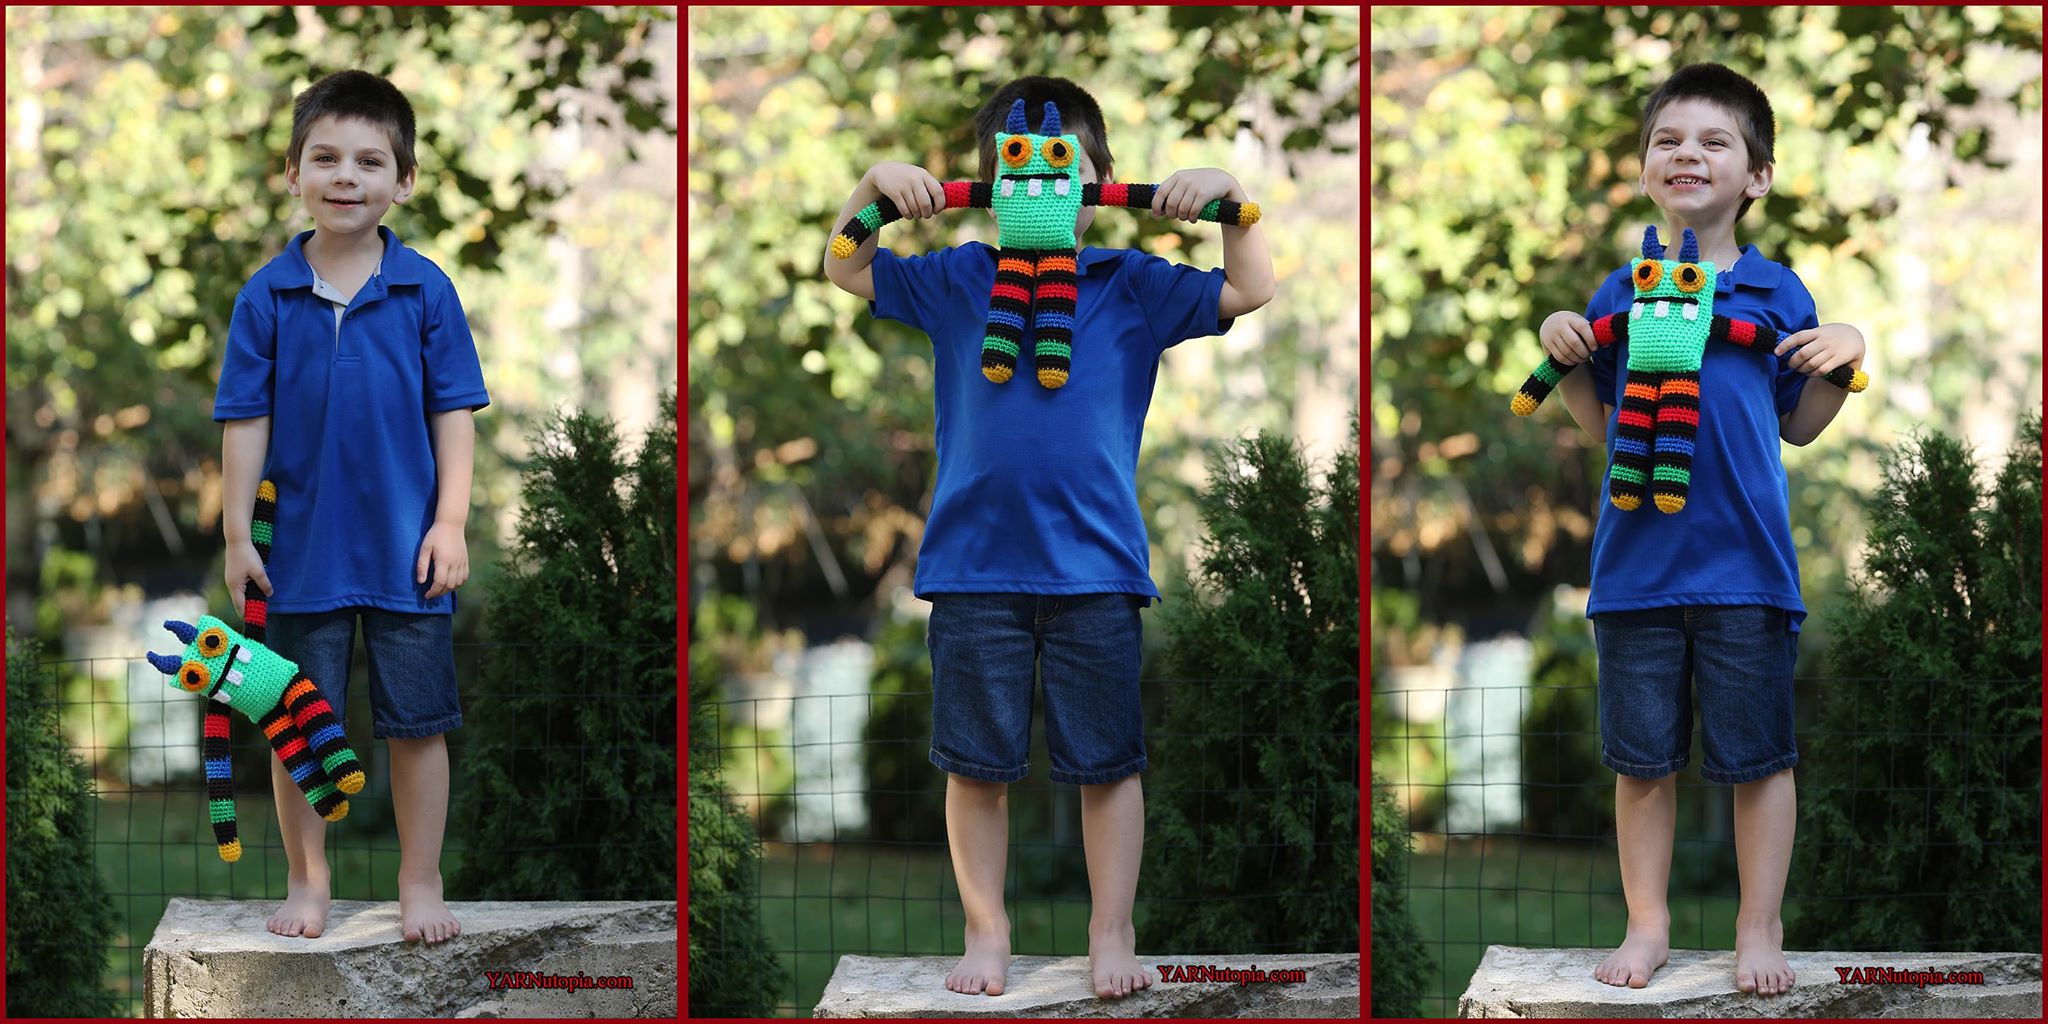
Crochet Tutorial: Frederick the Misfit Monster Toy
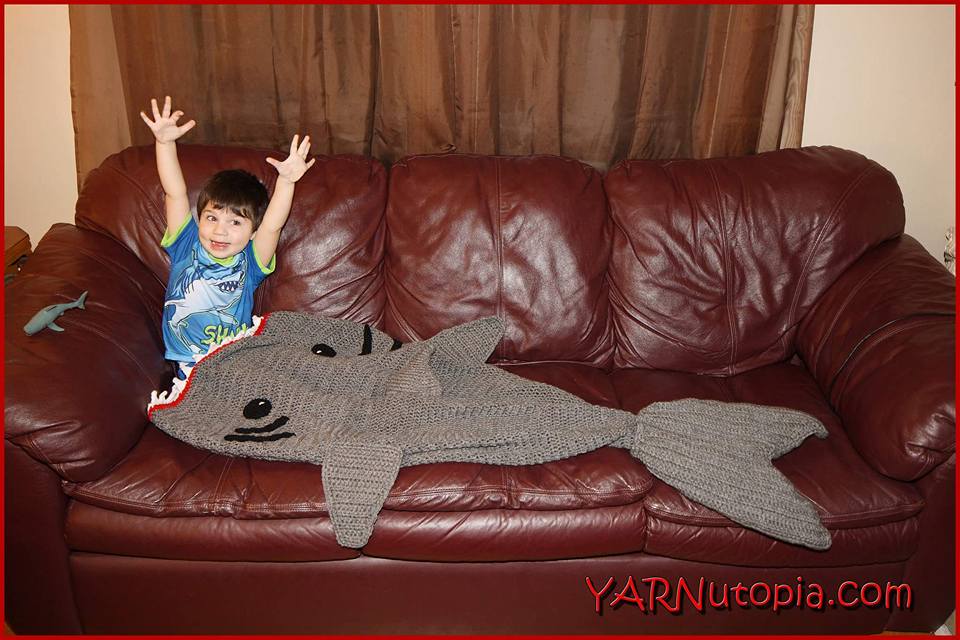
Shark Week Crochet Round-Up
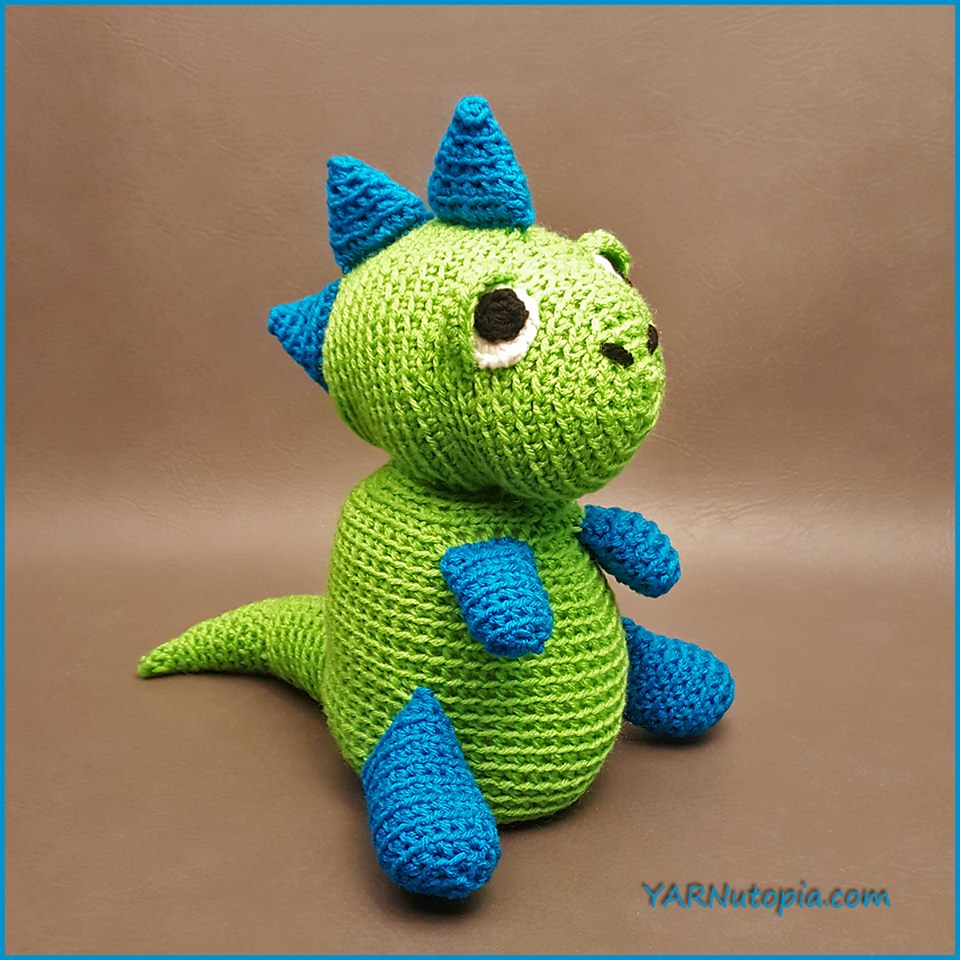
Crochet Tutorial: Spike the T-Rex Dinosaur Amigurumi
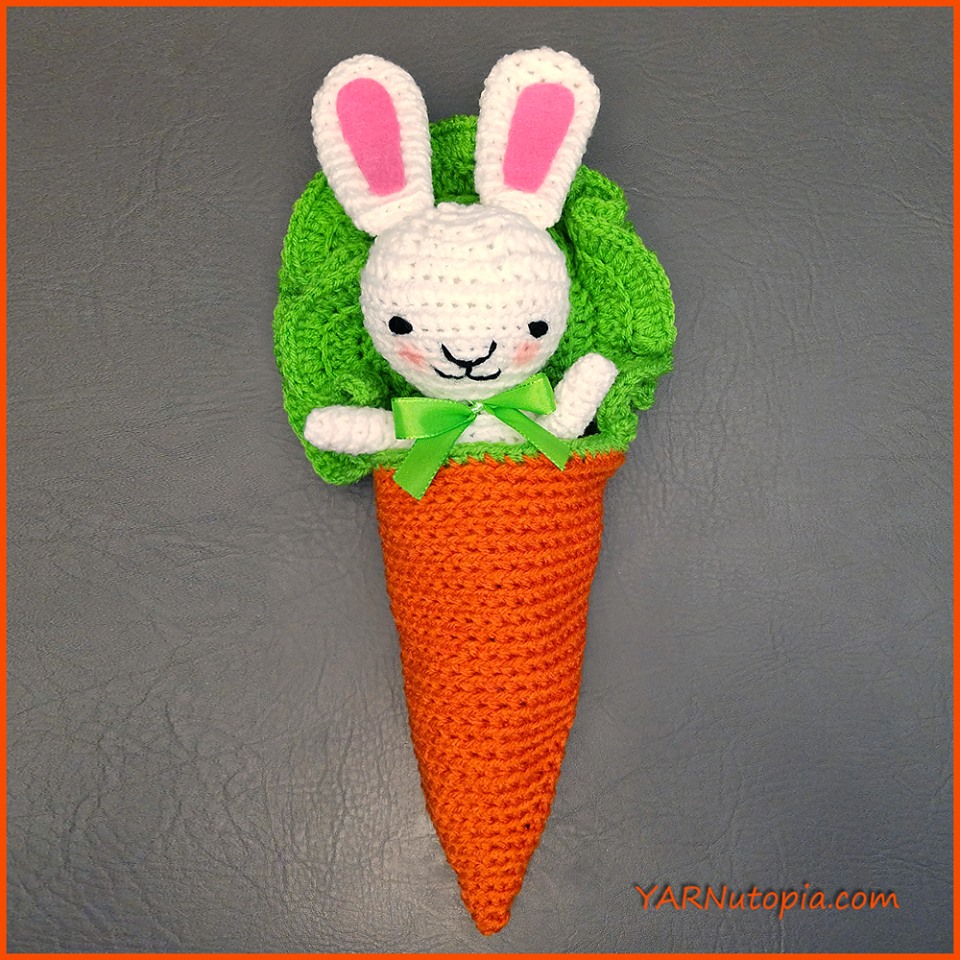
Crochet Tutorial: Bunny Amigurumi in a Carrot Cocoon
Crochet Tutorial: Dolls-Bride and Groom
Loading Comments...
Write a Comment...
Email (Required)
Name (Required)
Website