Skip to content
YARNutopia & M0re
All things Yarn Related: Crochet, DIY, and Crafts
Blog
365 Days of Granny Squares
Stitch Gallery & Glossary
Crochet Video Tutorials
Frequently Asked Questions
Crochet Glossary: Learn the Lingo
Contact
Search
Search
winter
YARNutoia & More
FREE Written Crochet Pattern: Ghost Hat
FREE Written Crochet Pattern: Winter Fur Snood
FREE Written Crochet Pattern: Winter Cat Hat
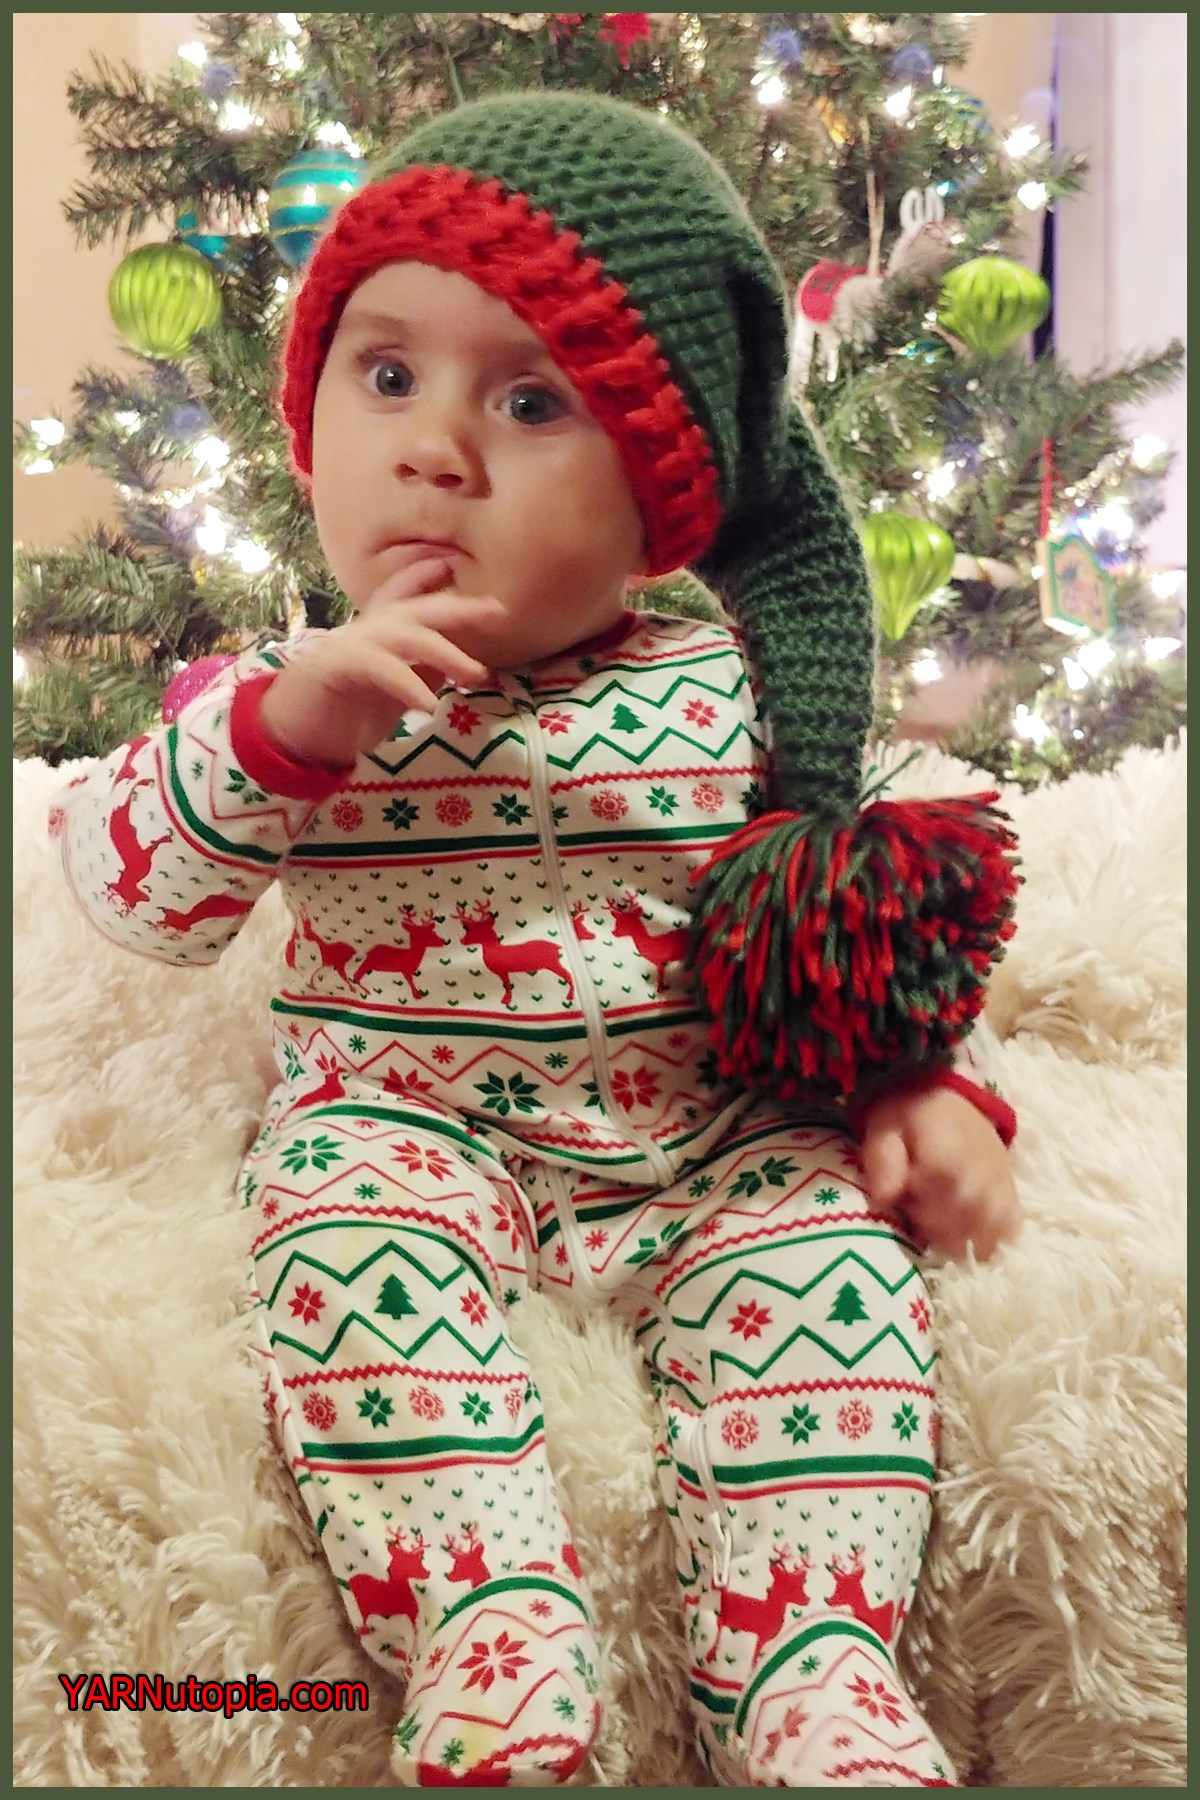
FREE Written Crochet Pattern: Holiday Stocking Hat
FREE Written Crochet Pattern: Winter Stripes Scarf
12 Days of Christmas: Snowman Coasters
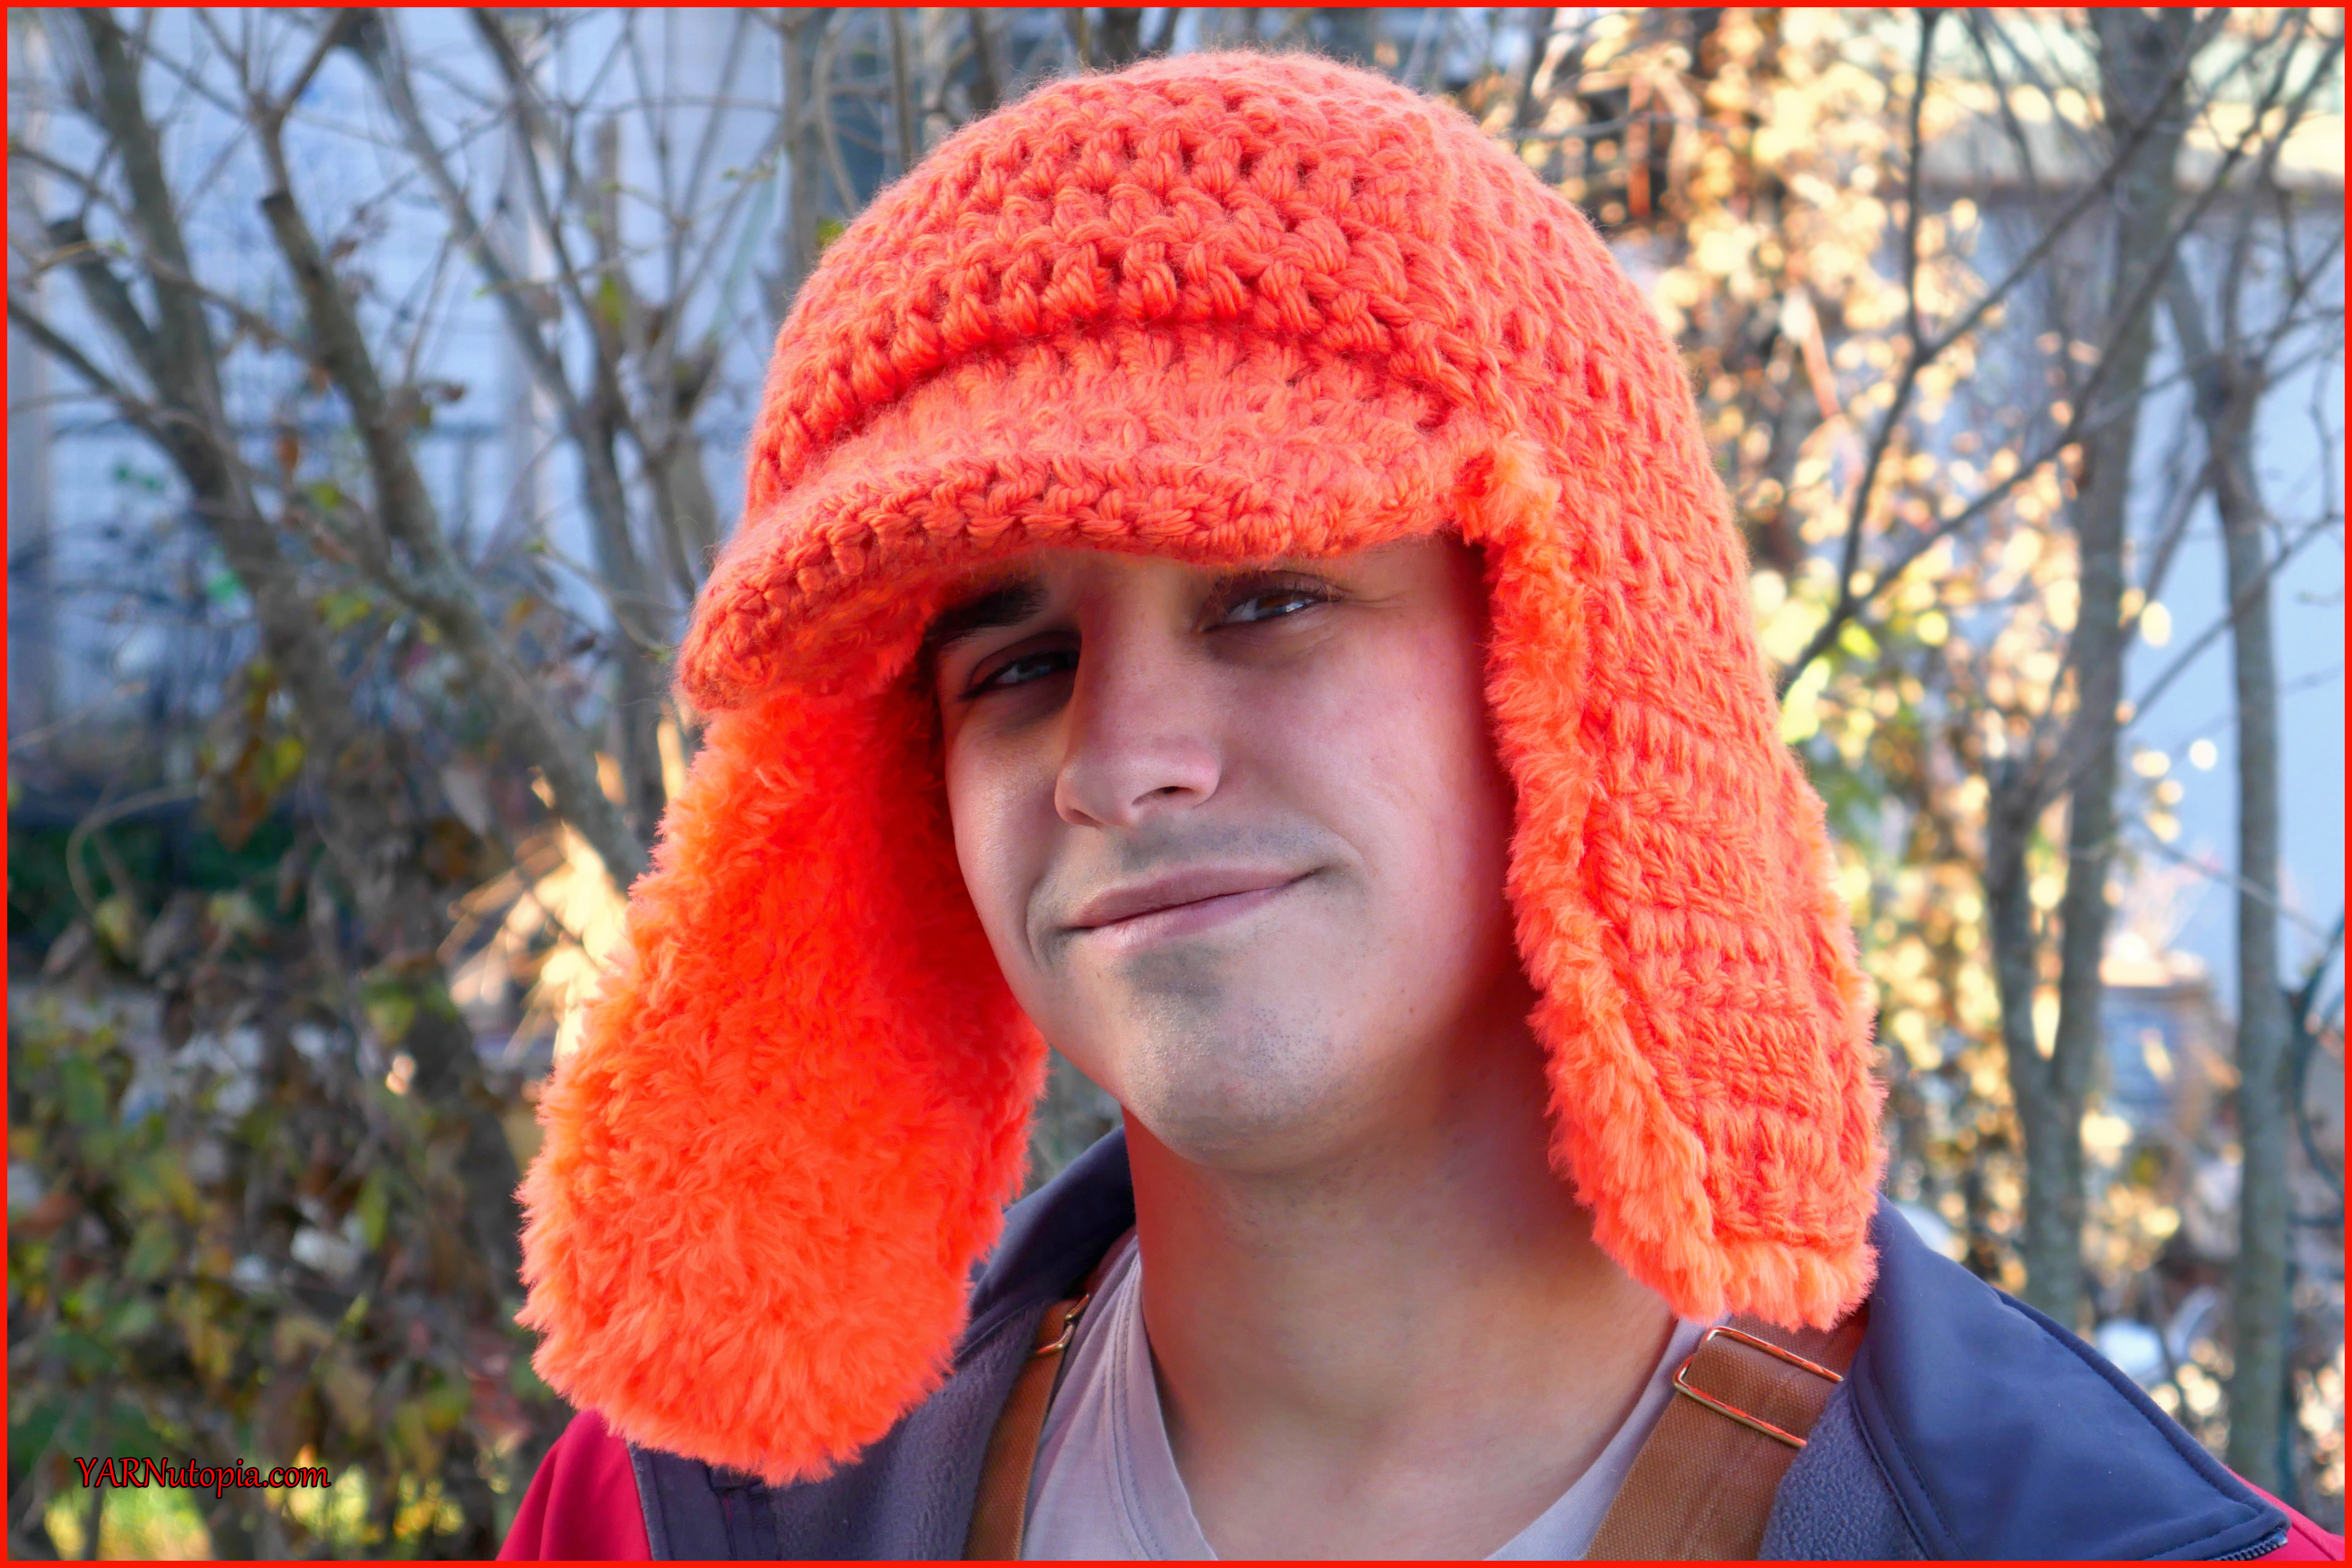
FREE Crochet Video Tutorial: Blaze Orange Woodsman Hat
FREE Written Crochet Pattern: Blaze Orange Woodsman Hat
FREE Crochet Video Tutorial: Stadium Pom Beanie
FREE Written Crochet Pattern: Stadium Pom Beanie
FREE Crochet Video Tutorial: Alpine Stitch Mittens
FREE Written Crochet Pattern: Alpine Stitch Mittens
12 Days of Christmas: Simple Stocking Hat – FREE Crochet Video Tutorial
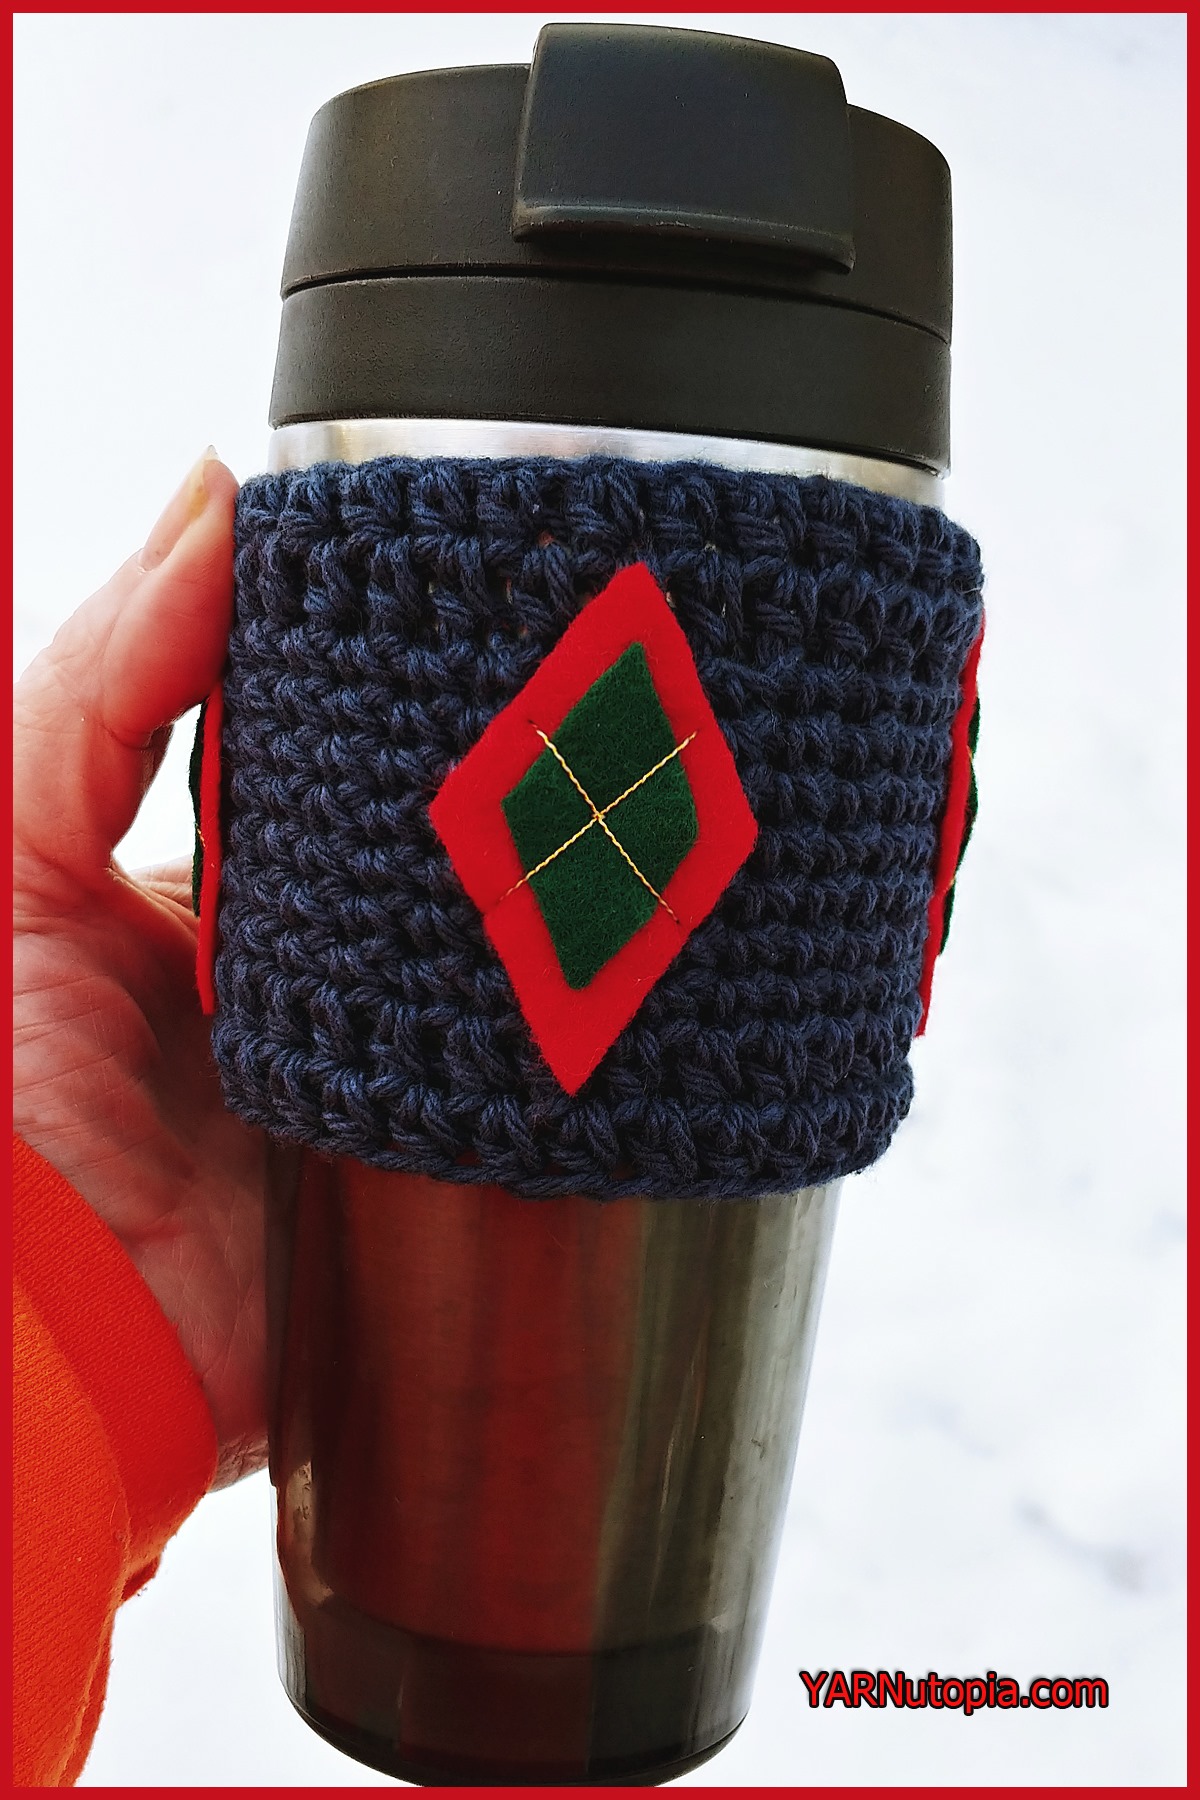
12 Days of Christmas: Argyle Cup Cozy – FREE Crochet Video Tutorial
12 Days of Christmas: Argyle Cup Cozy – FREE Written Crochet Pattern
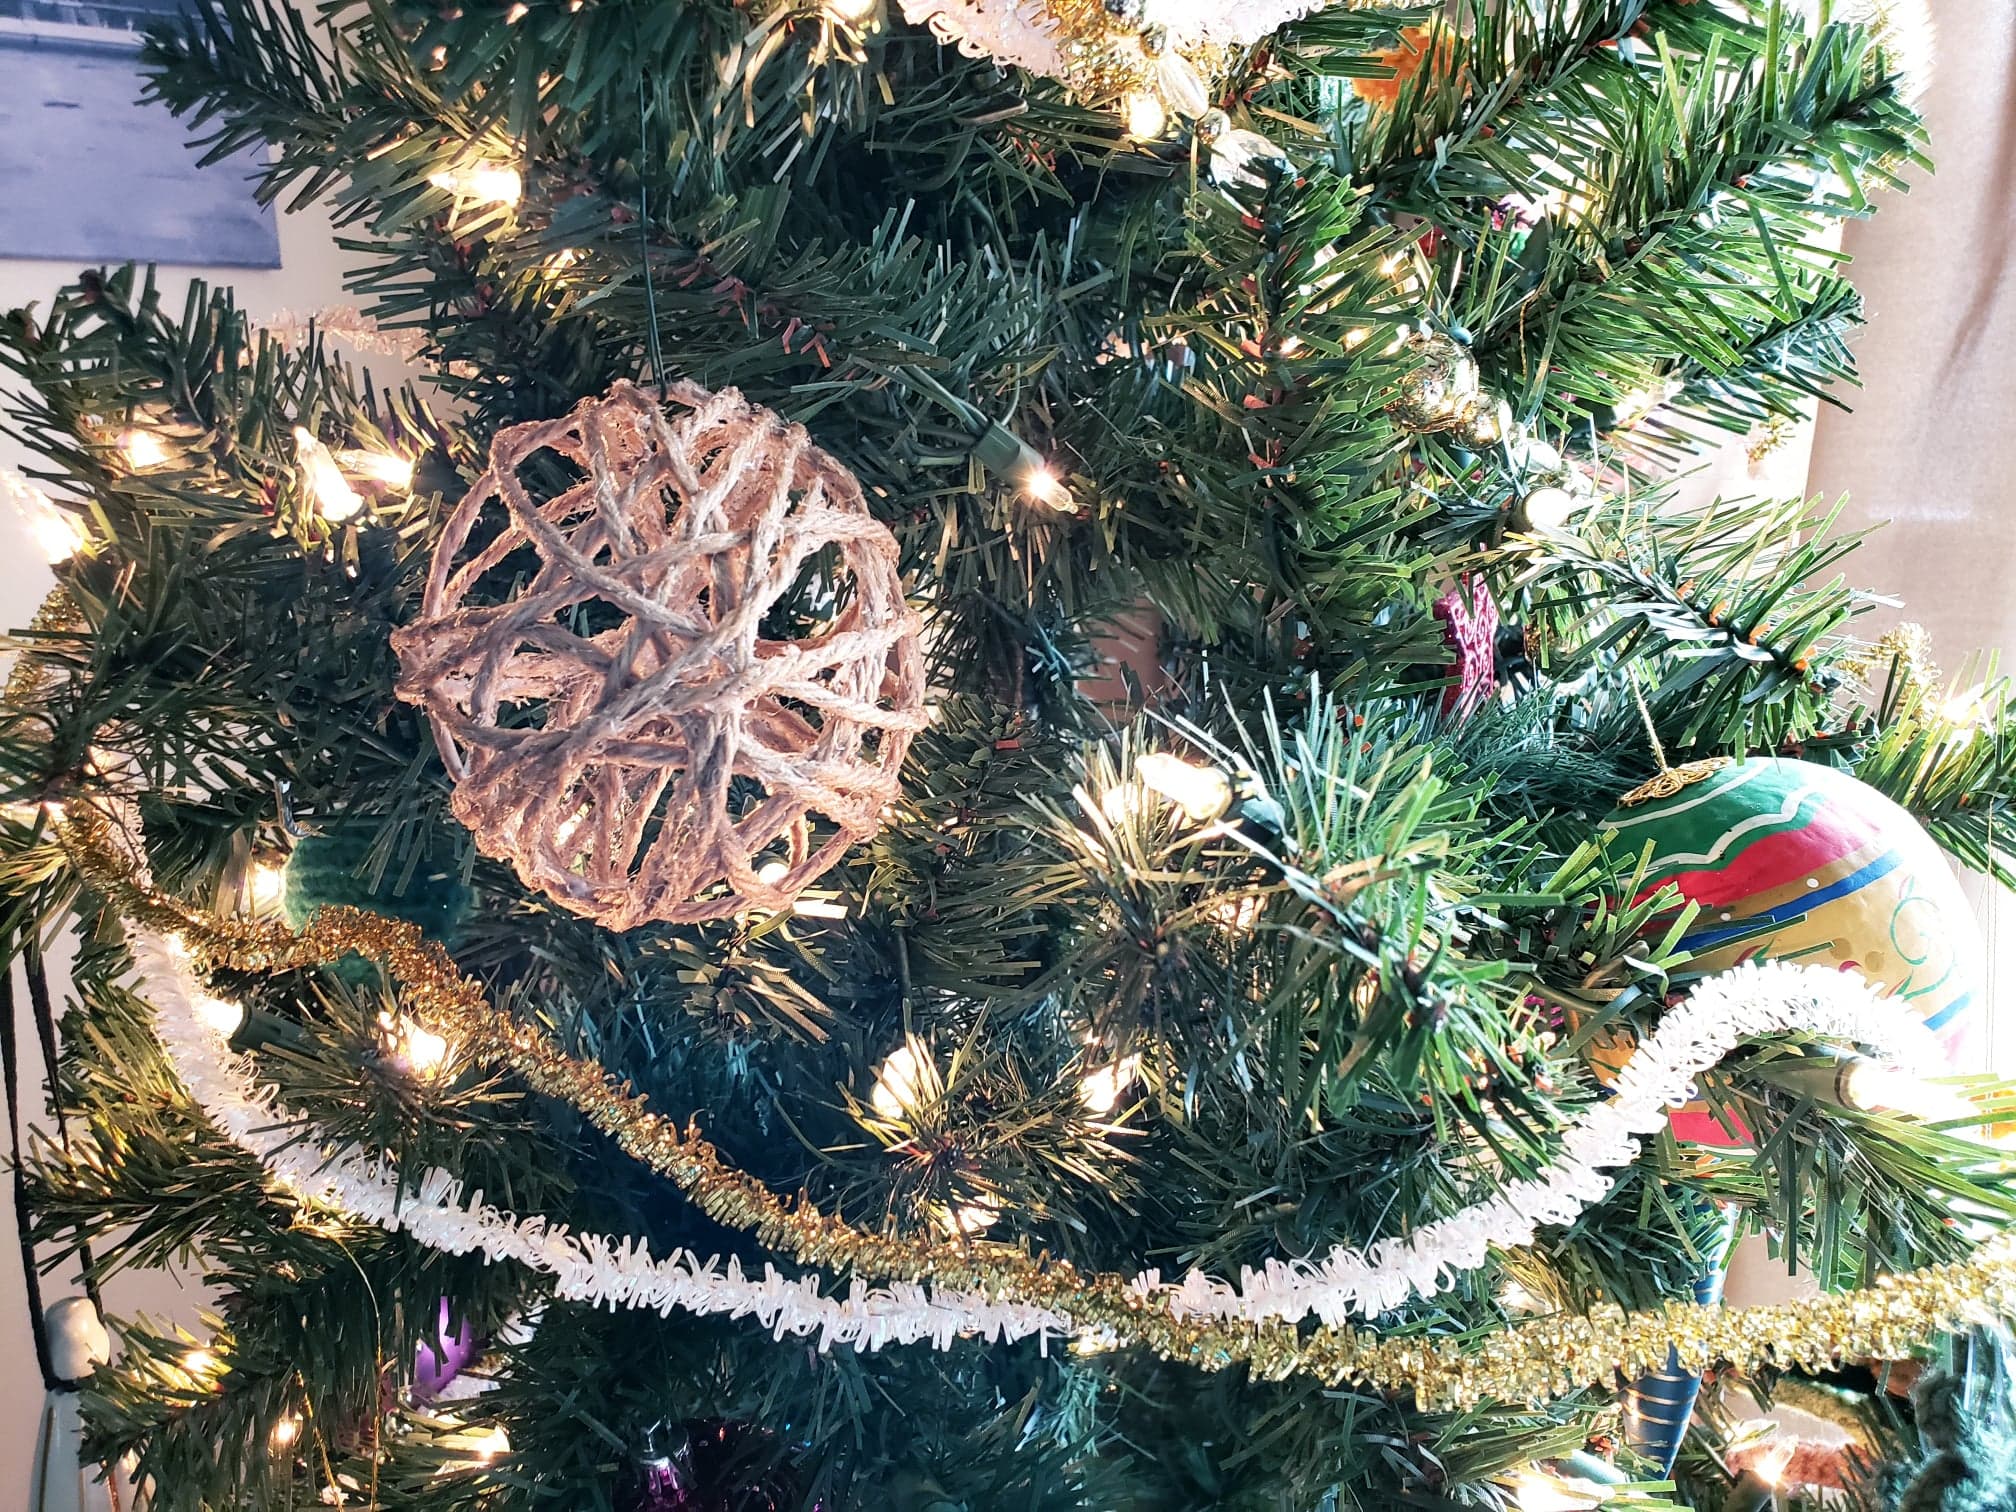
12 Days of Christmas: Rustic Holiday Decoration – Step by Step Photo Tutorial
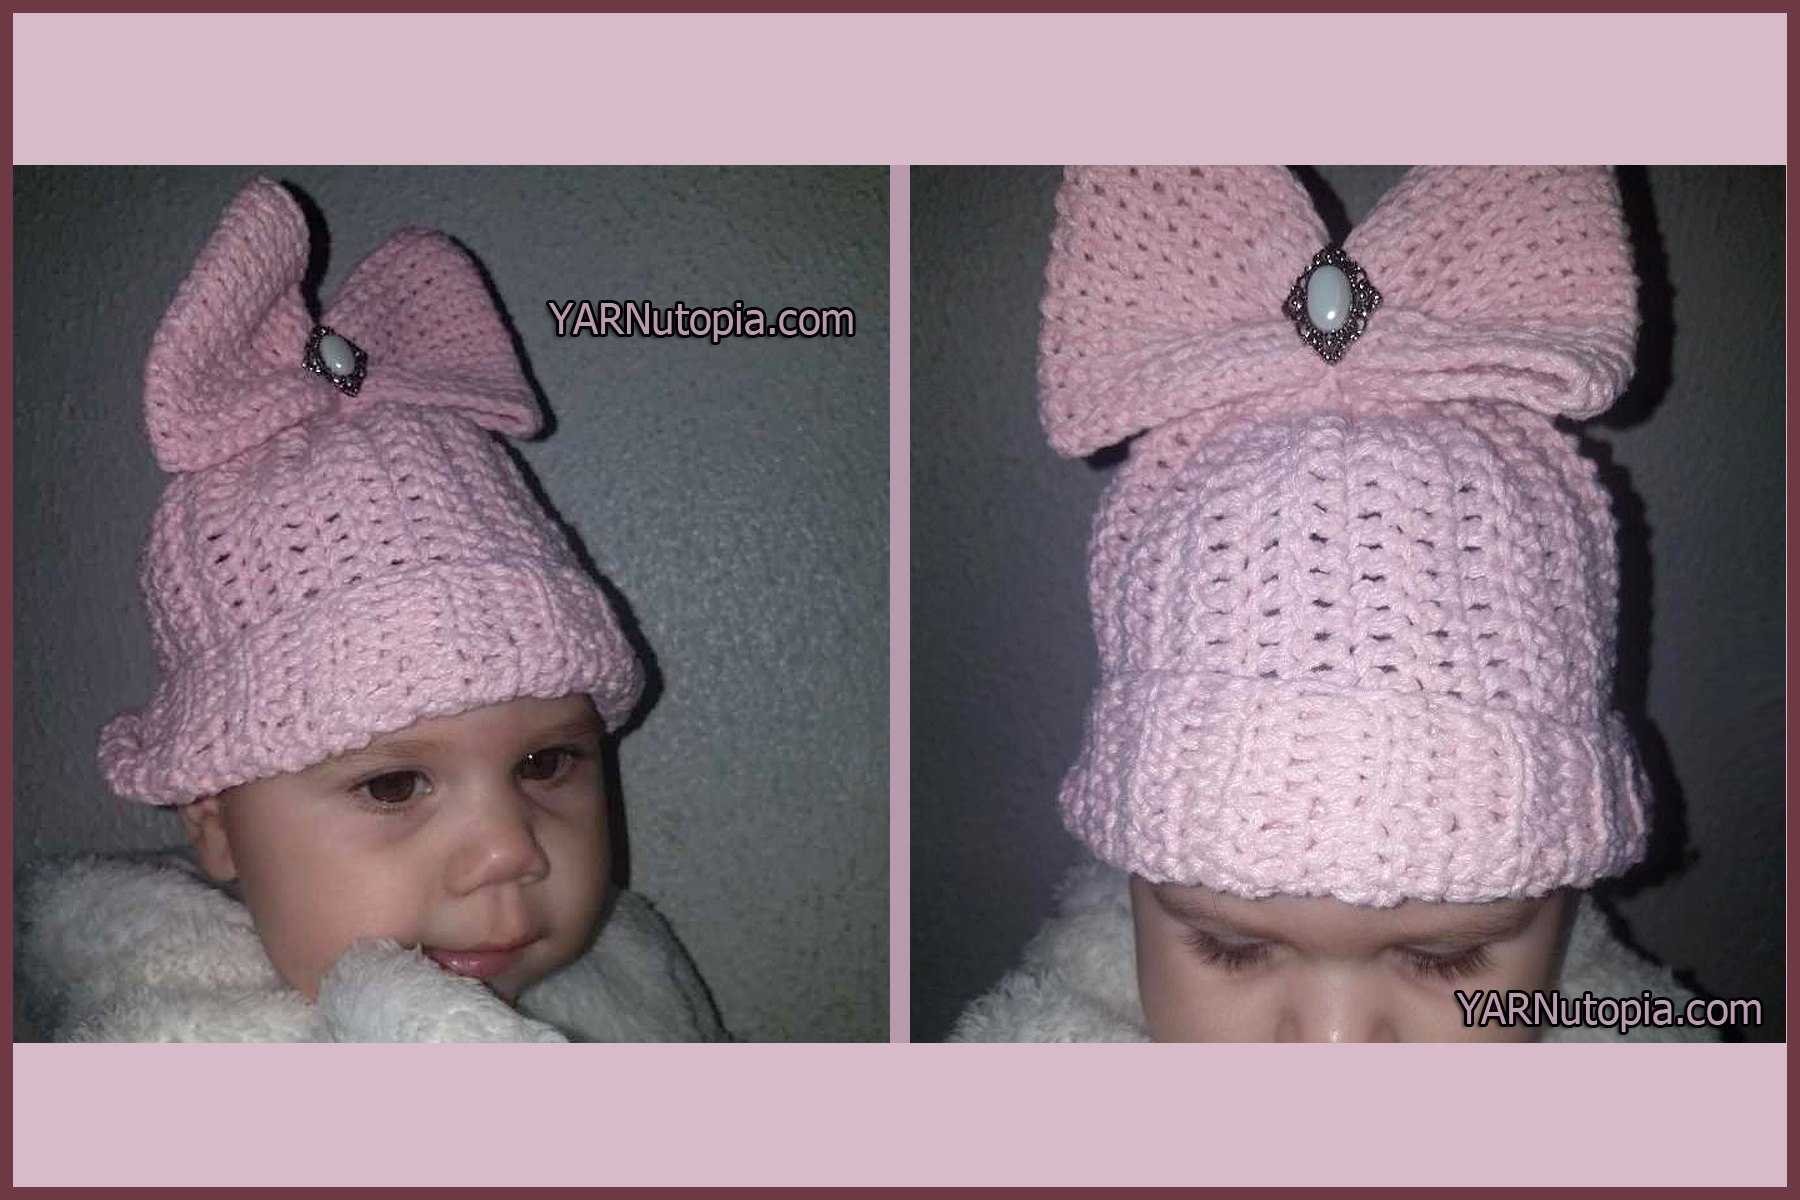
12 Days of Christmas: Beanie with Bling – FREE Written Crochet Pattern
Crochet Tutorial: Houndstooth Stocking Hat
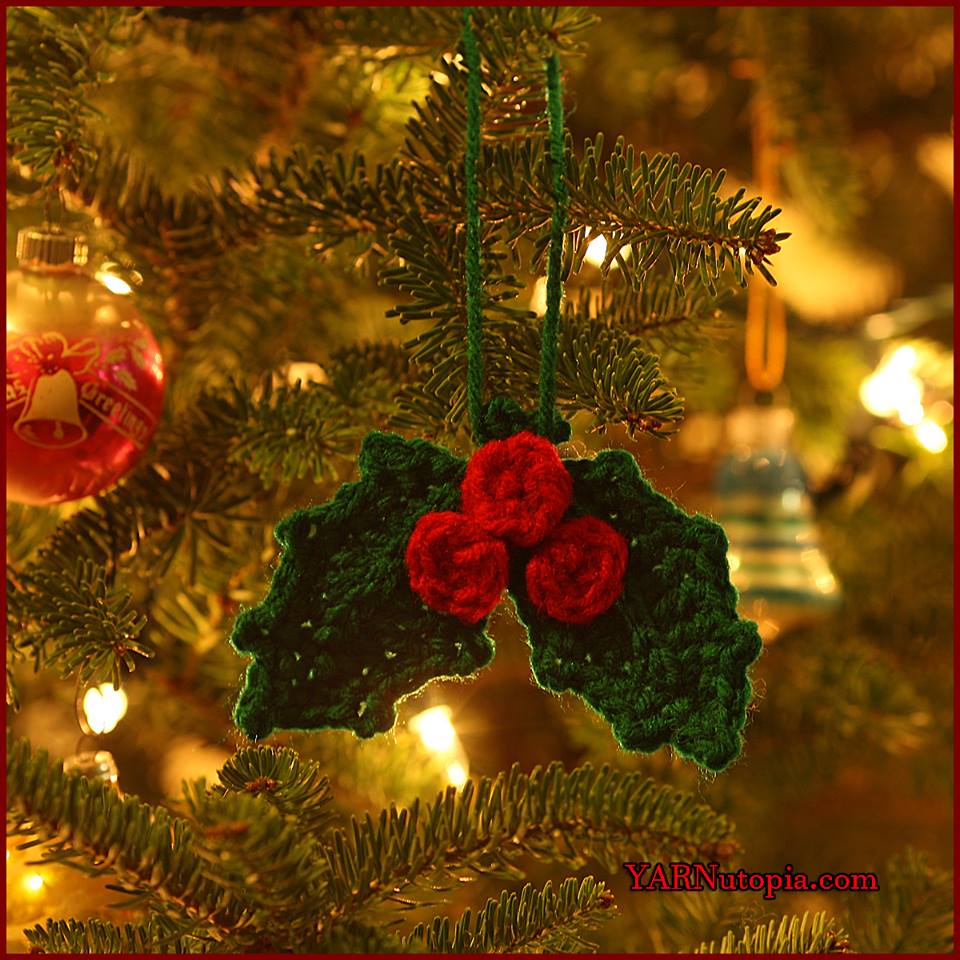
12 Days of Christmas: Holly and Berries Ornament
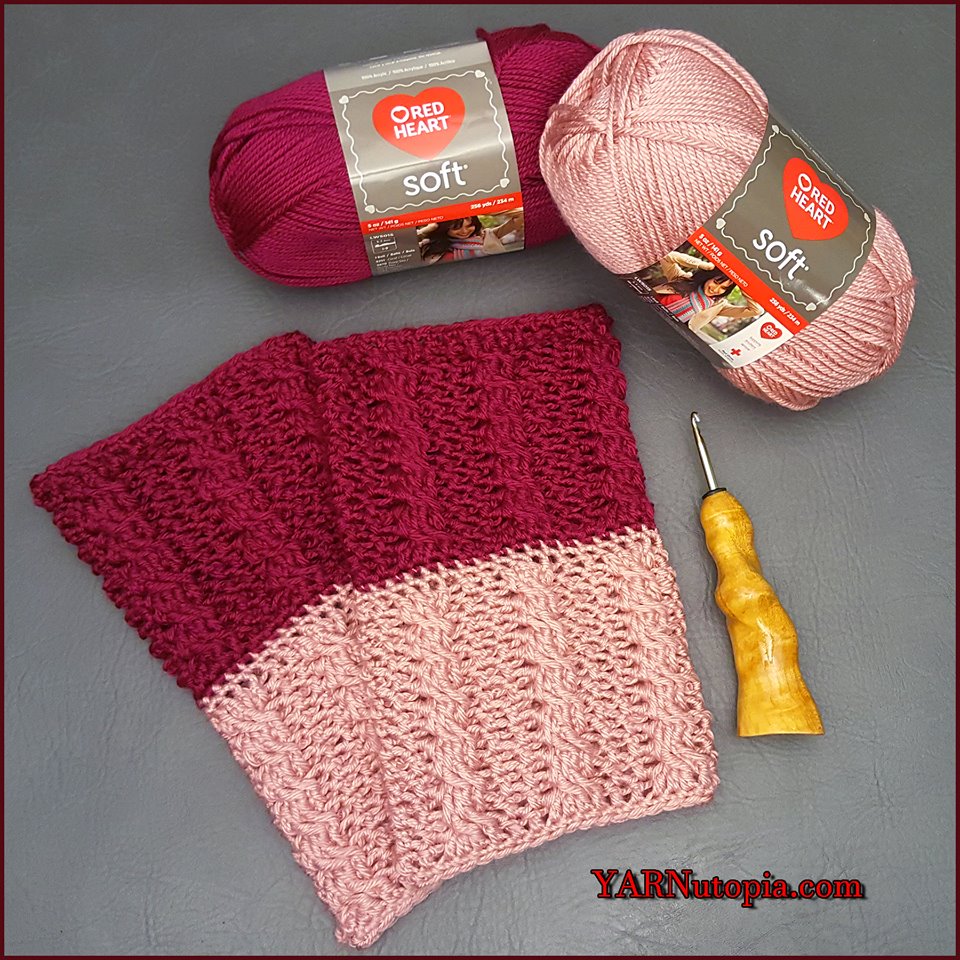
Crochet Tutorial: Two-Toned Cable Boot Cuffs
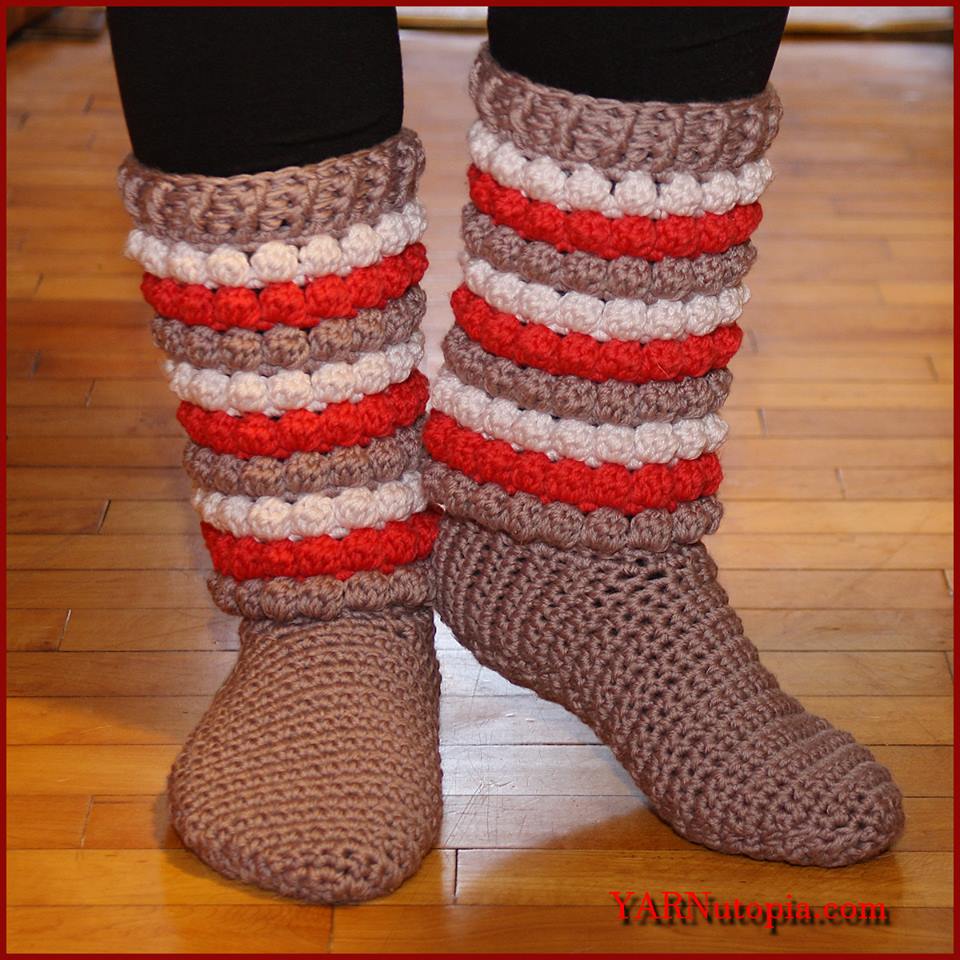
Crochet Tutorial: Winter Chic Slippers
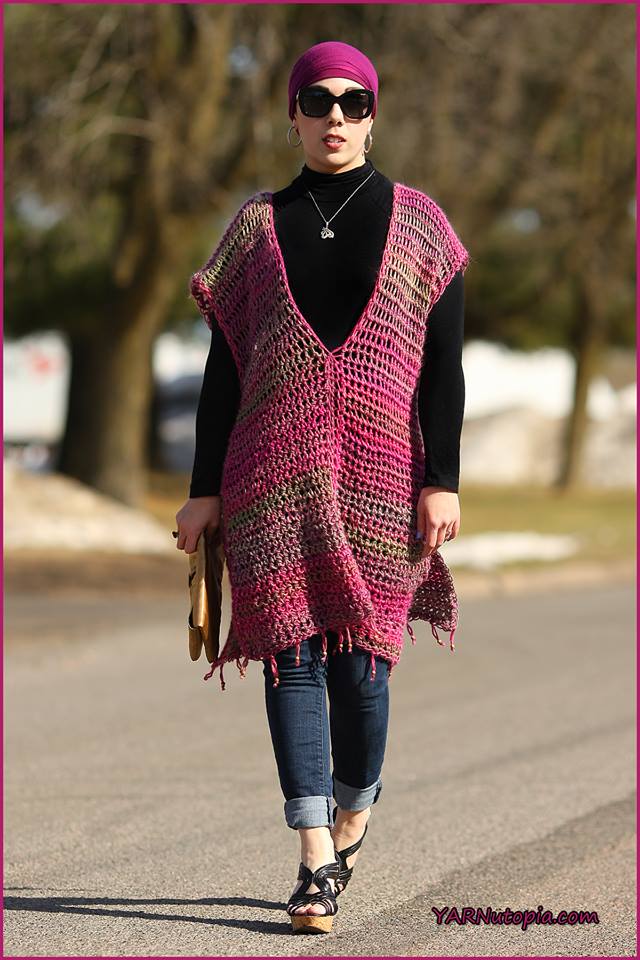
Crochet Tutorial: All Year Round Poncho
Crochet Tutorial: Festive Pom Boot Cuffs
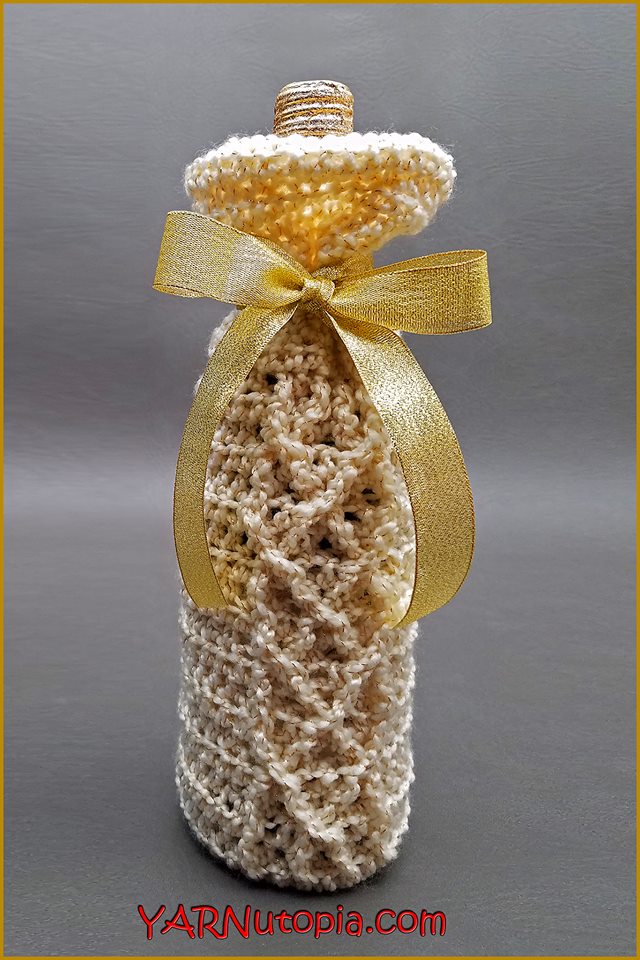
Crochet Tutorial: Sparkling Wine Beverage Bag
Crochet Tutorial: Bows and Bells Napkin Rings
Crochet Tutorial: Frosty Flakes Granny Square
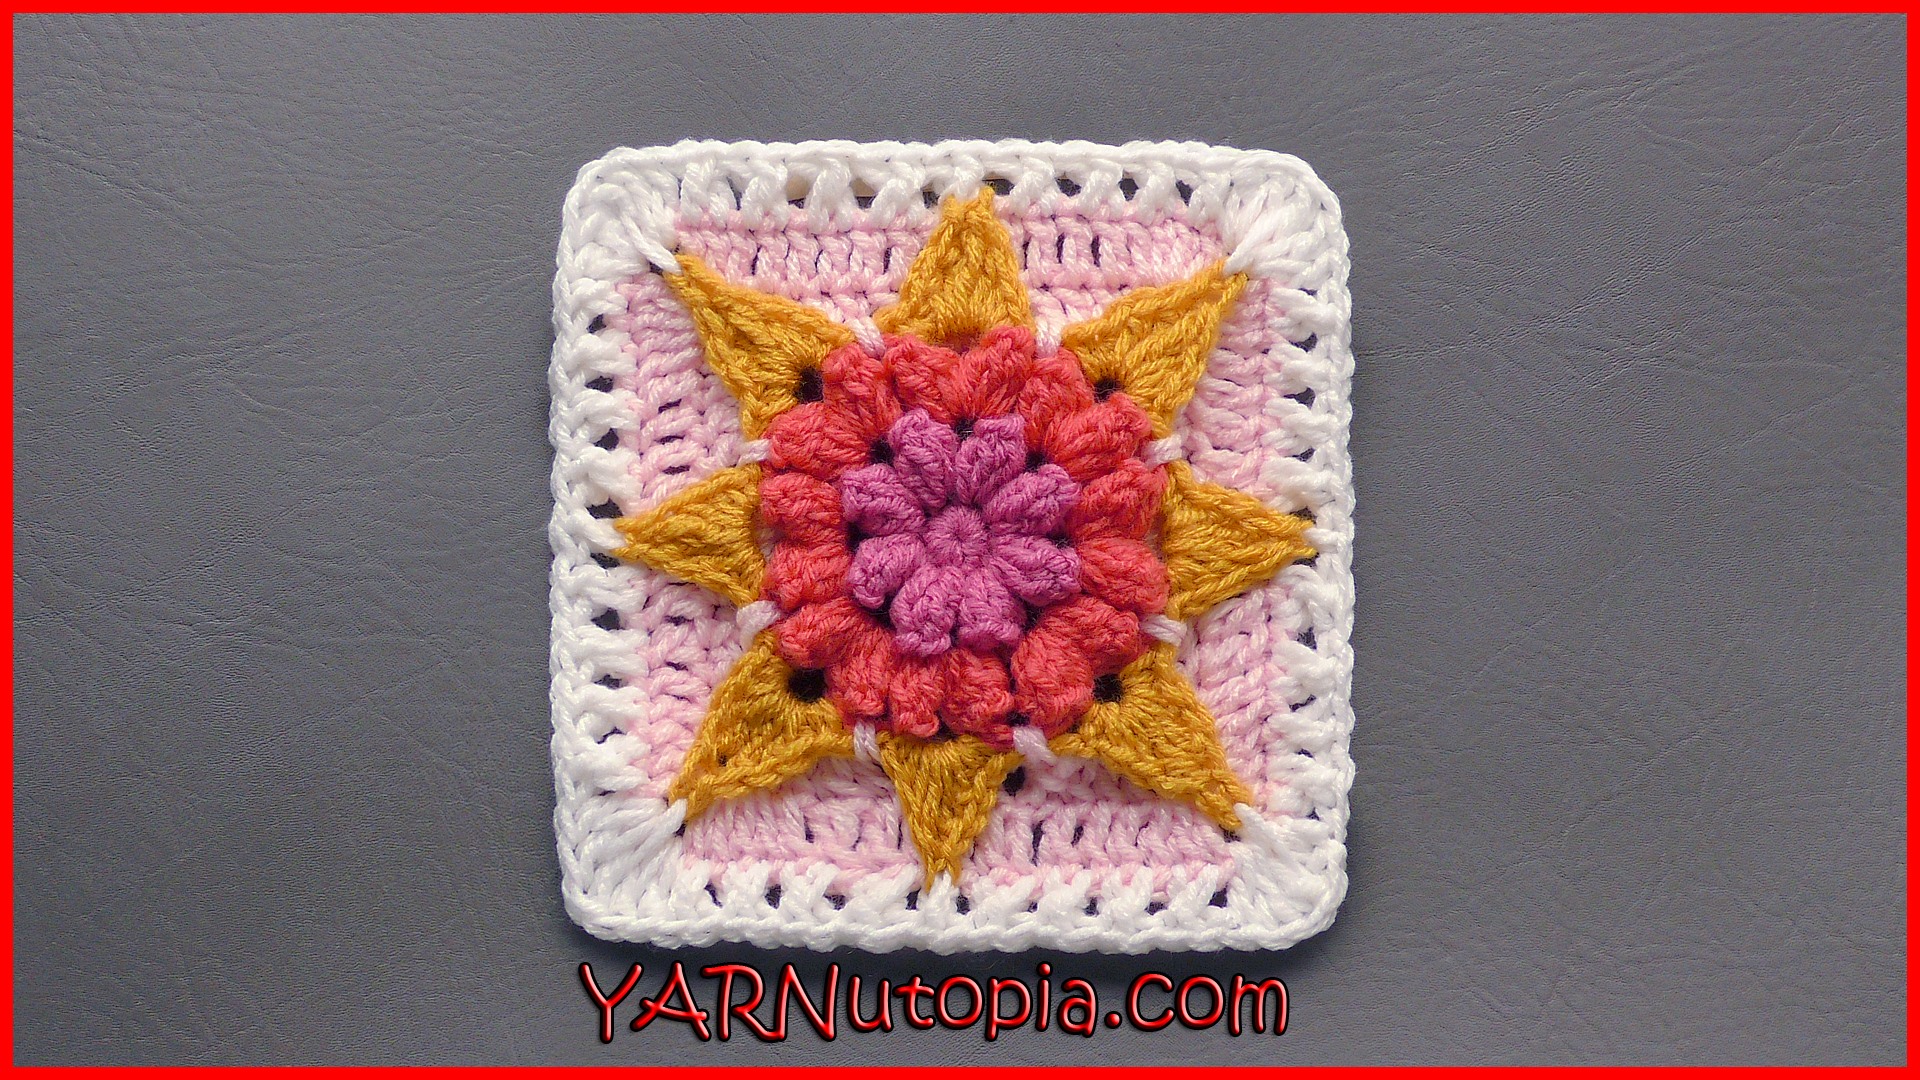
Crochet Tutorial: Hello, Sunshine Granny Square
Crochet Tutorial: Beast Costume Gloves
Crochet Tutorial: Faux Fur Trapper Hat
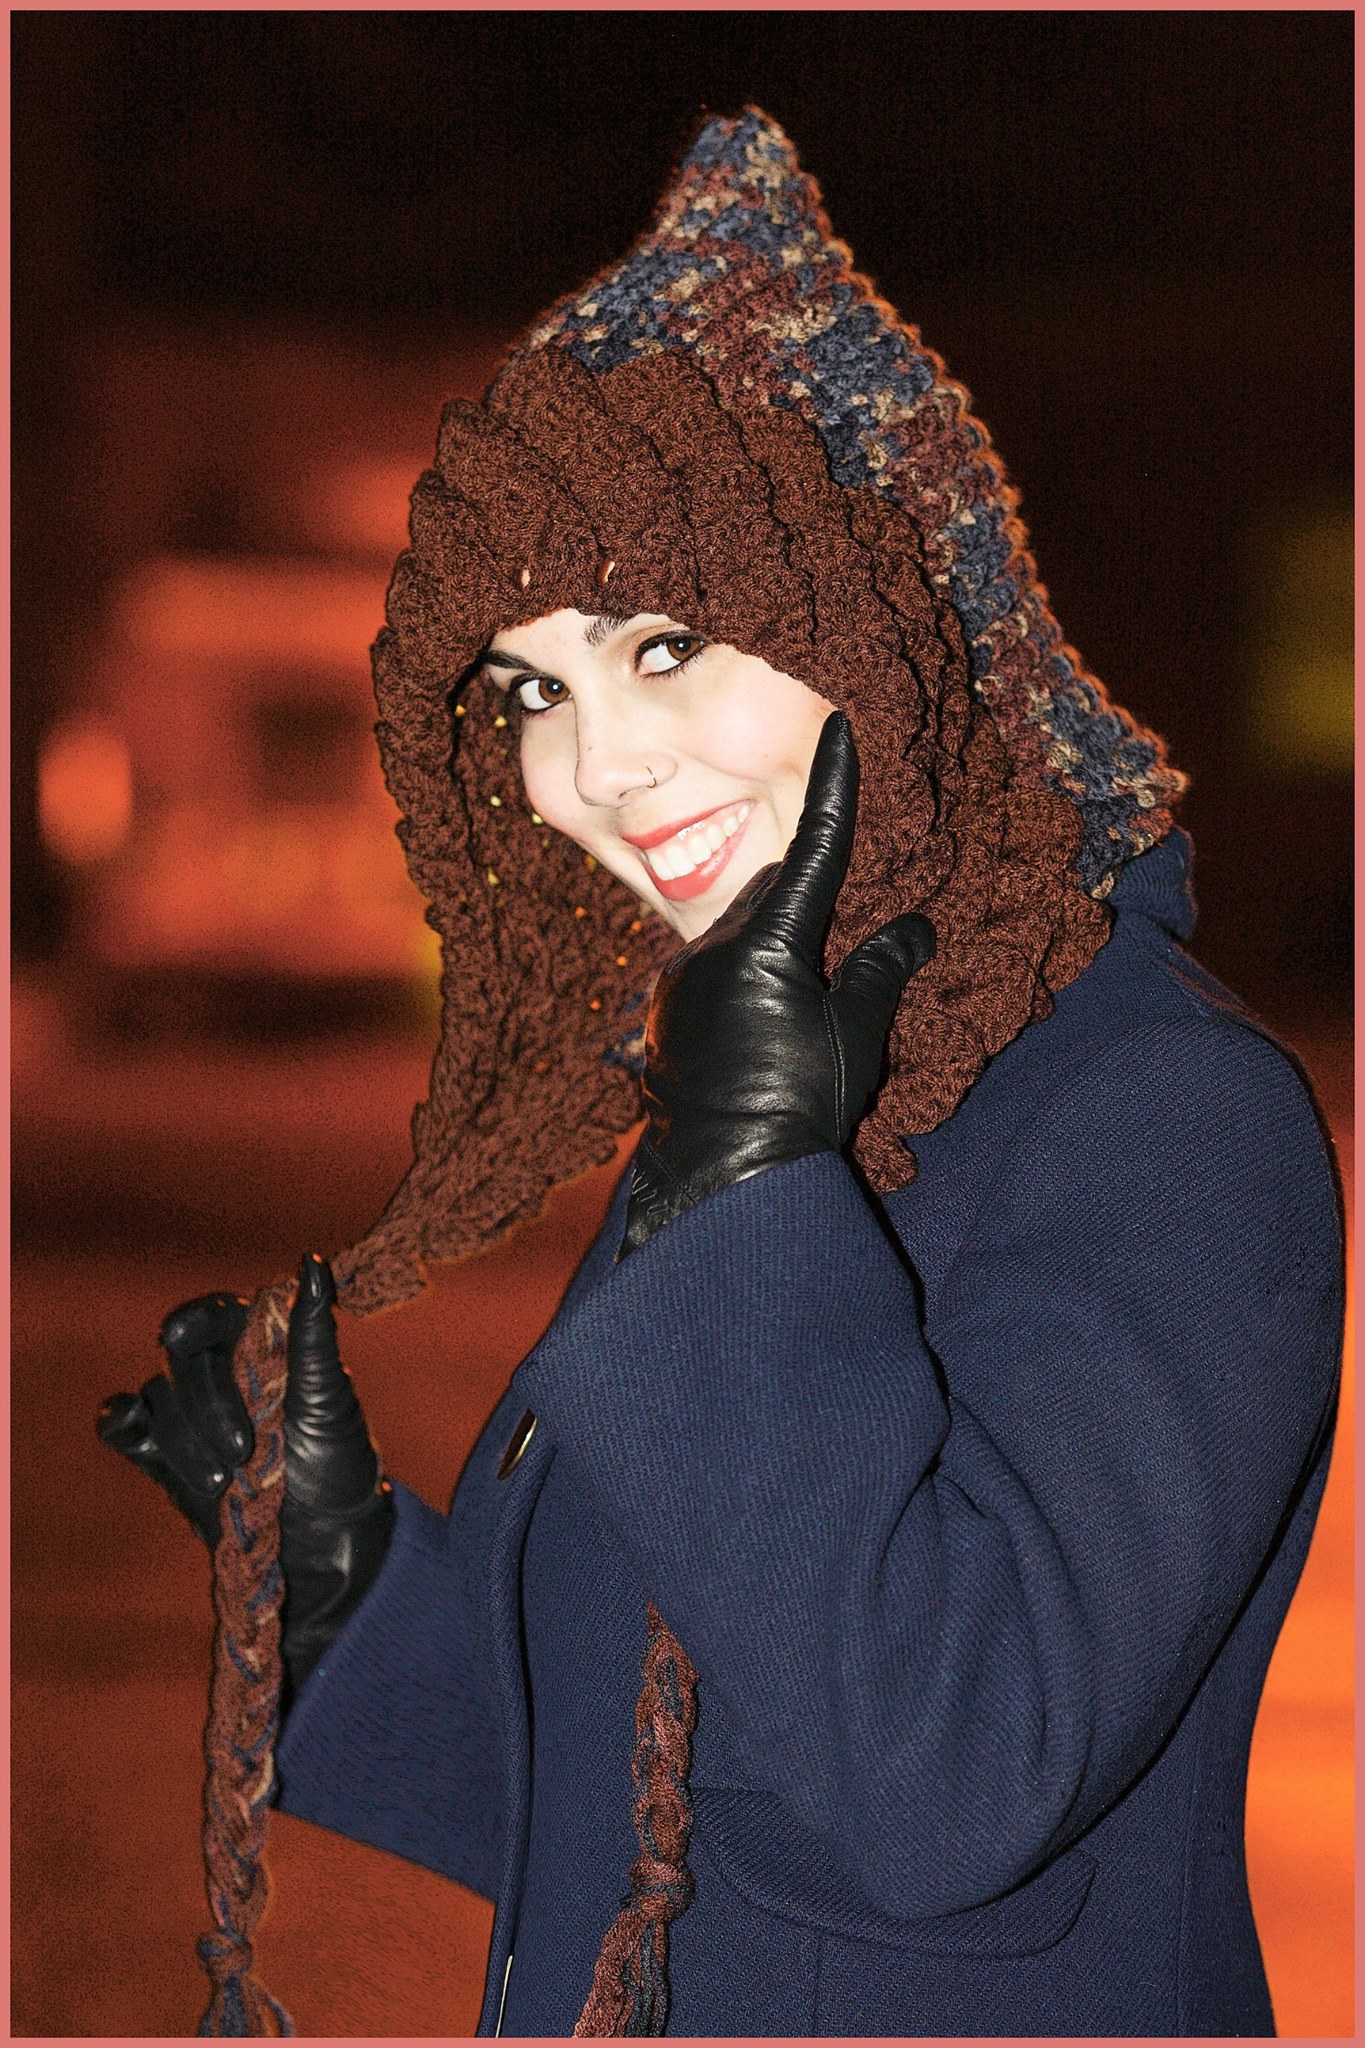
Crochet Tutorial: The Enchantress Bonnet
Crochet Tutorial: Sugar Skull Ski Mask
Crochet Tutorial: Cat Paw Hand Warmers with Fur
Loading Comments...
Write a Comment...
Email (Required)
Name (Required)
Website