YARNutopia & M0re
All things Yarn Related: Crochet, DIY, and Crafts
Blog
365 Days of Granny Squares
Stitch Gallery & Glossary
Crochet Video Tutorials
Frequently Asked Questions
Crochet Glossary: Learn the Lingo
Contact
Search
Search
blocks
YARNutoia & More
FREE Crochet Video Tutorial: Beach Vibes Bucket Hat
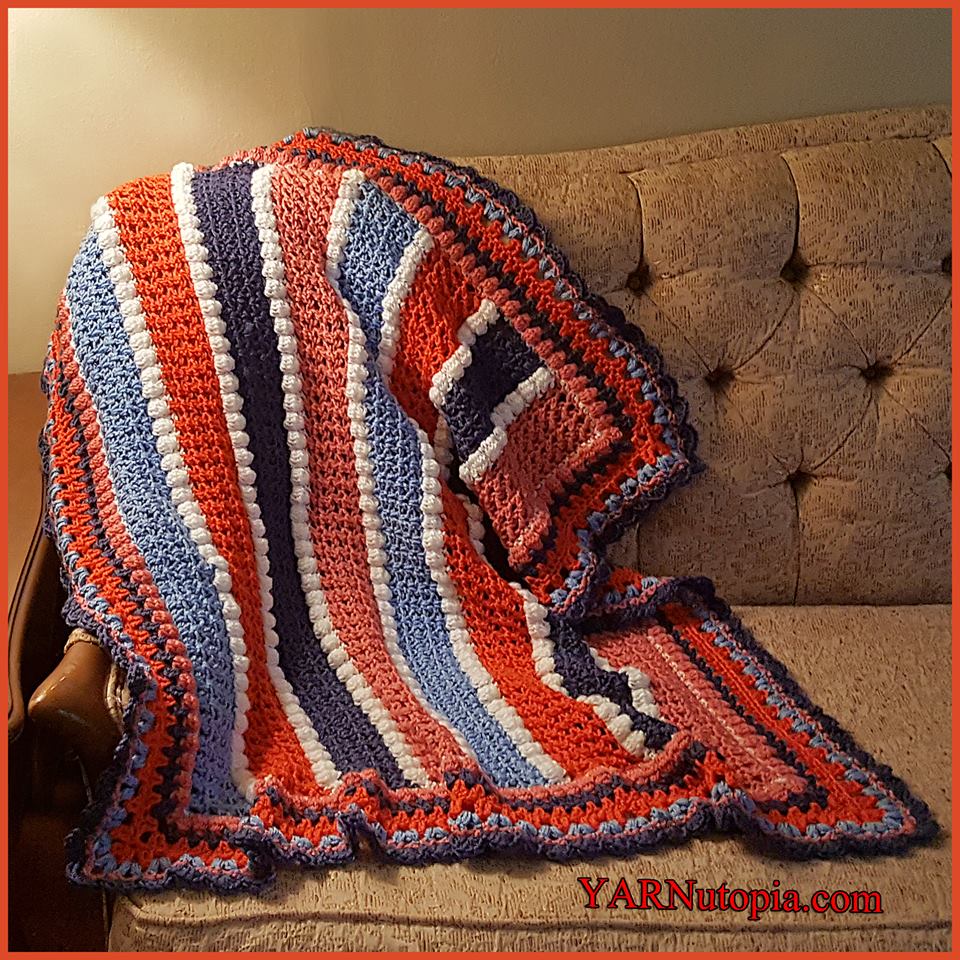
FREE Written Crochet Pattern: Snuggle Me Up Baby Blanket
FREE Crochet Video Tutorial: Snuggle Me Up Baby Blanket
FREE Written Crochet Pattern: Simply Bright Granny Square
12 Days of Christmas: Corner to Corner (C2C) Holiday Hot Pad – FREE Crochet Video Tutorial
12 Days of Christmas: Corner to Corner (C2C) Holiday Hot Pad – FREE Written Crochet Pattern
Crochet Tutorial: Where Love Grows Afghan Block
How to Crochet Tutorial: Patchouli Poncho
Crochet Tutorial: Dual Sided Washcloth
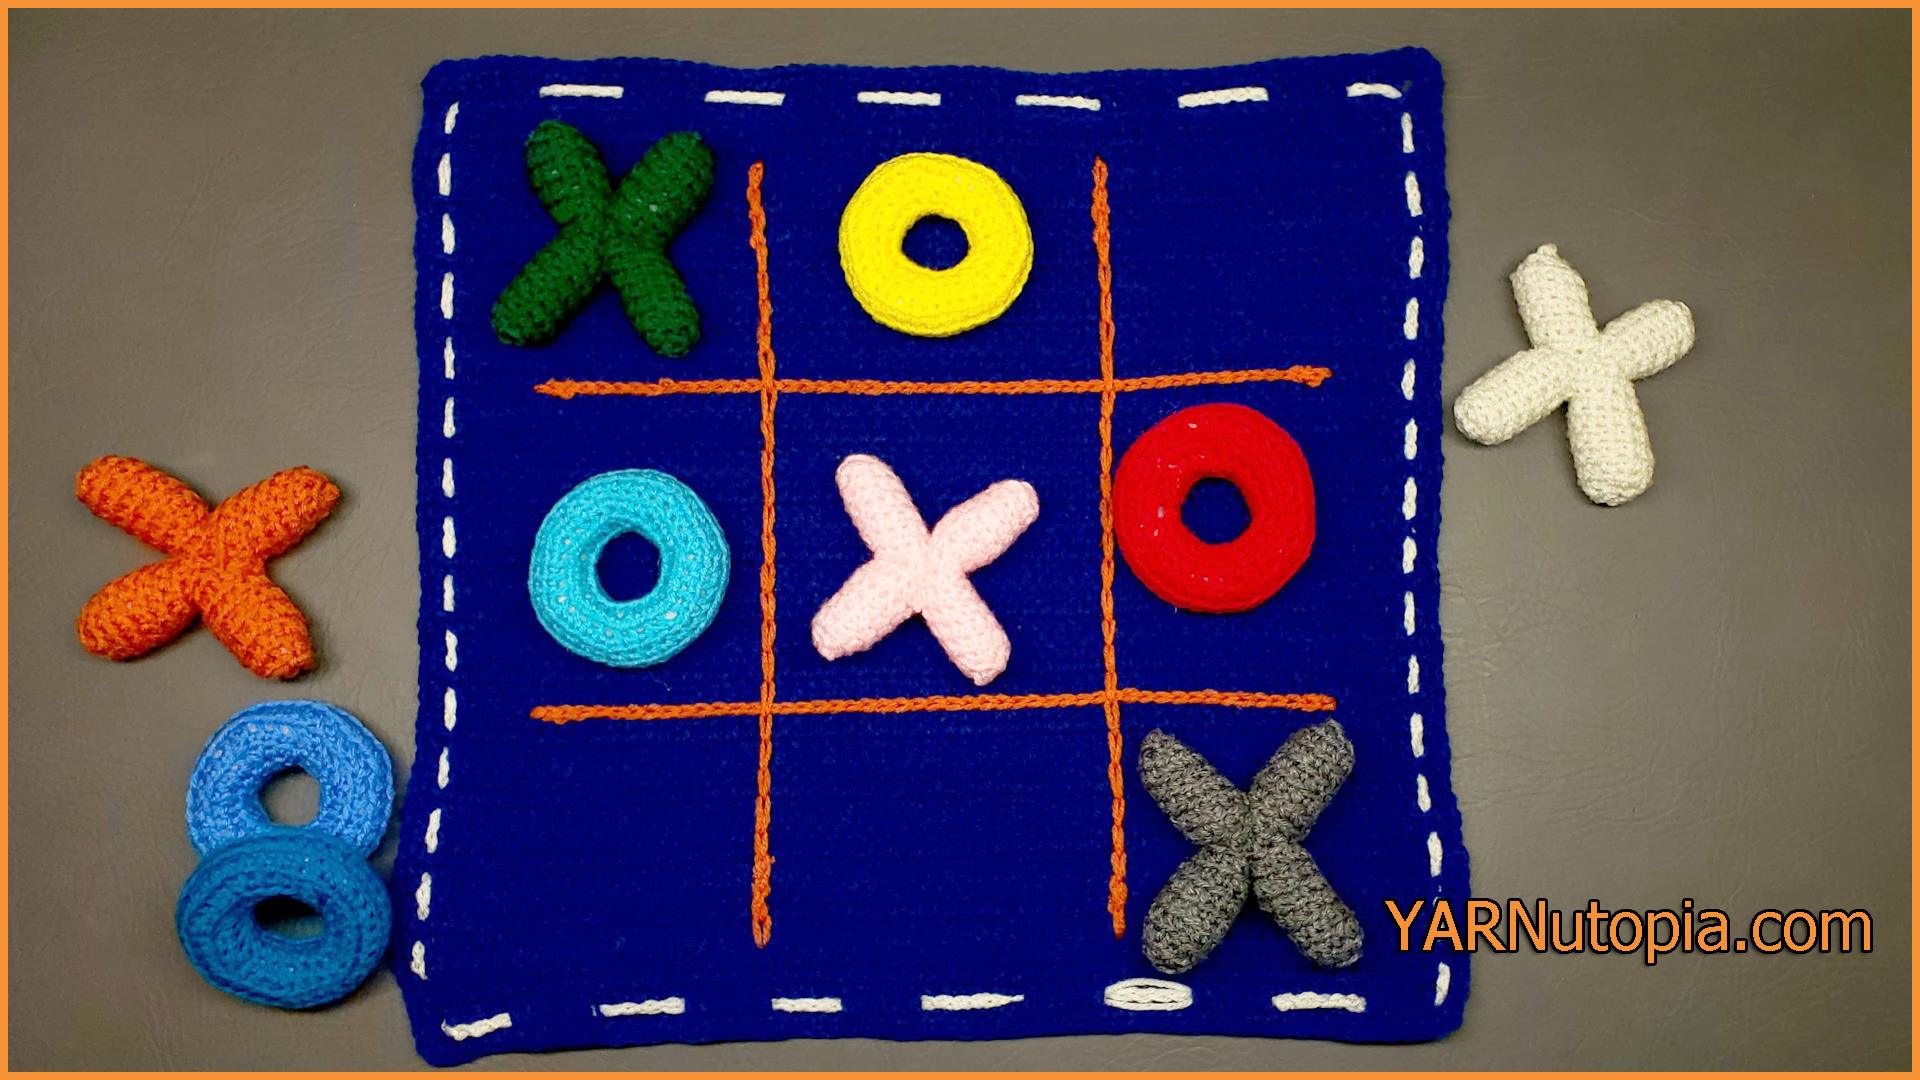
Crochet Tutorial: Tic Tac Toe Game and Tote
Crochet Tutorial: Colorful Visions Afghan
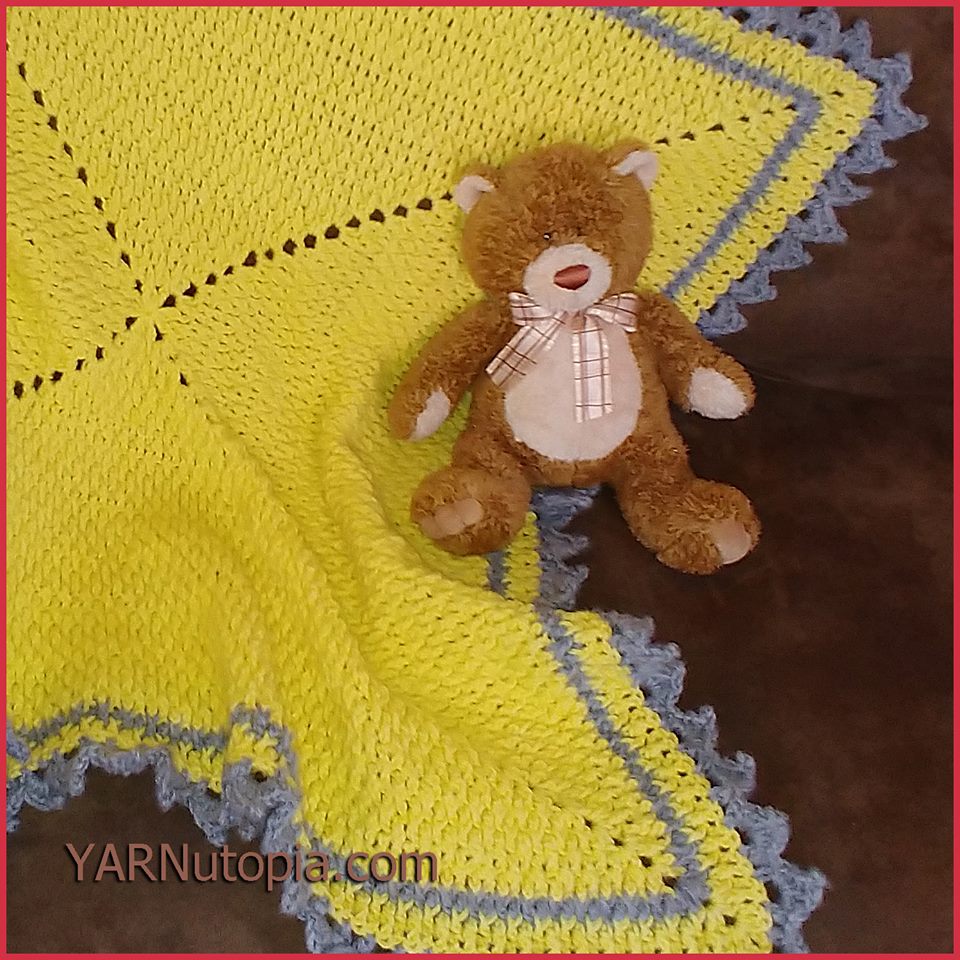
Crochet Tutorial: Love & Sunshine Baby Blanket
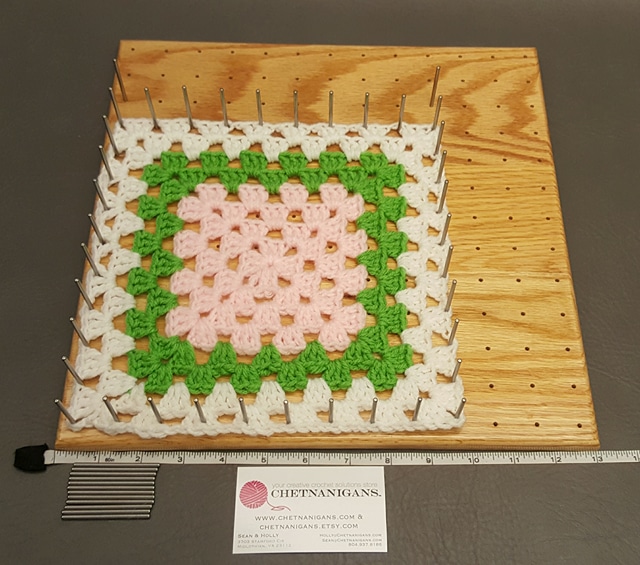
My New Blocking Station Product Review
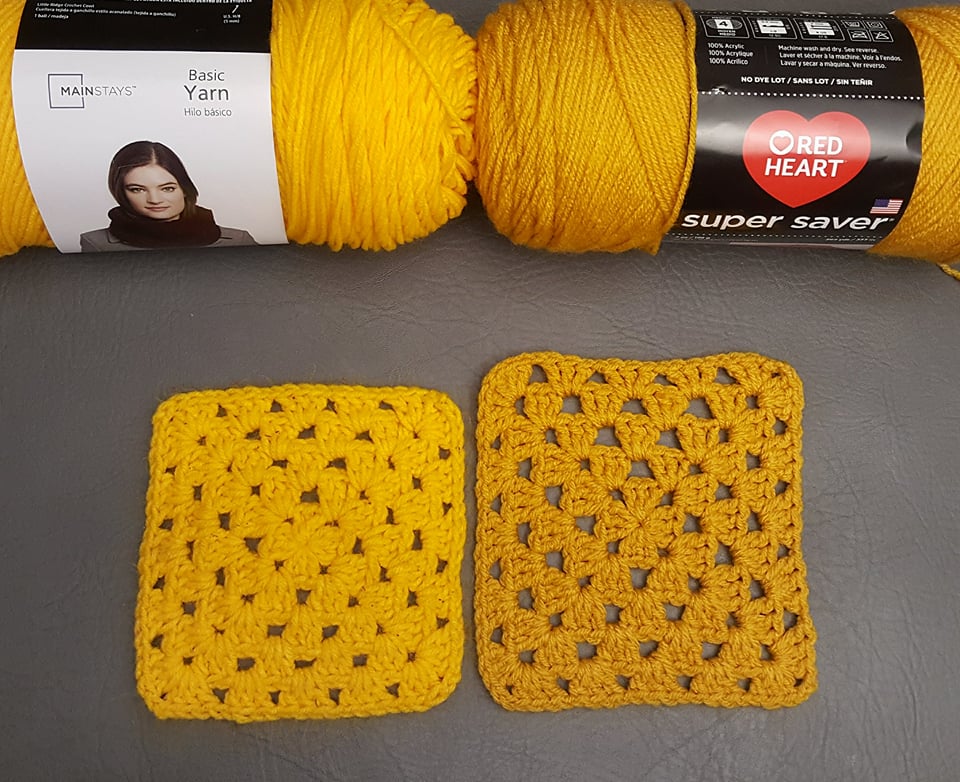
A Personal Debate: Mainstays Basic Yarn vs. Red Heart Super Saver Yarn
Crochet Tutorial: Destiny Sampler Baby Blanket
Crochet Tutorial: Boho Pom Hat
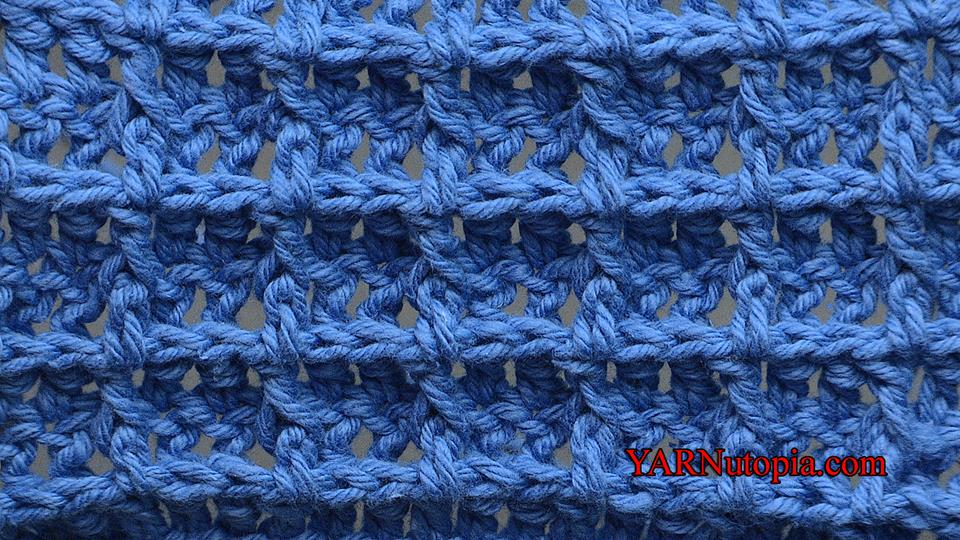
Stitch Gallery & Glossary Episode #15: Waffle Stitch
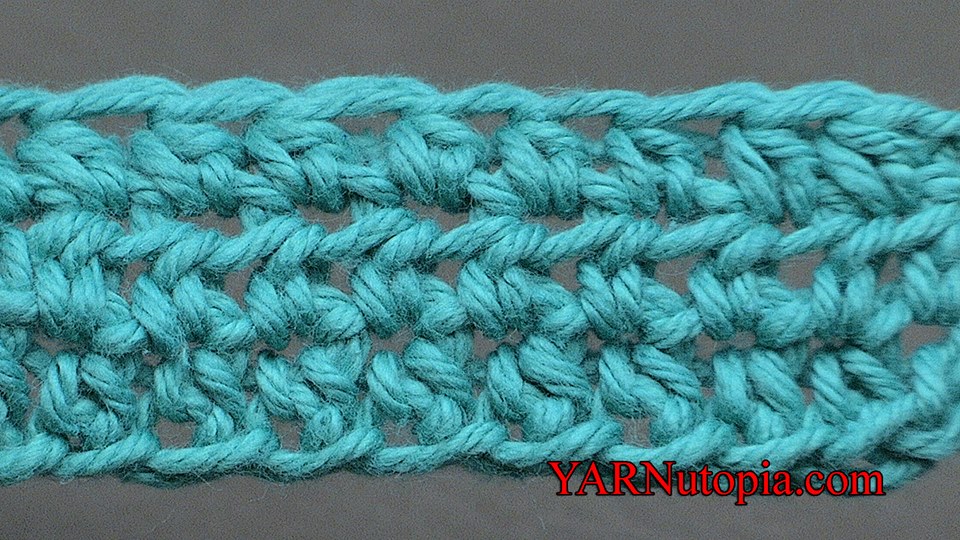
Stitch Gallery & Glossary Episode #2: Half-Double Crochet
Crochet Tutorial: New Beginnings Afghan Block
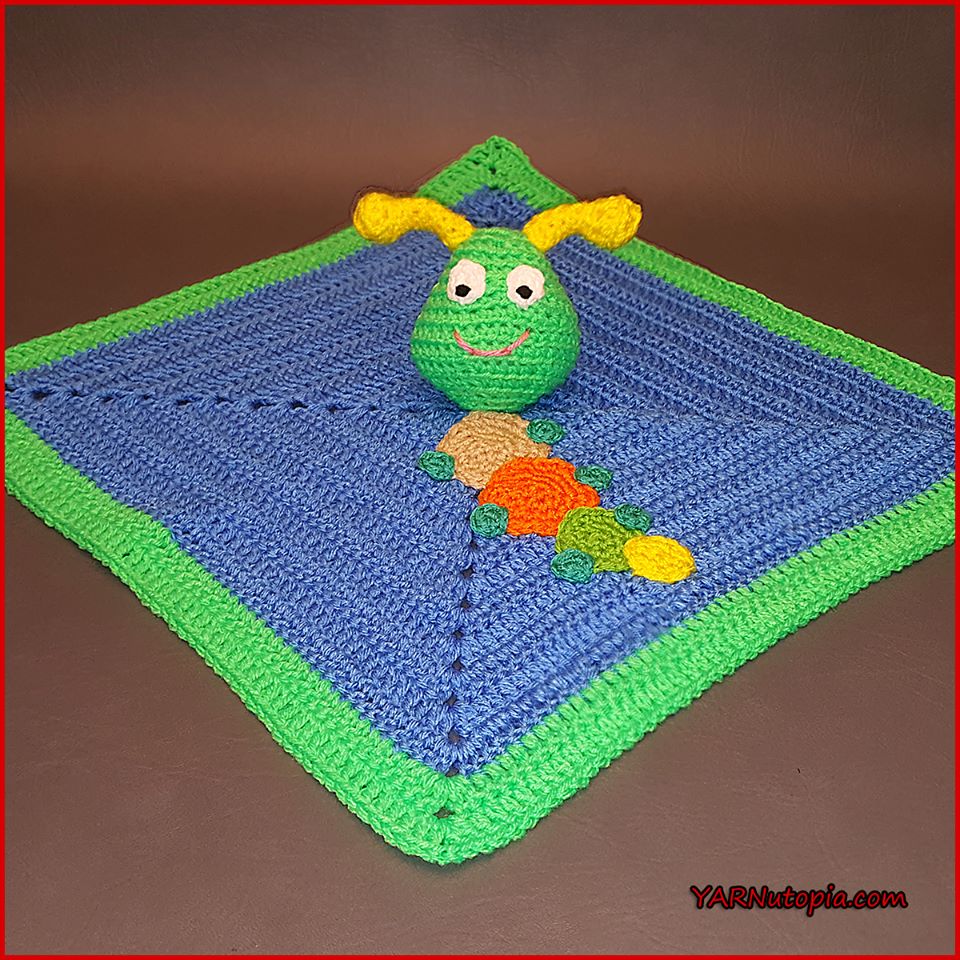
Crochet Tutorial: Caterpillar Lovey
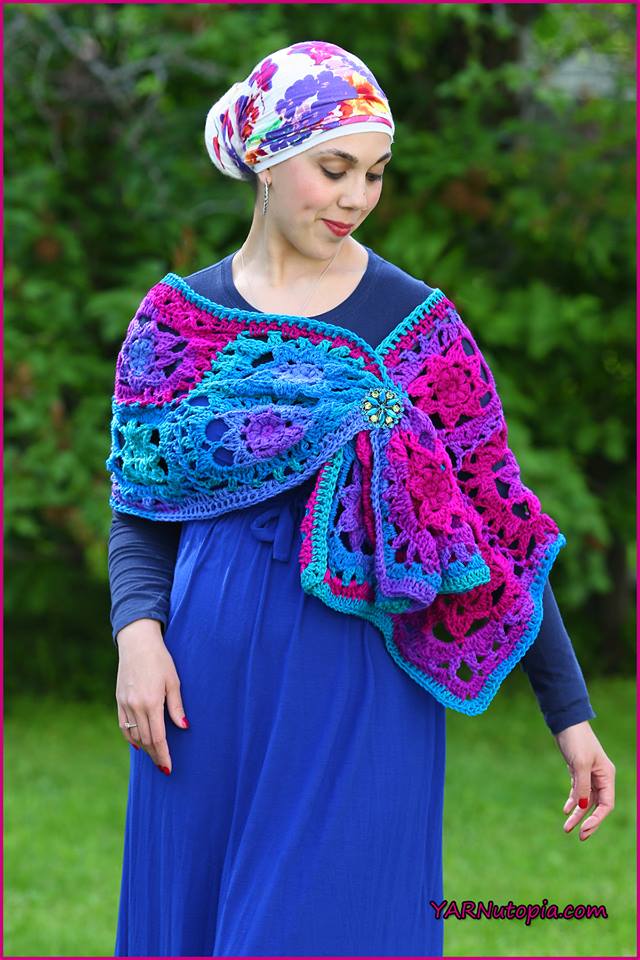
Crochet Tutorial: Jewel-Tone Lotus Wrap
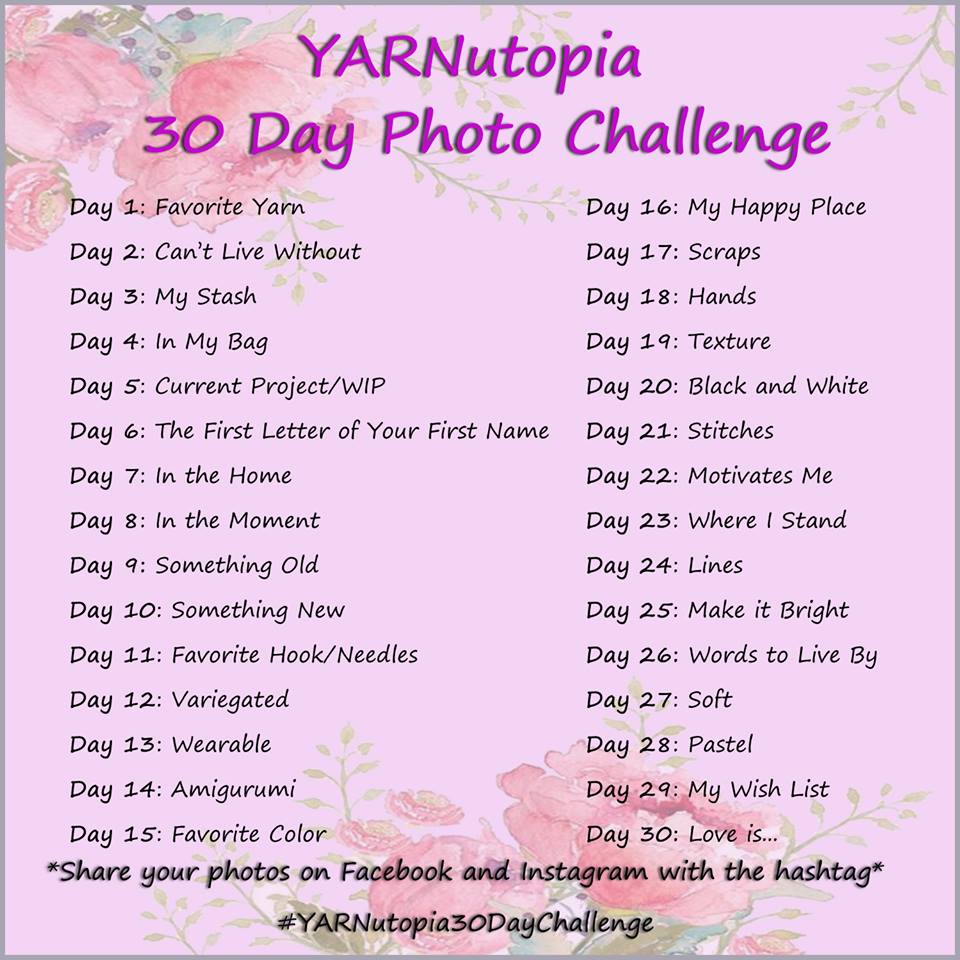
YARNutopia 30 Day Photo Challenge
Crochet Tutorial: Dream-Time Mosaic Baby Quilt
Four Piece Mini Square Baby Layette Set
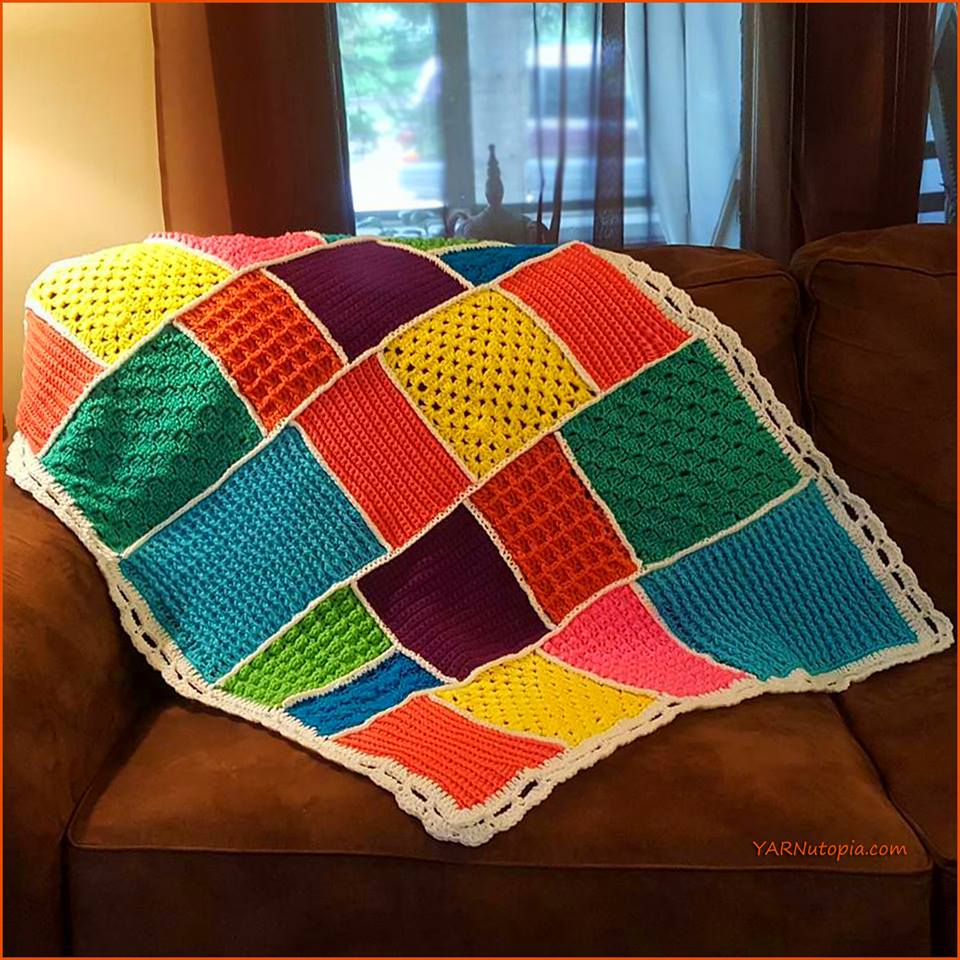
Crochet Tutorial: Patchwork Medley Baby Blanket
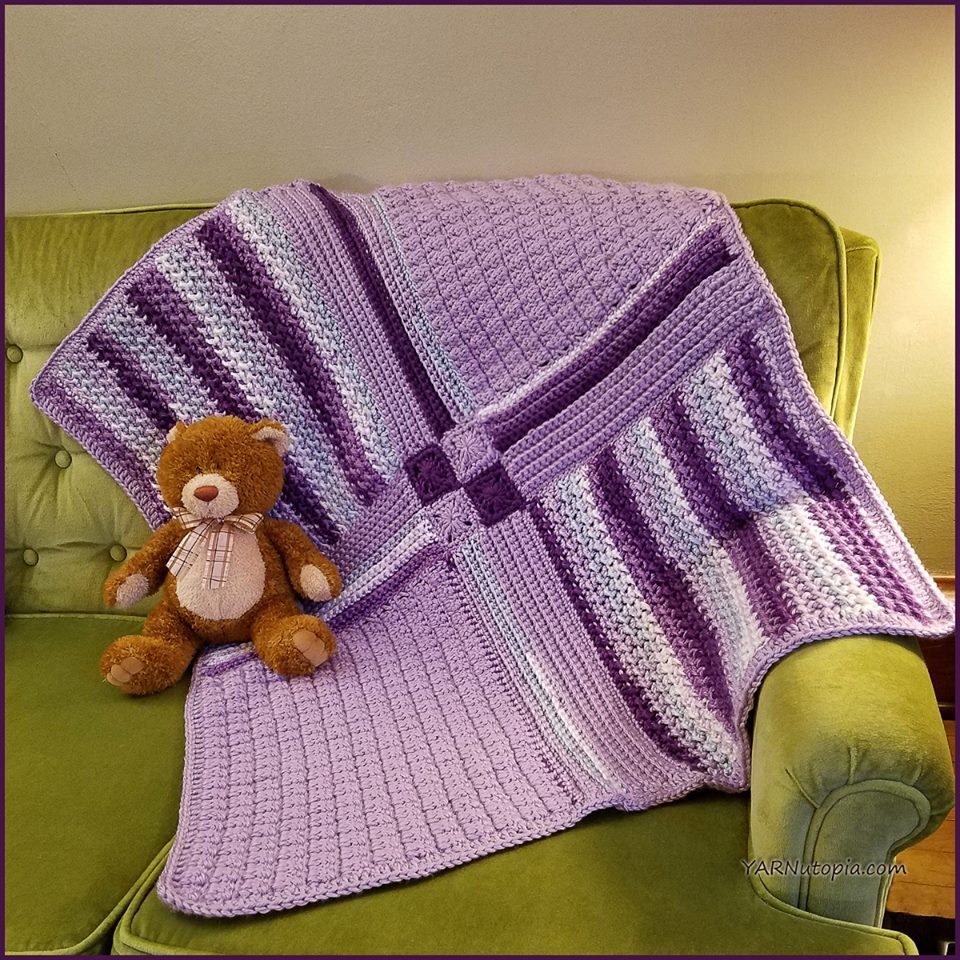
Crochet Tutorial: Woven Dreams Baby Blanket
A Treasured Heirloom
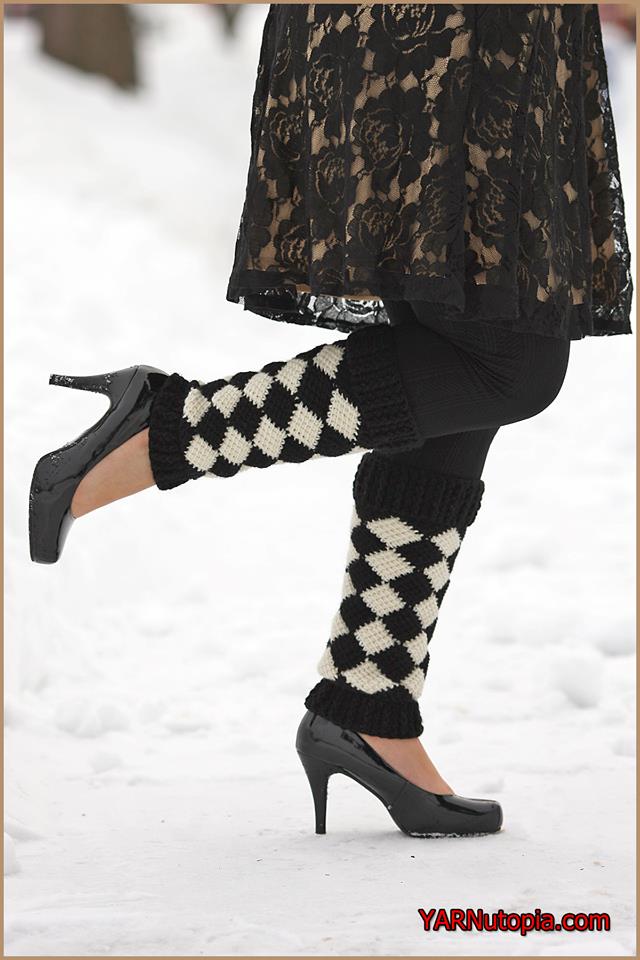
Crochet Tutorial: Harlequin Leg Warmers
Inner Peace Blanket
Yay! I did it!
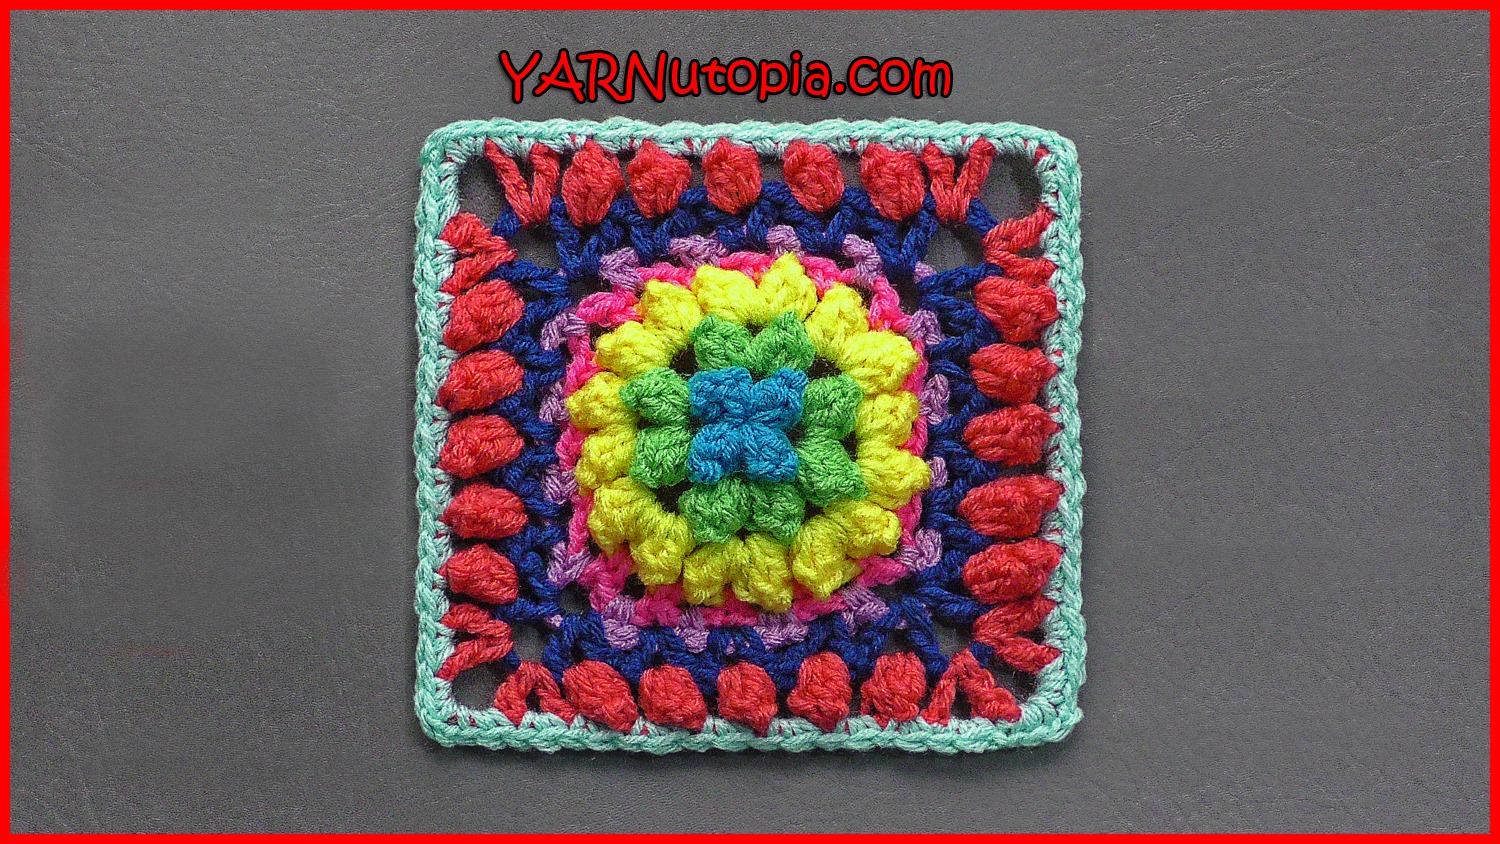
Crochet Tutorial: Firework Pop Granny Square
Crochet Tutorial: Berry Giving Granny Square
Crochet Tutorial: Frosty Flakes Granny Square
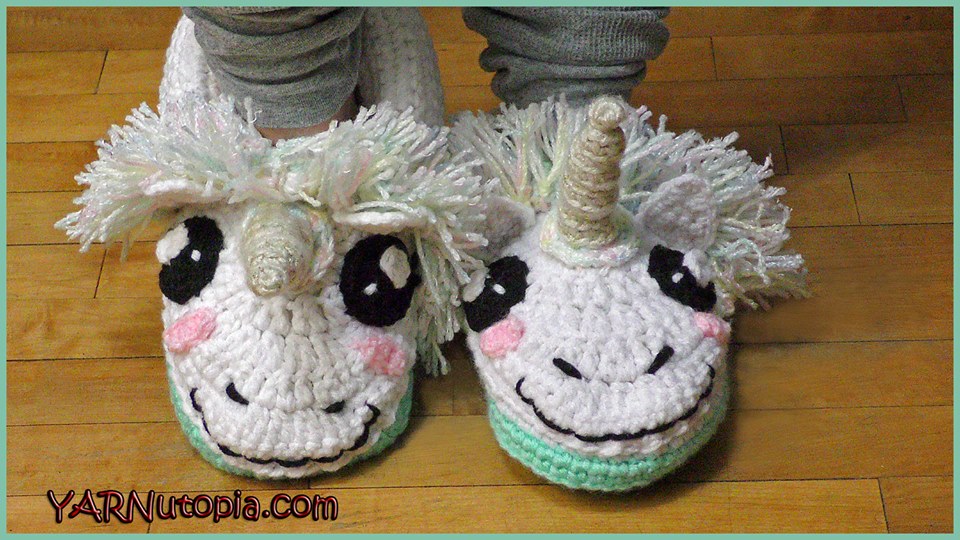
Crochet Tutorial: Unicorn Slippers
Crochet Tutorial: Dynamic Window Granny Square
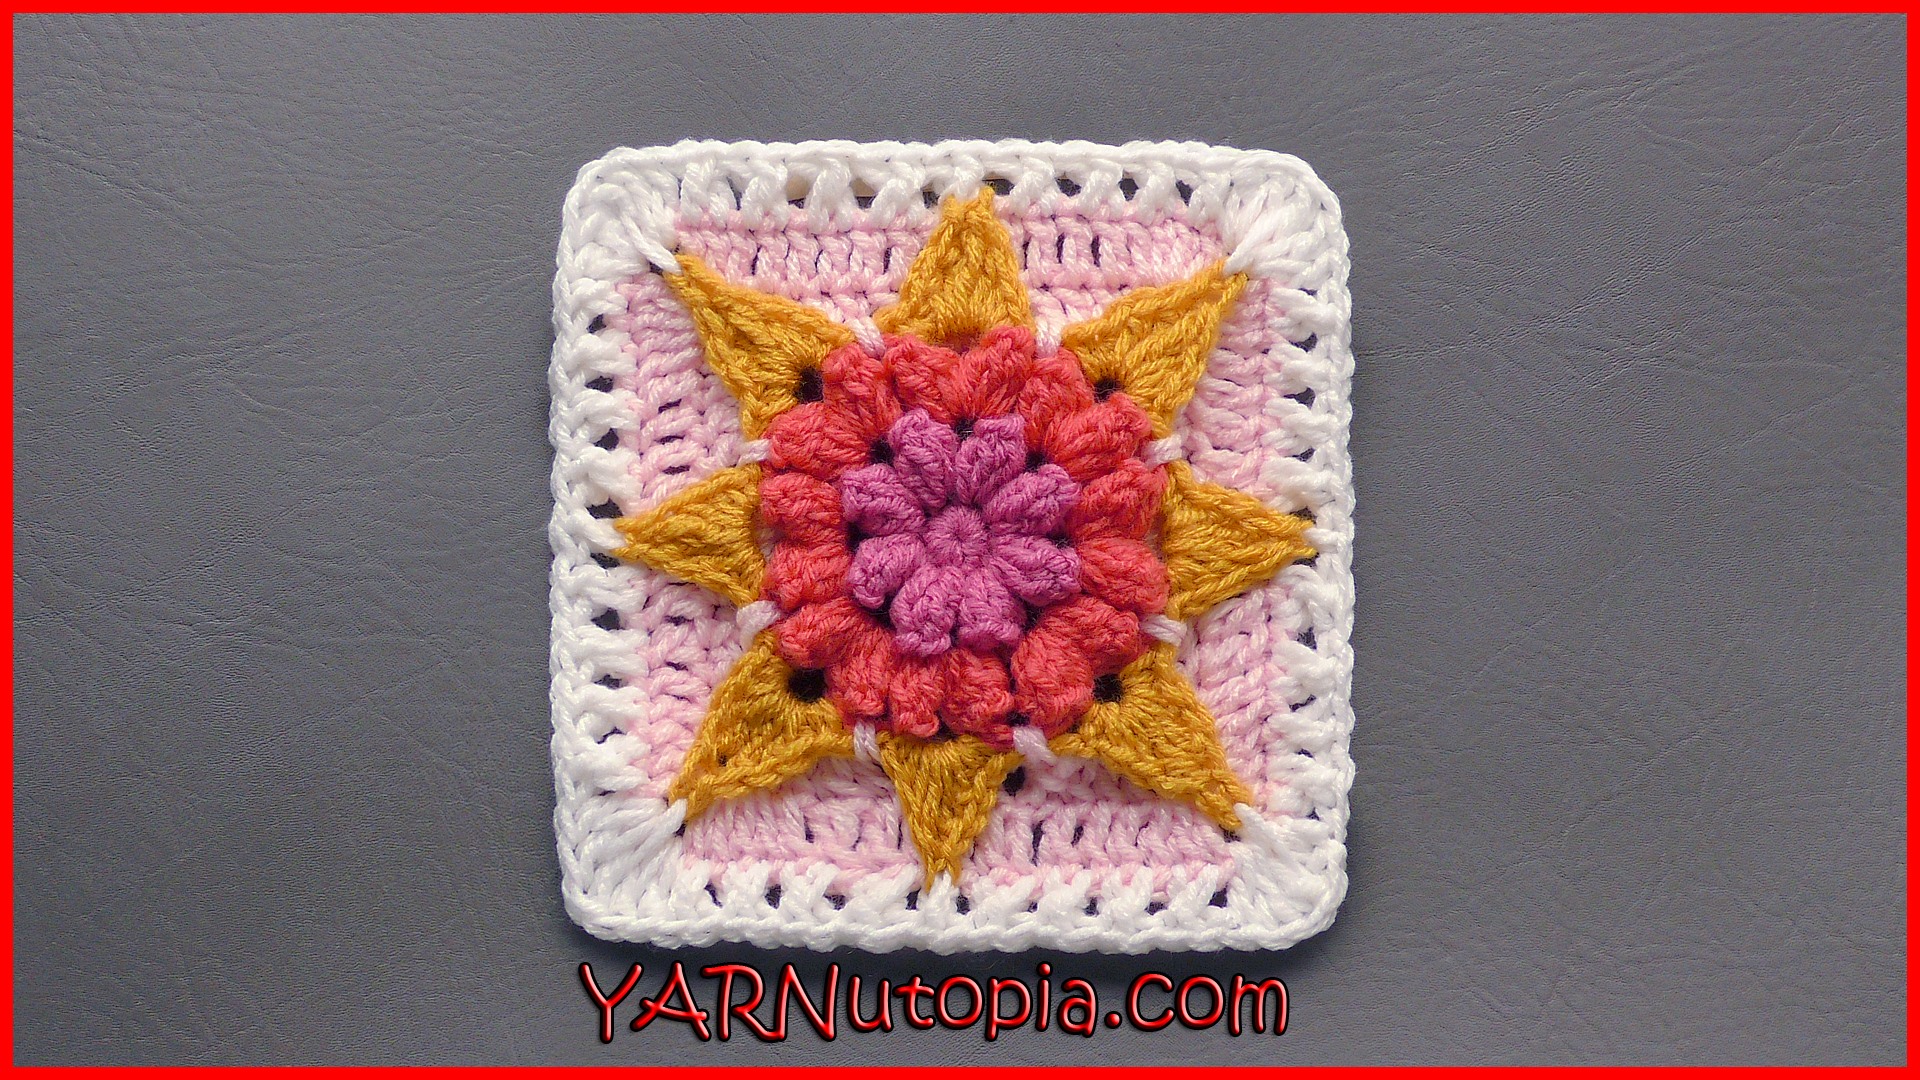
Crochet Tutorial: Hello, Sunshine Granny Square
Crochet Tutorial: Autumn Meadow Granny Square
Crochet Tutorial: Wild Flower Days Granny Square
Crochet Tutorial: Soul Shine Granny Square
Crochet Tutorial: Sublime Light Granny Square
Crochet Tutorial: Halloween Table Runner
Crochet Tutorial: Autumn Flower Granny Square
Crochet Tutorial: Spinning Spider Granny Square
Heart Will Lead You Home Blanket
Crochet Tutorial: Diamond Block Granny Square
Crochet Tutorial: Pastel Overload Granny Square
Crochet Tutorial: The Web We Weave Granny Square
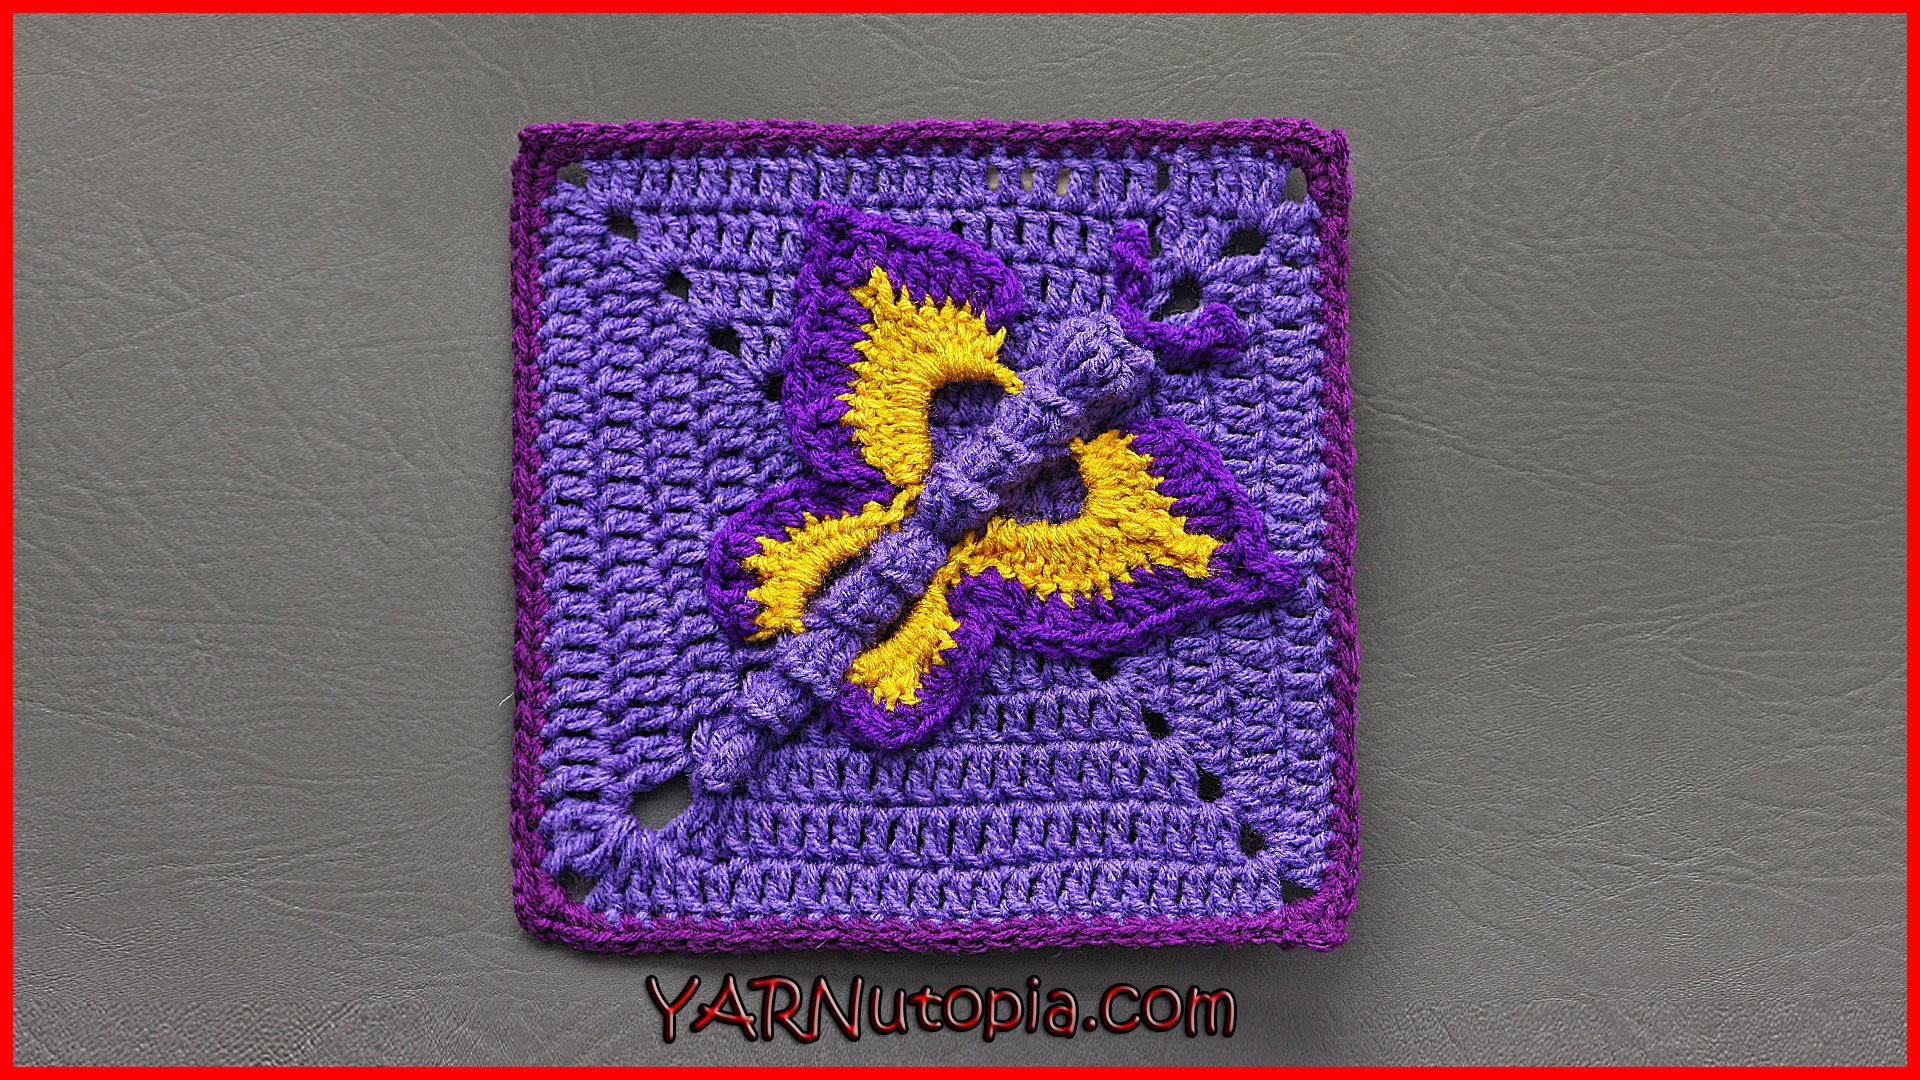
Crochet Tutorial: Butterfly Effect Granny Square
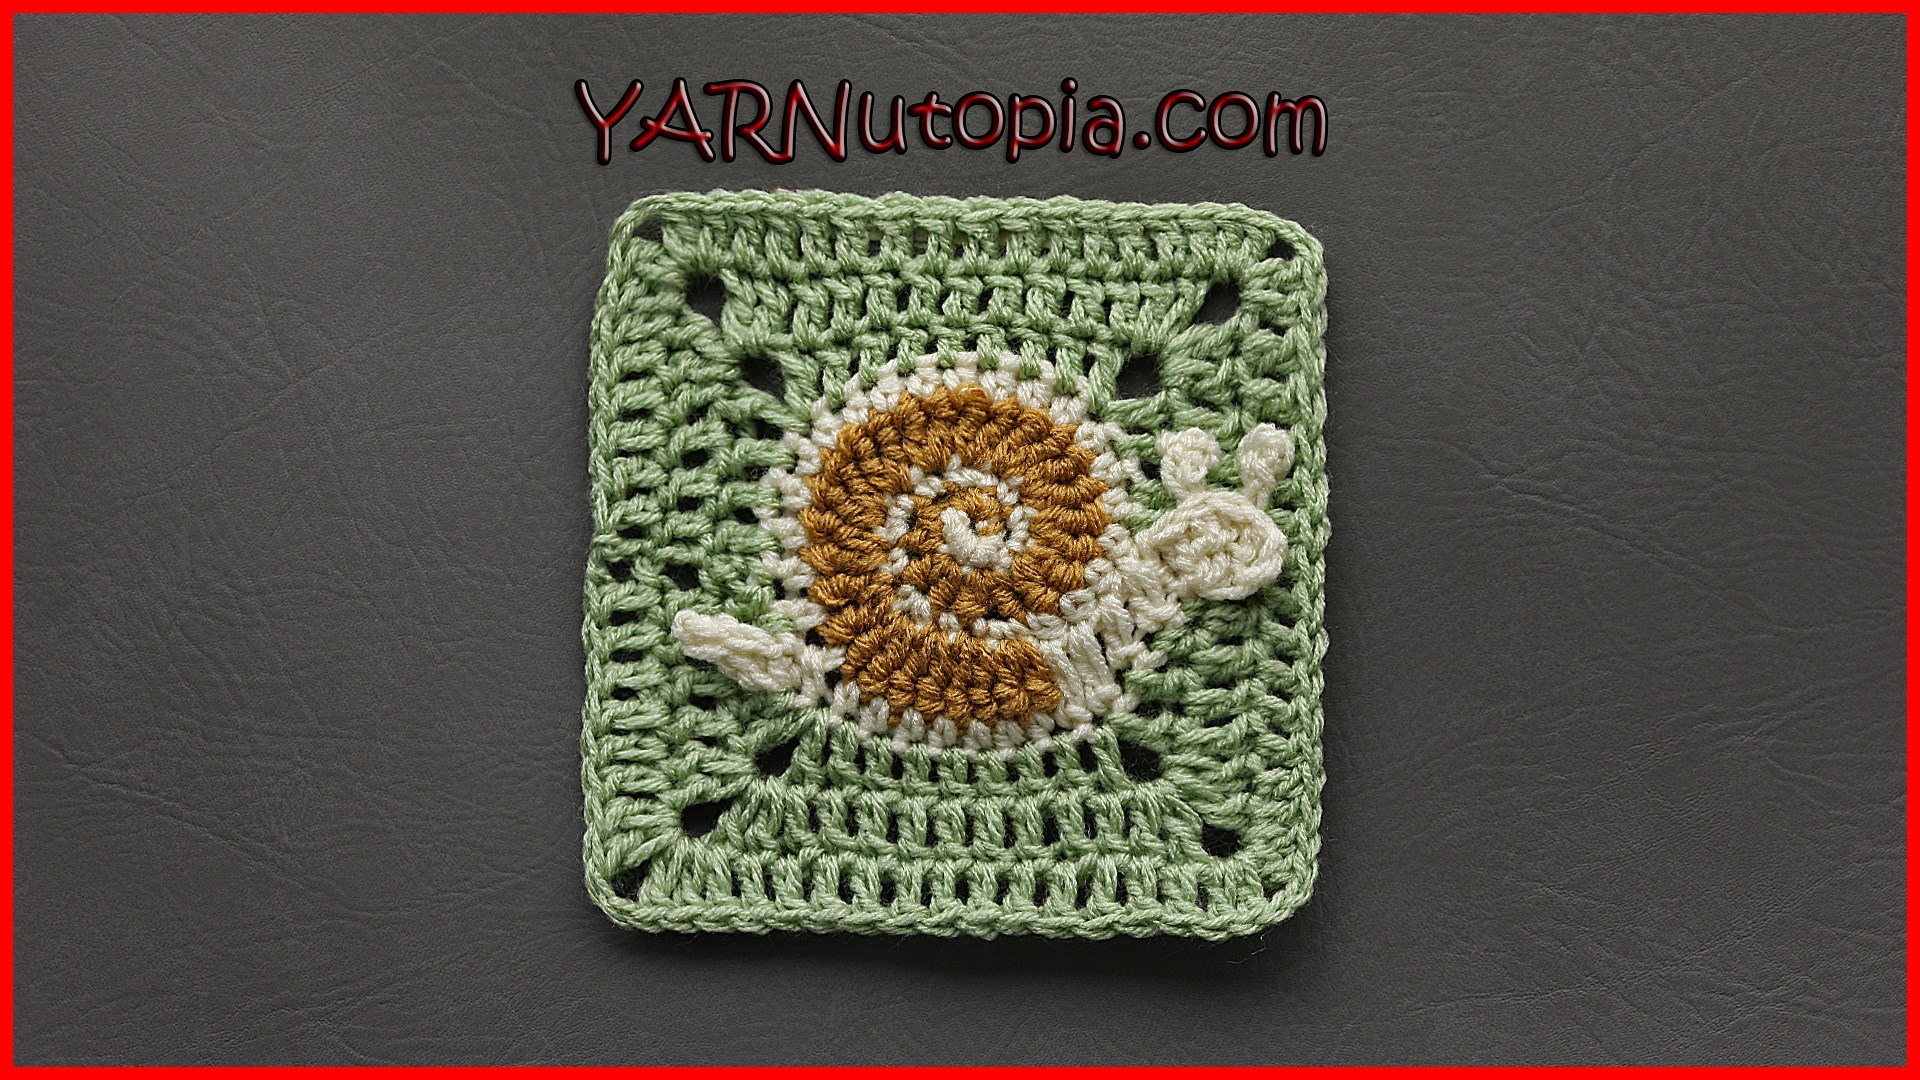
Crochet Tutorial: Snail’s Pace Granny Square
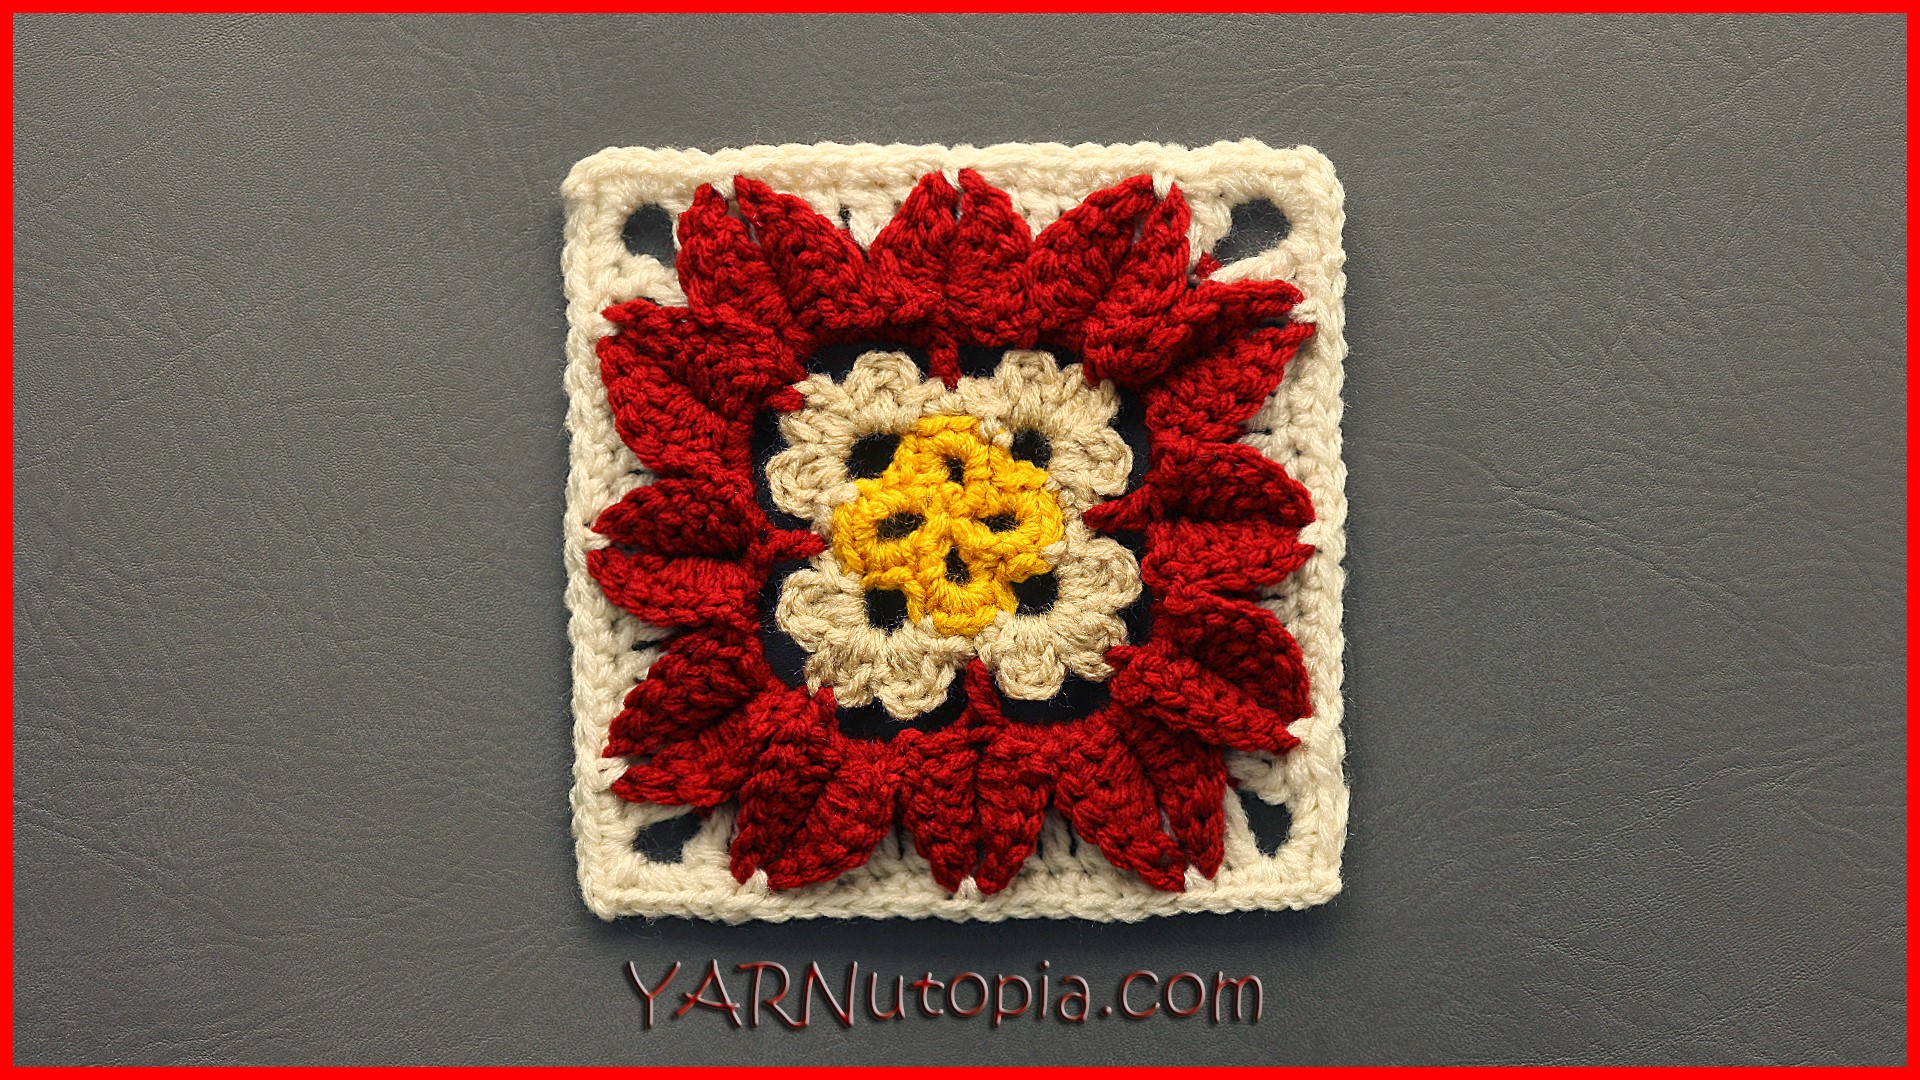
Crochet Tutorial: In Full Bloom Granny Square
1
2
Next Page
Loading Comments...
Write a Comment...
Email (Required)
Name (Required)
Website