Skip to content
YARNutopia & M0re
All things Yarn Related: Crochet, DIY, and Crafts
Blog
365 Days of Granny Squares
Stitch Gallery & Glossary
Crochet Video Tutorials
Frequently Asked Questions
Crochet Glossary: Learn the Lingo
Contact
Search
Search
learn
YARNutoia & More
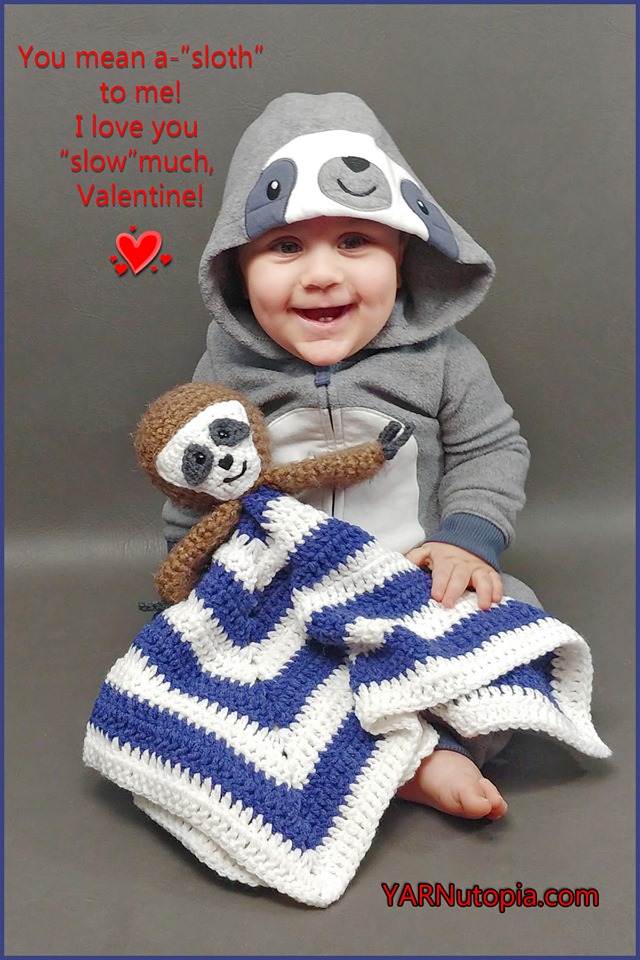
FREE Written Crochet Pattern: Sloth Lovey
FREE Crochet Video Tutorial: Alien Puppet
FREE Crochet Photo Tutorial: Have A Heart Flip Flops
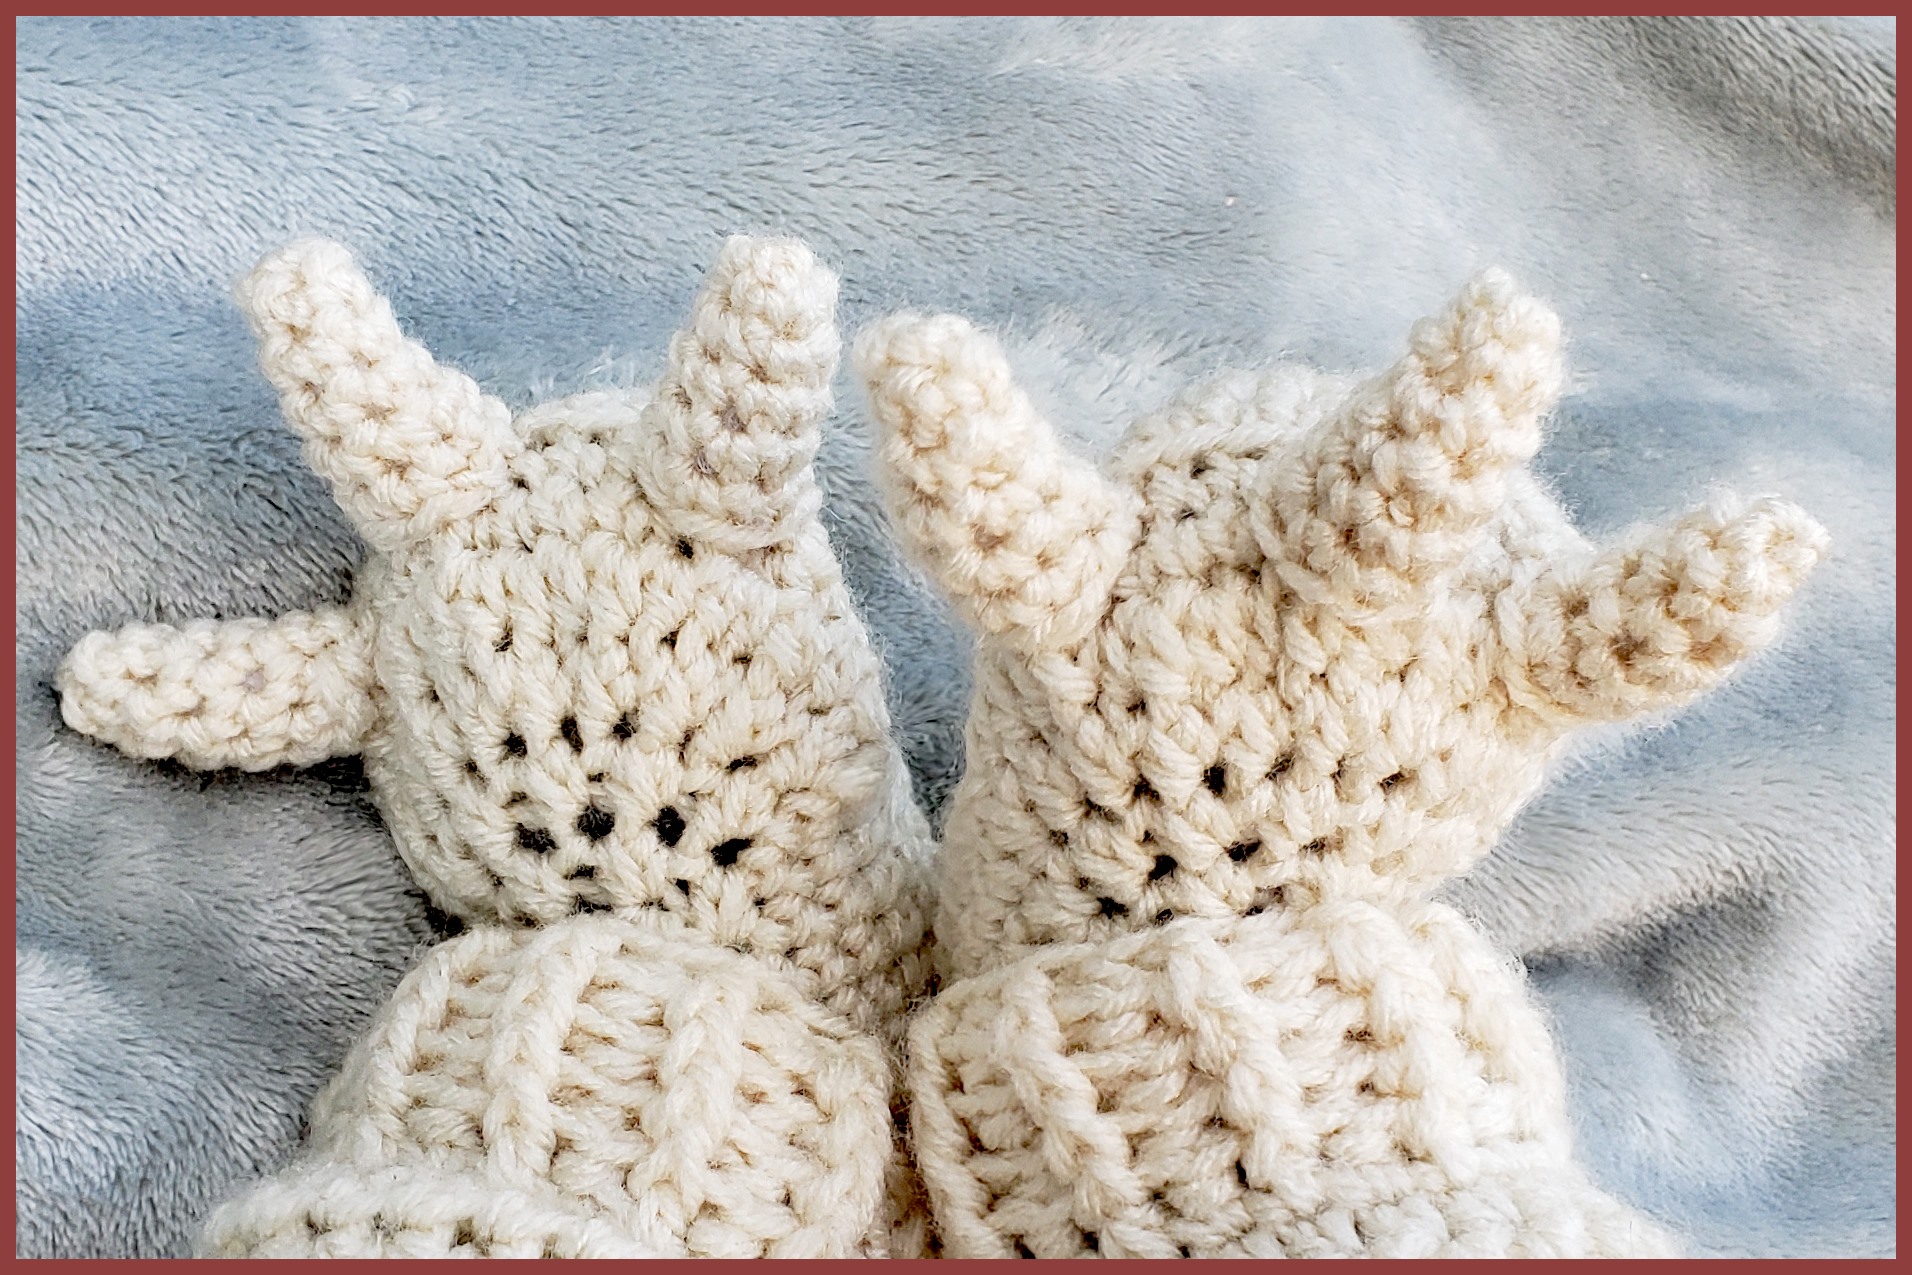
FREE Crochet Video Tutorial: Cow Amigurumi
FREE Written Crochet Pattern: Cow Amigurumi
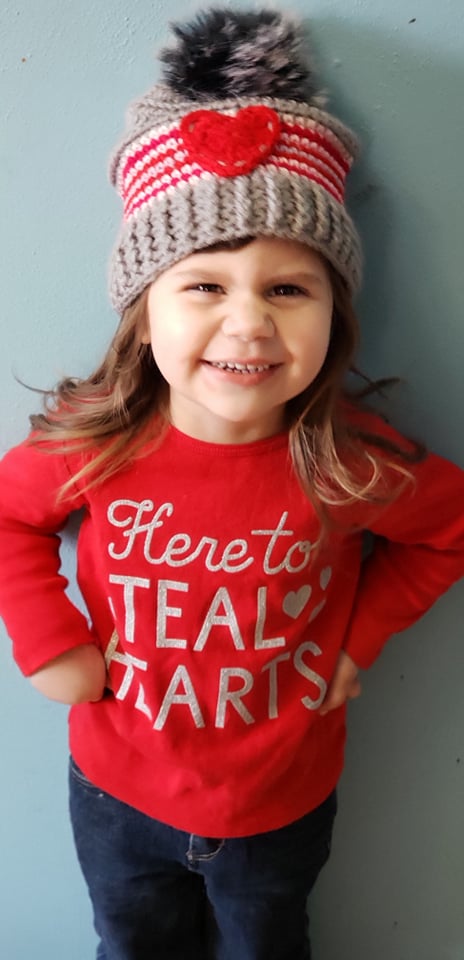
FREE Written Crochet Pattern: Sweetheart Baby Hat
FREE Crochet Video Tutorial: Sweetheart Baby Hat
FREE Crochet Video Tutorial: Alpine Stitch Mittens
FREE Written Crochet Pattern: Alpine Stitch Mittens
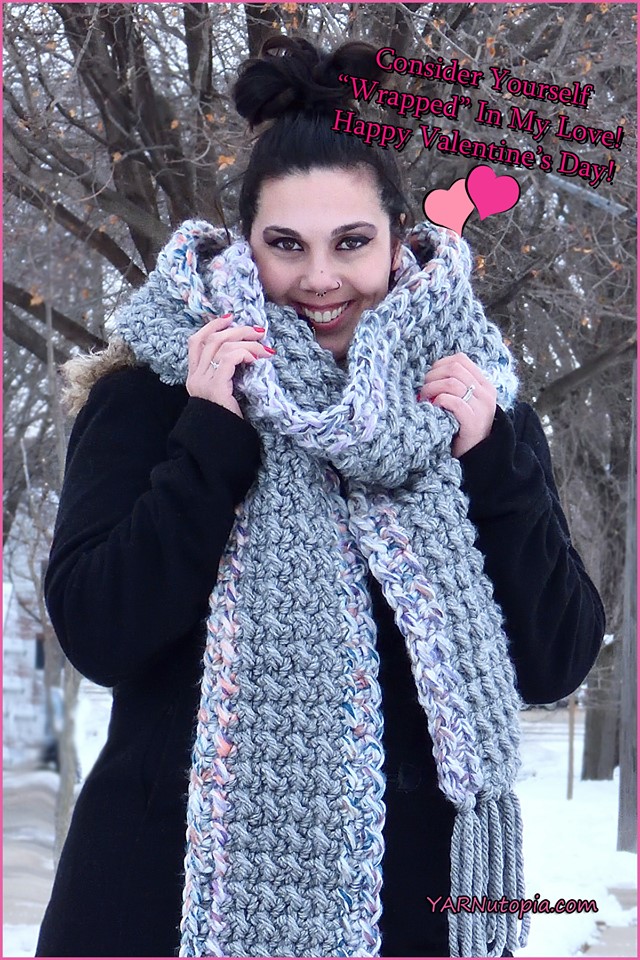
FREE Crochet Video Tutorial: Two Stitch Grande Scarf
FREE Written Crochet Pattern: Two-Stitch Grande Scarf
My Happy Place
12 Days of Christmas 2019
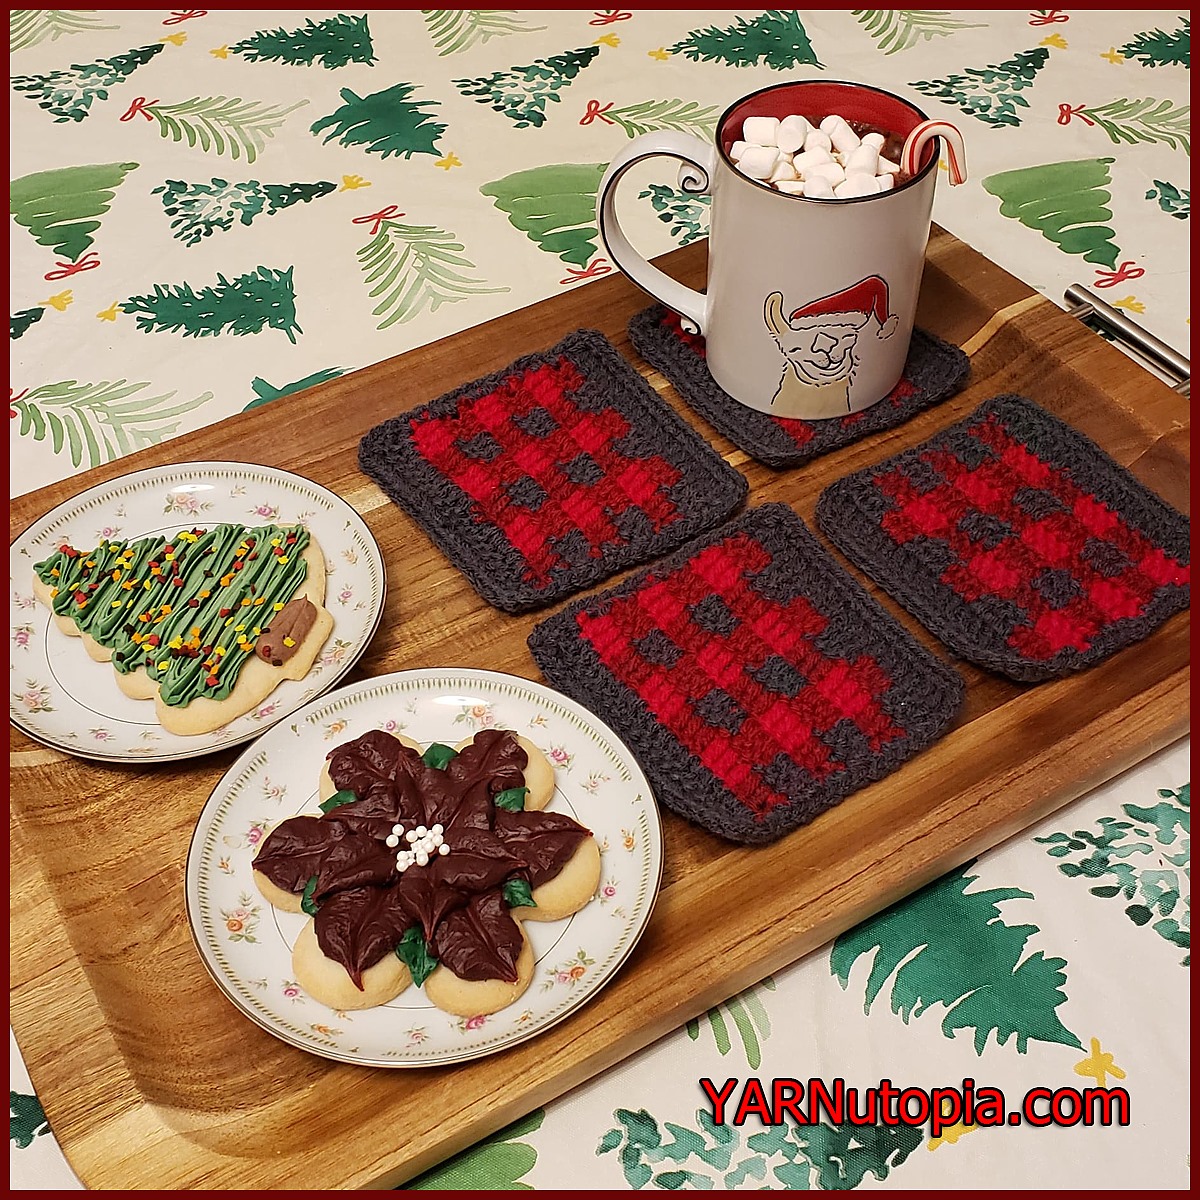
12 Days of Christmas: Buffalo Plaid Coasters – FREE Crochet Video Tutorial
12 Days of Christmas: Buffalo Plaid Coasters – FREE Written Crochet Pattern
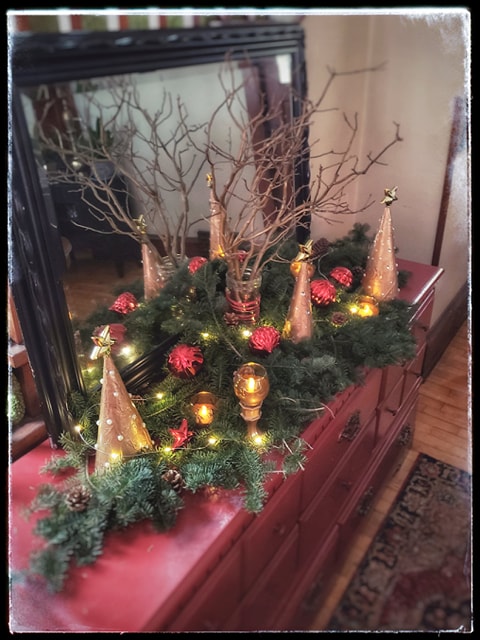
St. Jude’s & Dollar General Holiday Decorating Challenge Collab
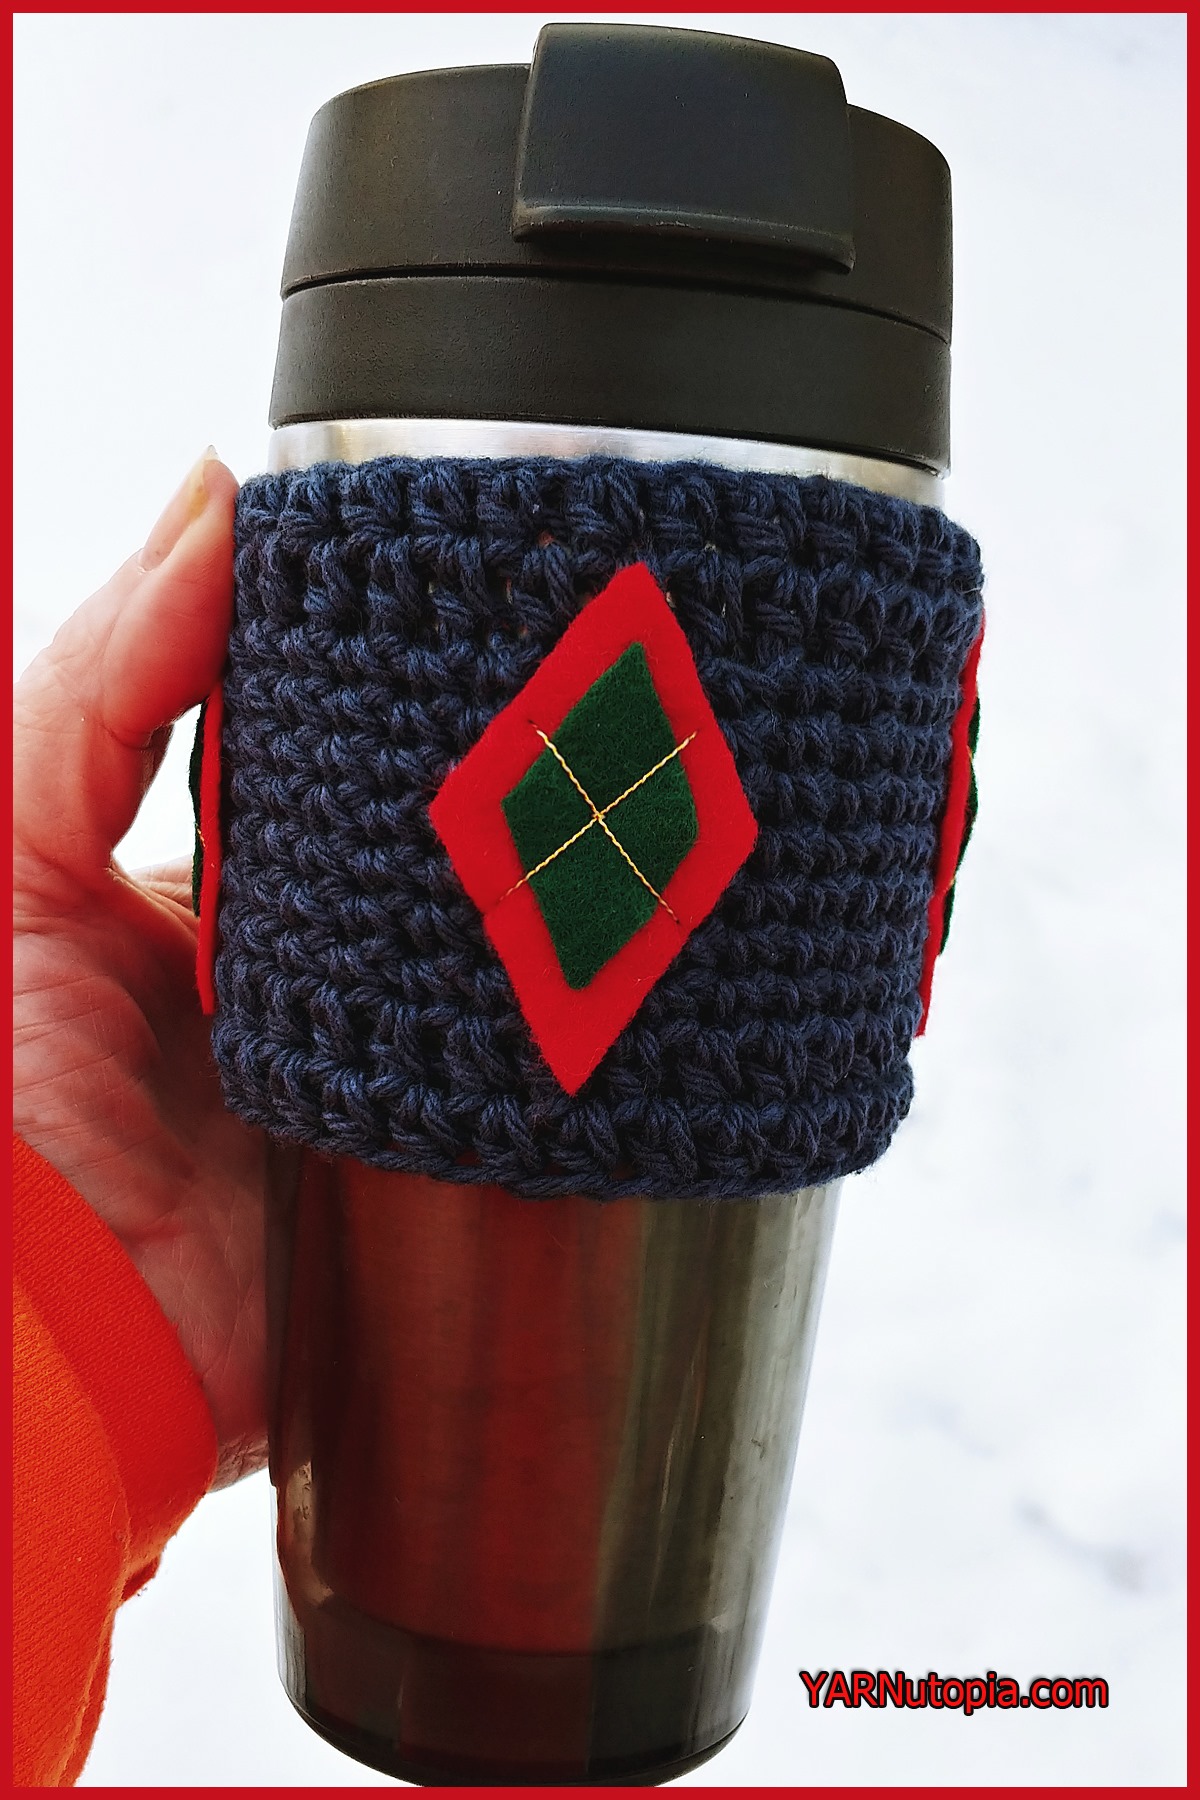
12 Days of Christmas: Argyle Cup Cozy – FREE Crochet Video Tutorial
12 Days of Christmas: Argyle Cup Cozy – FREE Written Crochet Pattern
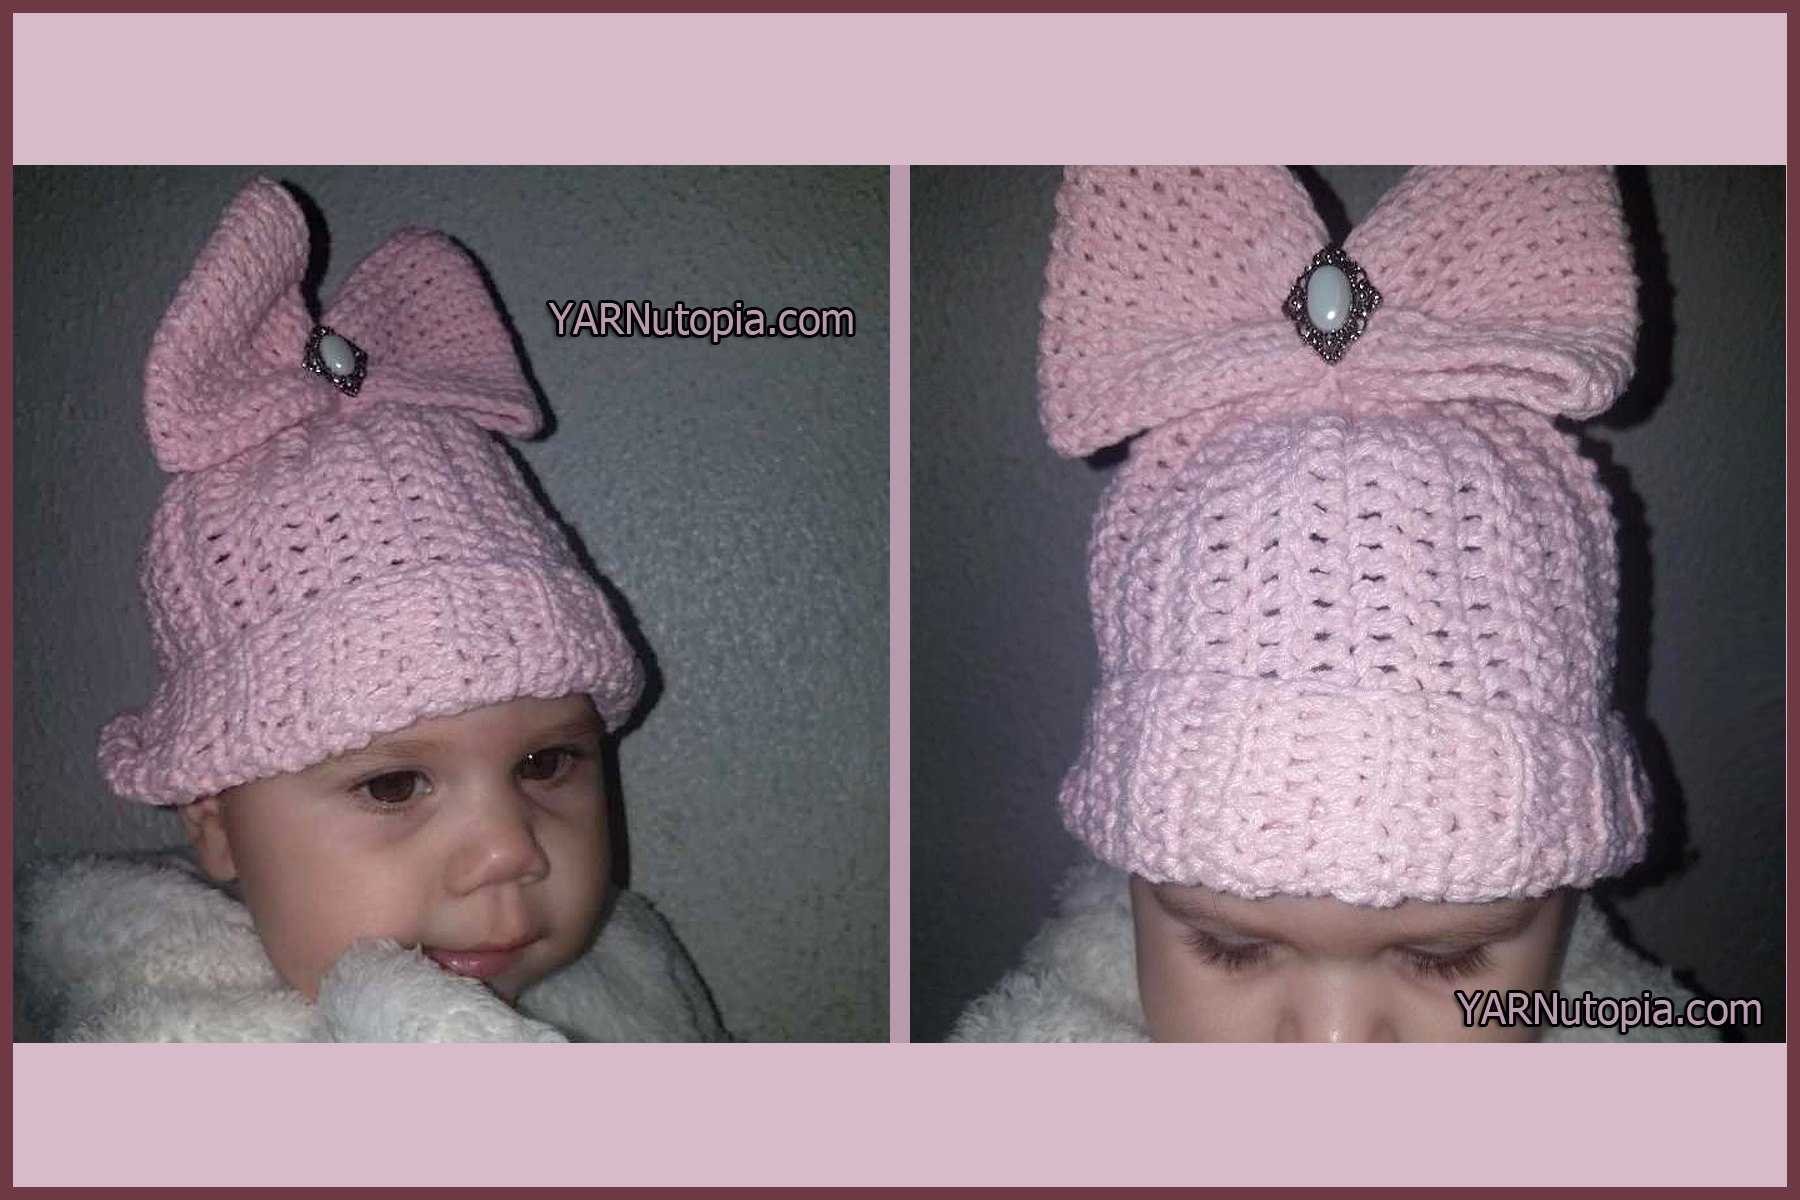
12 Days of Christmas: Beanie with Bling – FREE Crochet Video Tutorial
12 Days of Christmas: Beanie with Bling – FREE Written Crochet Pattern
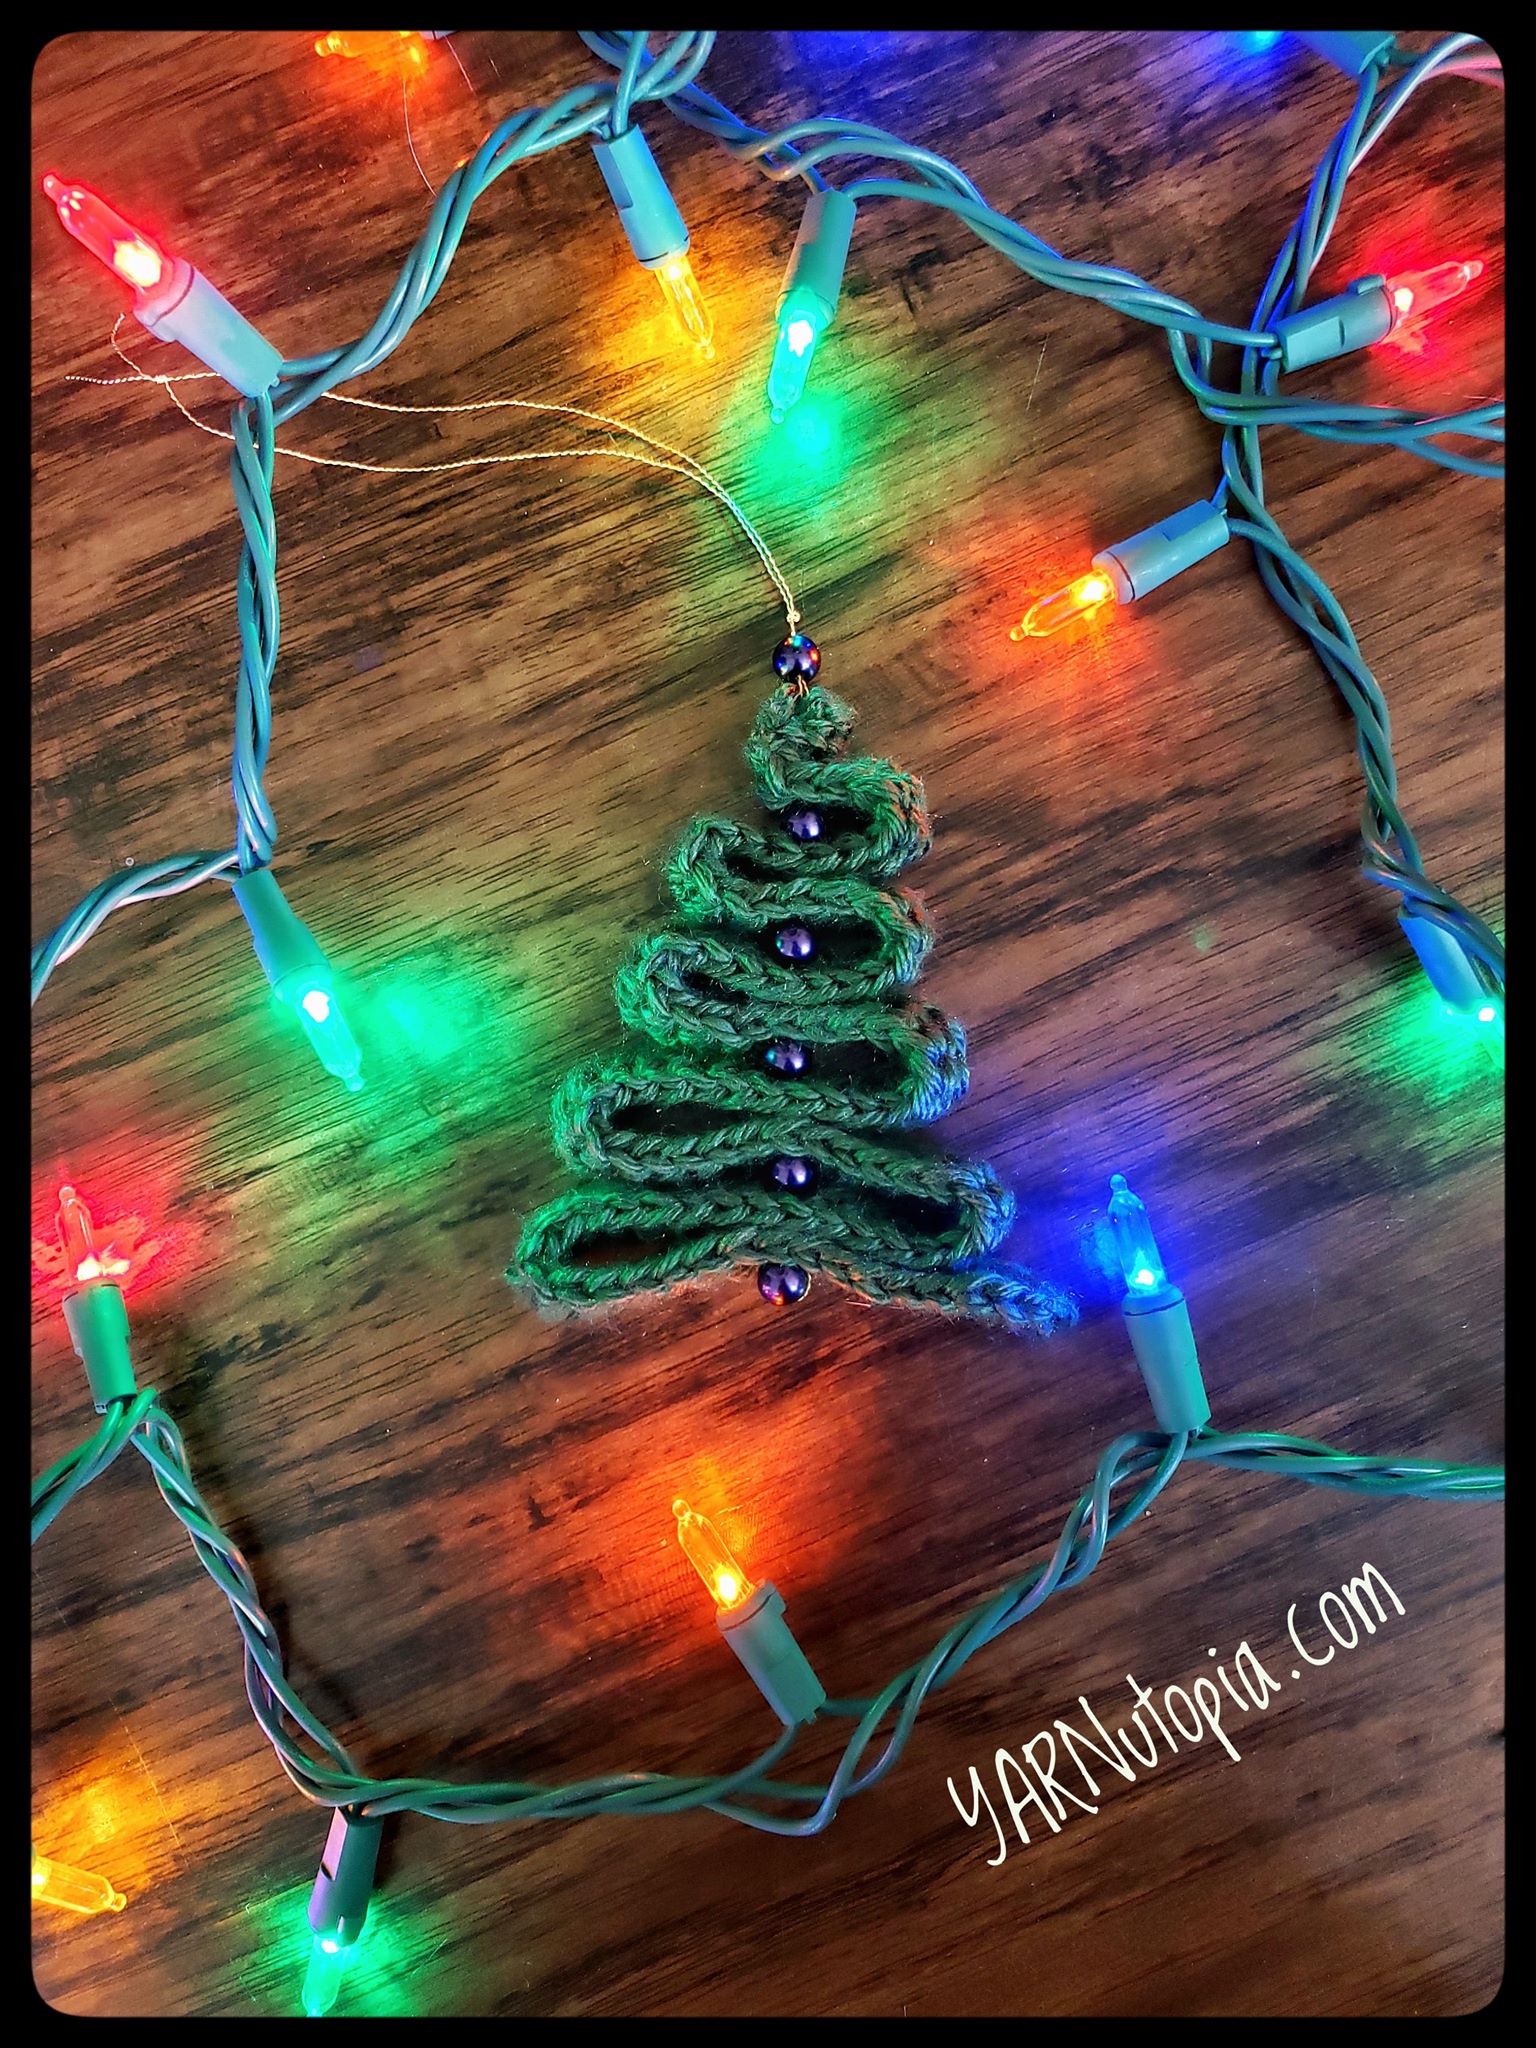
12 Days of Christmas: Winding Ribbon Tree Ornament – Photo Tutorial
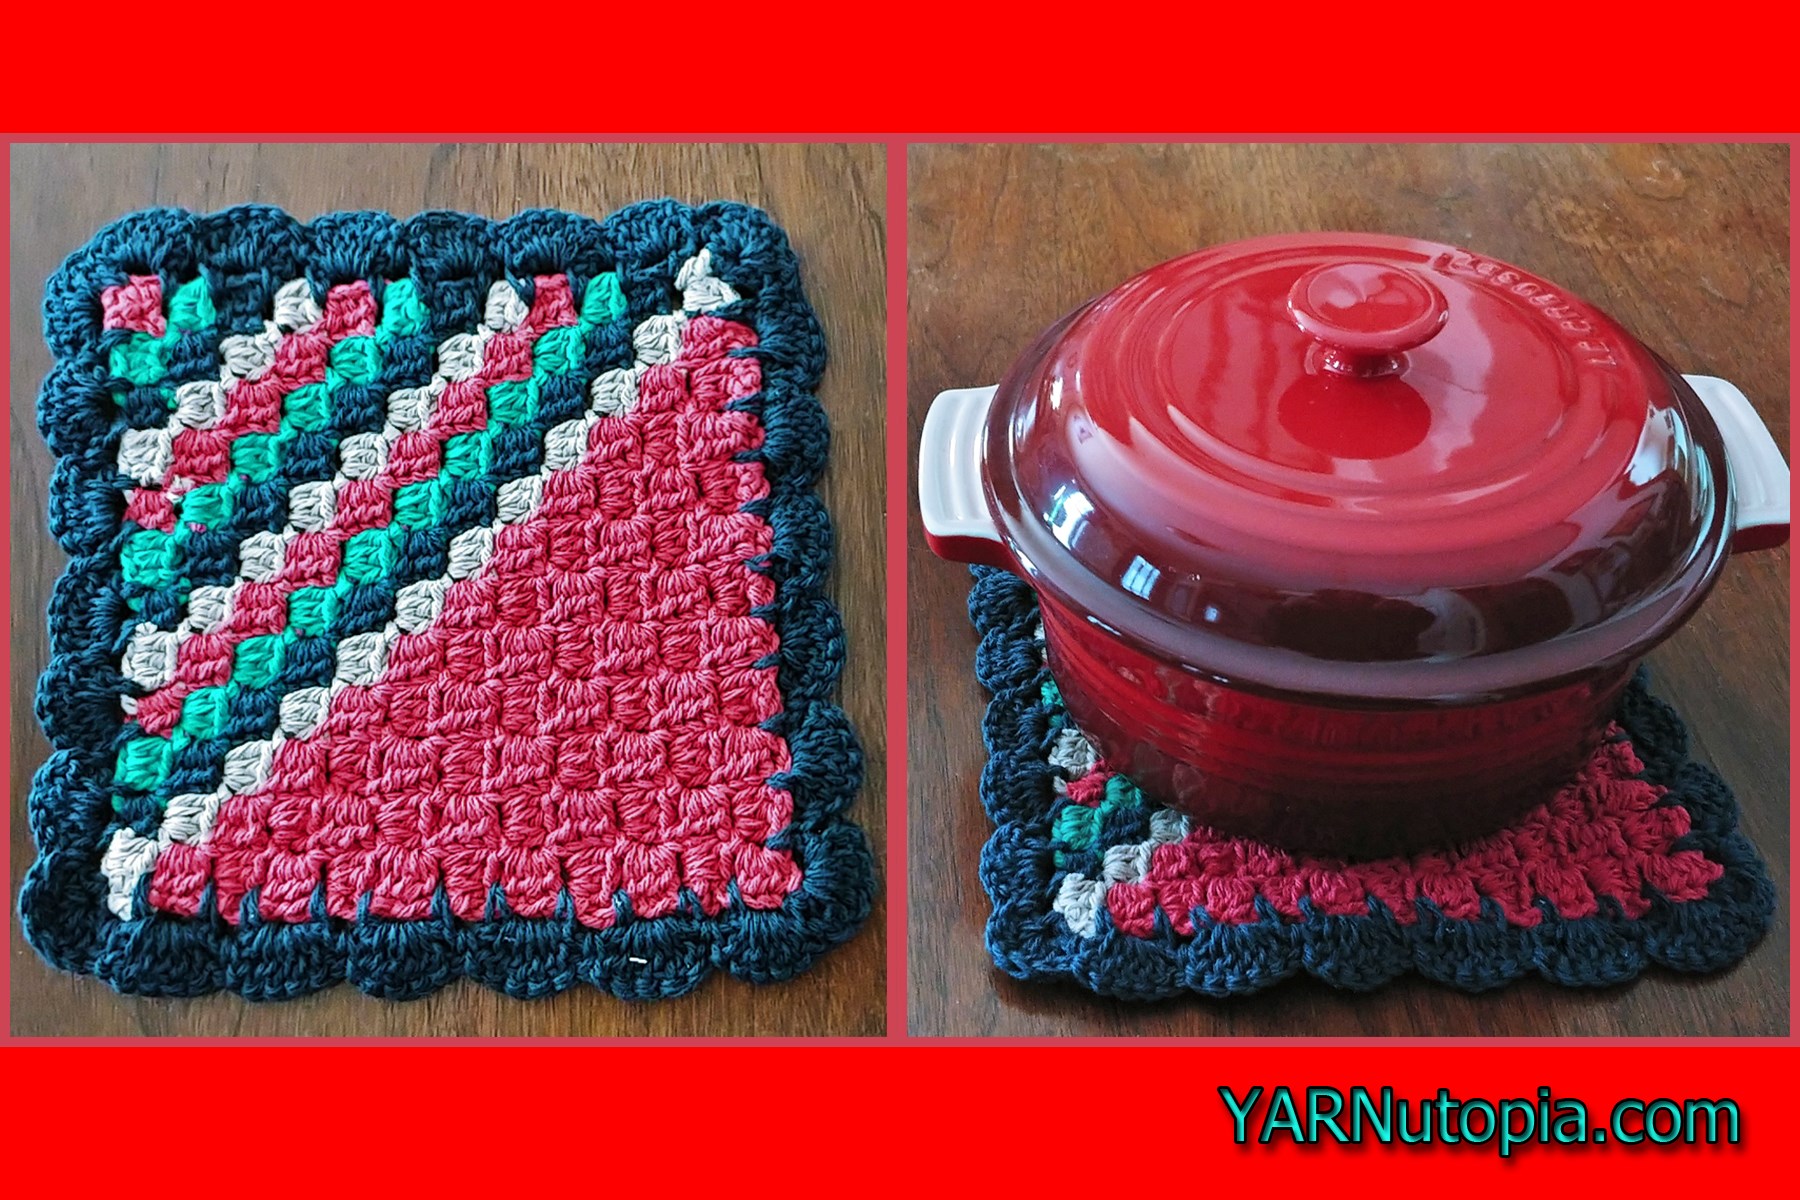
12 Days of Christmas: Corner to Corner (C2C) Holiday Hot Pad – FREE Crochet Video Tutorial
12 Days of Christmas: Corner to Corner (C2C) Holiday Hot Pad – FREE Written Crochet Pattern
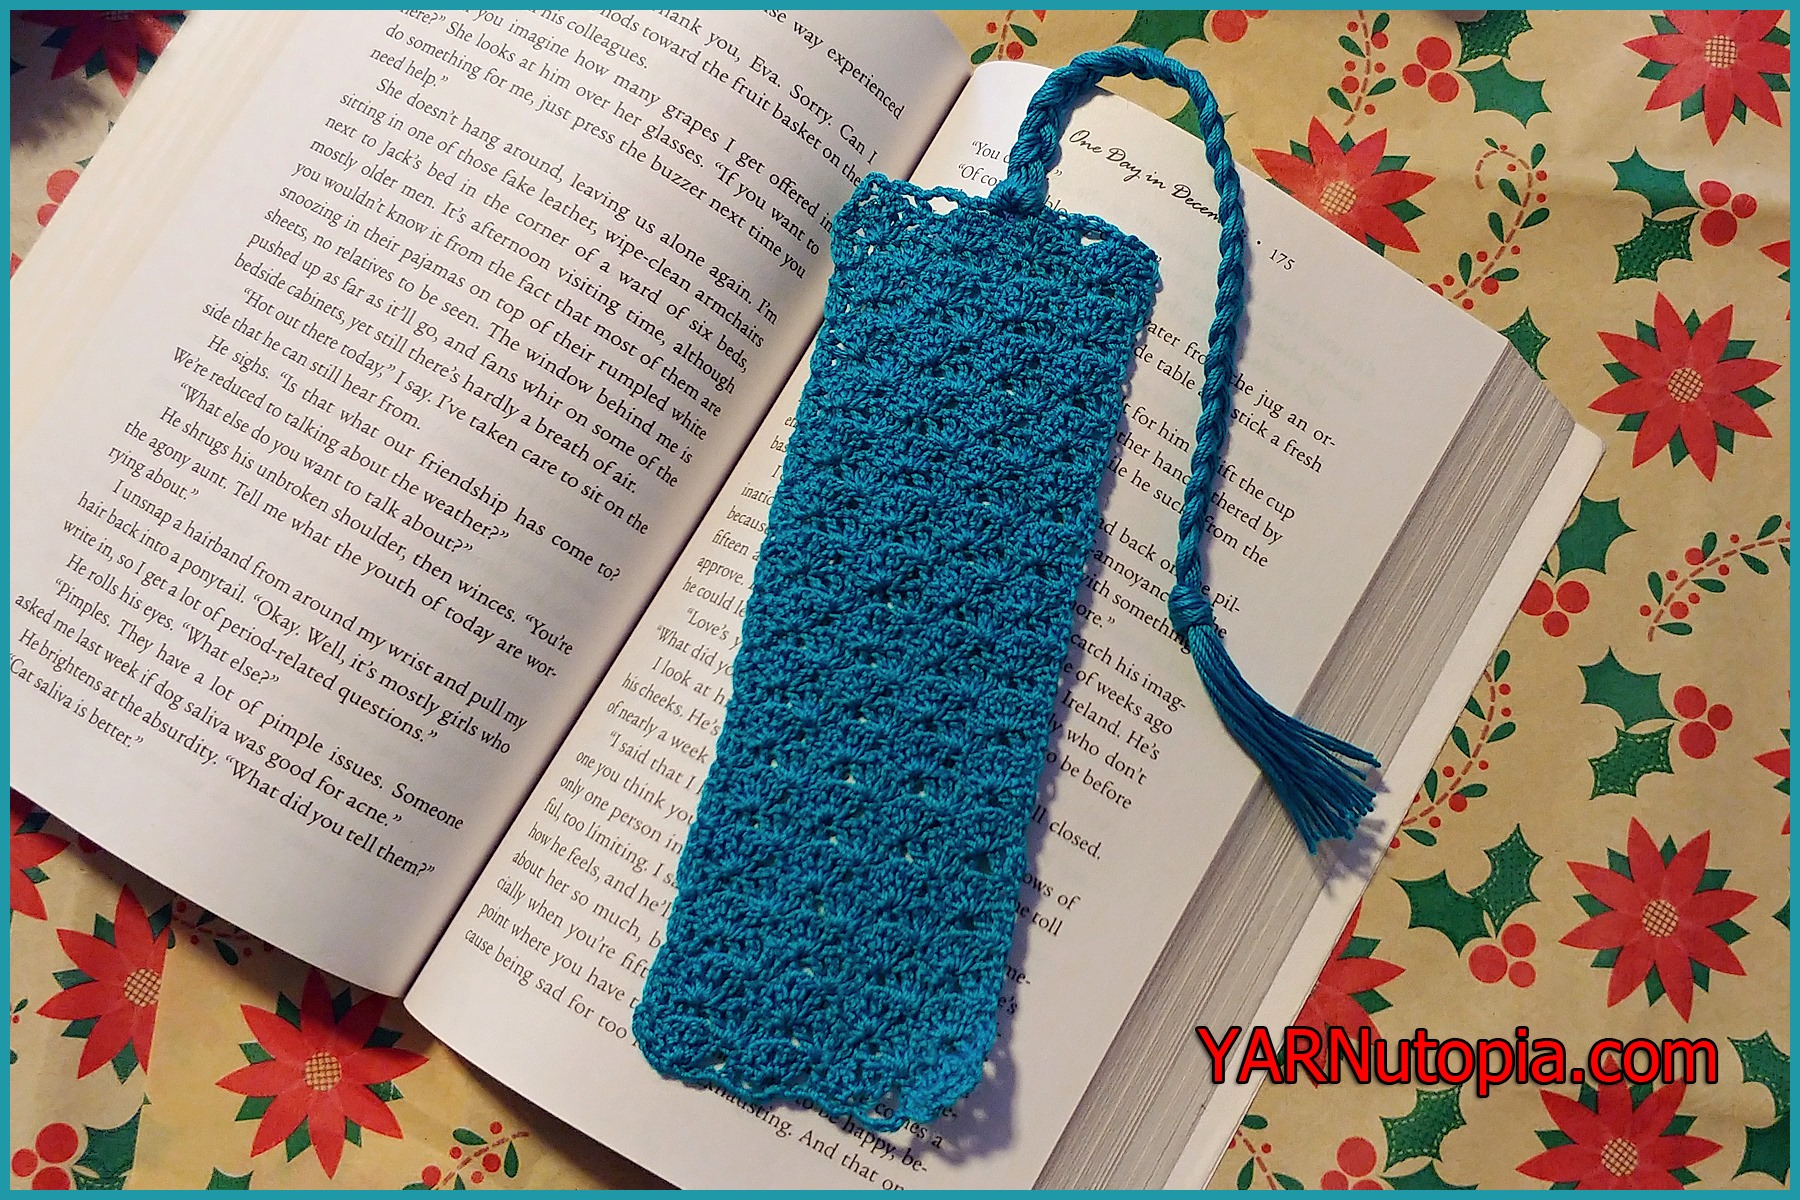
12 Days of Christmas: Lace Shell Bookmark – FREE Crochet Video Tutorial
FREE Crochet Video Tutorial: Family Fair Isle Hat
FREE Written Crochet Pattern: Family Fair Isle Hat
Hard Work and Baby Giggles
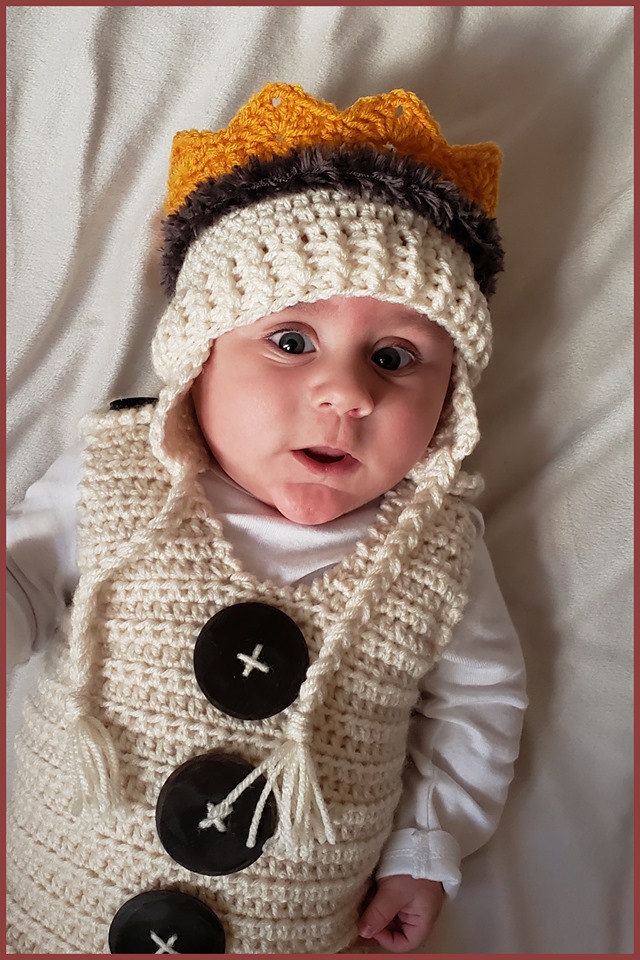
FREE Crochet Video Tutorial: Baby Crown Earflap Hat
FREE Written Crochet Pattern: The Baby Crown Earflap Hat
FREE Written Crochet Pattern: Monster Feet Baby Booties
FREE Written Crochet Pattern: King Crown
FREE Crochet Video Tutorial: King Crown
FREE Crochet Video Tutorial: The Sweet Dream Bonnet
FREE Written Crochet Pattern: The Sweet Dream Bonnet
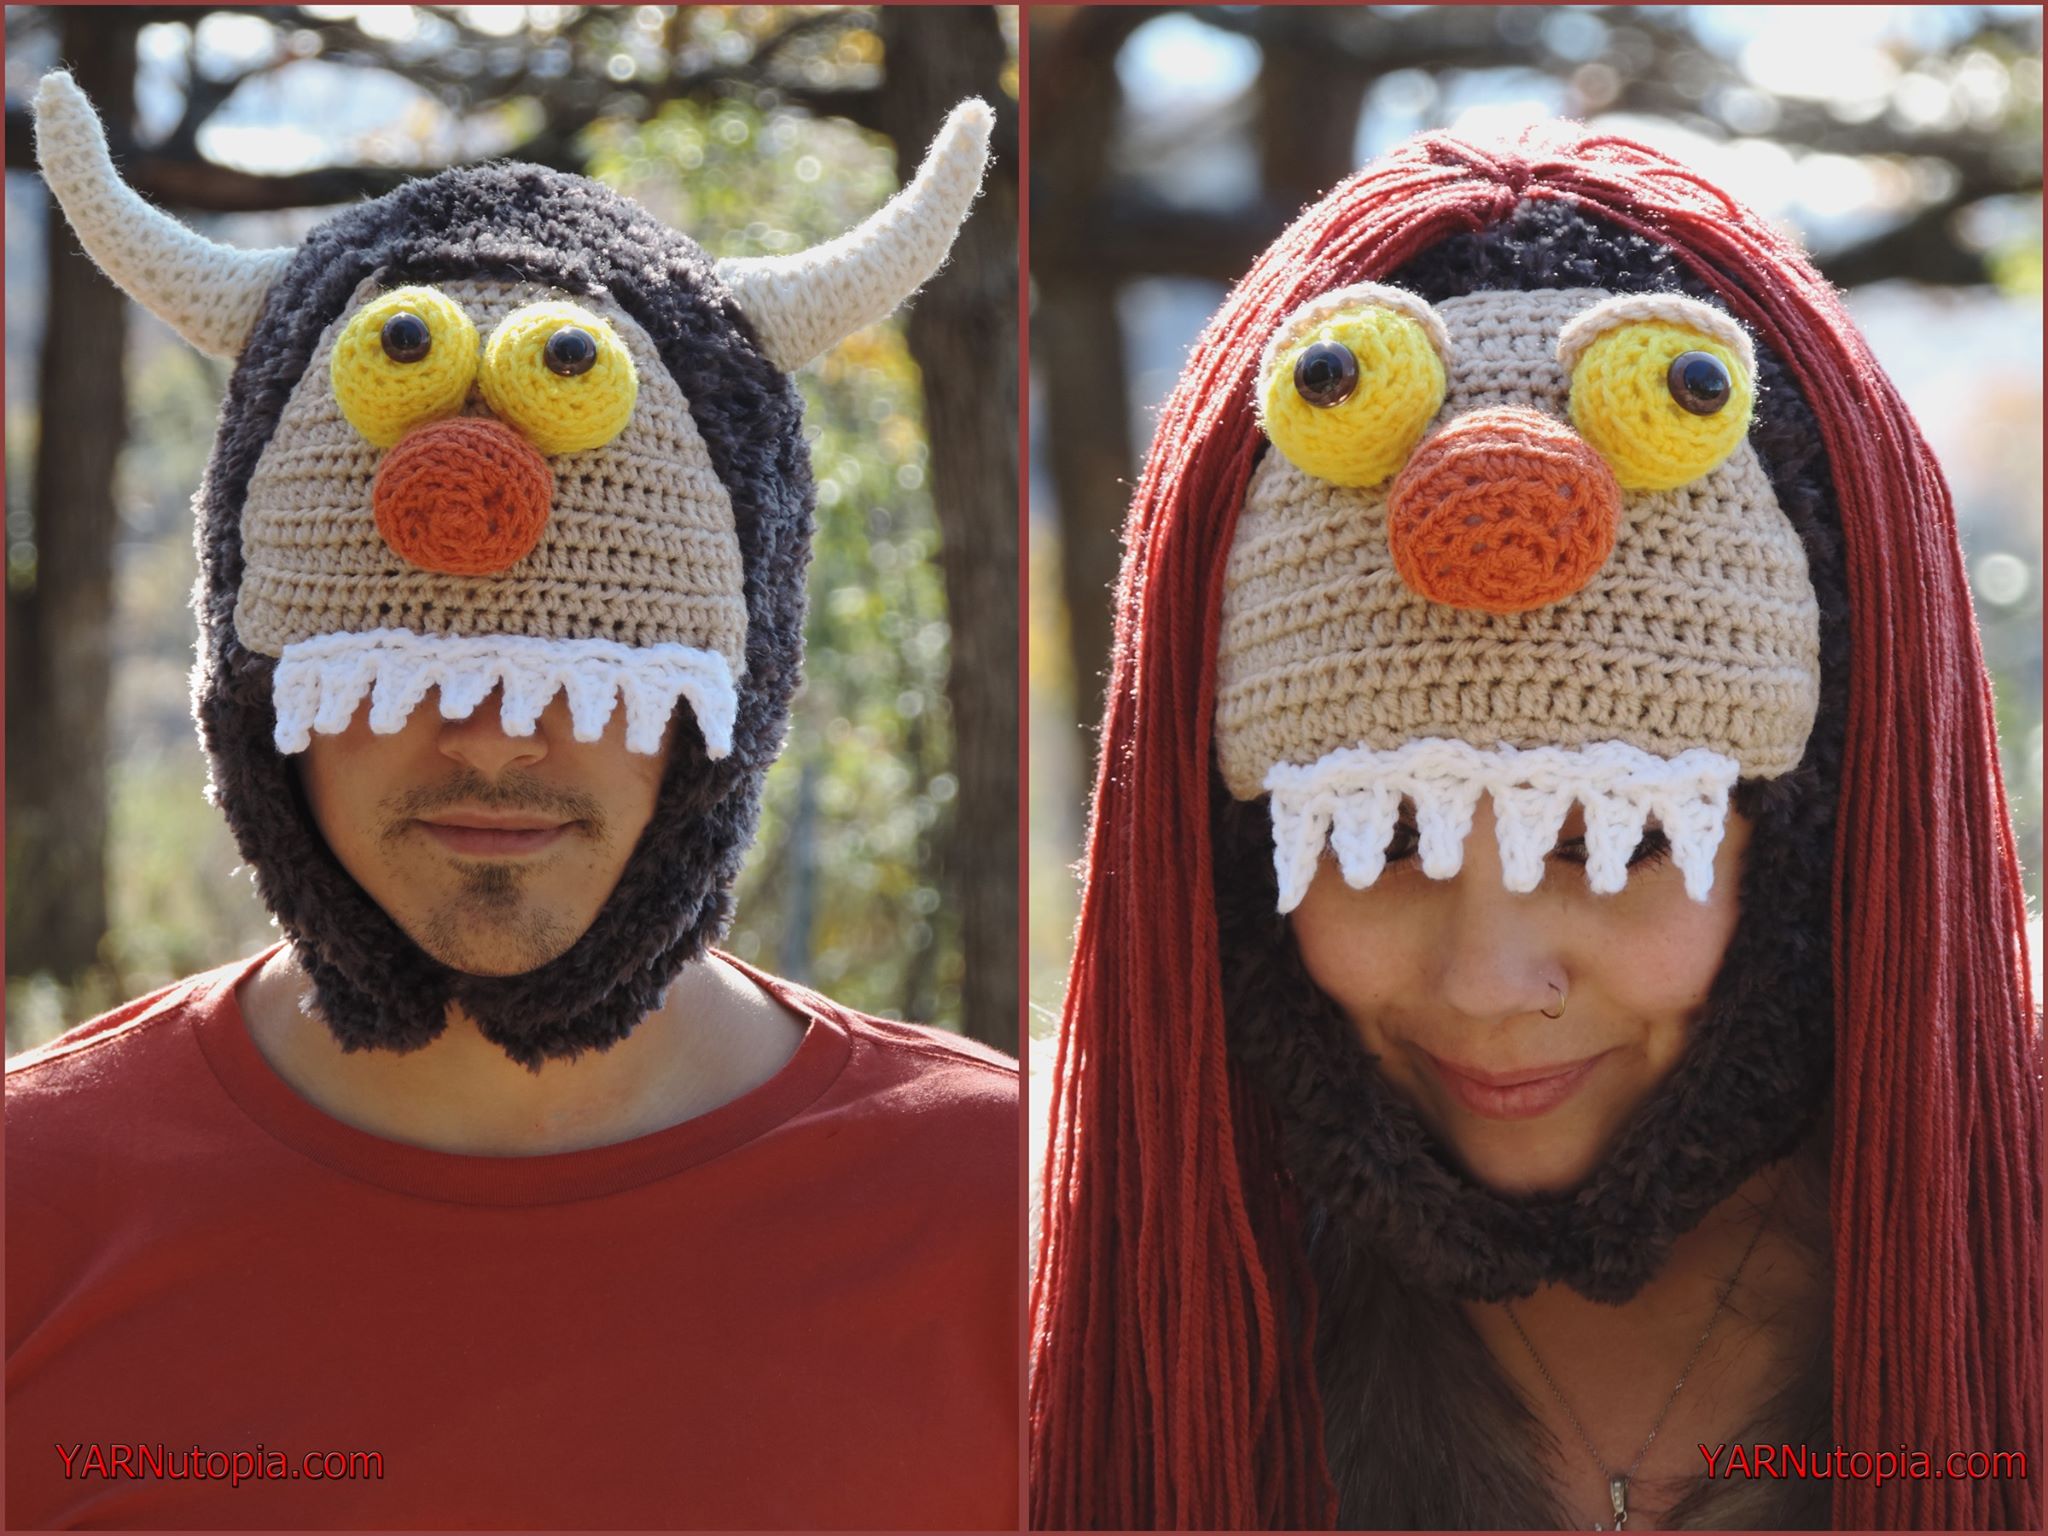
FREE Crochet Video Tutorial: Adult Sized Monster Hats (Male and Female Designs)
FREE Written Crochet Pattern: Adult Sized Monster Hats (Male and Female Designs)
FREE Crochet Video Tutorial: The Uptown Blanket Scarf
FREE Written Crochet Pattern: The Uptown Blanket Scarf
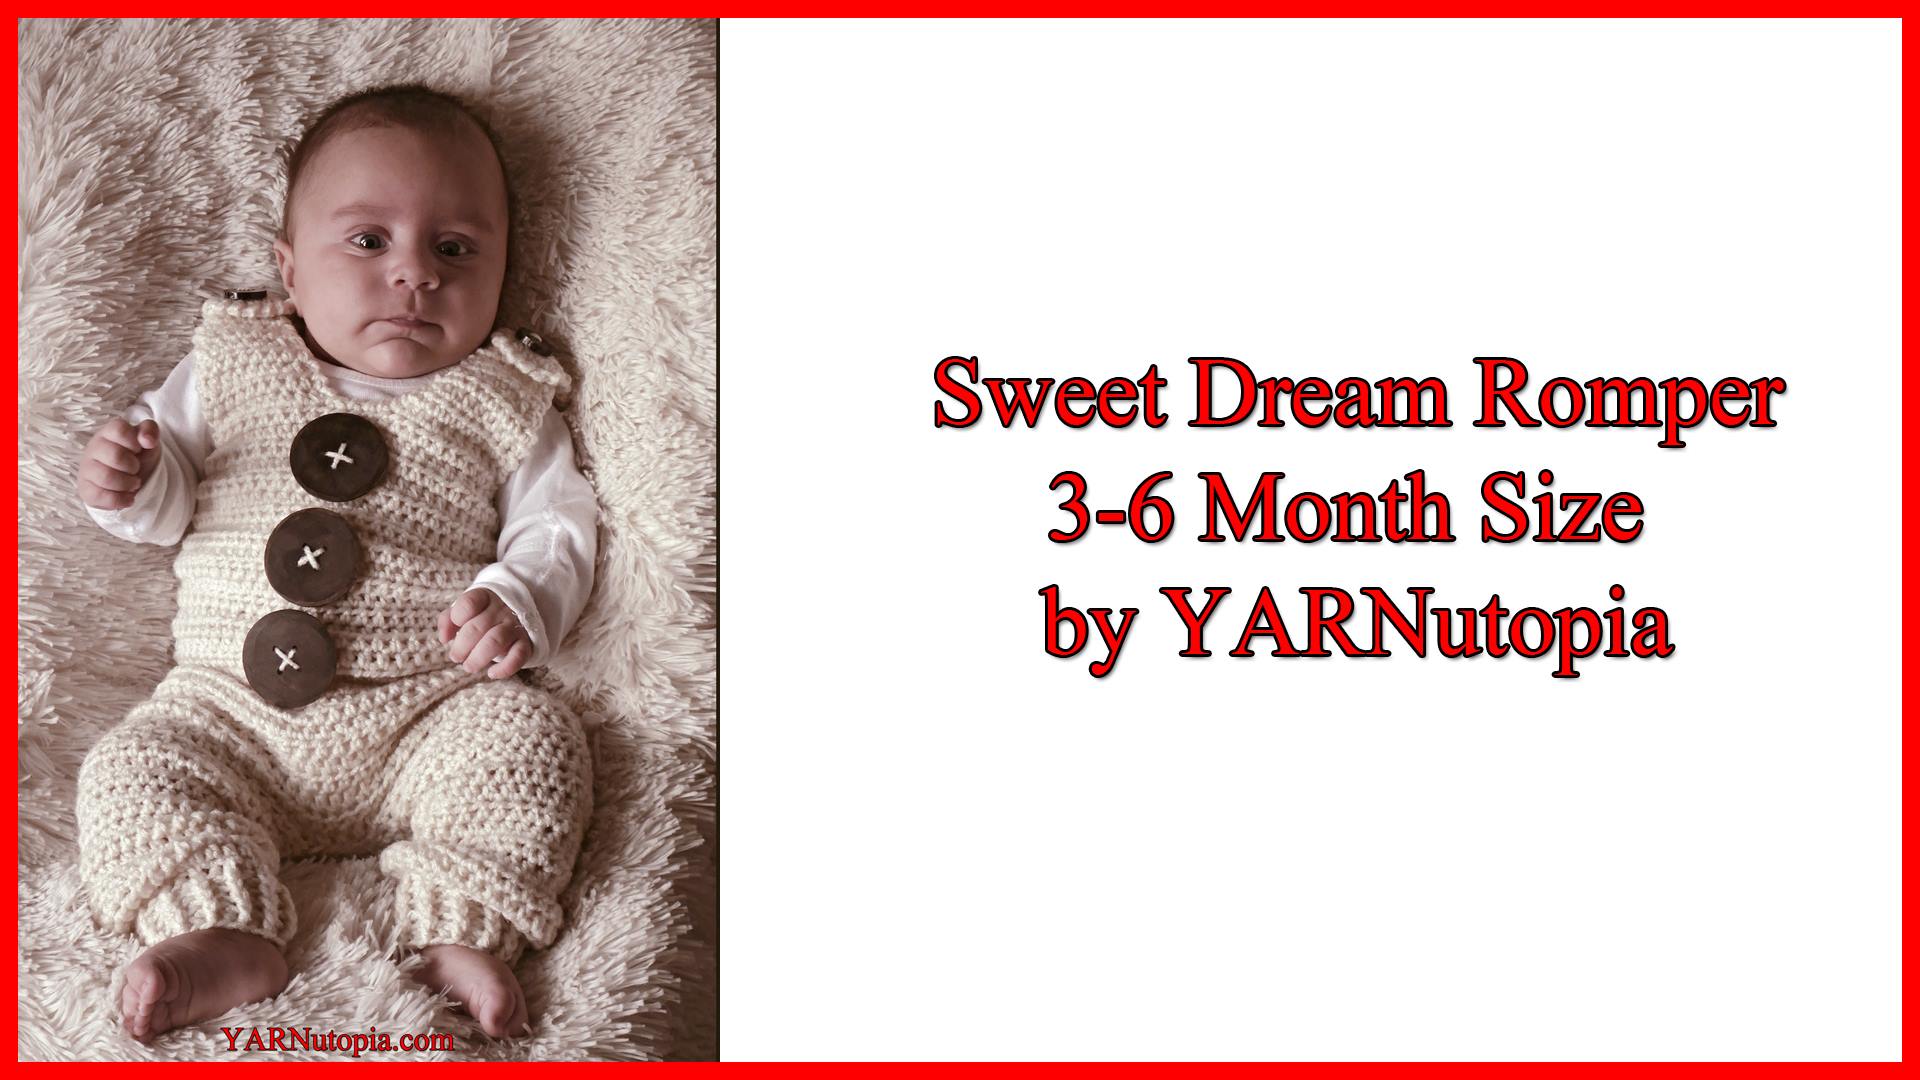
FREE Crochet Video Tutorial: Sweet Dream Romper
FREE Written Crochet Pattern: Sweet Dream Romper
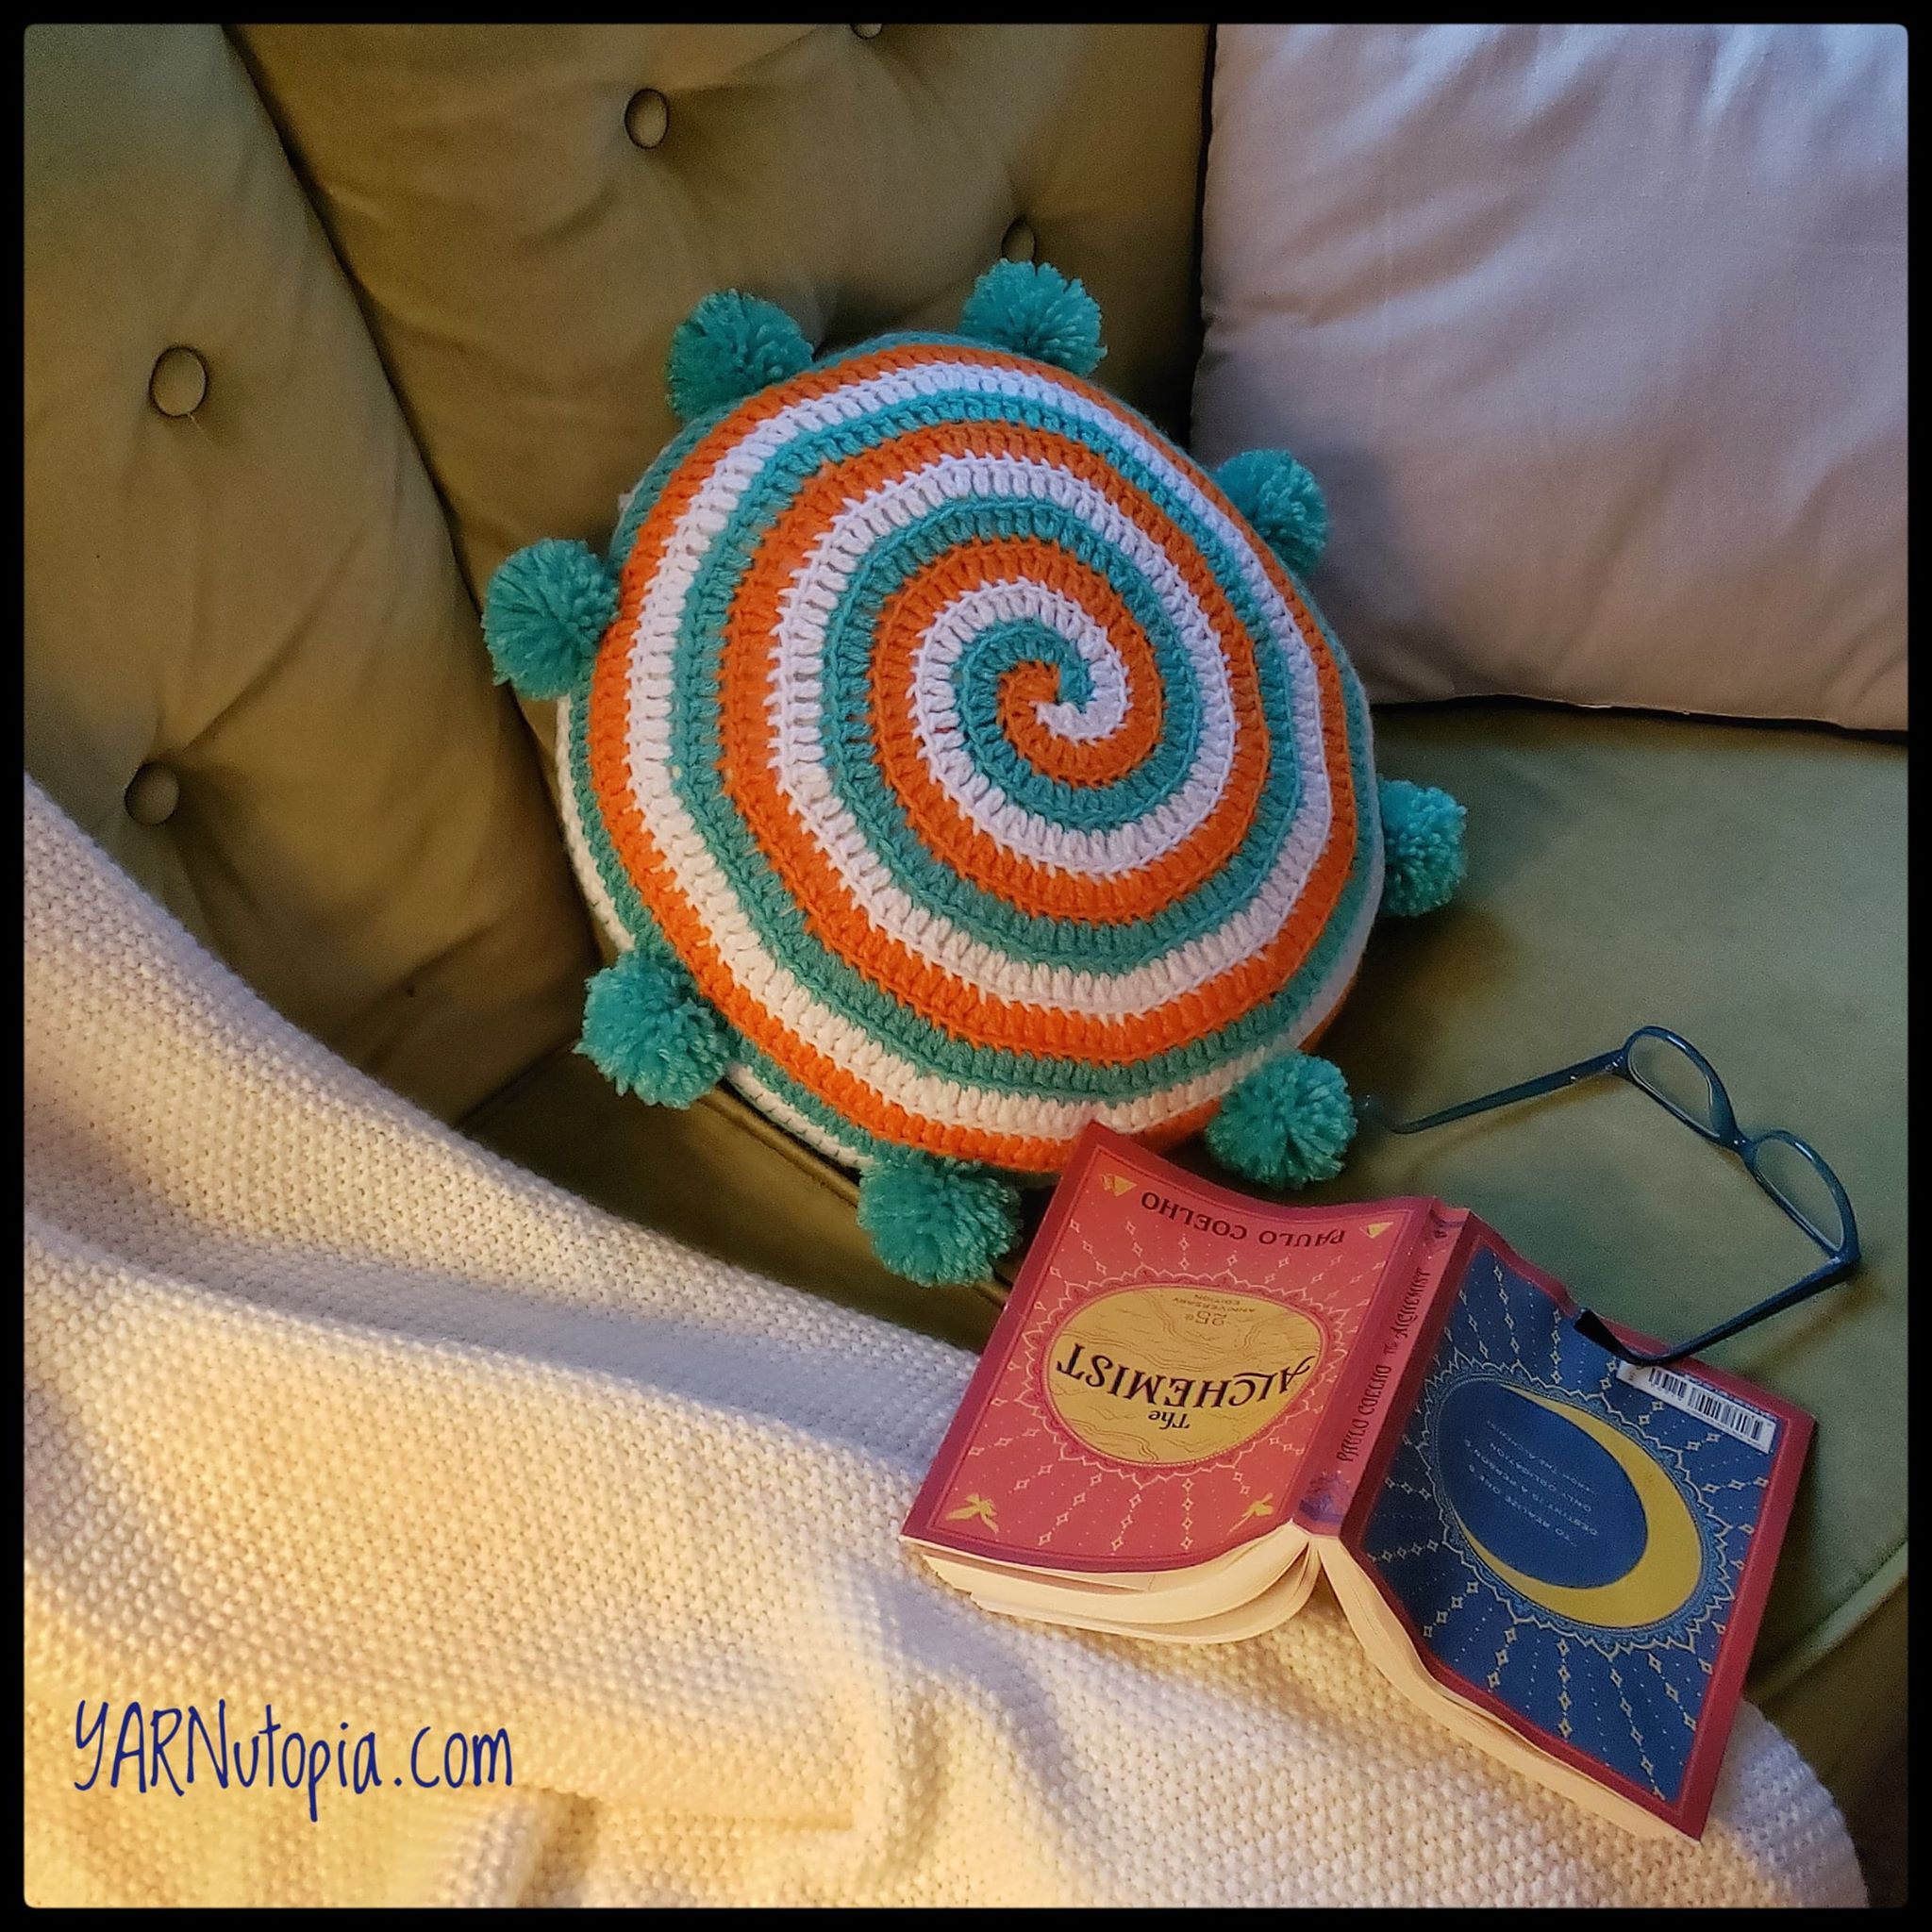
Candy Swirl Pillow Remix
Crochet Tutorial: The Bow-tastic Hat
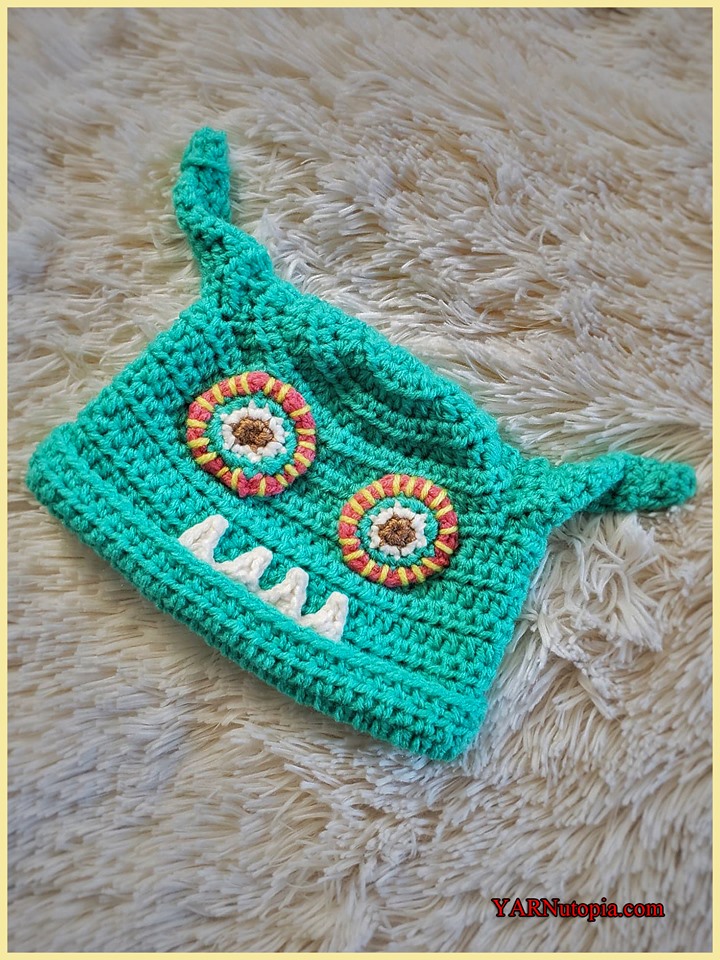
Crochet Tutorial: Misfit Monster Hat
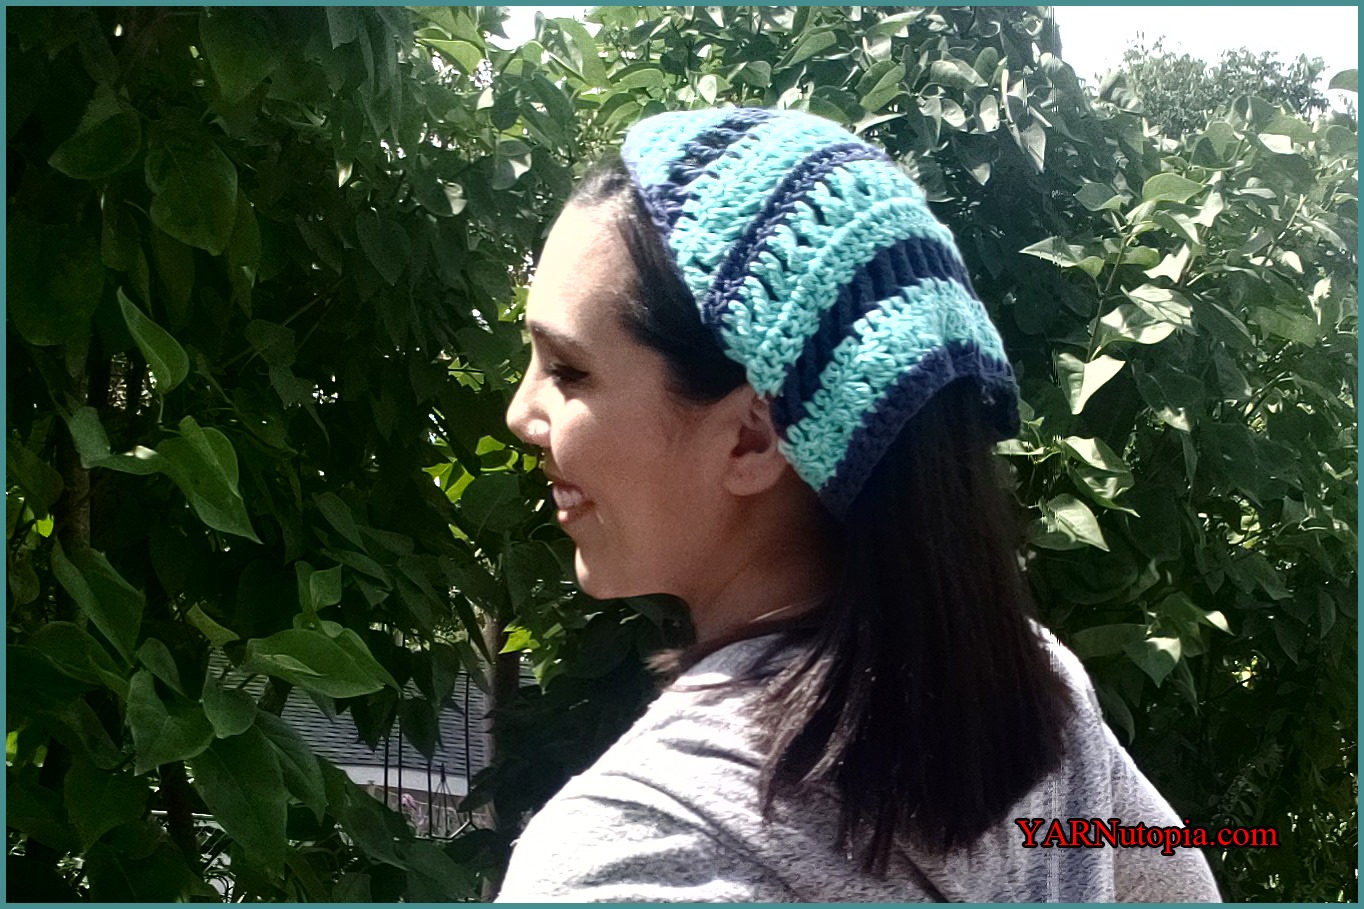
Crochet Tutorial: Boho Scarf Headband
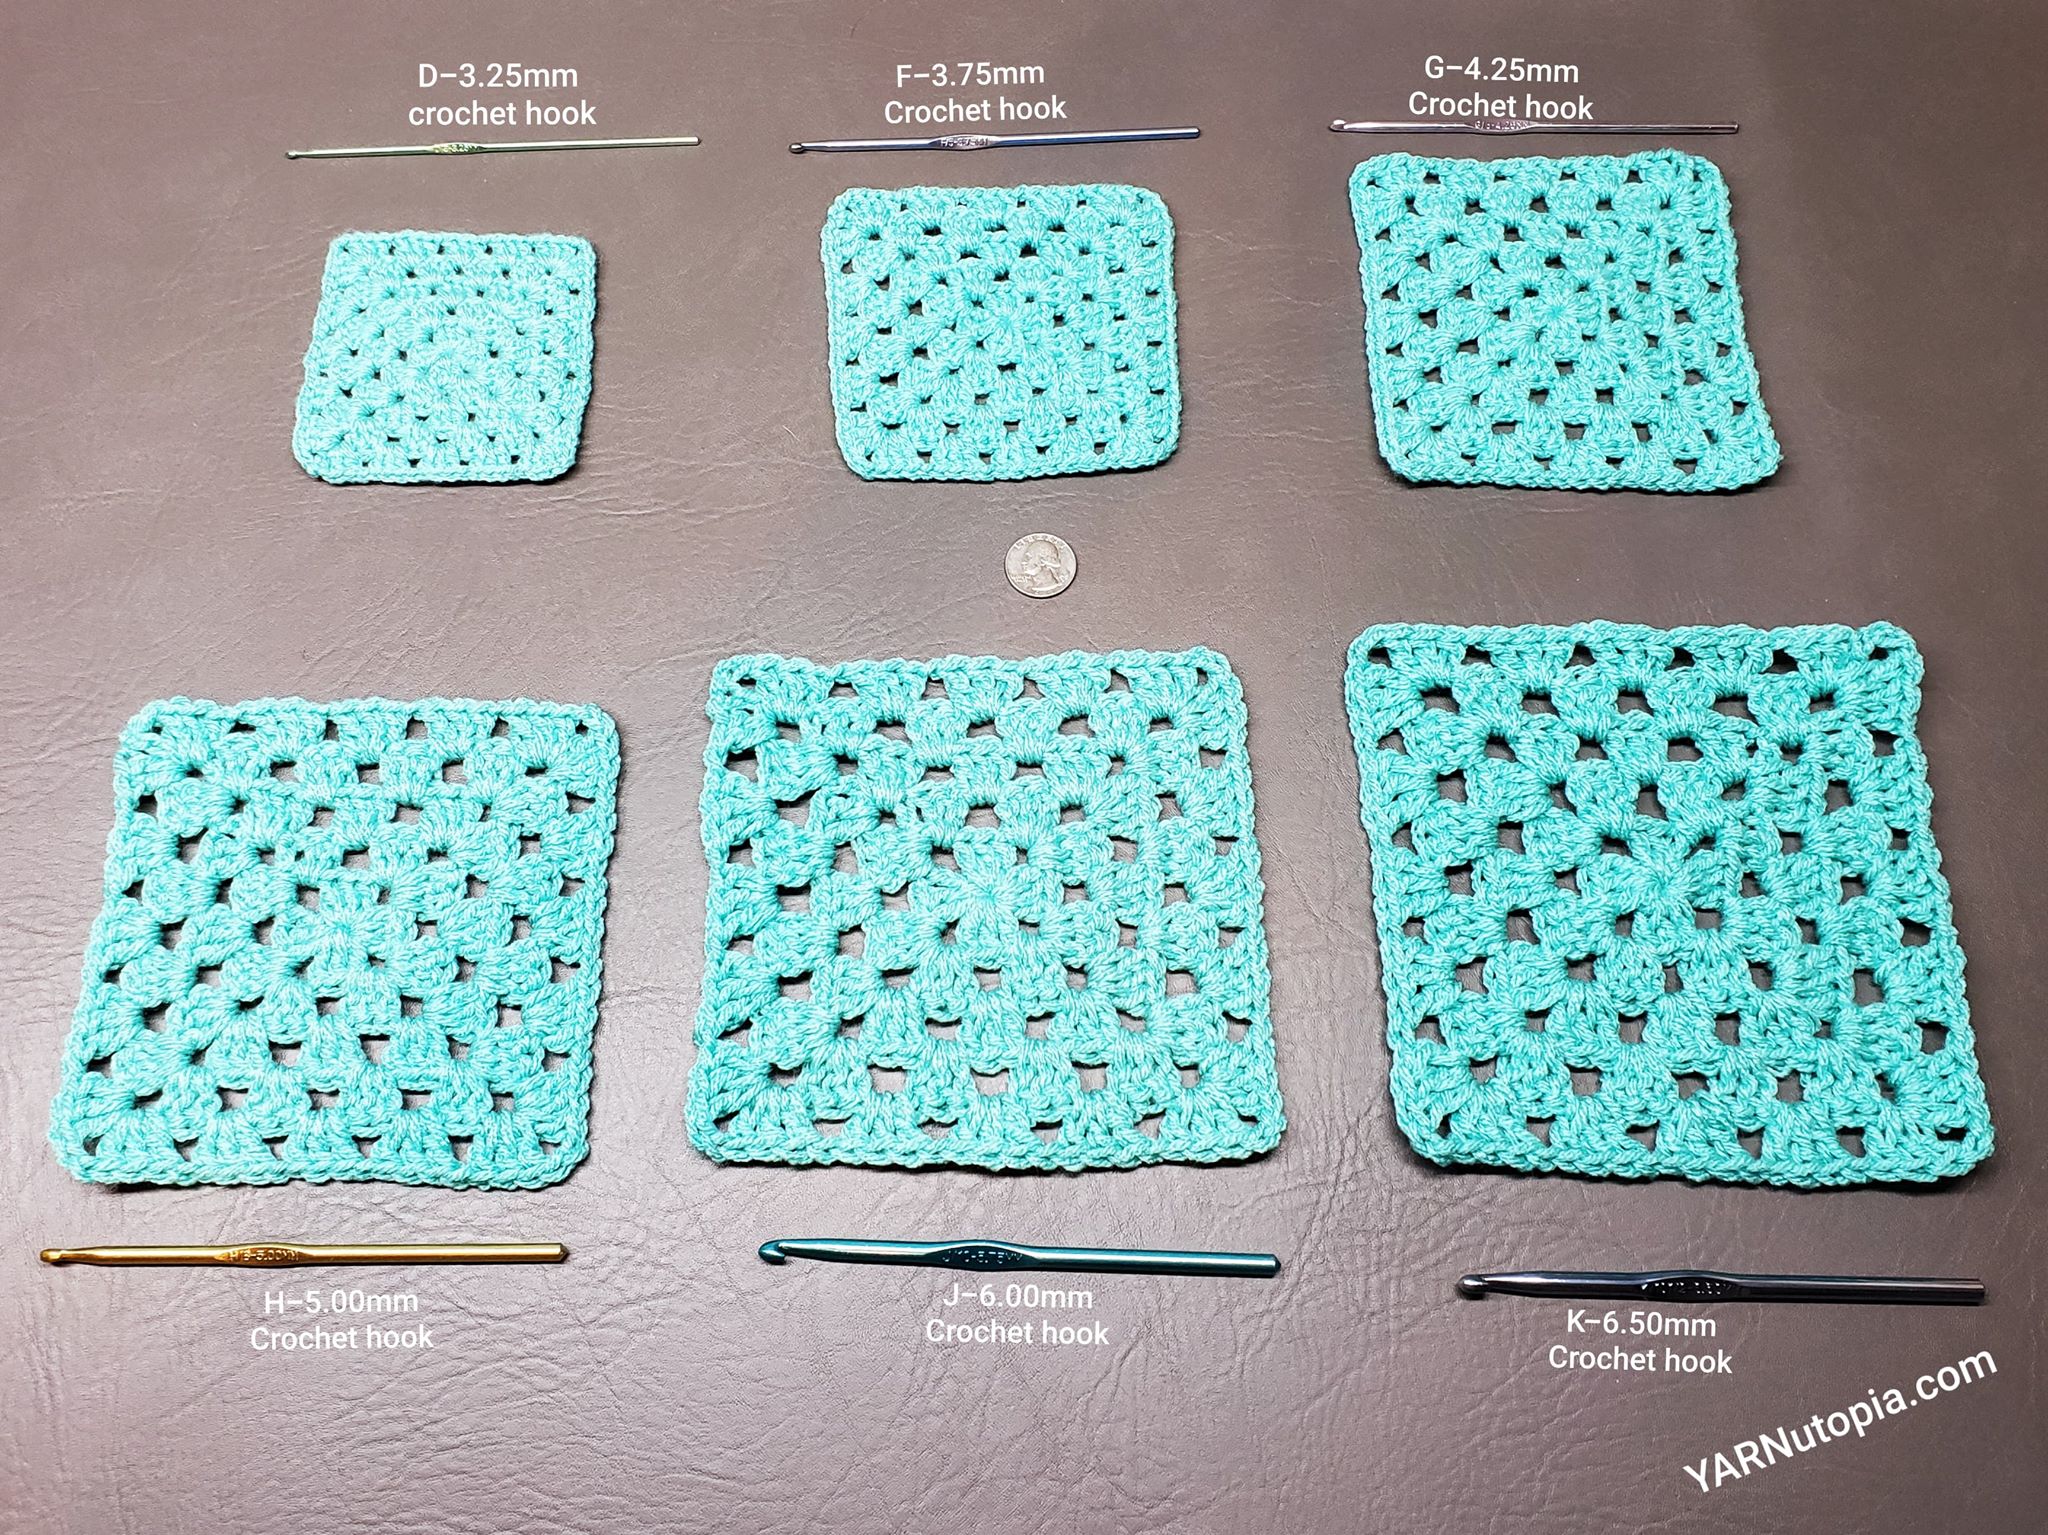
Changing Gauge to Adjust Size
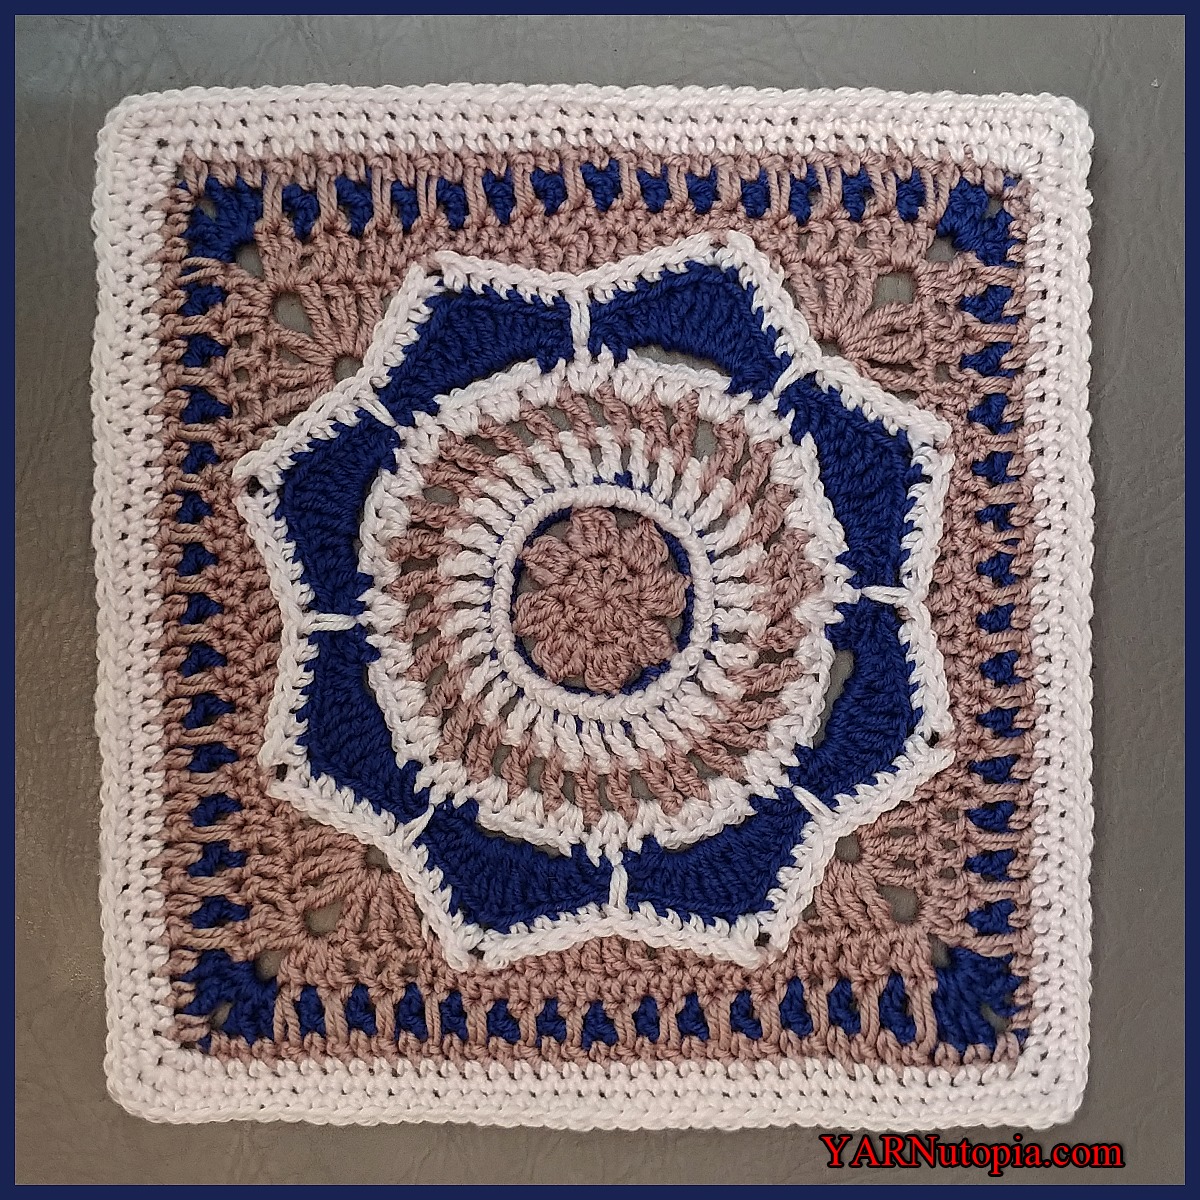
Crochet Tutorial: Where Love Grows Afghan Block
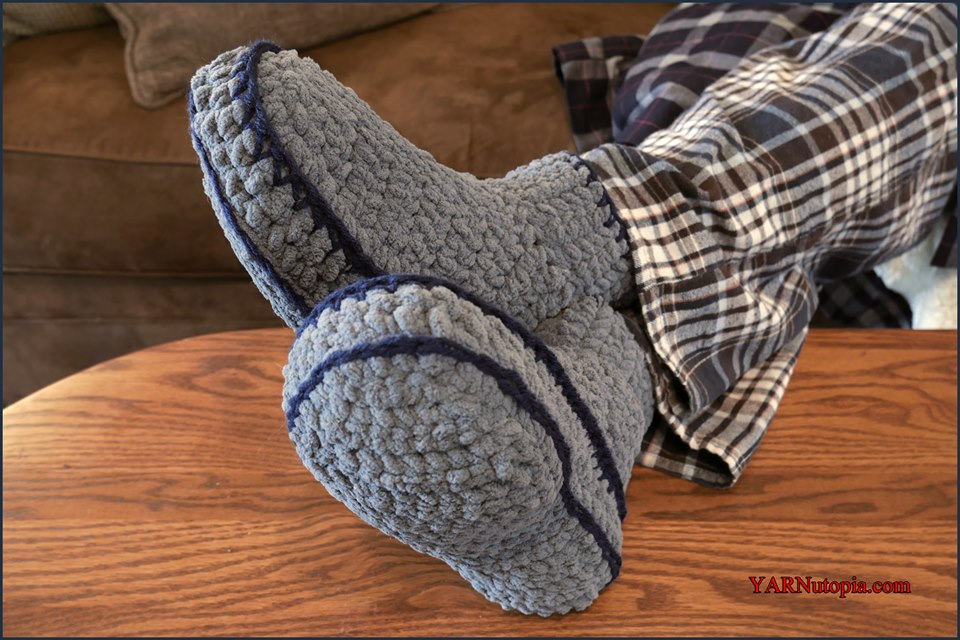
FREE Crochet Tutorial: Adult Mens Chunky Slippers
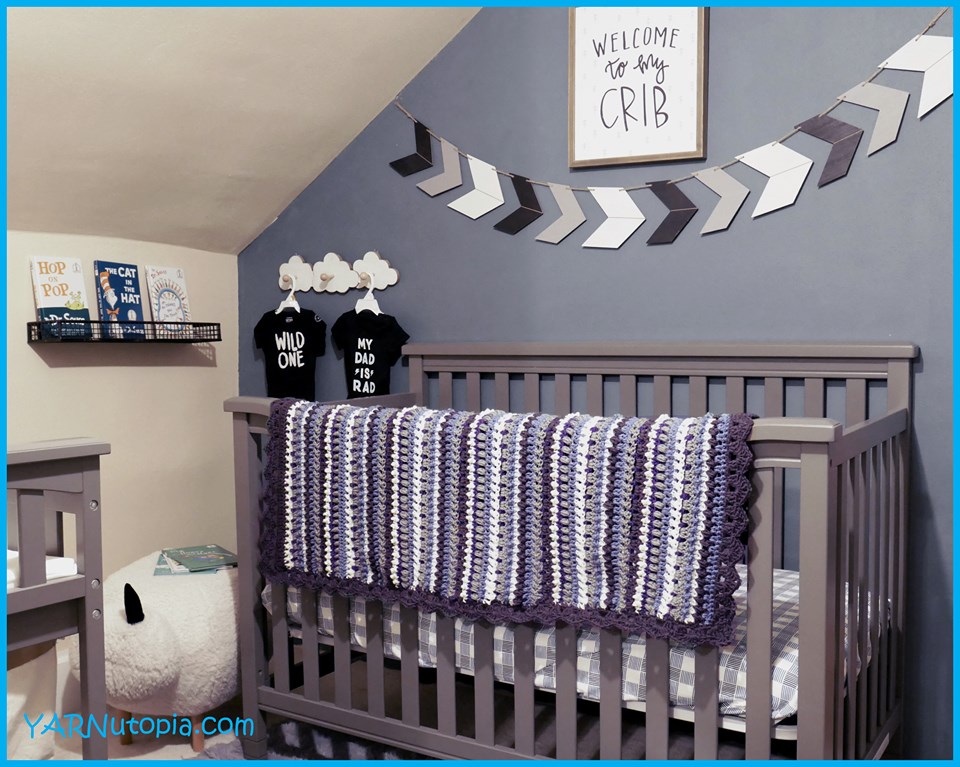
FREE Crochet Tutorial: Happy Hues Sampler Baby Blanket
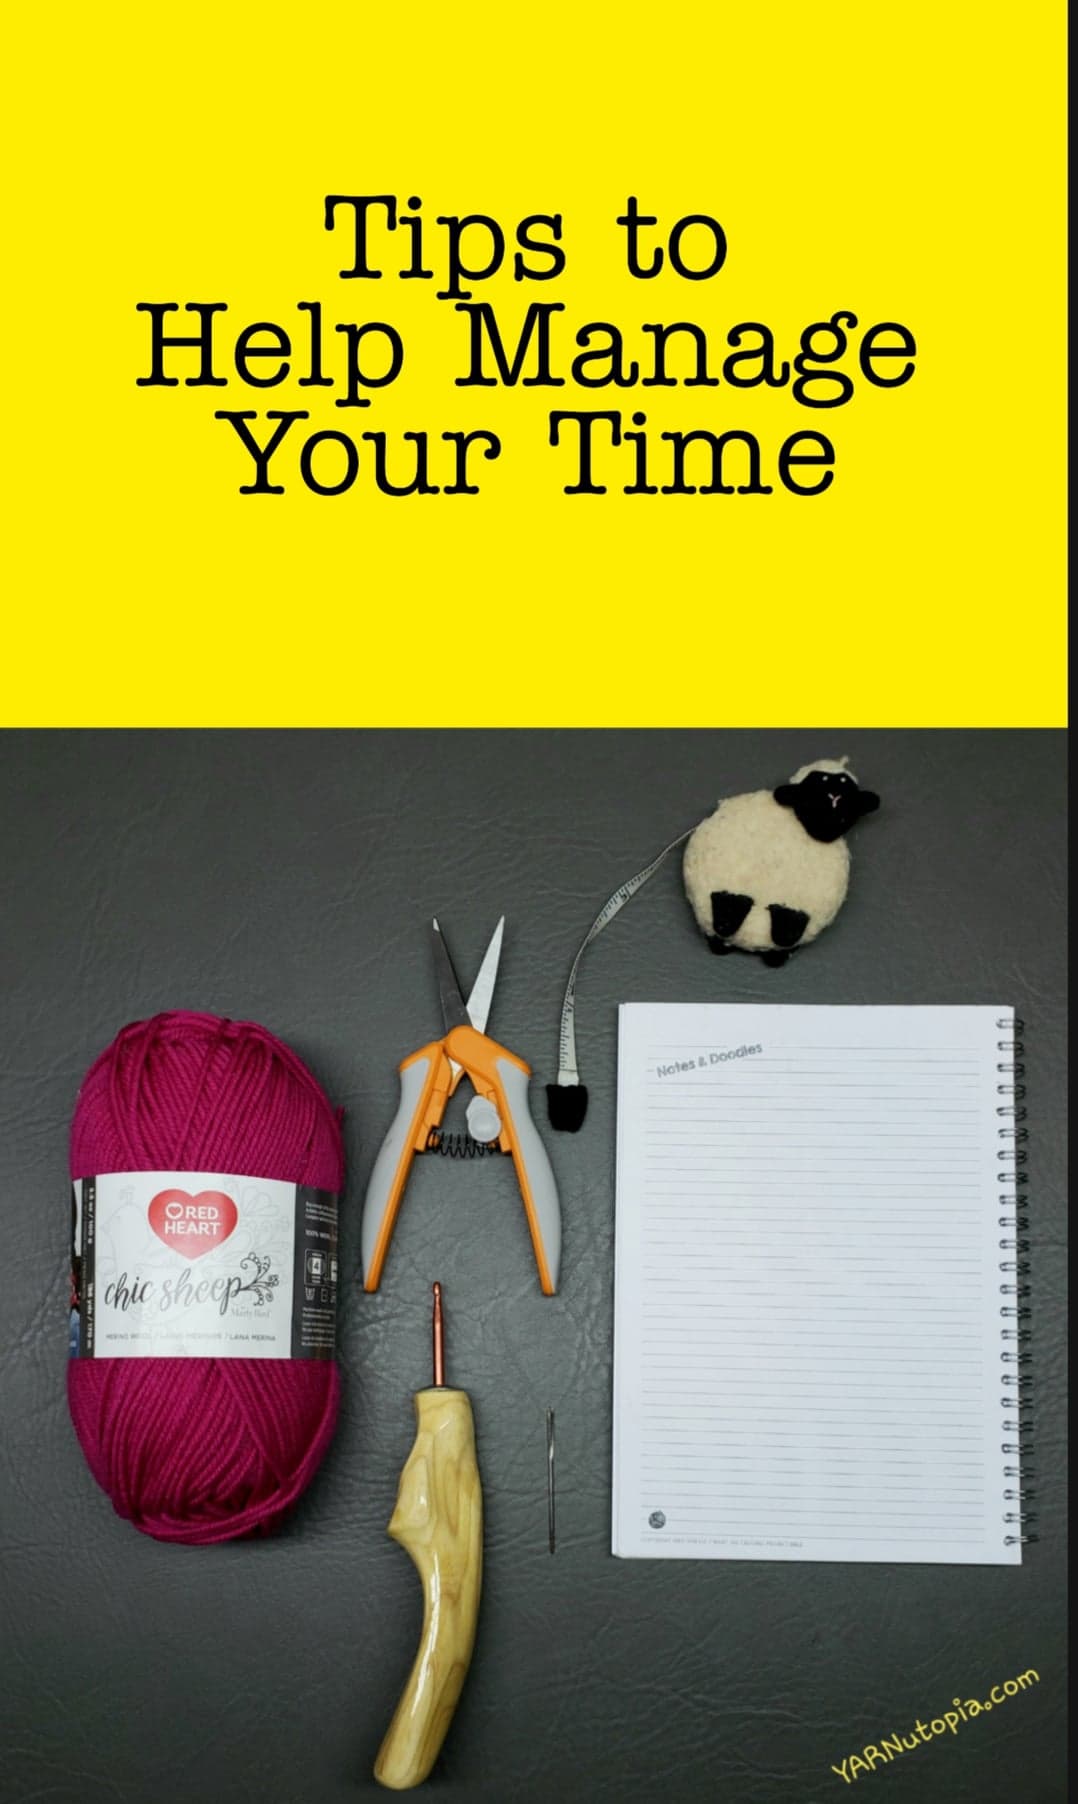
Tips to Help Manage Your Time
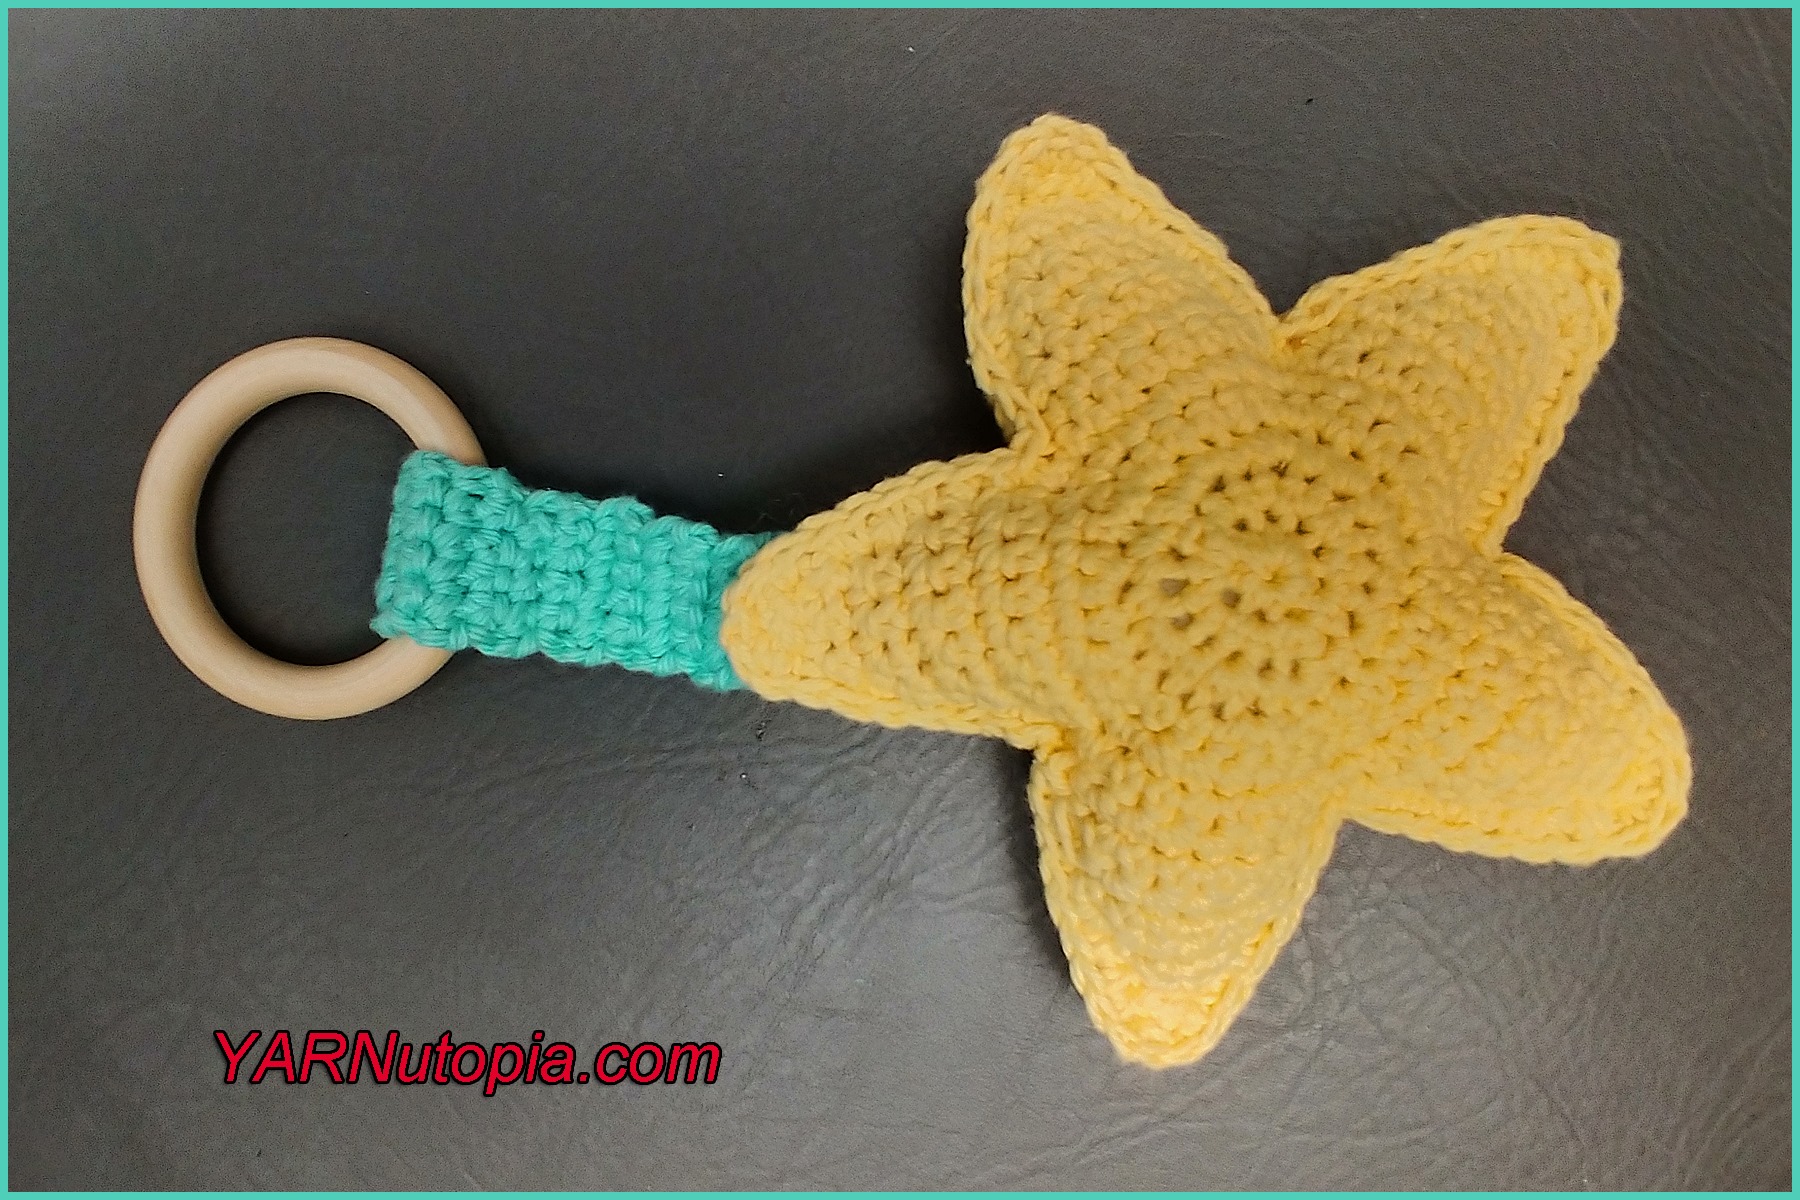
Crochet Tutorial: Star Ring Rattle Teething Toy
Previous Page
1
2
3
4
5
…
12
Next Page
Loading Comments...
Write a Comment...
Email (Required)
Name (Required)
Website