Skip to content
YARNutopia & M0re
All things Yarn Related: Crochet, DIY, and Crafts
Blog
365 Days of Granny Squares
Stitch Gallery & Glossary
Crochet Video Tutorials
Frequently Asked Questions
Crochet Glossary: Learn the Lingo
Contact
Search
Search
learn
YARNutoia & More
I Know I’m Not Alone
Crochet Tutorial: Baby Hiking Sandals
Crochet Tutorial: Bunch of Grapes Amigurumi
Crochet Tutorial: Clam Shell Amigurumi with Pearl Bead
Crochet Tutorial: Octopus Keychain
Crochet Tutorial: Pineapple Jar Cozy
Crochet Tutorial: Egg Amigurumi
Crochet Tutorial: Cupcake Amigurumi
Crochet Tutorial: Simple Infant Booties
Crochet Tutorial: Owl Be Warm Hat
Crochet Tutorial: Wiggles & Giggles Baby Blanket
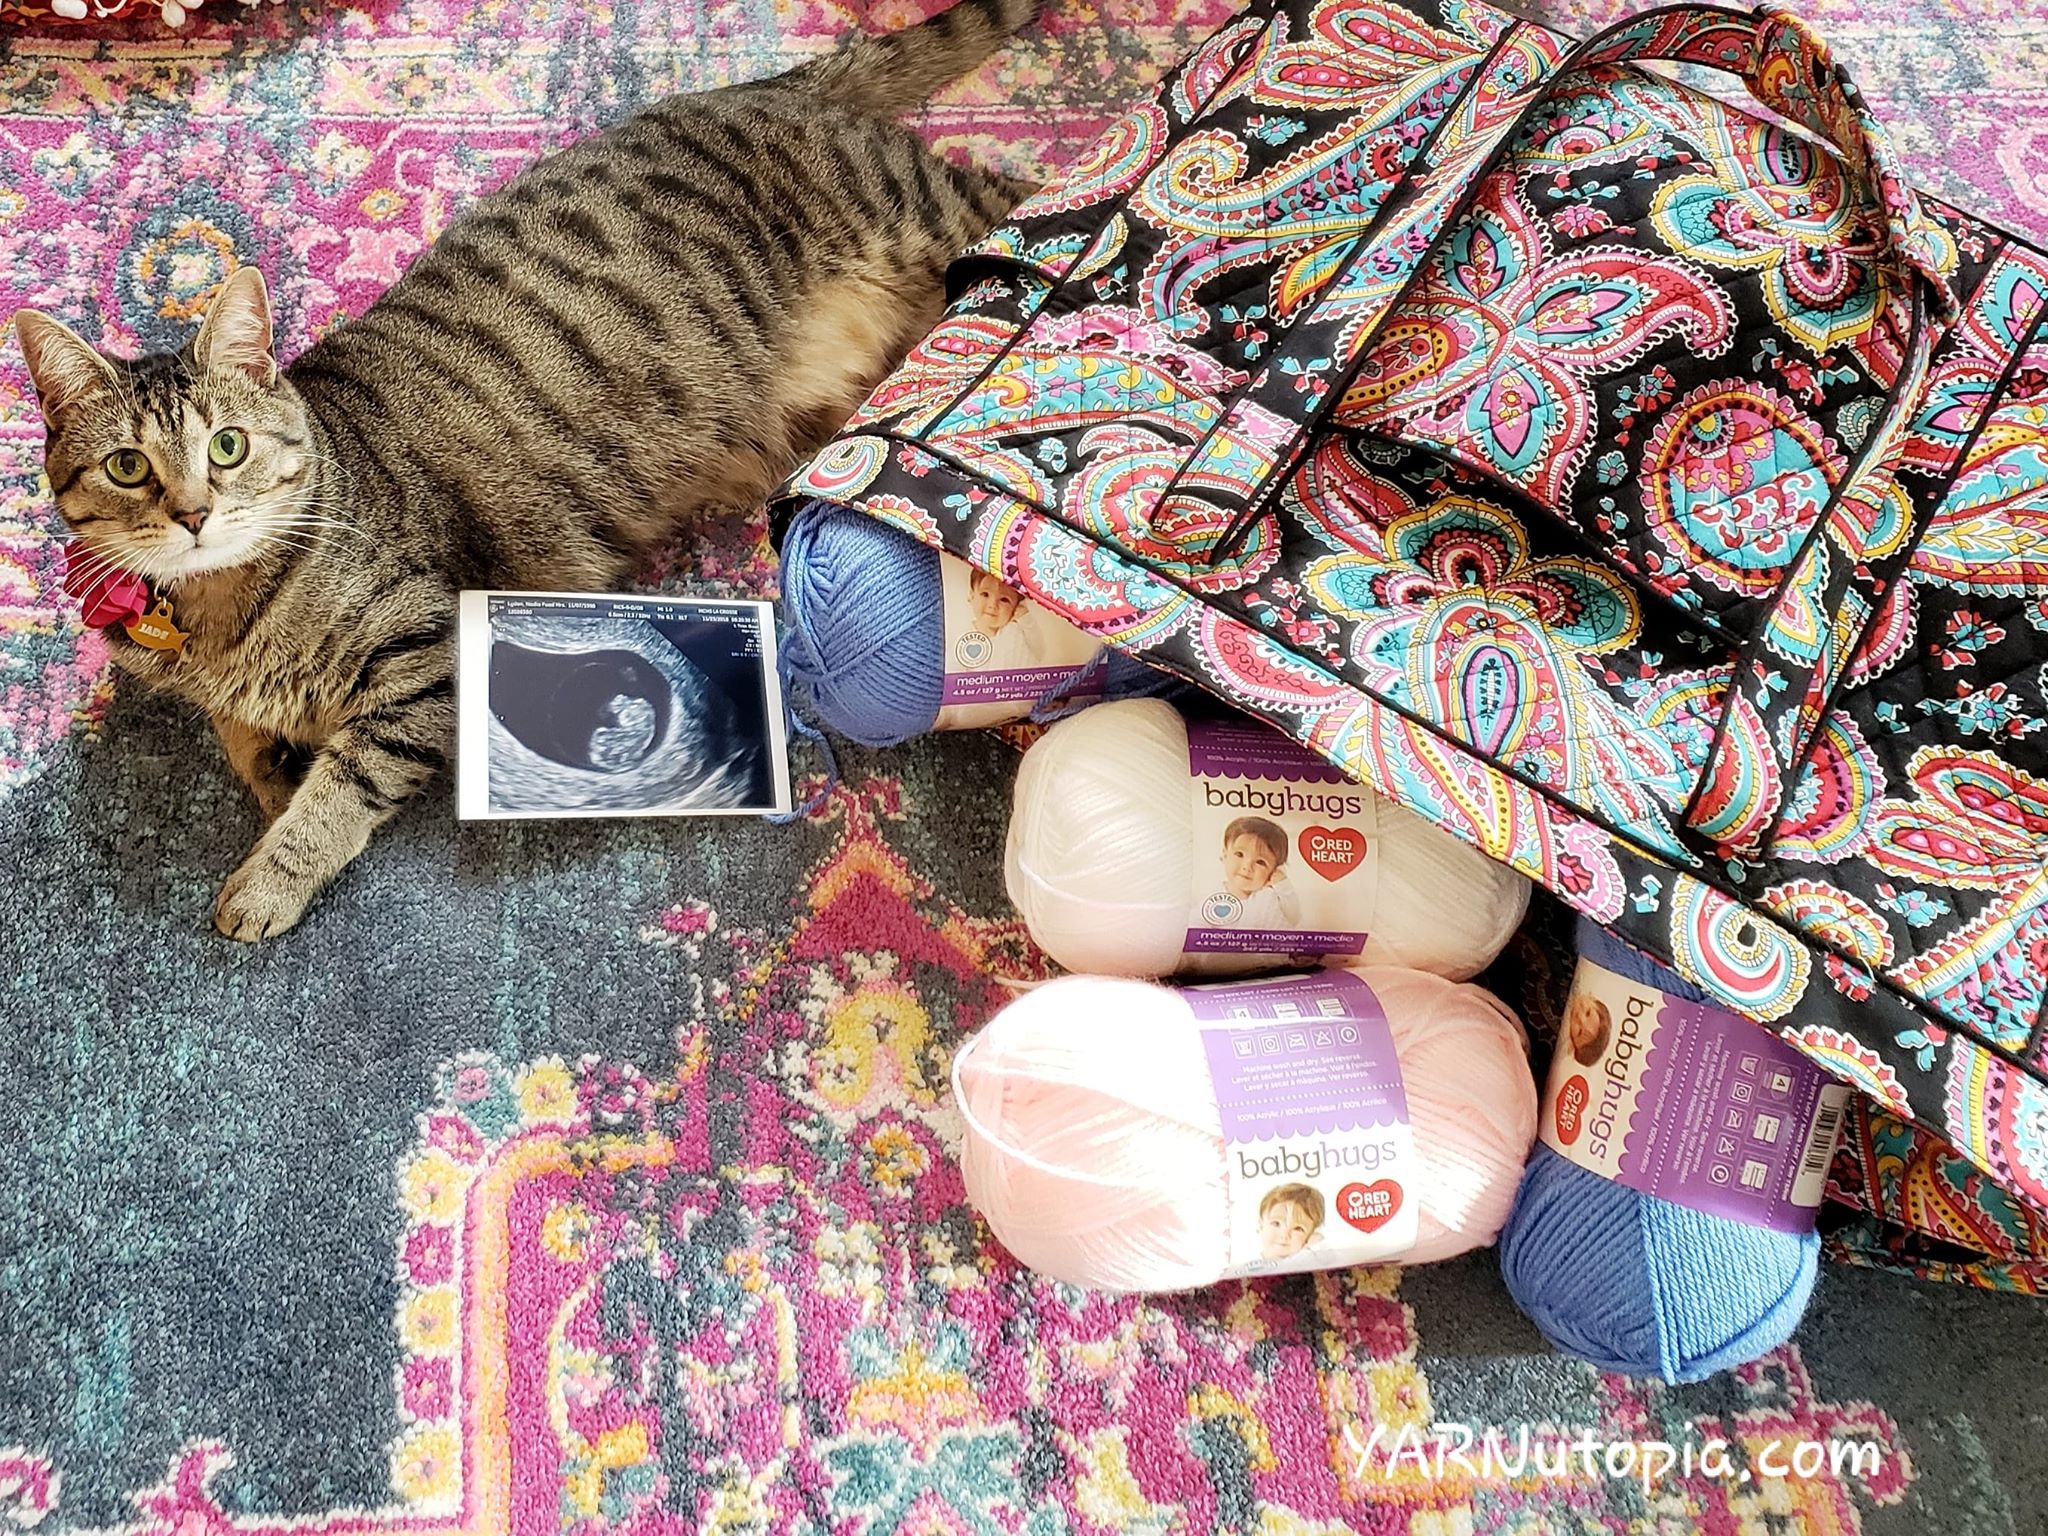
The Cat’s Out of the (YARN) Bag!
Memory Lane 2018
12 Days of Christmas: Holiday Festive Wreath
12 Days of Christmas: Holiday Mitten Gift Card Holder
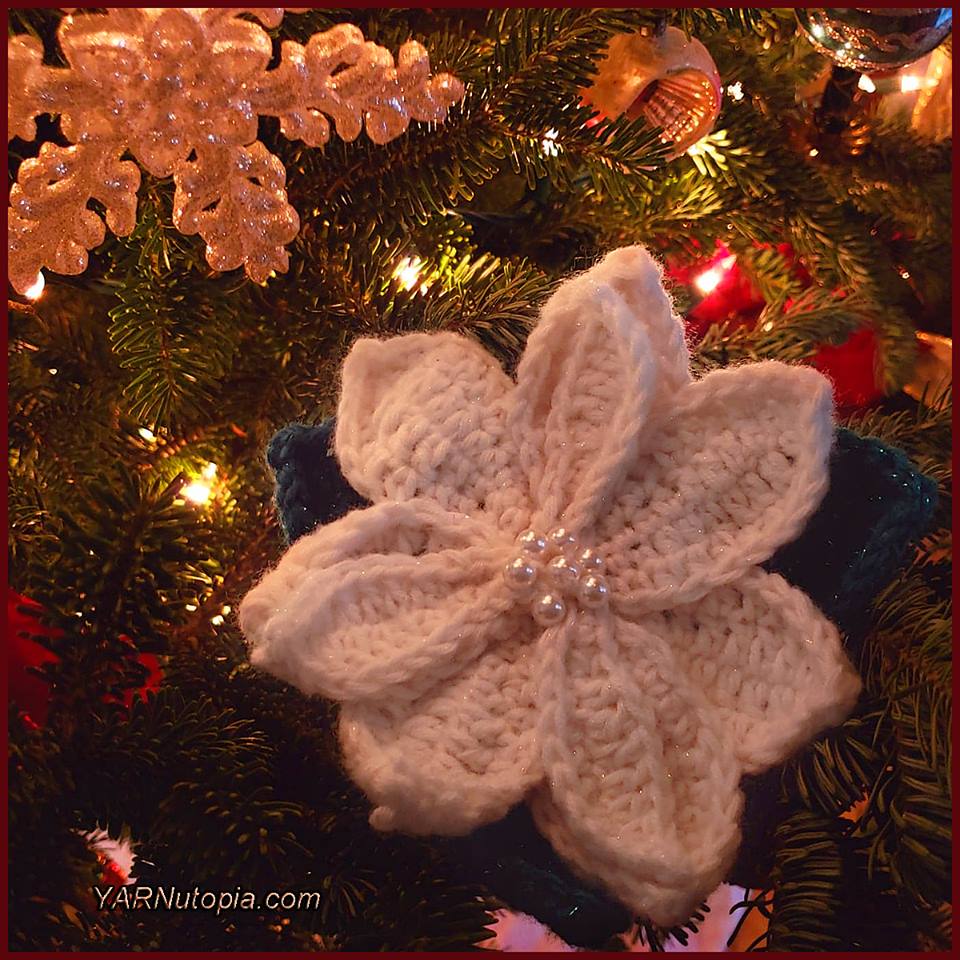
12 Days of Christmas: Poinsettia with Pearls
12 Days of Christmas: Peppermint Candy Garland
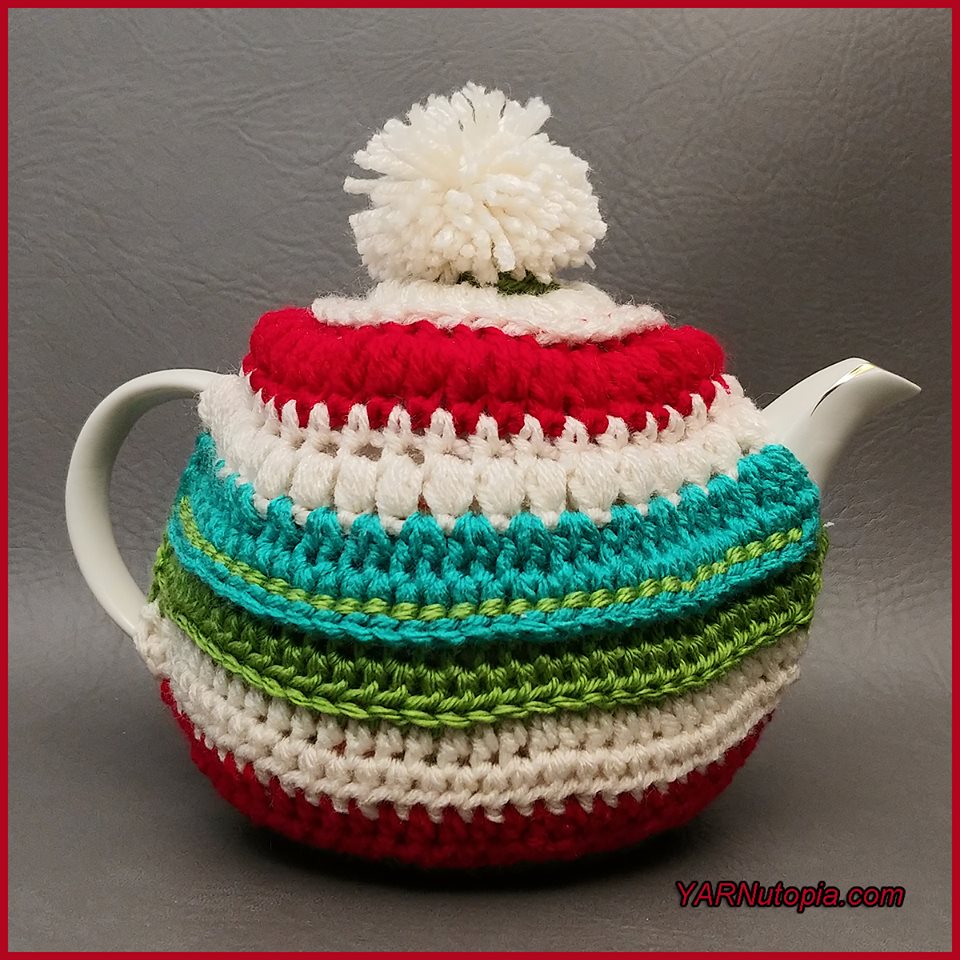
12 Days of Christmas: Festive Teapot Cozy
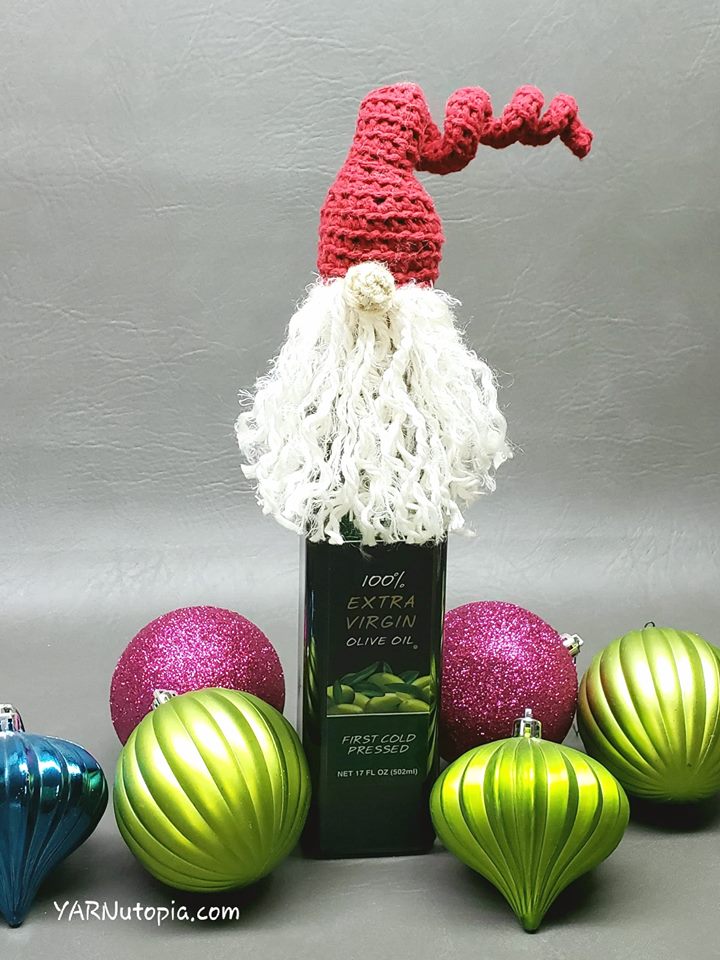
12 Days of Christmas: Santa Bottle Topper
12 Days of Christmas: Christmas Tree Canvas Art
12 Days of Christmas: Polar Bear Cup Cozy
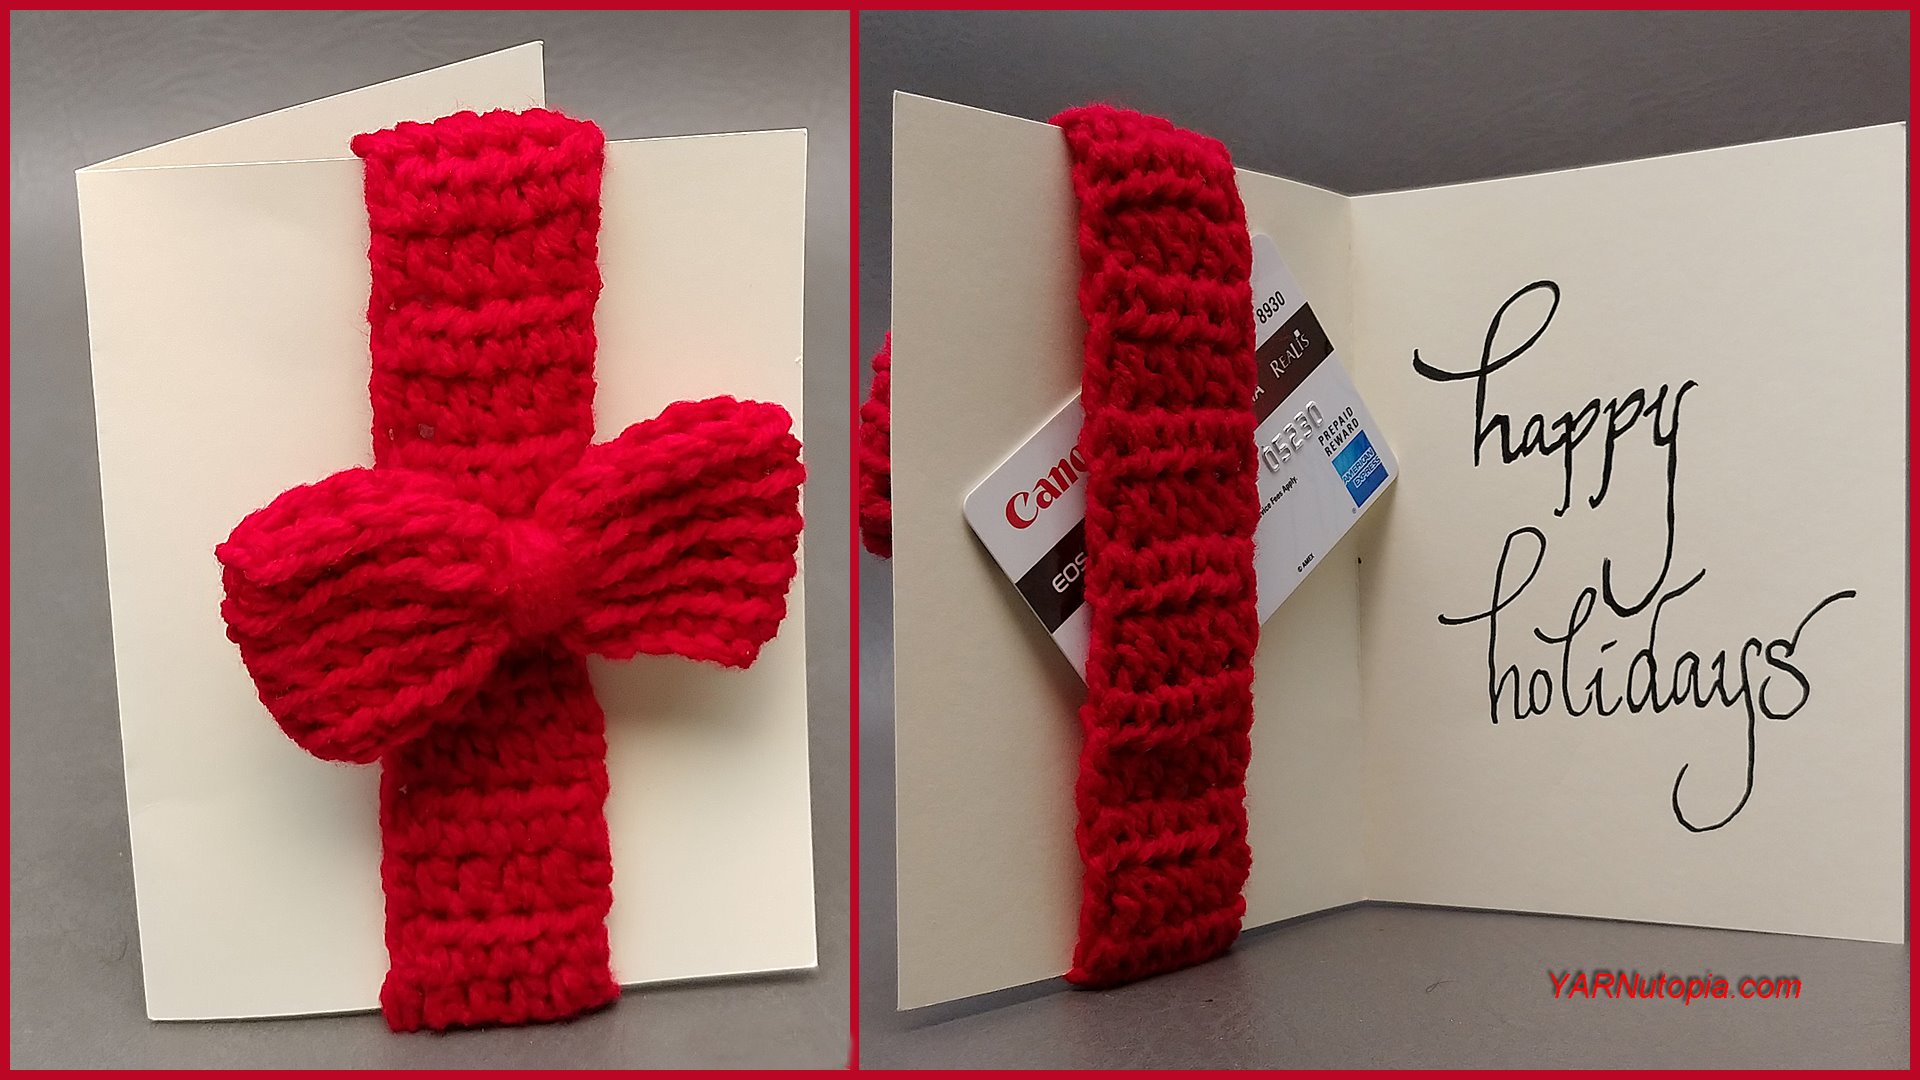
How to Crochet Tutorial: Bow Greeting Card with Gift Card Holder
How to Crochet Tutorial: Patchouli Poncho
How to Crochet Tutorial: Lion Mane Cat Hat Costume
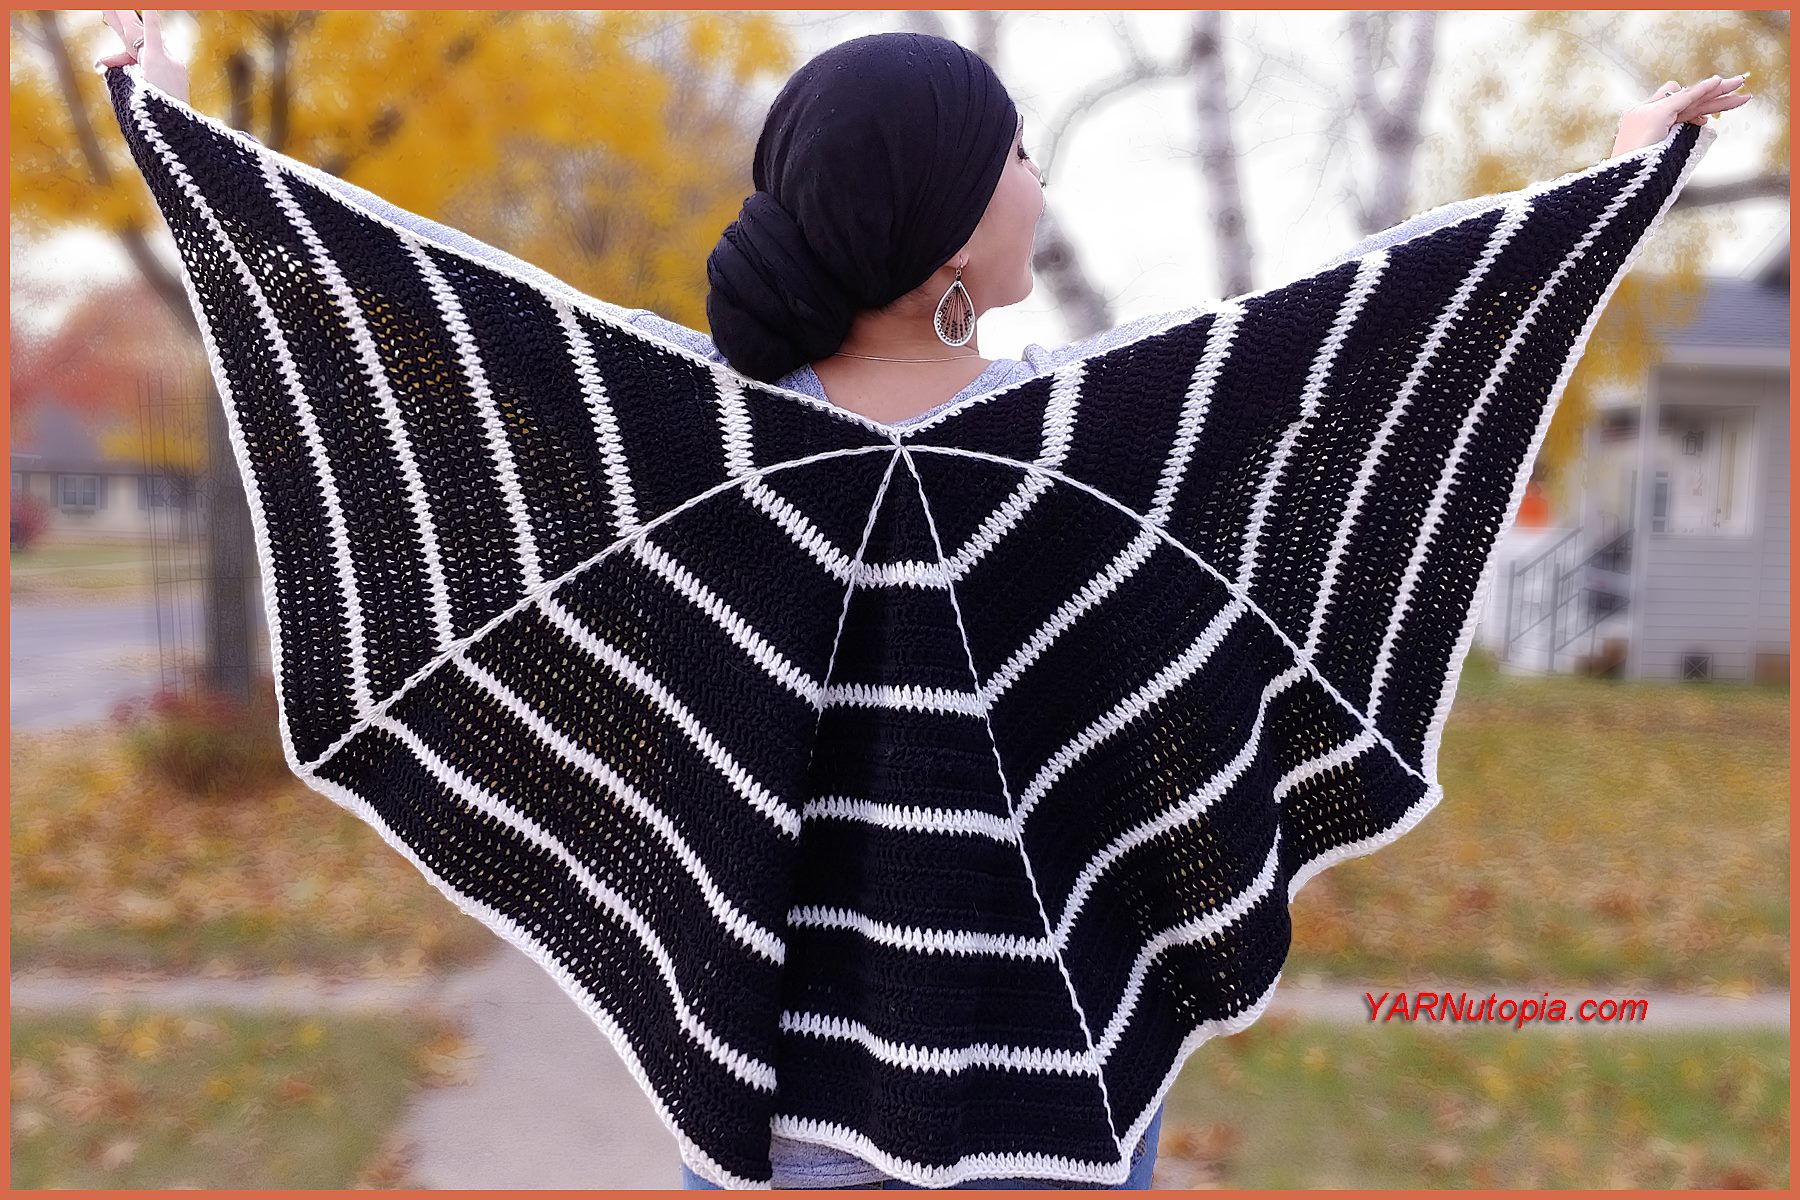
How to Crochet Tutorial: Spider Web Wrap
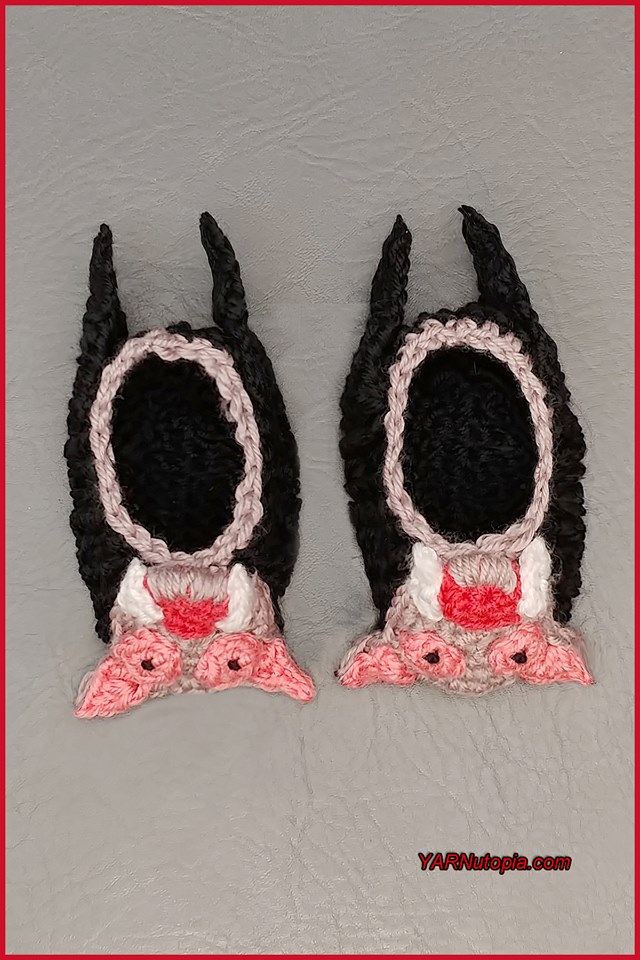
How to Crochet Tutorial: Vampire Bat Baby Booties
Happy Halloween 2018
How to Crochet Tutorial: Steampunk Cardigan
How to Crochet Tutorial: Adult Knickers Pants with Suspenders
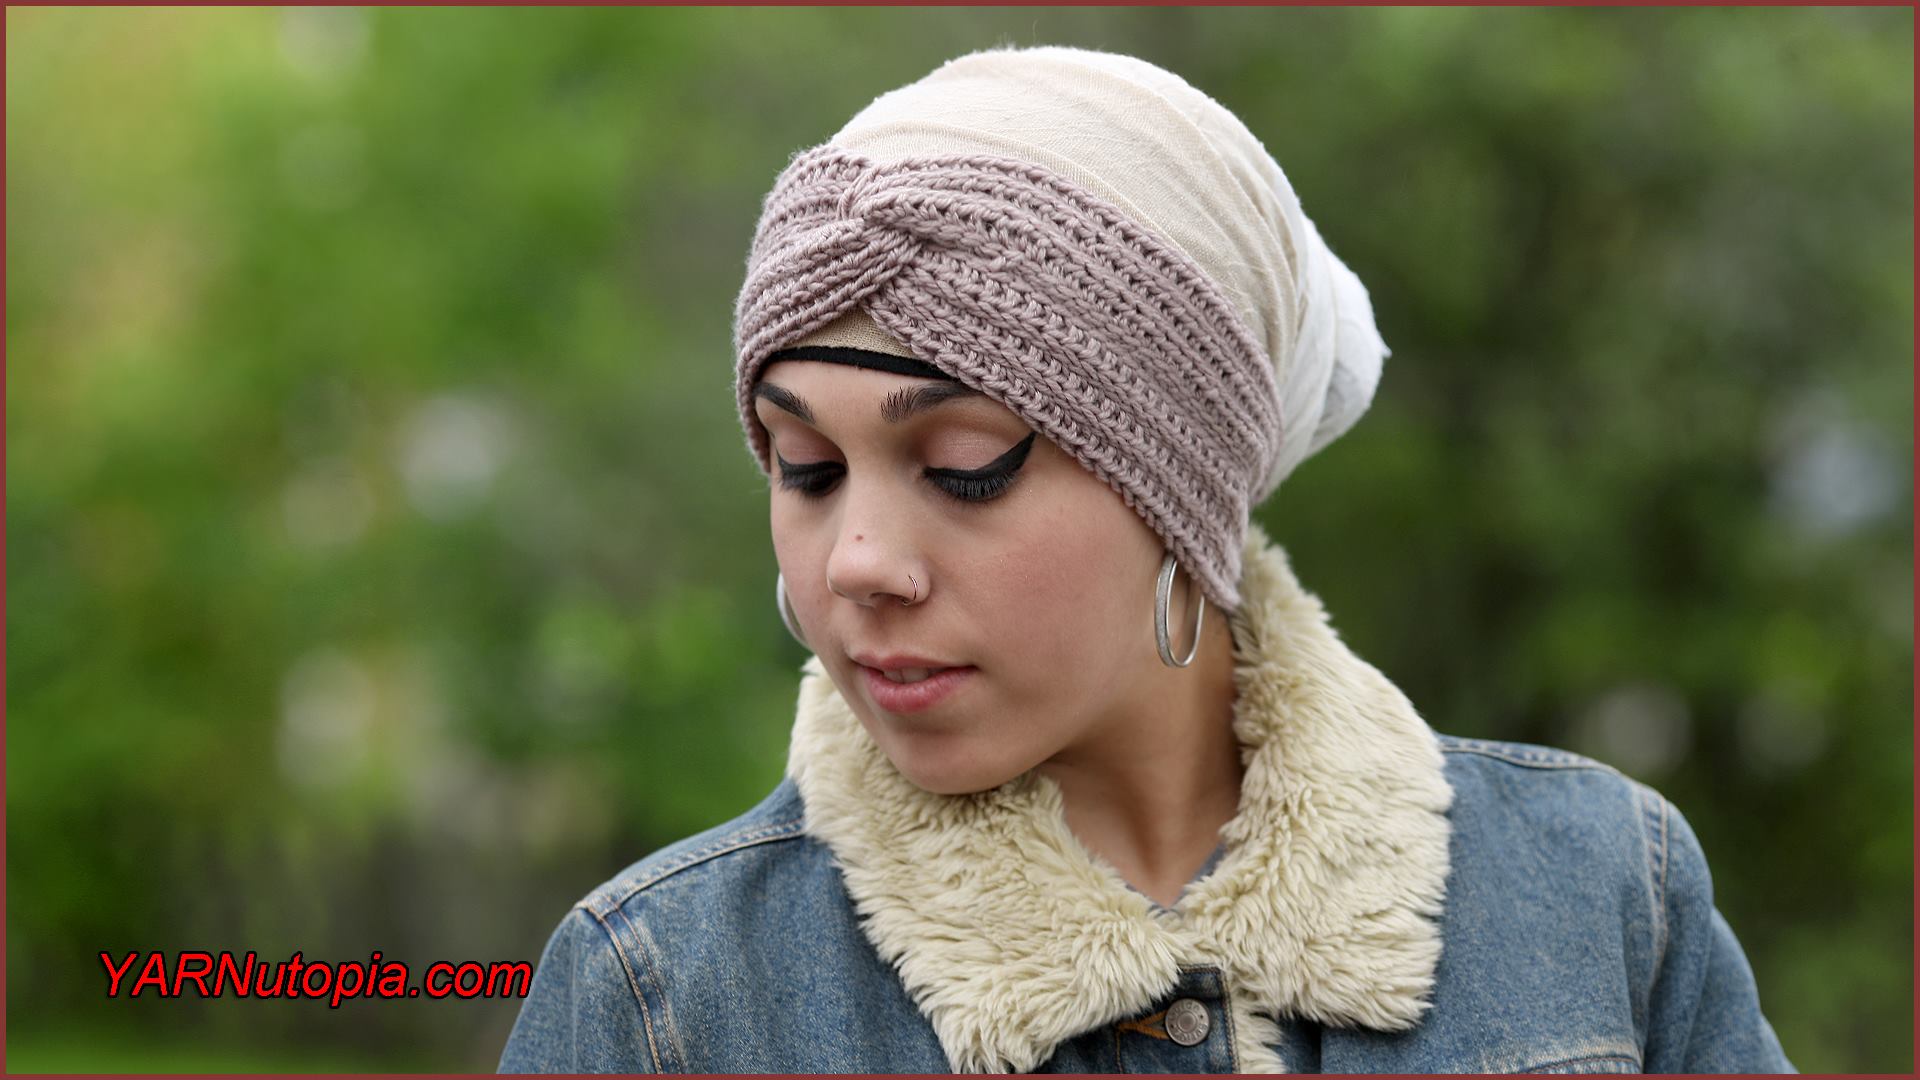
How to Crochet Tutorial: Chic Twist Headwrap
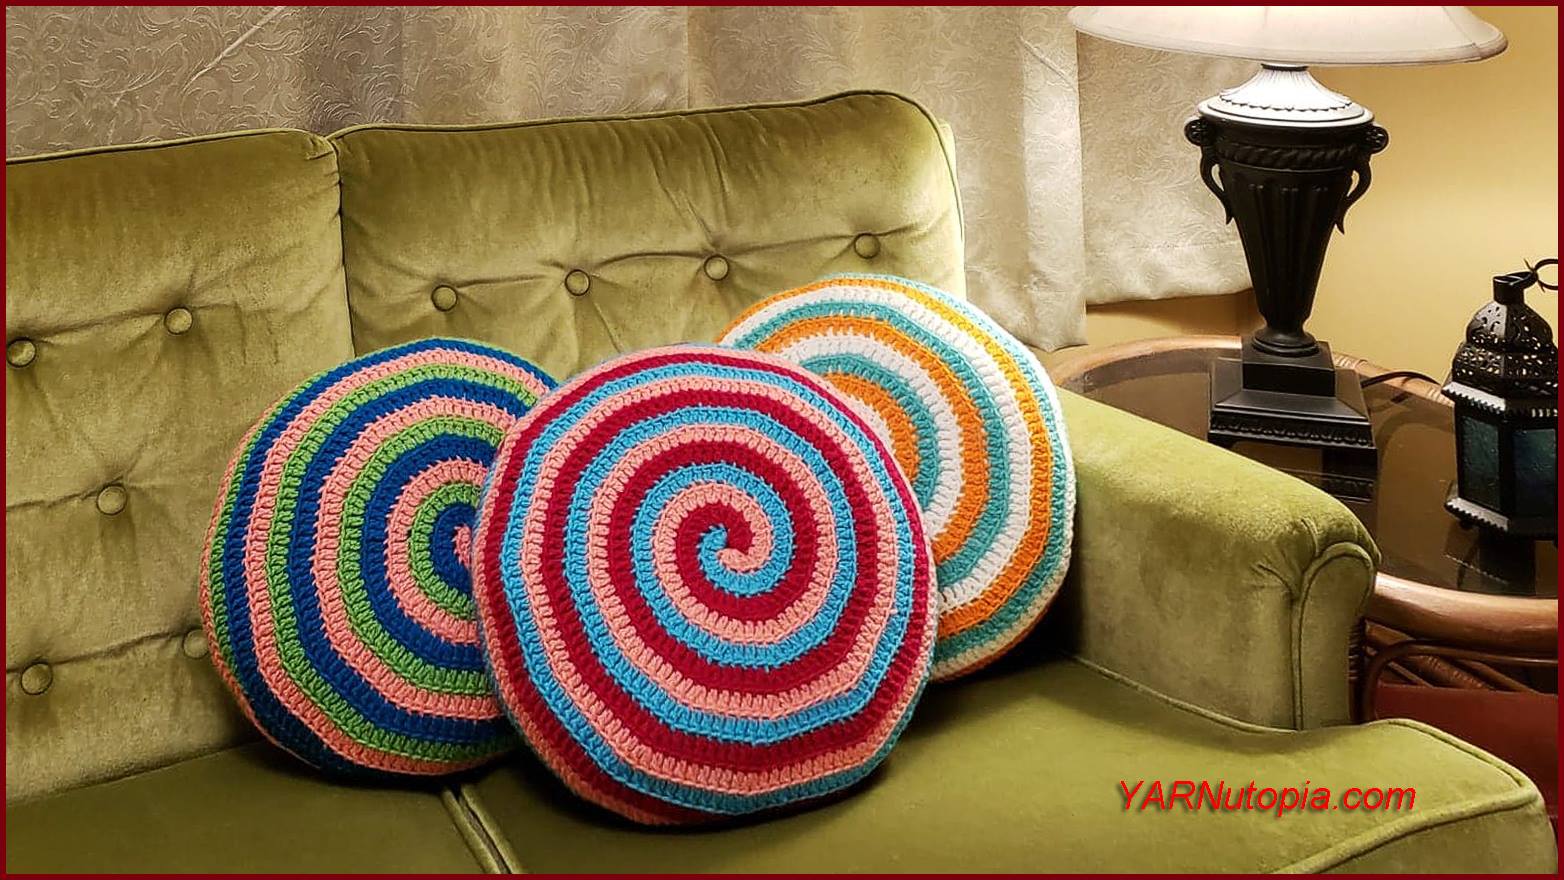
How to Crochet Tutorial: Candy Swirl Pillow
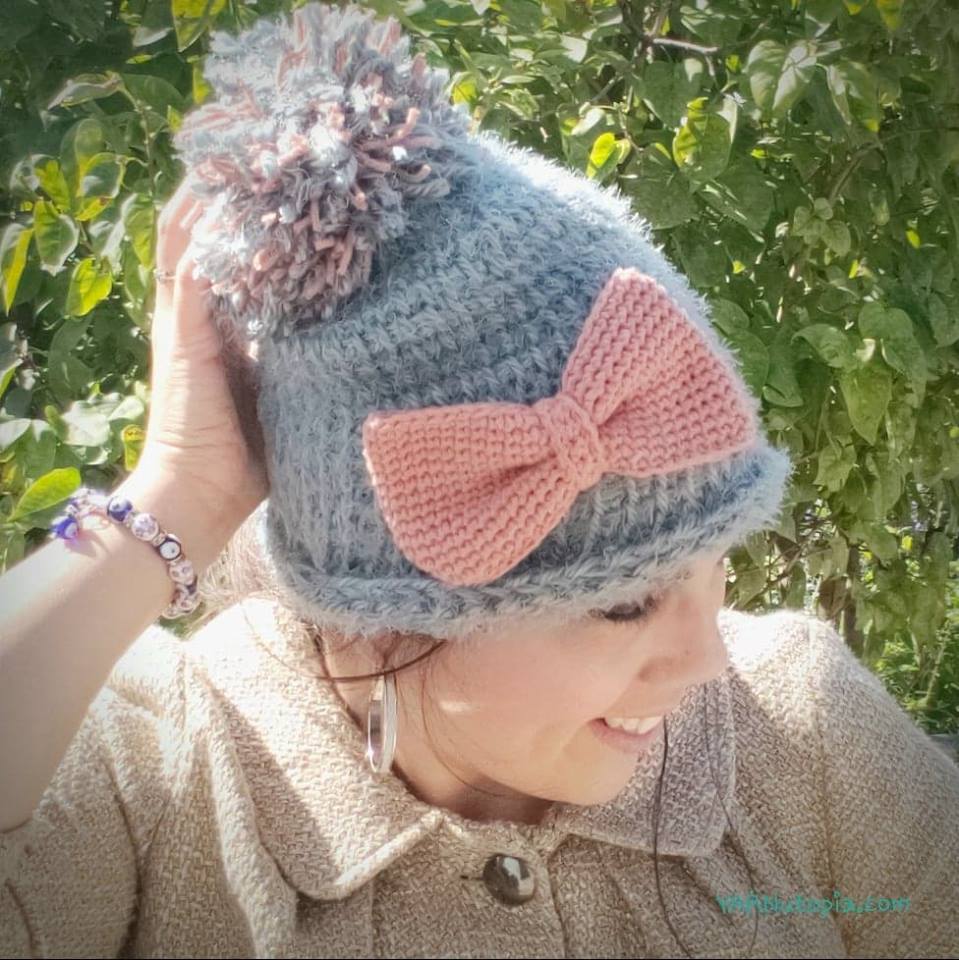
Crochet Tutorial: Soft Hygge Beanie Hat
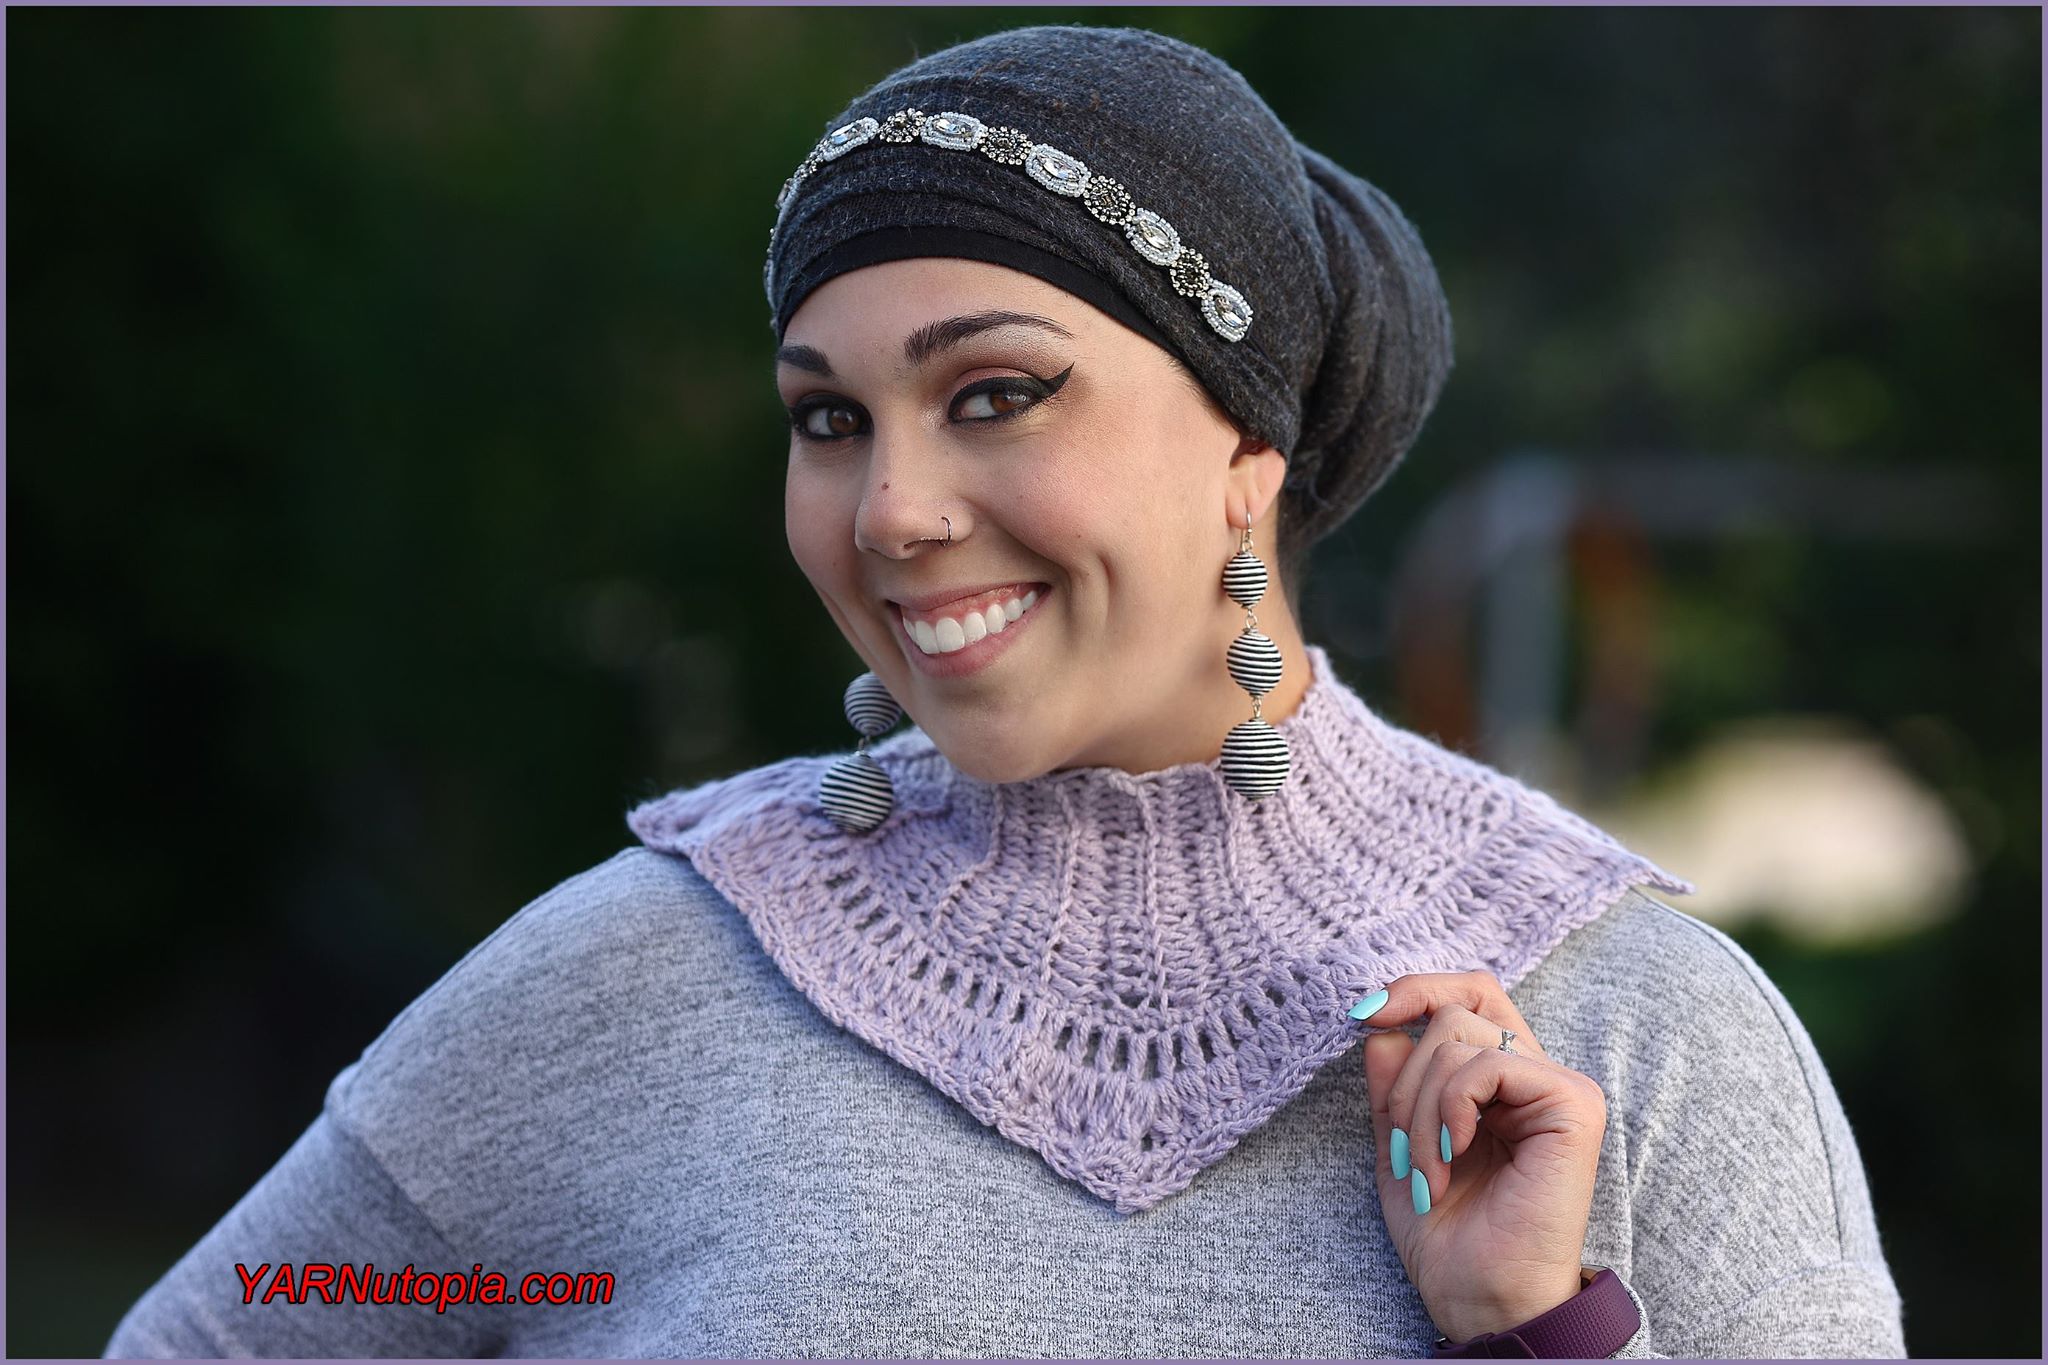
Crochet Tutorial: Vintage Inspired Pelerine Collar
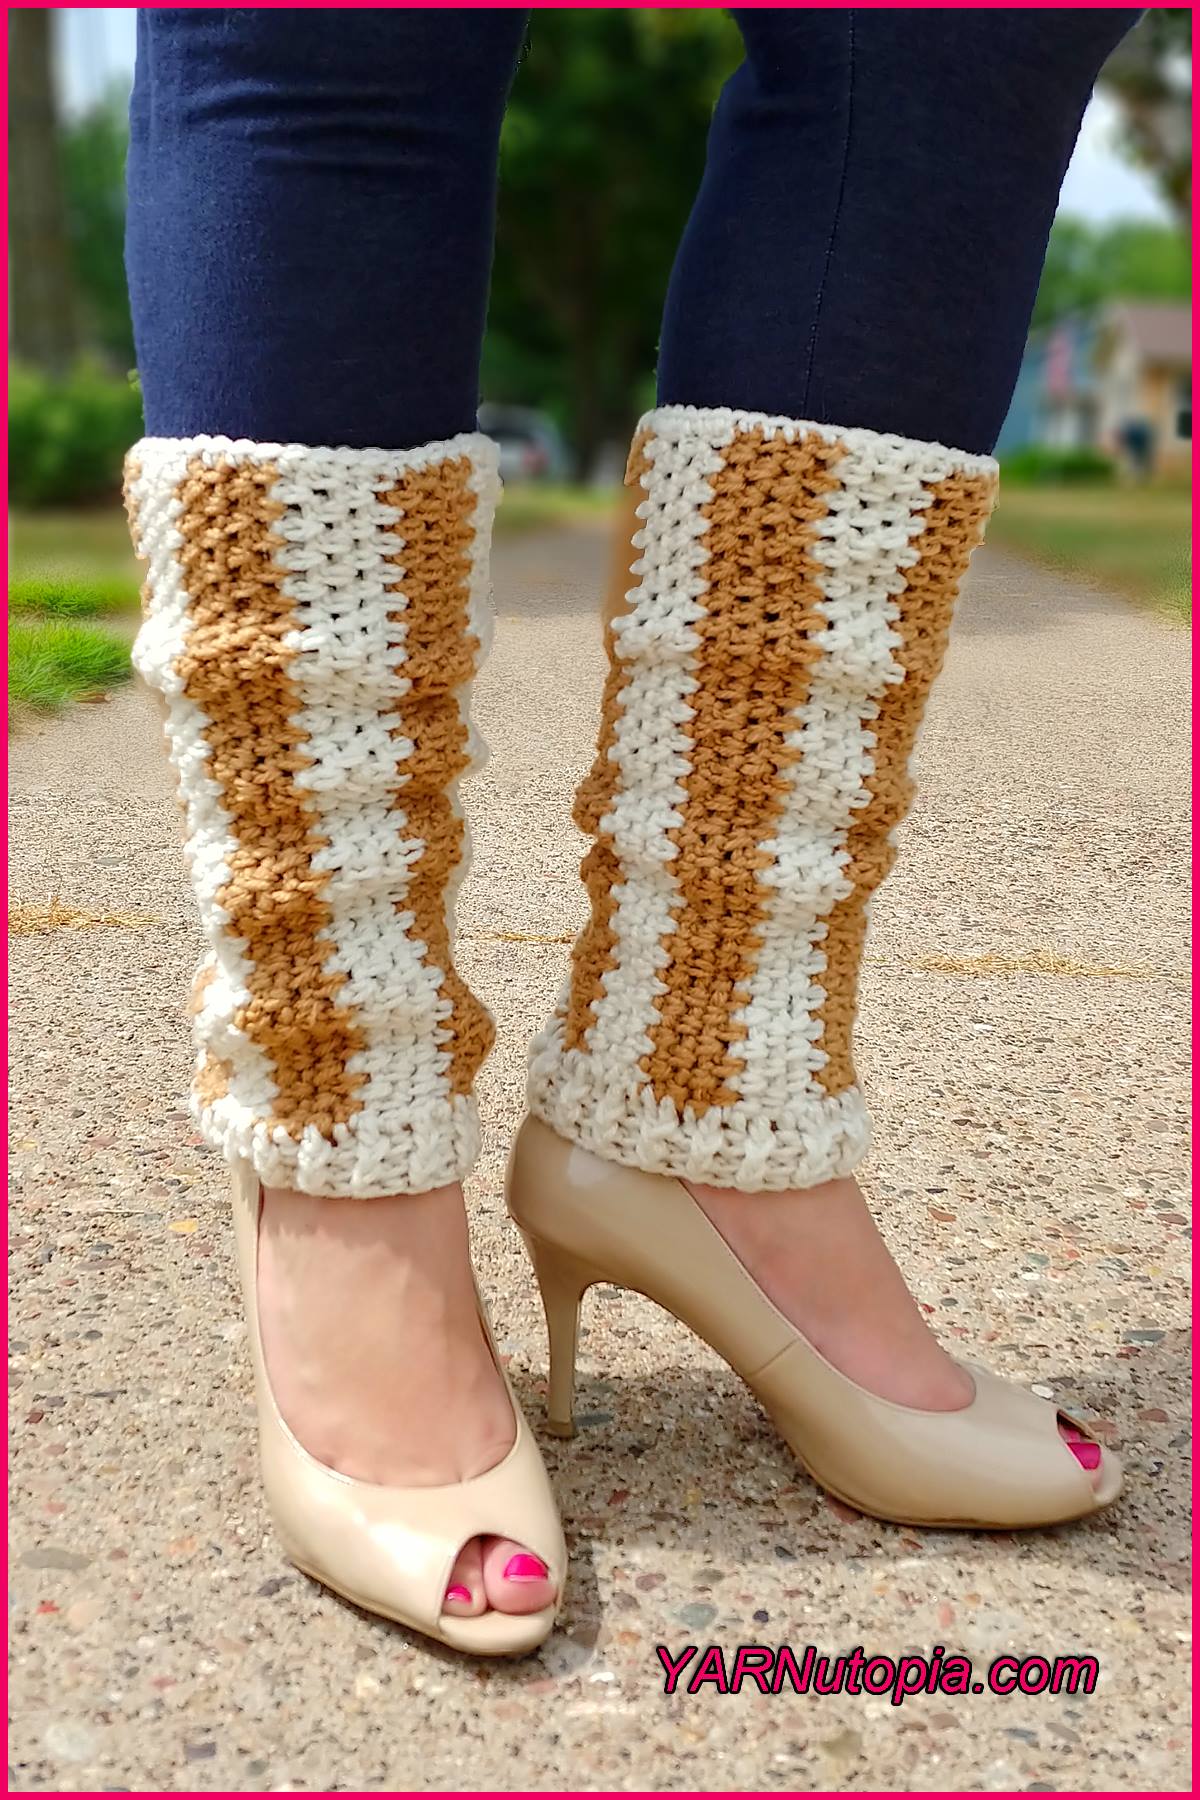
Crochet Tutorial: Vertical Striped Leg Warmers
Video Tutorial: Make Your Mark Bookmark
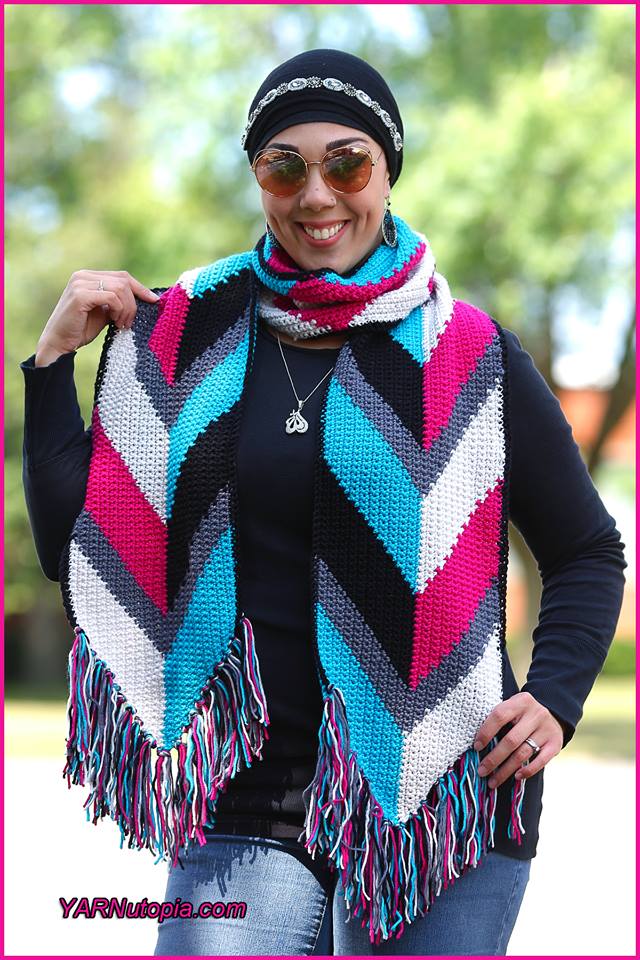
Crochet Tutorial: Arrows and Fringe Boho Fashion Scarf
Crochet Tutorial: Bookmark with a Ribbon
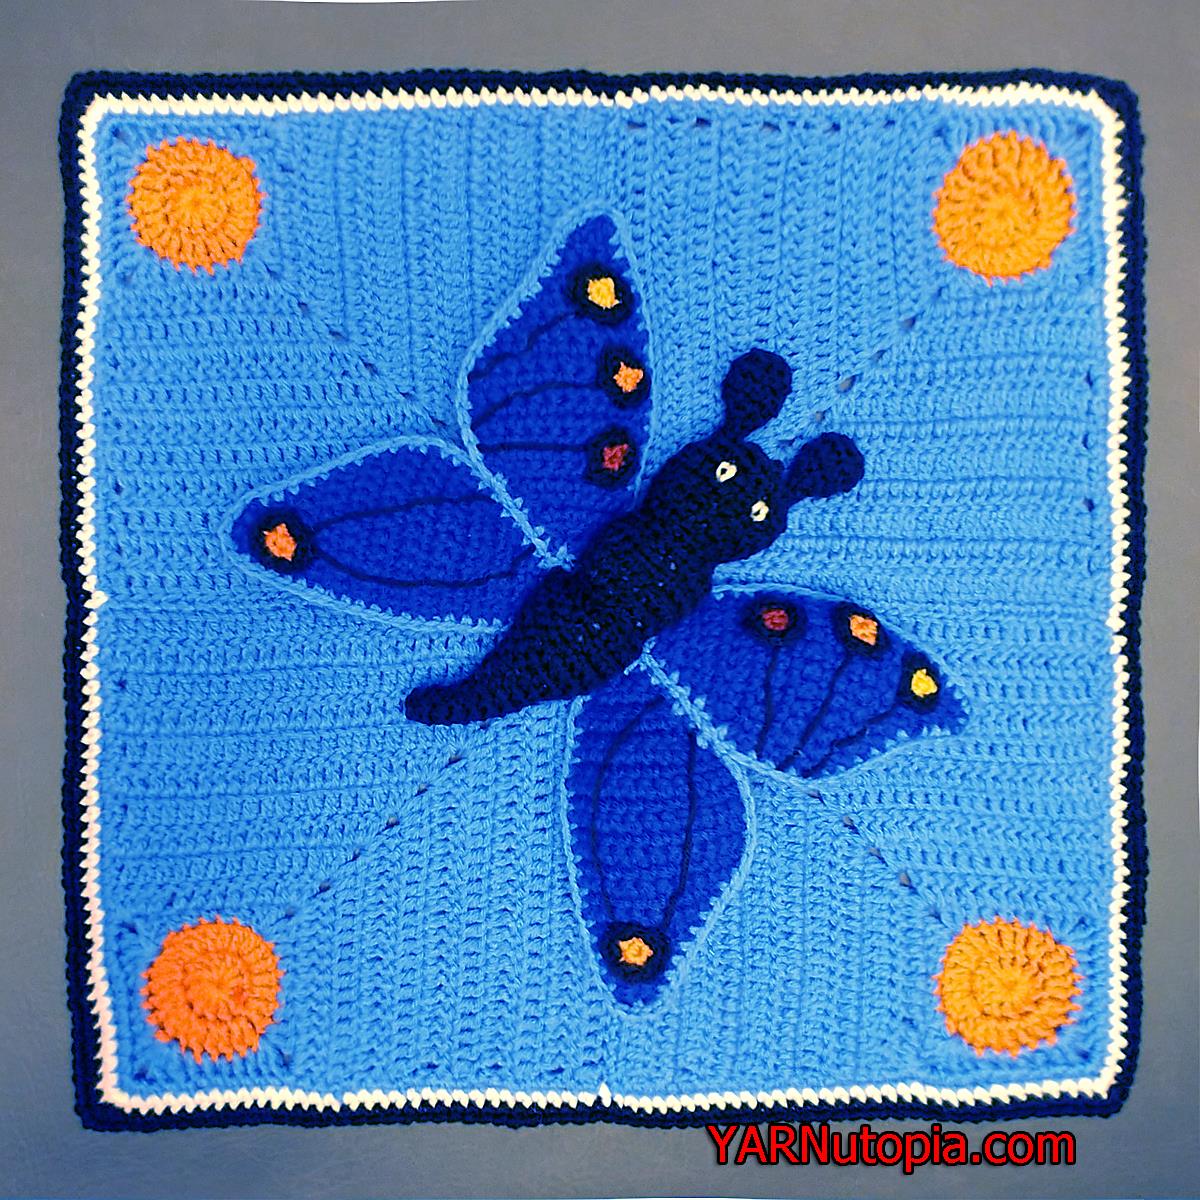
Crochet Tutorial: Butterfly Lovey
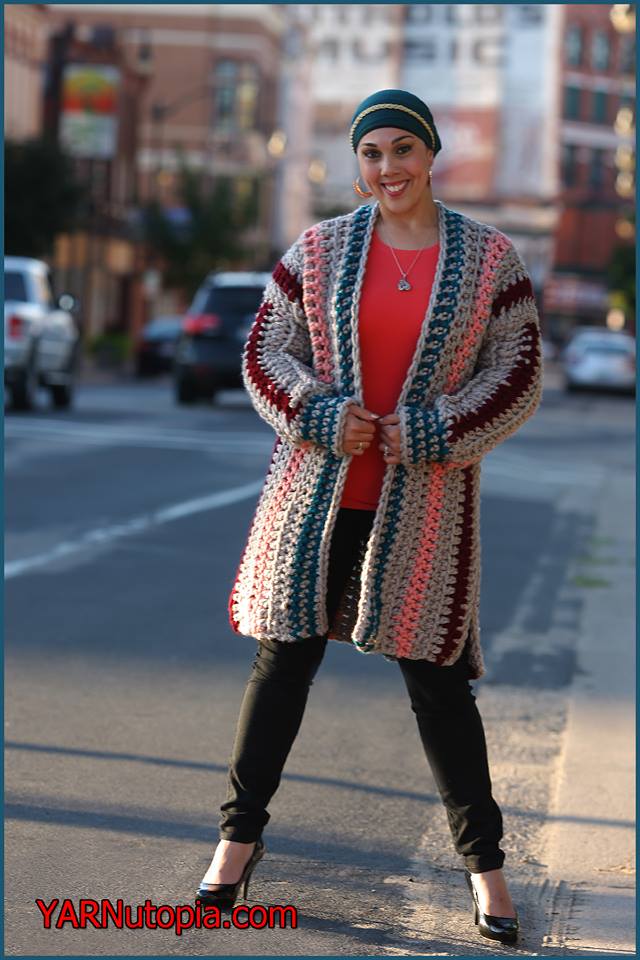
Crochet Tutorial: Autumn Nights Cardigan
Crochet Tutorial: Dual Sided Washcloth
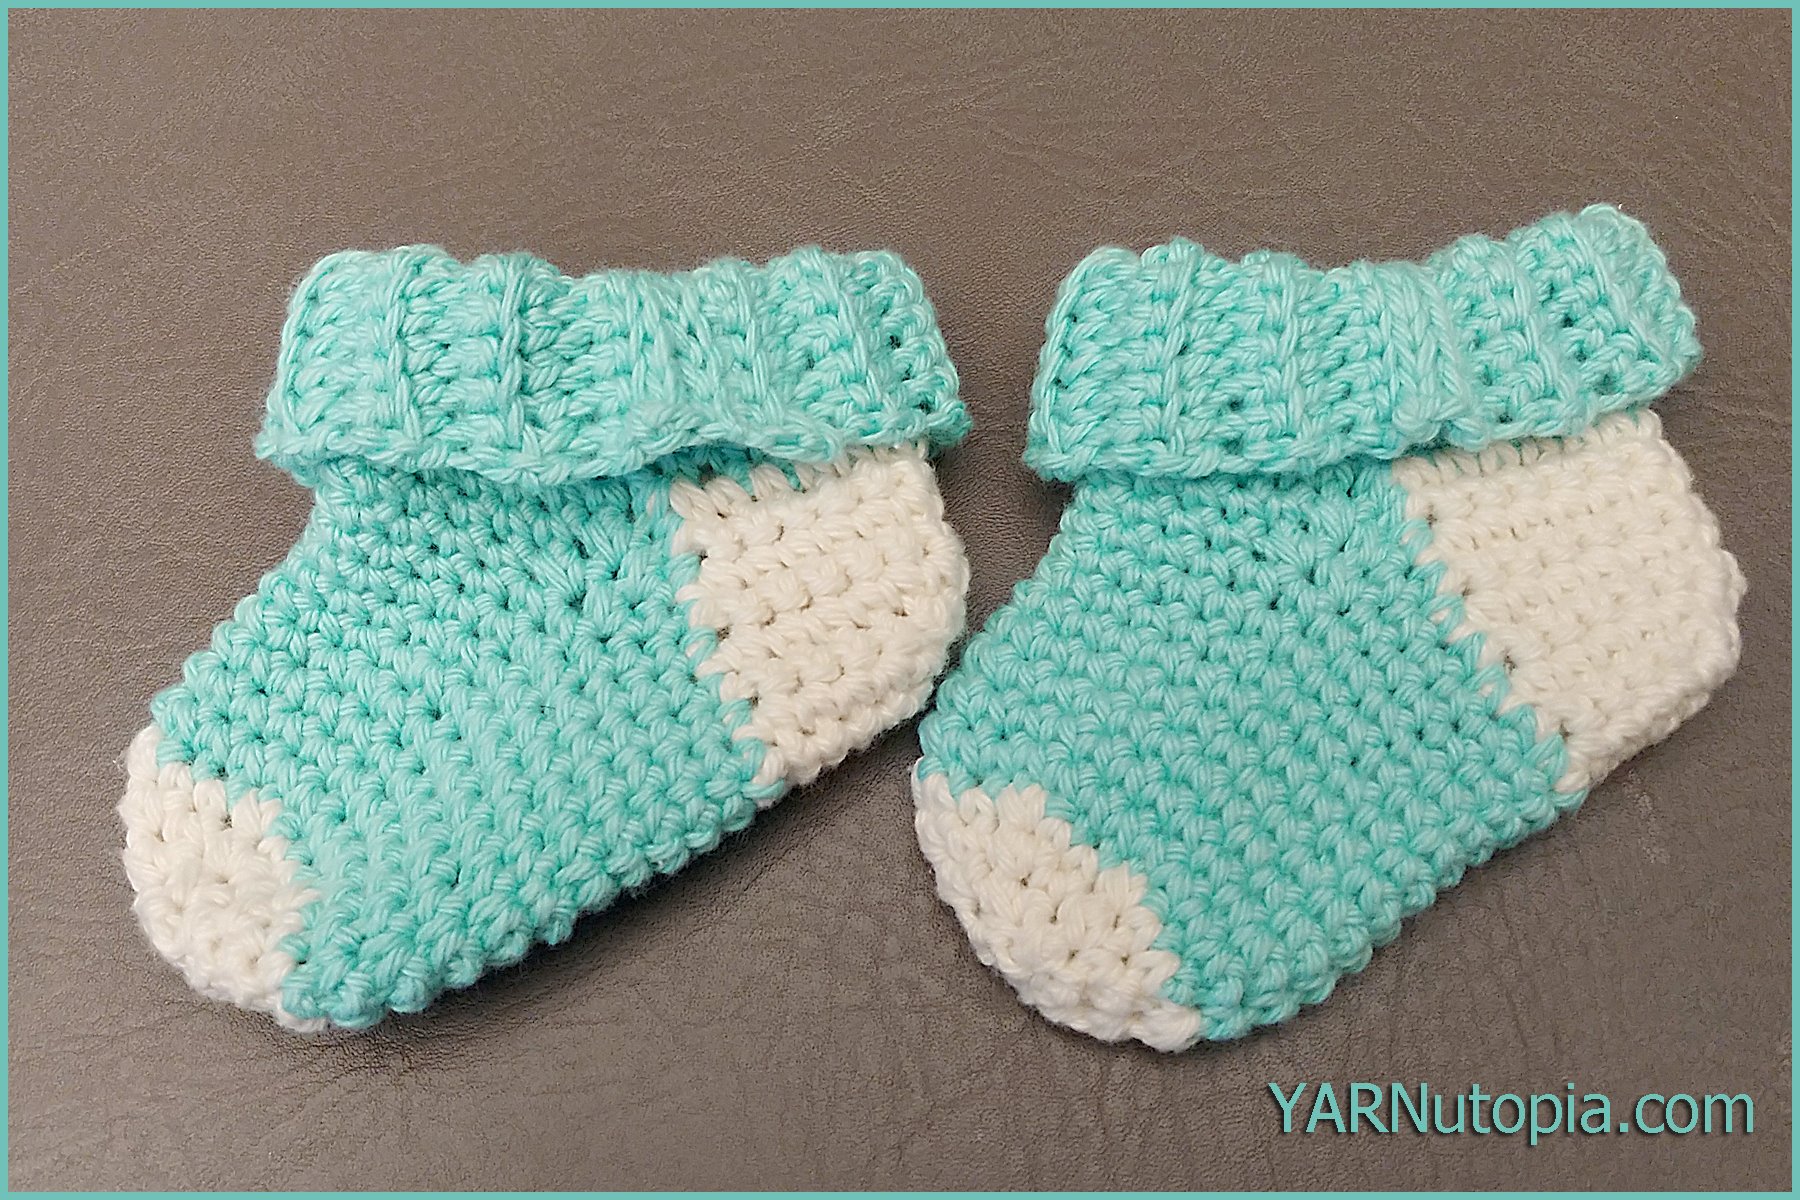
Crochet Tutorial: Simple Baby Socks
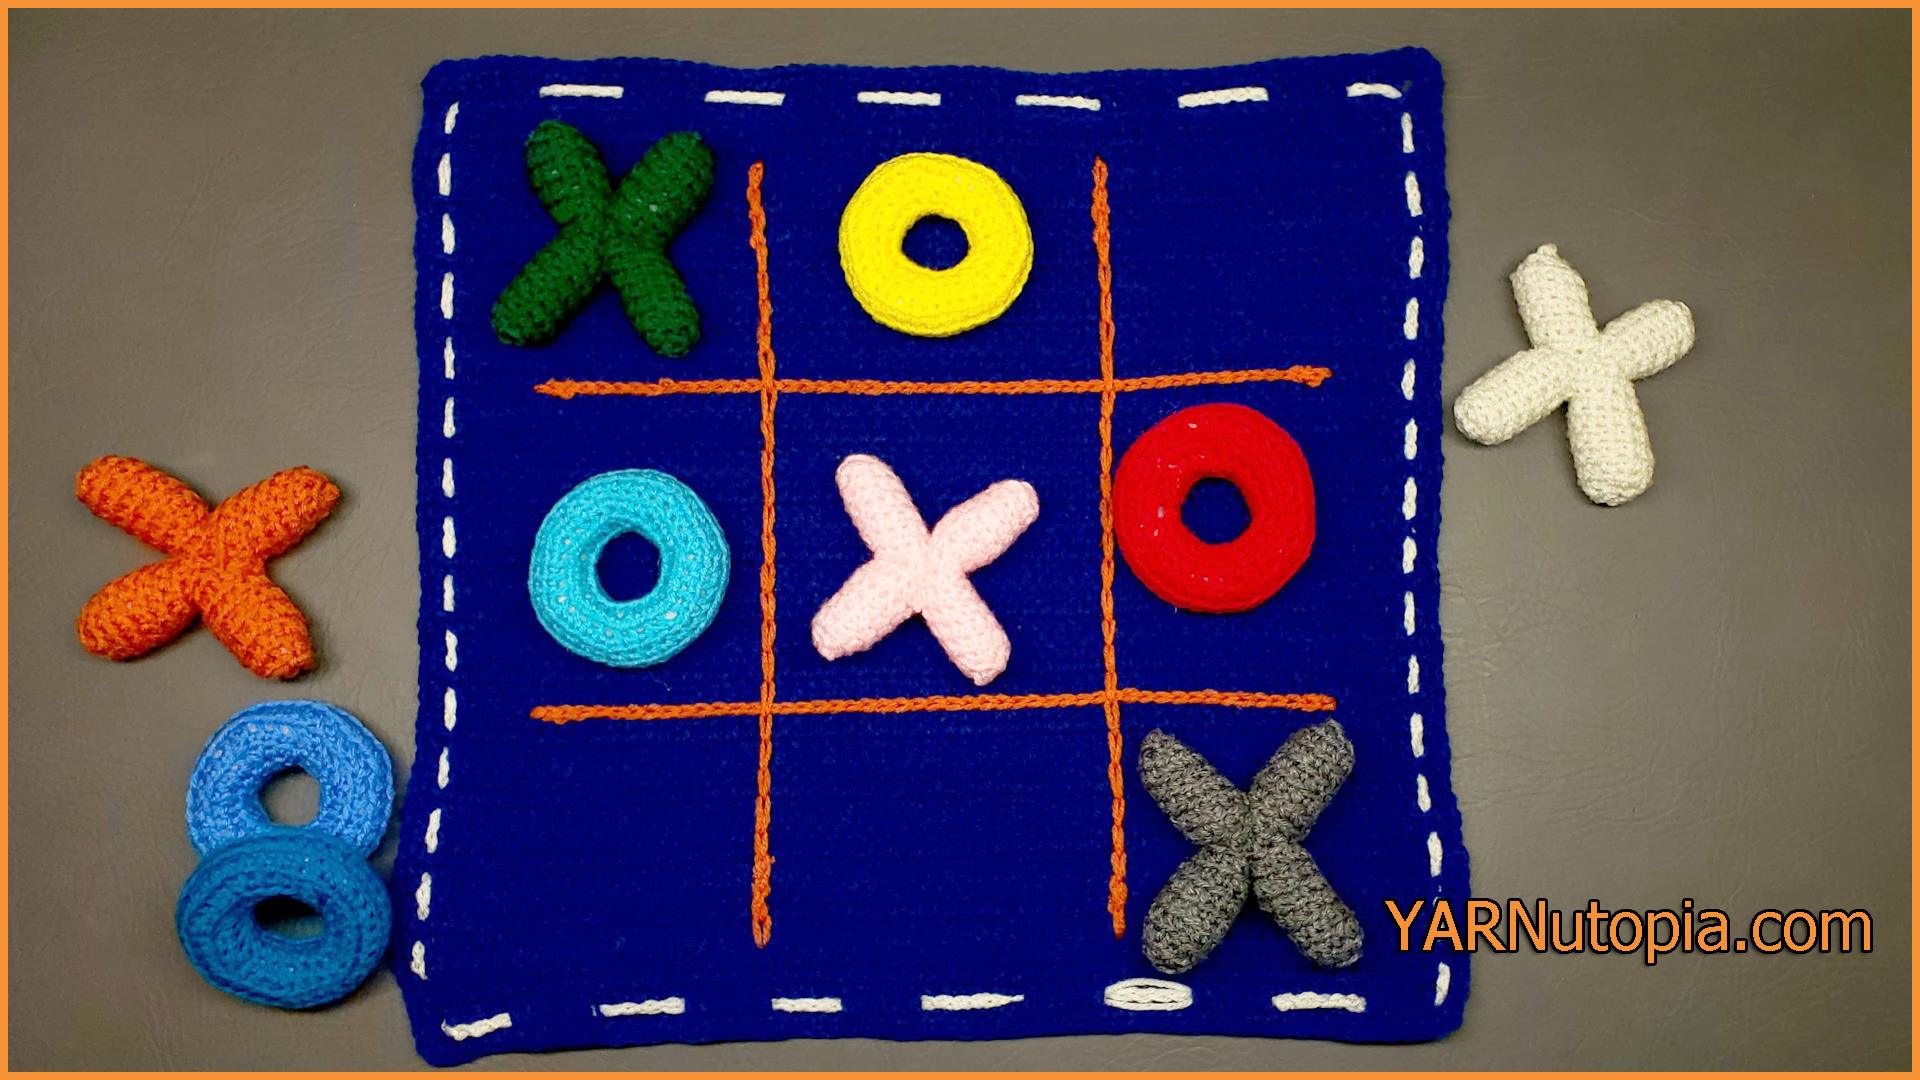
Crochet Tutorial: Tic Tac Toe Game and Tote
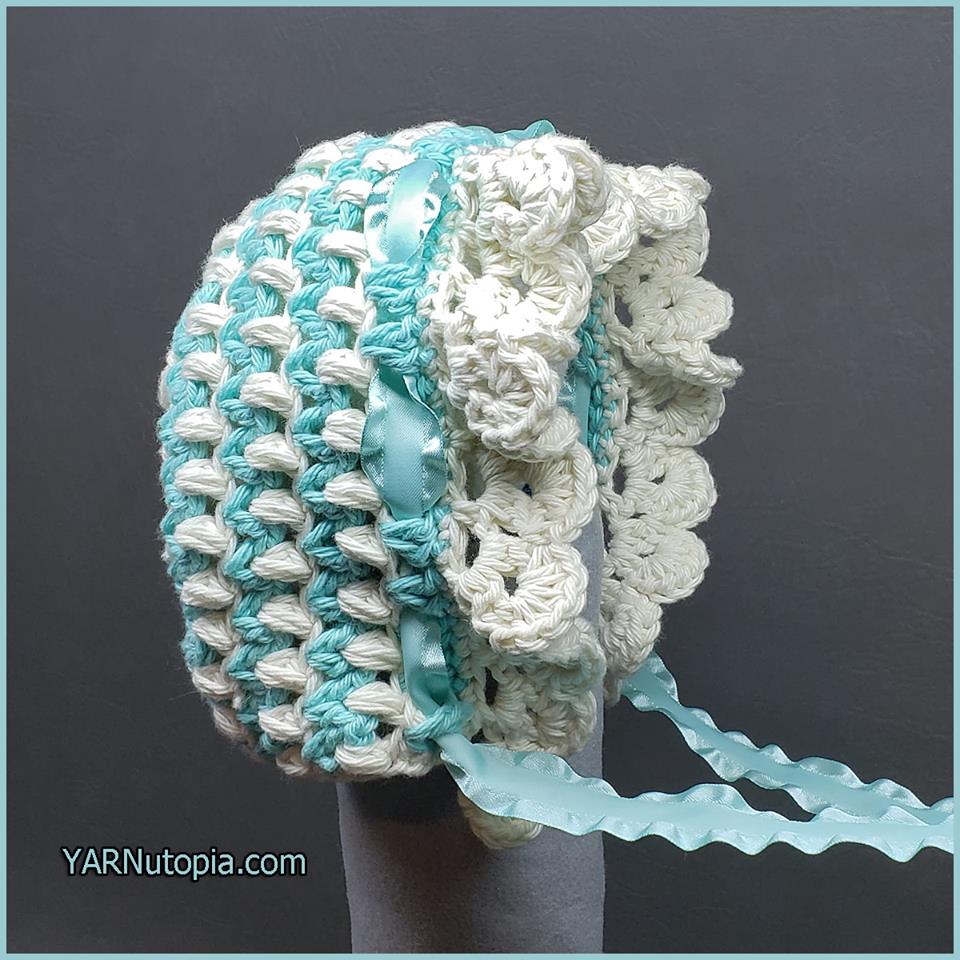
Crochet Tutorial: Vintage Style Baby Bonnet
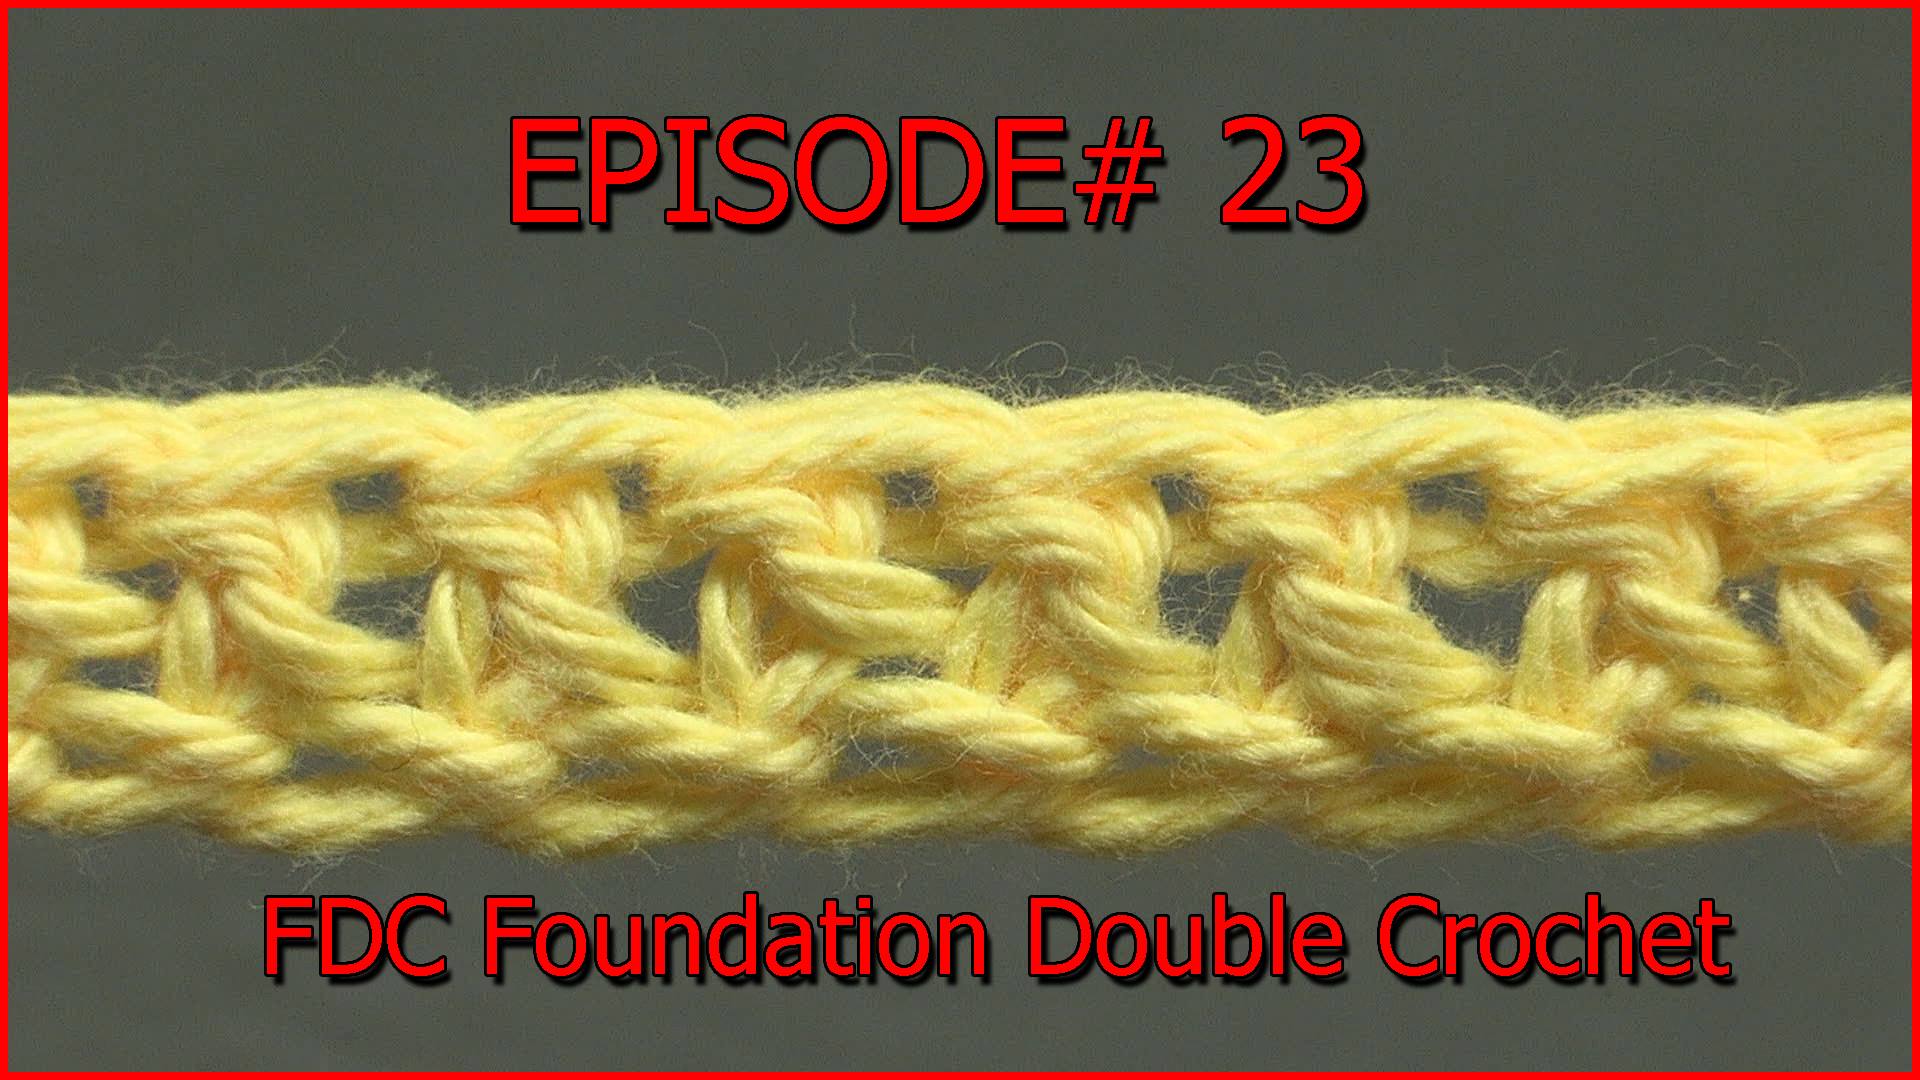
Stitch Gallery & Glossary Episode #23: Foundation Double Crochet
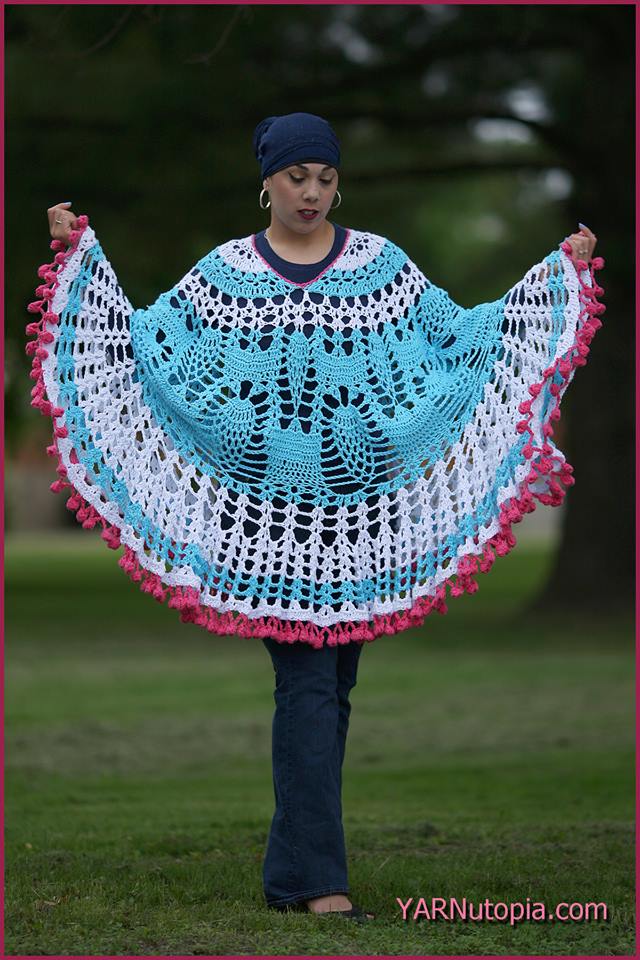
Crochet Tutorial: Pom Poms and Pineapples Poncho
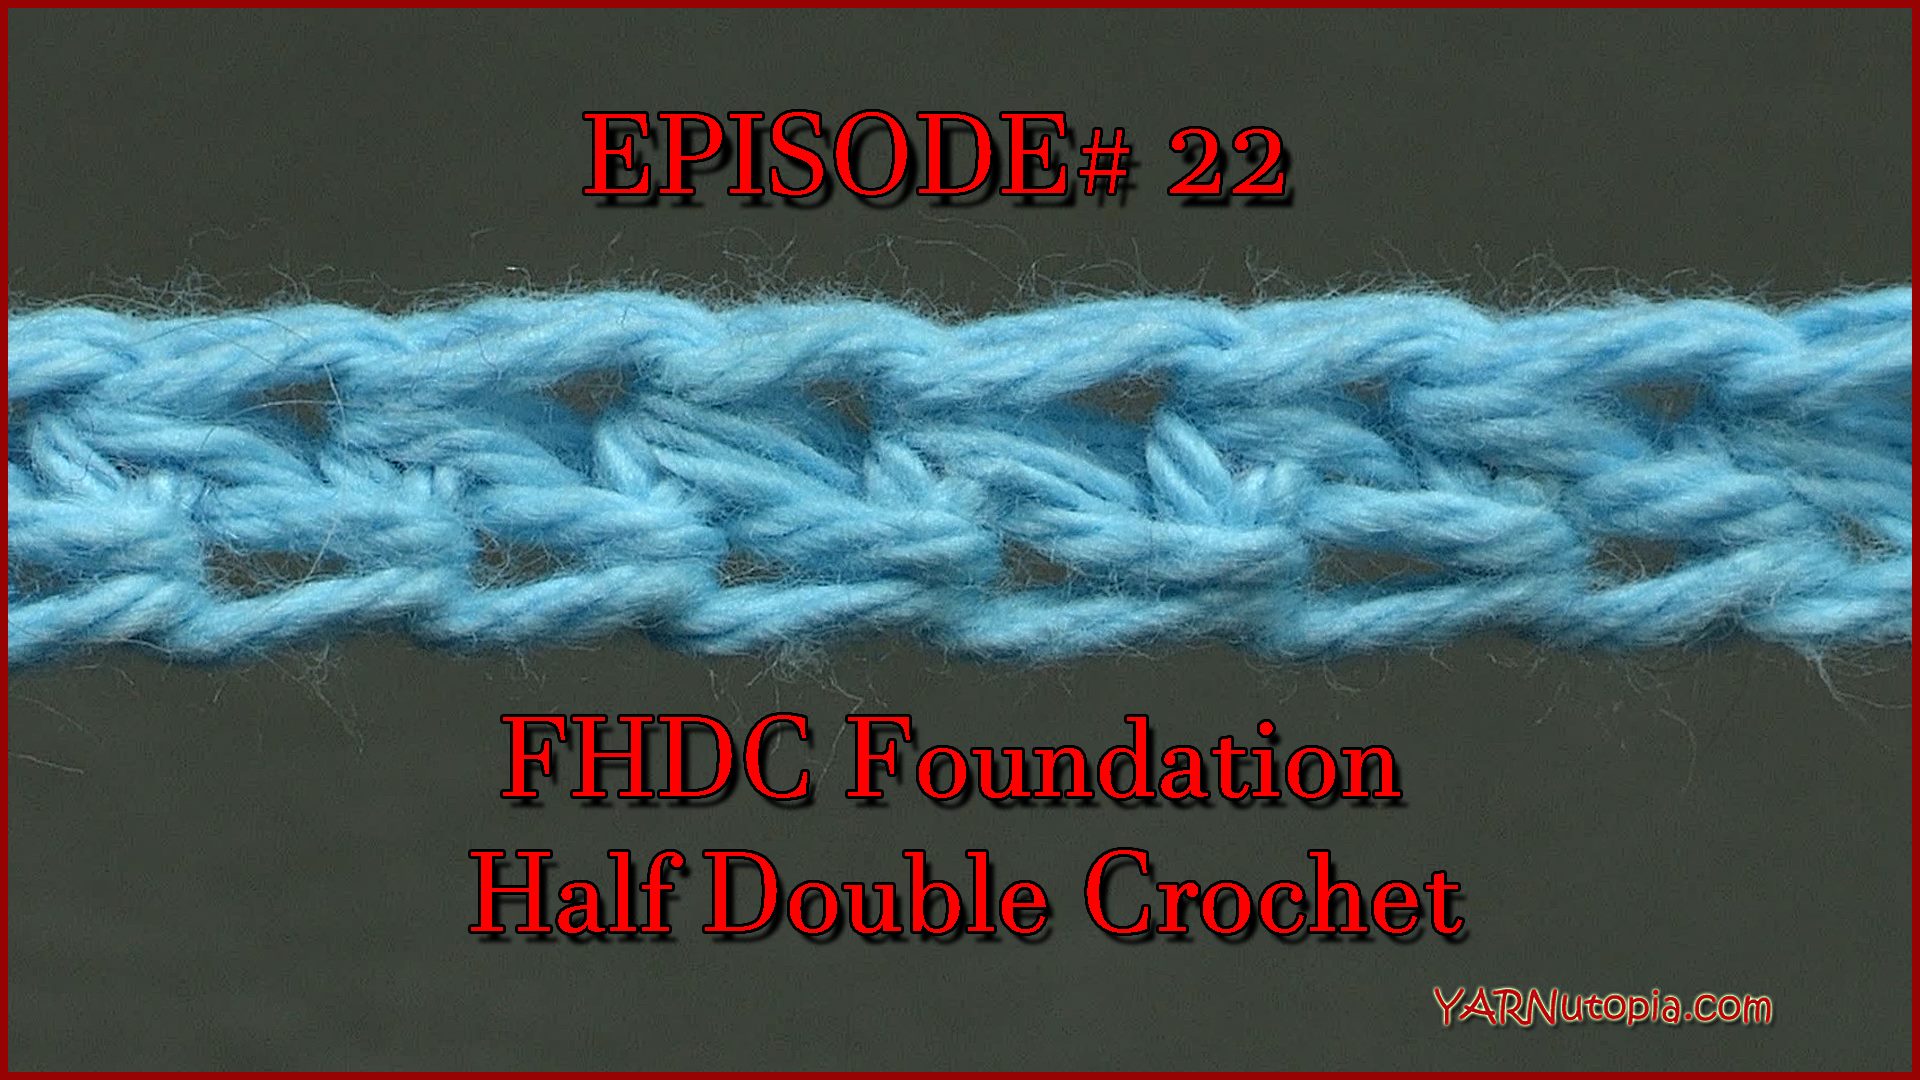
Stitch Gallery & Glossary Episode #22: Foundation Half-Double Crochet
Gifts for my Bridesmaids: Wrapped in Jewels
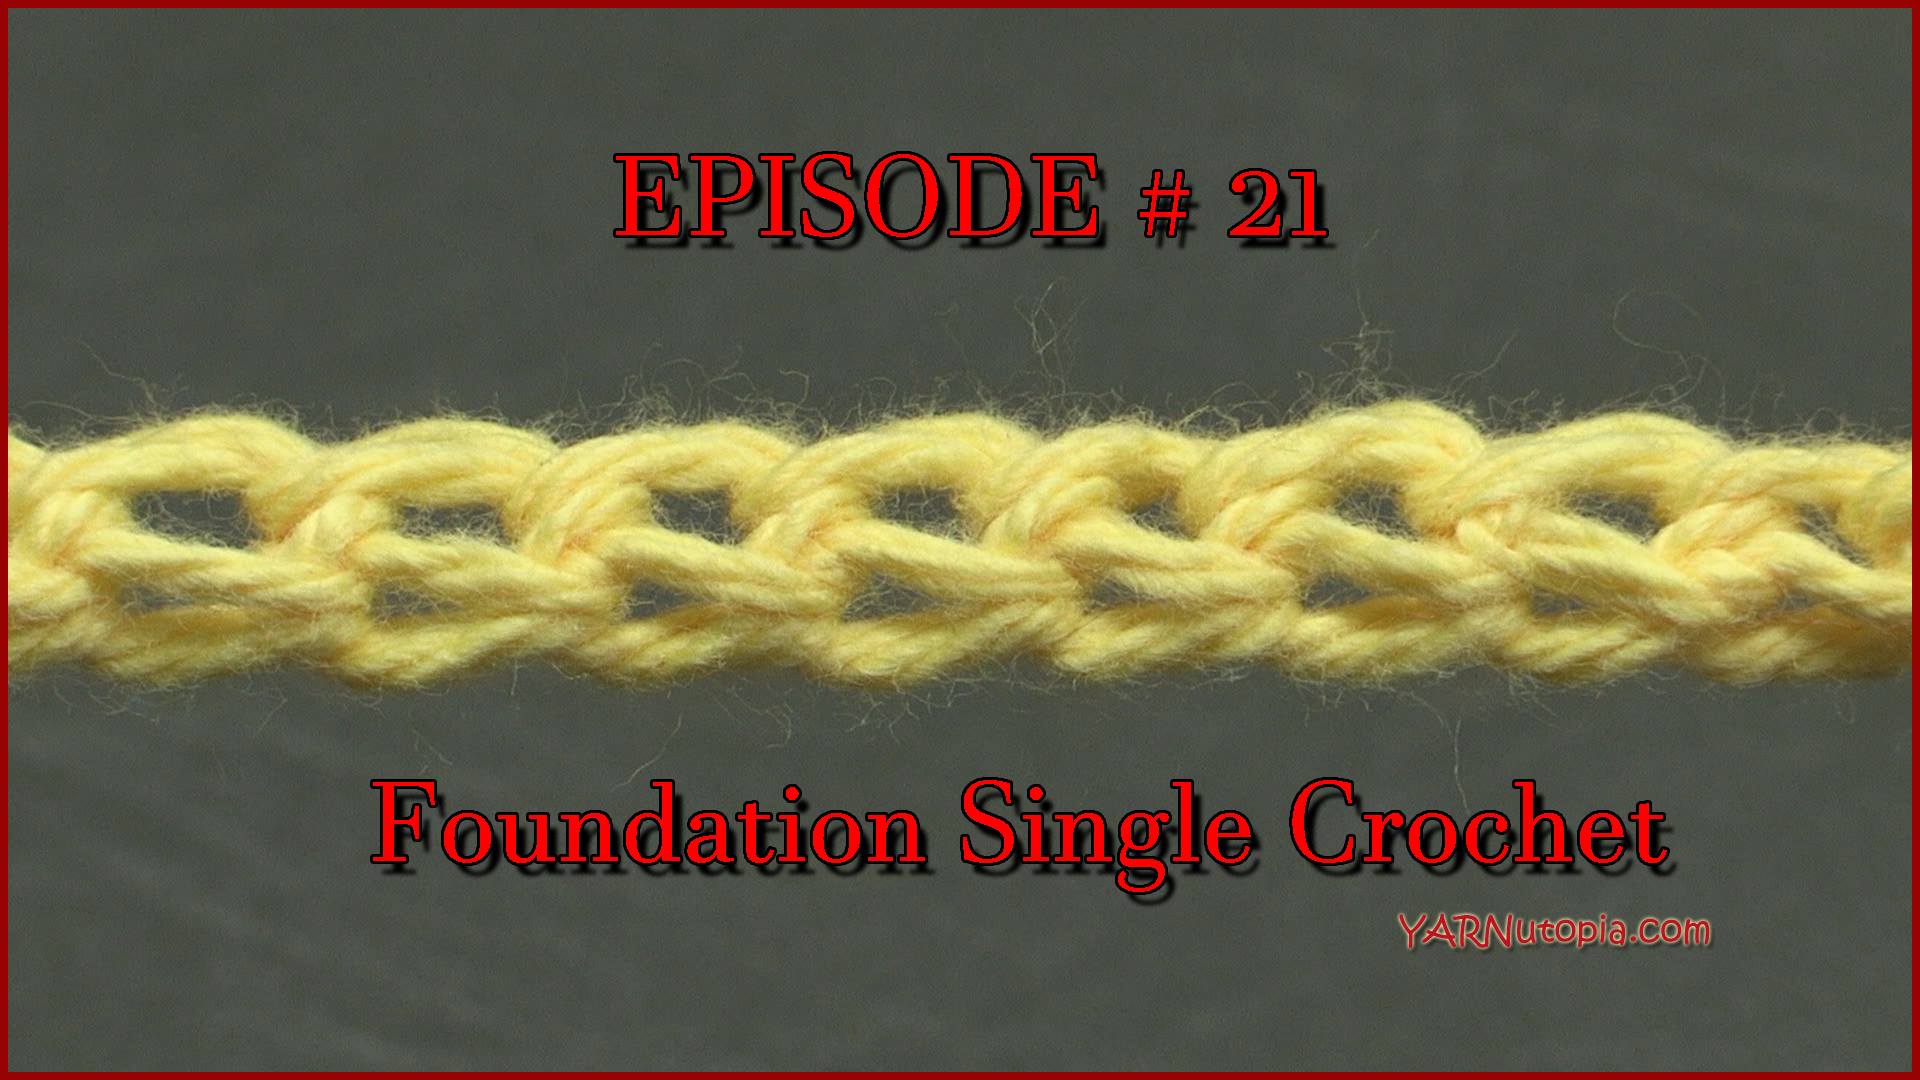
Stitch Gallery & Glossary Episode #21: Foundation Single Crochet
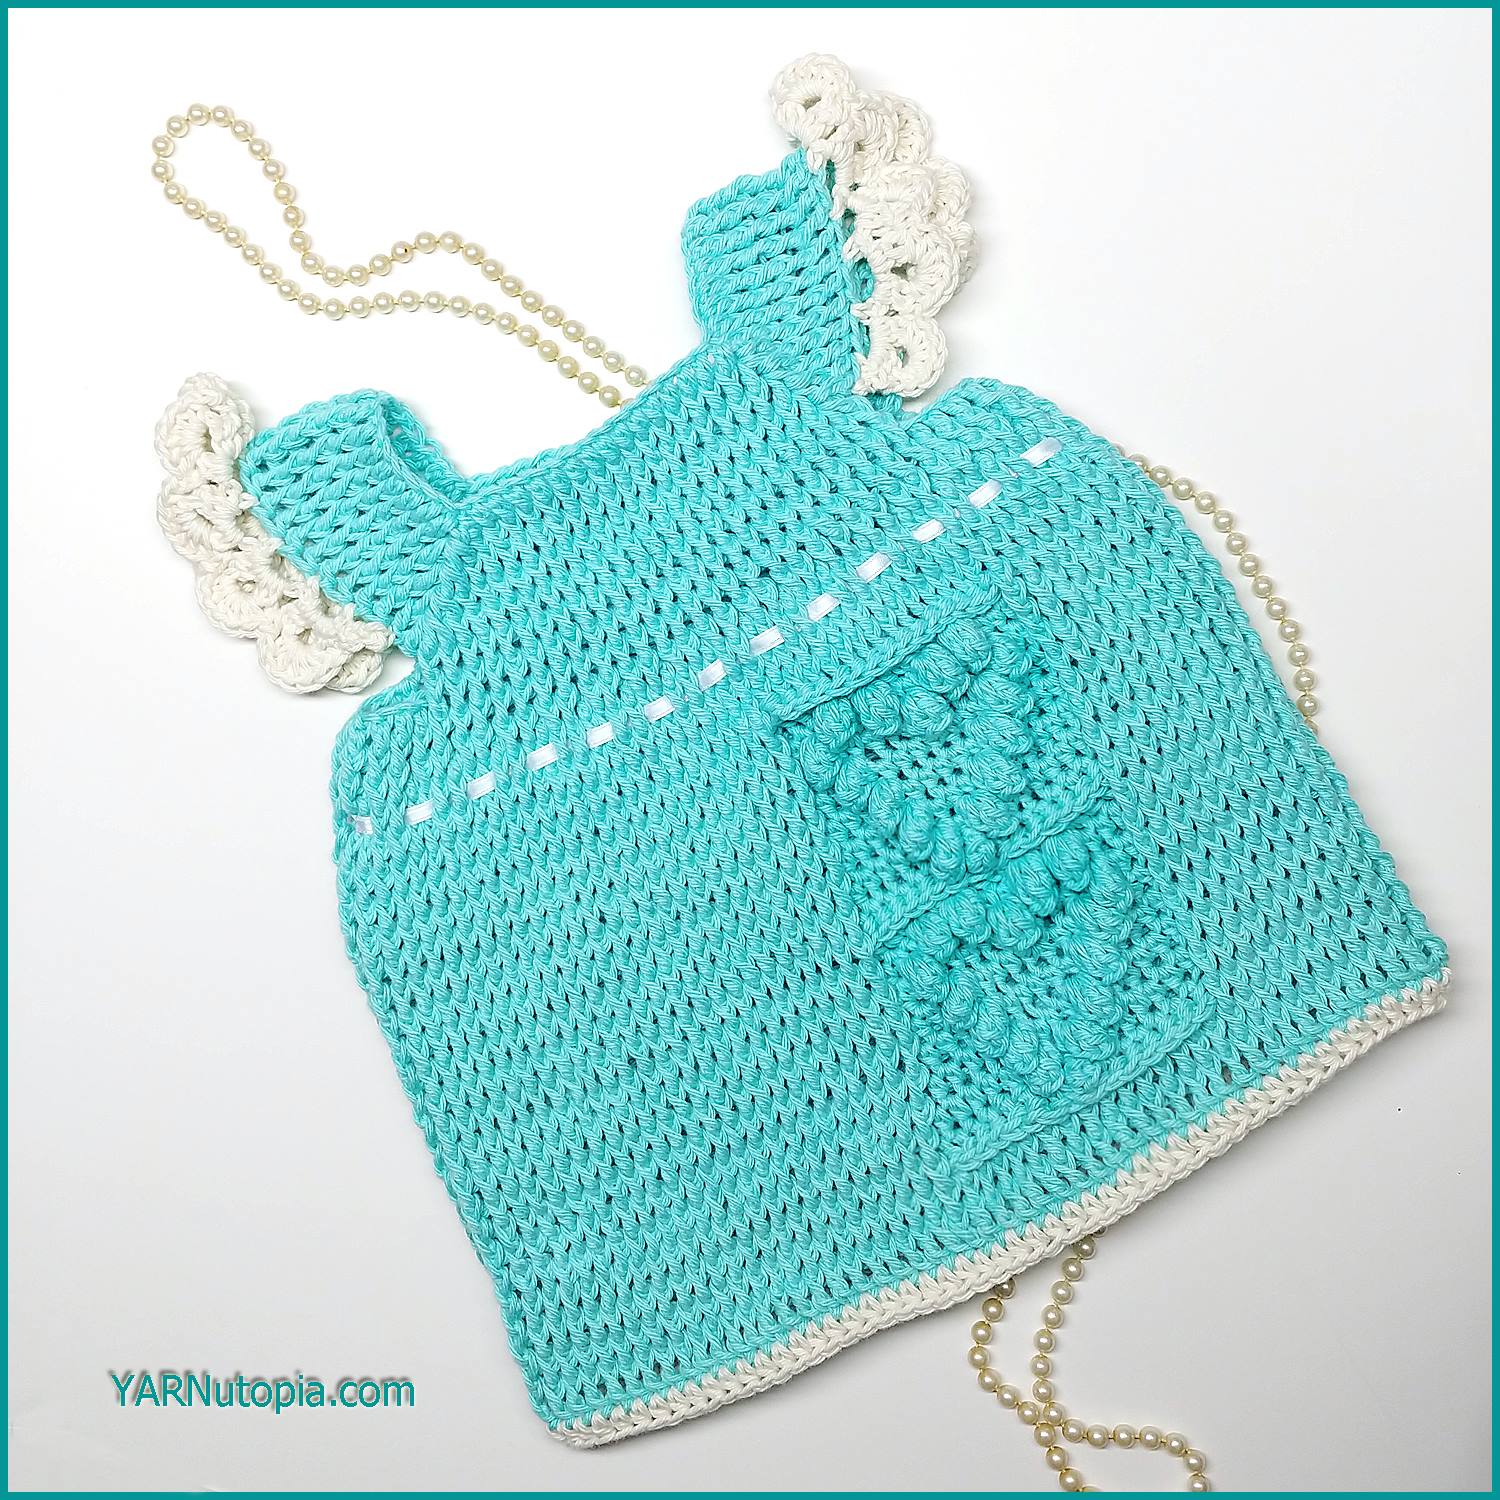
Crochet Tutorial: Happy Hearts Baby Dress
Crochet Tutorial: Colorful Visions Afghan
Previous Page
1
2
3
4
5
6
…
12
Next Page
Loading Comments...
Write a Comment...
Email (Required)
Name (Required)
Website