Skip to content
YARNutopia & M0re
All things Yarn Related: Crochet, DIY, and Crafts
Blog
365 Days of Granny Squares
Stitch Gallery & Glossary
Crochet Video Tutorials
Frequently Asked Questions
Crochet Glossary: Learn the Lingo
Contact
Search
Search
red heart yarns
YARNutoia & More
The Beholder & Cthulhu Hats for Halloween
A Special Order: Crochet Amigurumi
Gifting Crochet Blankets
FREE Crochet Video Tutorial: Seat Belt Shoulder Strap Cover
FREE Crochet Video Tutorial: Simply Bright Granny Square
An Open Letter to the Yarn Community
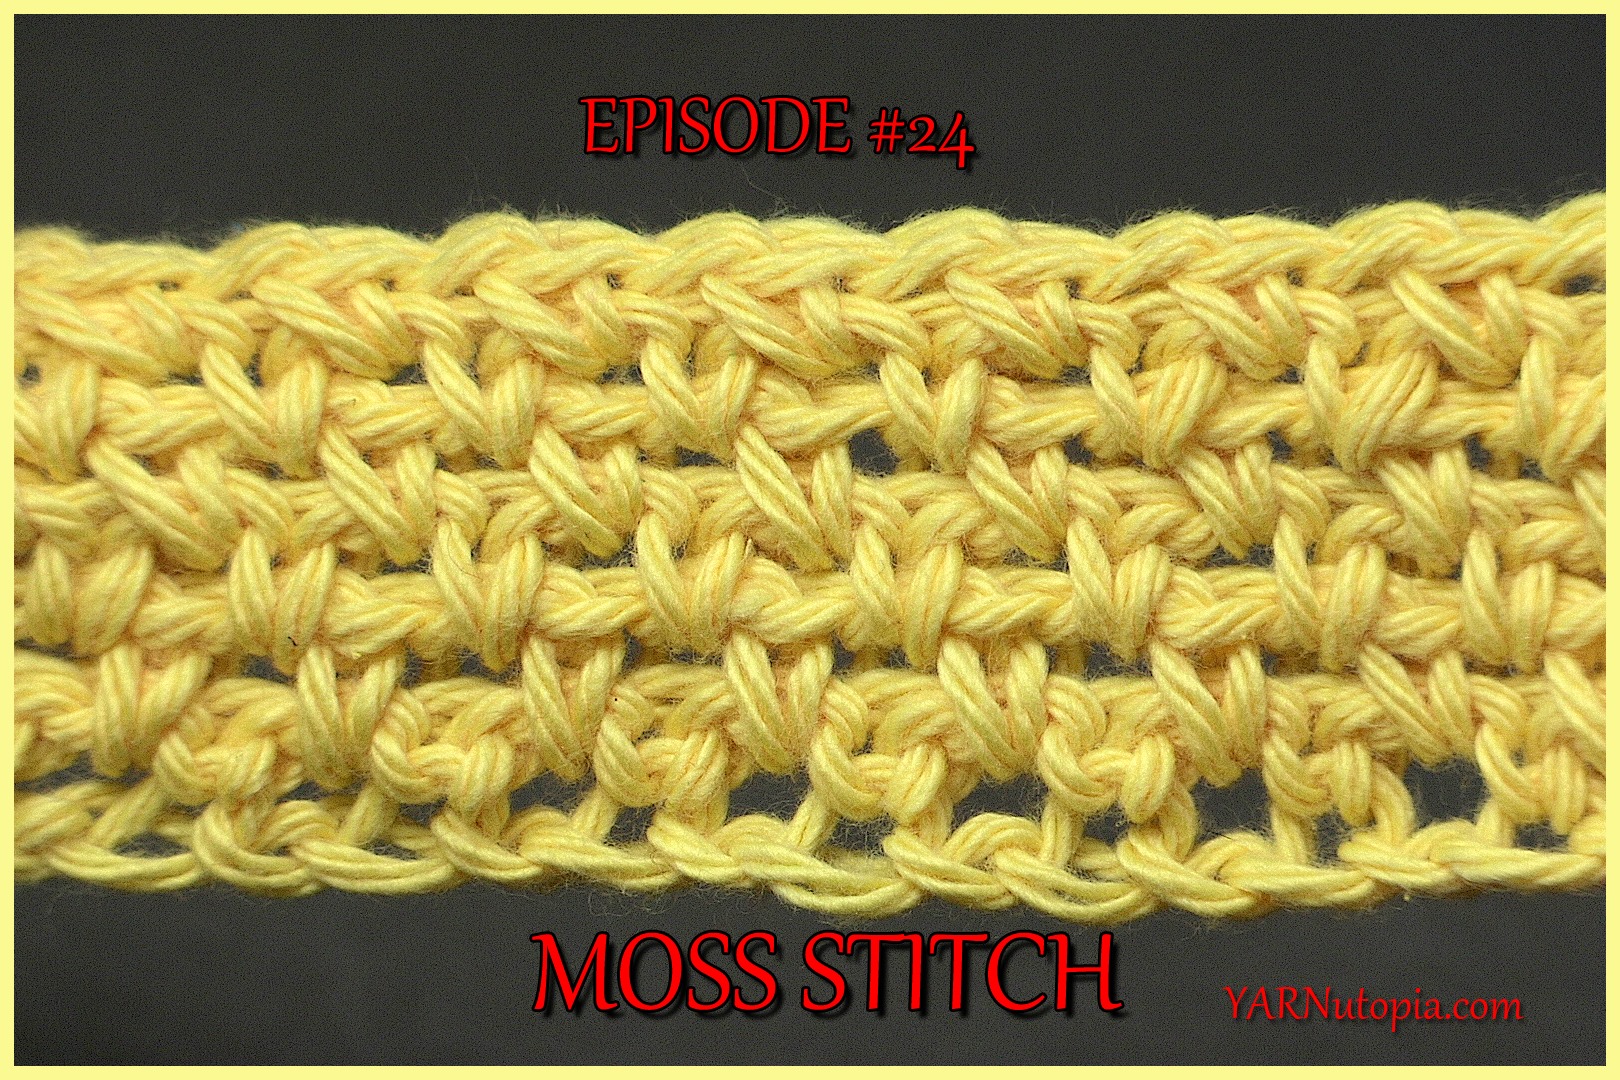
Stitch Gallery & Glossary Episode #24: Moss Stitch
FREE Crochet Video Tutorial: Chevron Washcloth
FREE Written Crochet Pattern: Chevron Washcloth
Macro Image Game
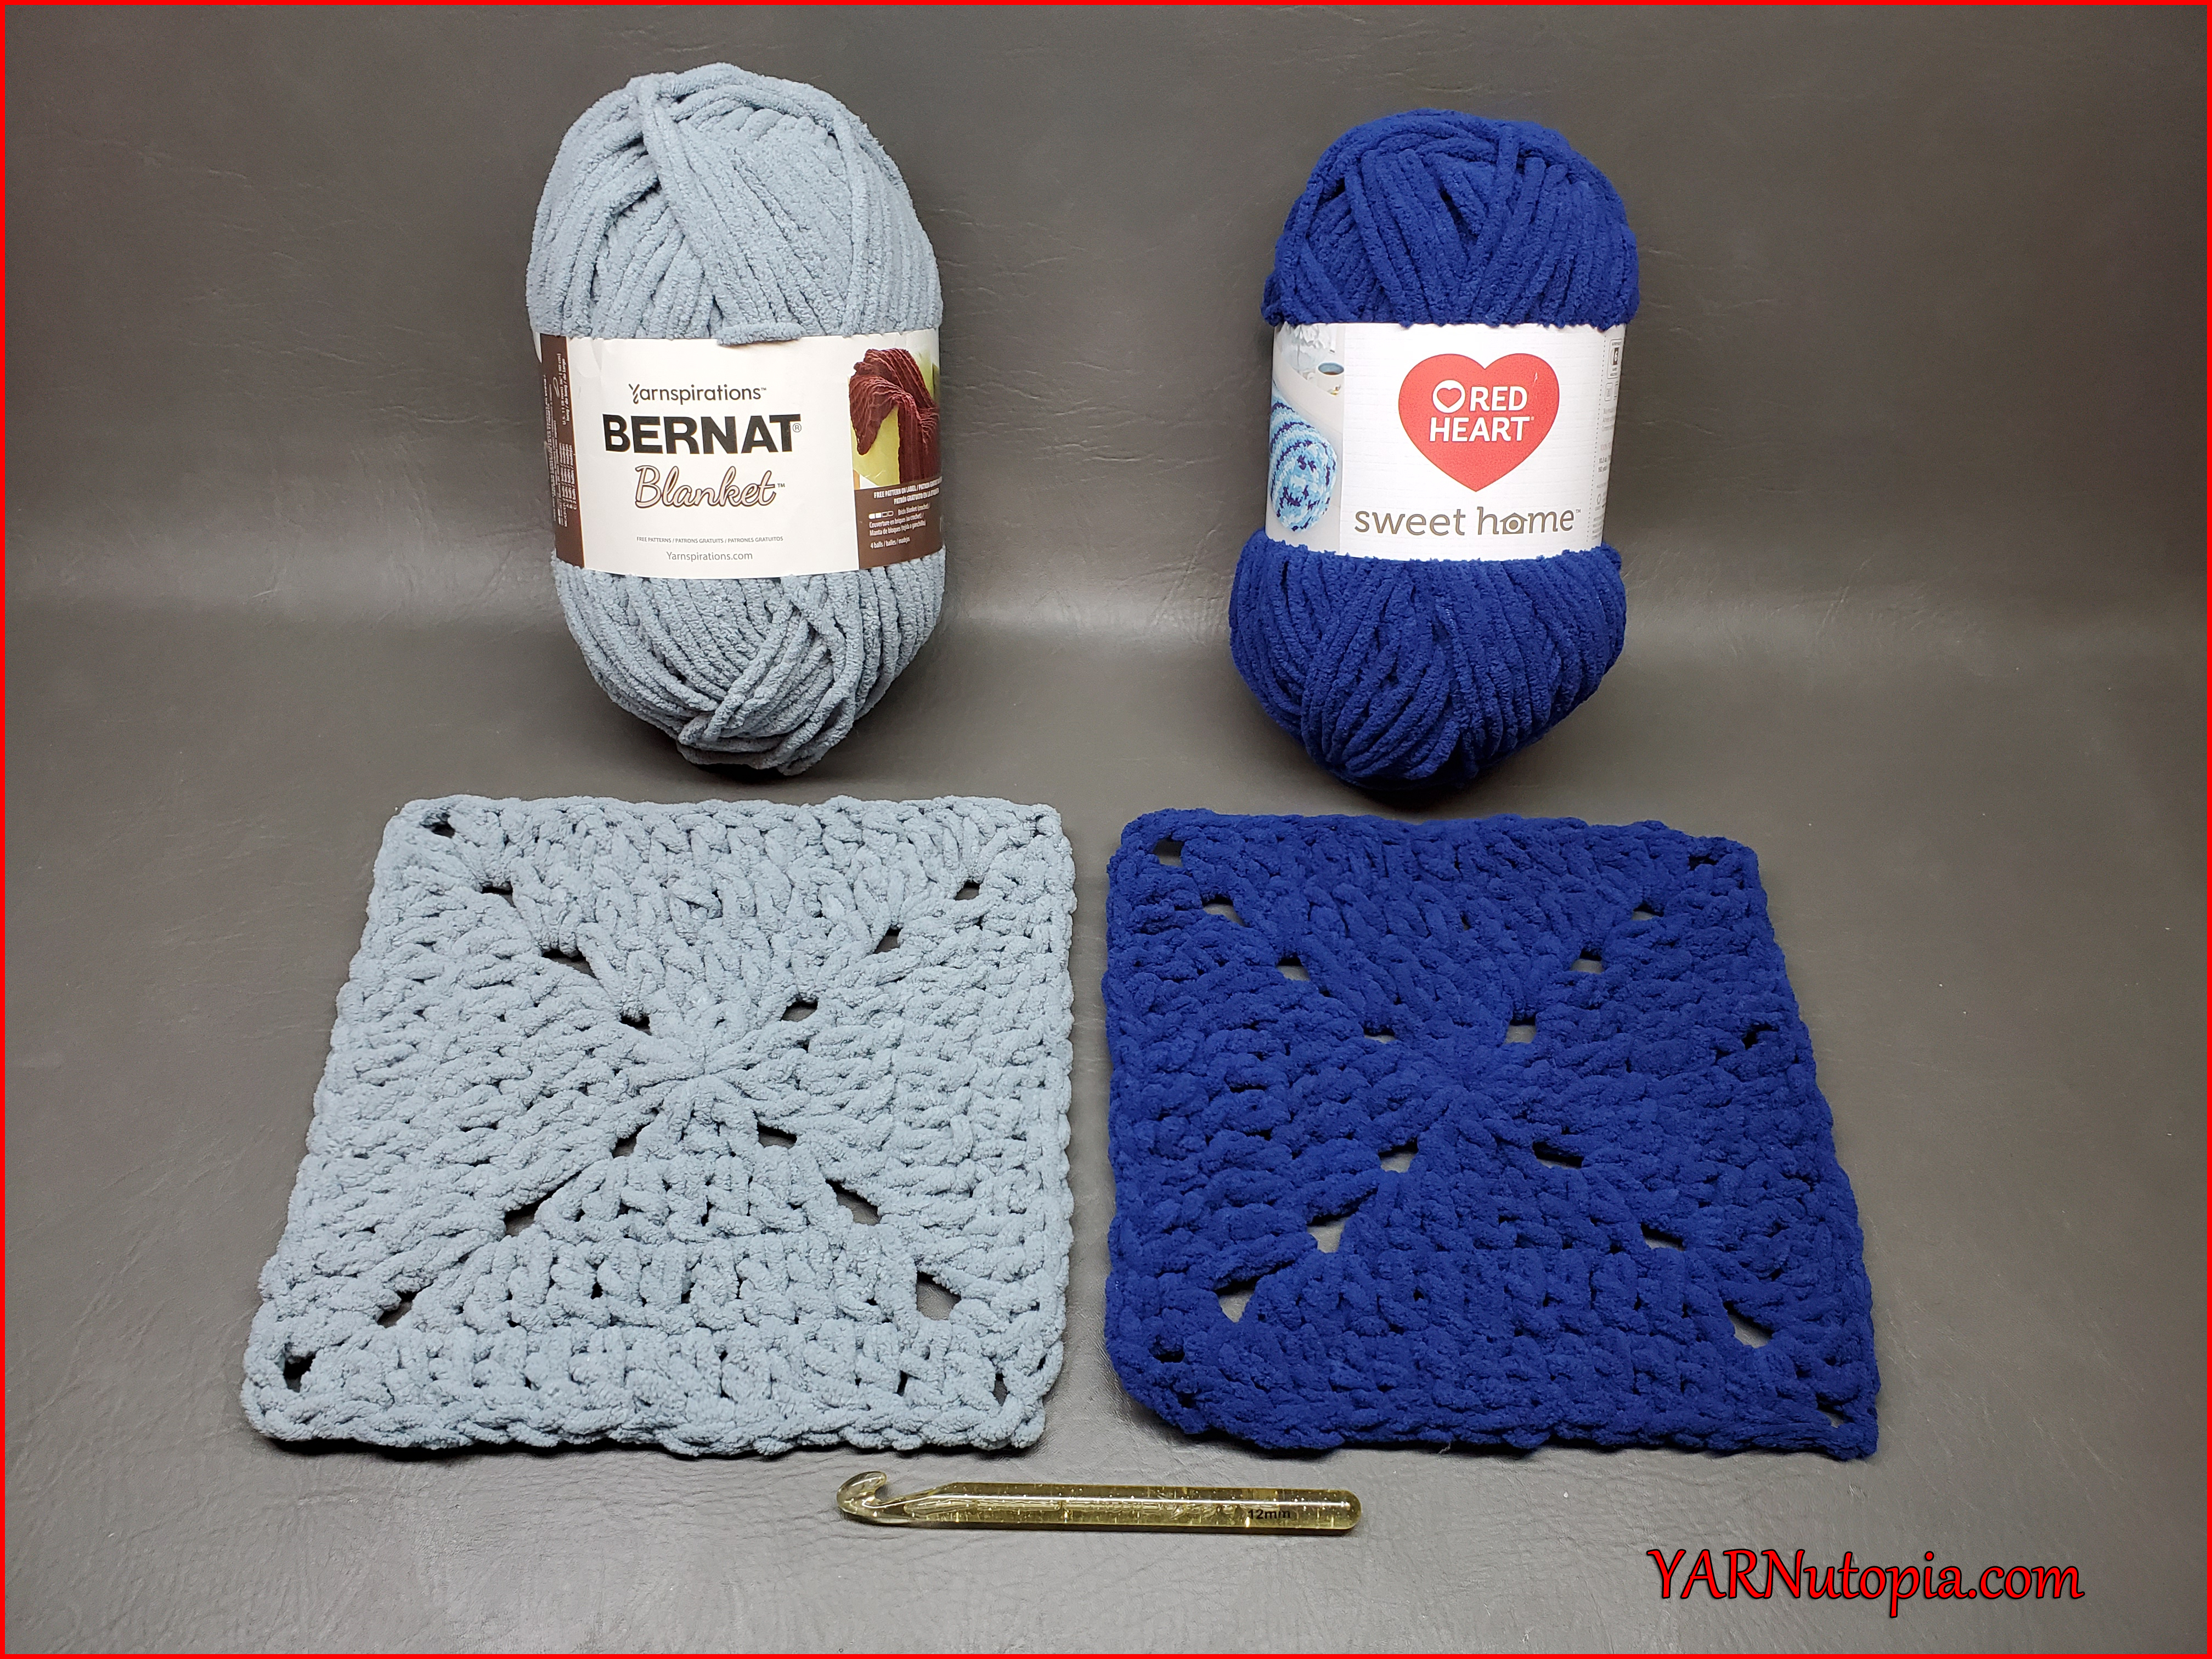
Compare & Contrast: Red Heart Yarns Sweet Home vs. Bernat Blanket Yarn
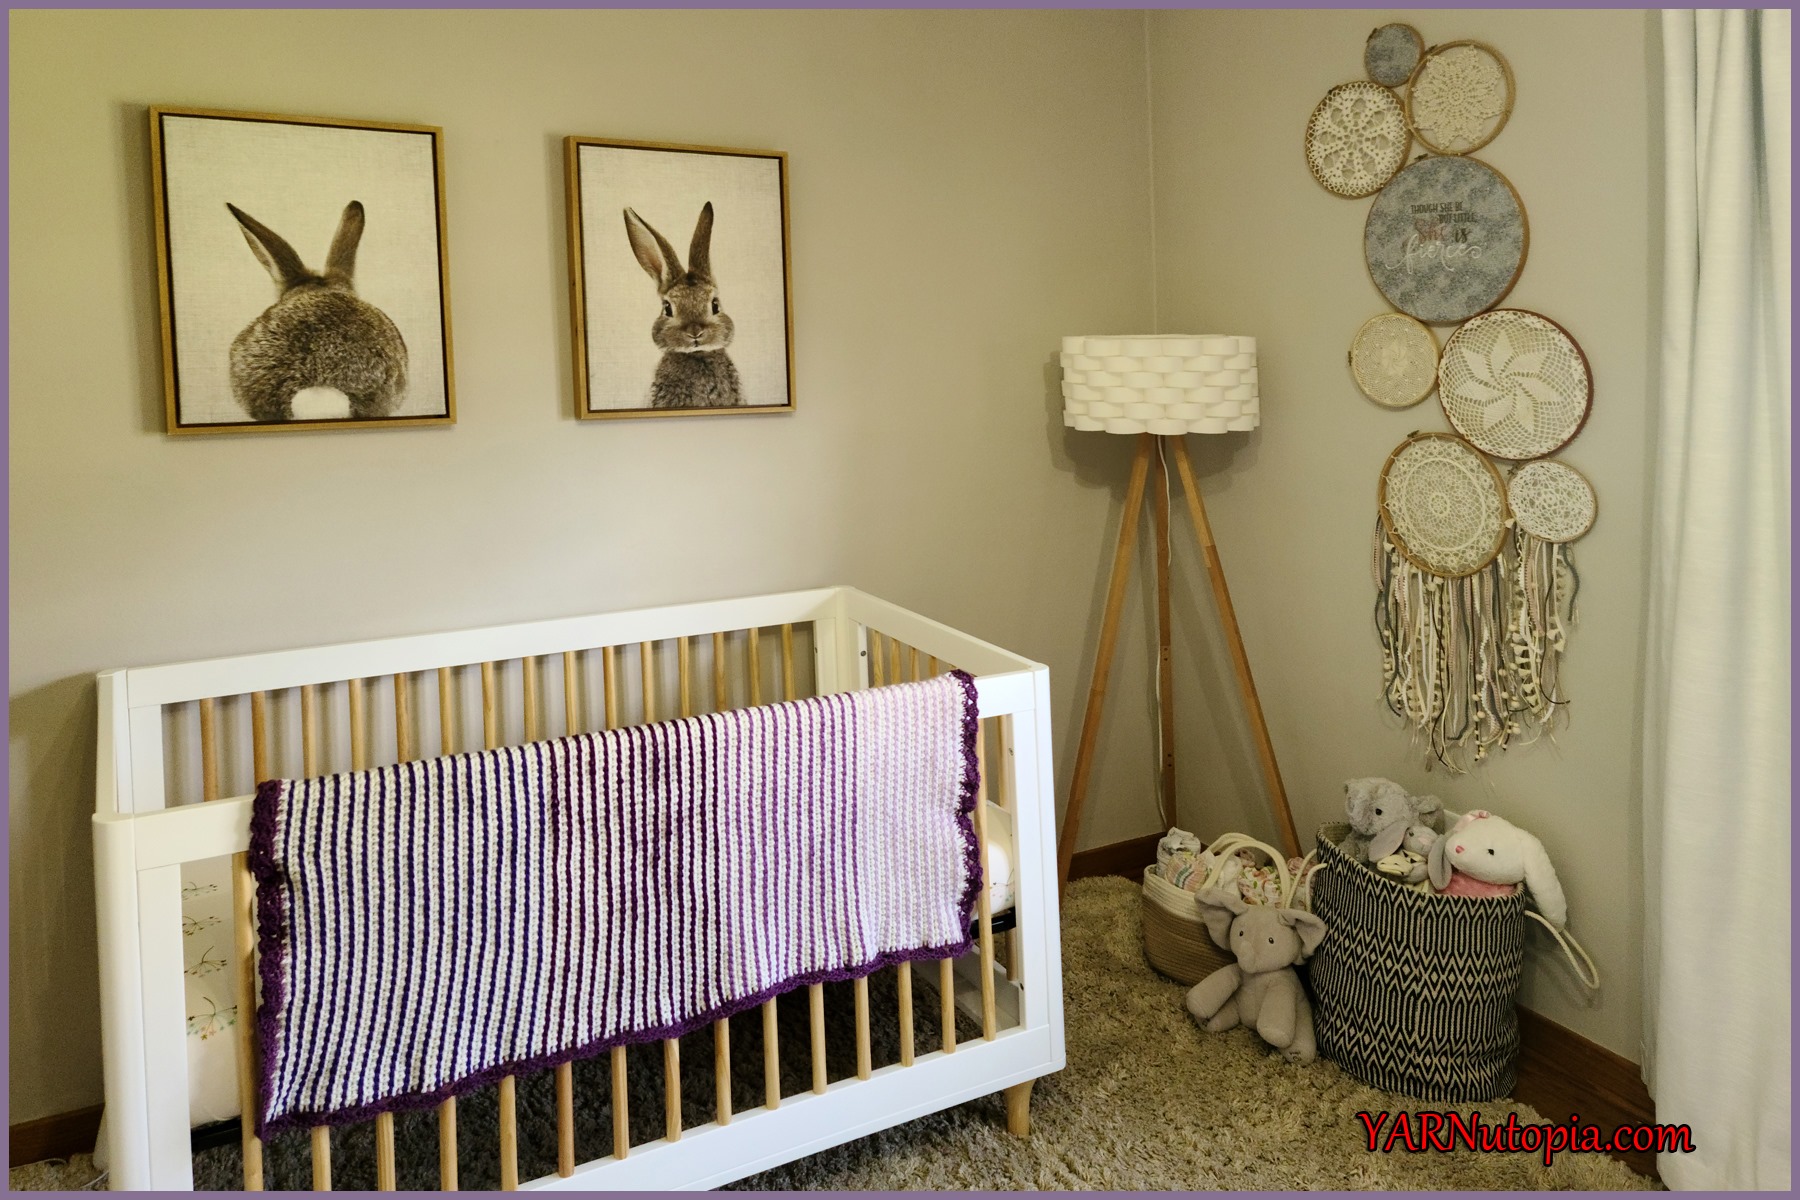
FREE Written Crochet Pattern: Ombre Striped Baby Blanket
FREE Crochet Video Tutorial: Ombre Striped Baby Blanket
FREE Written Crochet Pattern: Tiger Hat with Earflaps
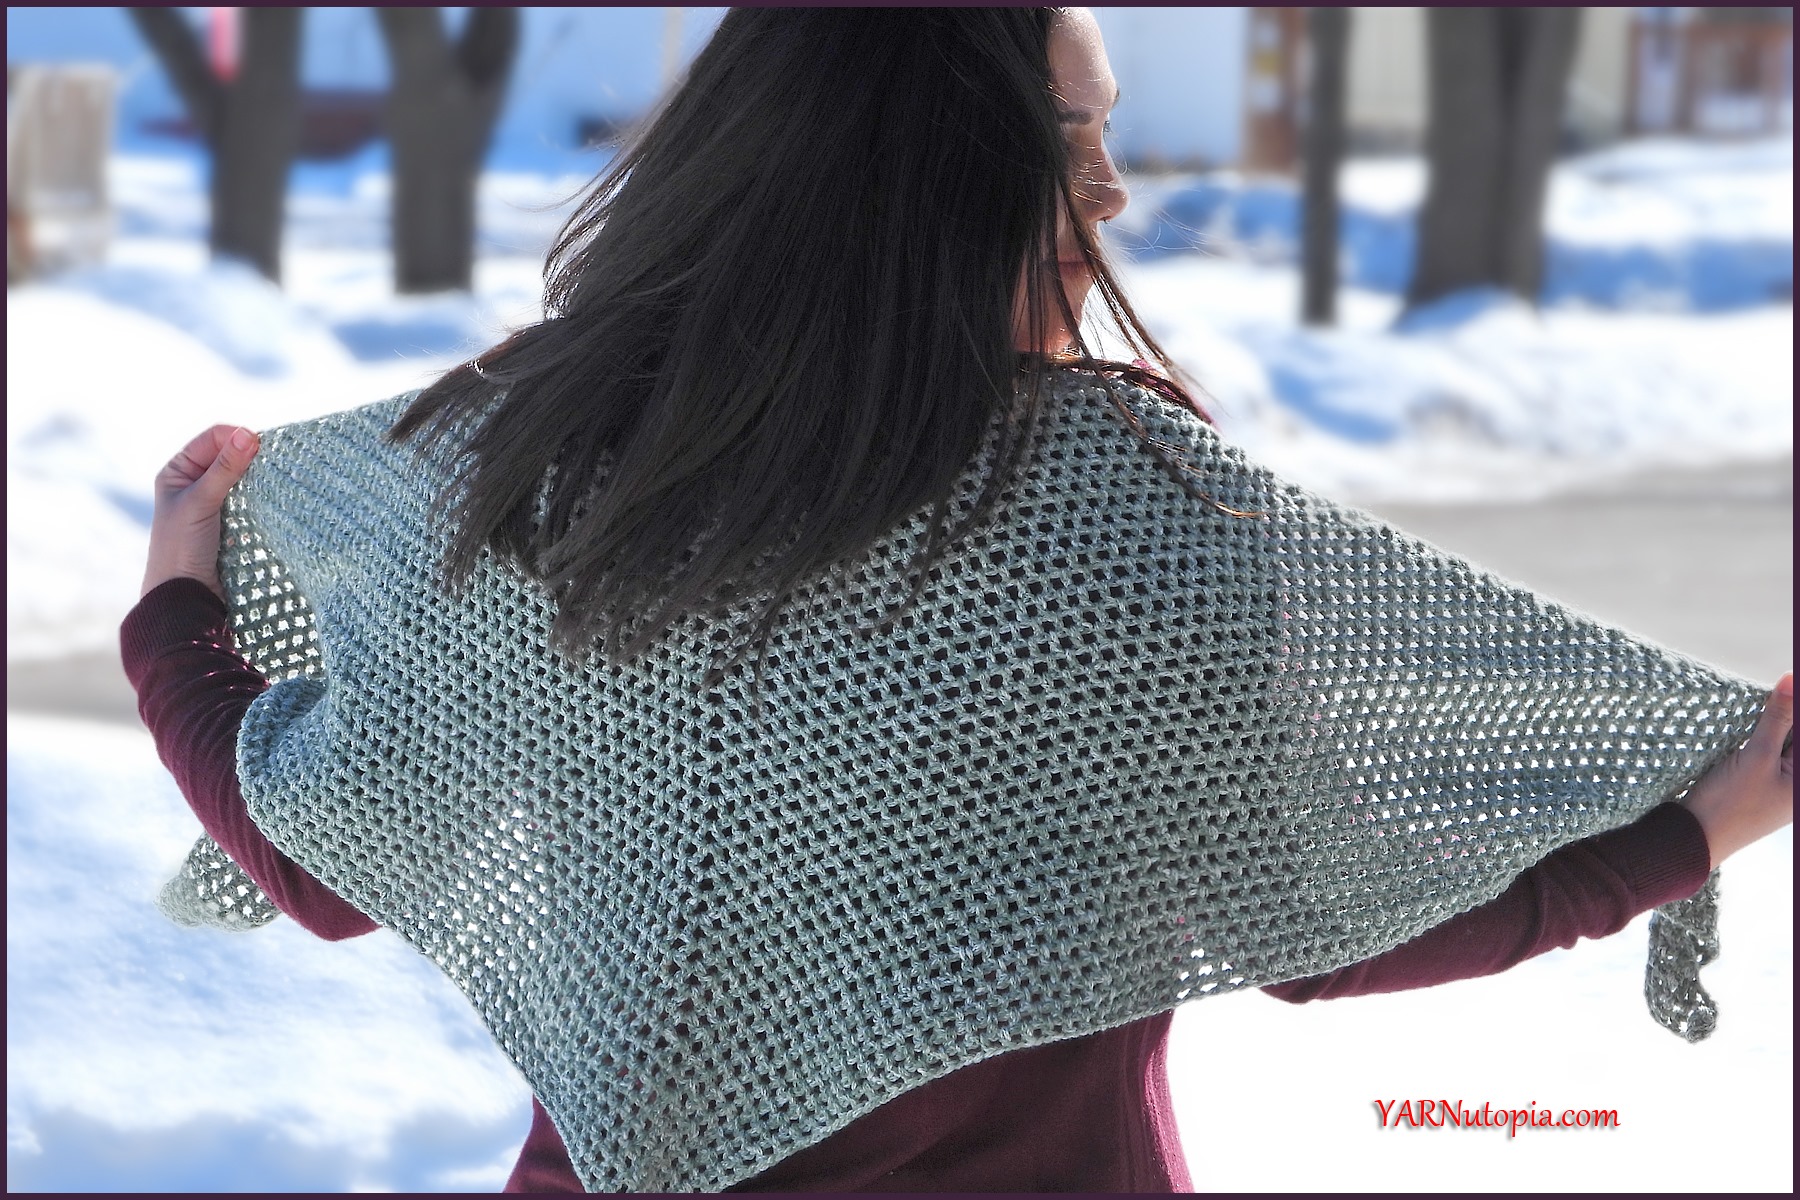
FREE Crochet Video Tutorial: Simple Spring Shawl
FREE Written Crochet Pattern: Simple Spring Shawl
FREE Crochet Video Tutorial: Wee One Baby Bonnet
FREE Written Crochet Pattern: Wee One Baby Bonnet
FREE Written Crochet Pattern: Book Sleeve
FREE Crochet Video Tutorial: Book Sleeve
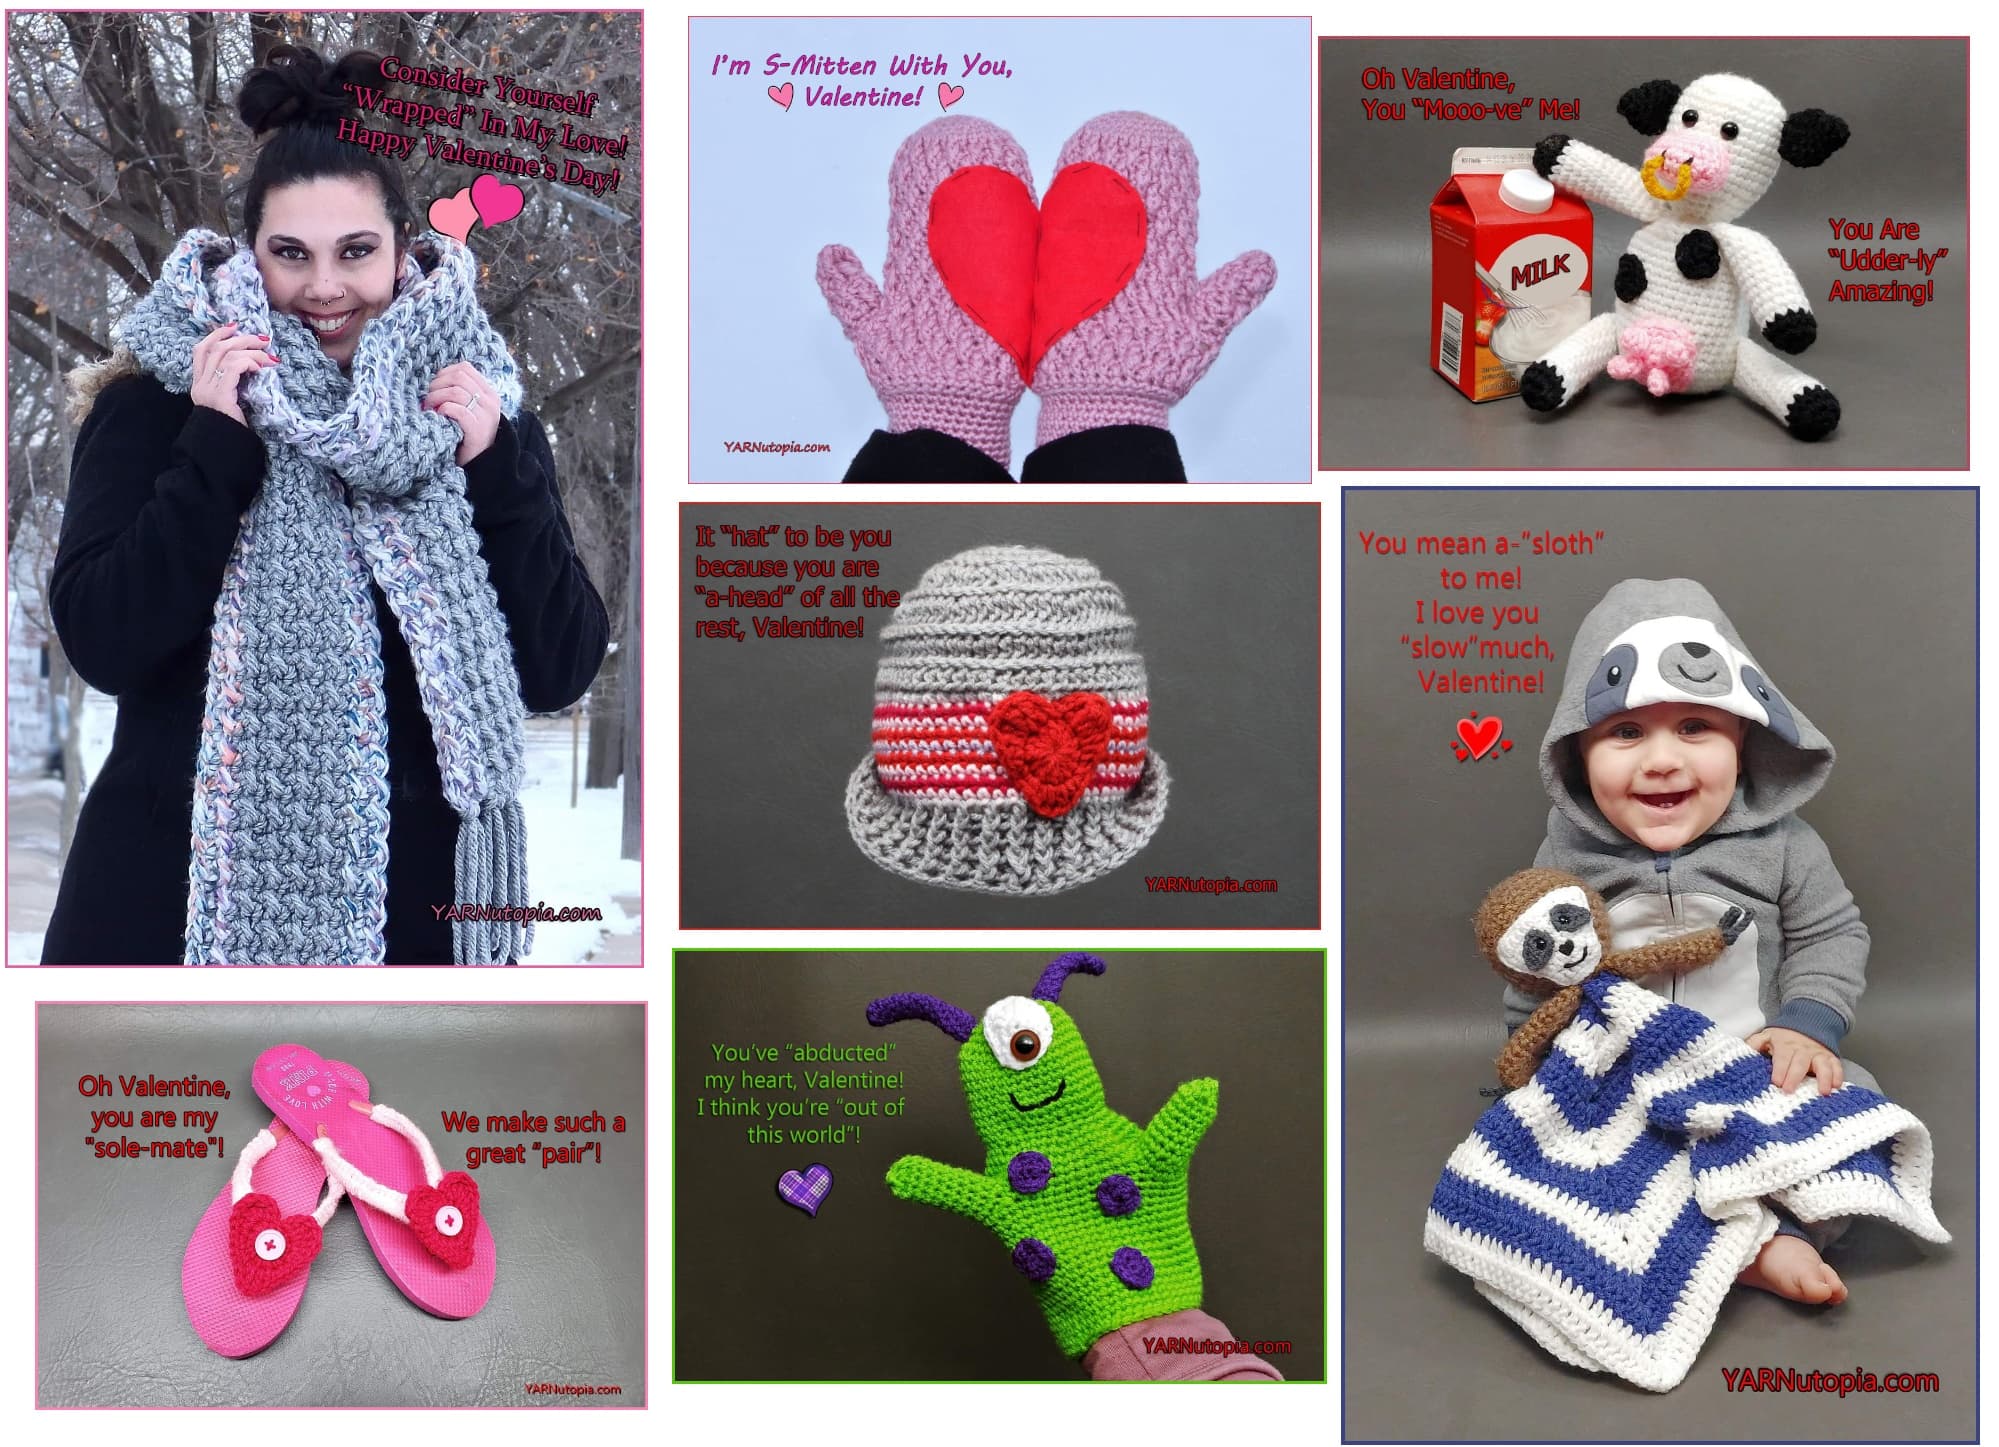
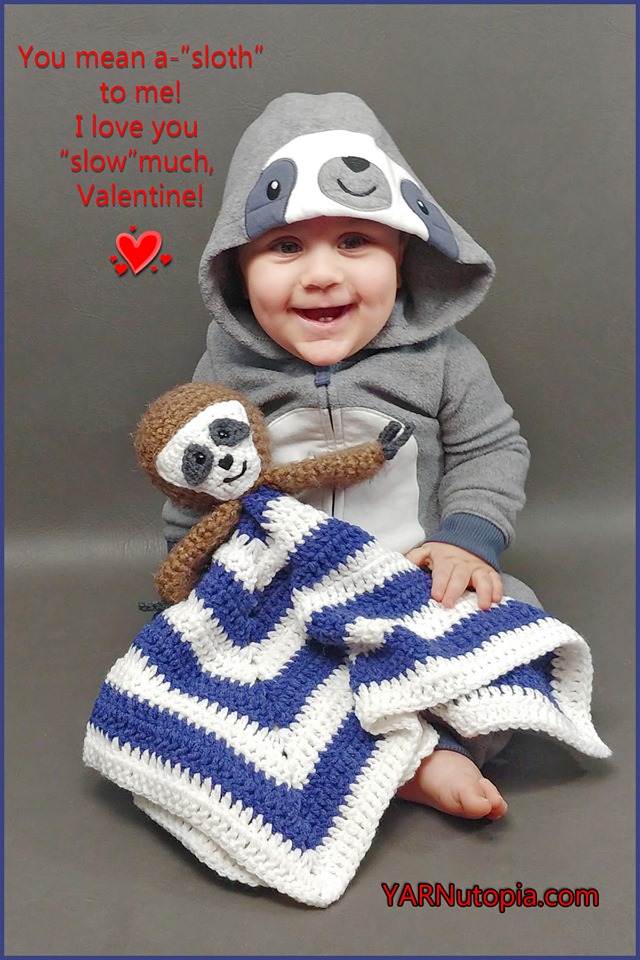
My Punny Valentine – Happy Valentine’s Day!
FREE Crochet Video Tutorial: Sloth Lovey
FREE Written Crochet Pattern: Sloth Lovey
FREE Crochet Video Tutorial: Alien Puppet
FREE Written Crochet Pattern: Alien Puppet
FREE Crochet Photo Tutorial: Have A Heart Flip Flops
FREE Crochet Video Tutorial: Cow Amigurumi
FREE Written Crochet Pattern: Cow Amigurumi
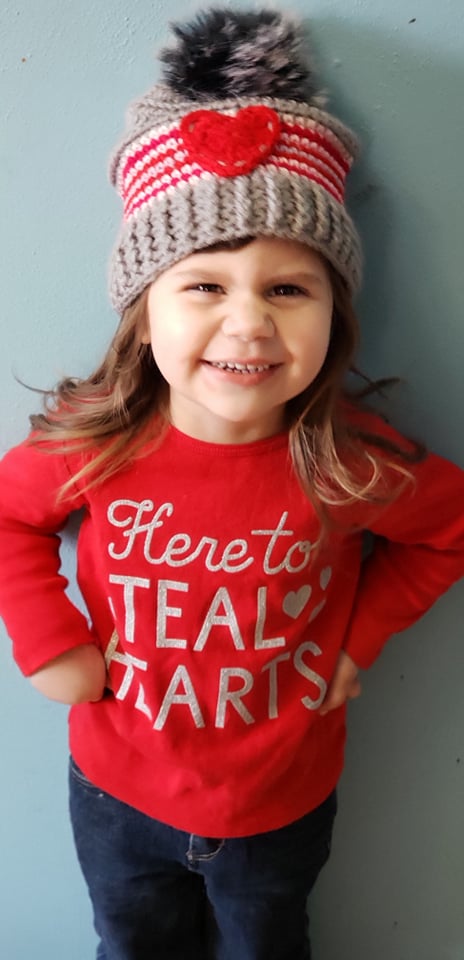
FREE Written Crochet Pattern: Sweetheart Baby Hat
FREE Crochet Video Tutorial: Sweetheart Baby Hat
FREE Crochet Video Tutorial: Alpine Stitch Mittens
FREE Written Crochet Pattern: Alpine Stitch Mittens
FREE Crochet Video Tutorial: Two Stitch Grande Scarf
FREE Written Crochet Pattern: Two-Stitch Grande Scarf
My Happy Place
12 Days of Christmas 2019
12 Days of Christmas: Simple Stocking Hat – FREE Crochet Video Tutorial
12 Days of Christmas: Simple Stocking Hat – FREE Written Crochet Pattern
12 Days of Christmas: Bow & Bauble Door Hanging – Photo Tutorial
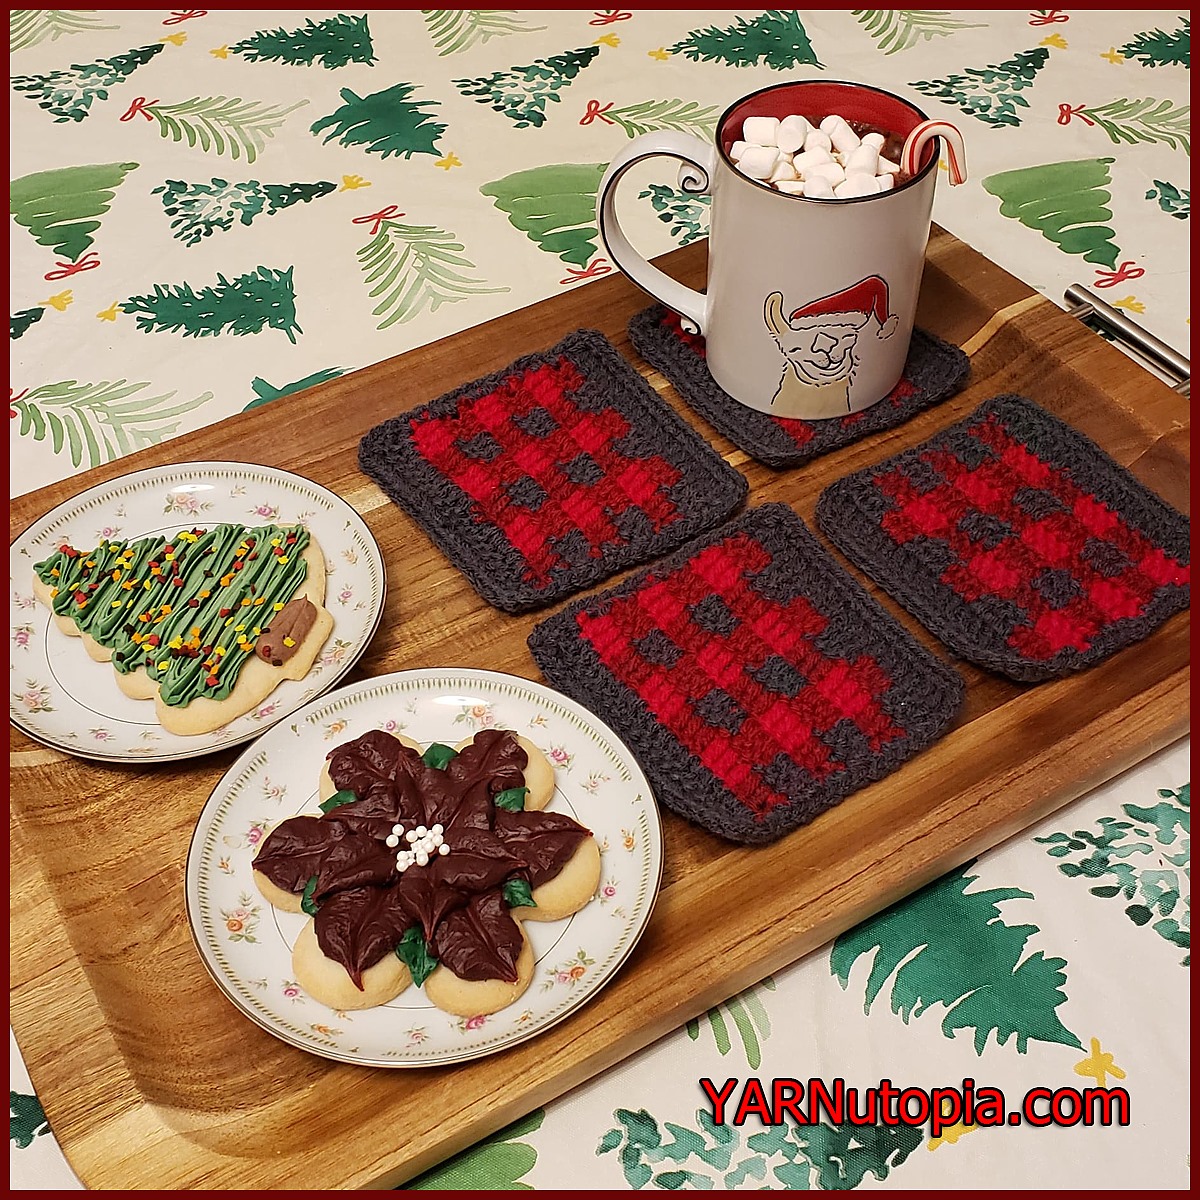
12 Days of Christmas: Buffalo Plaid Coasters – FREE Crochet Video Tutorial
12 Days of Christmas: Buffalo Plaid Coasters – FREE Written Crochet Pattern
12 Days of Christmas: Candy Curl Swirl Ornament – FREE Written Crochet Pattern and Video Tutorial
12 Days of Christmas: Rustic Wall Hanging – Photo & Written Tutorial
12 Days of Christmas: Beanie with Bling – FREE Crochet Video Tutorial
12 Days of Christmas: Beanie with Bling – FREE Written Crochet Pattern
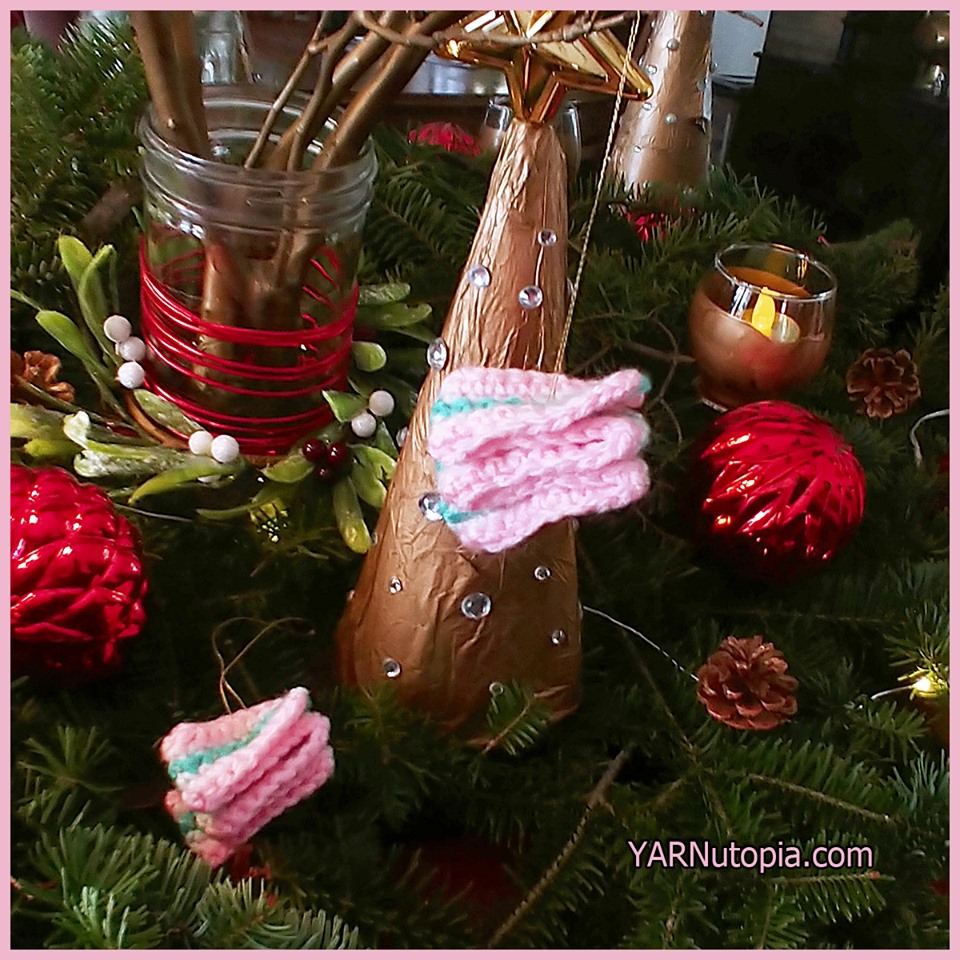
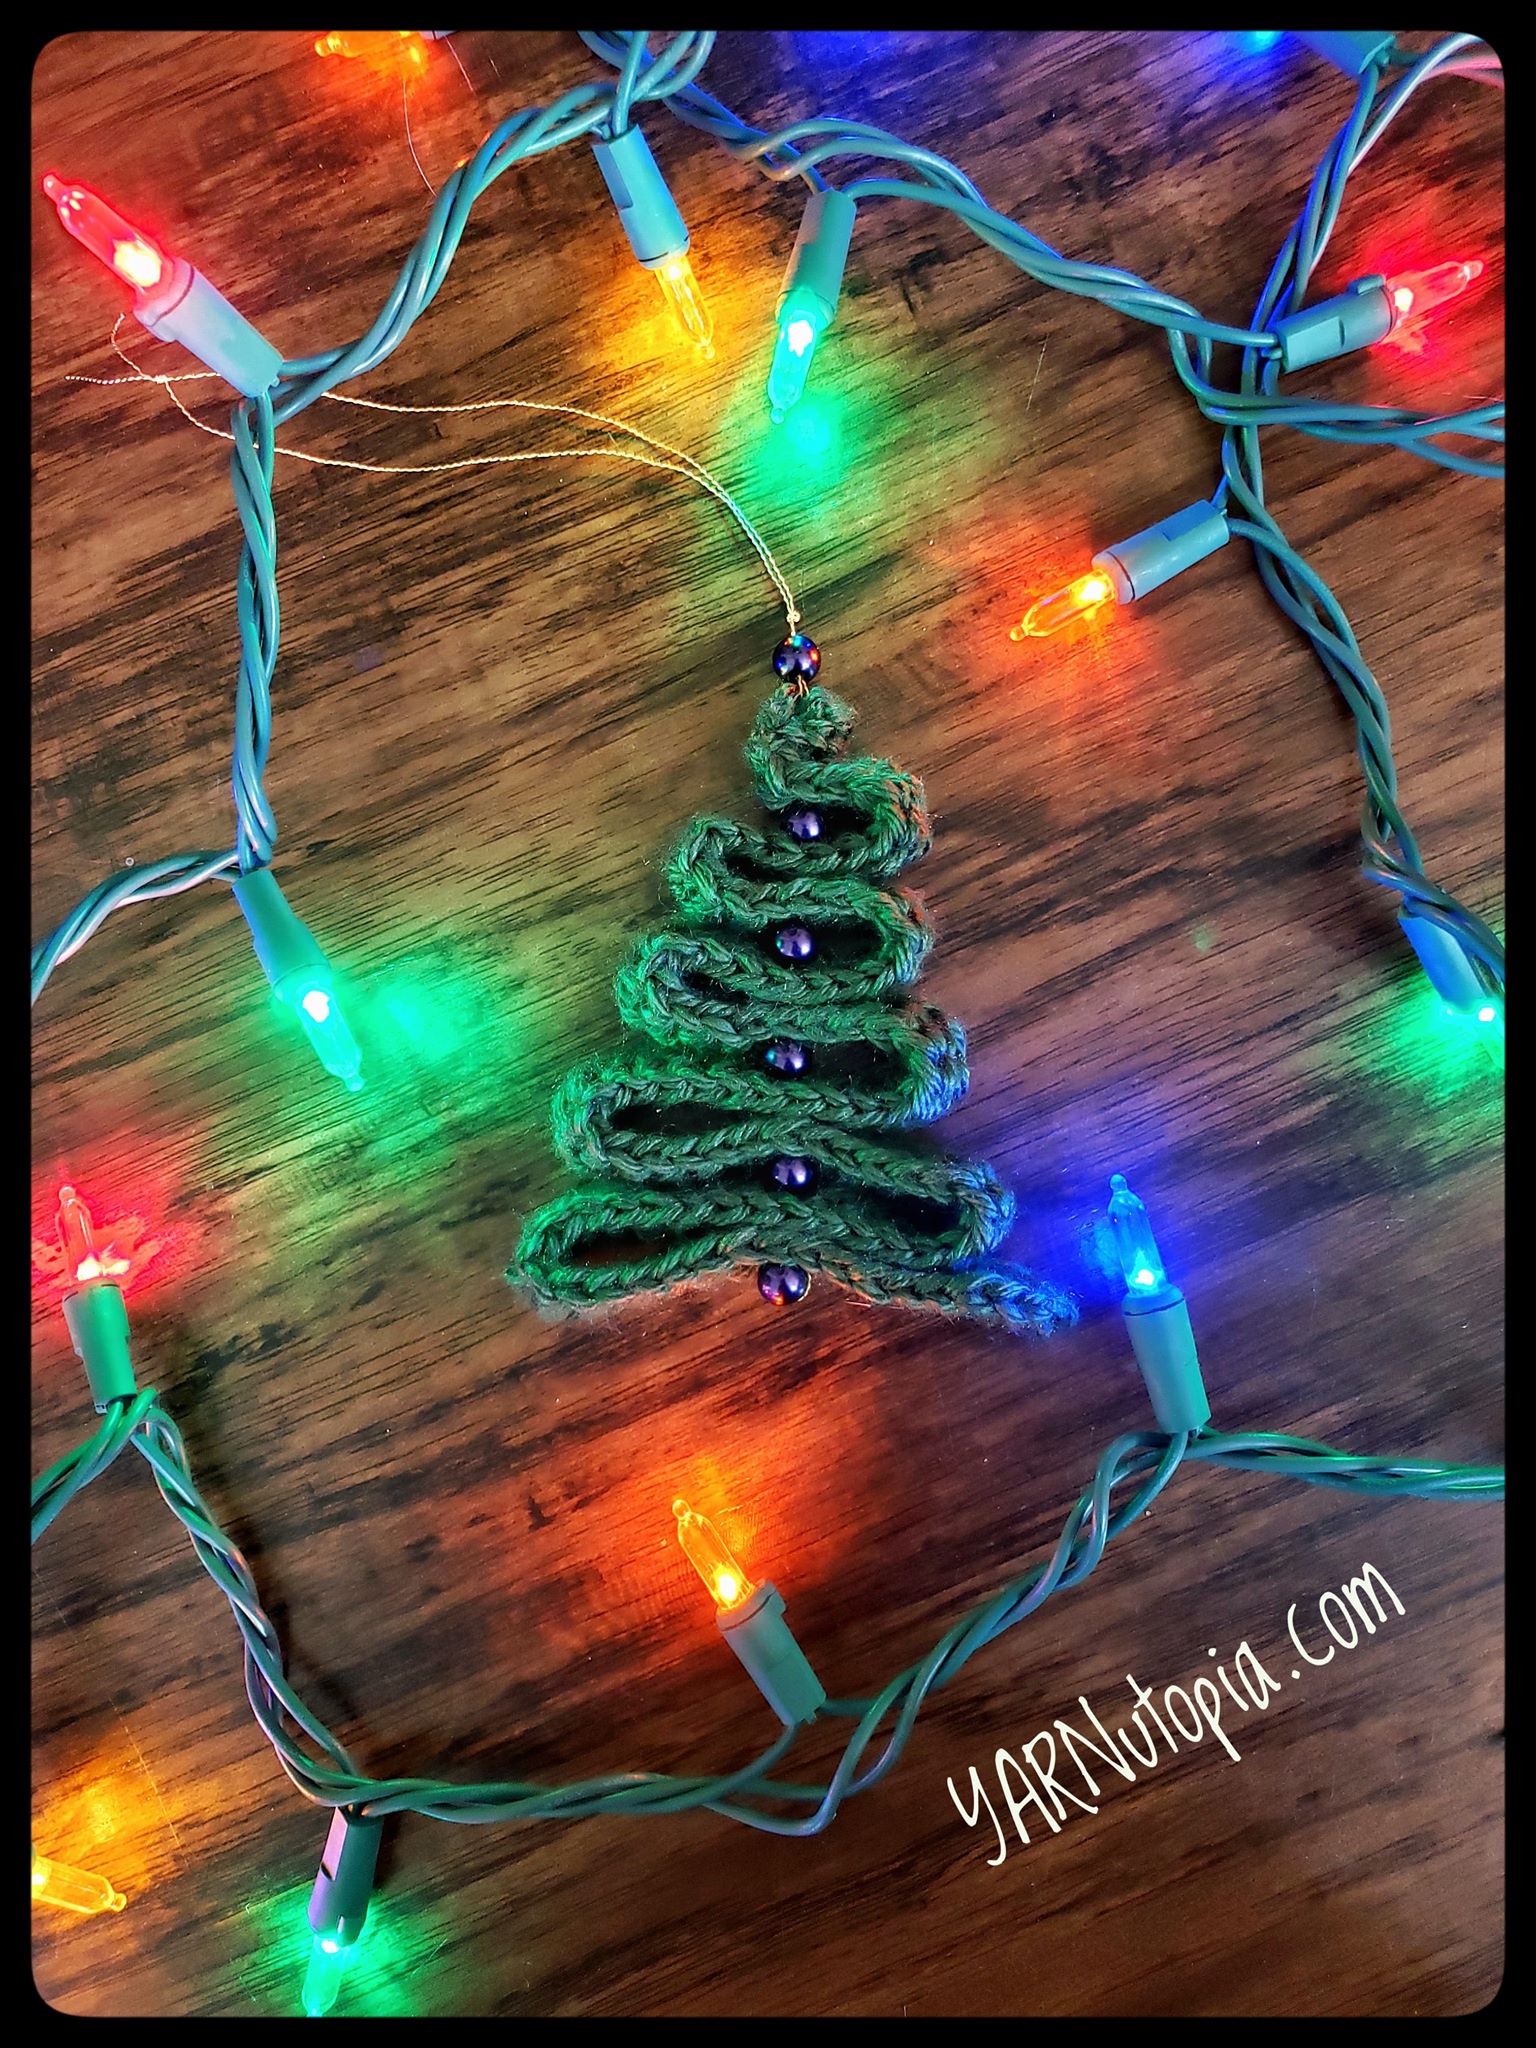
12 Days of Christmas: Winding Ribbon Tree Ornament – Photo Tutorial
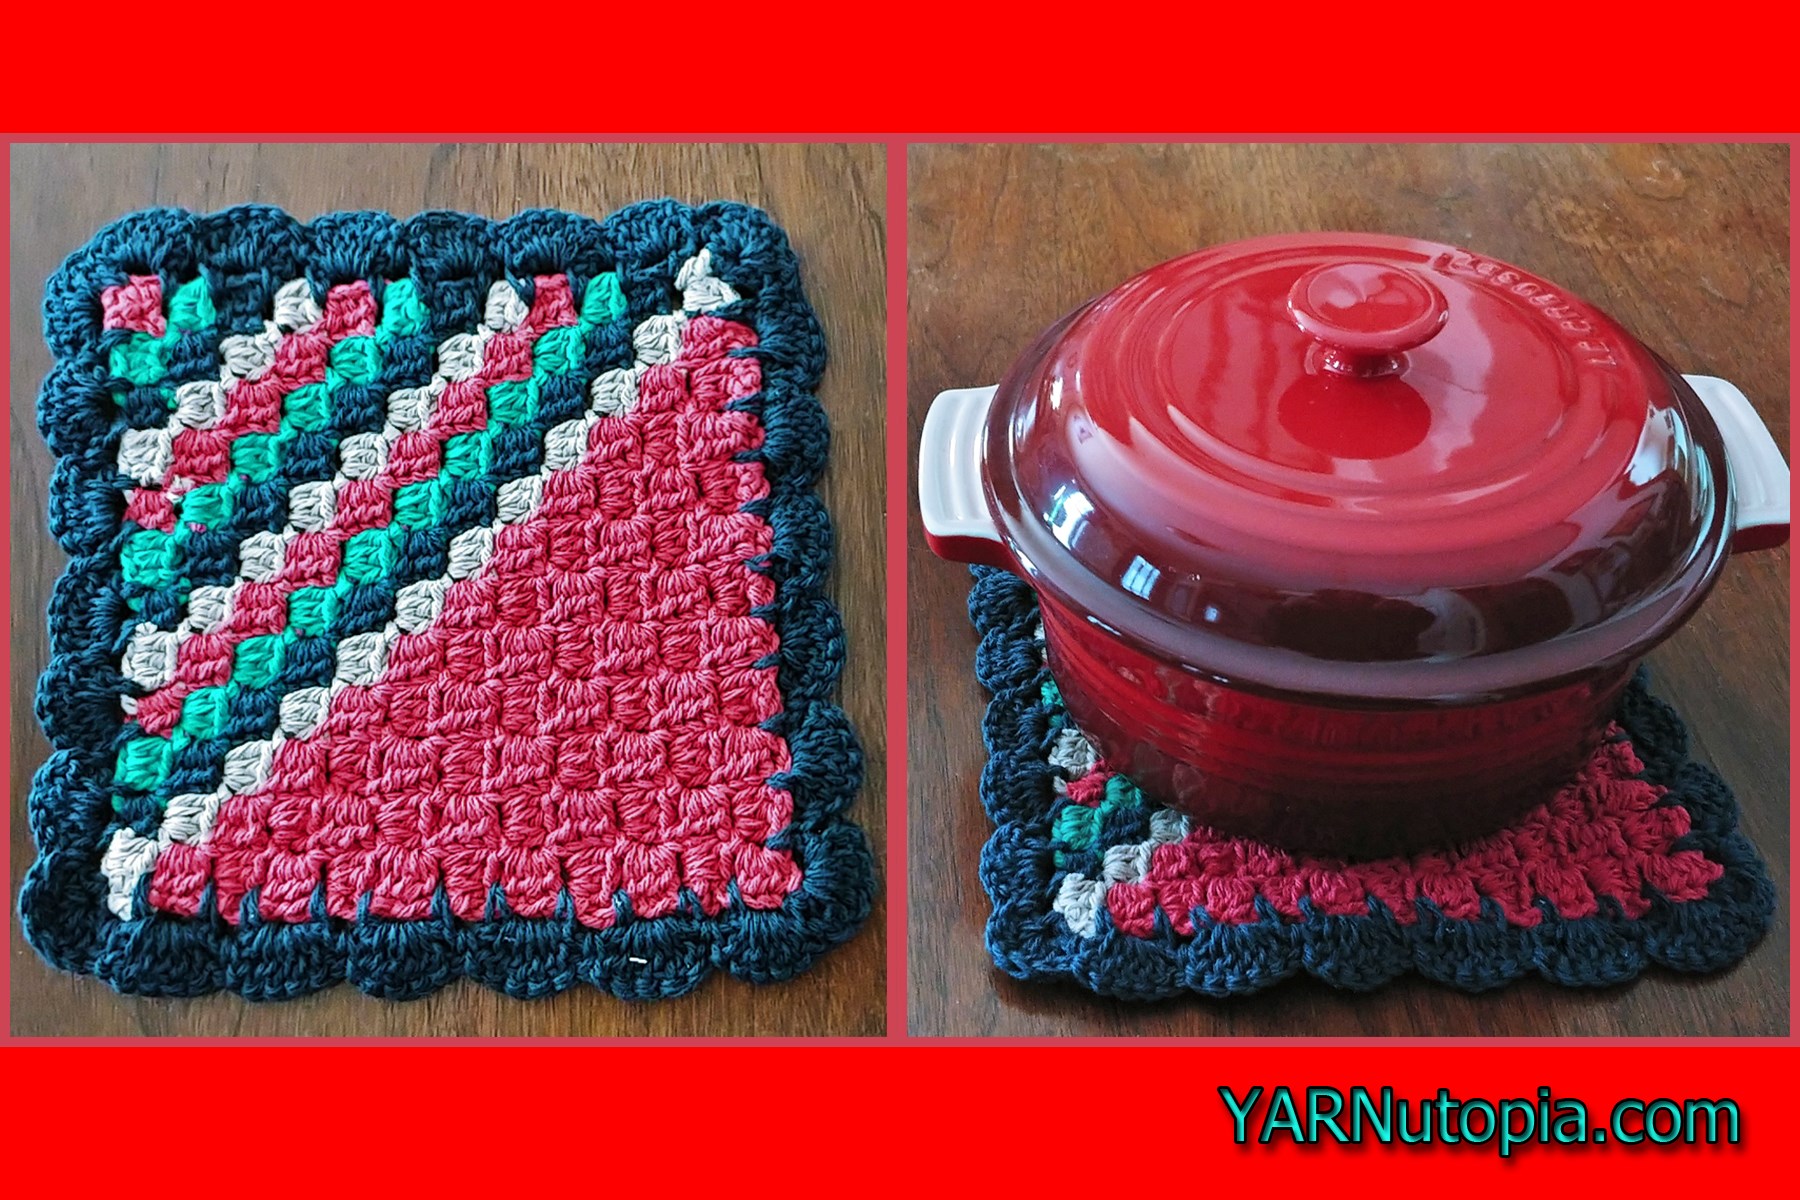
12 Days of Christmas: Corner to Corner (C2C) Holiday Hot Pad – FREE Crochet Video Tutorial
12 Days of Christmas: Corner to Corner (C2C) Holiday Hot Pad – FREE Written Crochet Pattern
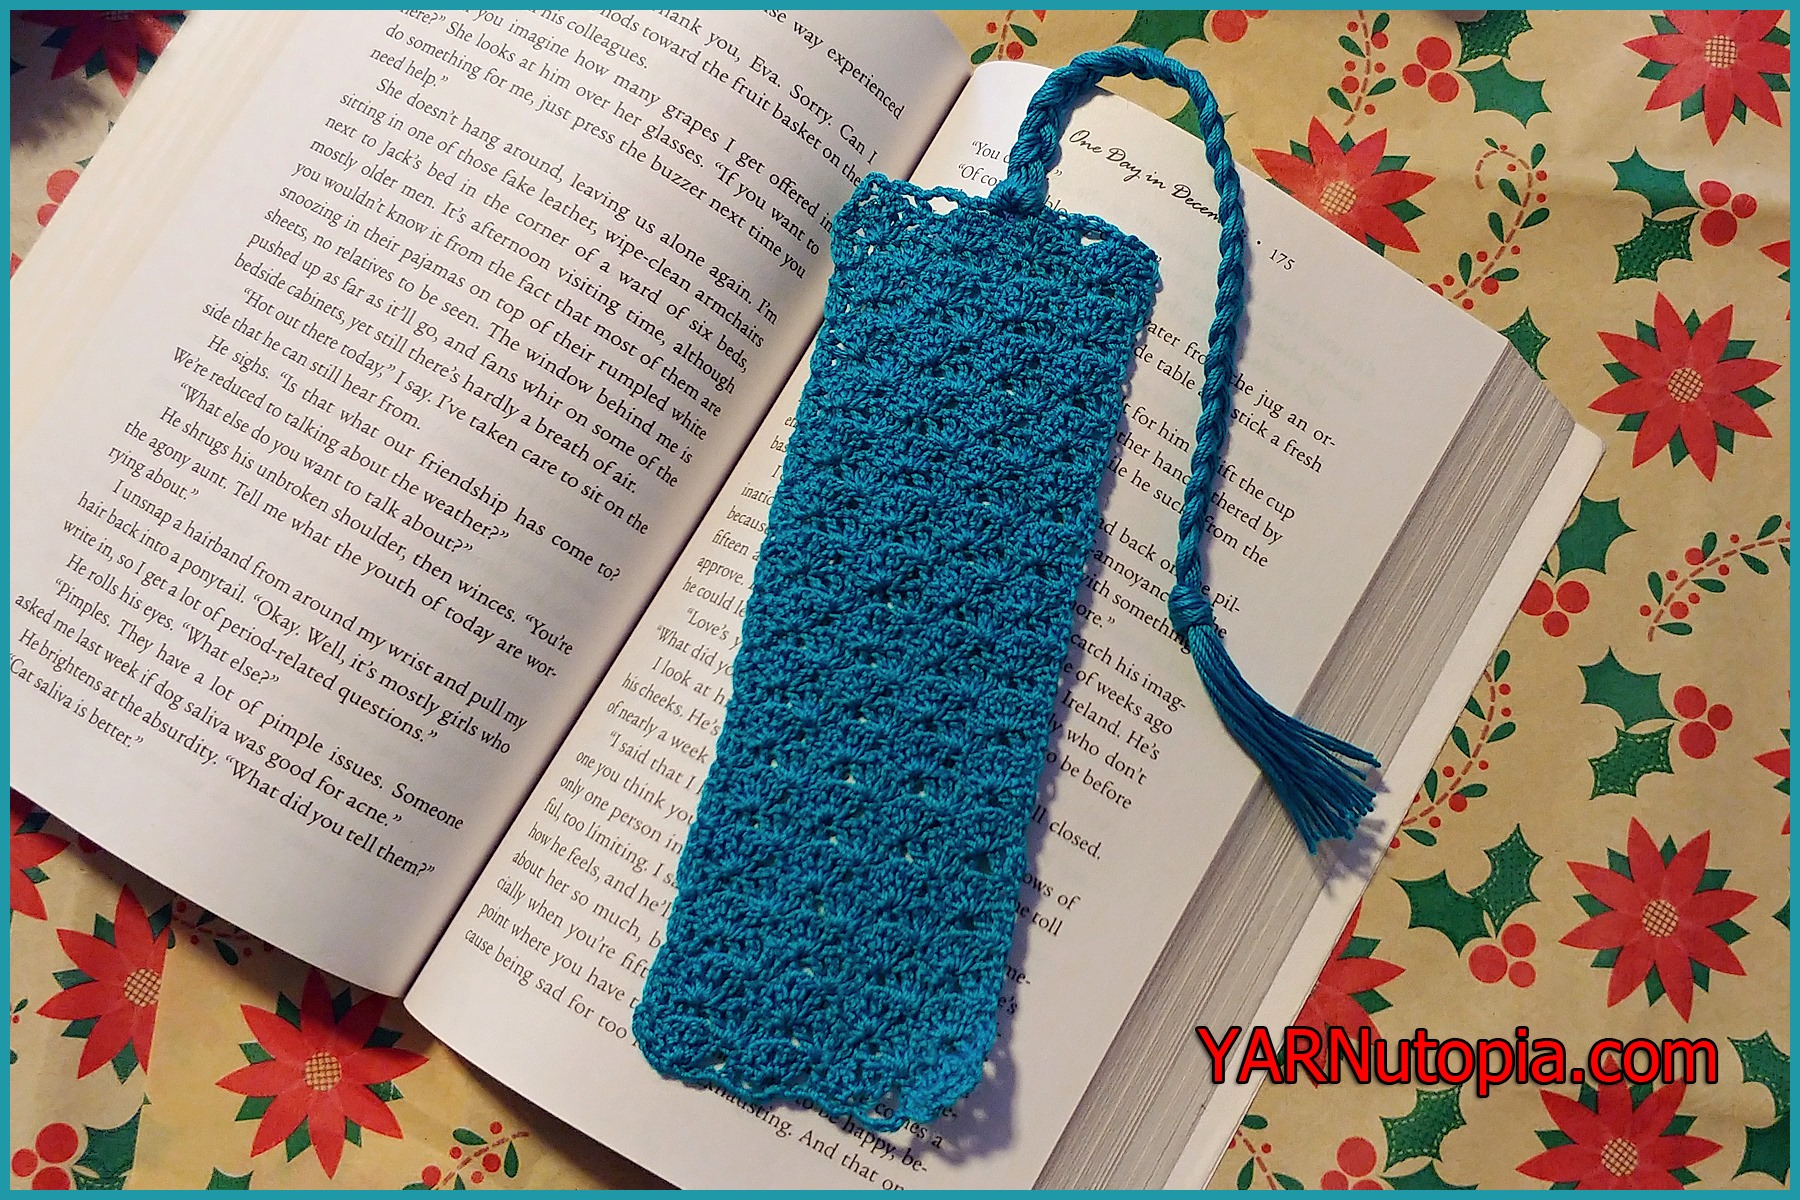
12 Days of Christmas: Lace Shell Bookmark – FREE Crochet Video Tutorial
12 Days of Christmas: Lace Shell Bookmark – FREE Written Crochet Pattern
1
2
3
…
6
Next Page
Loading Comments...
Write a Comment...
Email (Required)
Name (Required)
Website