YARNutopia & M0re
All things Yarn Related: Crochet, DIY, and Crafts
Blog
365 Days of Granny Squares
Stitch Gallery & Glossary
Crochet Video Tutorials
Frequently Asked Questions
Crochet Glossary: Learn the Lingo
Contact
Search
Search
sweater
YARNutoia & More
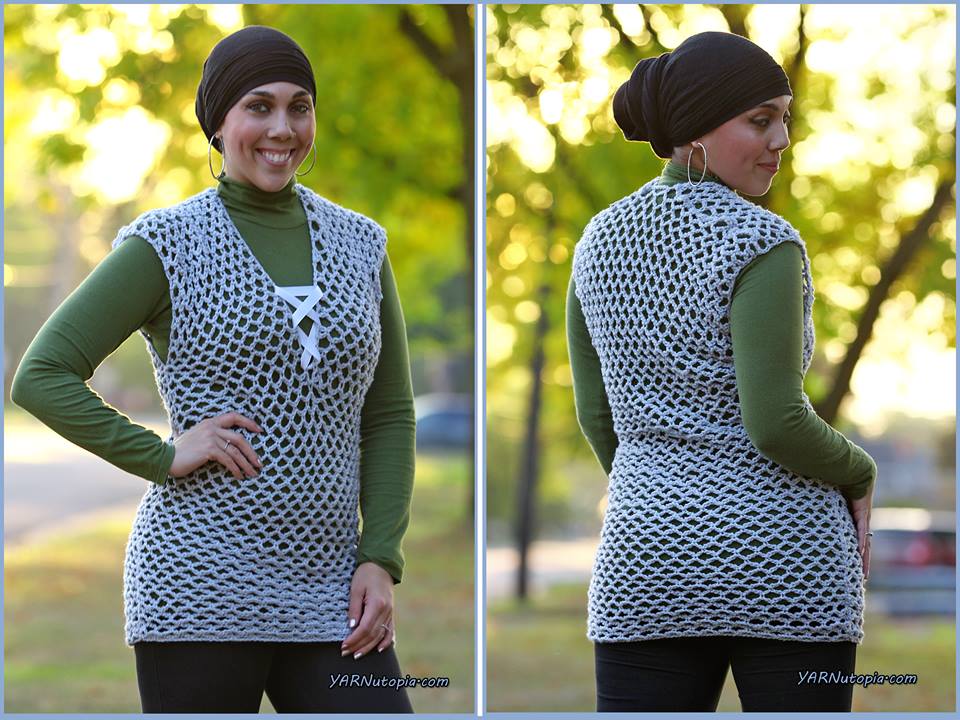
FREE Crochet Video Tutorial: Day & Night Mesh Sweater
FREE Written Crochet Pattern: Day & Night Mesh Sweater
FREE Written Crochet Pattern: Ruffled Trim Sweater Vest
FREE Crochet Video Tutorial: Ruffled Trim Sweater Vest
FREE Written Crochet Pattern: Bundle Up Dog Sweater
FREE Crochet Video Tutorial: Offbeat Baby Cardigan
FREE Written Crochet Pattern: Offbeat Baby Cardigan
FREE Crochet Video Tutorial: Summer Fun Sweater
FREE Written Crochet Pattern: Summer Fun Sweater
How to Crochet Tutorial: Patchouli Poncho
Crochet Tutorial: Chain-Link Tunic
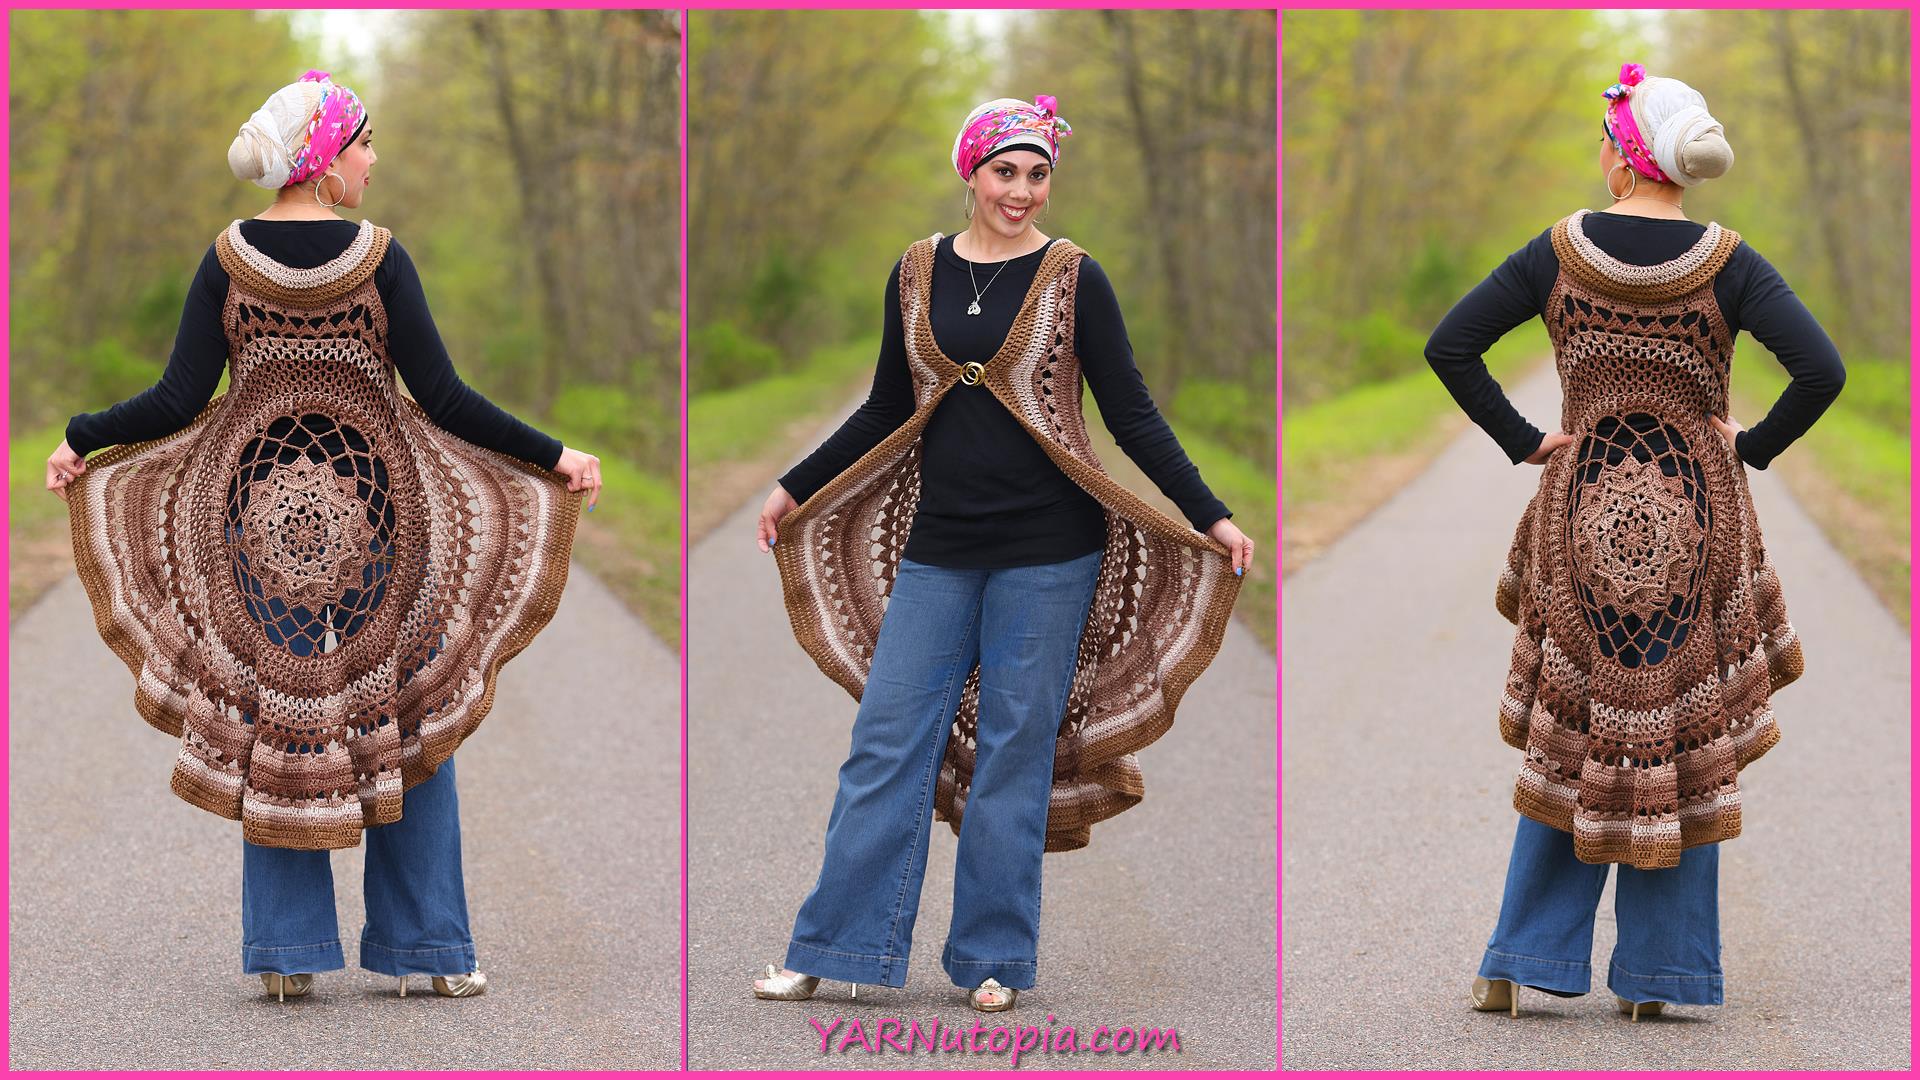
Crochet Tutorial: Spring Sun Mandala Vest
Crochet Tutorial: Kitty Cat Poncho
Four Piece Baby Boy Layette Set
Crochet Tutorial: Sharp Dressed Man Vest
12 Days of Christmas
Crochet Tutorial: Bebe’s Holiday Pet Sweater
Crochet Tutorial: Infant Pullover Hoodie
Crochet Tutorial: The Pizzazz Poncho
Crochet Tutorial: Hexagonal Granny Hooded Cardigan
Crochet Tutorial: Granny Square Cardigan
Loading Comments...
Write a Comment...
Email (Required)
Name (Required)
Website