Skip to content
YARNutopia & M0re
All things Yarn Related: Crochet, DIY, and Crafts
Blog
365 Days of Granny Squares
Stitch Gallery & Glossary
Crochet Video Tutorials
Frequently Asked Questions
Crochet Glossary: Learn the Lingo
Contact
Search
Search
accessories
YARNutoia & More
Happy Halloween 2024 – PLUS FREE Crochet Pattern
The History of the Crochet Hook
Projects to Crochet In A Hurry
FREE Written Crochet Pattern: Starburst Garden Headband
FREE Written Crochet Pattern: Seat Belt Shoulder Strap Cover
FREE Written Crochet Pattern: Hair Scrunchies
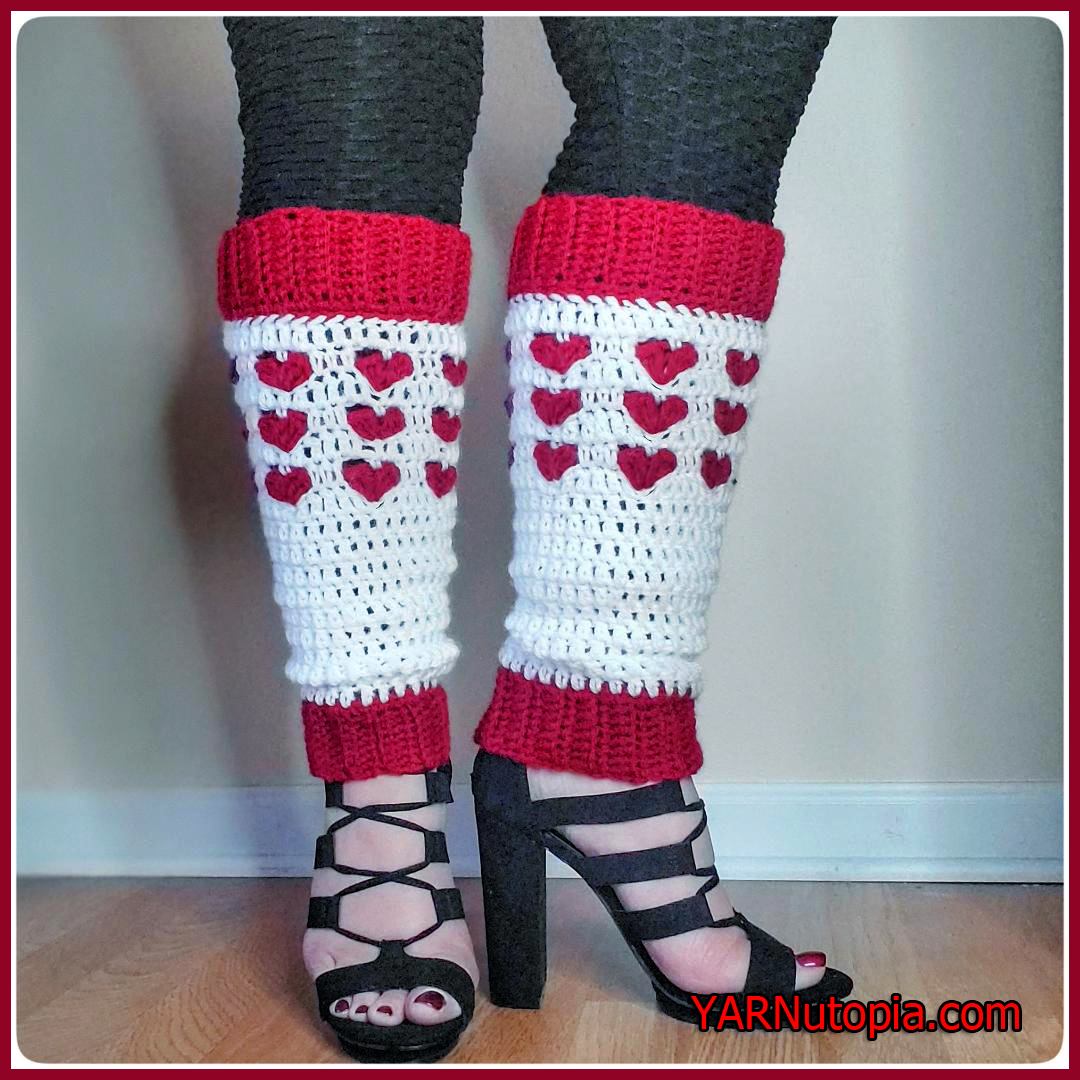
FREE Written Crochet Pattern: Happy Heart Stitch Leg Warmers
12 Days of Christmas: Shell Stitch Fingerless Gloves FREE CROCHET PATTERN
FREE Crochet Video Tutorial: Hand Sanitizer Cozy
FREE Written Crochet Pattern: Hand Sanitizer Cozy
Carving a Crochet Hook
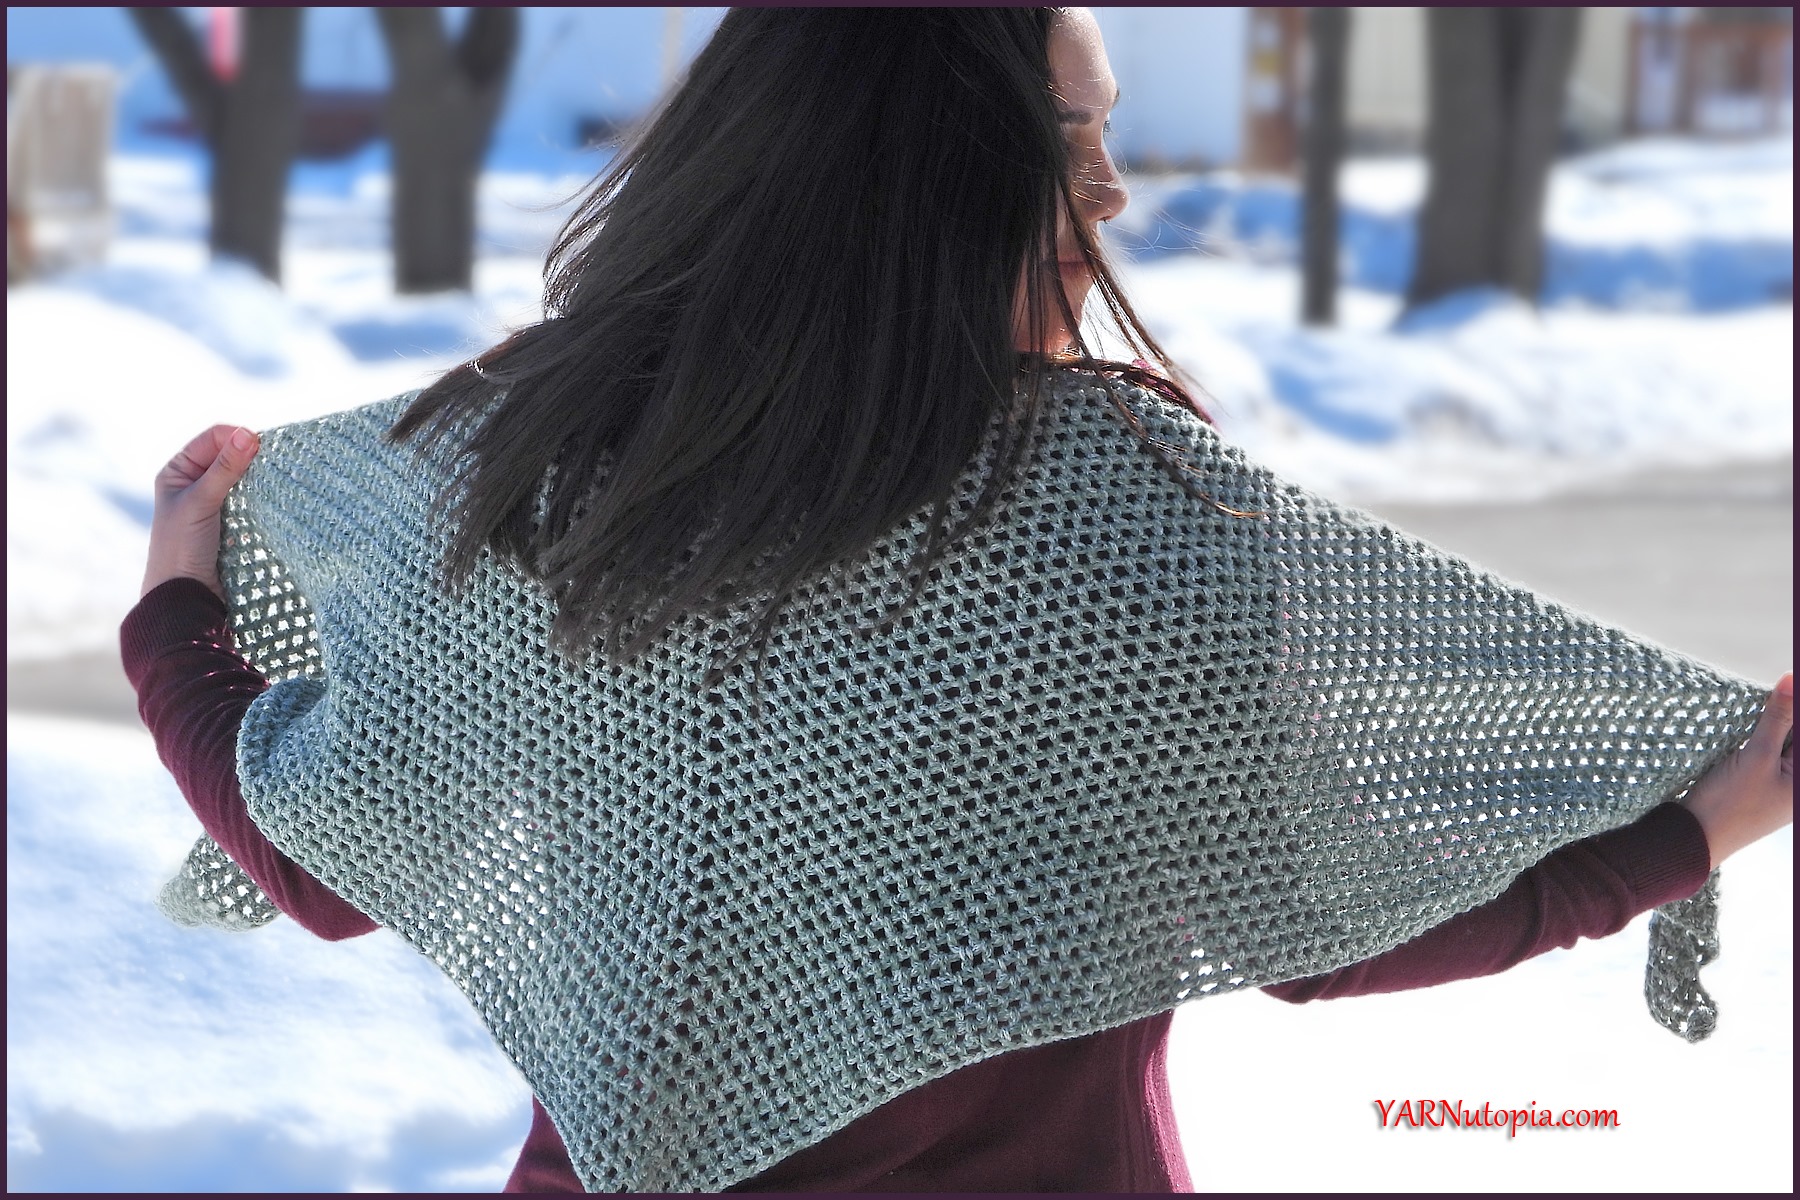
FREE Crochet Video Tutorial: Simple Spring Shawl
FREE Written Crochet Pattern: Simple Spring Shawl
FREE Written Crochet Pattern: Book Sleeve
FREE Crochet Video Tutorial: Book Sleeve
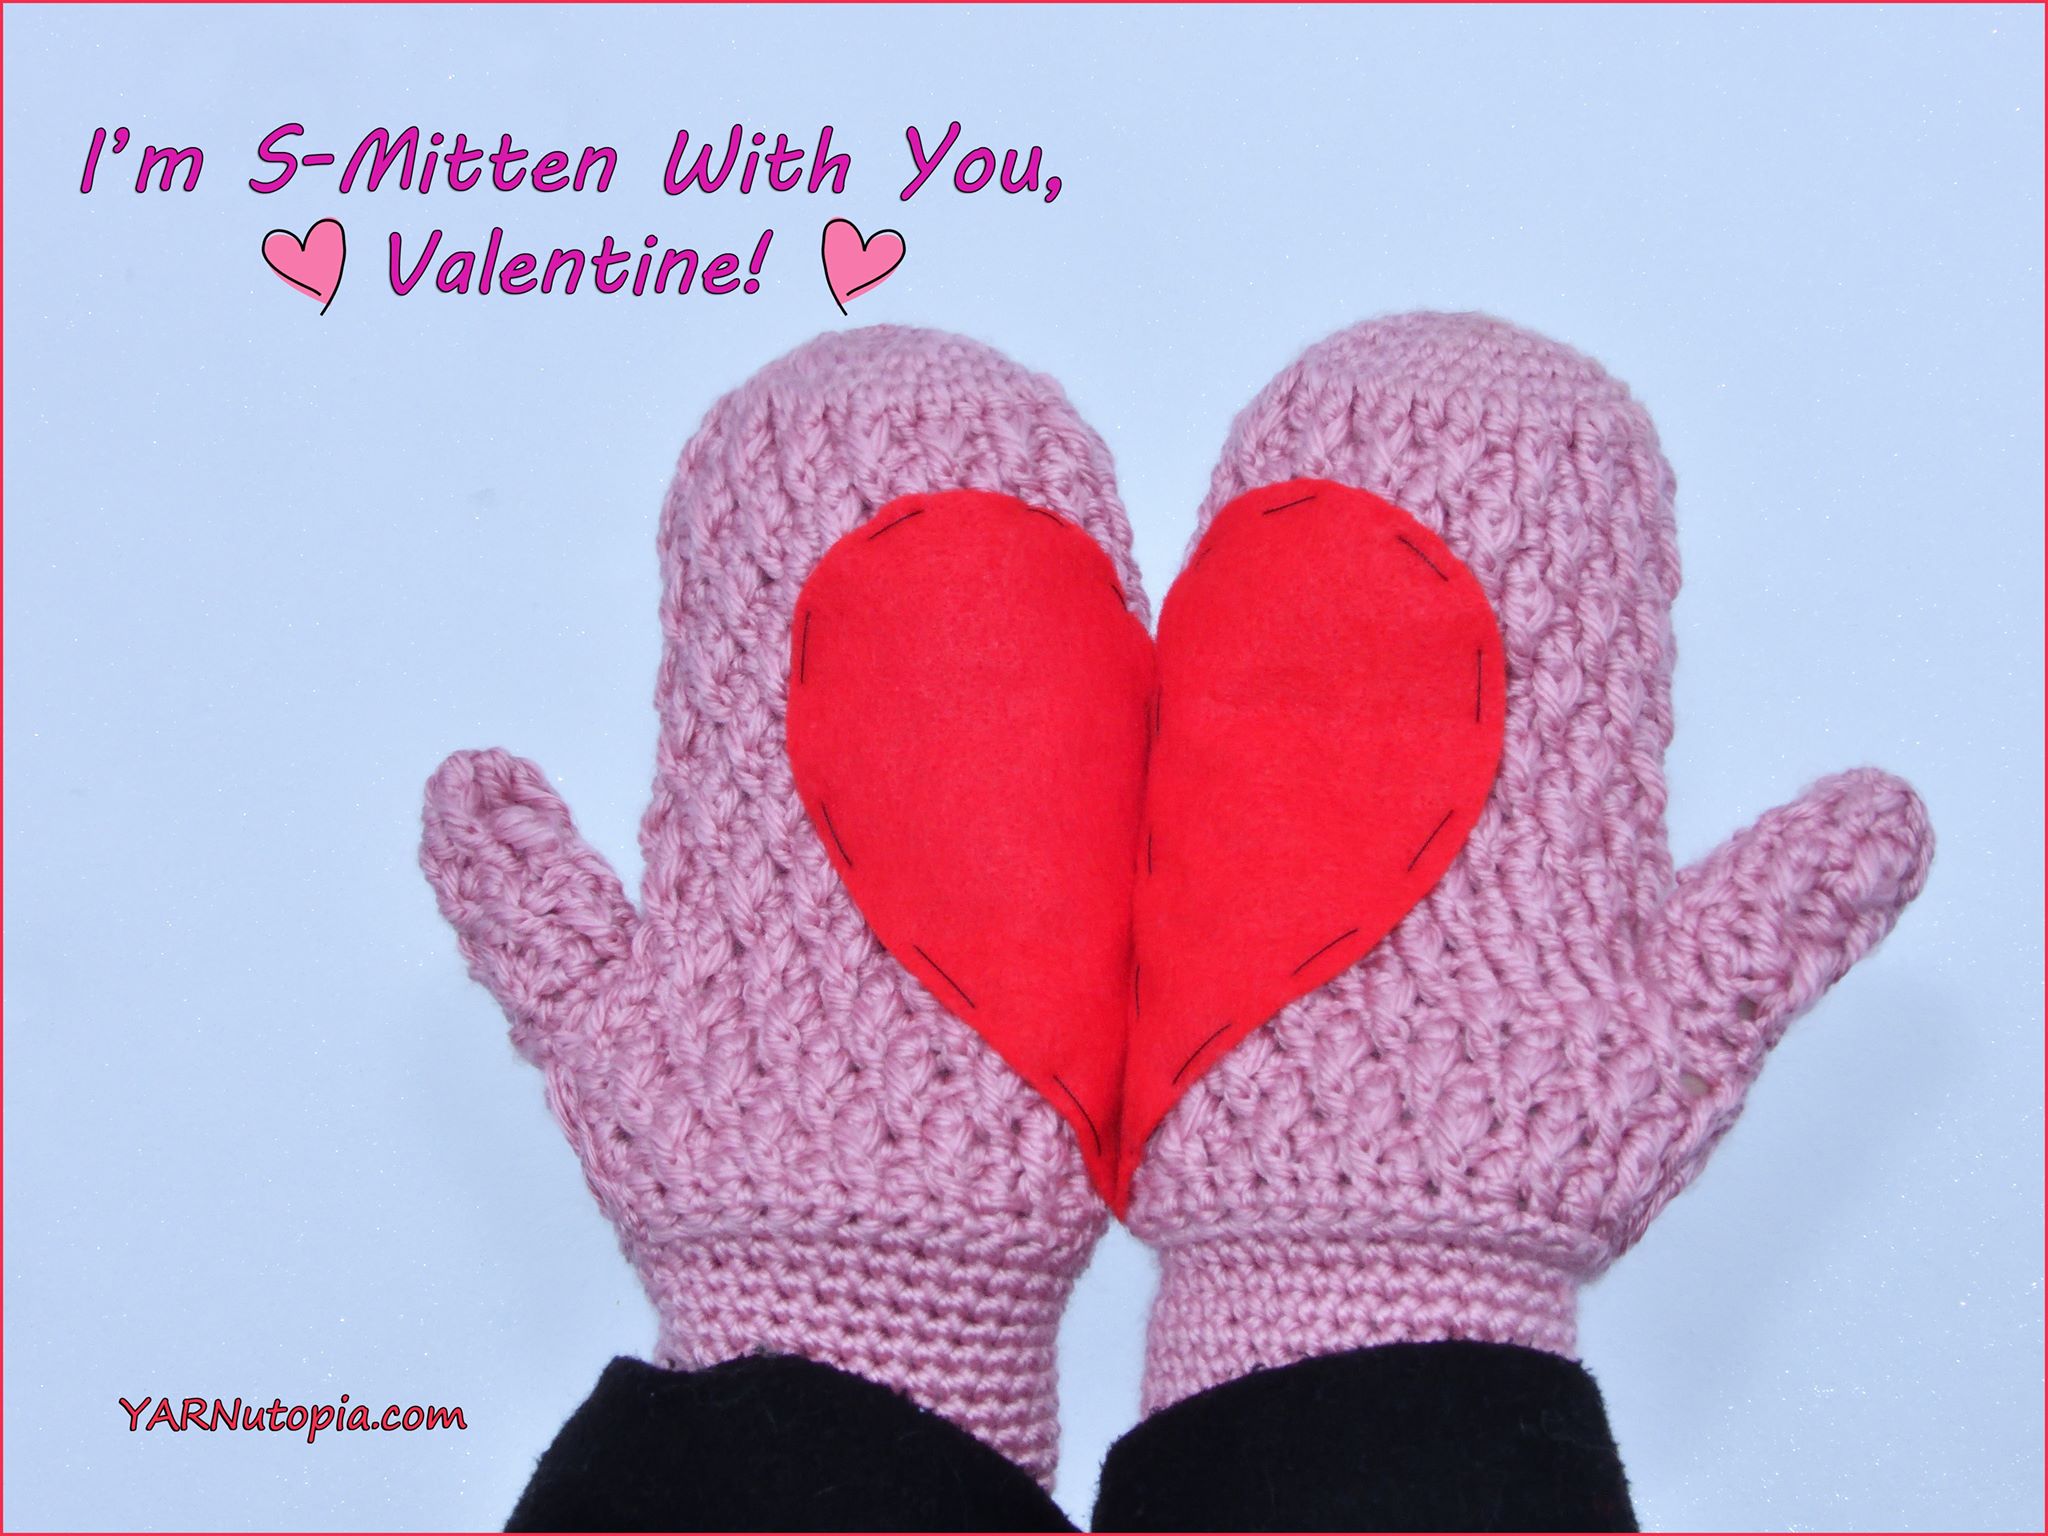
FREE Written Crochet Pattern: Alpine Stitch Mittens
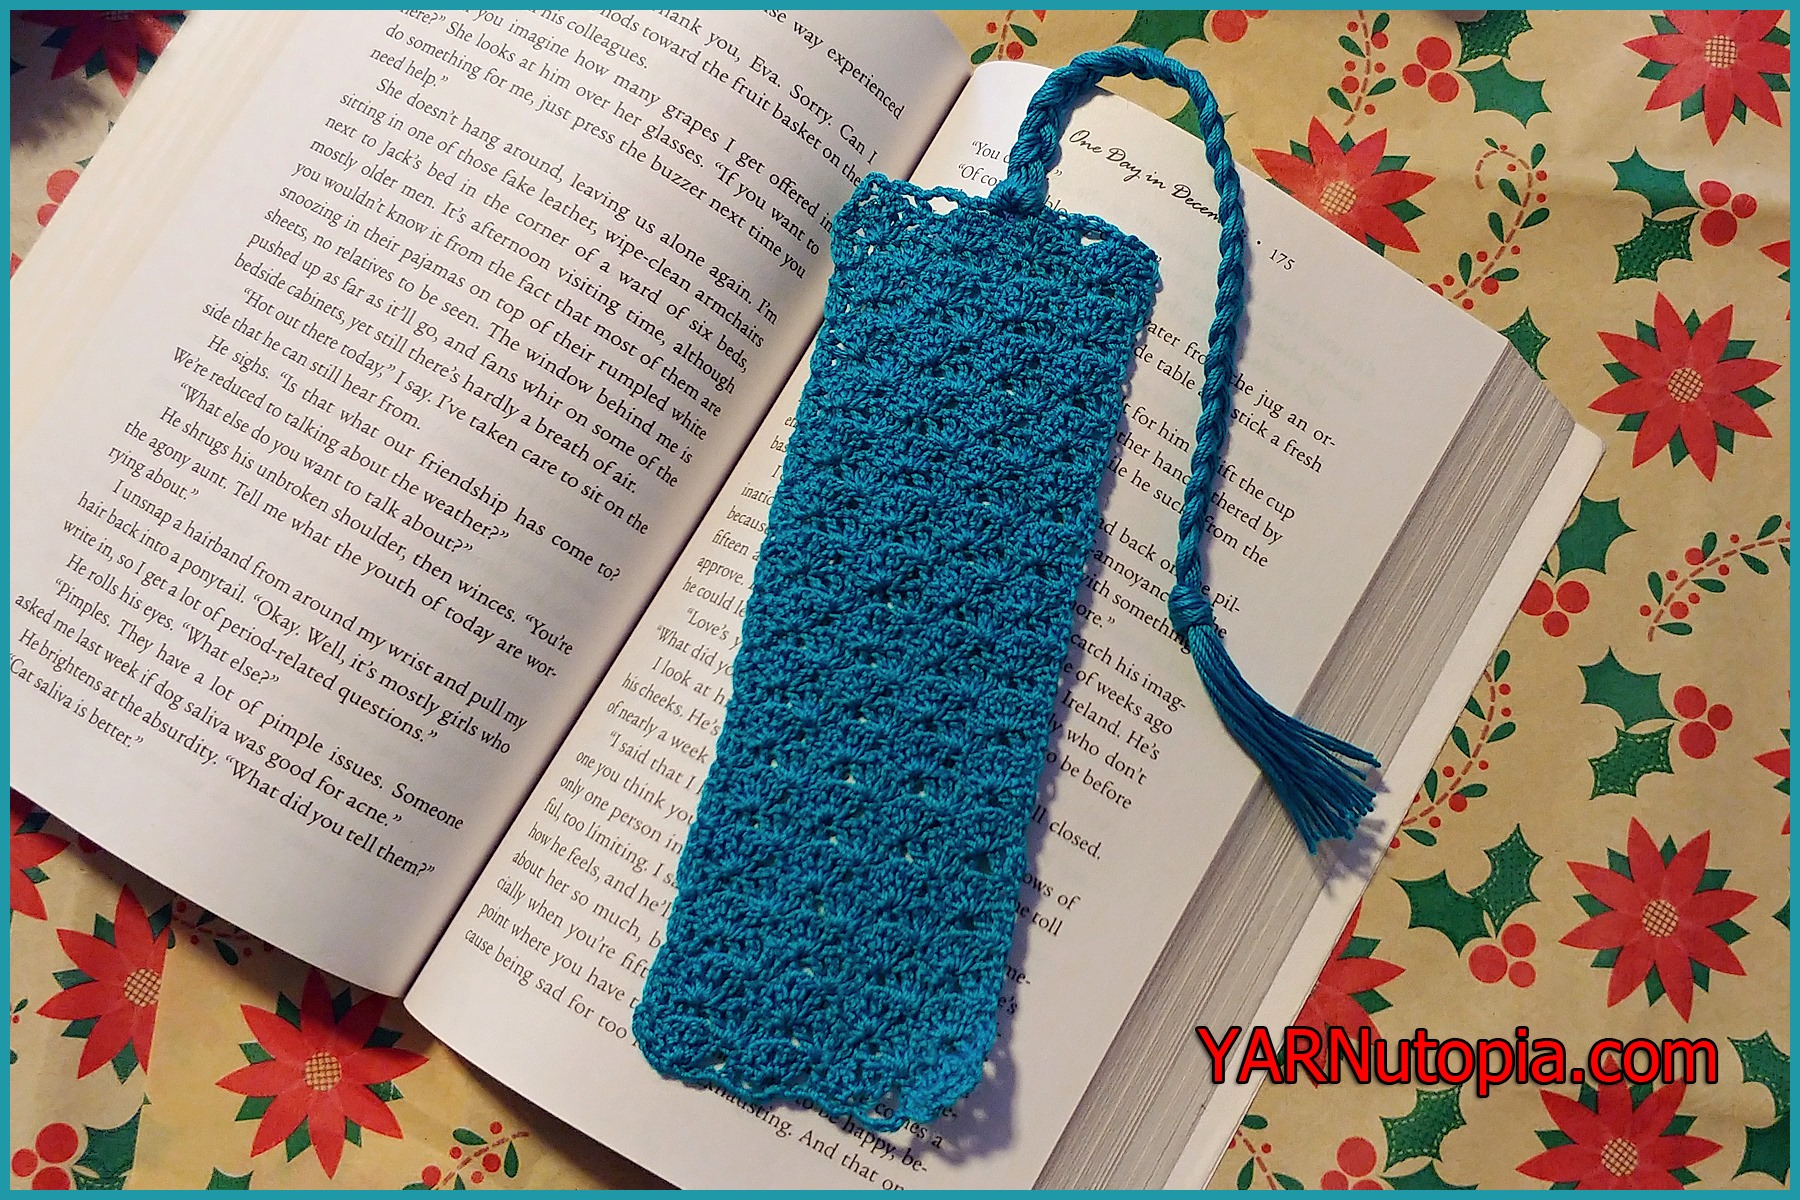
12 Days of Christmas: Lace Shell Bookmark – FREE Crochet Video Tutorial
12 Days of Christmas: Lace Shell Bookmark – FREE Written Crochet Pattern
FREE Crochet Video Tutorial: The Uptown Blanket Scarf
FREE Written Crochet Pattern: The Uptown Blanket Scarf
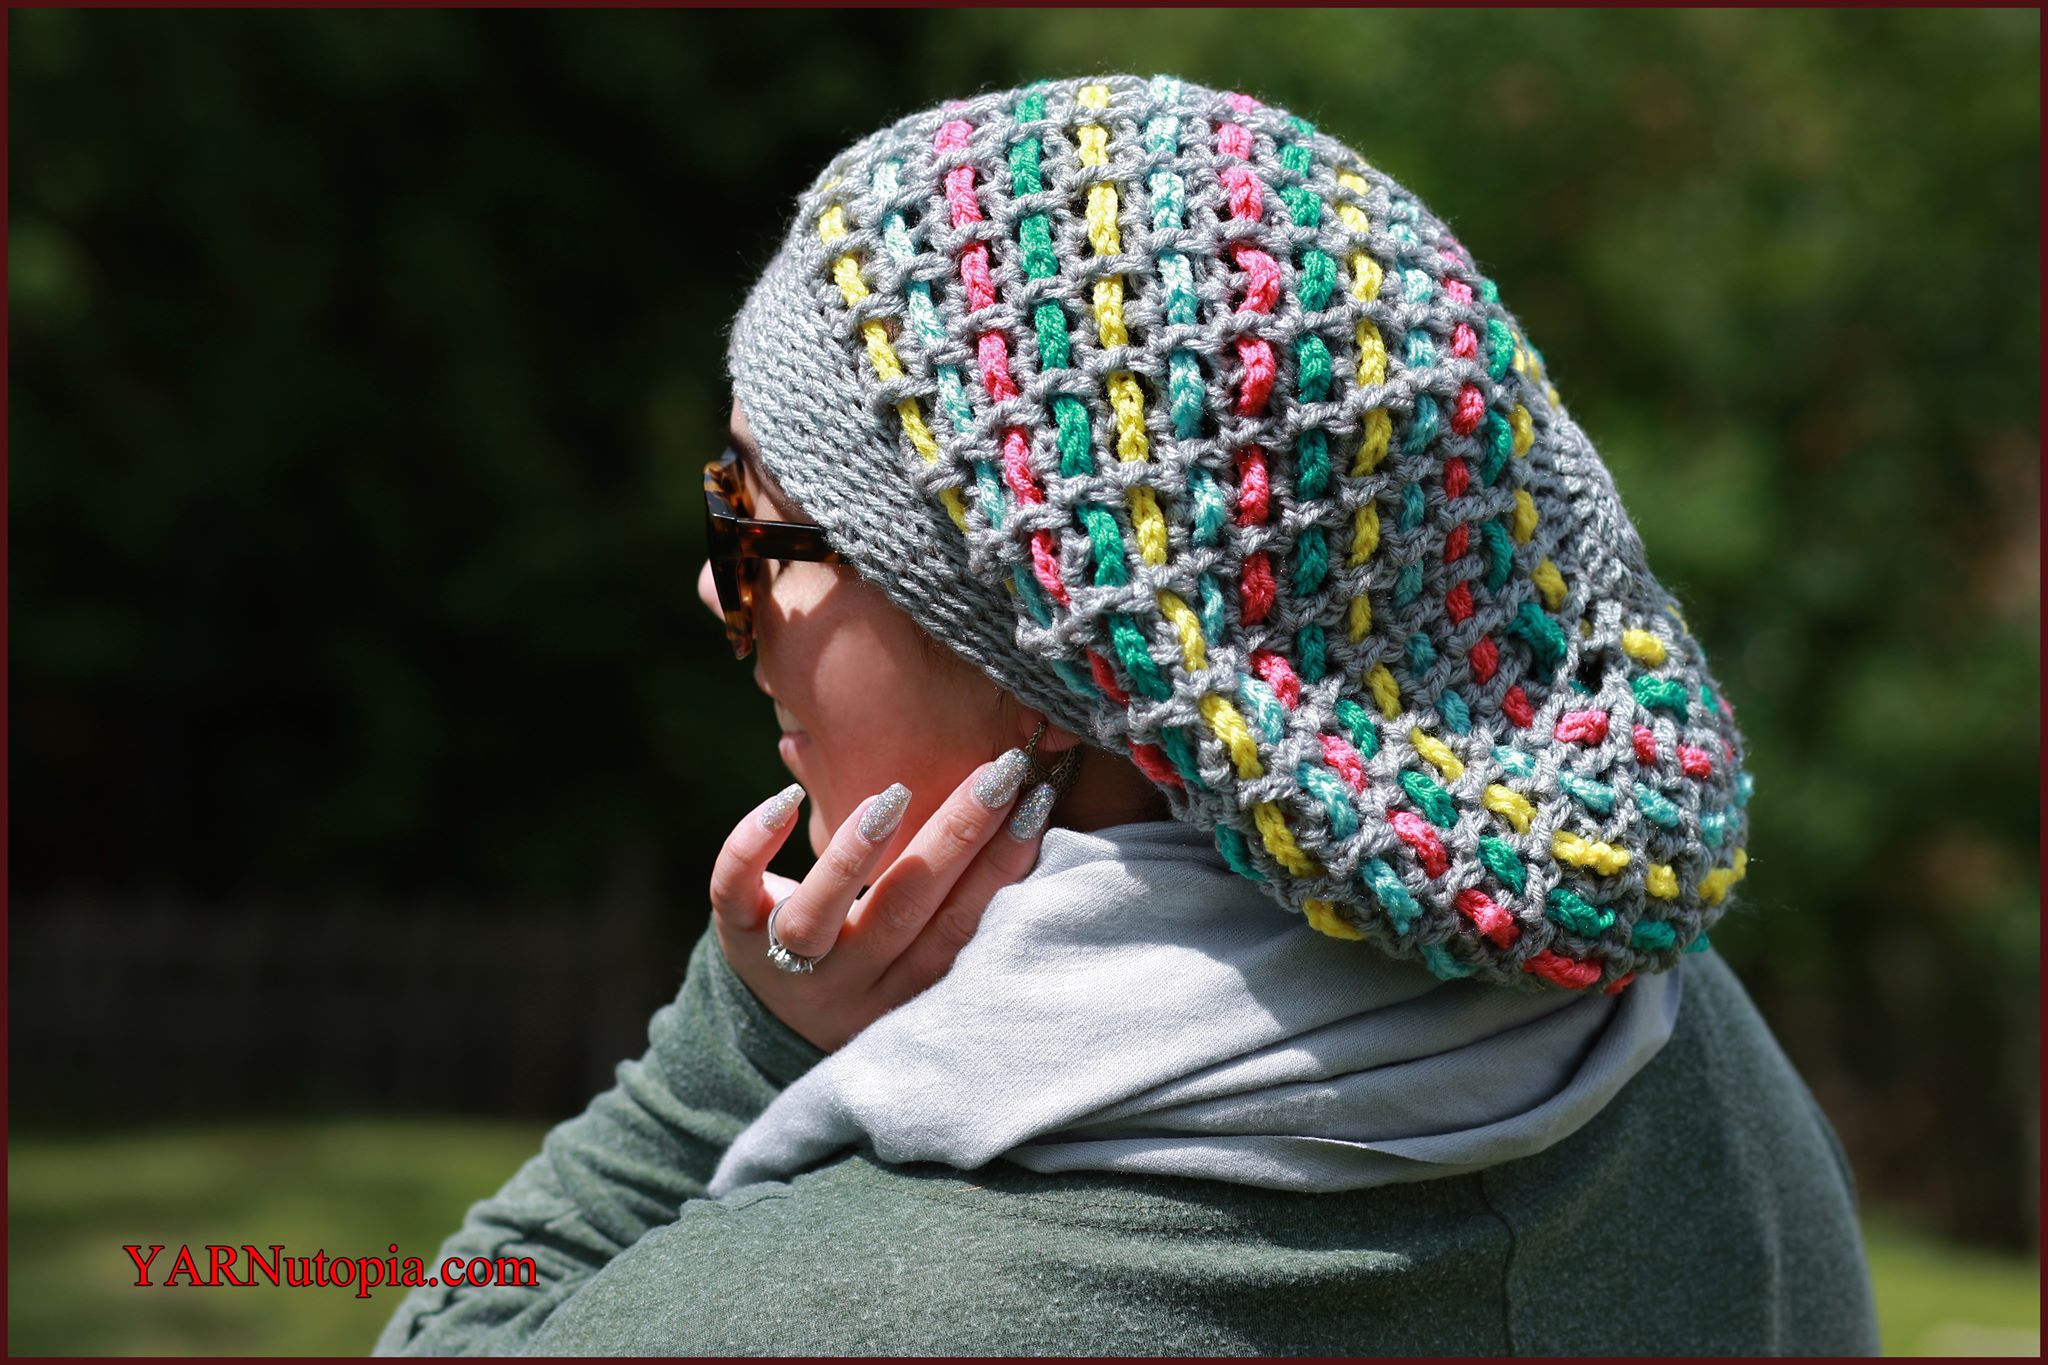
Crochet Tutorial: Chain Weaver Slouchy Hat
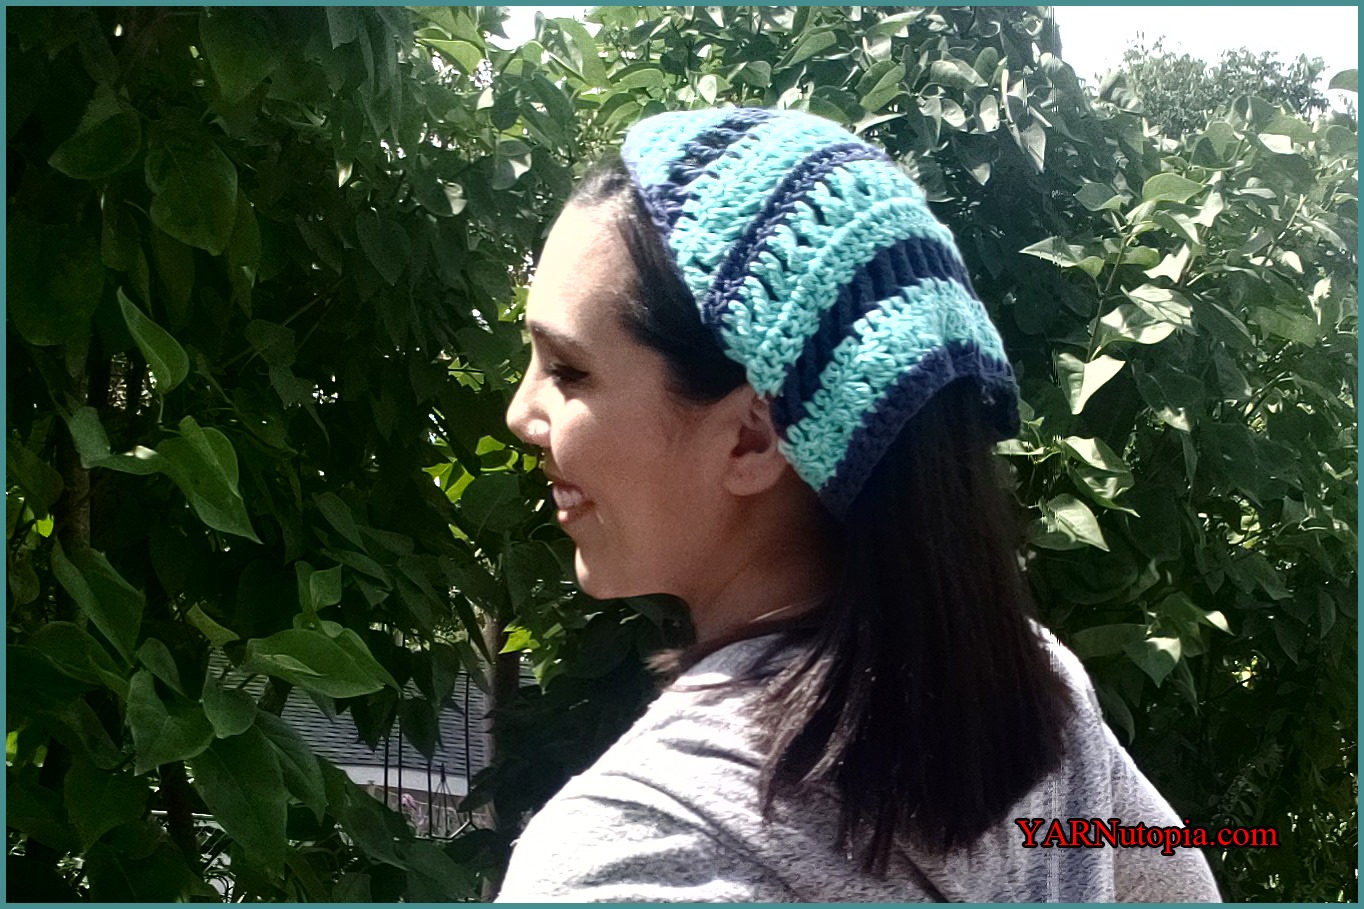
Crochet Tutorial: Boho Scarf Headband
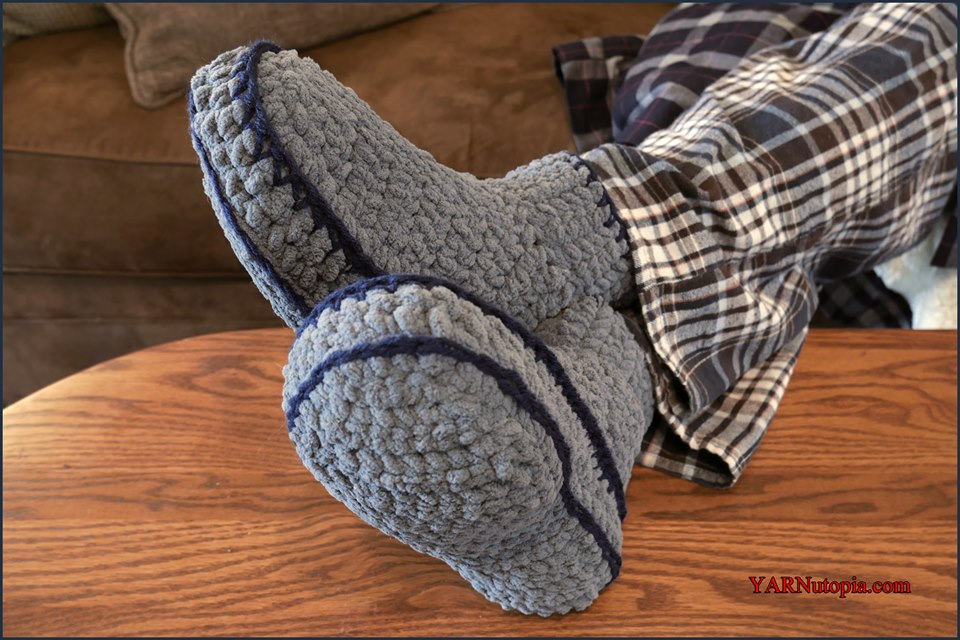
FREE Crochet Tutorial: Adult Mens Chunky Slippers
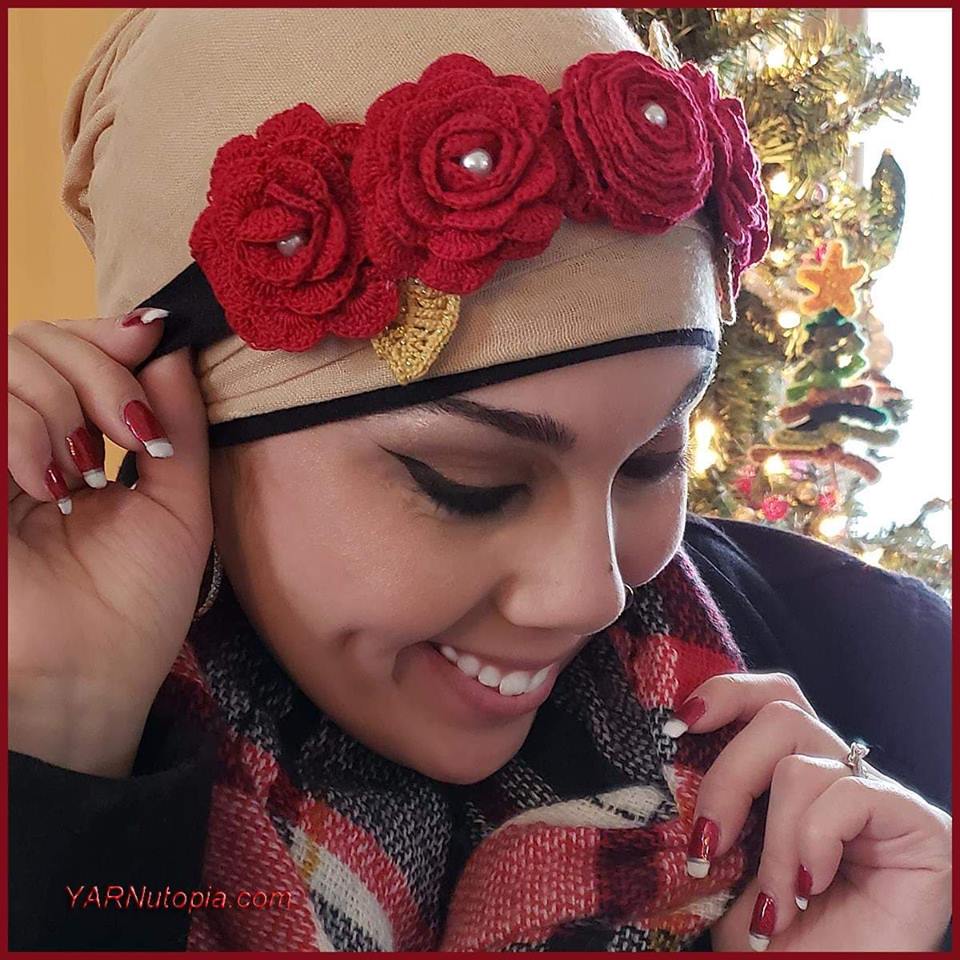
How to Crochet Tutorial: Rose Flower Headband & Floral Wedding Bouquet
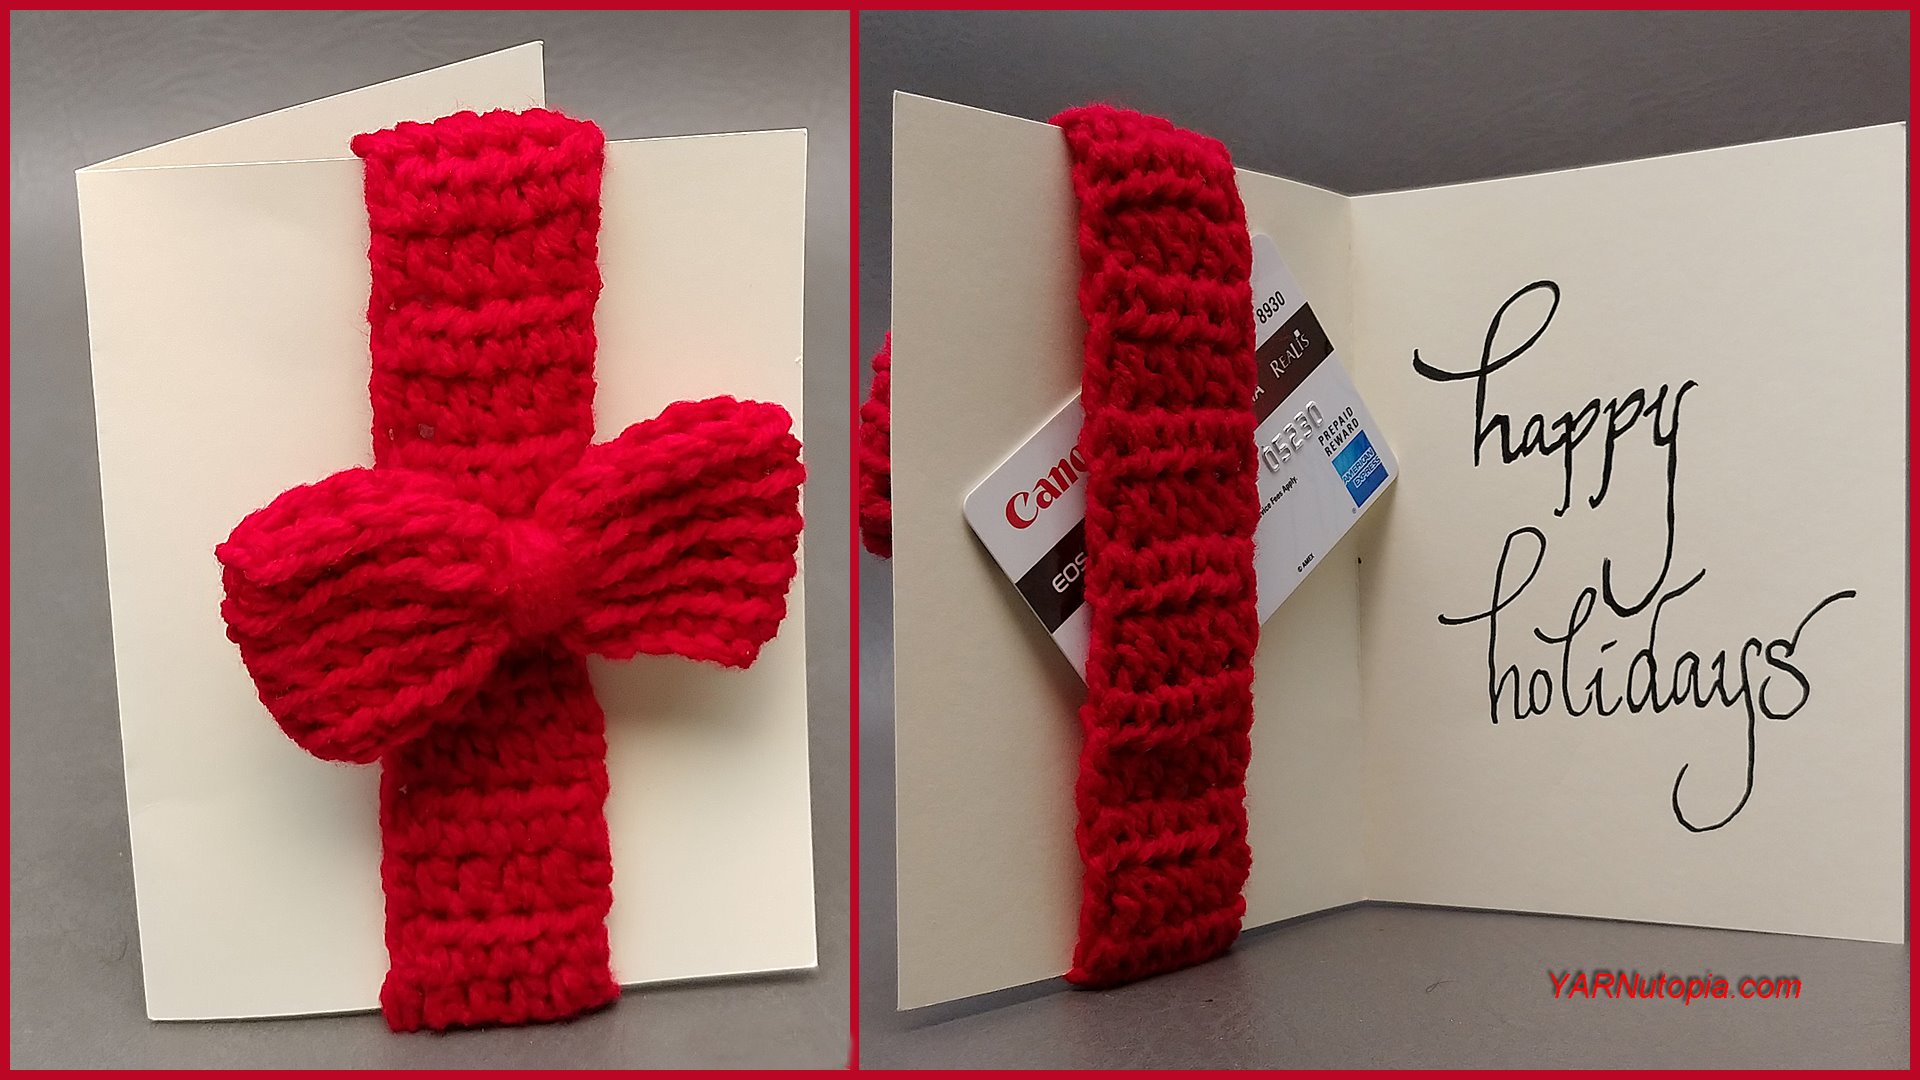
How to Crochet Tutorial: Bow Greeting Card with Gift Card Holder
How to Crochet Tutorial: Lion Mane Cat Hat Costume
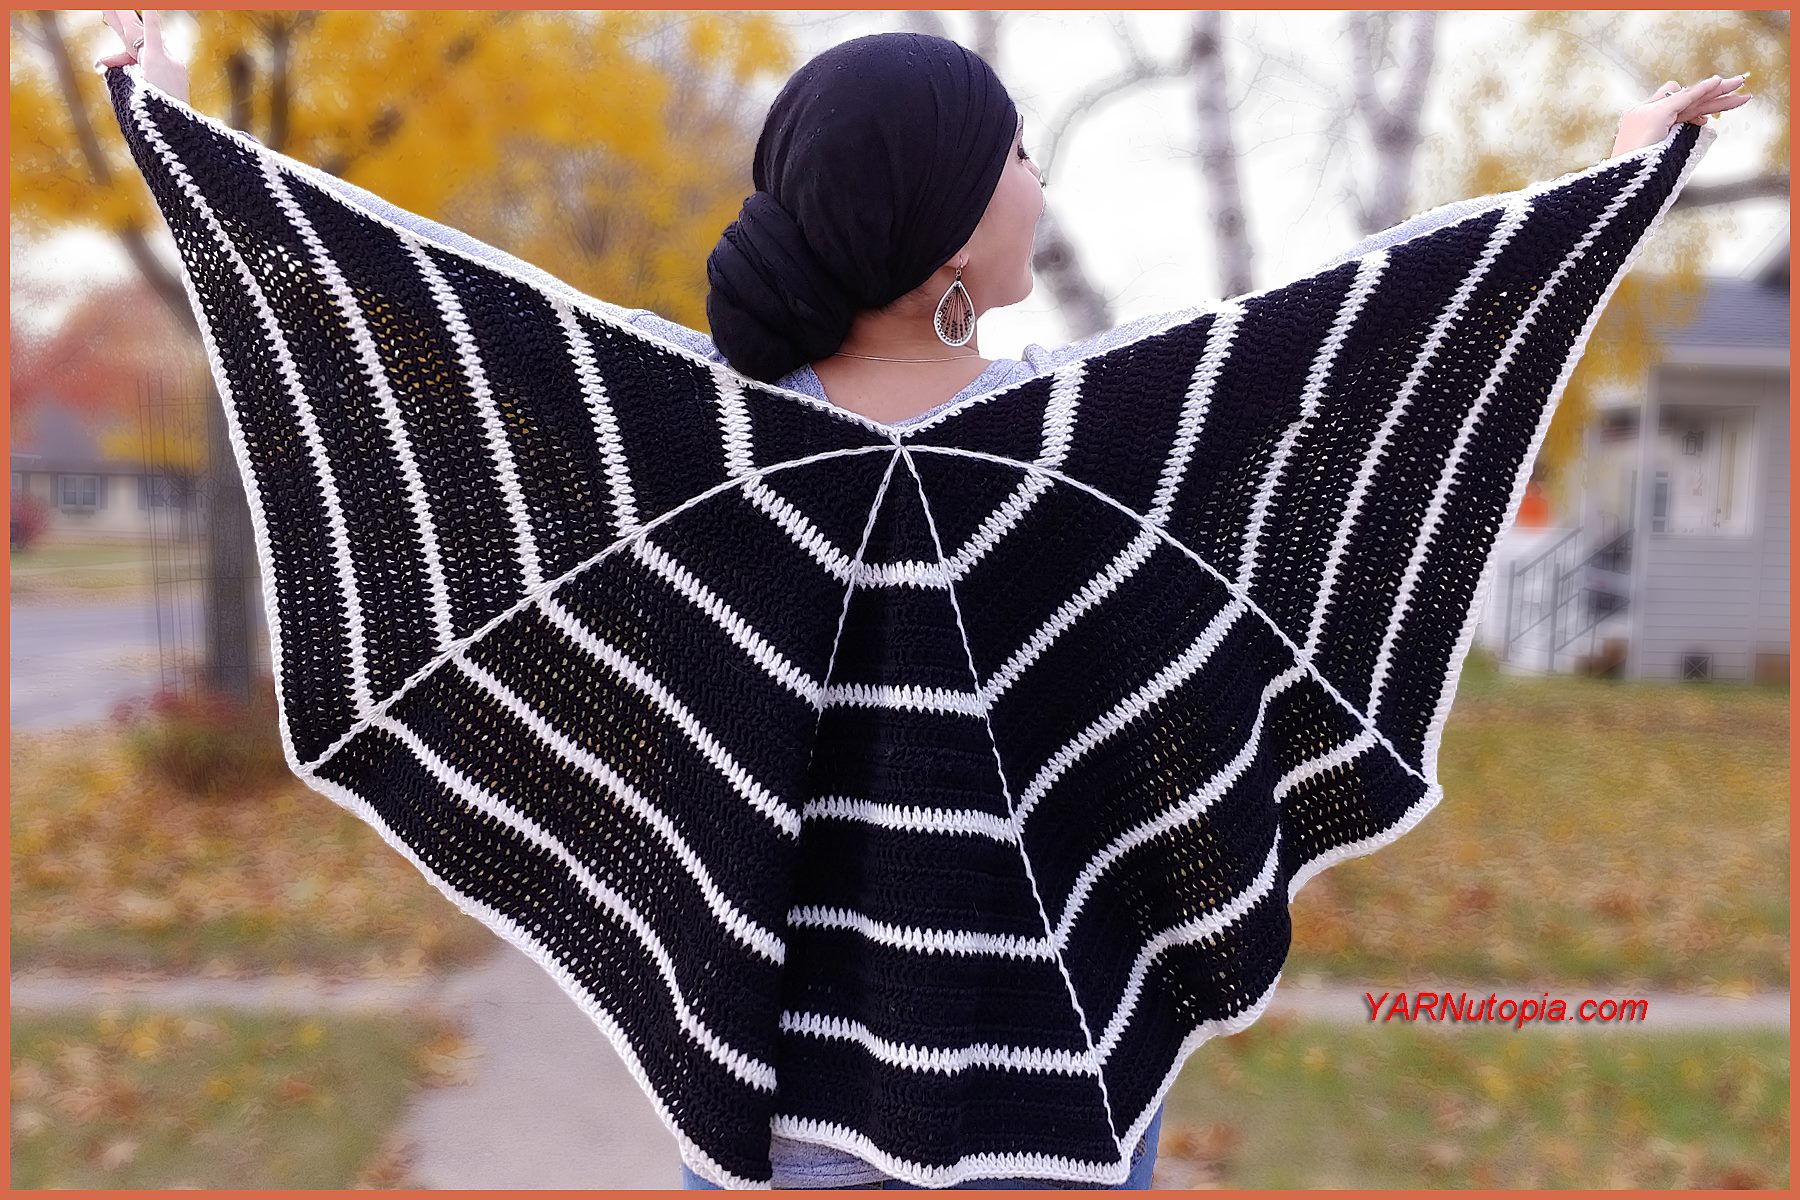
How to Crochet Tutorial: Spider Web Wrap
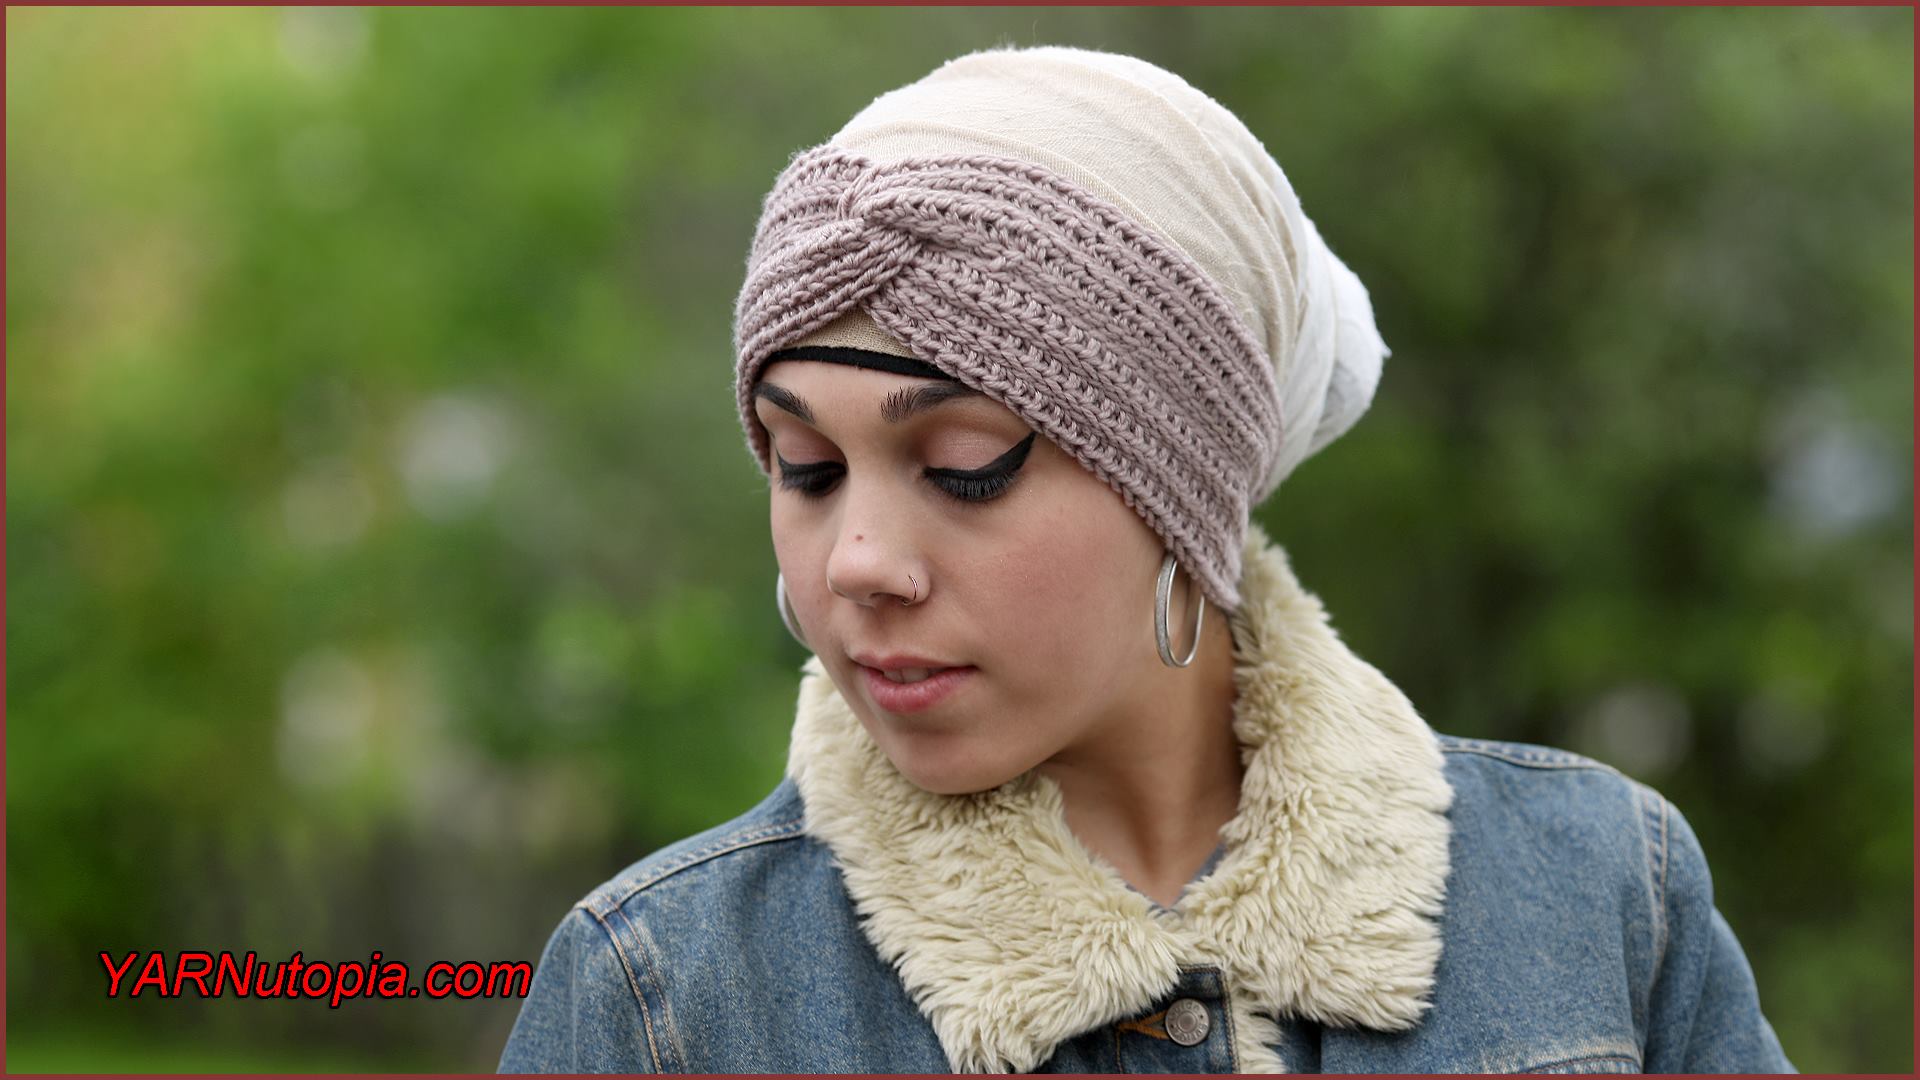
How to Crochet Tutorial: Chic Twist Headwrap
Crochet Tutorial: Vintage Inspired Pelerine Collar
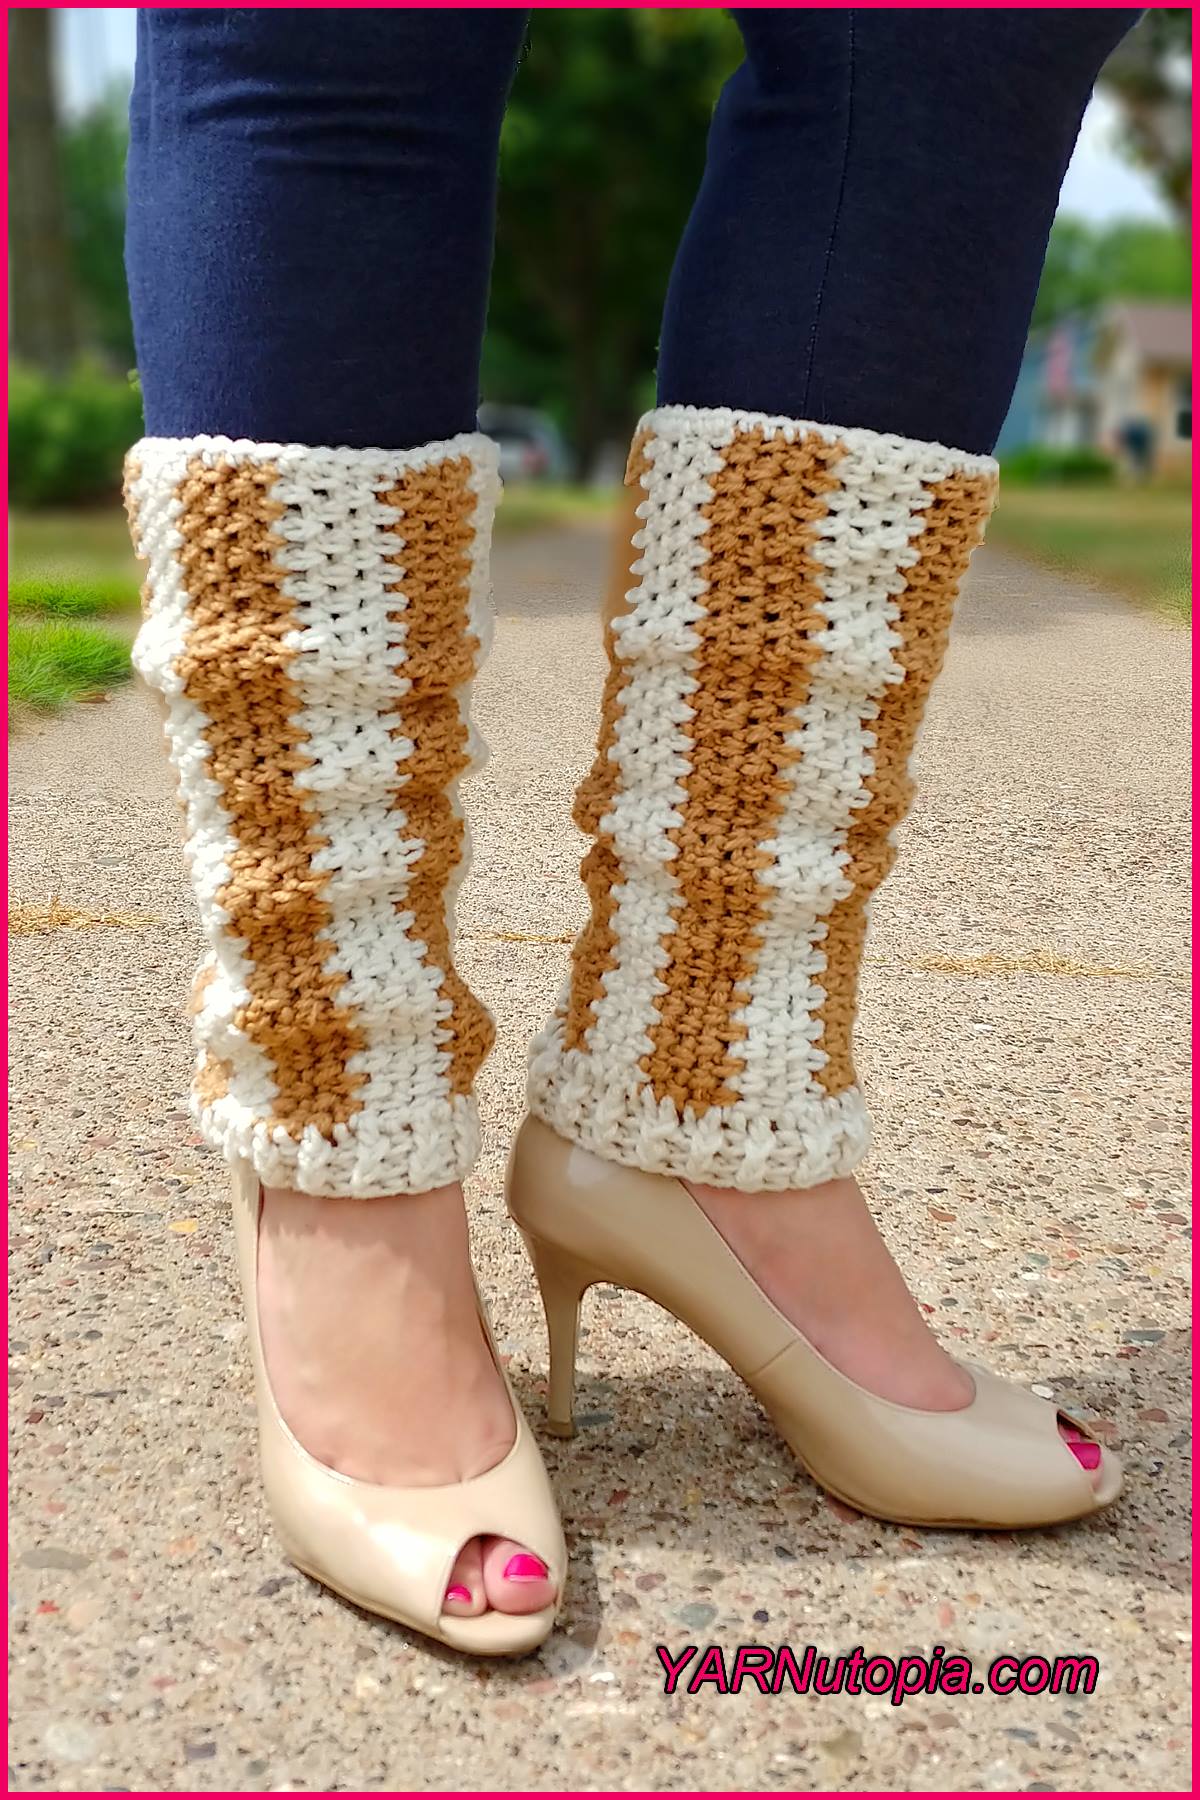
Crochet Tutorial: Vertical Striped Leg Warmers
Video Tutorial: Make Your Mark Bookmark
Crochet Tutorial: Bookmark with a Ribbon
Crochet Tutorial: Bunny Ear Headband
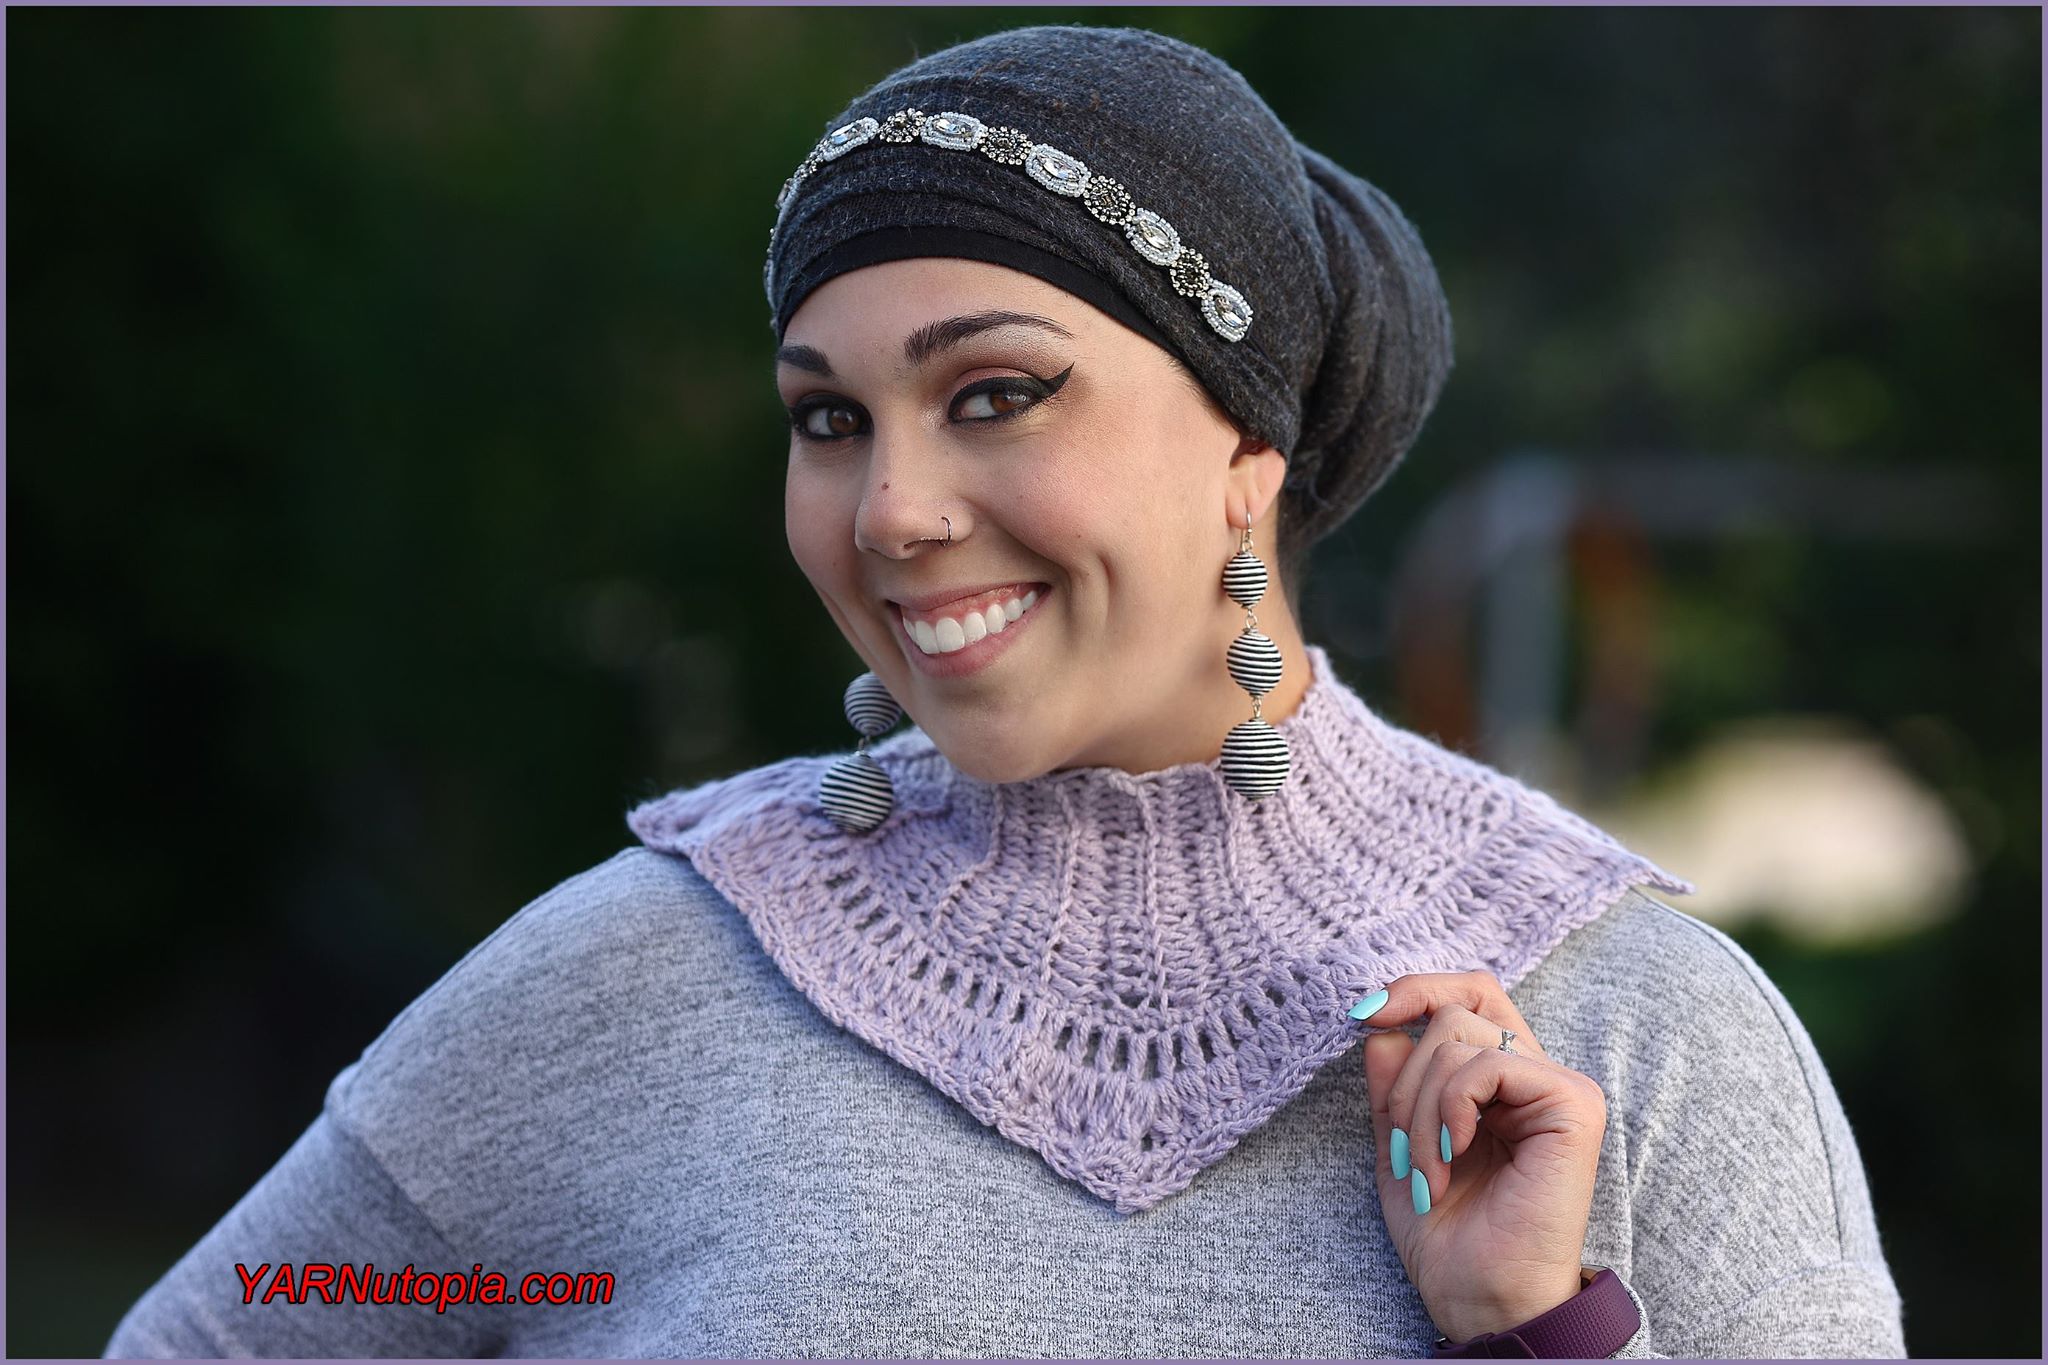
Crochet Tutorial: Pommin’ Around Cowl
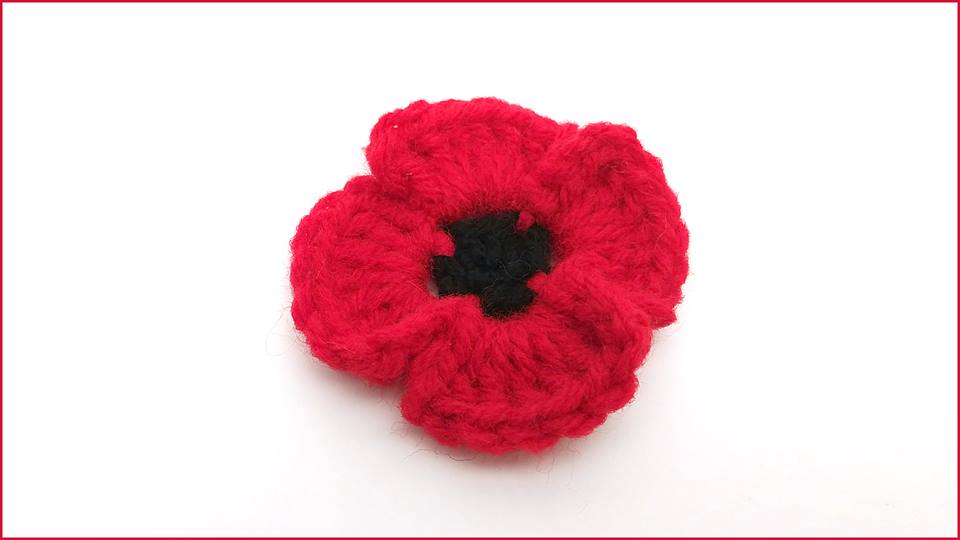
Crochet Tutorial: Poppy Flower
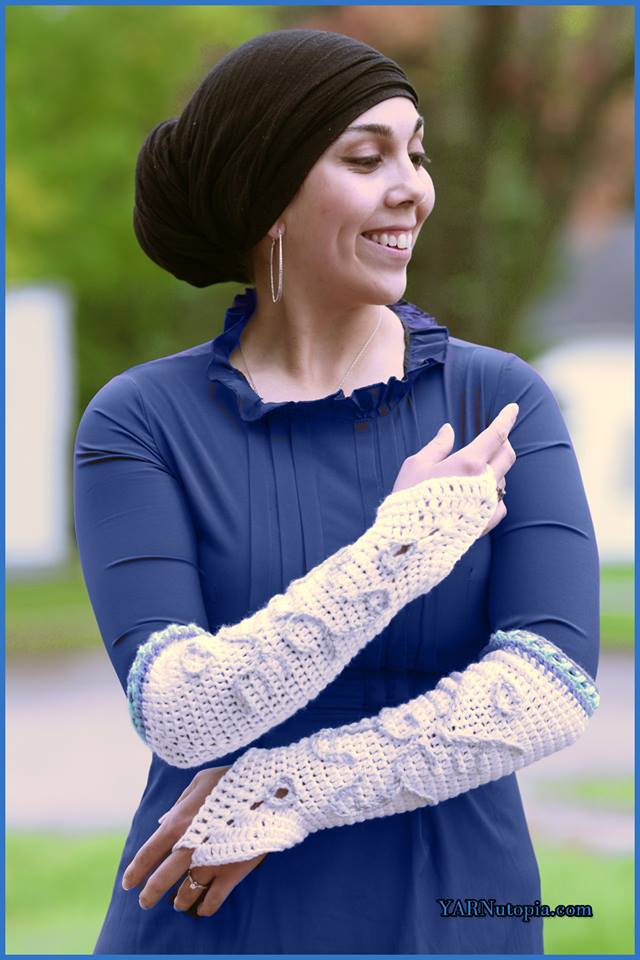
Crochet Tutorial: Nadia’s Wonderfully Warm Mittens
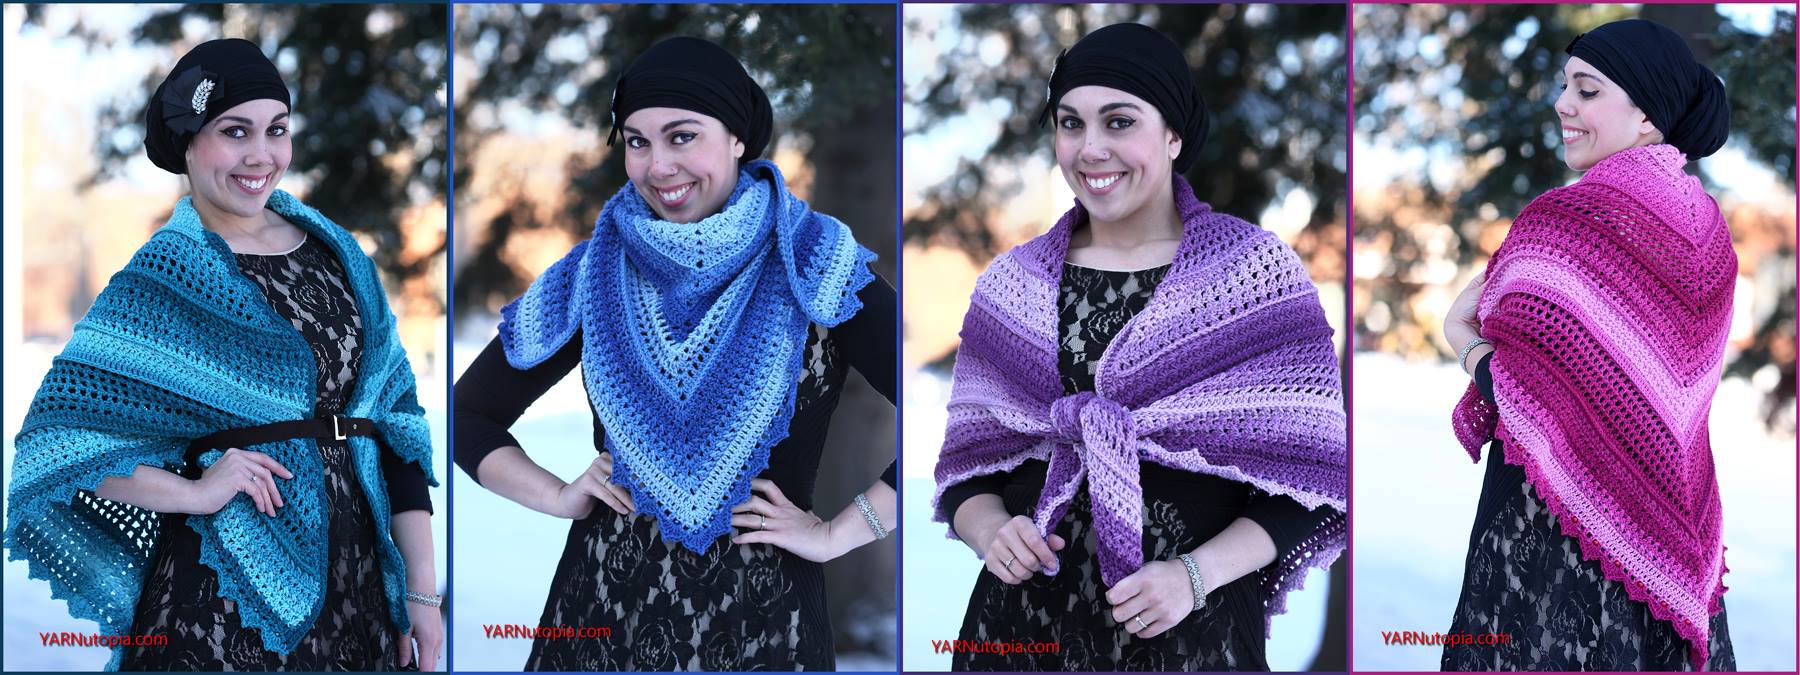
Crochet Tutorial: Wrapped in Jewels Shawl
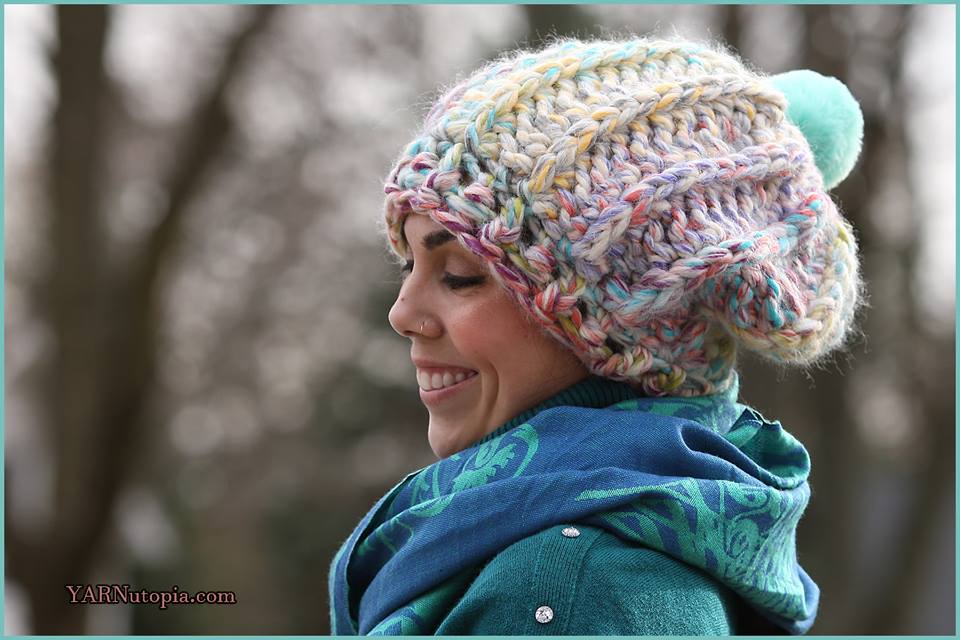
Crochet Tutorial: Razzle Dazzle Chunky Hat
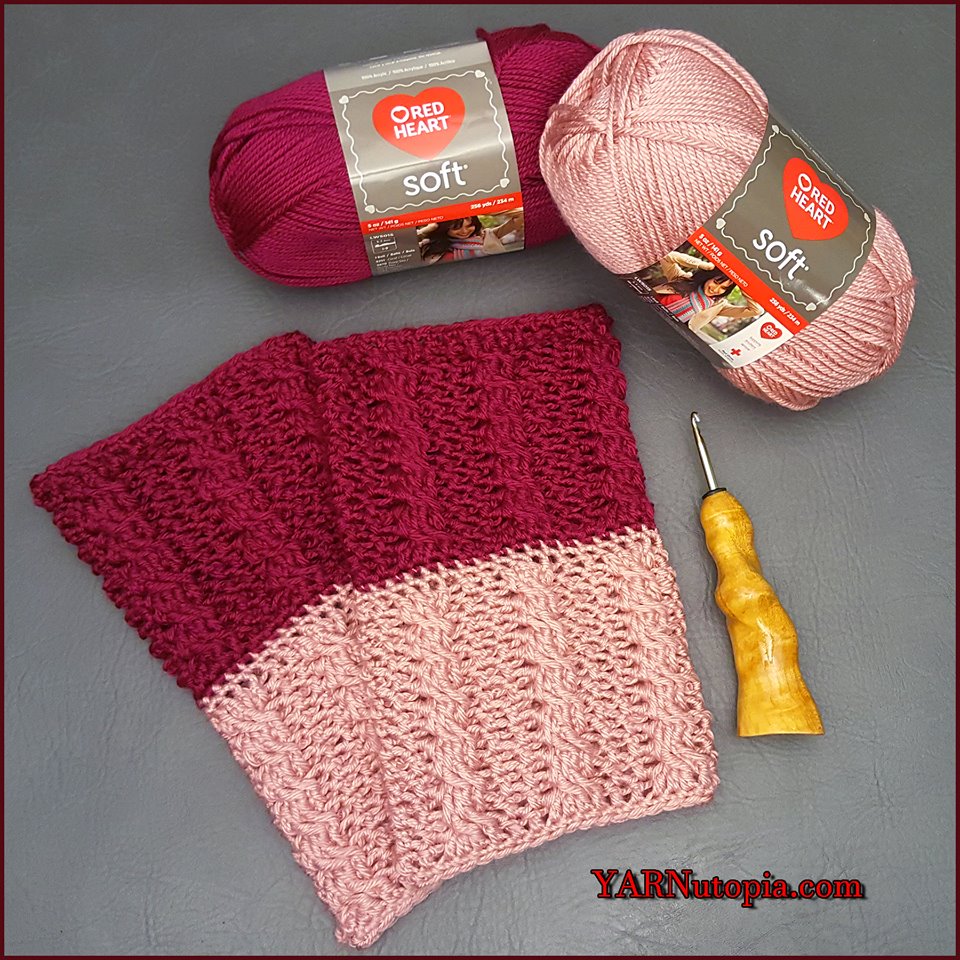
Crochet Tutorial: Two-Toned Cable Boot Cuffs
Crochet Tutorial: Princess Costume Gloves
Crochet Tutorial: Destiny Headband
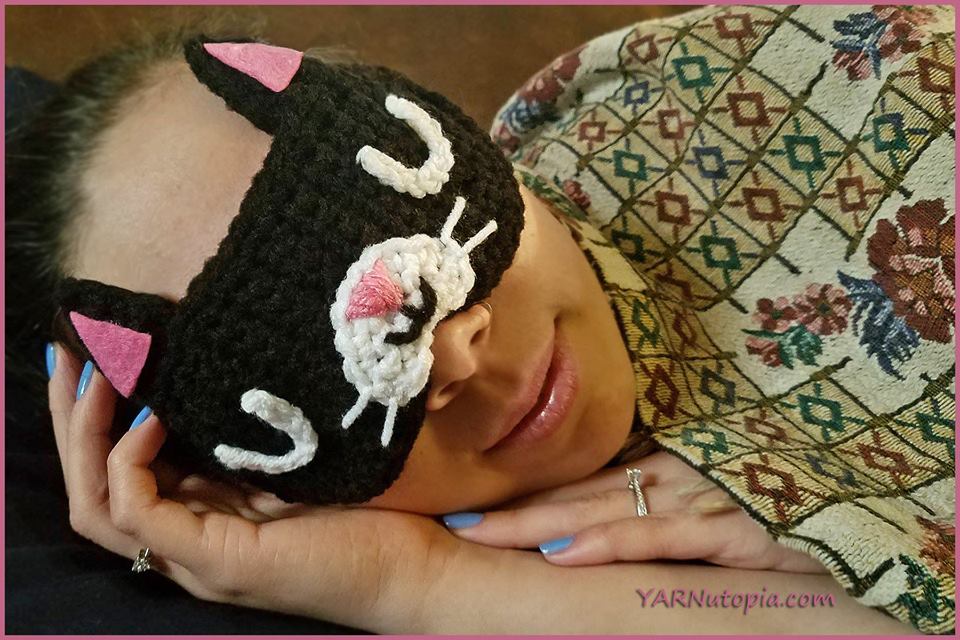
Crochet Tutorial: Feline Rested Sleep Mask
Crochet Tutorial: Festive Pom Boot Cuffs
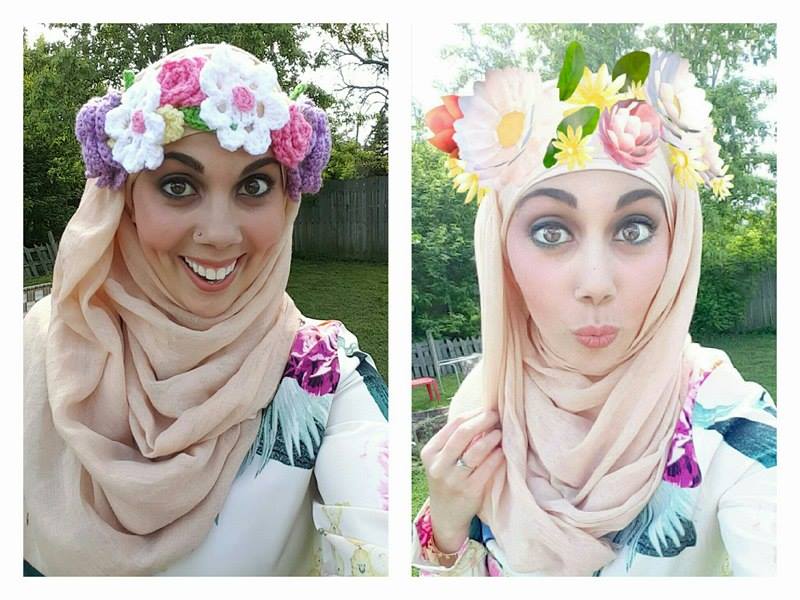
Crochet Tutorial: Floral Dream Crown
Crochet Tutorial: Crochet Around Earbud Cords
Crochet Tutorial: Earring Embellishment
Loading Comments...
Write a Comment...
Email (Required)
Name (Required)
Website