Skip to content
YARNutopia & M0re
All things Yarn Related: Crochet, DIY, and Crafts
Blog
365 Days of Granny Squares
Stitch Gallery & Glossary
Crochet Video Tutorials
Frequently Asked Questions
Crochet Glossary: Learn the Lingo
Contact
Search
Search
granny
YARNutoia & More
FREE Written Crochet Pattern: Beach Vibes Bucket Hat
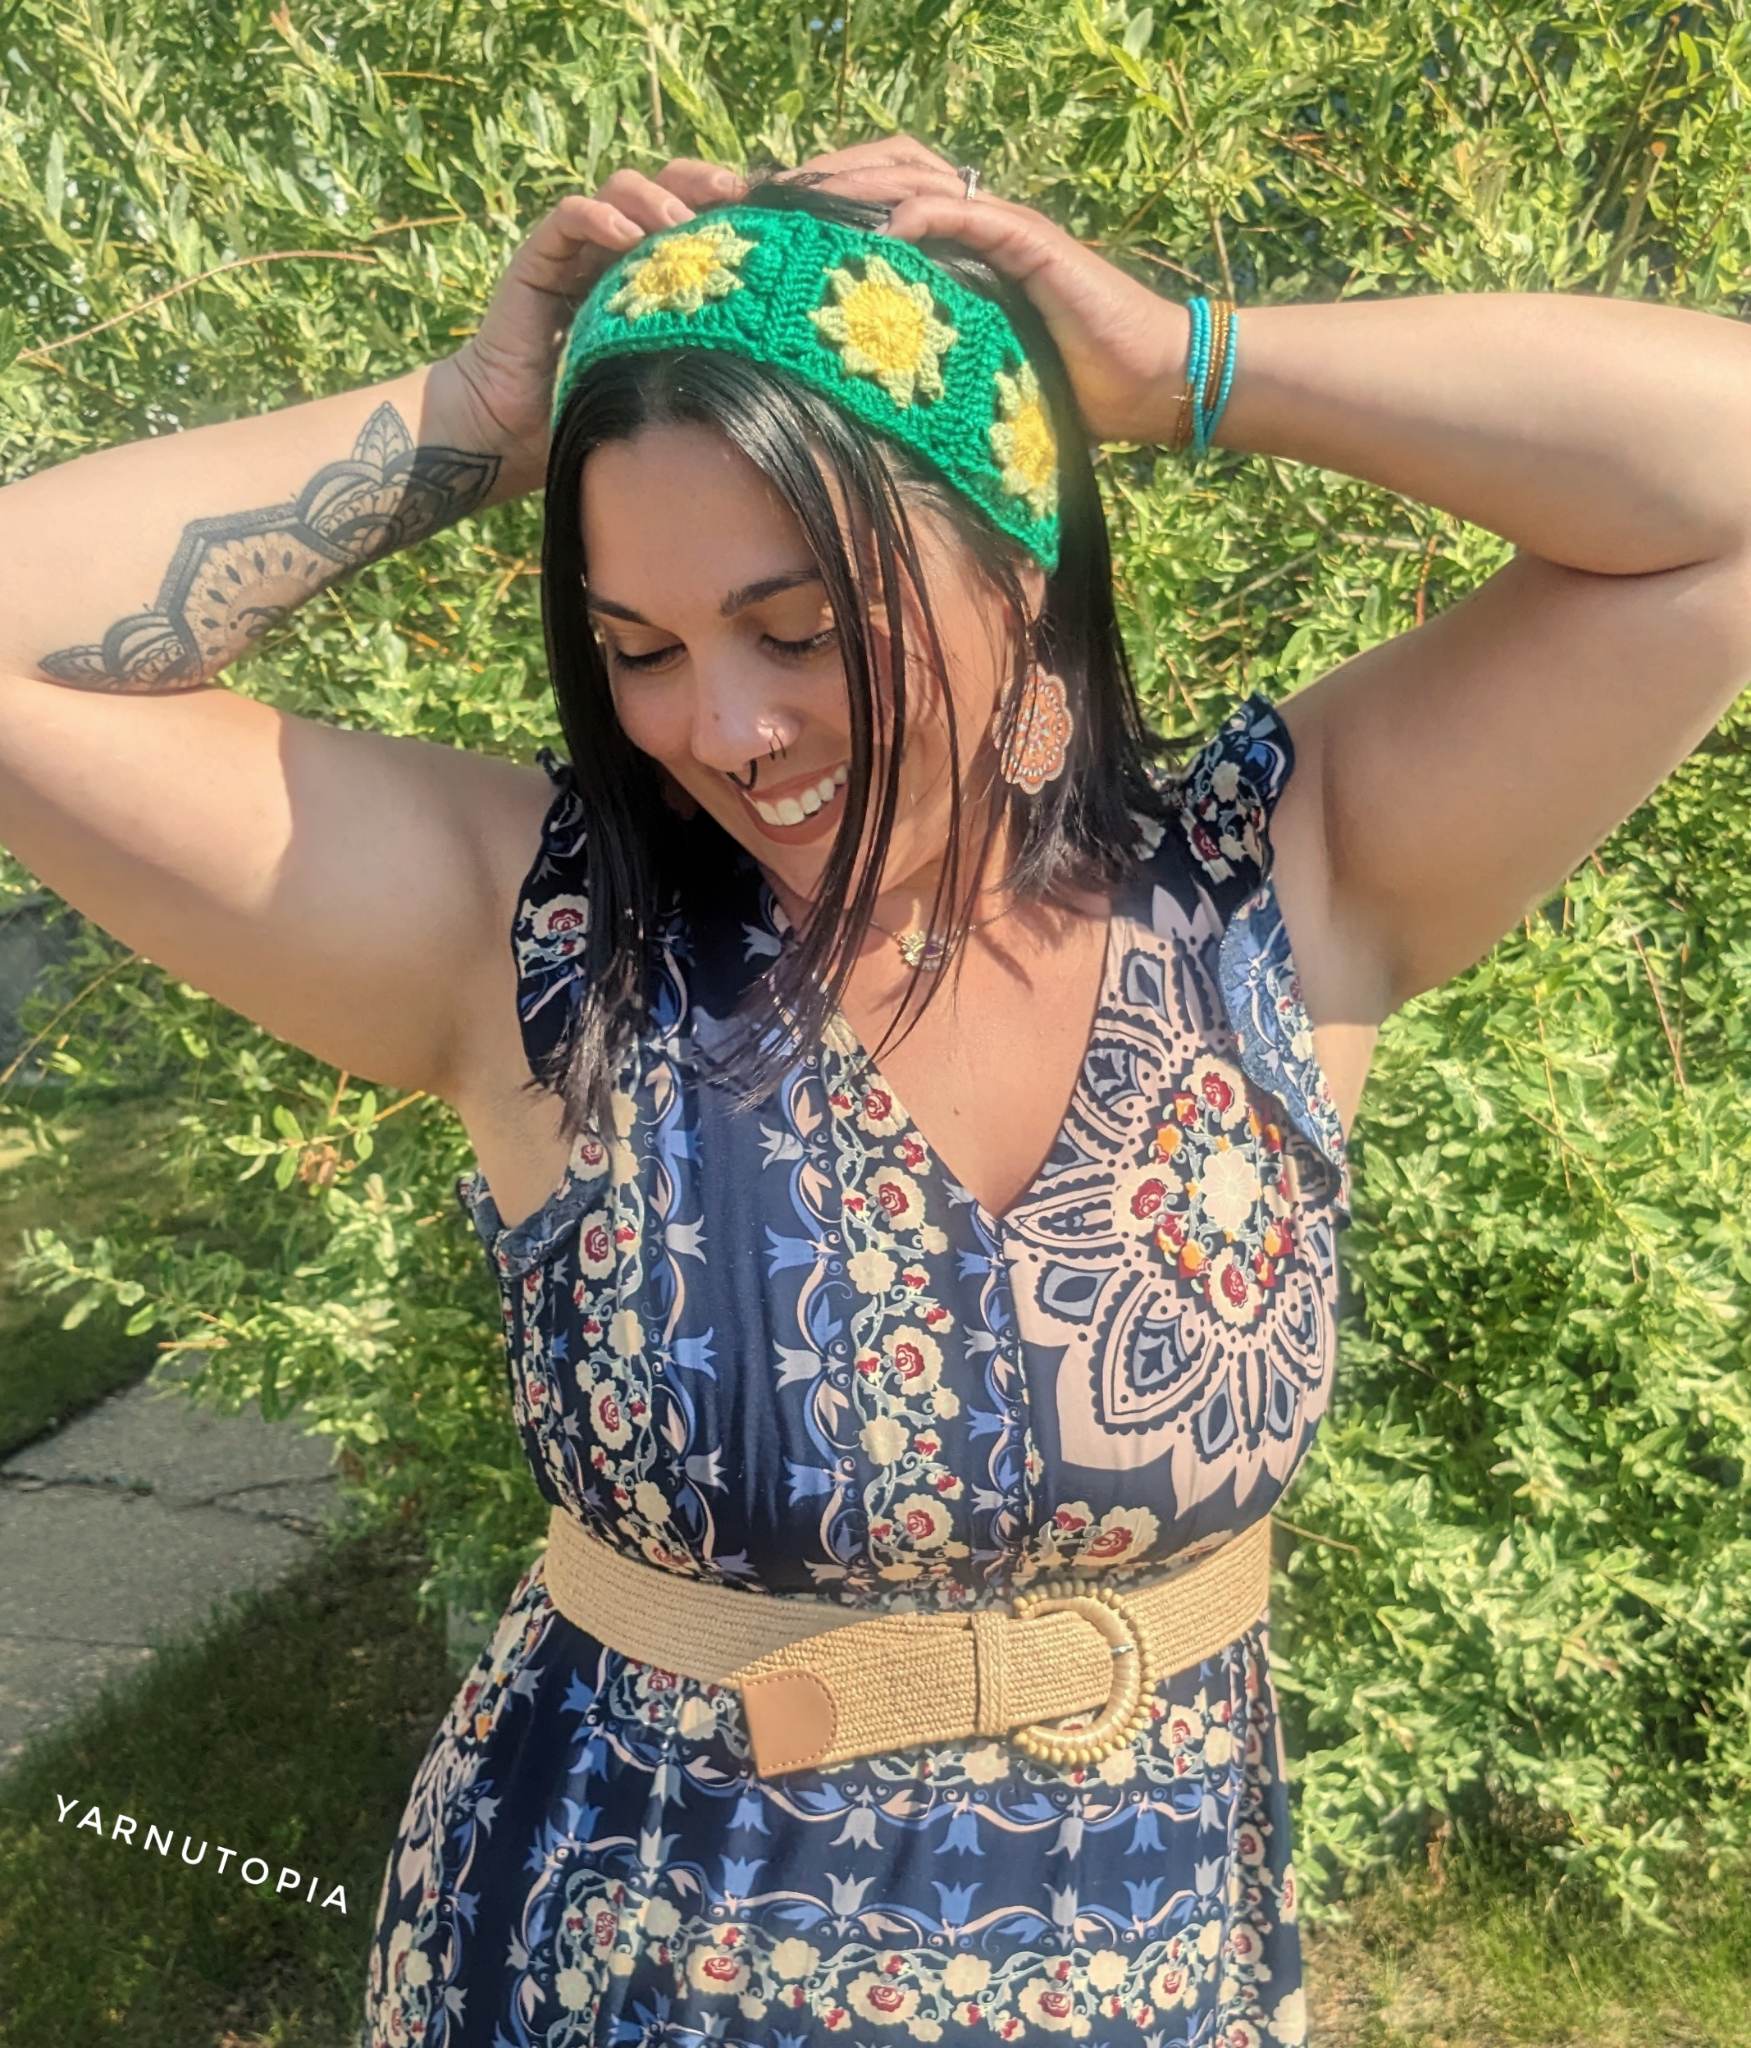
FREE Written Crochet Pattern: Starburst Garden Headband
FREE Written Crochet Pattern: Seat Belt Shoulder Strap Cover
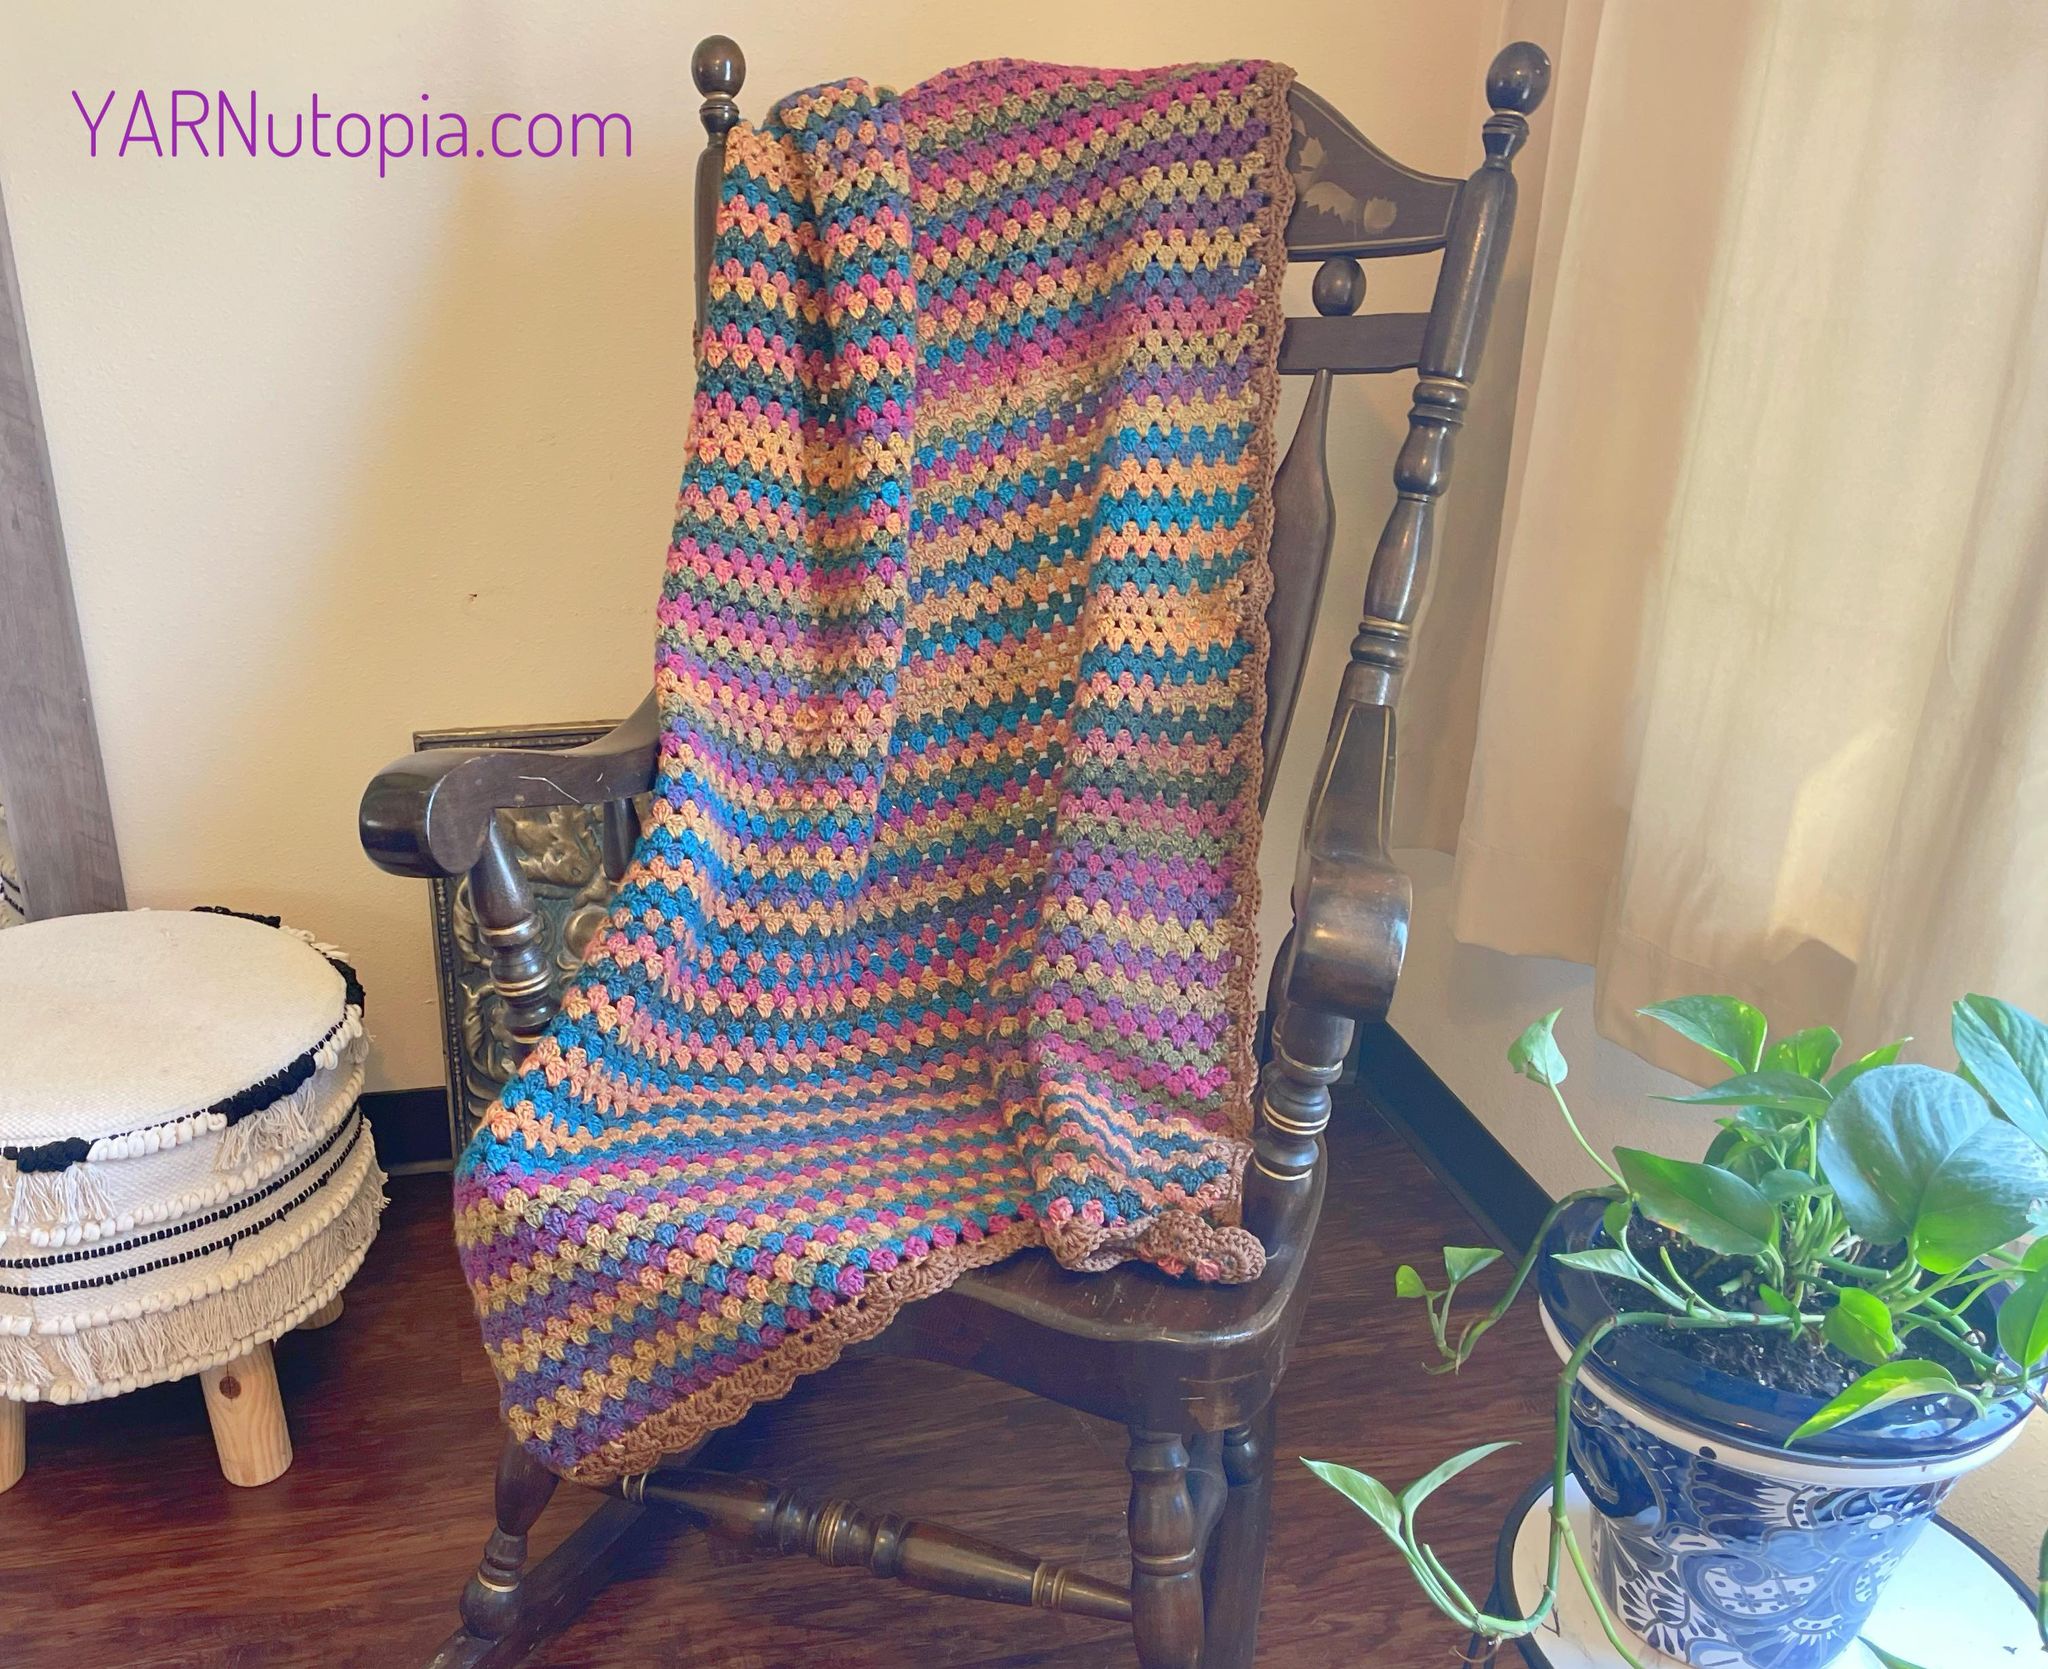
FREE Written Crochet Pattern: Boho Throw Blanket
FREE Written Crochet Pattern: Snuggle Me Up Baby Blanket
FREE Crochet Video Tutorial: Snuggle Me Up Baby Blanket
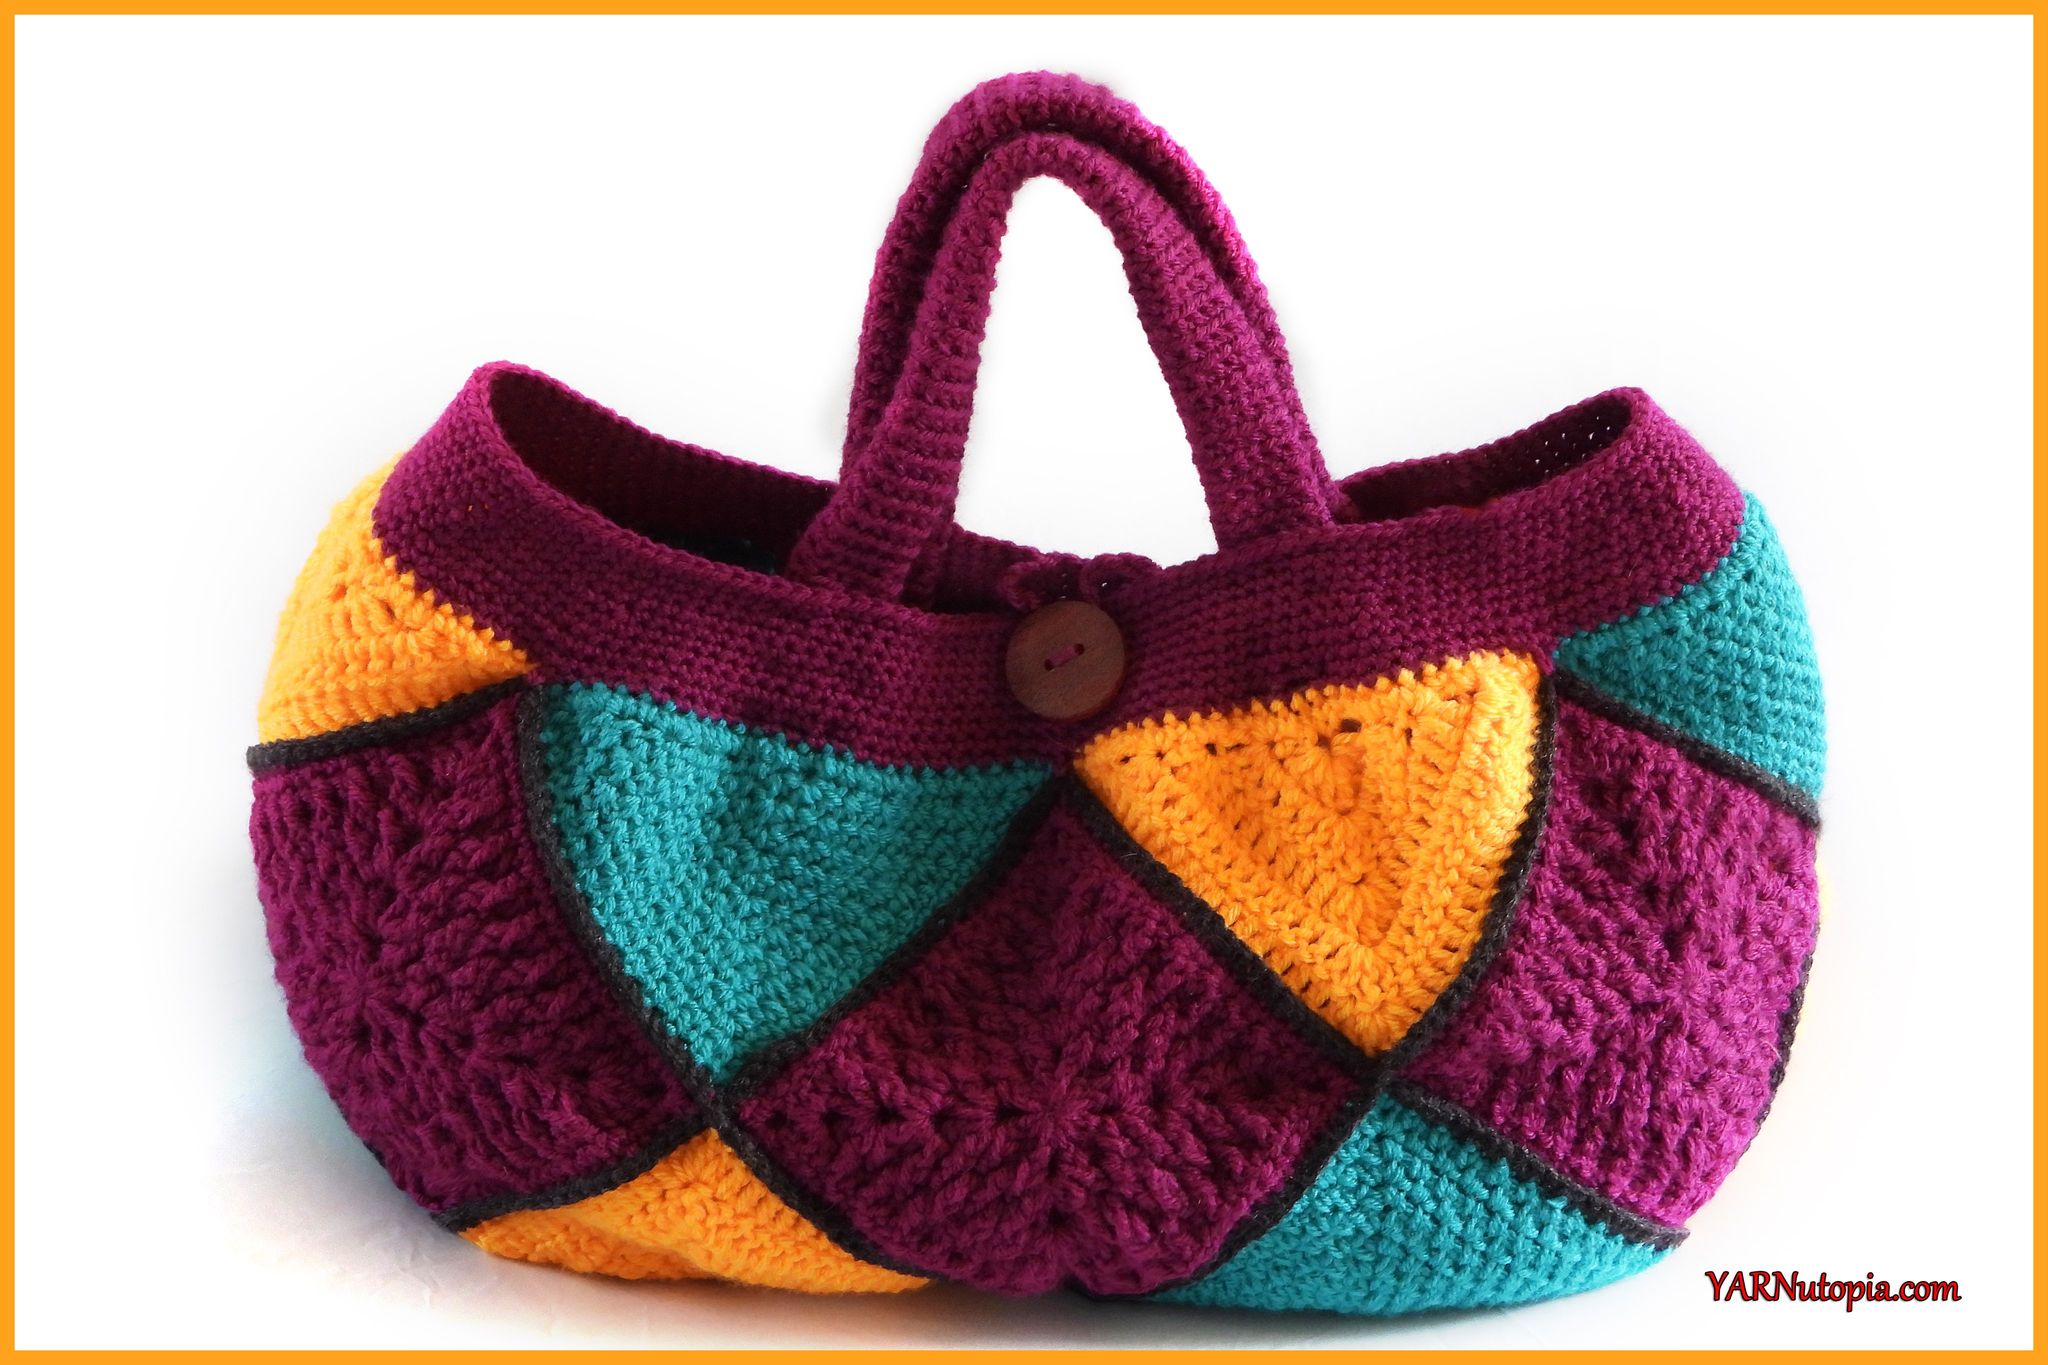
FREE Written Crochet Pattern: Mystery Medley Tote Bag
FREE Crochet Video Tutorial: Simply Bright Granny Square
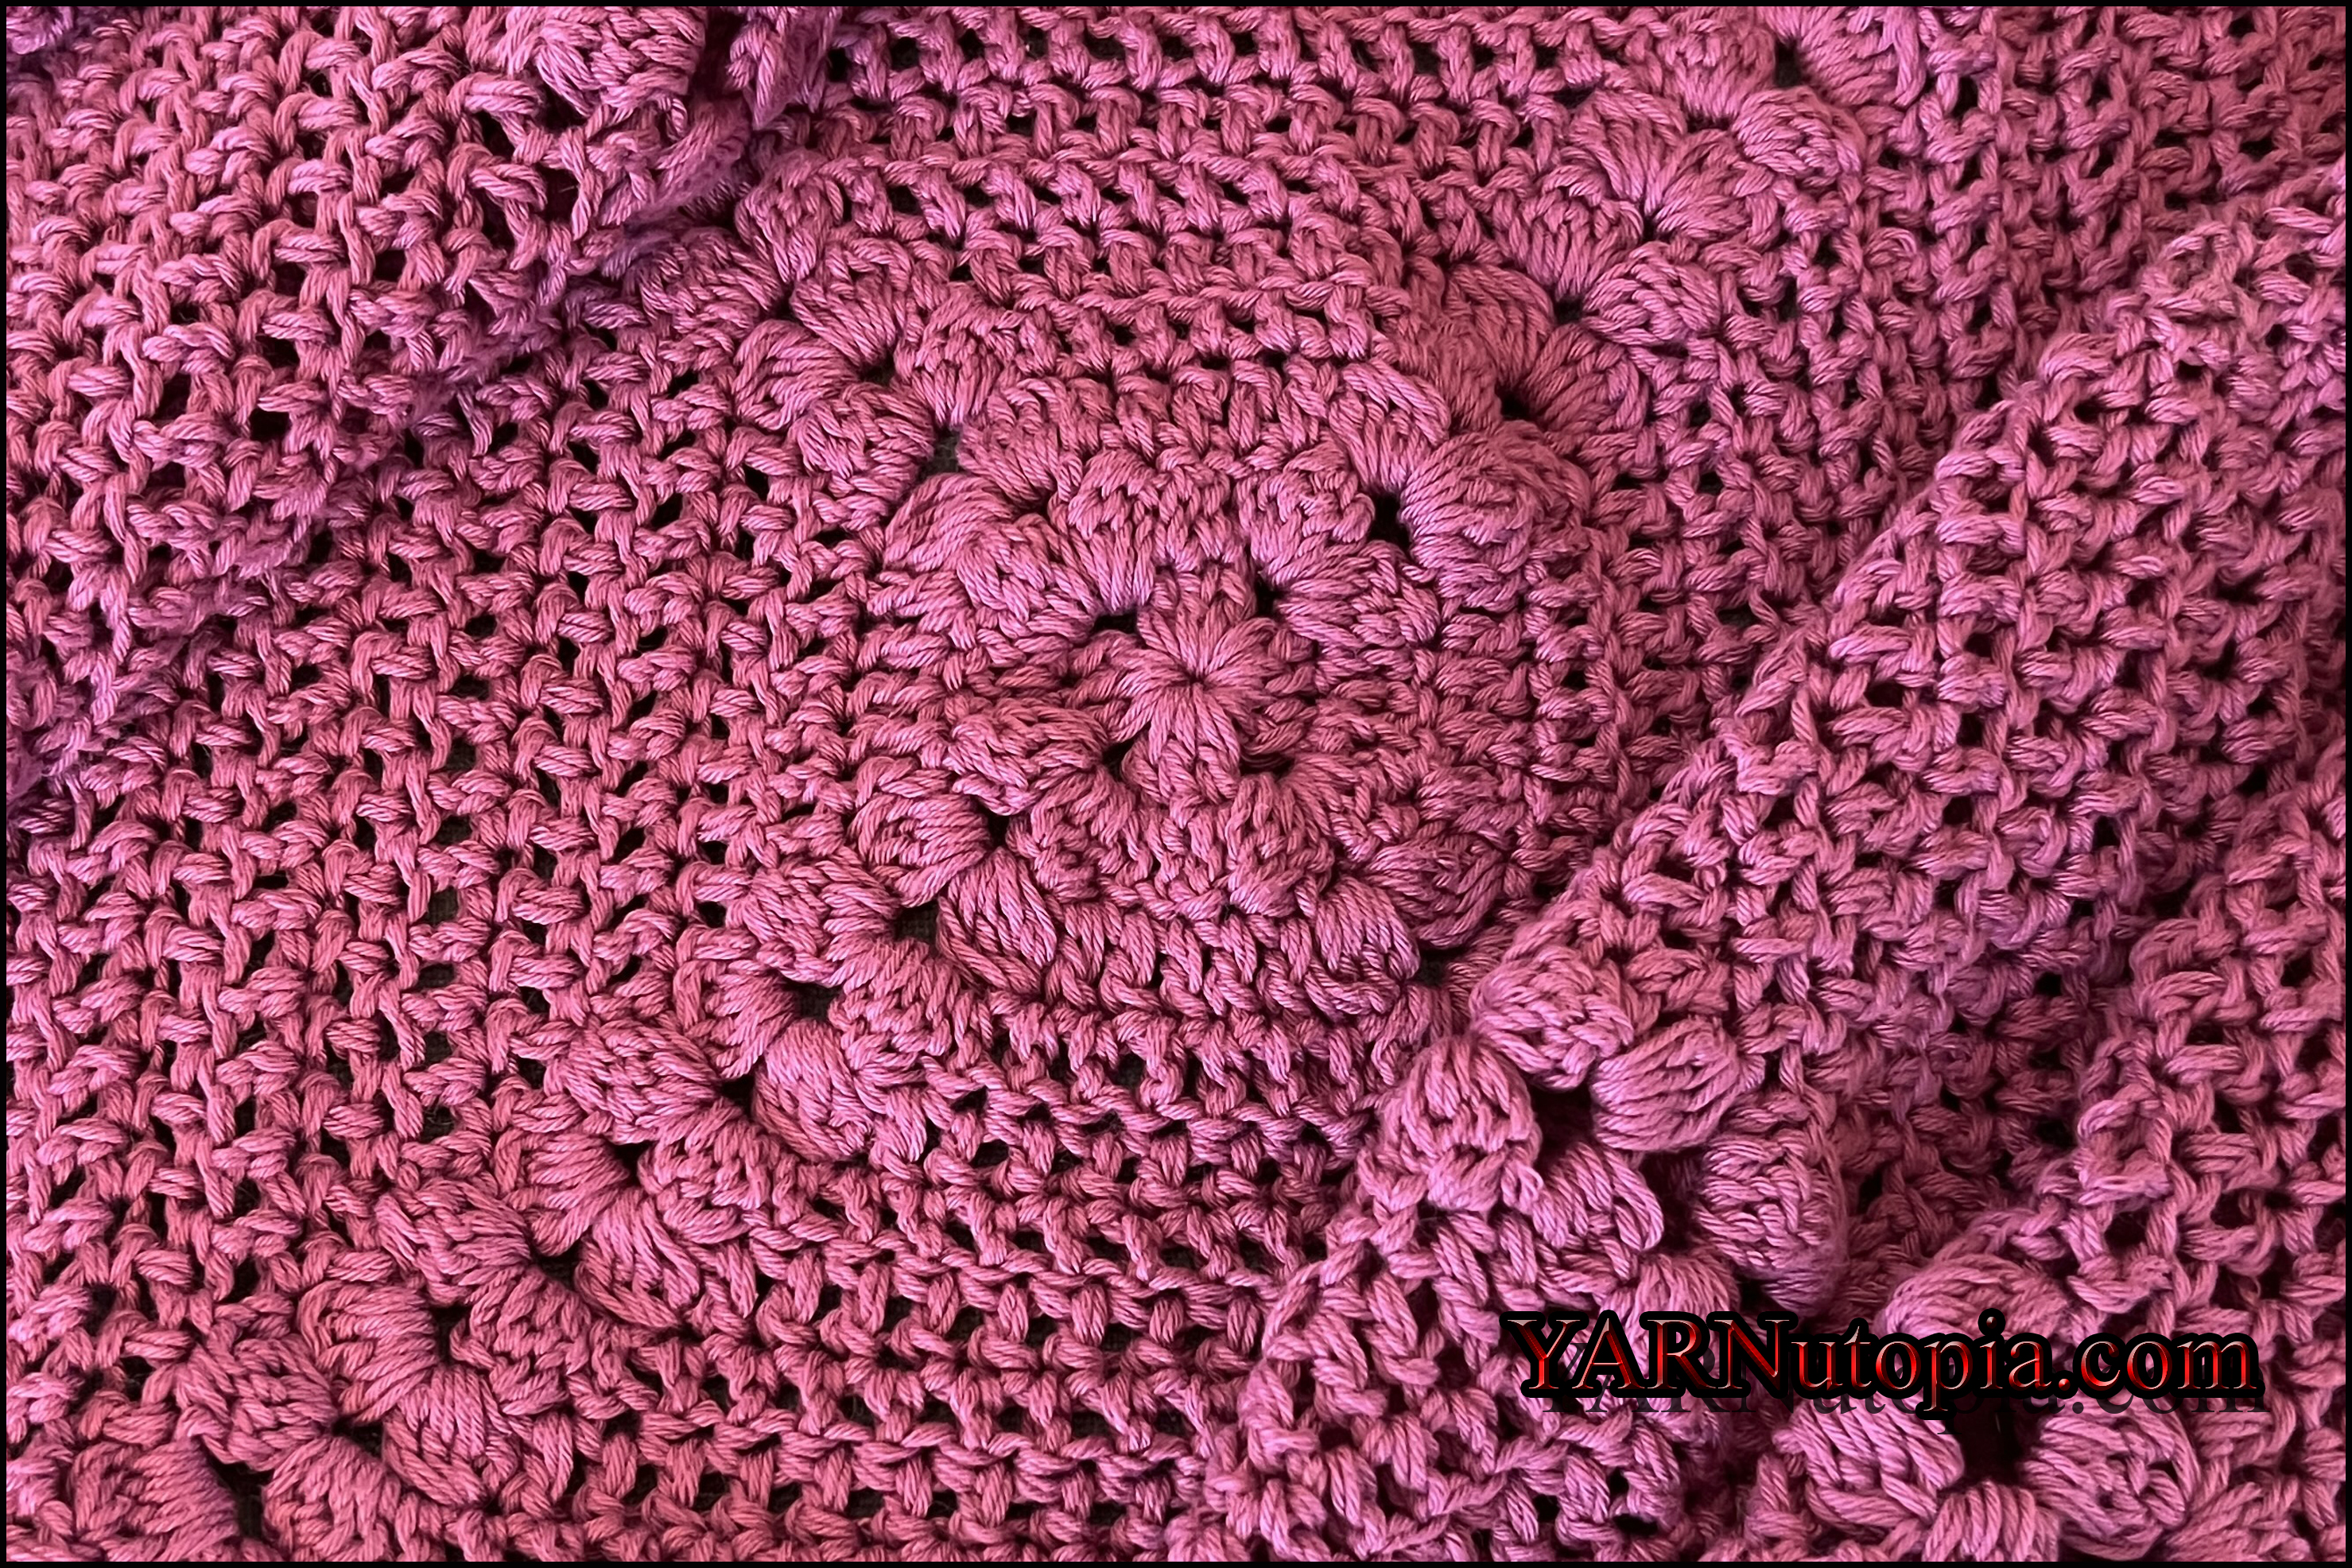
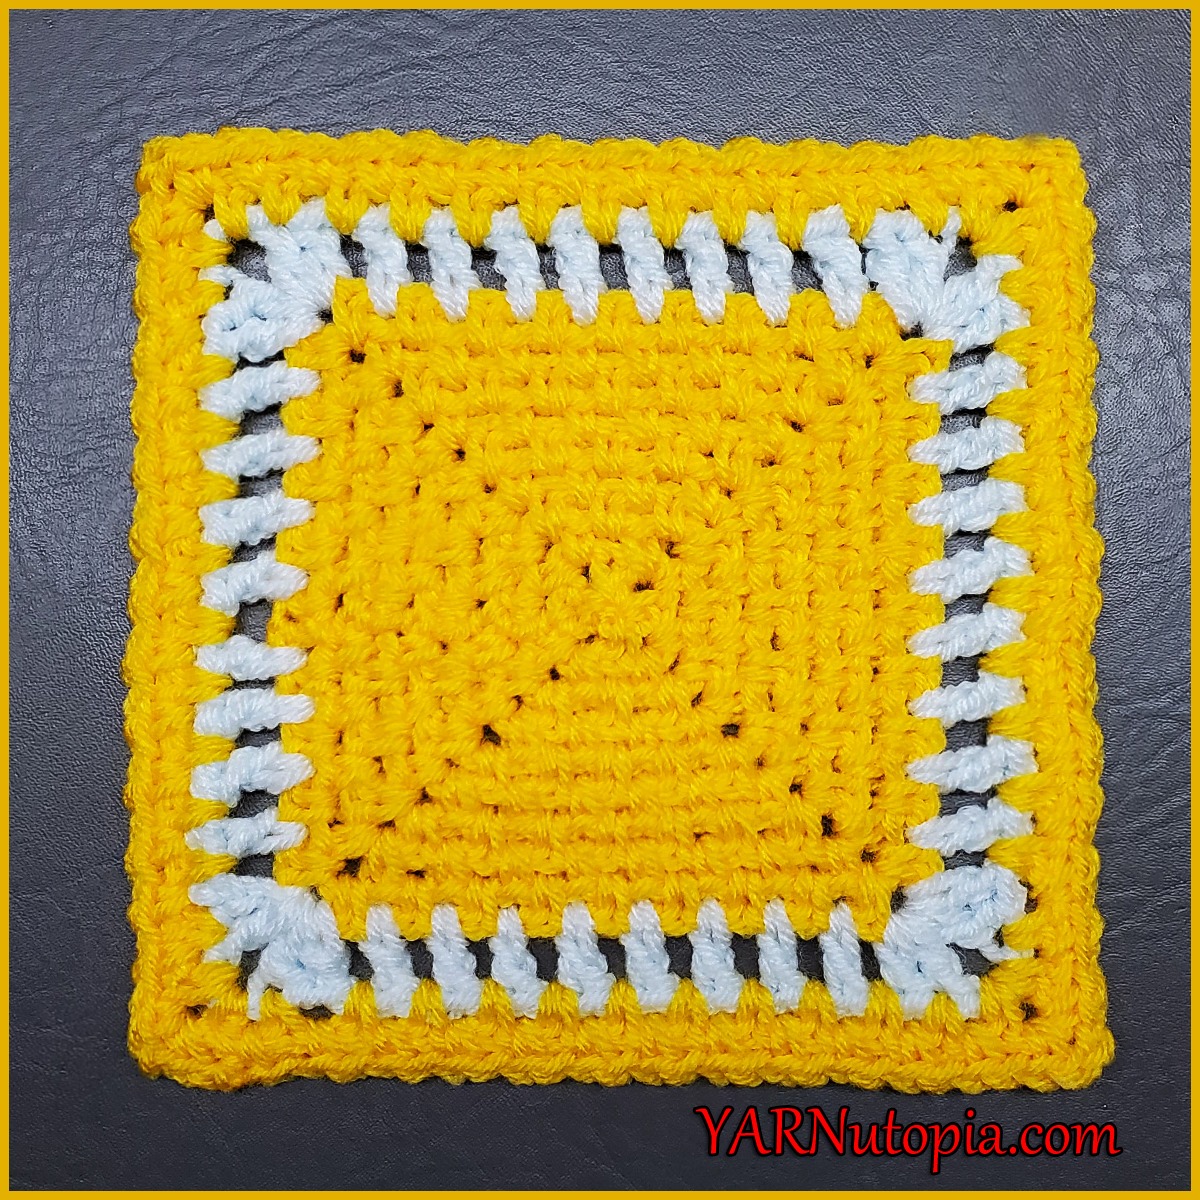
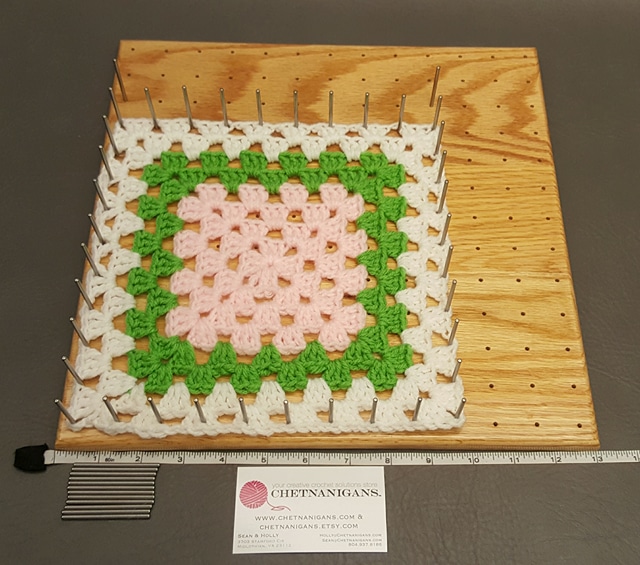
FREE Written Crochet Pattern: Simply Bright Granny Square
FREE Crochet Video Tutorial: Wee One Baby Bonnet
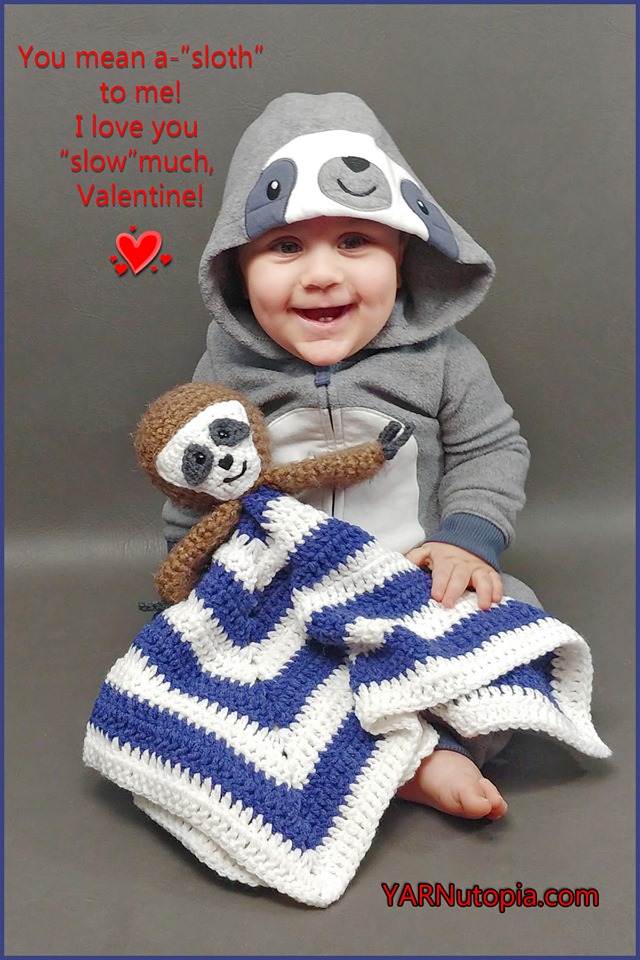
FREE Crochet Video Tutorial: Sloth Lovey
FREE Written Crochet Pattern: Sloth Lovey
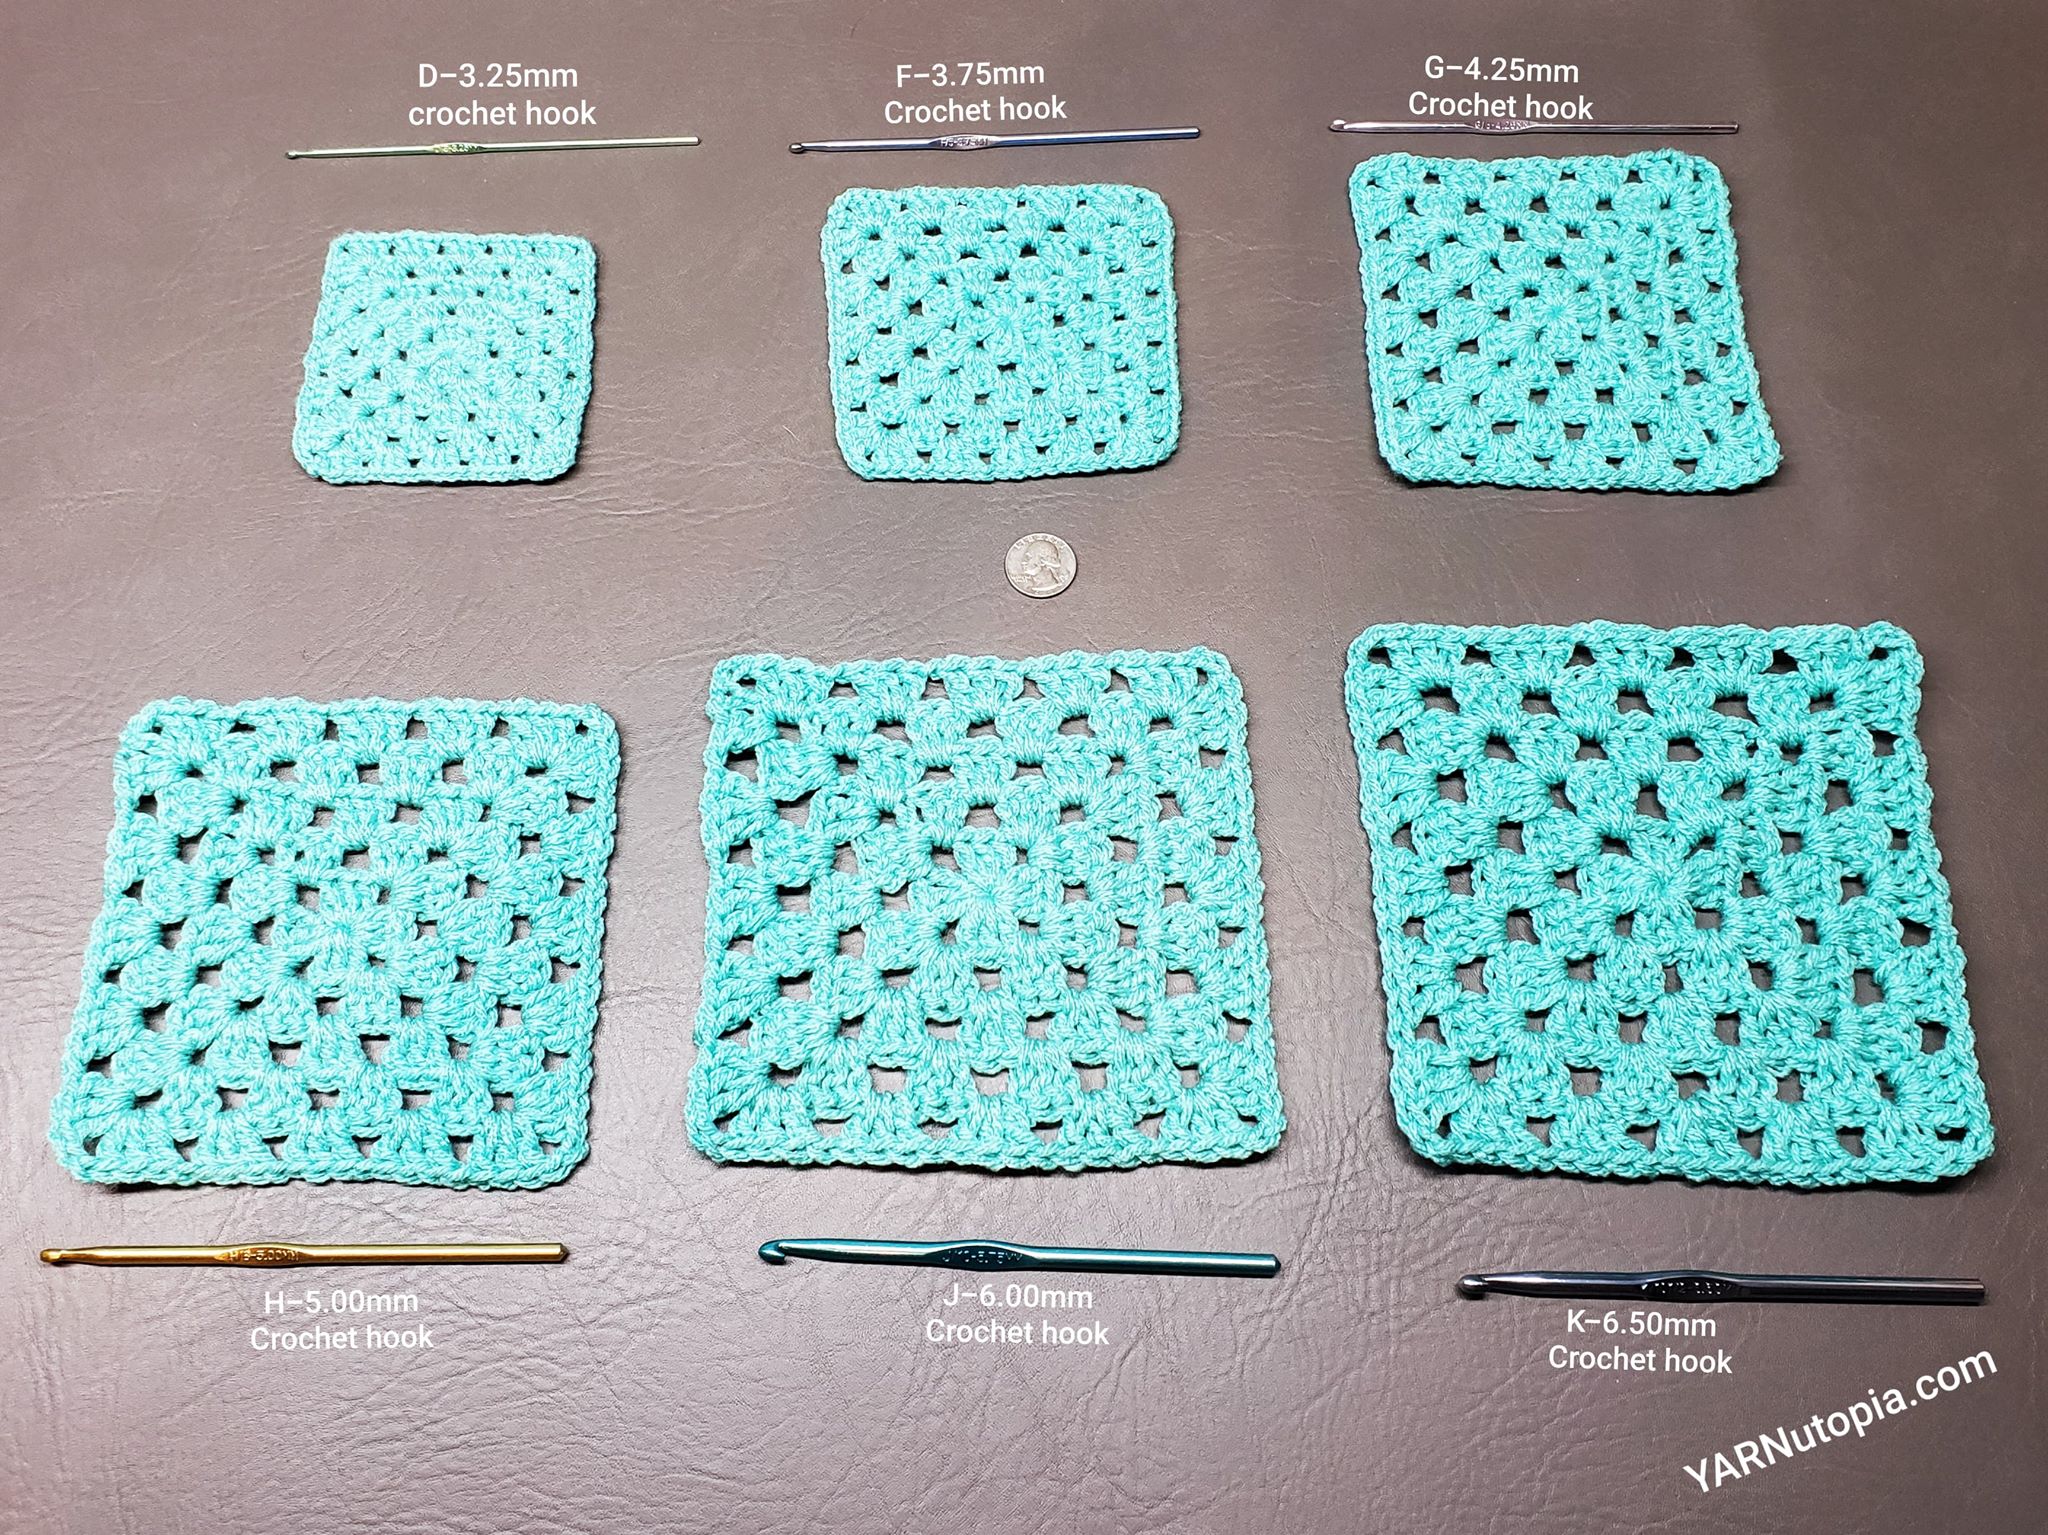
Changing Gauge to Adjust Size
How to Crochet Tutorial: Patchouli Poncho
Crochet Tutorial: Vintage Inspired Pelerine Collar
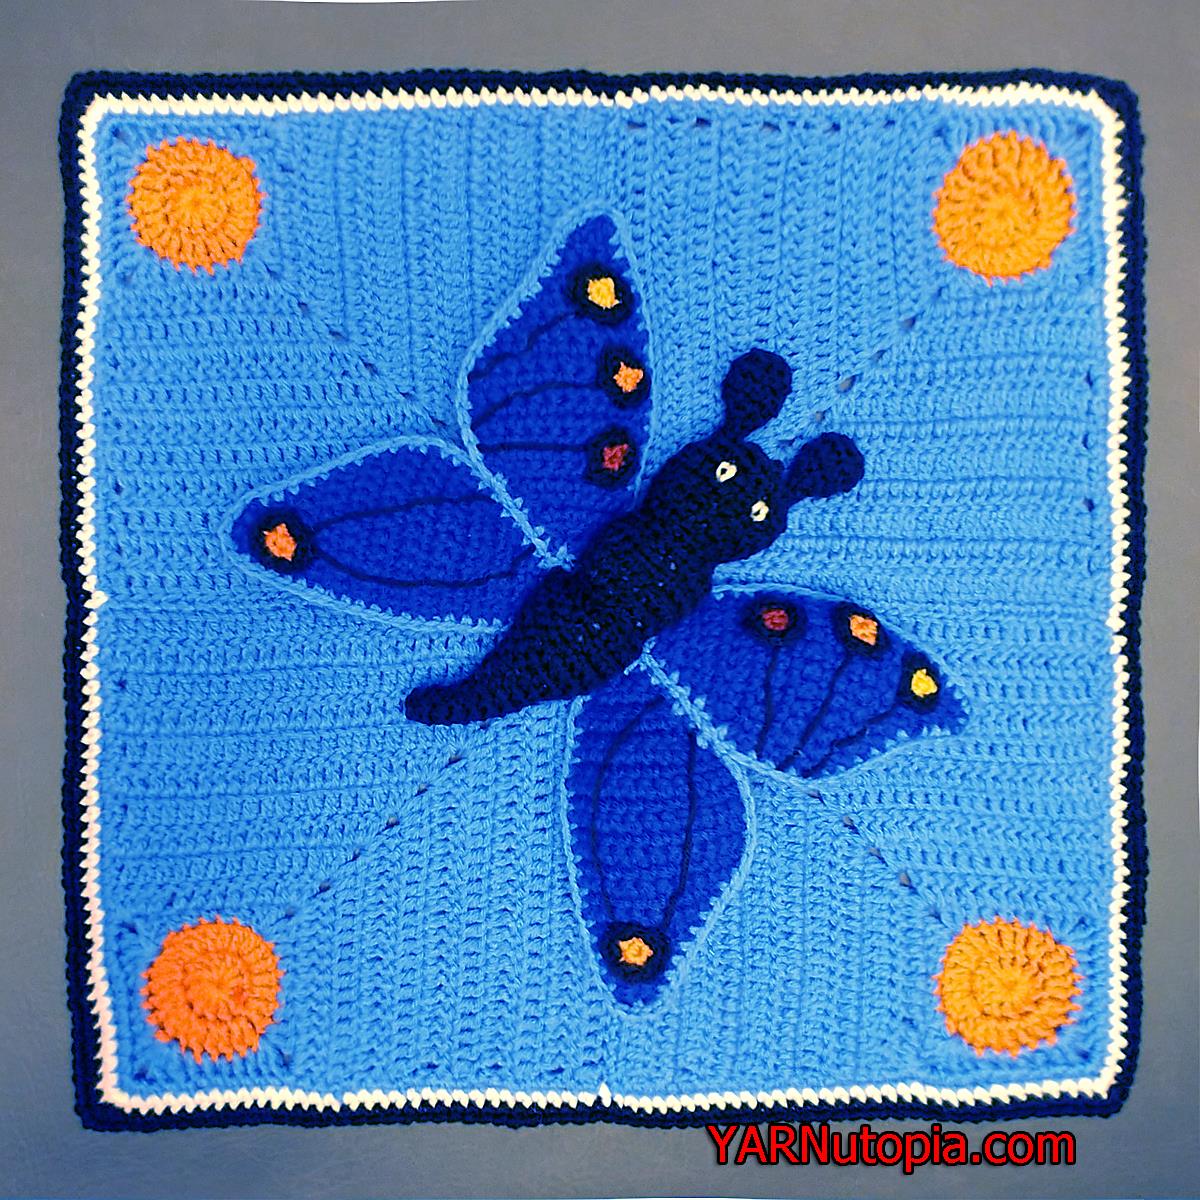
Crochet Tutorial: Butterfly Lovey
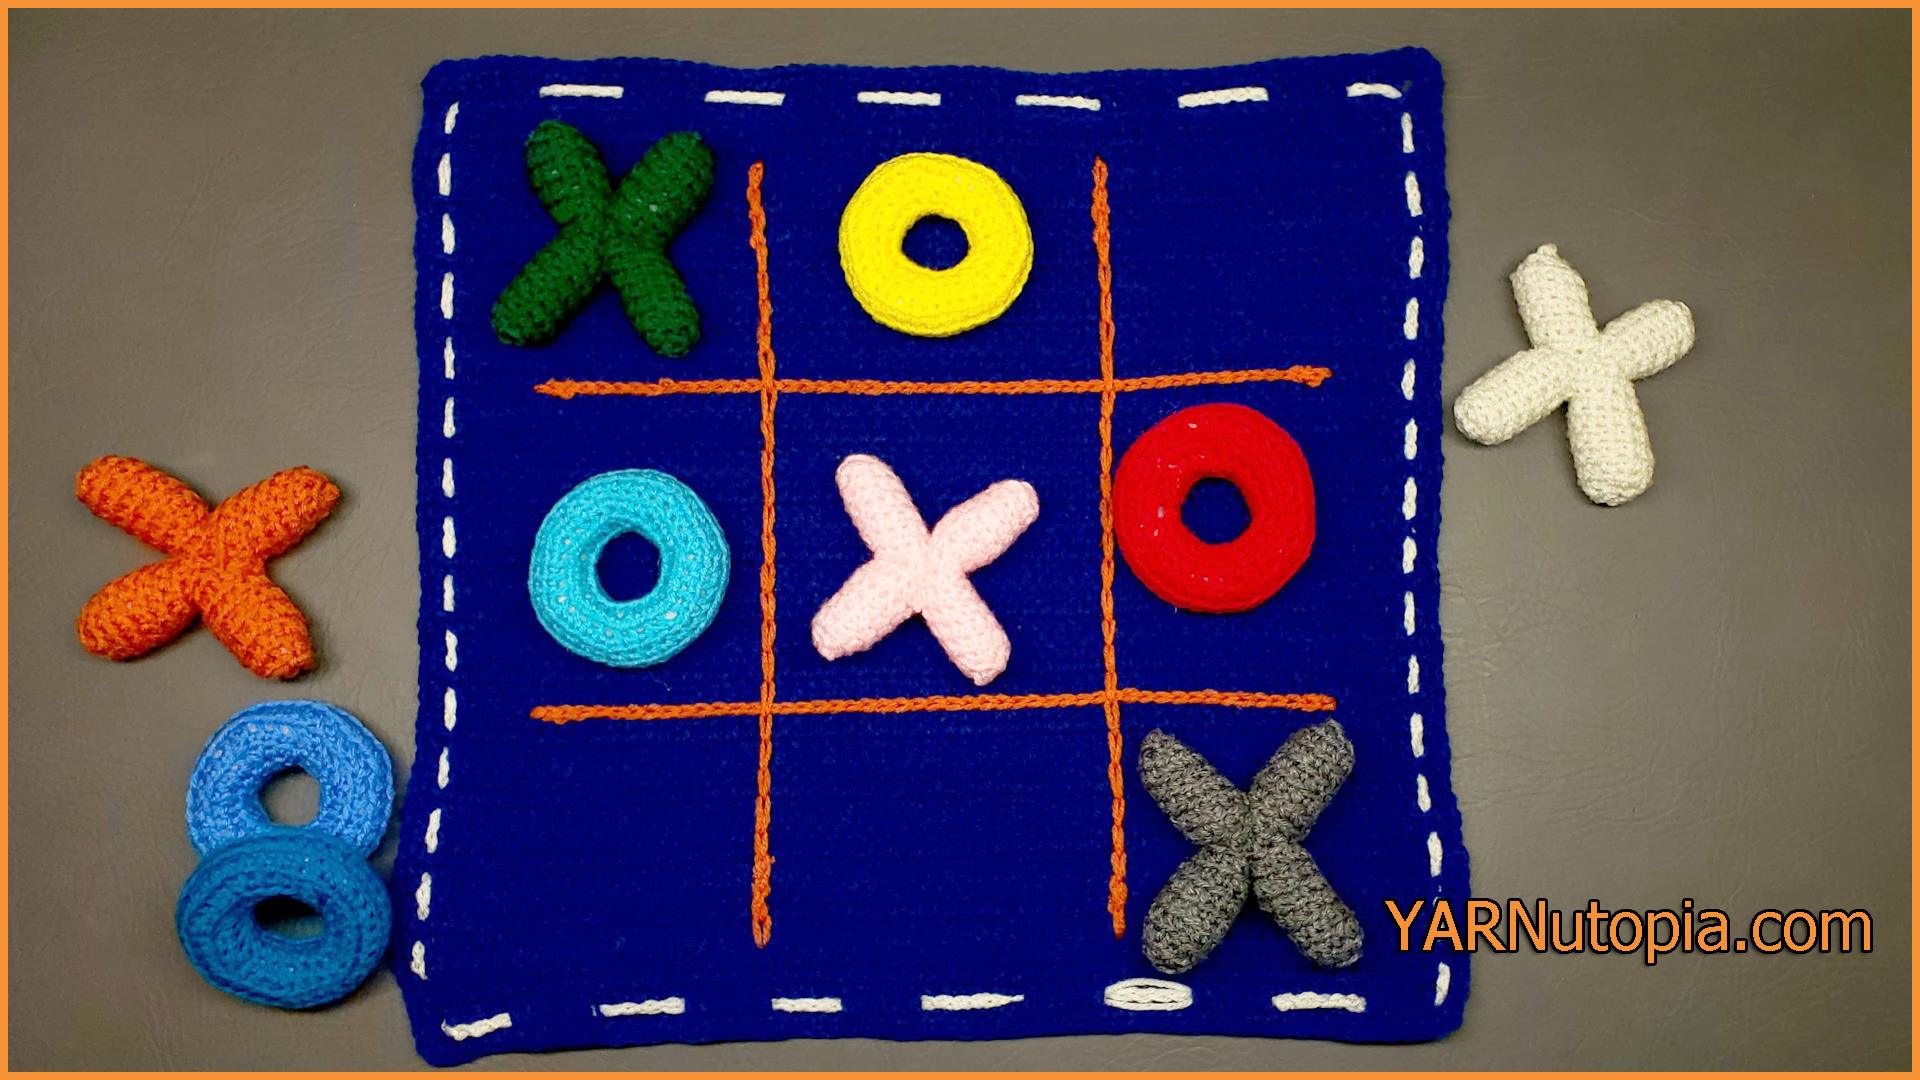
Crochet Tutorial: Tic Tac Toe Game and Tote
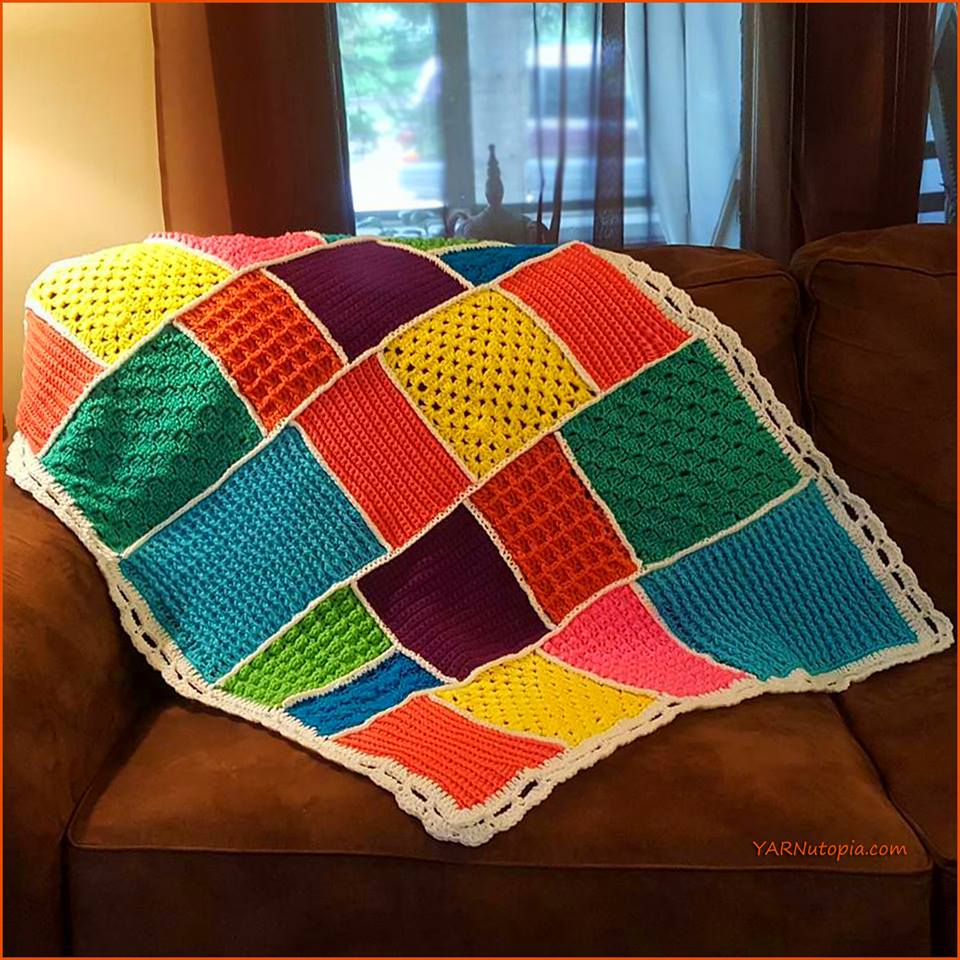
Crochet Tutorial: Colorful Visions Afghan
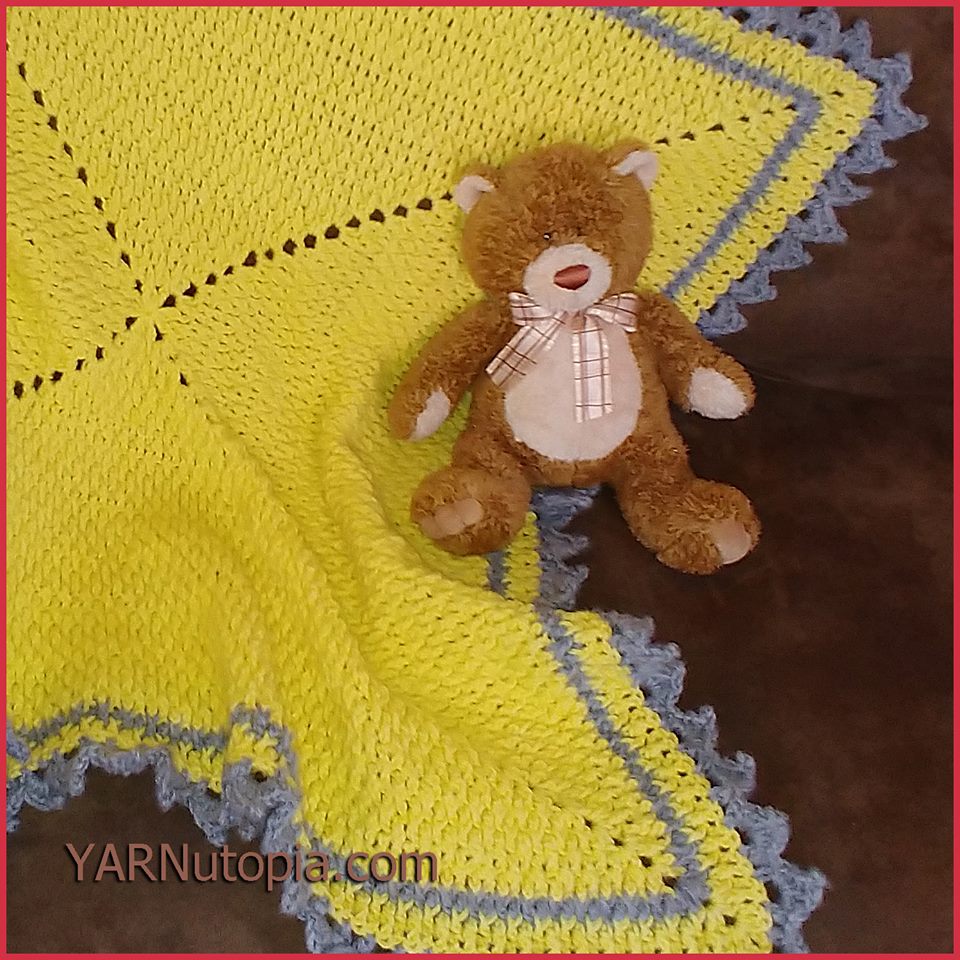
Crochet Tutorial: Love & Sunshine Baby Blanket
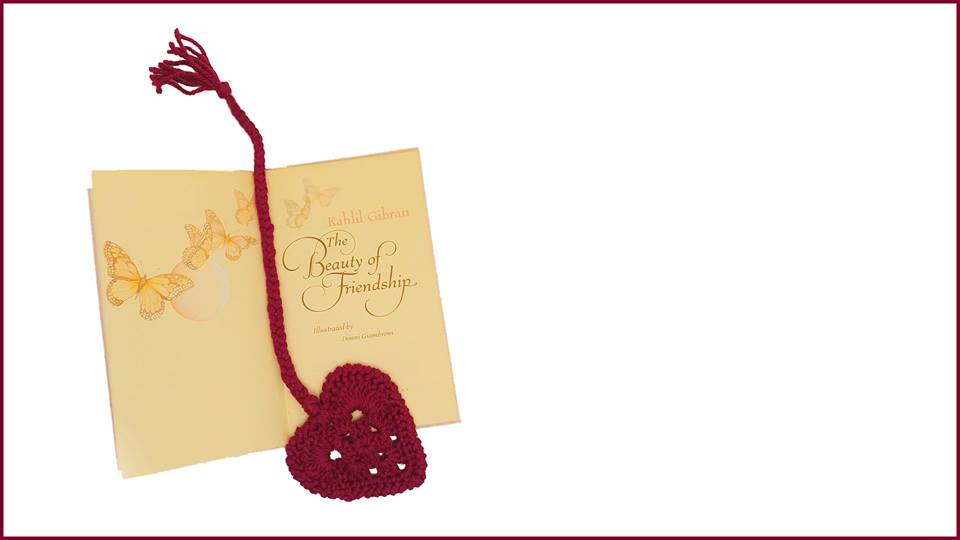
Crochet Tutorial: Heart Bookmark
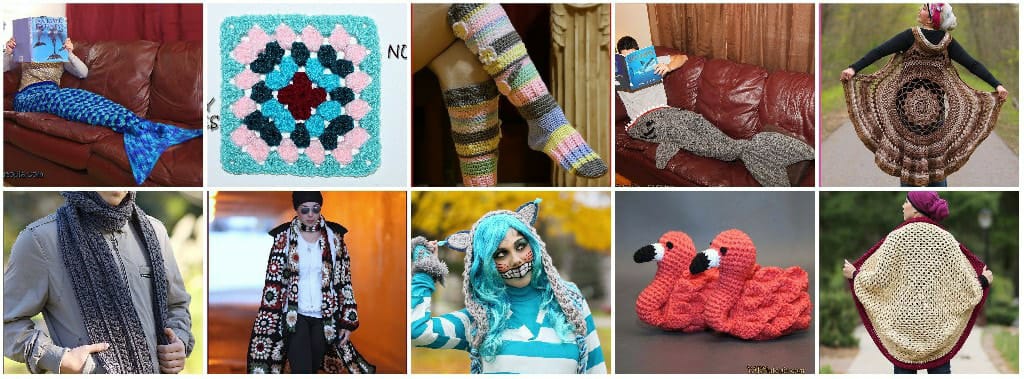
My Top 10 Crochet Patterns of 2017
My New Blocking Station Product Review
Weekend WIP
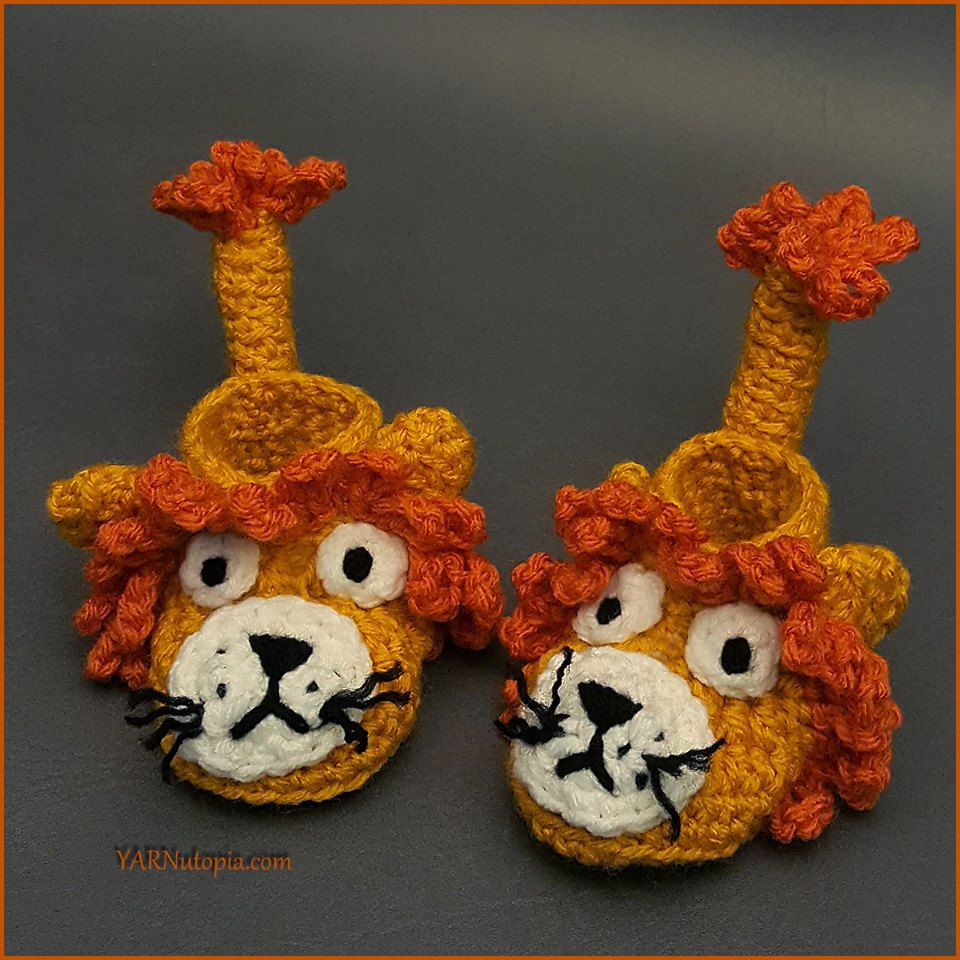
Crochet Tutorial: Little Lion Baby Booties
Crochet Tutorial: Easy Elephant Baby Booties
WIP in Hand: To Commit or To Quit?
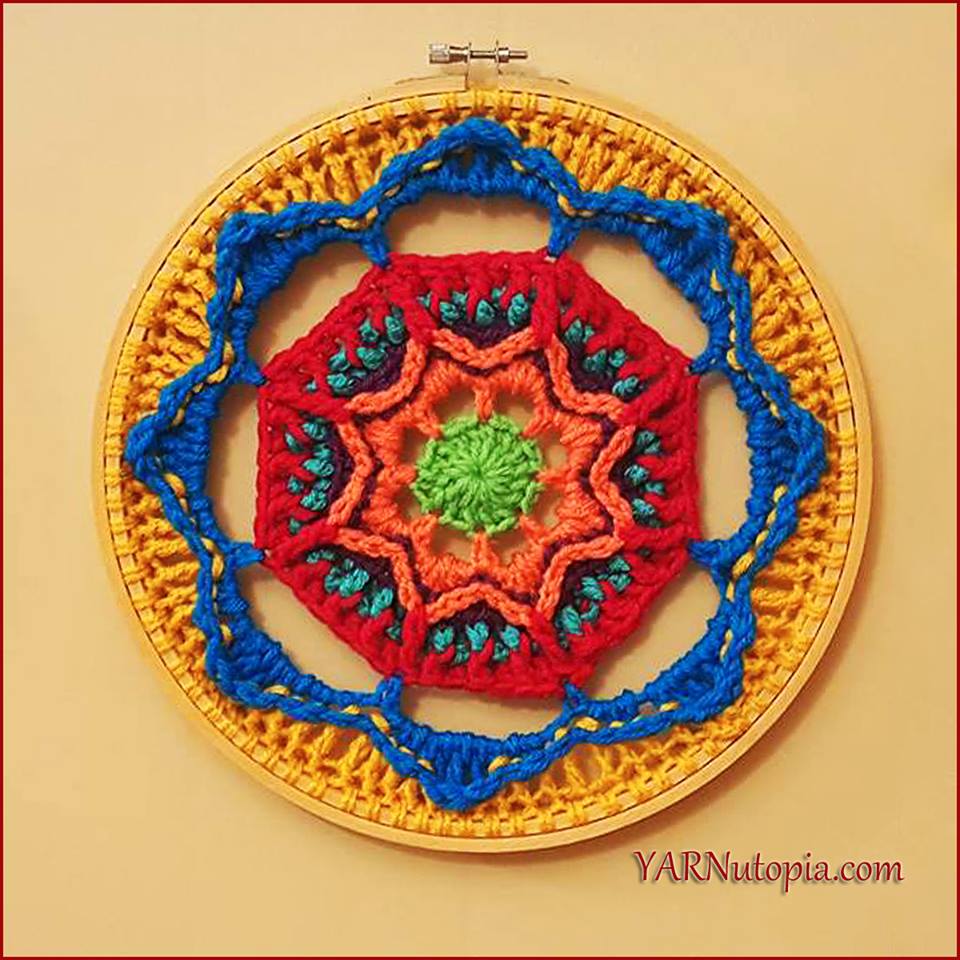
Crochet Tutorial: How to Crochet a Mandala in an Embroidery Hoop
Crochet Tutorial: New Beginnings Afghan Block
My Contribution to an Eco-Friendly Fashion Show!
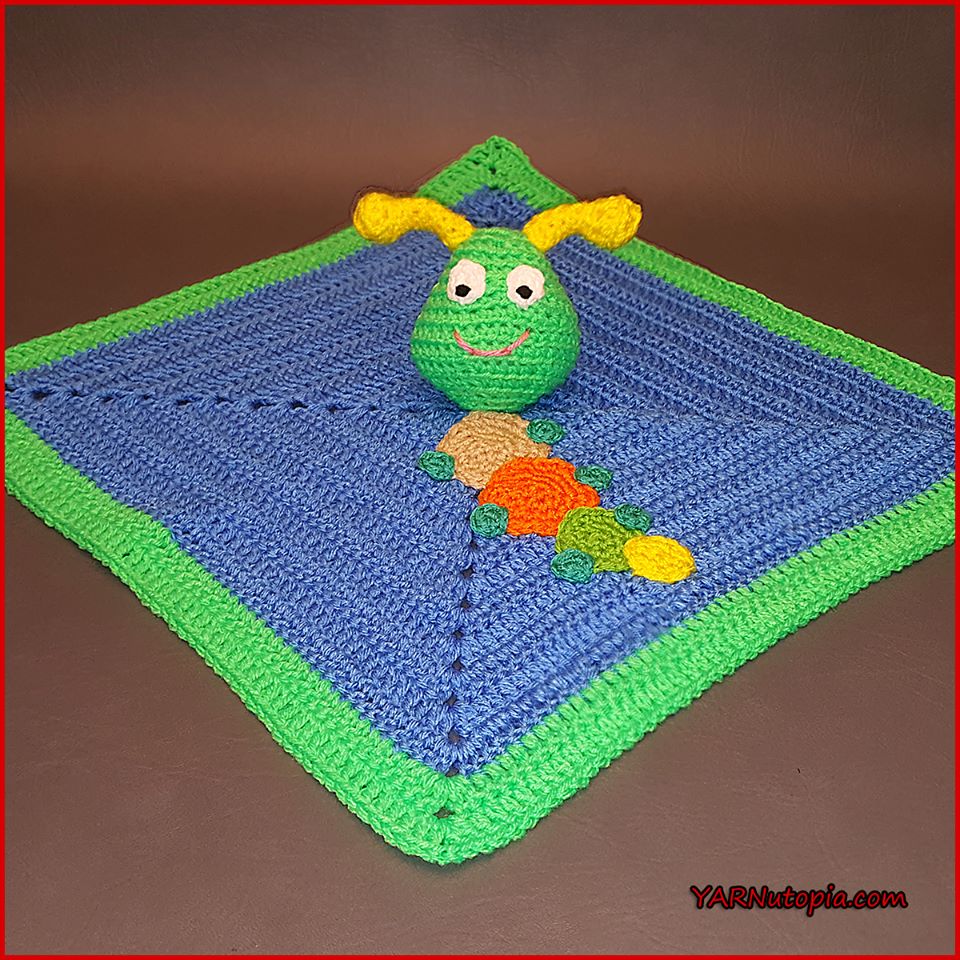
Crochet Tutorial: Caterpillar Lovey
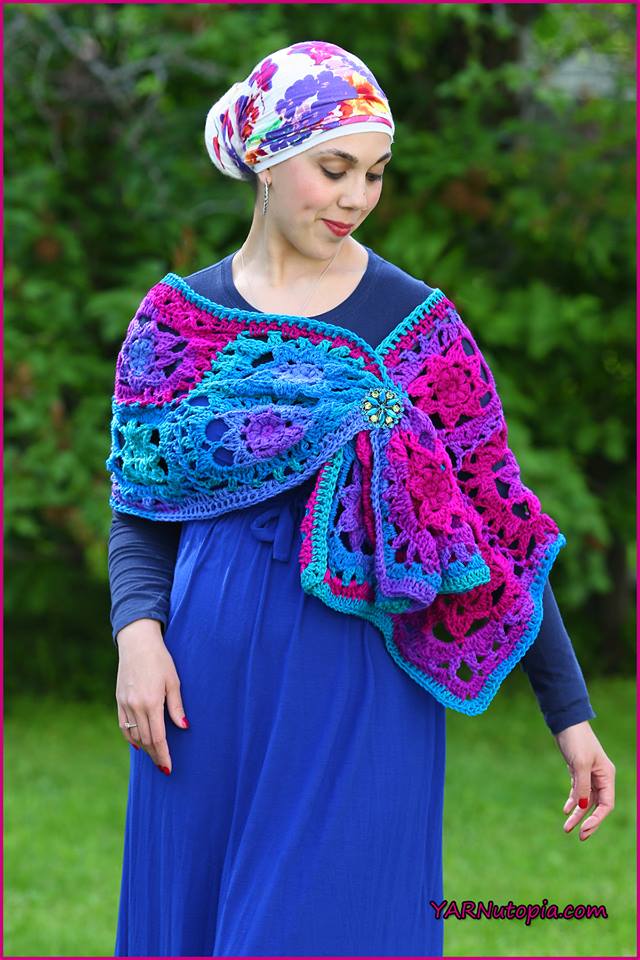
Crochet Tutorial: Jewel-Tone Lotus Wrap
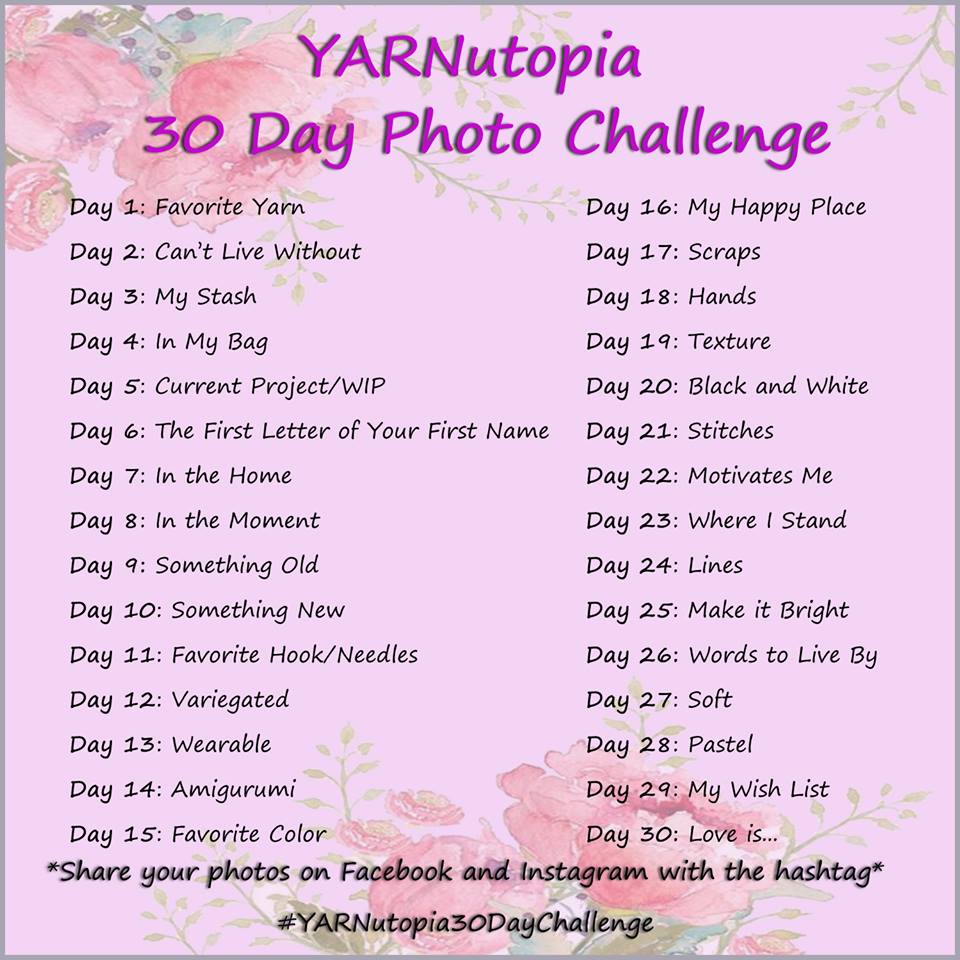
YARNutopia 30 Day Photo Challenge
Crochet Tutorial: Dream-Time Mosaic Baby Quilt
Crochet Tutorial: Kitty Cat Poncho
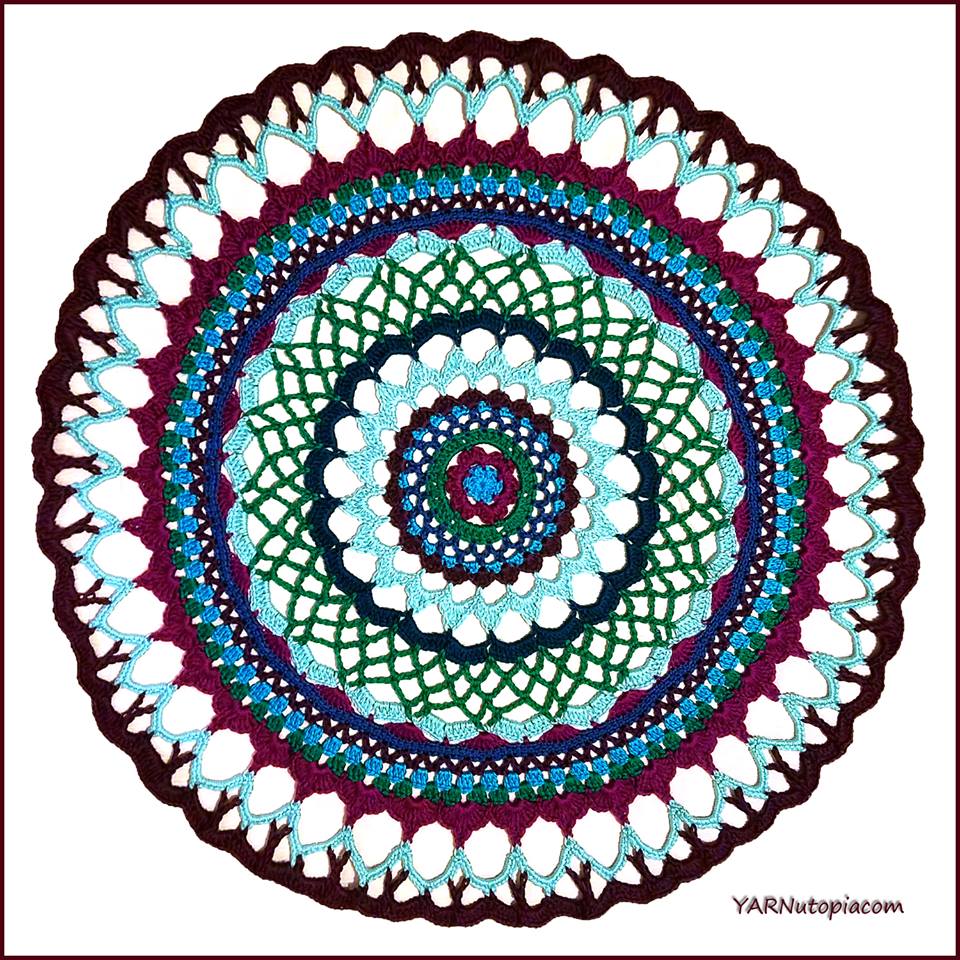
Crochet Tutorial: Henna Inspired Mandala
Four Piece Mini Square Baby Layette Set
Crochet Tutorial: Mouse and Cheese Amigurumi
Crochet Tutorial: Woven Dreams Baby Blanket
A Treasured Heirloom
Inner Peace Blanket
Yay! I did it!
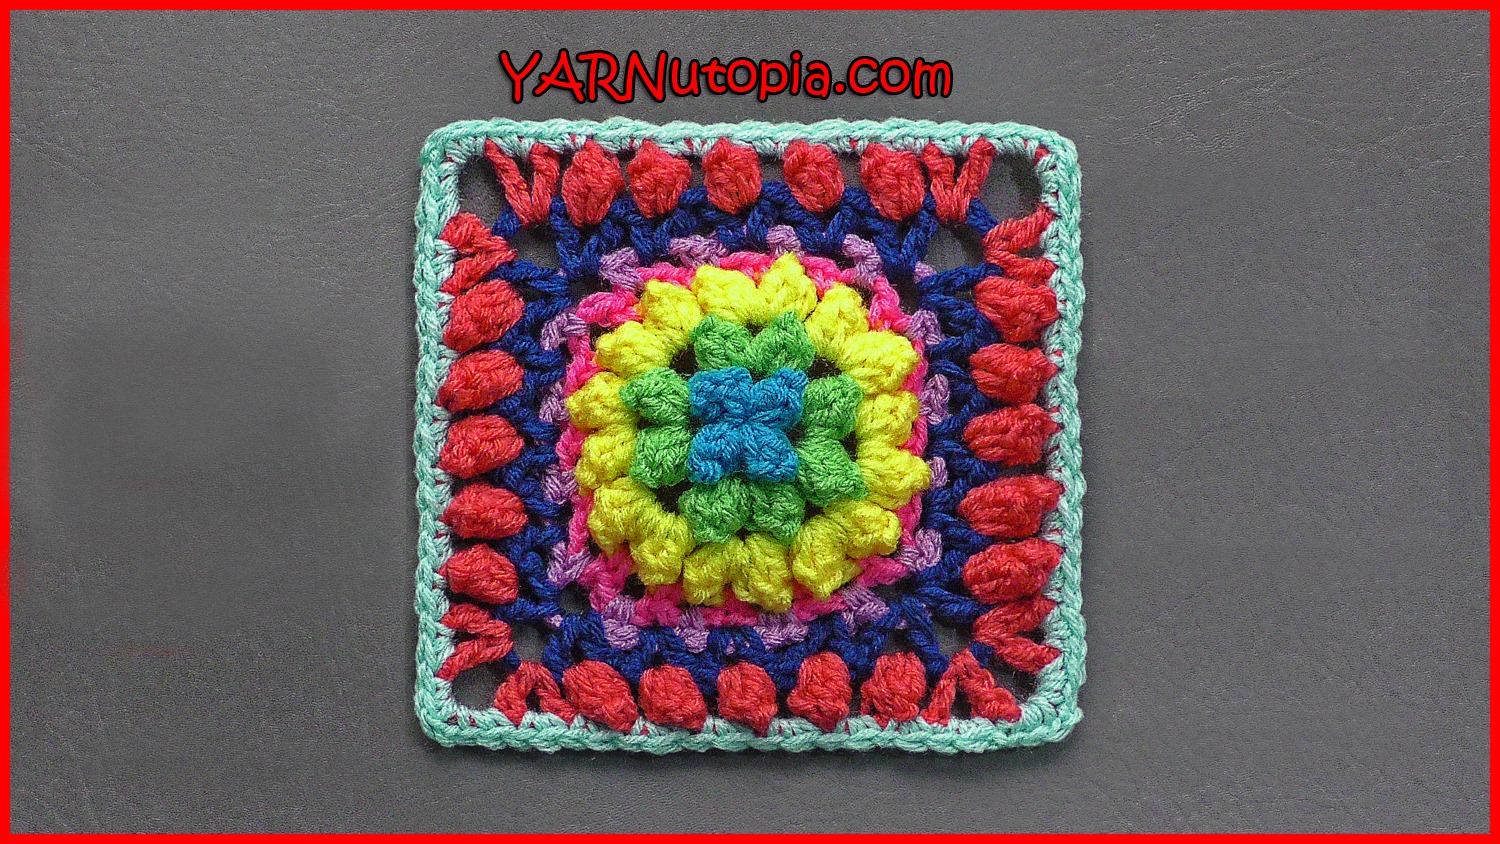
Crochet Tutorial: Firework Pop Granny Square
12 Days of Christmas
Crochet Tutorial: Let’s Bake a Cake Apron
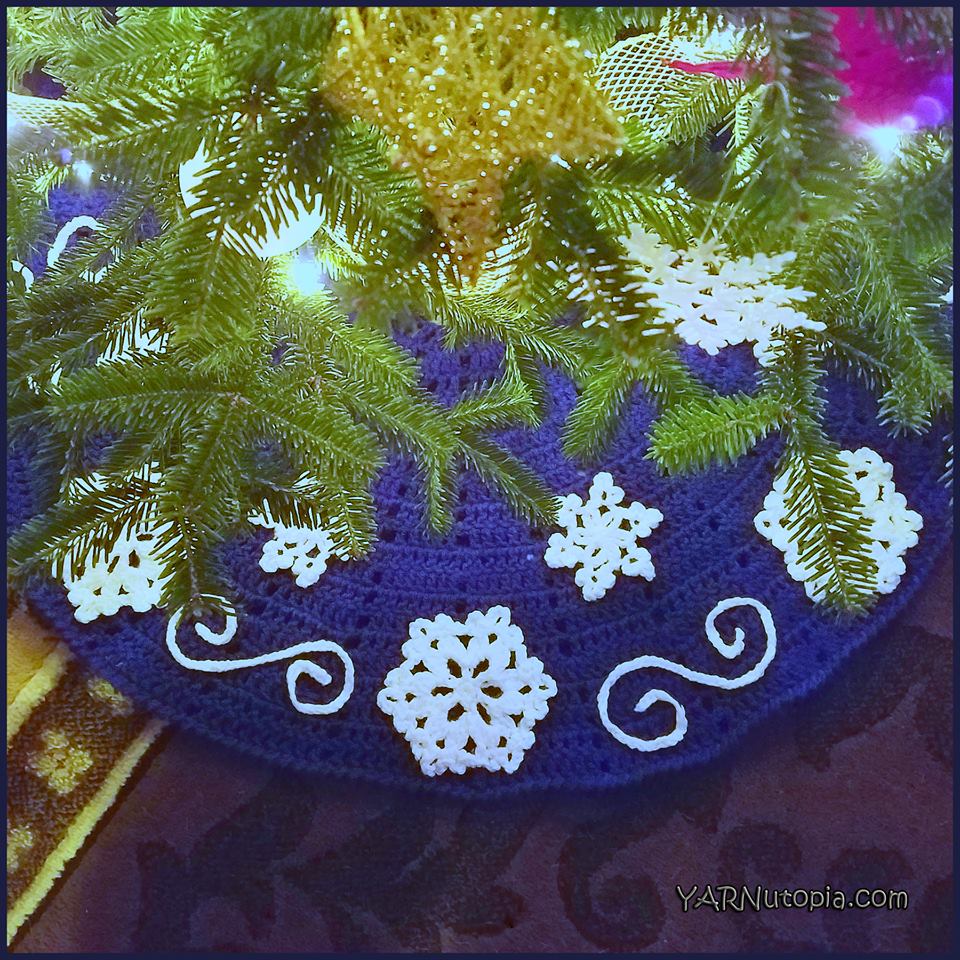
Crochet Tutorial: Fabulous Flurries Tree Skirt
Crochet Tutorial: Berry Giving Granny Square
Crochet Tutorial: Frosty Flakes Granny Square
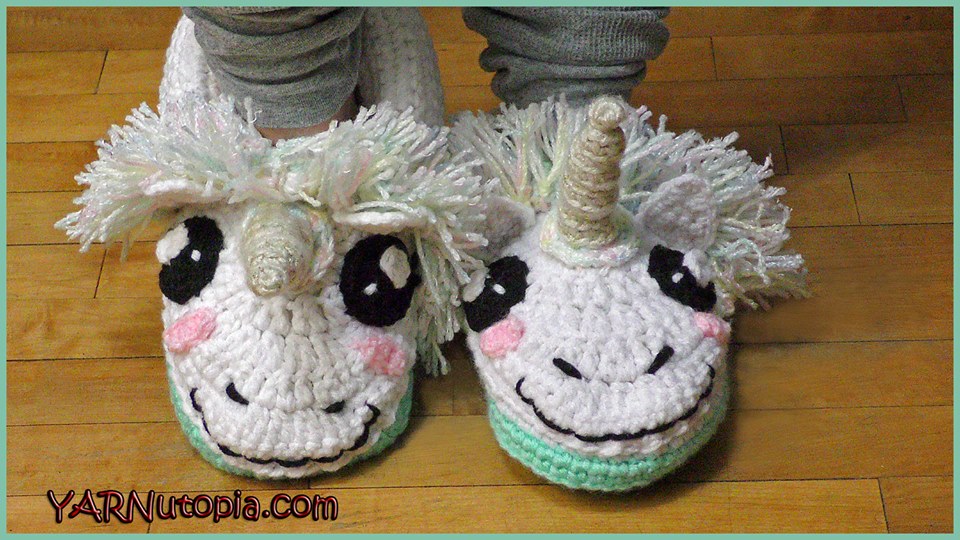
Crochet Tutorial: Unicorn Slippers
Crochet Tutorial: Dynamic Window Granny Square
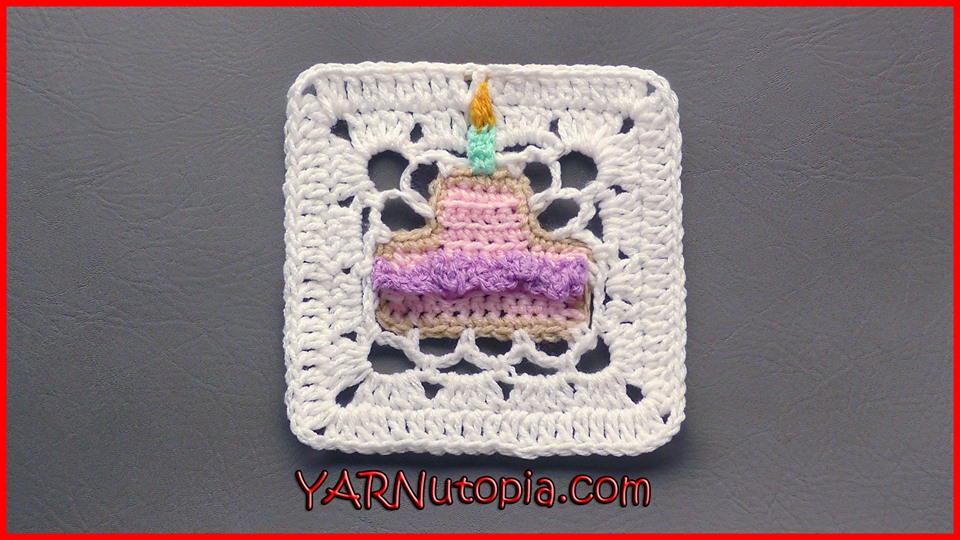
Crochet Tutorial: Birthday Wish Granny Square
1
2
Next Page
Loading Comments...
Write a Comment...
Email (Required)
Name (Required)
Website