Skip to content
YARNutopia & M0re
All things Yarn Related: Crochet, DIY, and Crafts
Blog
365 Days of Granny Squares
Stitch Gallery & Glossary
Crochet Video Tutorials
Frequently Asked Questions
Crochet Glossary: Learn the Lingo
Contact
Search
Search
stitches
YARNutoia & More
FREE Crochet Video Tutorial: Summer Mini Tote
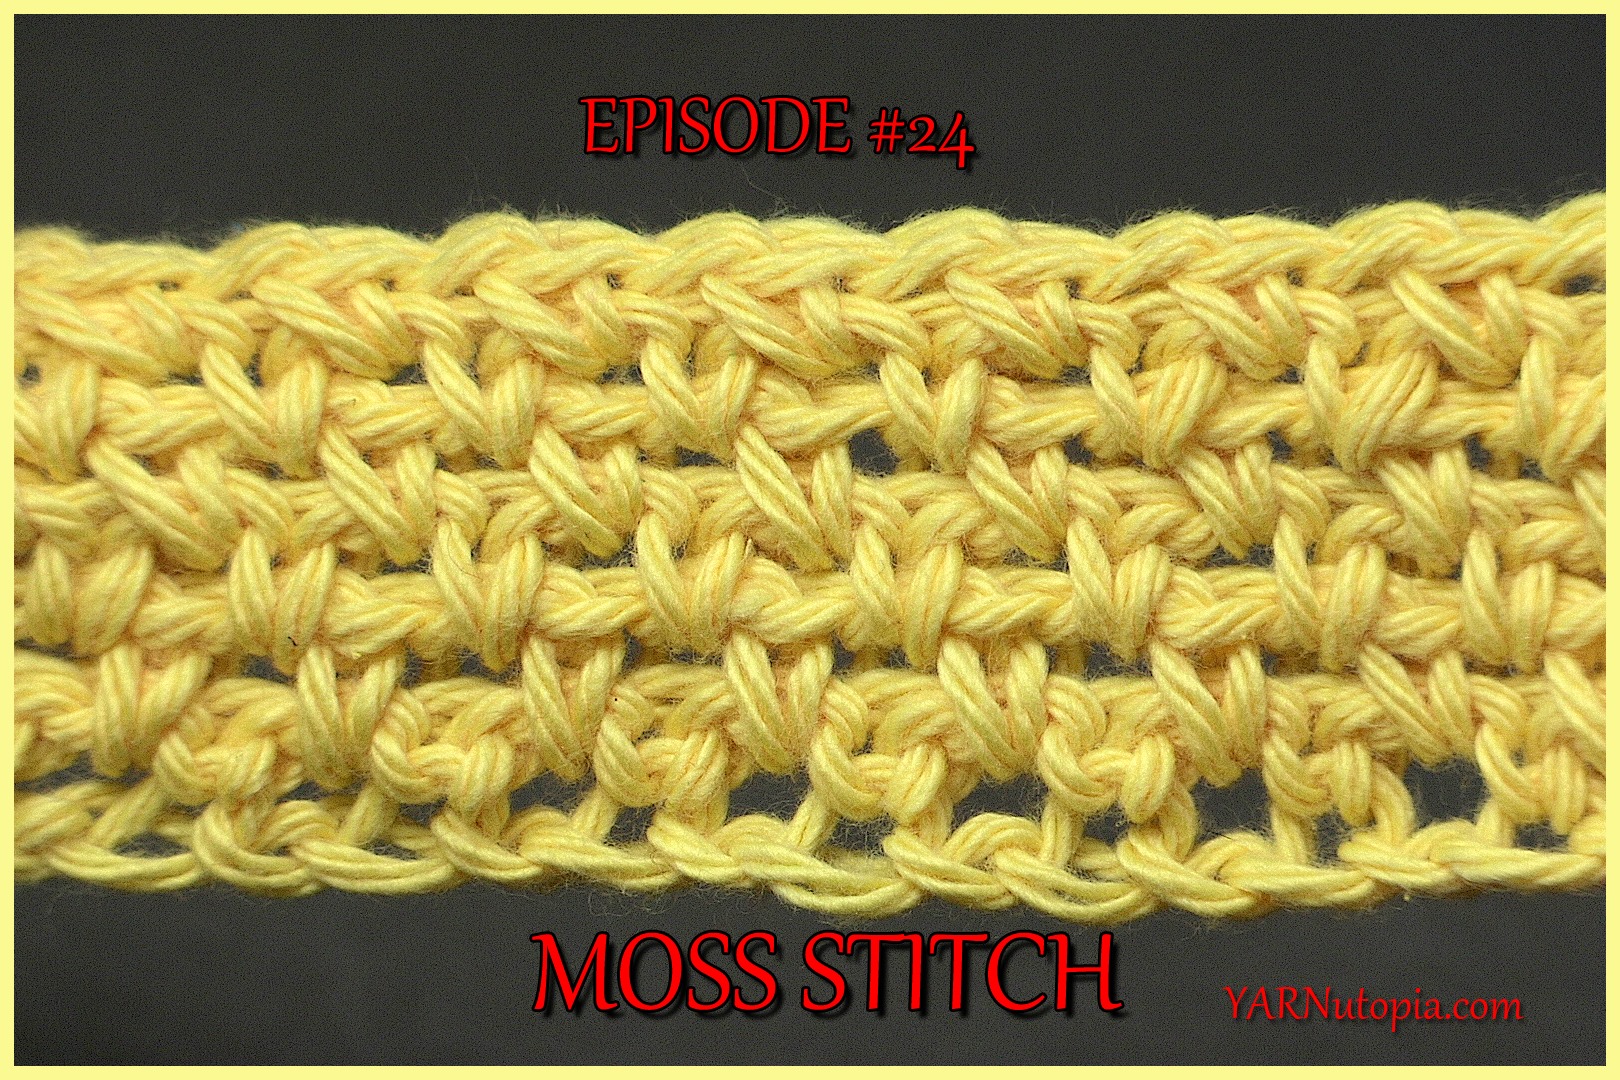
Stitch Gallery & Glossary Episode #24: Moss Stitch
FREE Written Crochet Pattern: Two-Stitch Grande Scarf
FREE Crochet Video Tutorial: The Uptown Blanket Scarf
Stitches Midwest: My First Time
Crochet Tutorial: Vintage Style Baby Bonnet
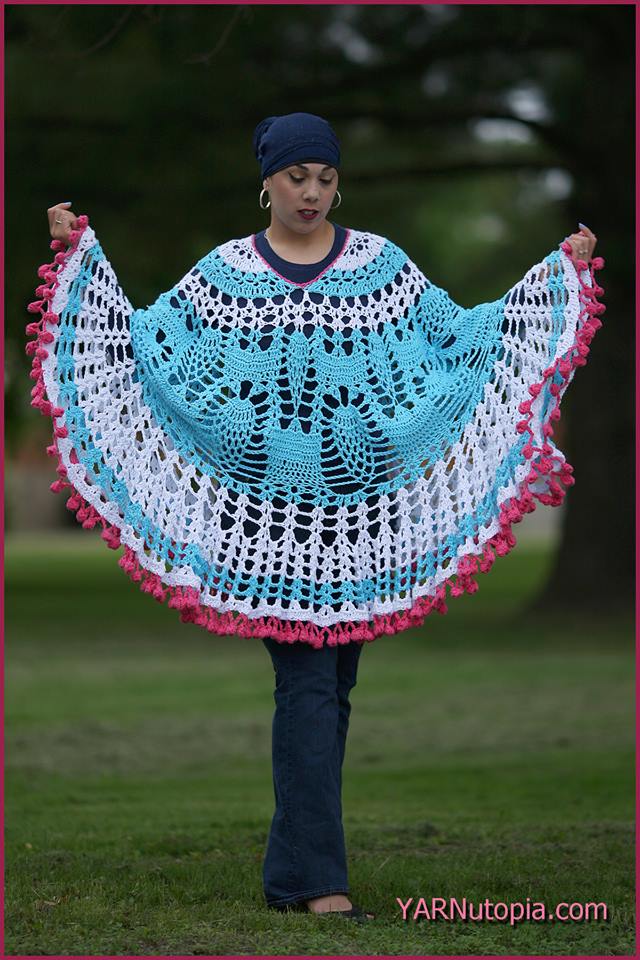
Crochet Tutorial: Pom Poms and Pineapples Poncho
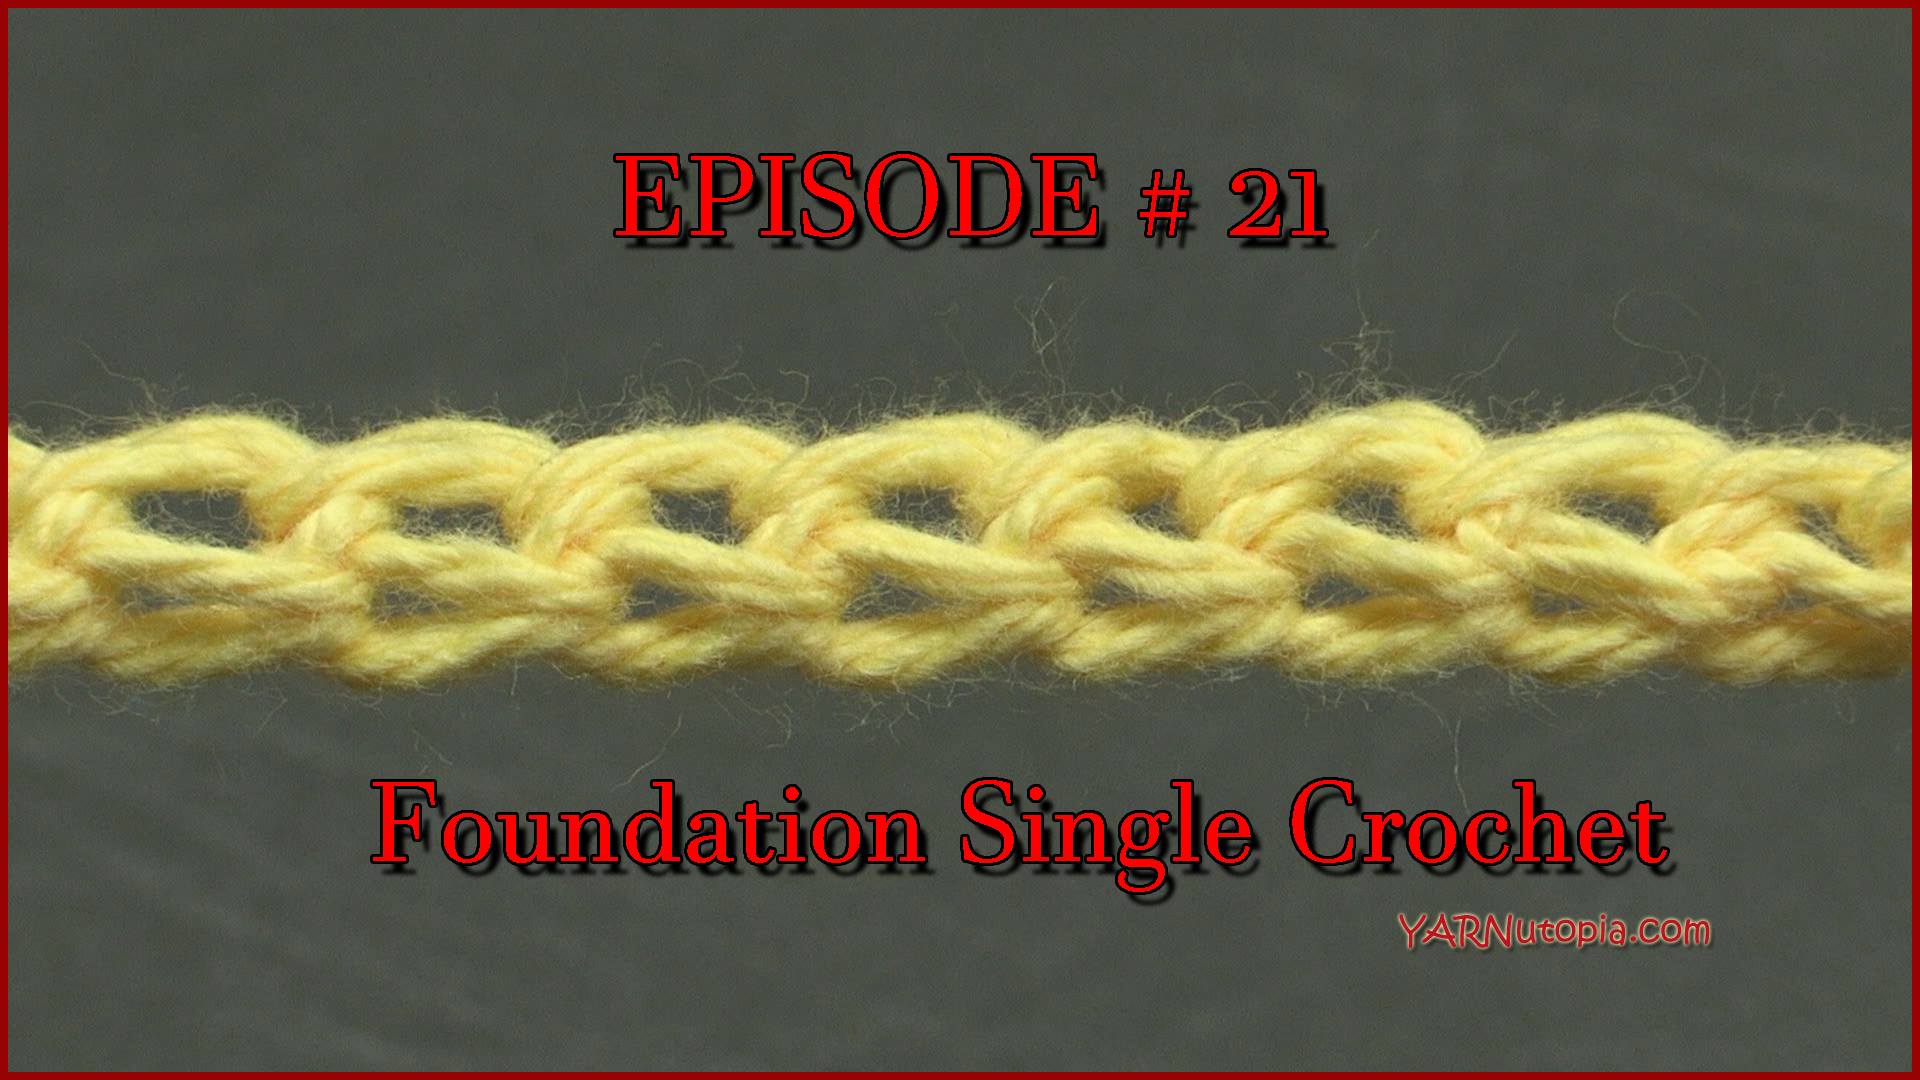
Stitch Gallery & Glossary Episode #21: Foundation Single Crochet
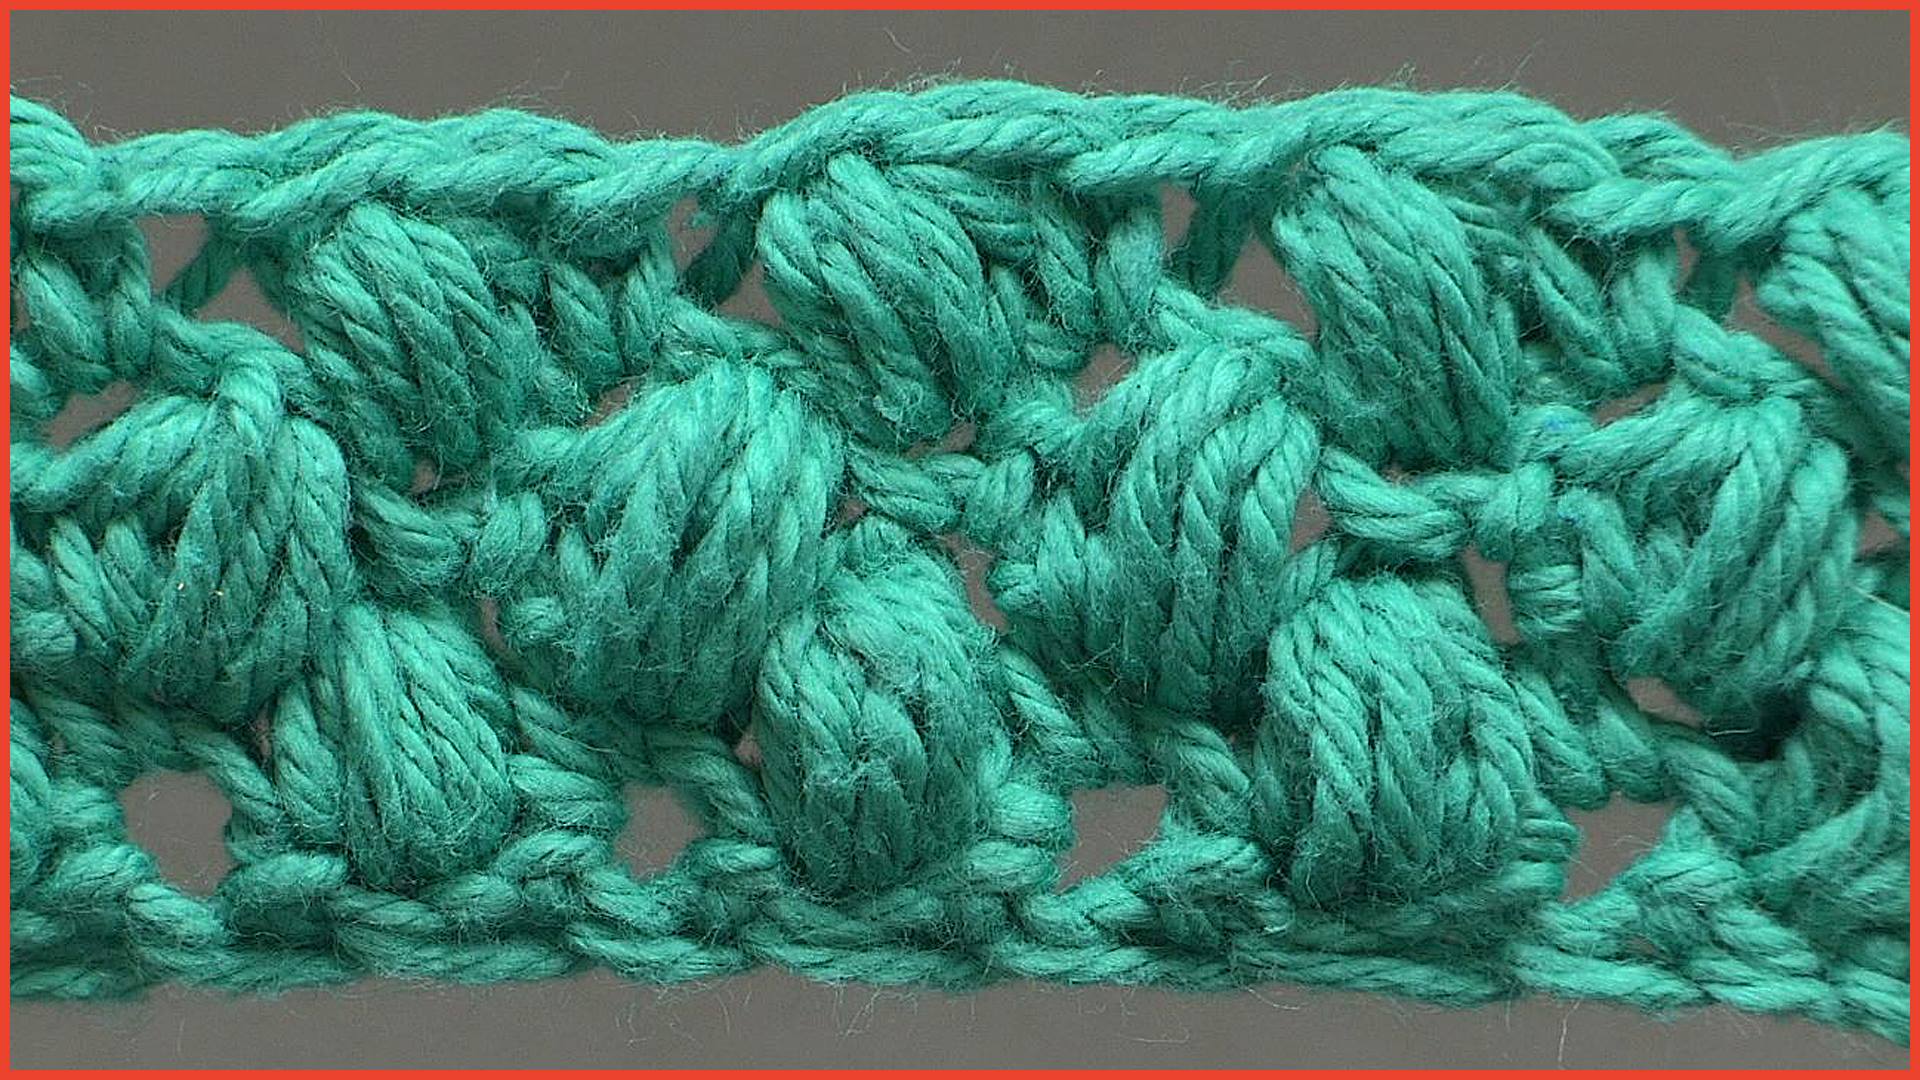
Stitch Gallery & Glossary Episode #19: Puff Stitch
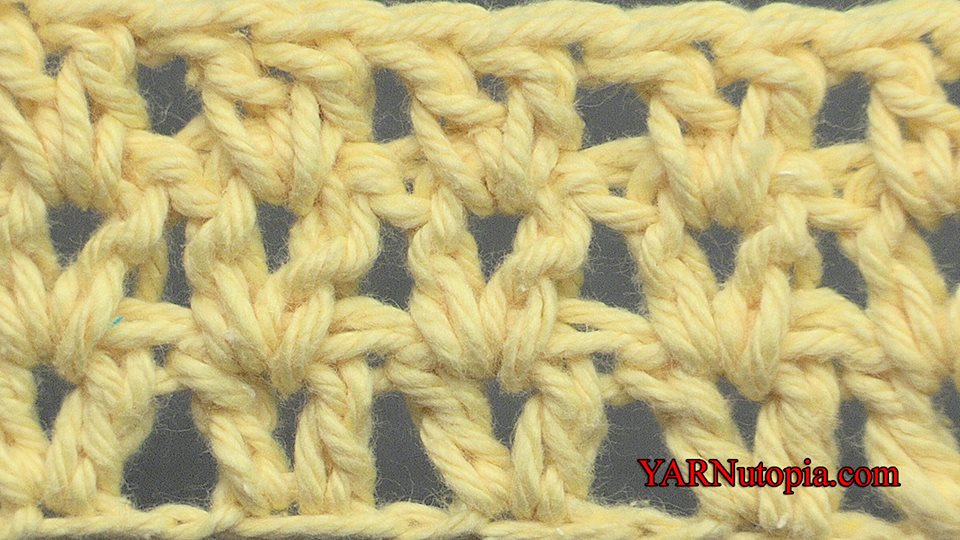
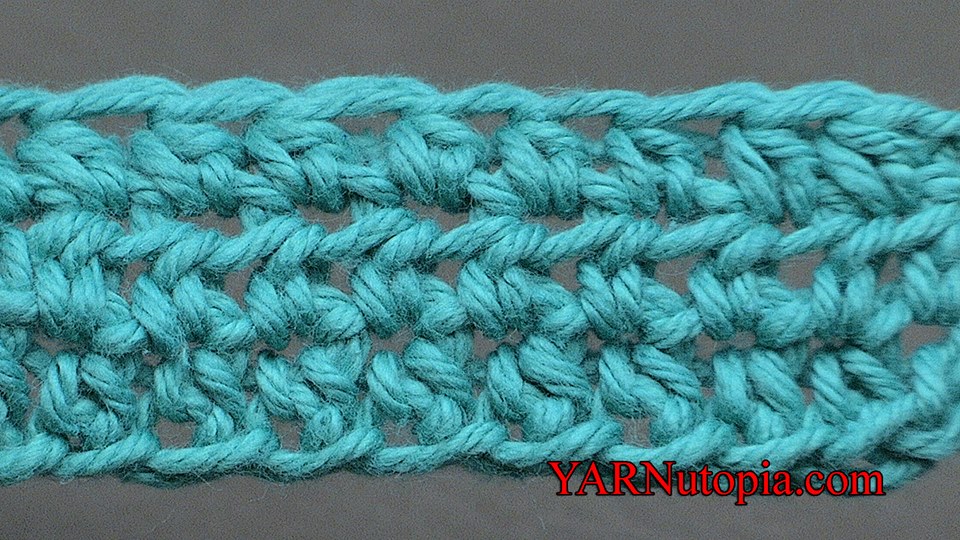
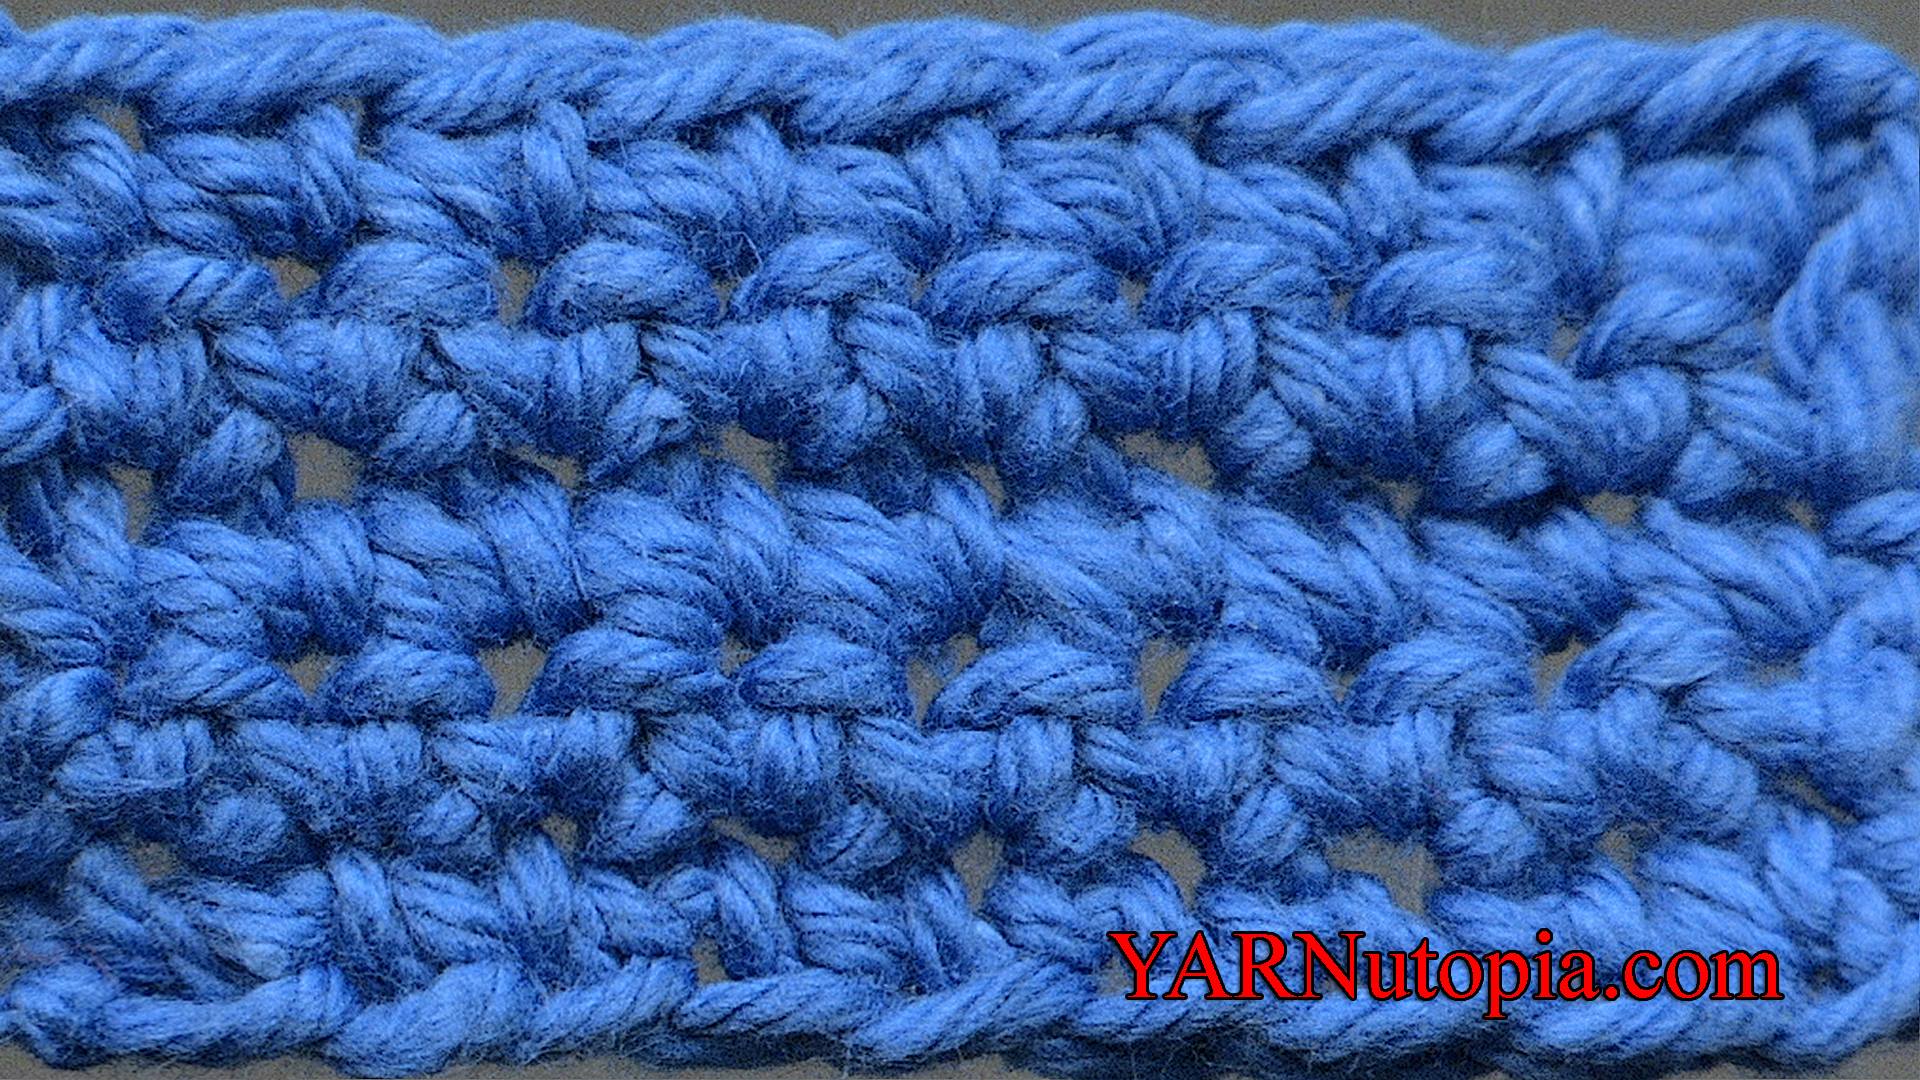
Stitch Gallery & Glossary Episode #18: Grit Stitch
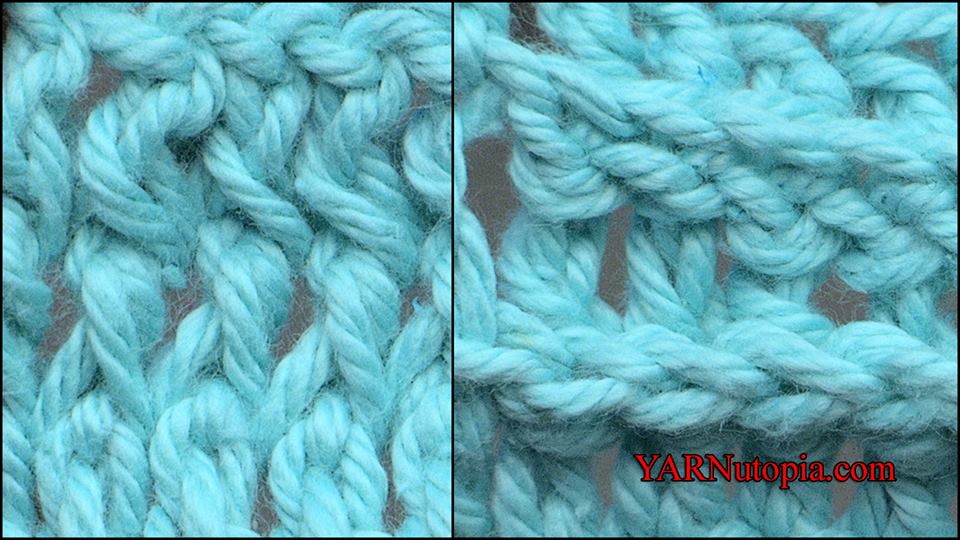
Stitch Gallery & Glossary Episode #17: Herringbone Half-Double Crochet
Stitch Gallery & Glossary Episode #16: Honeycomb Crochet Stitch
Crochet Tutorial: Boho Pom Hat
Crochet Tutorial: Boho Tassel Scarf
Stitch Gallery & Glossary Episode #15: Waffle Stitch
Stitch Gallery & Glossary Episode #14: Popcorn Stitch
Stitch Gallery & Glossary Episode #13: Shell Stitch
Stitch Gallery & Glossary Episode #12: V-Stitch
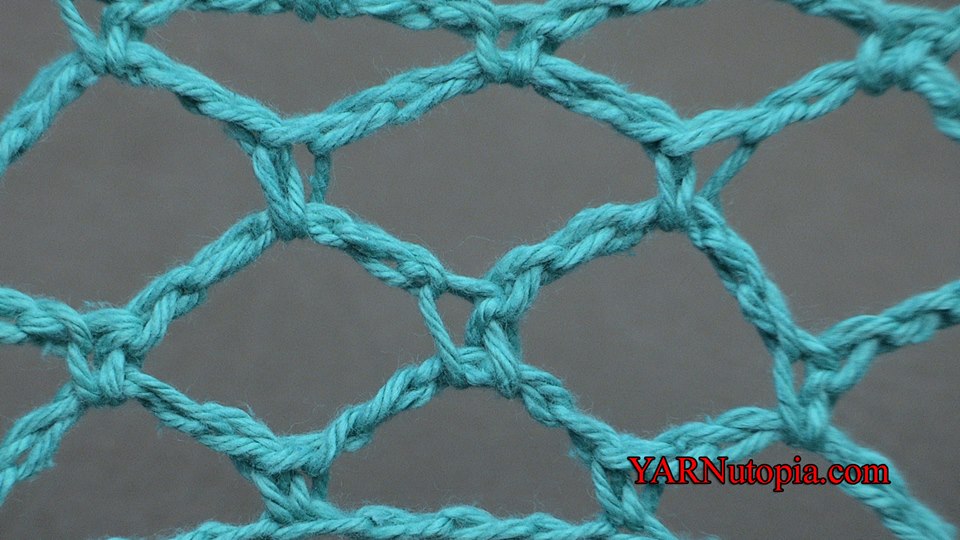
Stitch Gallery & Glossary Episode #11: Diamond Mesh Stitch
Stitch Gallery & Glossary Episode #10: Front-Post Double Crochet & Back-Post Double Crochet
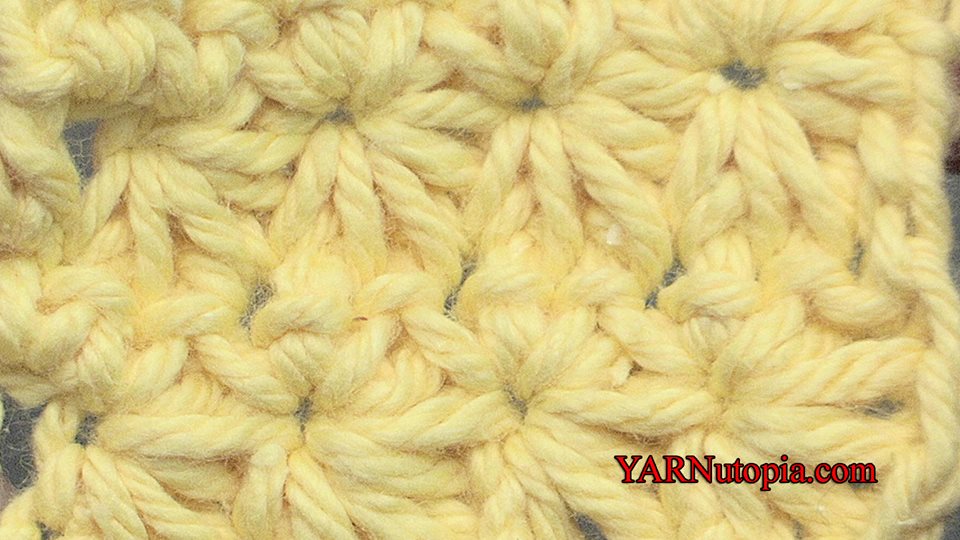
Stitch Gallery & Glossary Episode #9: Star Stitch
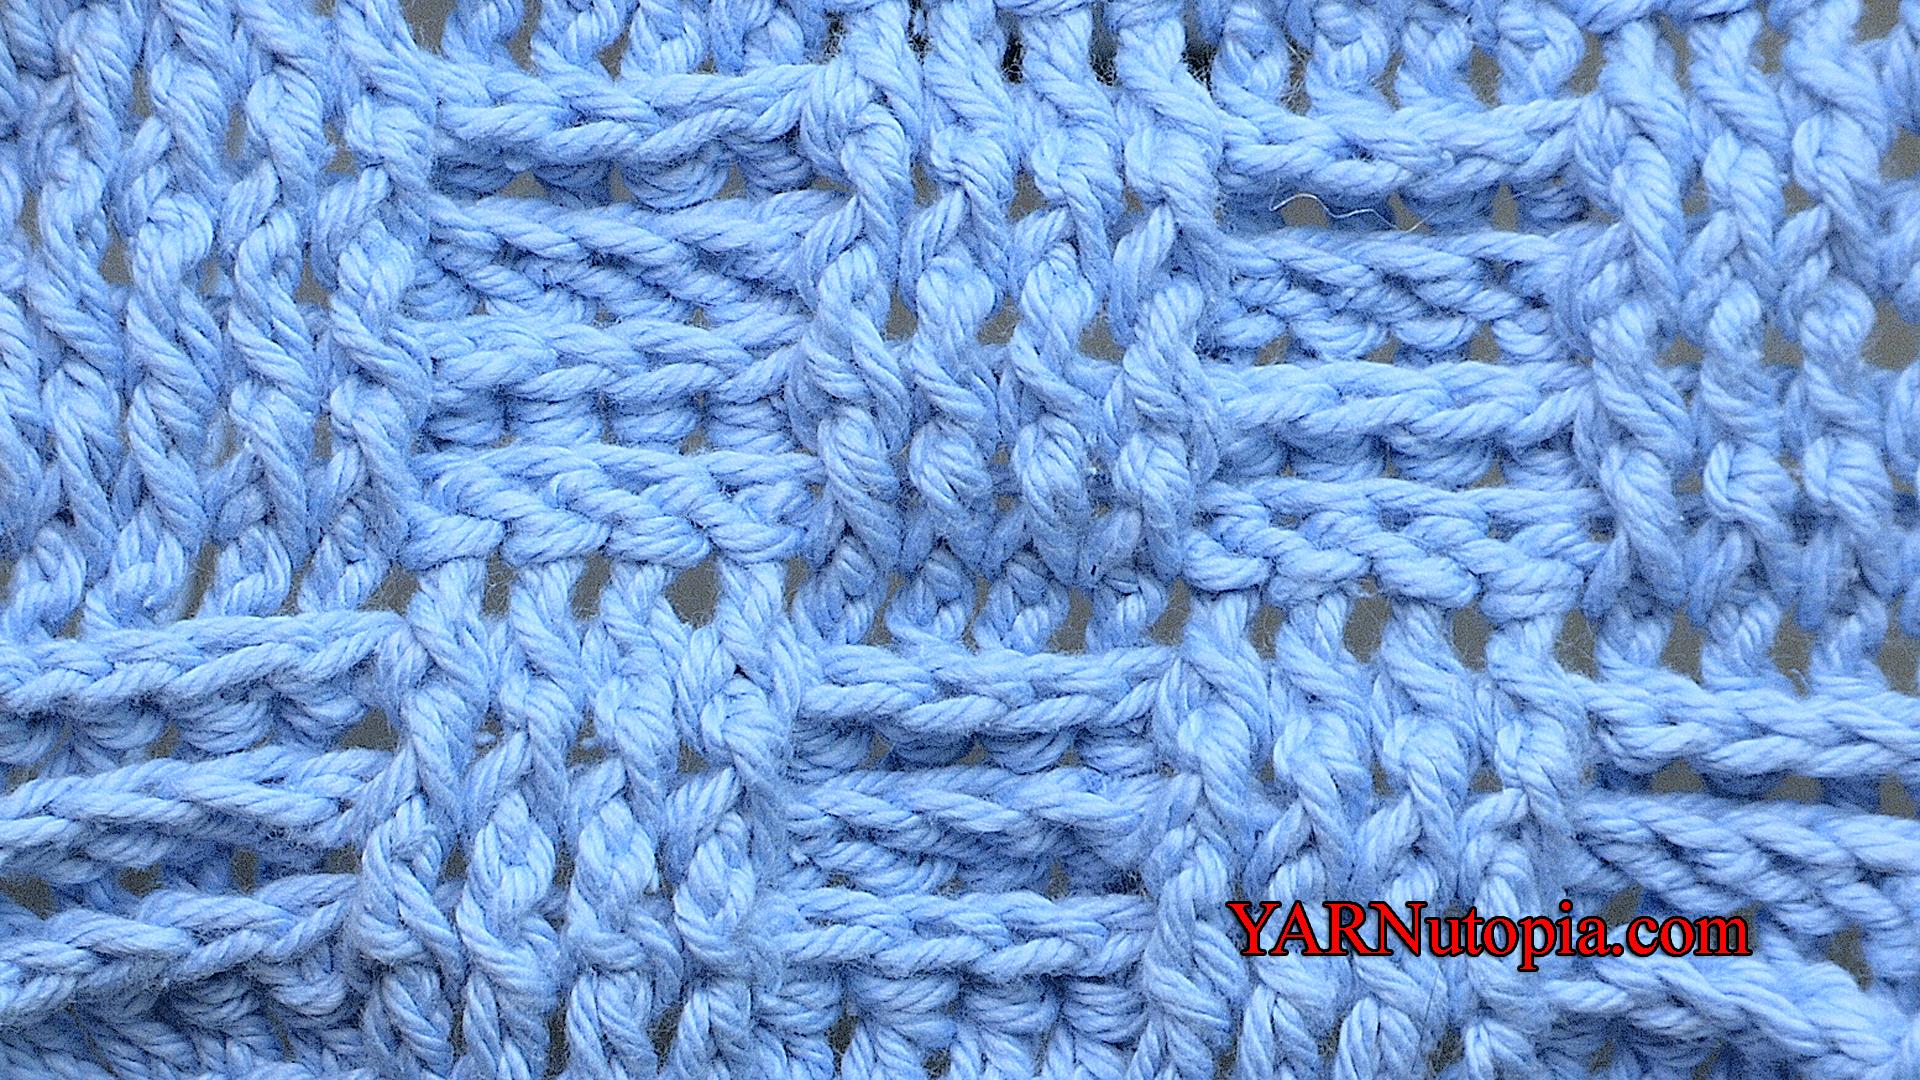
Stitch Gallery & Glossary Episode #8: Basketweave Stitch
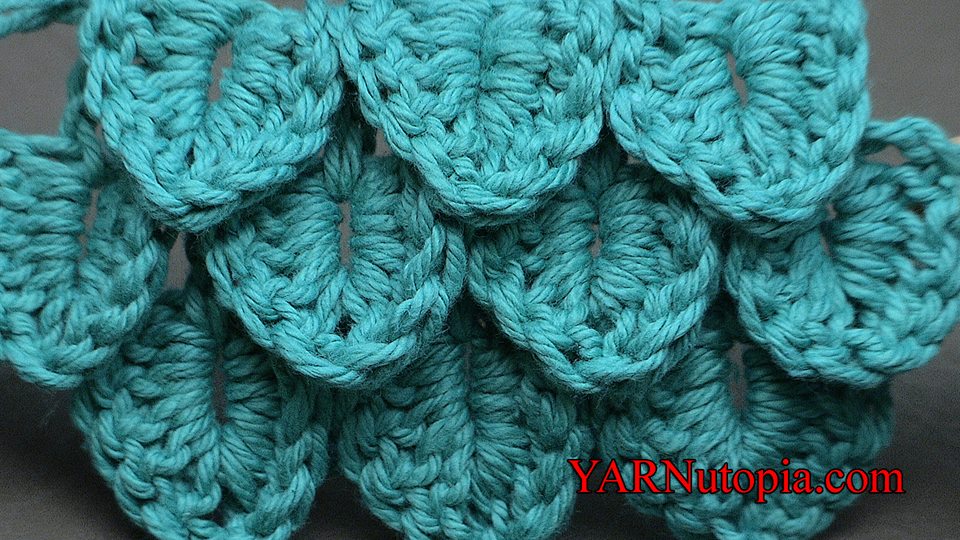
Stitch Gallery & Glossary Episode #7: Crocodile Stitch
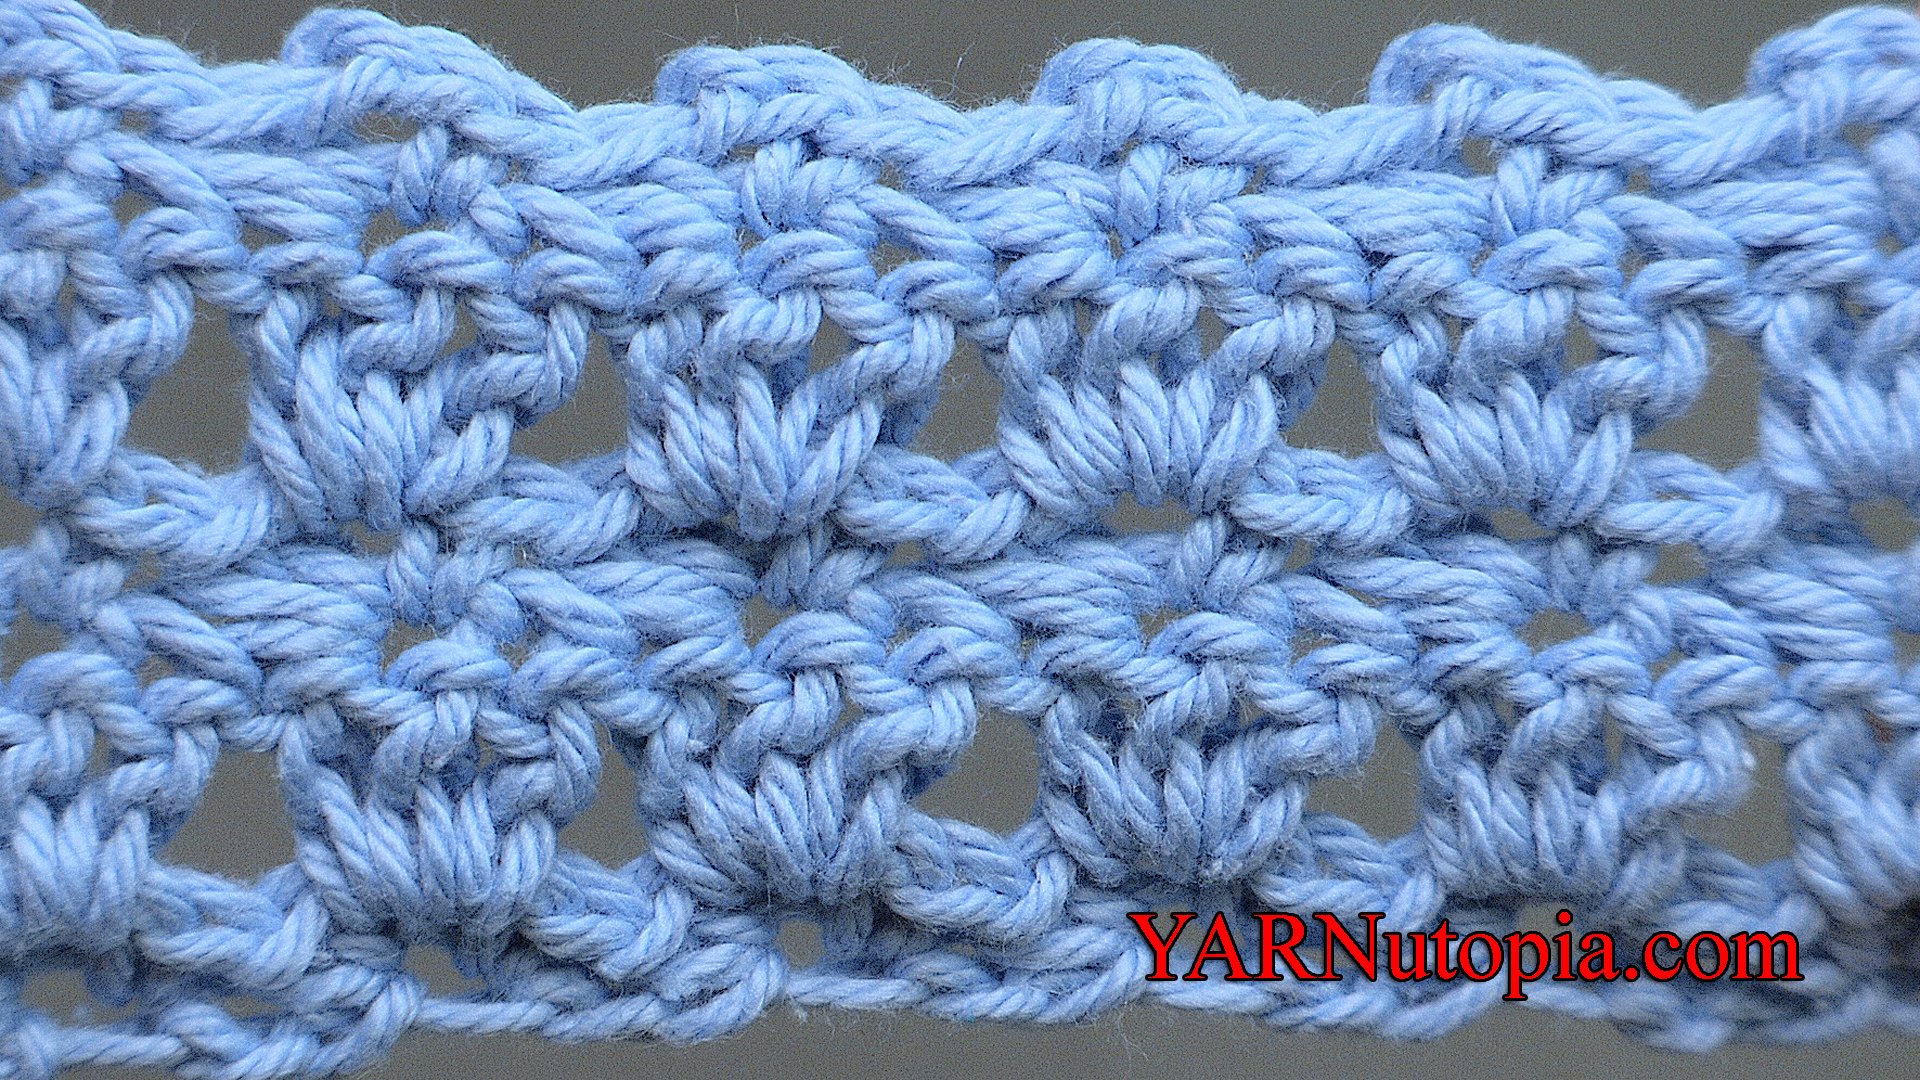
Stitch Gallery & Glossary Episode #6: Primrose Stitch
Stitch Gallery & Glossary Episode #4: Treble Crochet
Stitch Gallery & Glossary Episode #3: Double Crochet
Stitch Gallery & Glossary Episode #2: Half-Double Crochet
Stitch Gallery & Glossary Episode #1: Single Crochet
Crochet Tutorial: Harlequin Leg Warmers
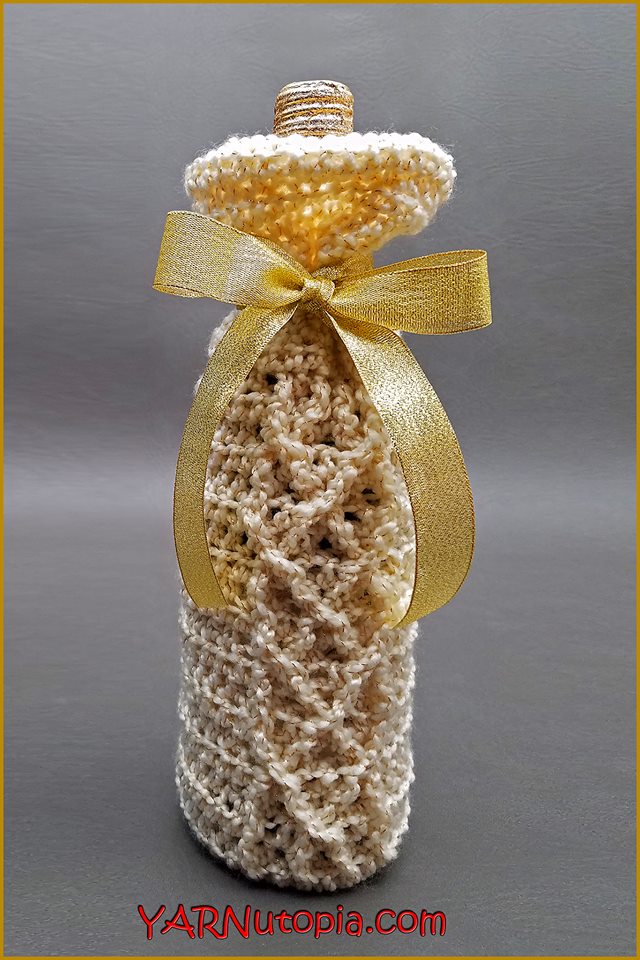
Crochet Tutorial: Sparkling Wine Beverage Bag
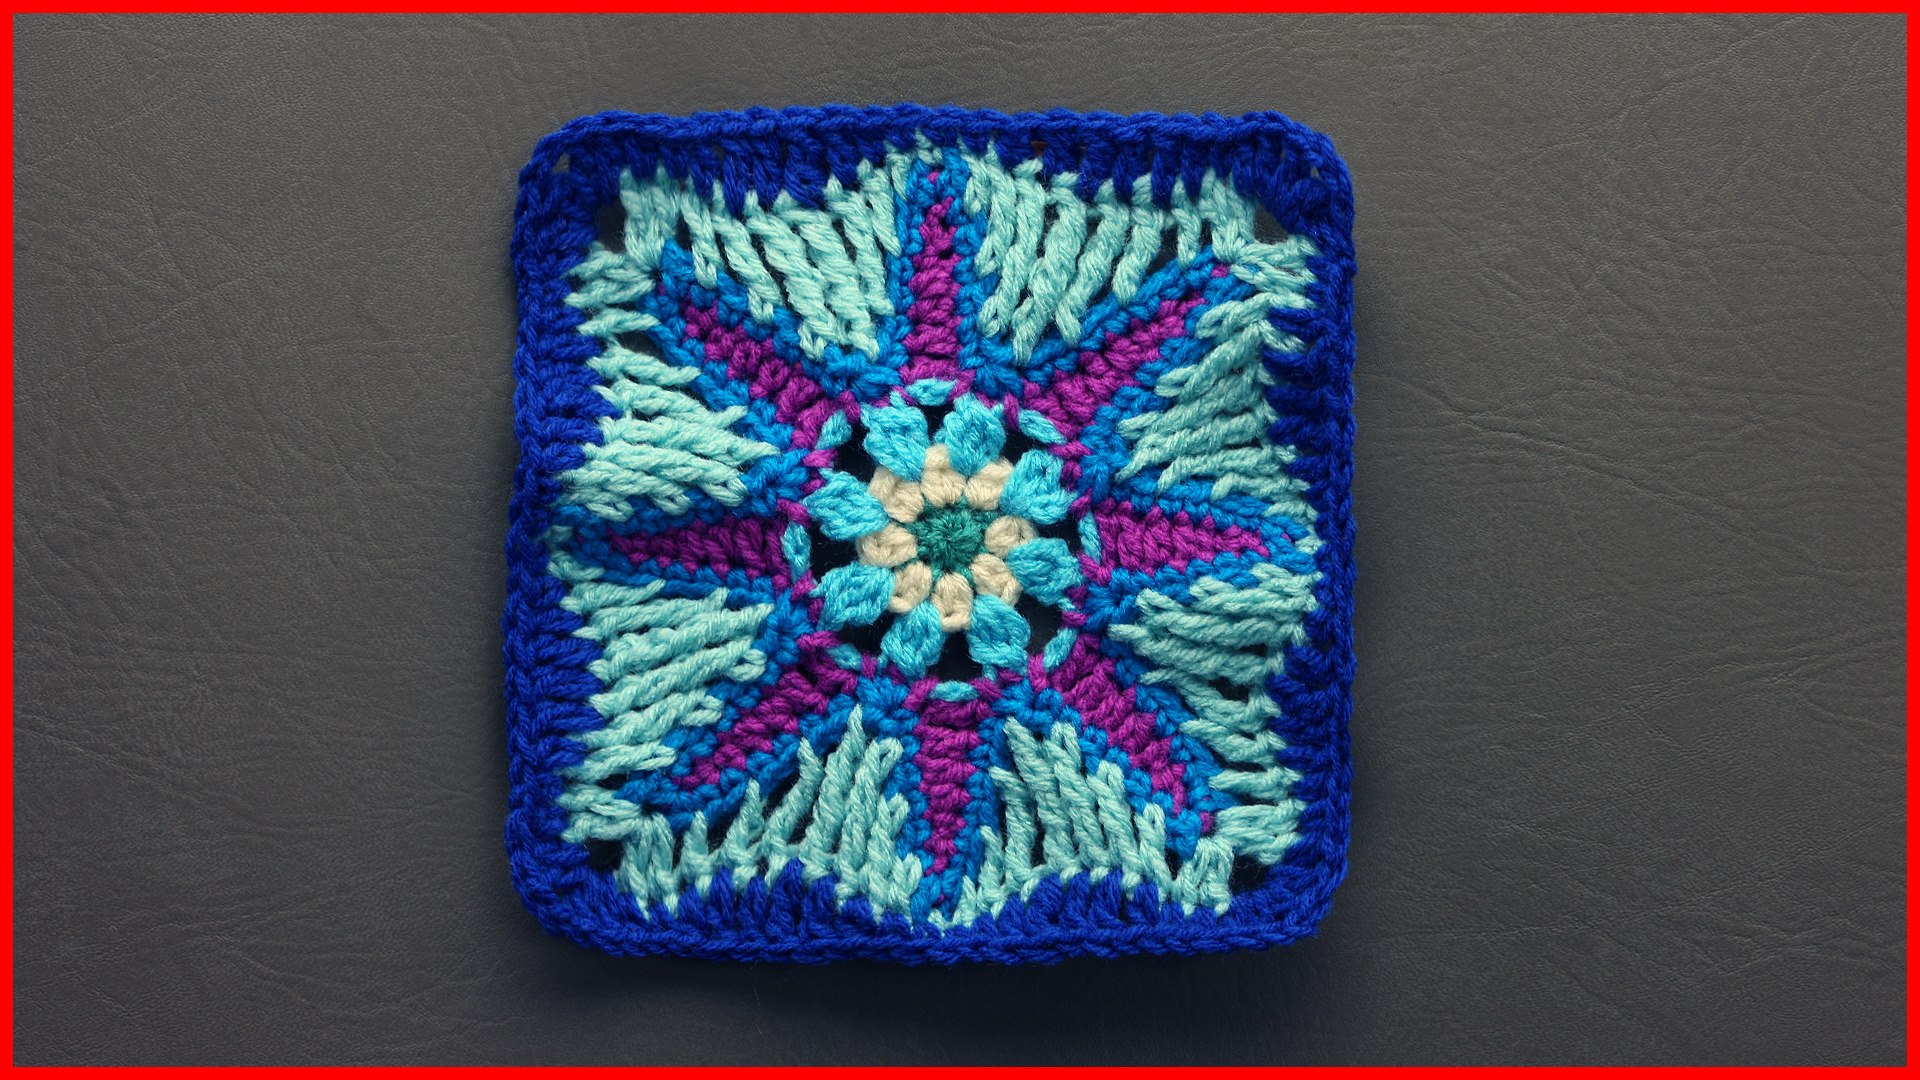
Crochet Tutorial: Celestial Delight Granny Square
Free Crochet Pattern: Color Pop Baby Blanket
Crochet Tutorial: Puff Stitch Beard
Loading Comments...
Write a Comment...
Email (Required)
Name (Required)
Website