YARNutopia & M0re
All things Yarn Related: Crochet, DIY, and Crafts
Blog
365 Days of Granny Squares
Stitch Gallery & Glossary
Crochet Video Tutorials
Frequently Asked Questions
Crochet Glossary: Learn the Lingo
Contact
Search
Search
amigurumi
YARNutoia & More
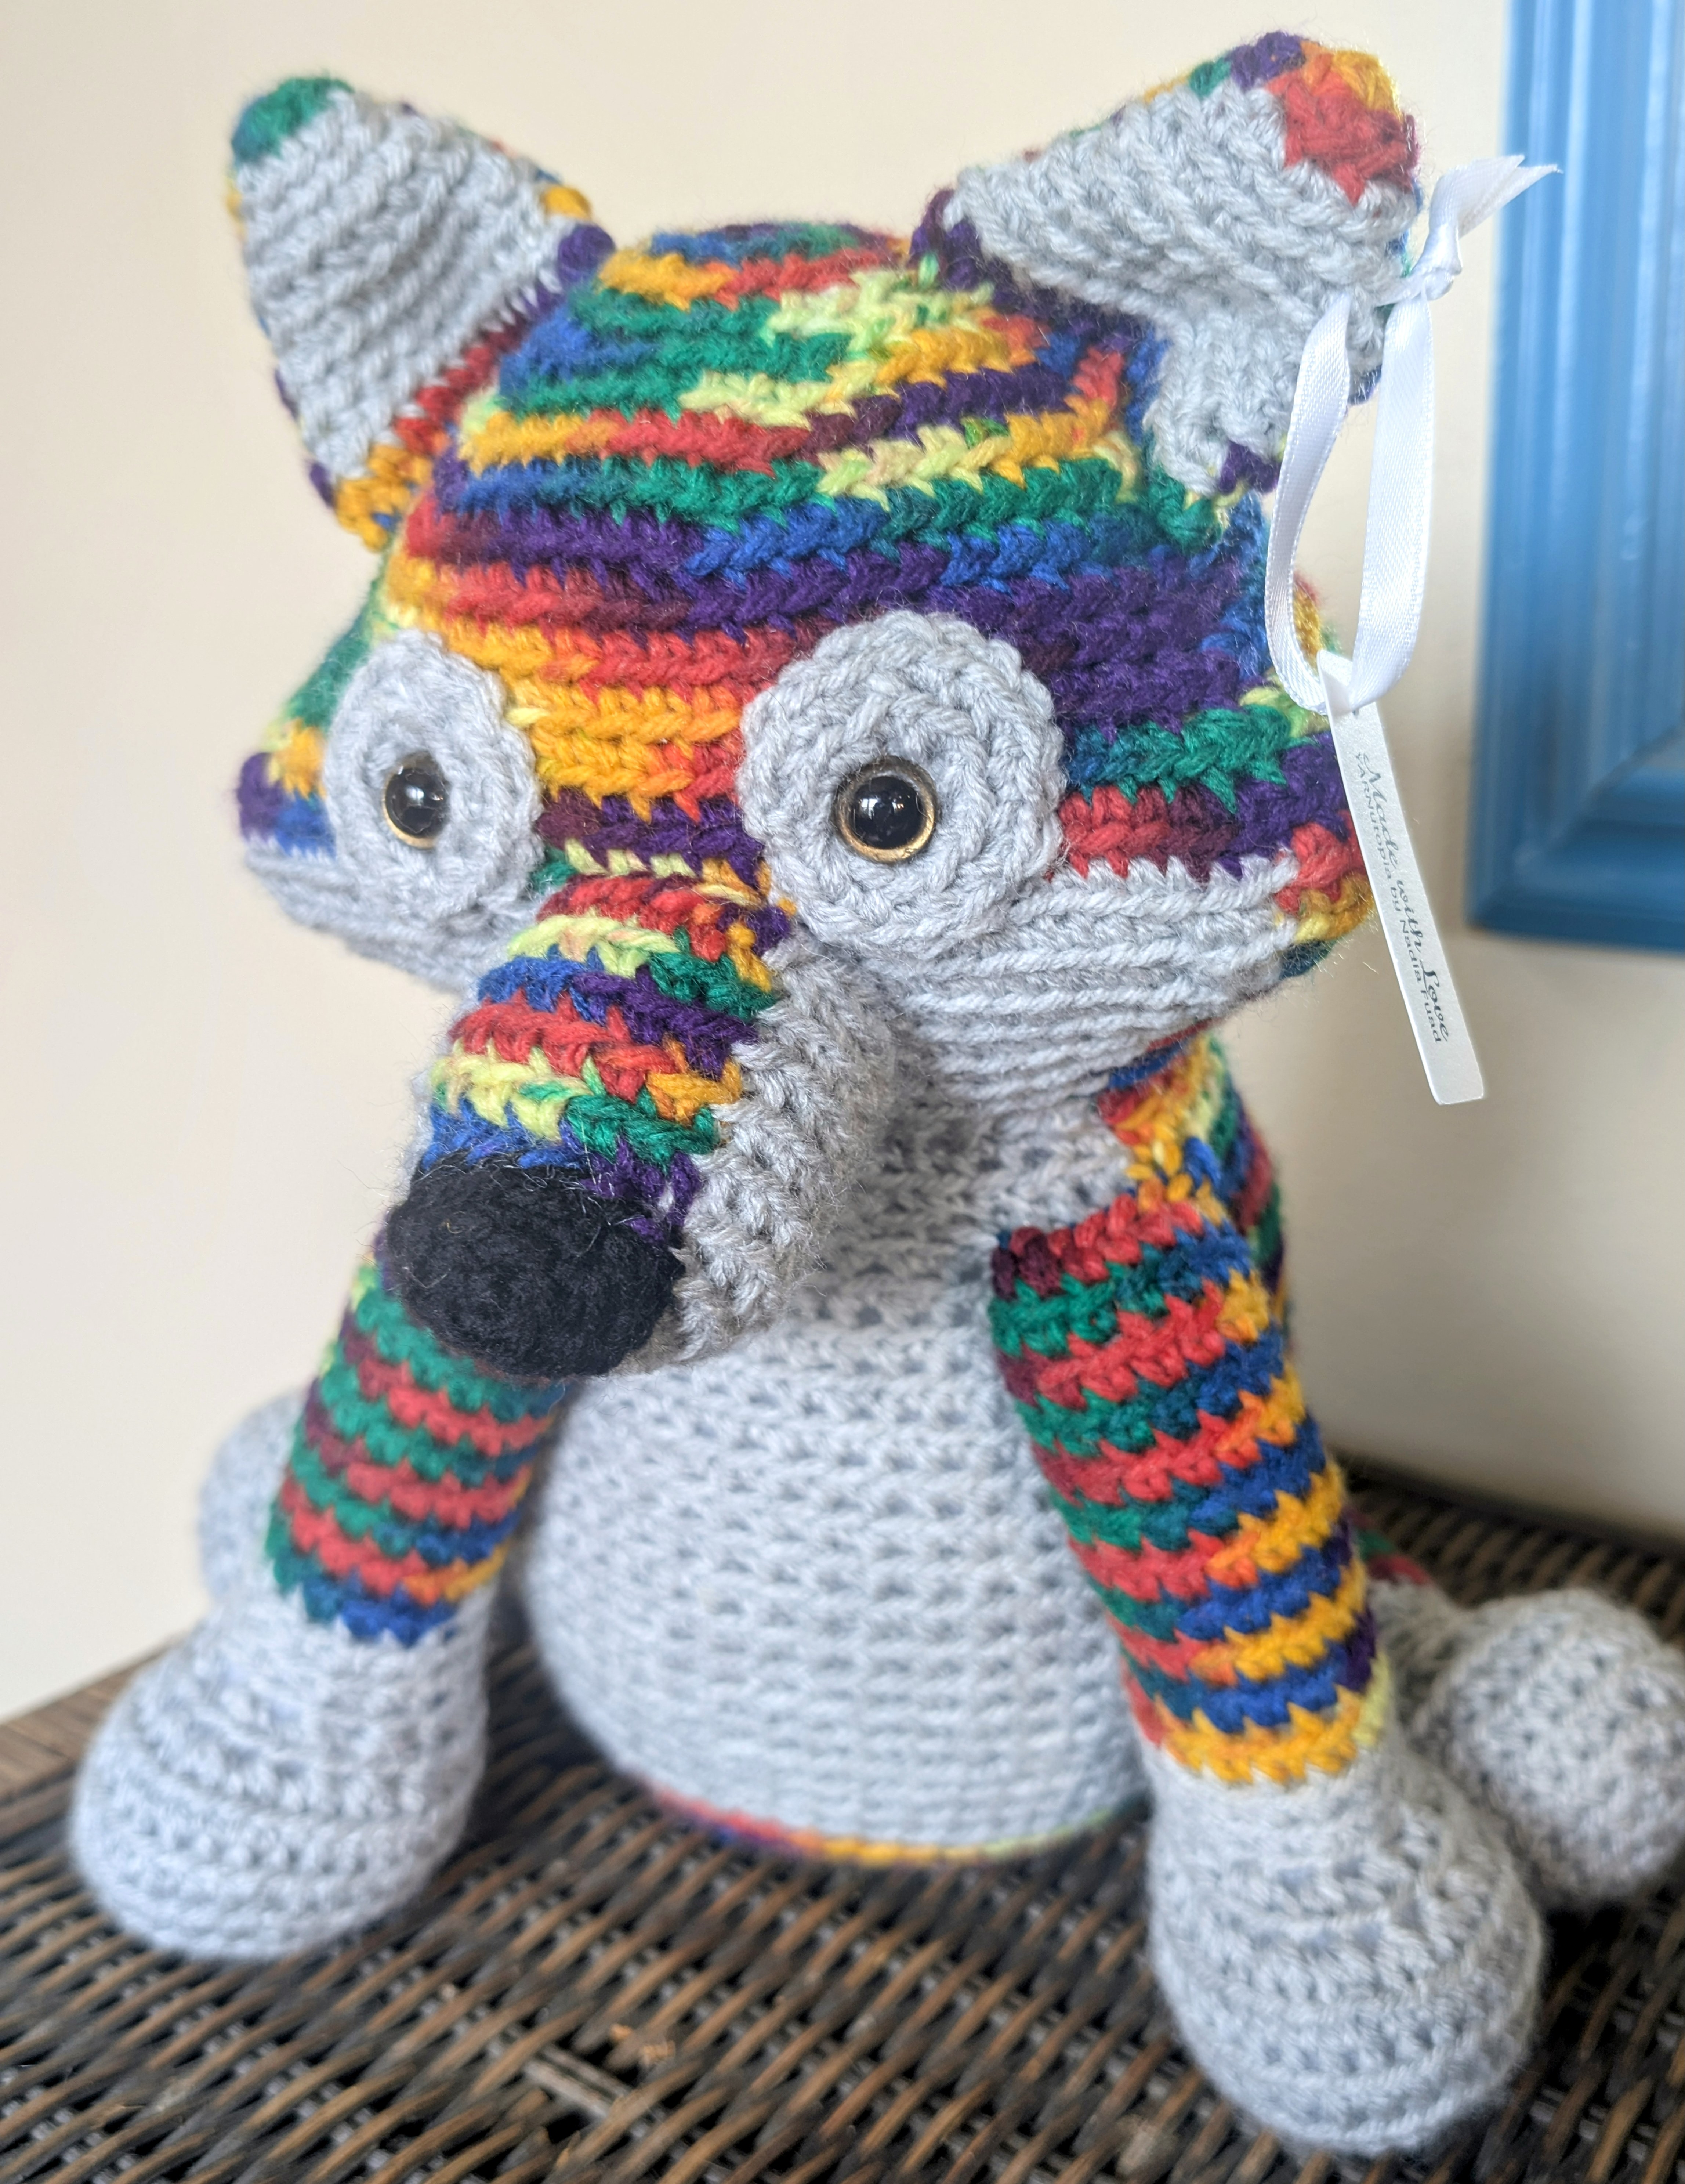
A Special Order: Crochet Amigurumi
FREE Written Crochet Pattern: Doll Clothes
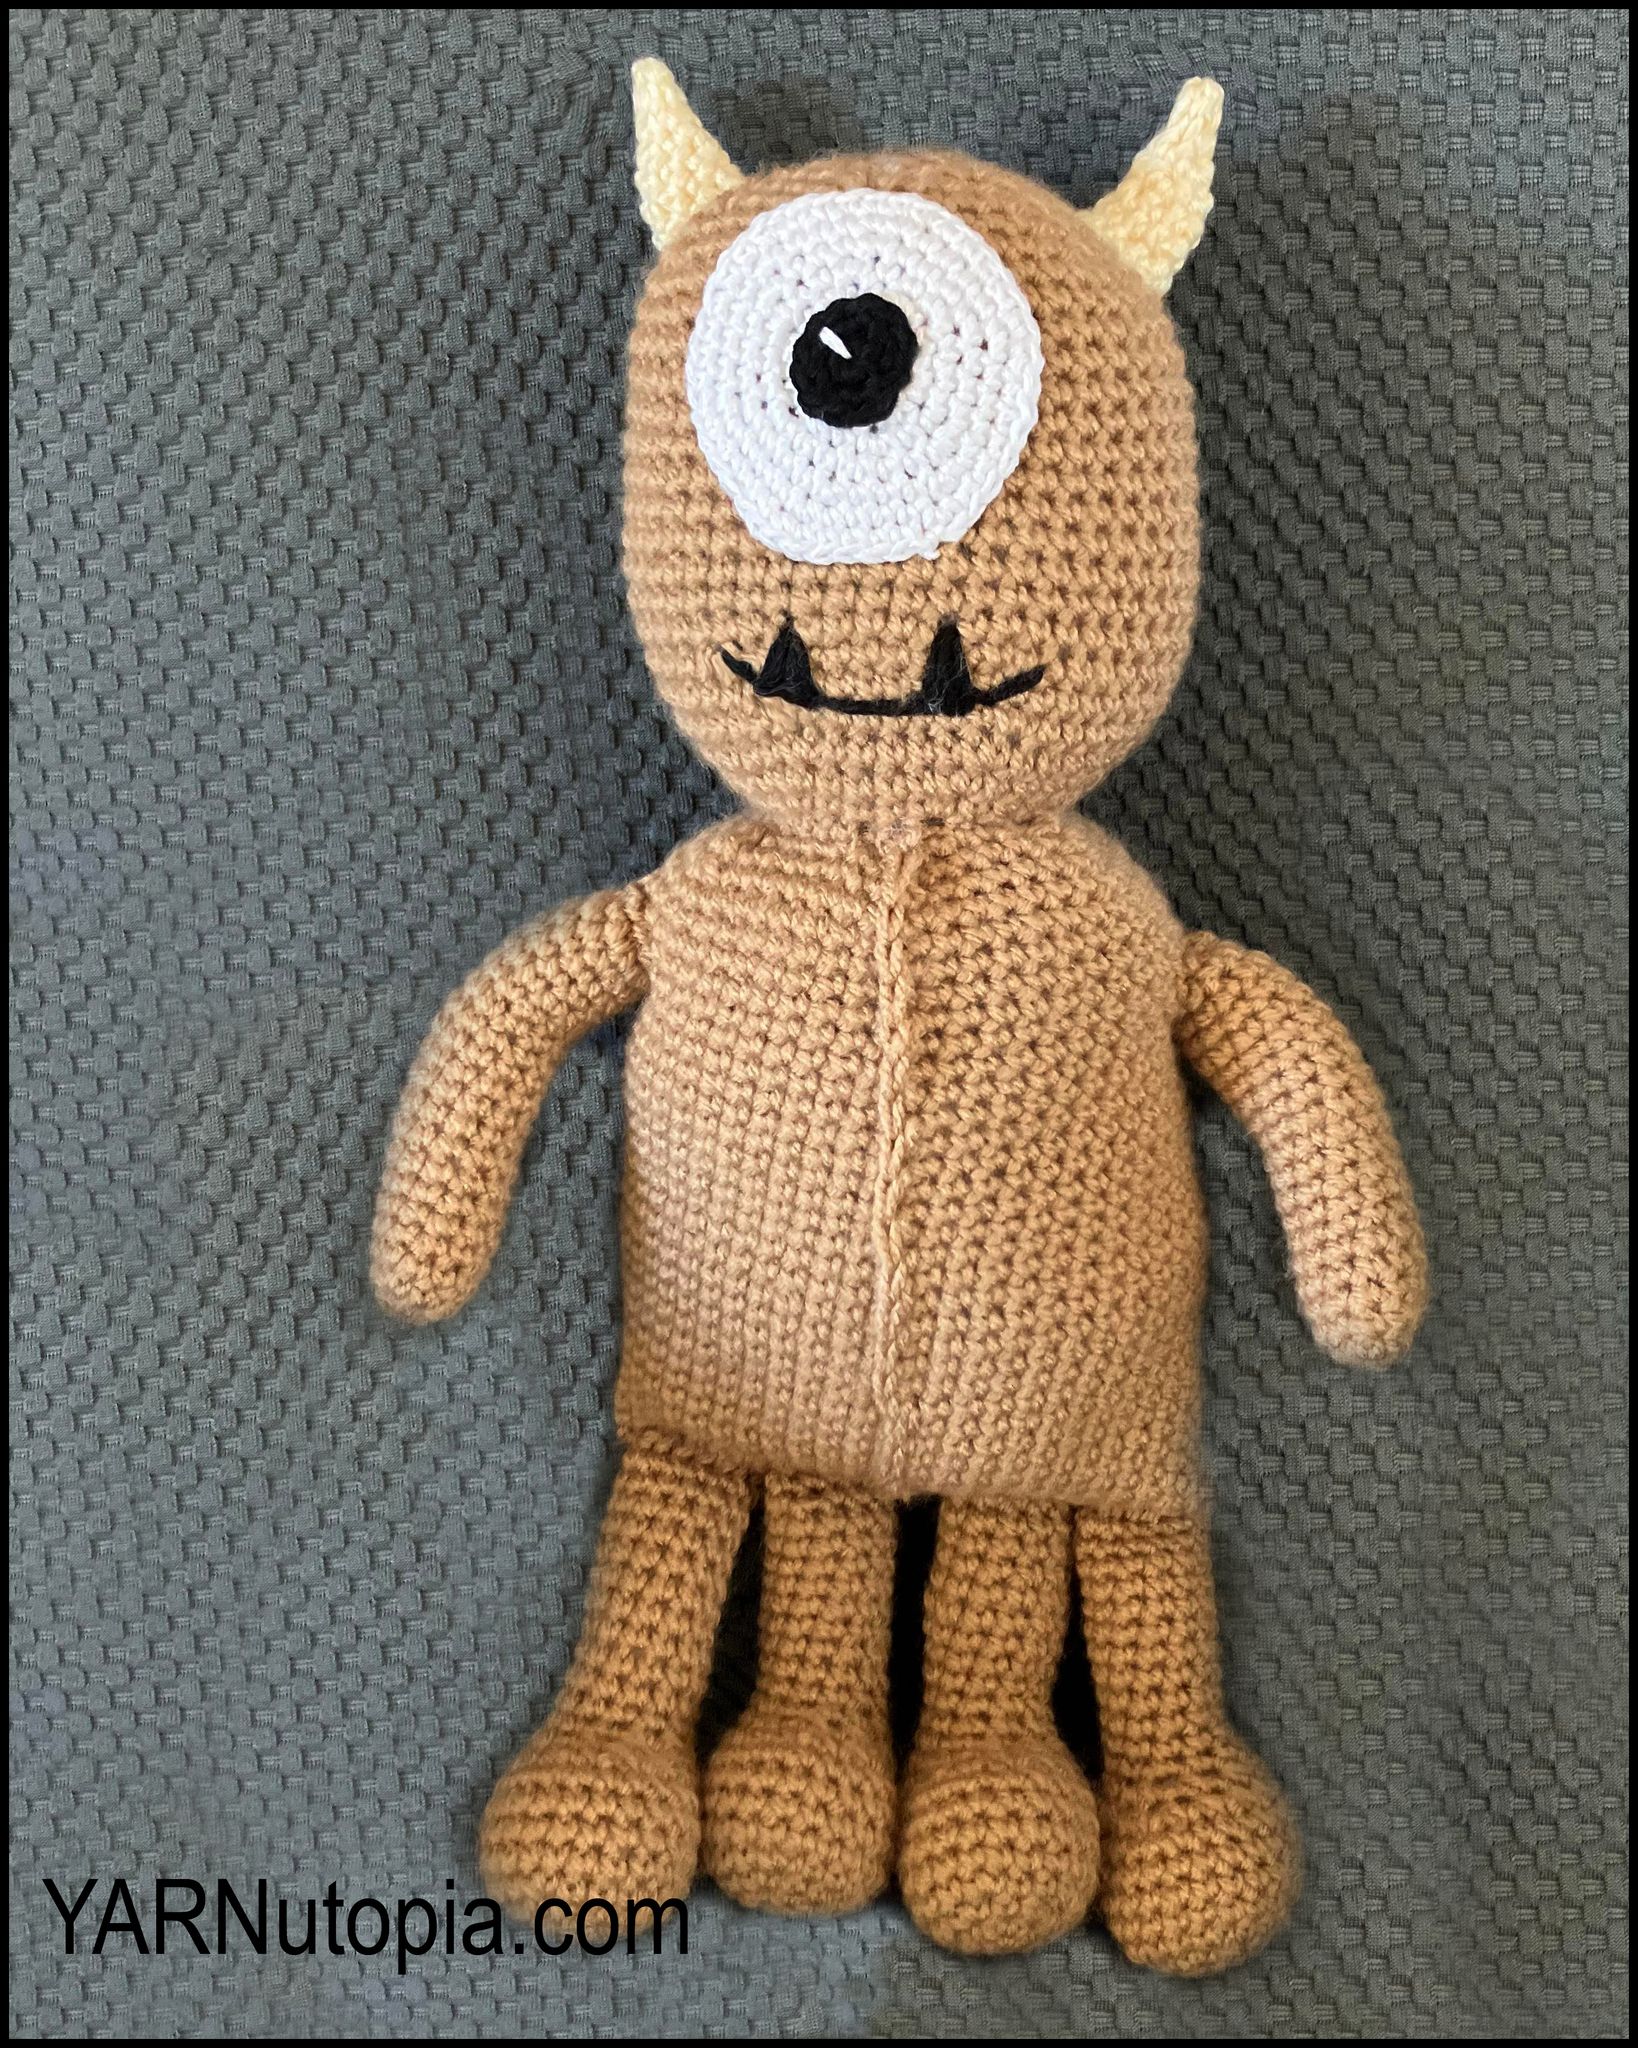
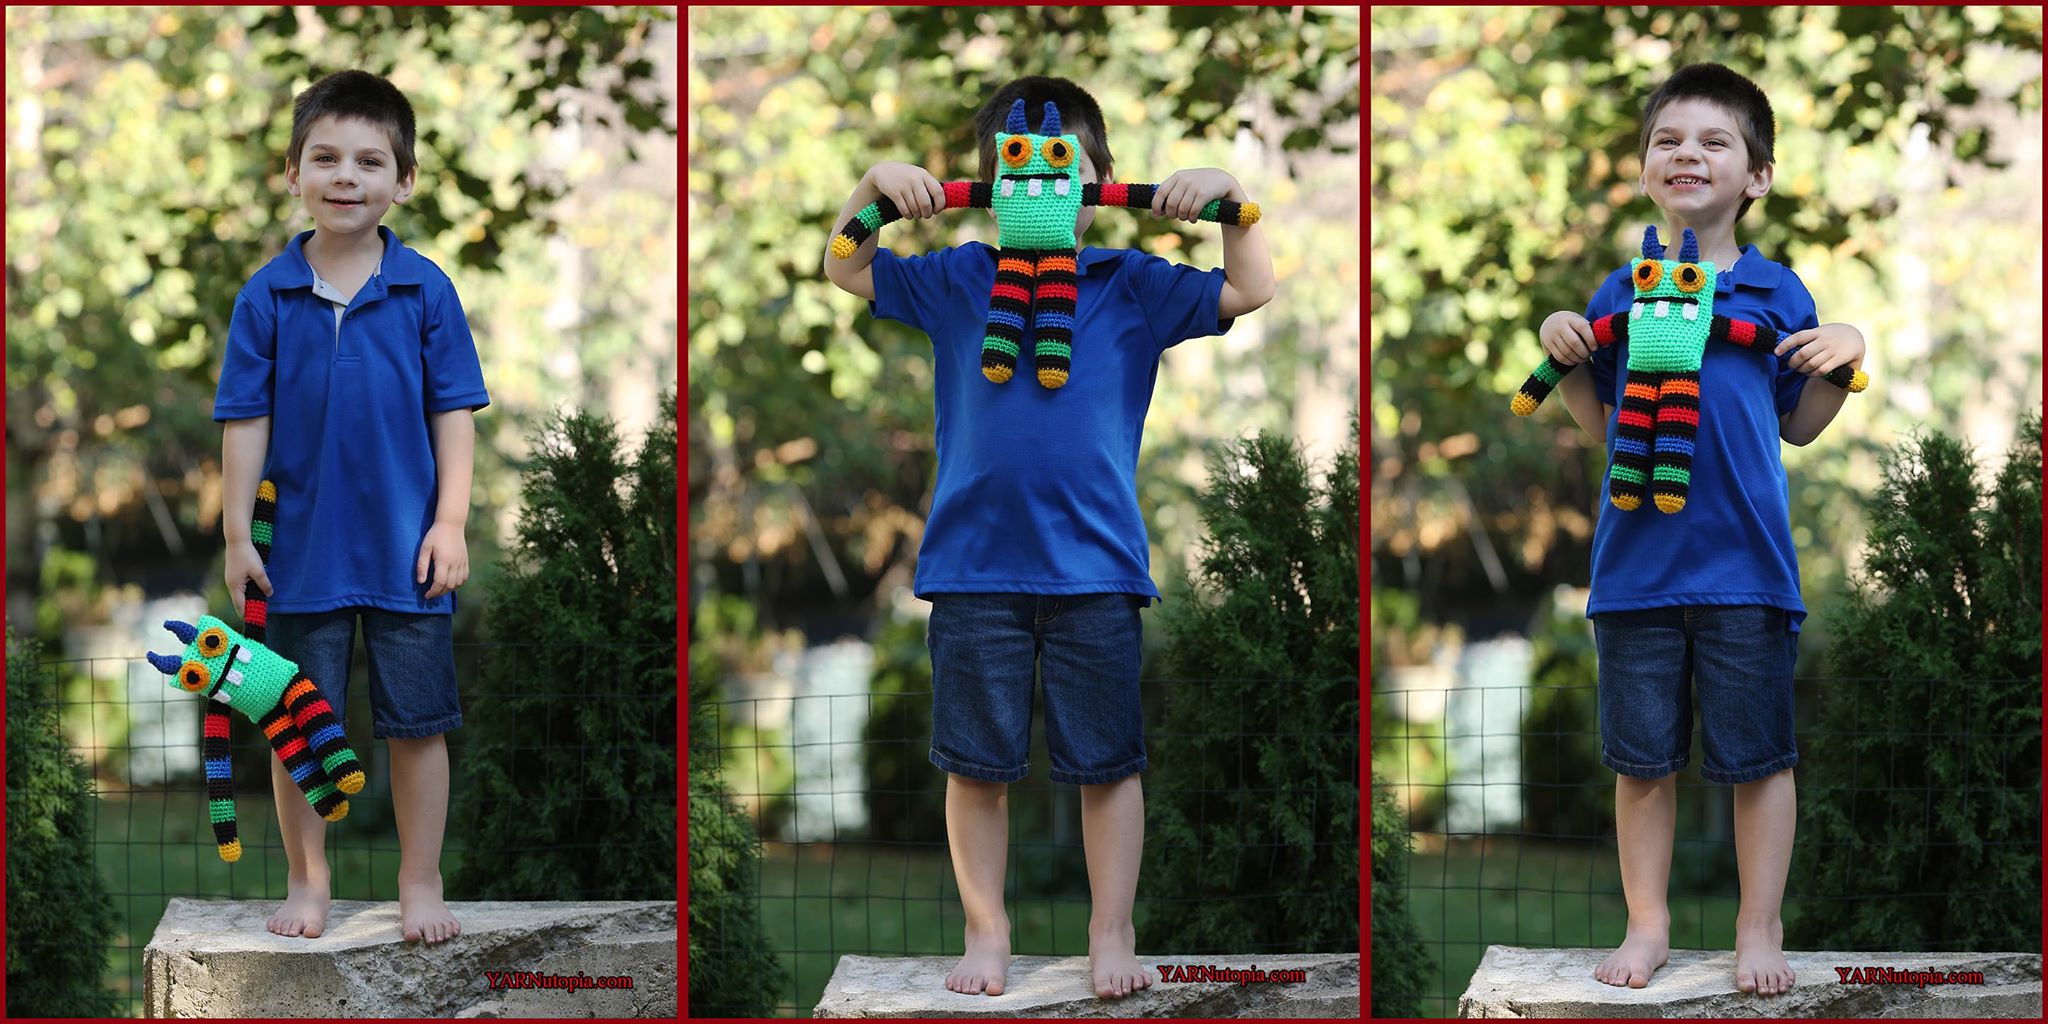
FREE Written Crochet Pattern: Monster/Alien Stuffed Toy Amigurumi
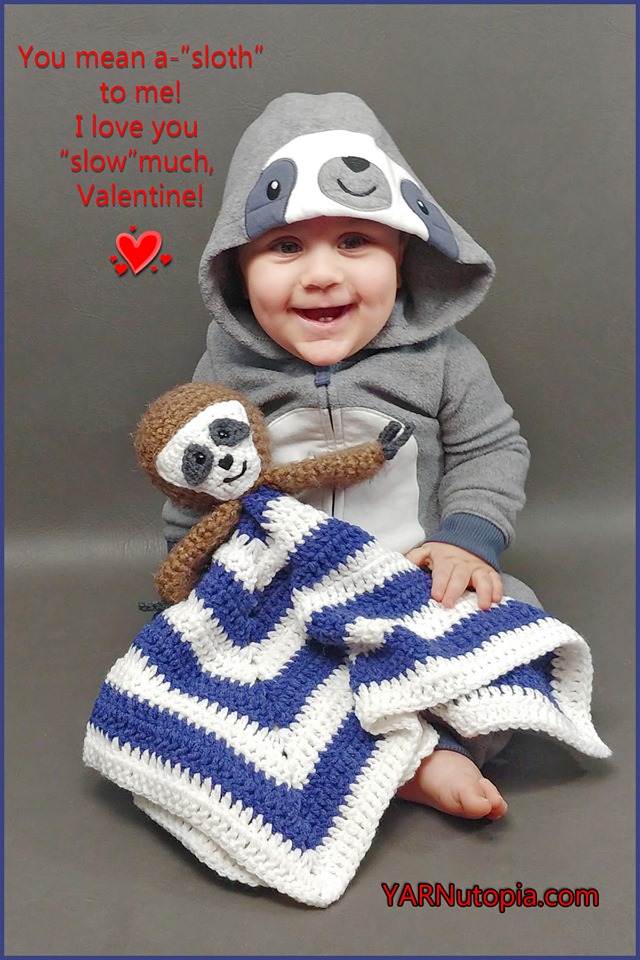
FREE Crochet Video Tutorial: Sloth Lovey
FREE Written Crochet Pattern: Sloth Lovey
FREE Crochet Video Tutorial: Alien Puppet
FREE Crochet Video Tutorial: Cow Amigurumi
FREE Written Crochet Pattern: Cow Amigurumi
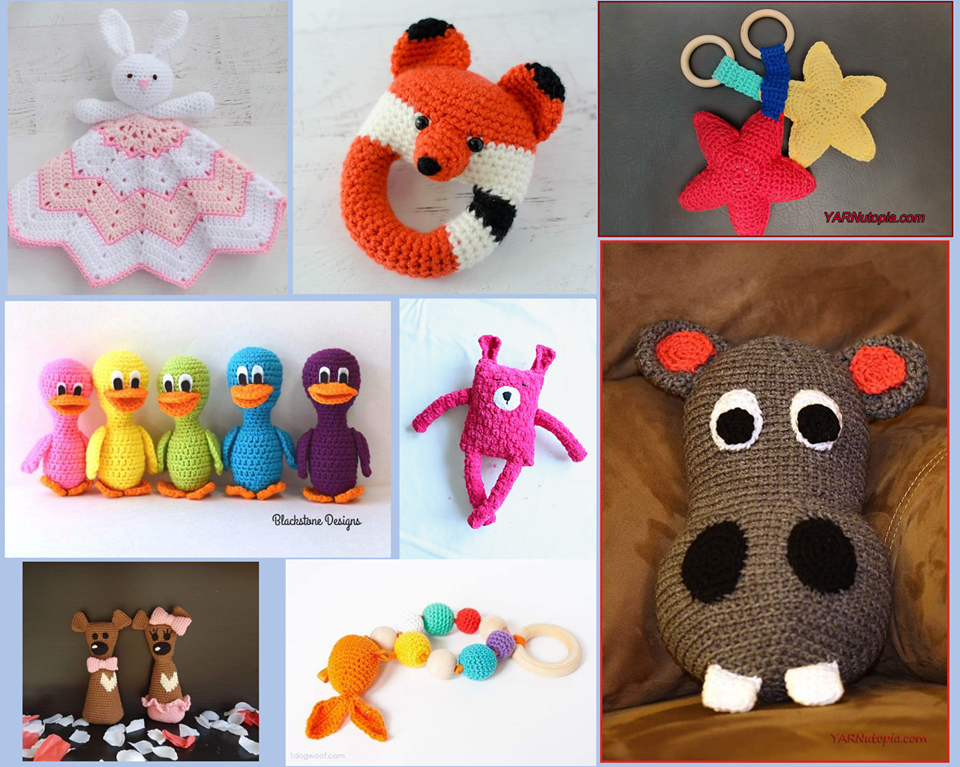
Crochet Baby Toys Round-Up
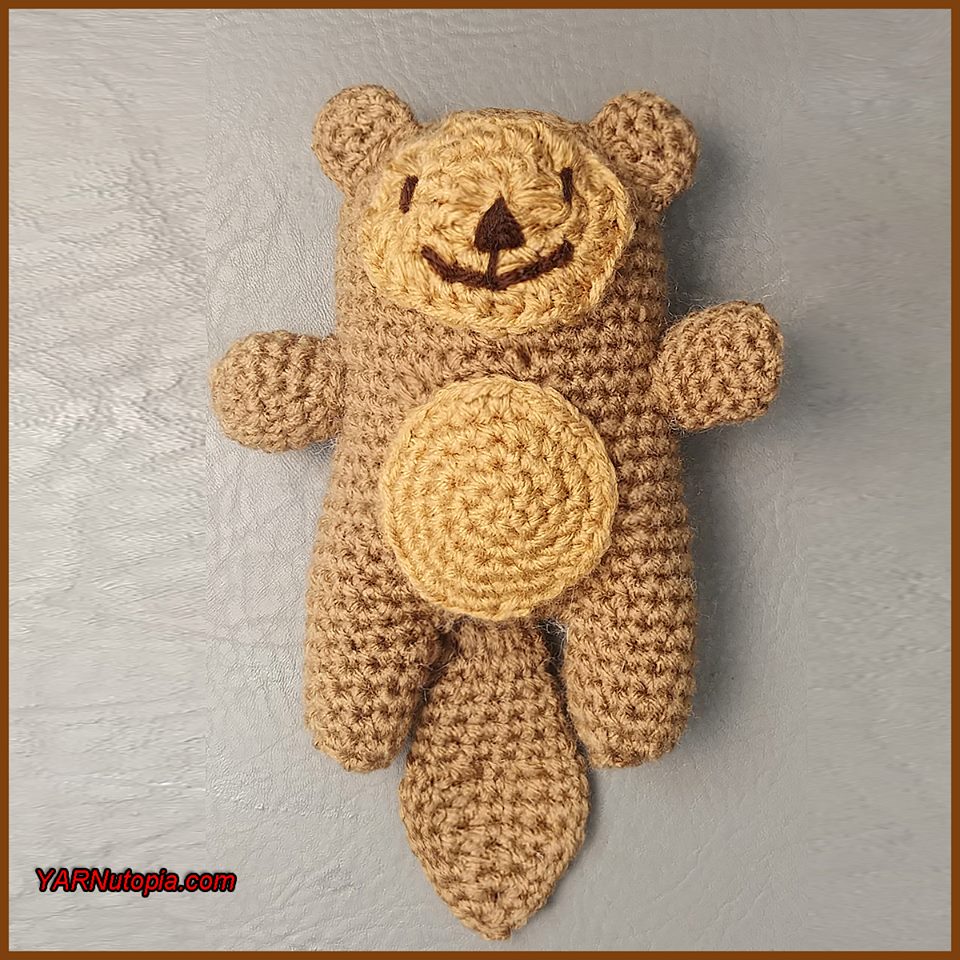
Crochet Tutorial: Otter Amigurumi
Crochet Tutorial: Bunch of Grapes Amigurumi
Crochet Tutorial: Clam Shell Amigurumi with Pearl Bead
Crochet Tutorial: Octopus Keychain
Crochet Tutorial: Egg Amigurumi
12 Days of Christmas: Peppermint Candy Garland
12 Days of Christmas: Paw Print Ornament
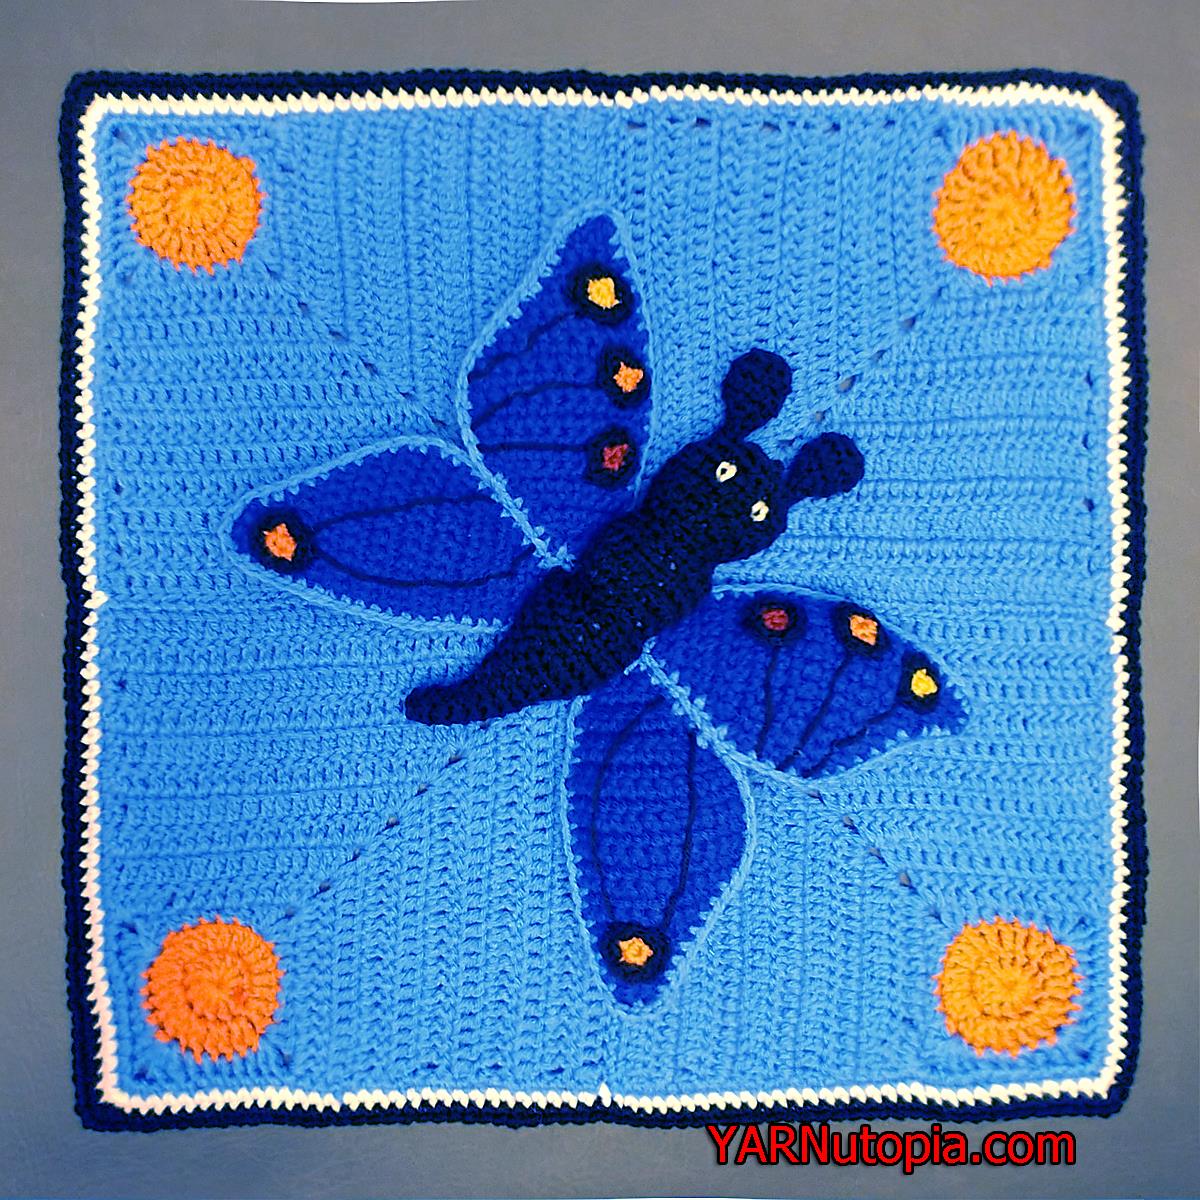
Crochet Tutorial: Butterfly Lovey
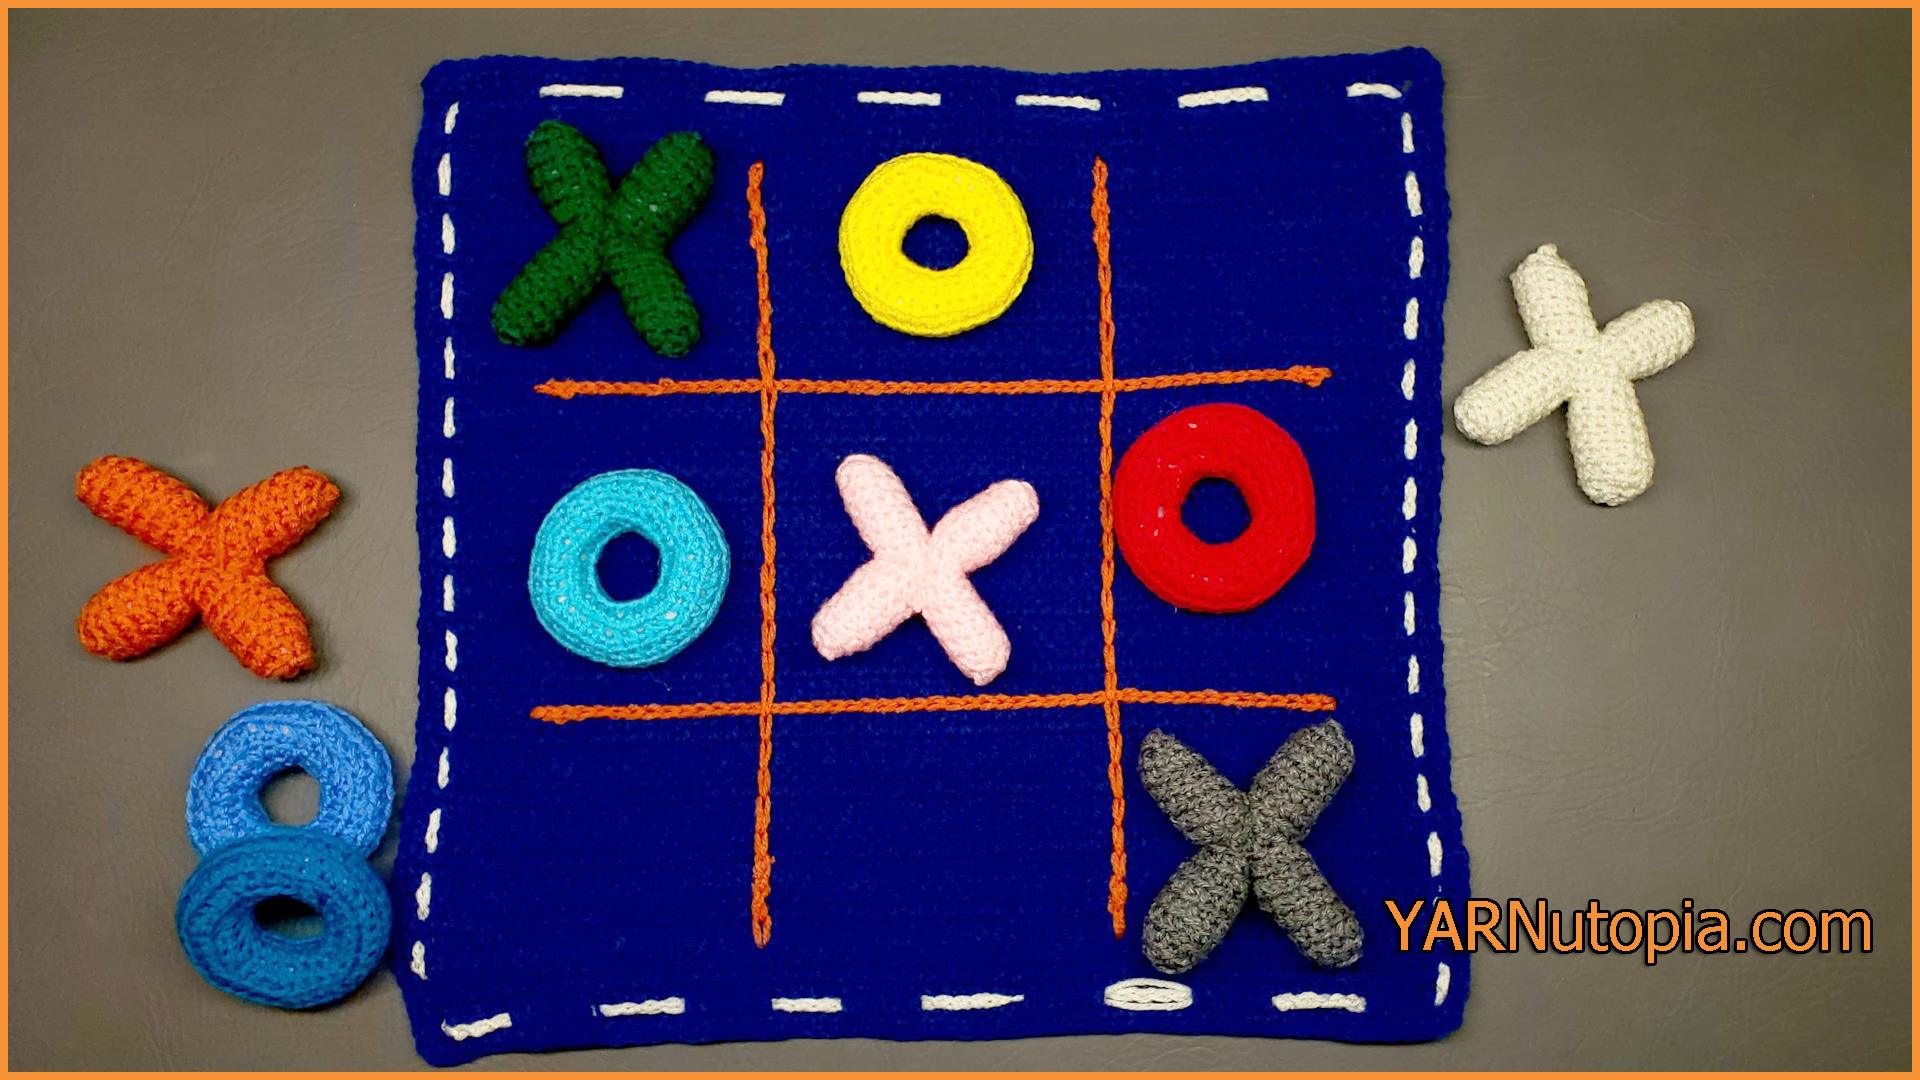
Crochet Tutorial: Tic Tac Toe Game and Tote
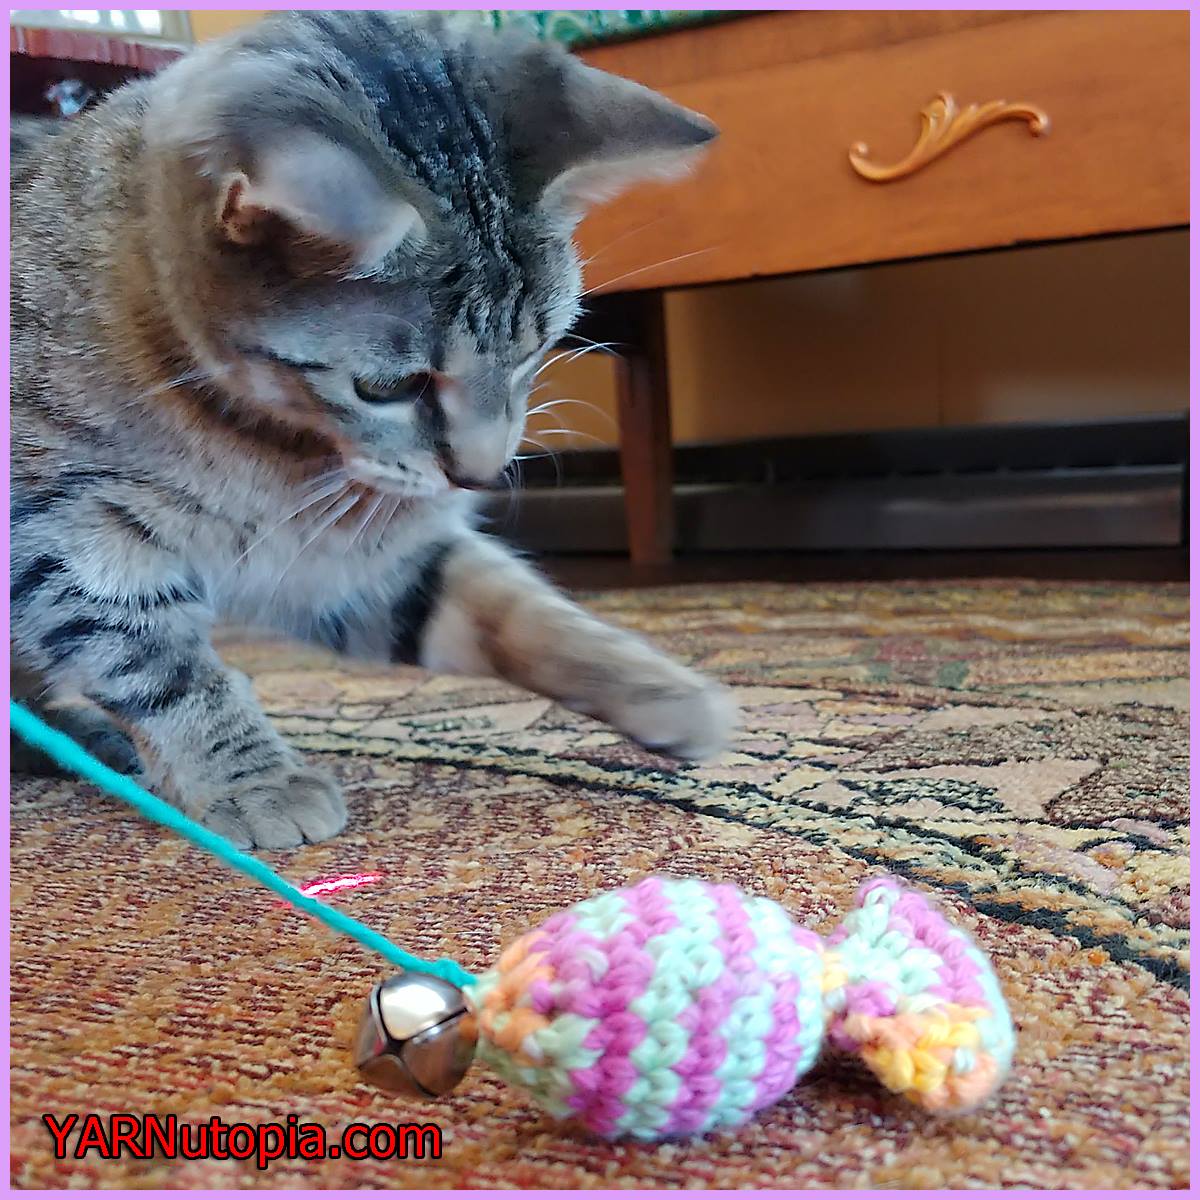
Crochet Tutorial: Catnip Sardine Toy
Crochet Tutorial: Anatomical Heart Amigurumi
My Punny Valentine 2018
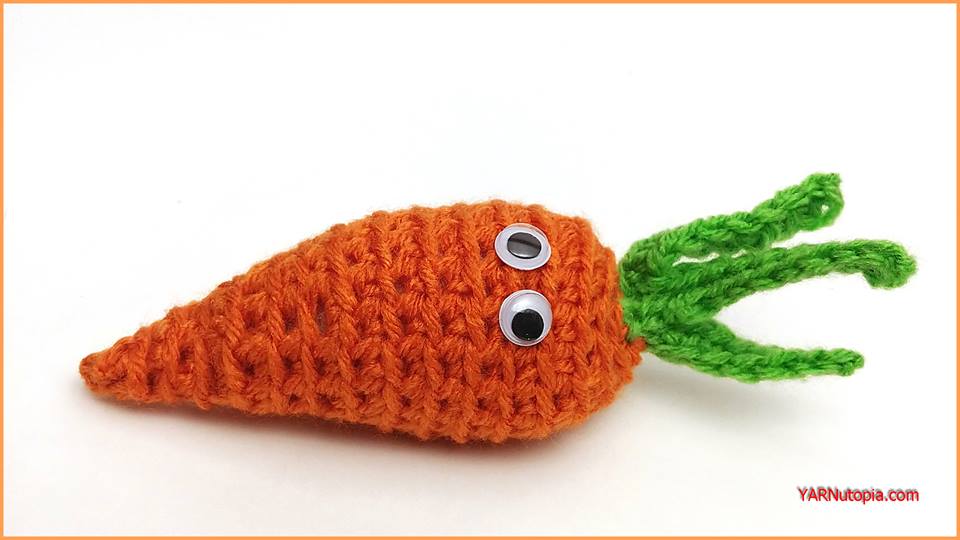
Crochet Tutorial: Carrot Amigurumi
Crochet Tutorial: Fortune Cookie
Crochet Tutorial: Pickle Amigurumi
Crochet Tutorial: Watermelon Scrubby
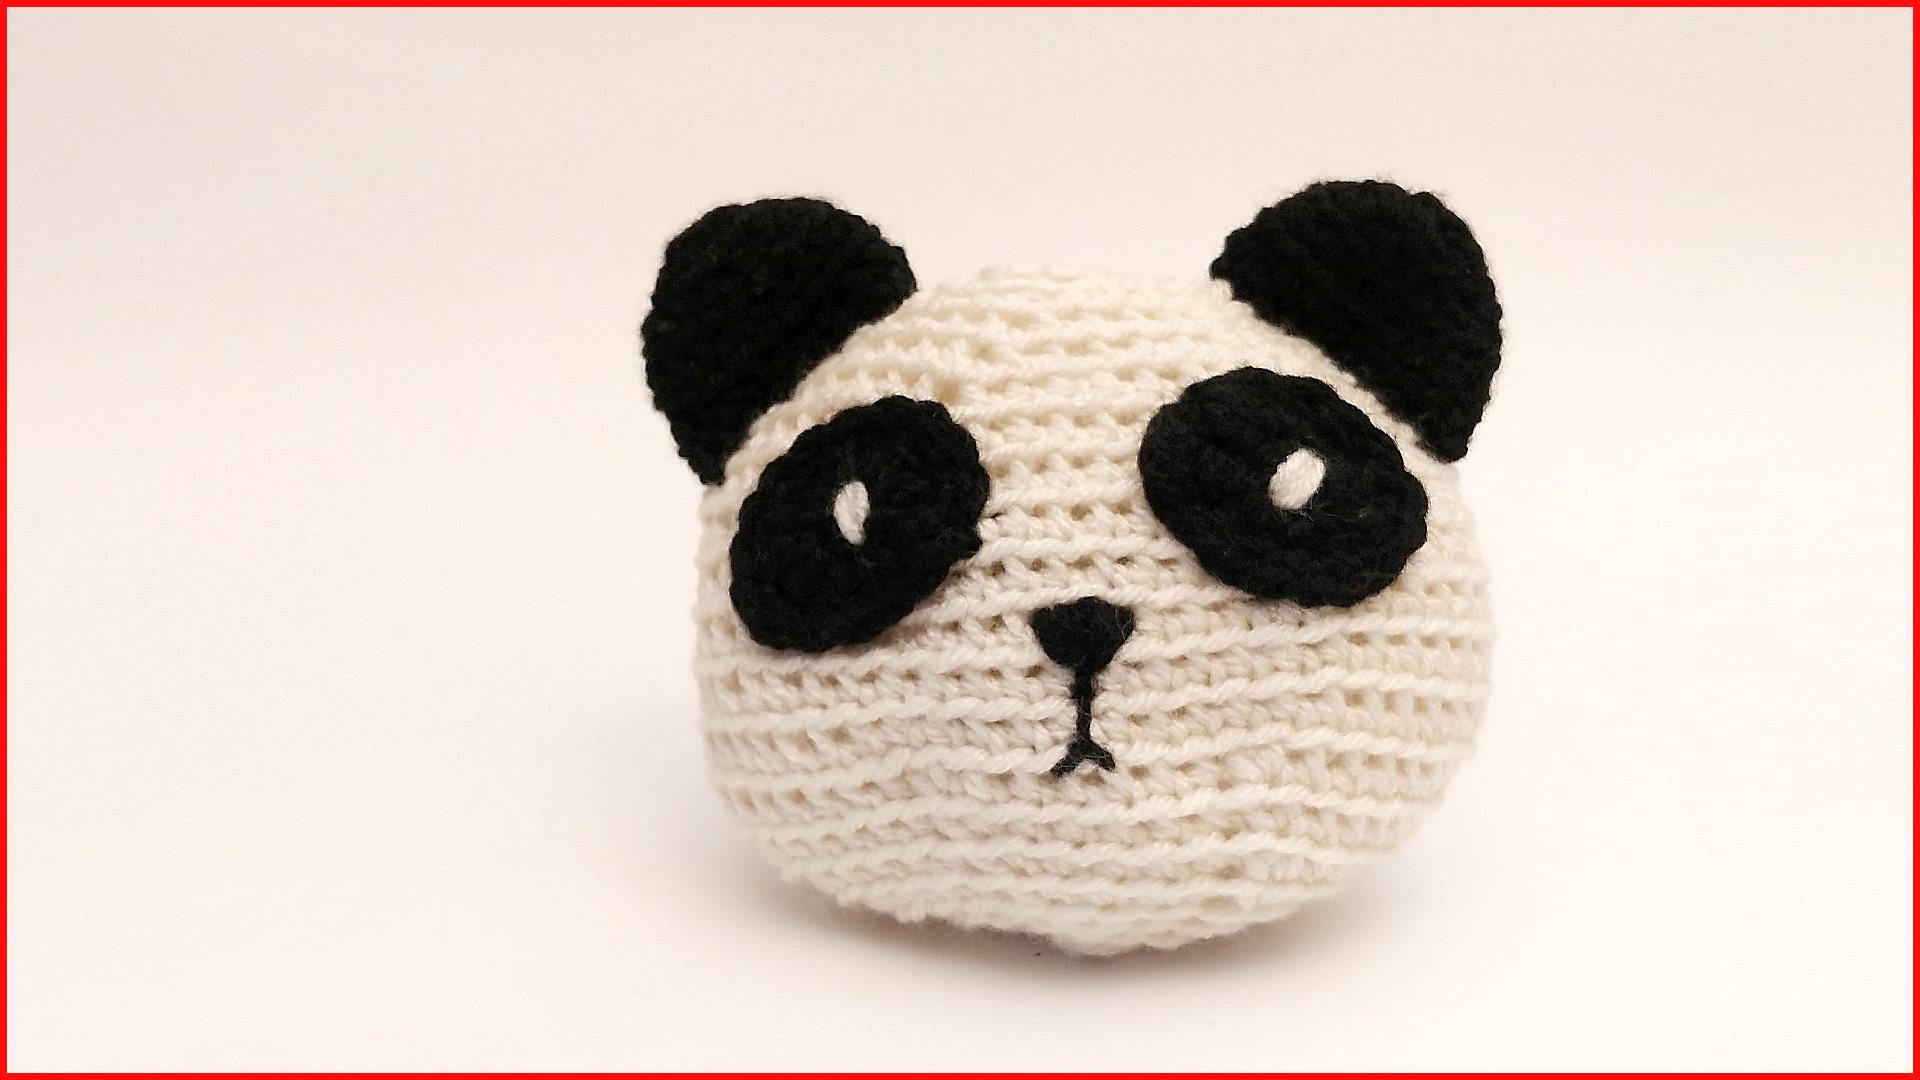
Crochet Tutorial: Panda Plush Amigurumi
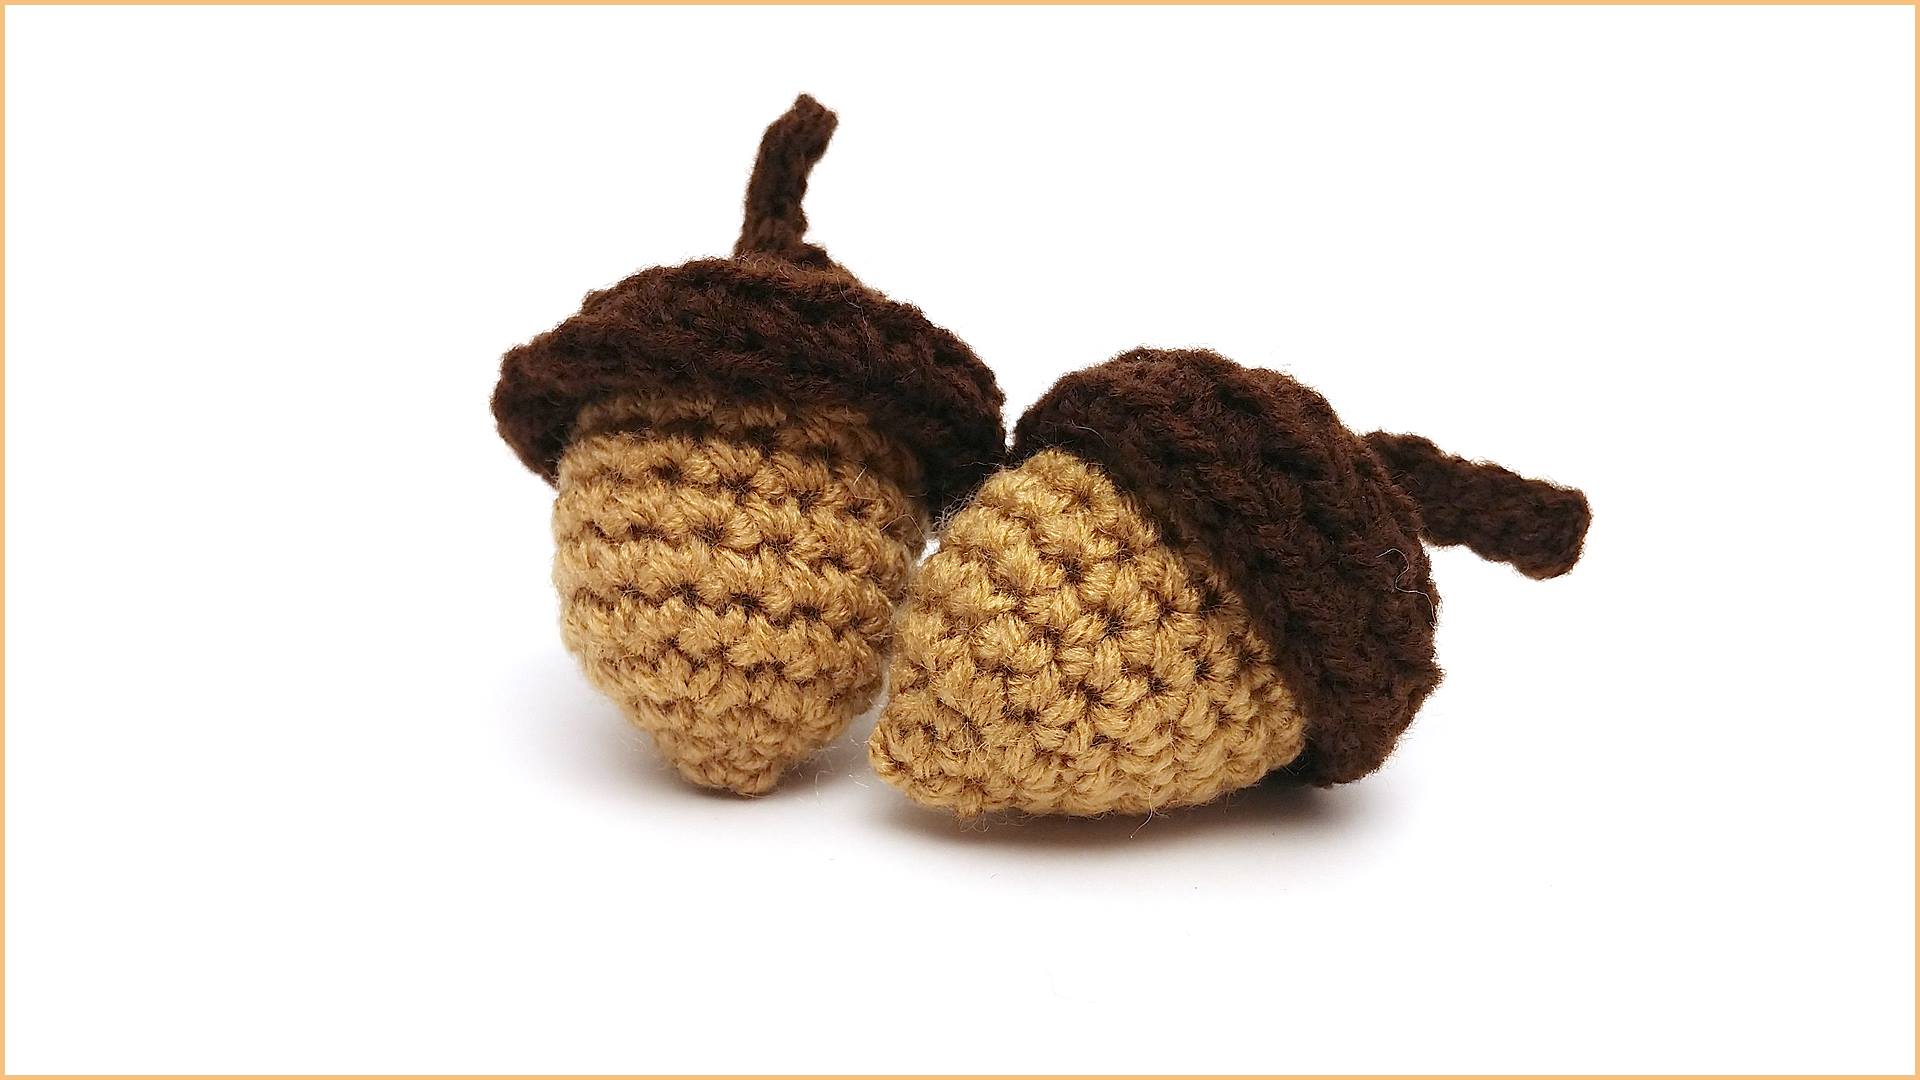
Crochet Tutorial: Acorn Amigurumi
Crochet Tutorial: Love Bunny Amigurumi
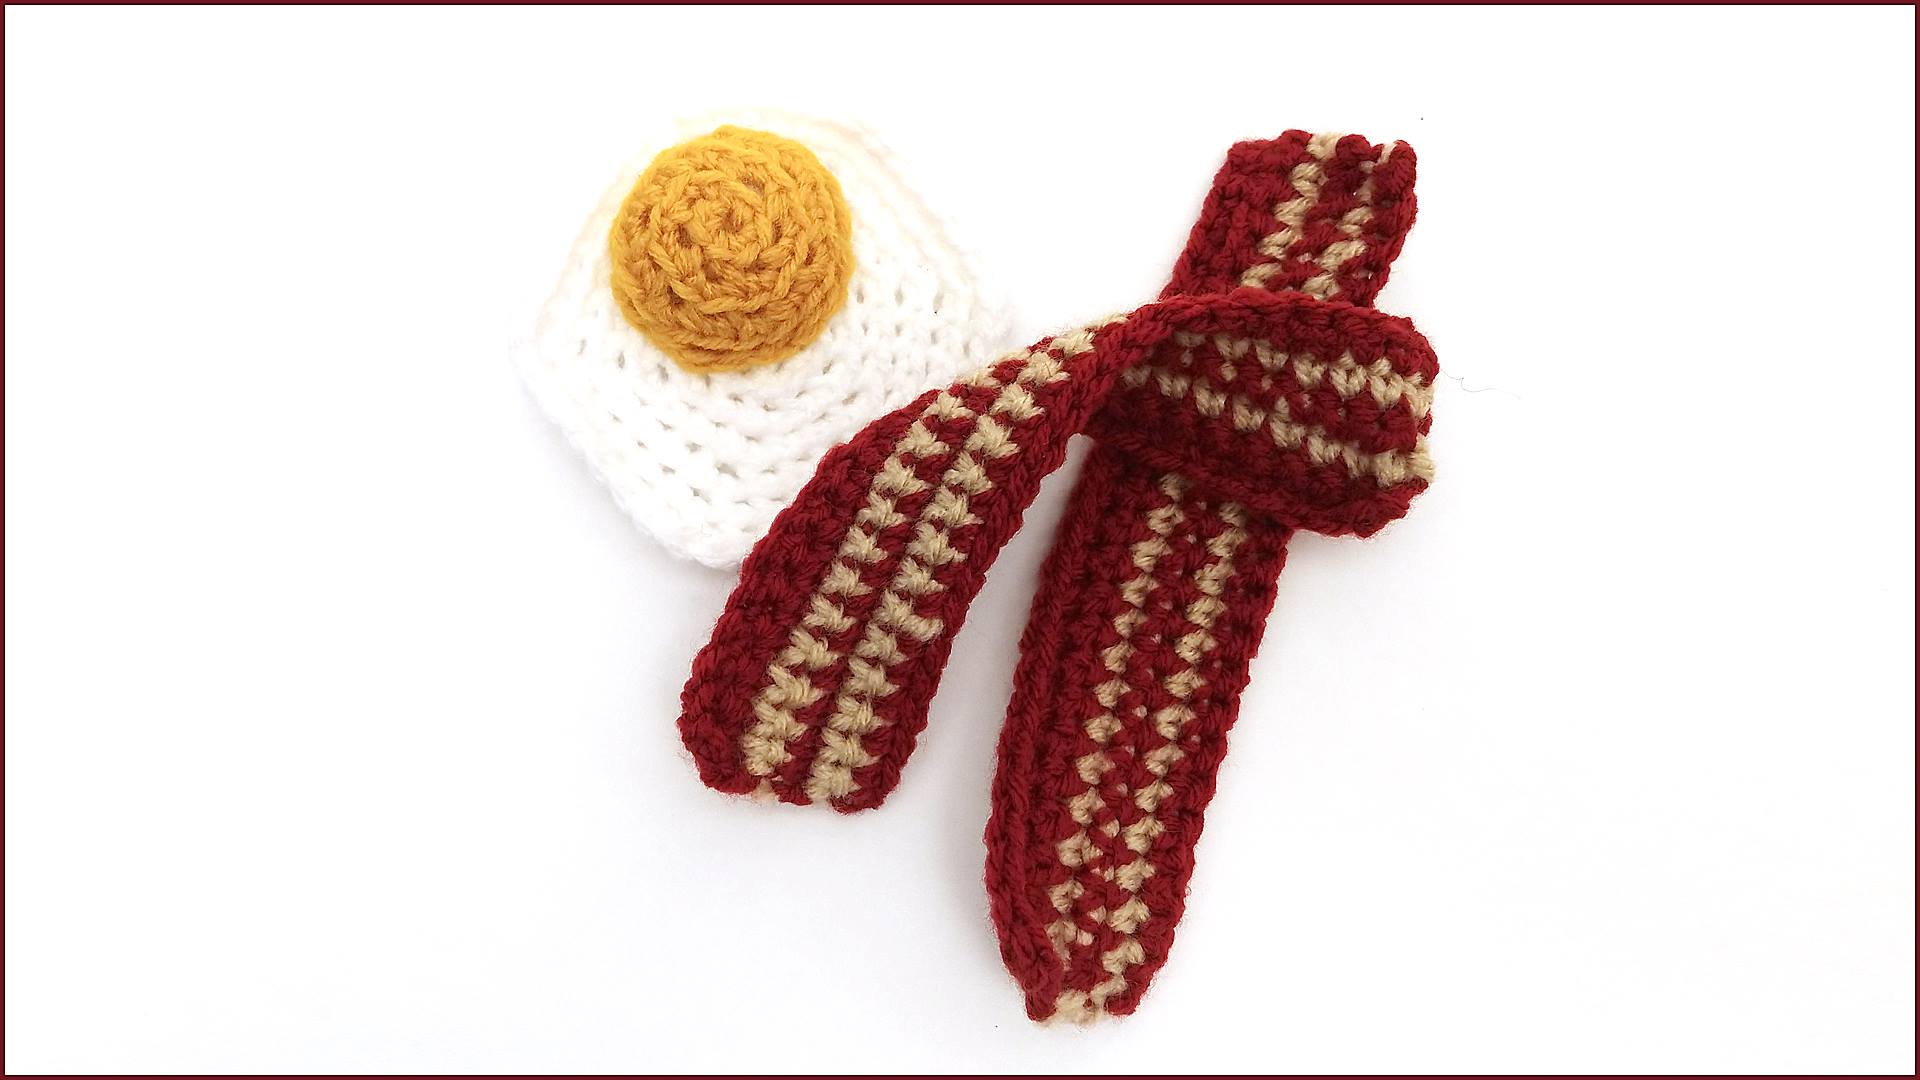
Crochet Tutorial: Bacon and Eggs Amigurumi
12 Days of Christmas Ornament Collection
12 Days of Christmas: Penguin Ornament
12 Days of Christmas: Santa Ornament
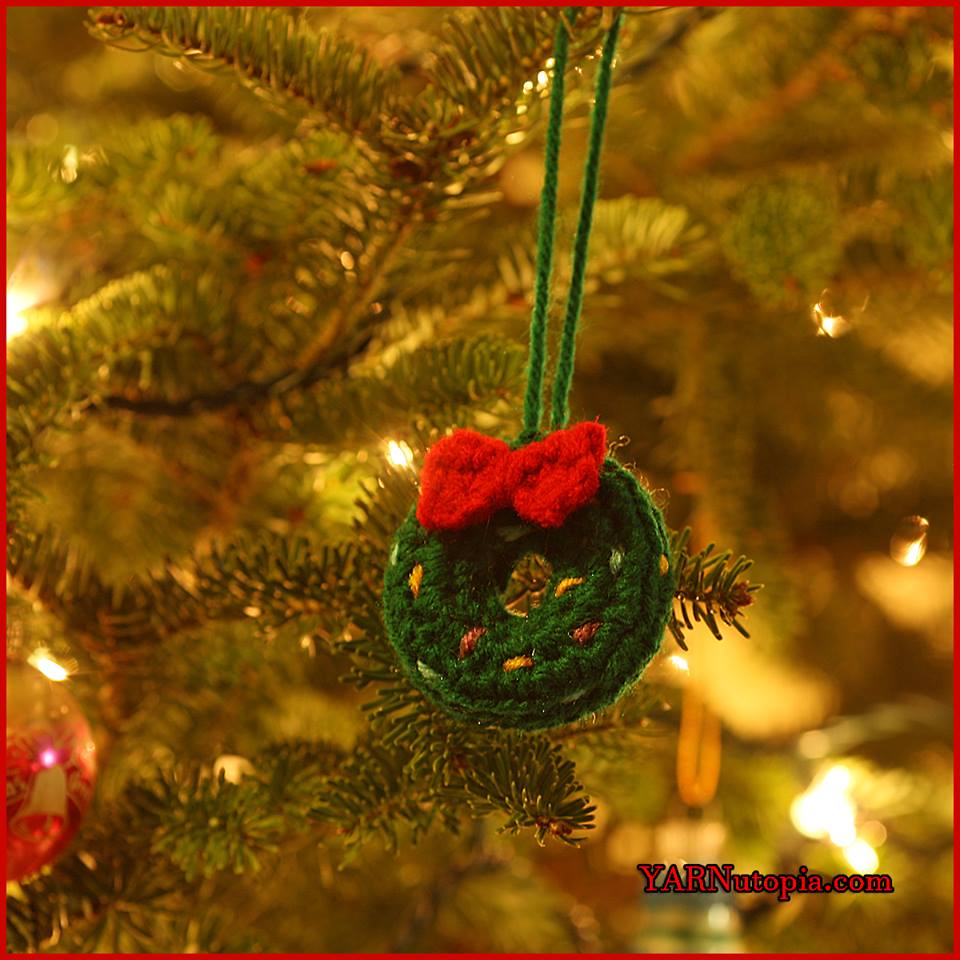
12 Days of Christmas: Wreath Ornament
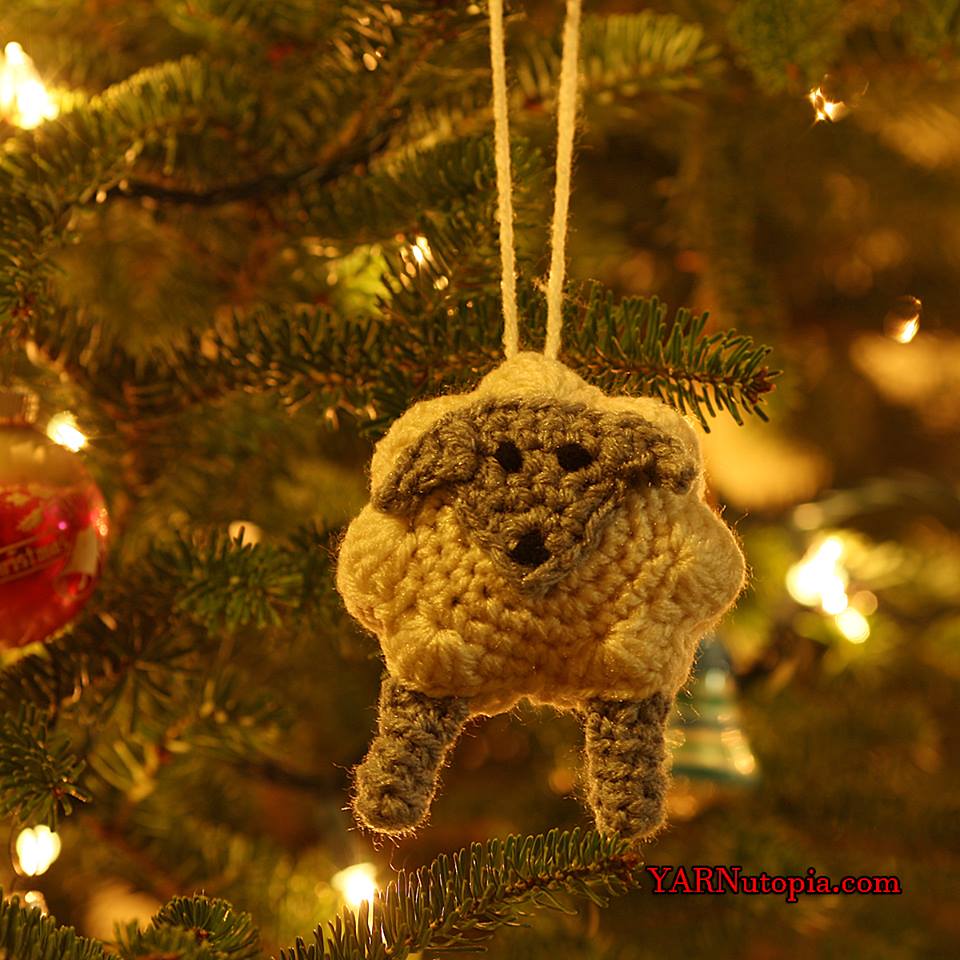
12 Days of Christmas: Sheep Ornament
12 Days of Christmas: Cactus Ornament
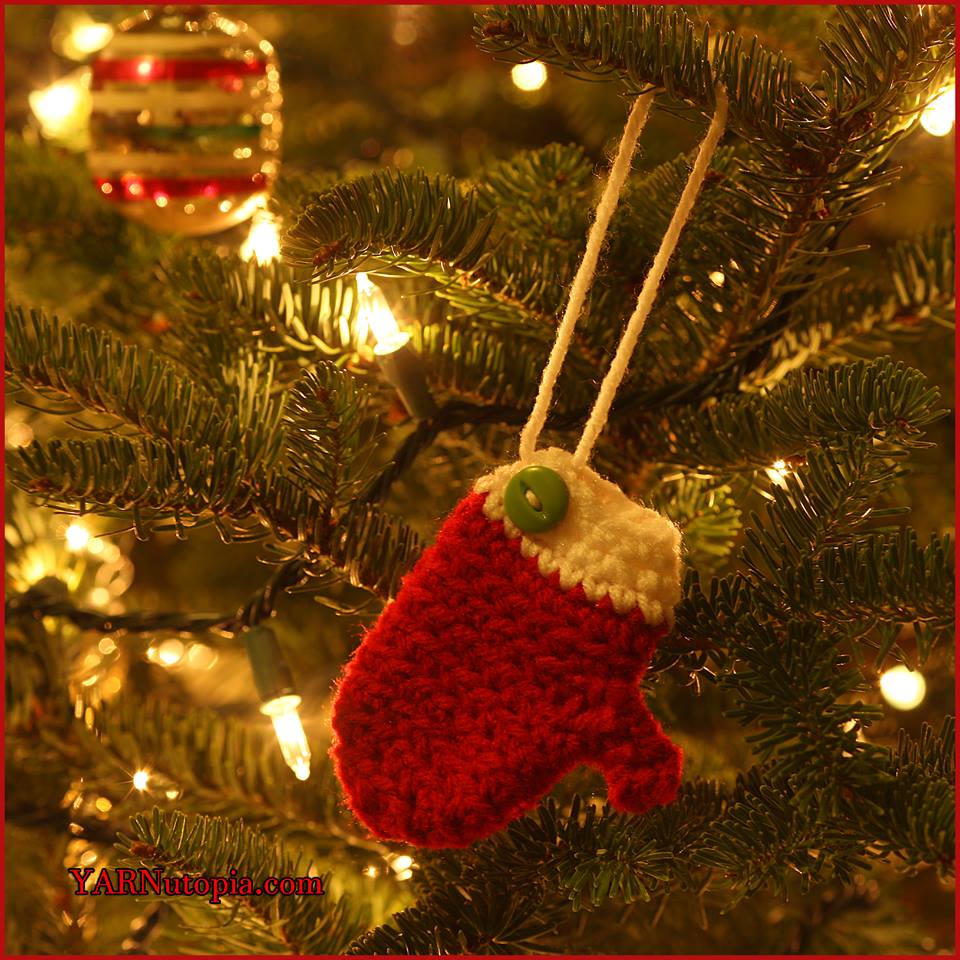
12 Days of Christmas: Mitten Ornament
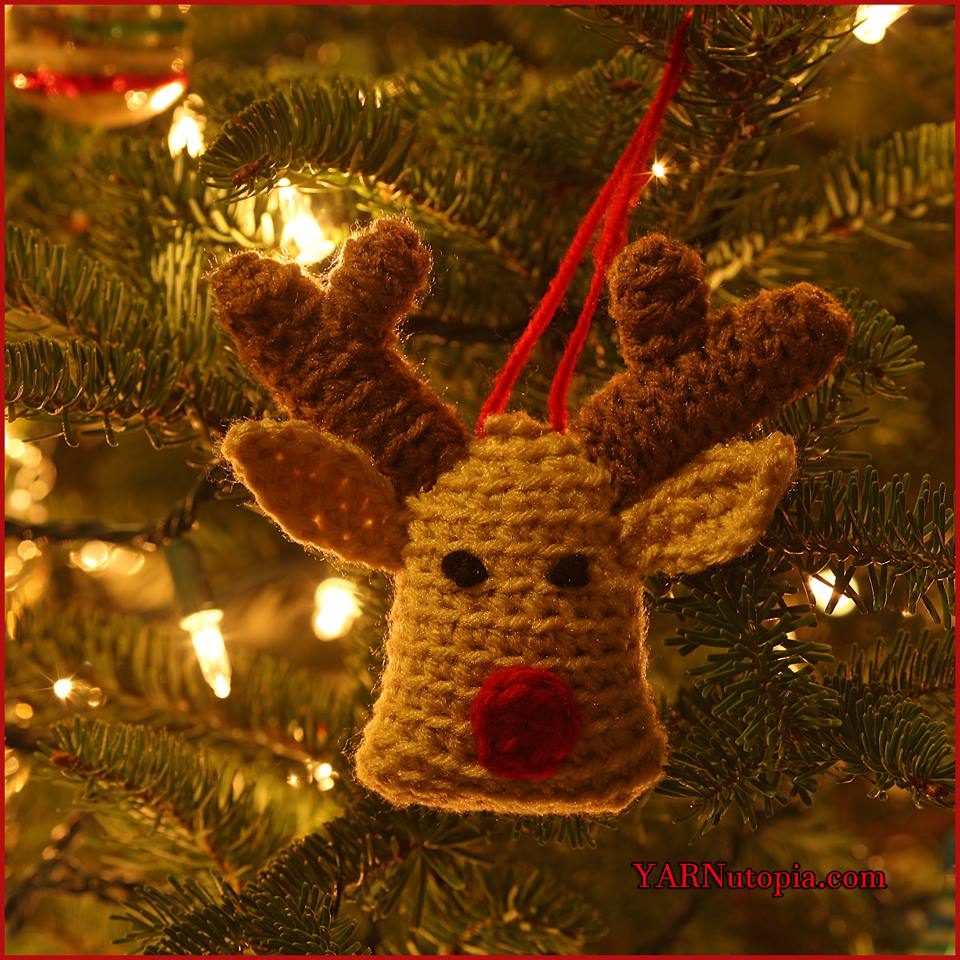
12 Days of Christmas: Reindeer Ornament
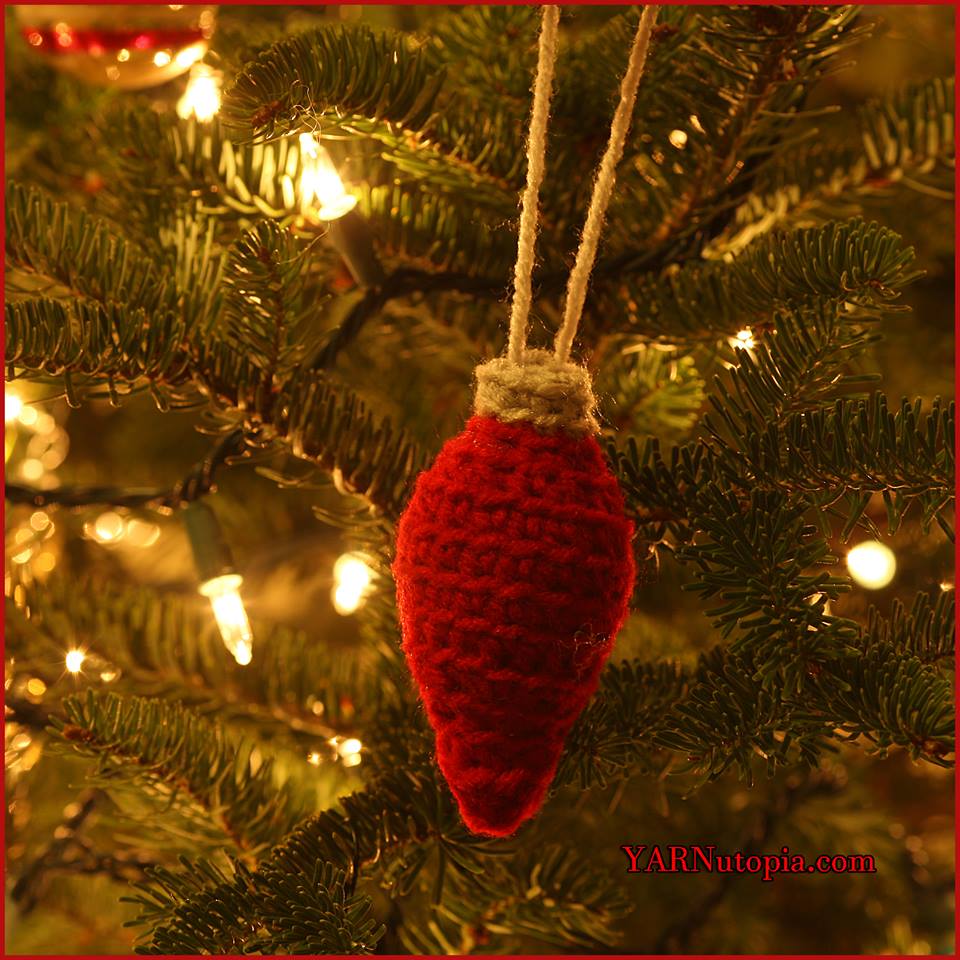
12 Days of Christmas: Christmas Bulb Ornament
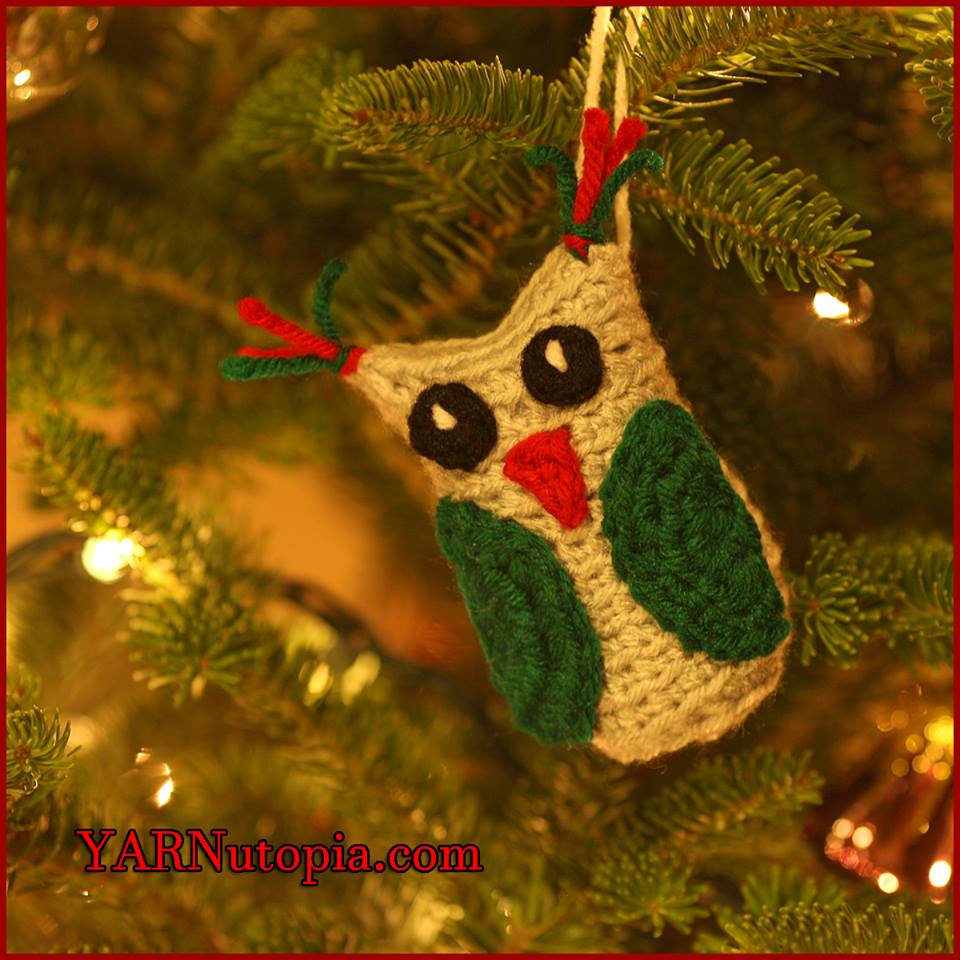
12 Days of Christmas: Owl Ornament
12 Days of Christmas: Colorful Tree Ornament
12 Days of Christmas: Gift Box Ornament
Crochet Tutorial: Crochet Around Mache-Skull
Crochet Tutorial: Frederick the Misfit Monster Toy
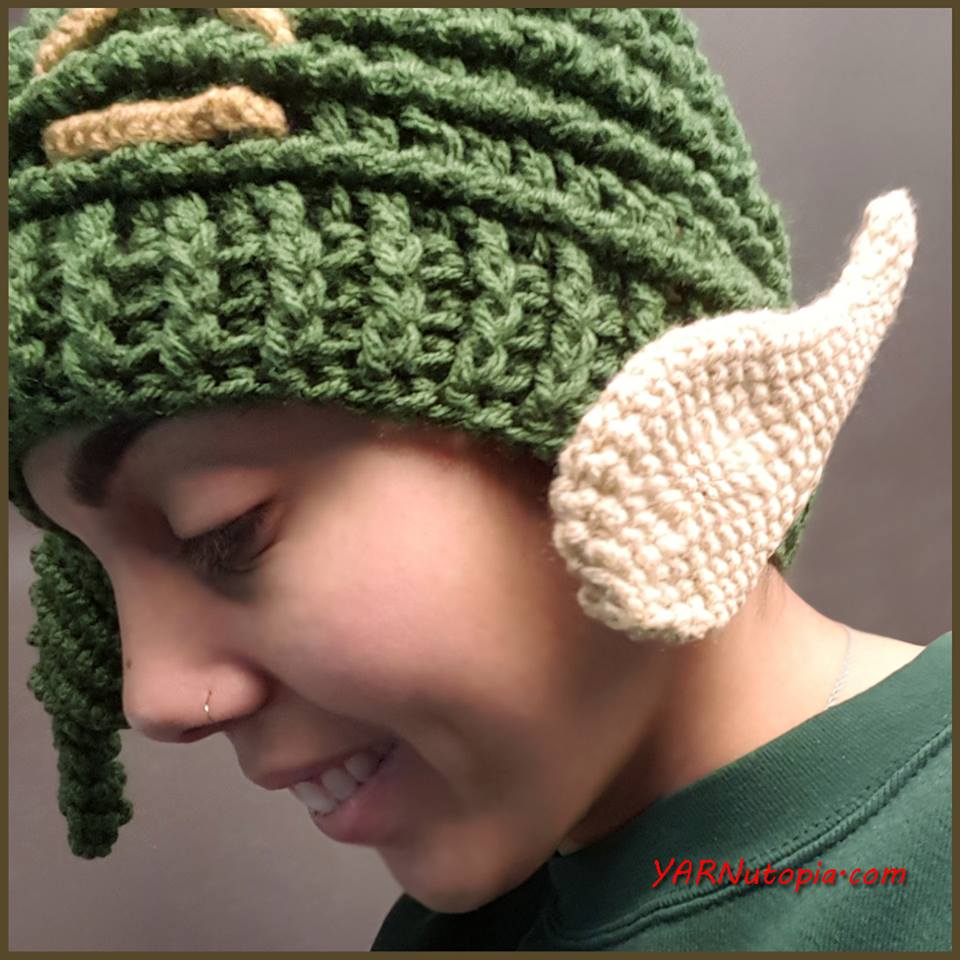
Crochet Tutorial: Elf Ears
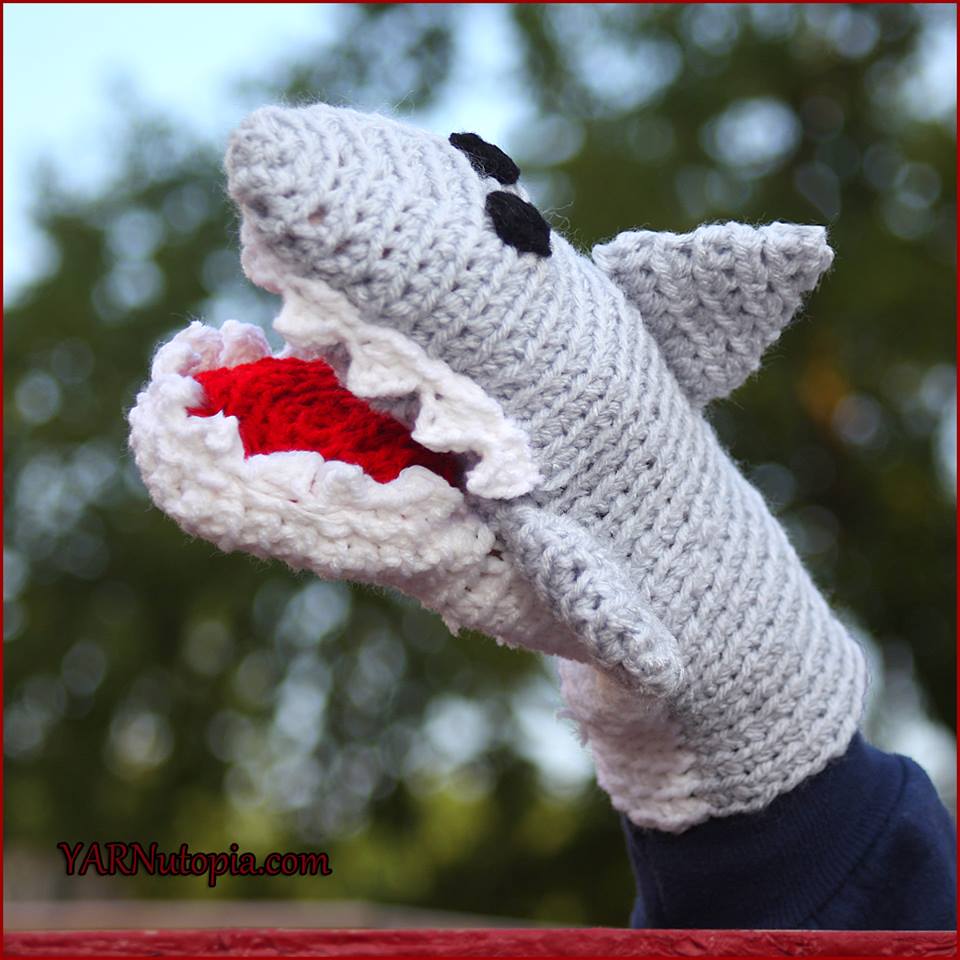
Crochet Tutorial: Great White Shark Hand Puppet
Crochet Tutorial: Happy Hubert the Hippo Pillow
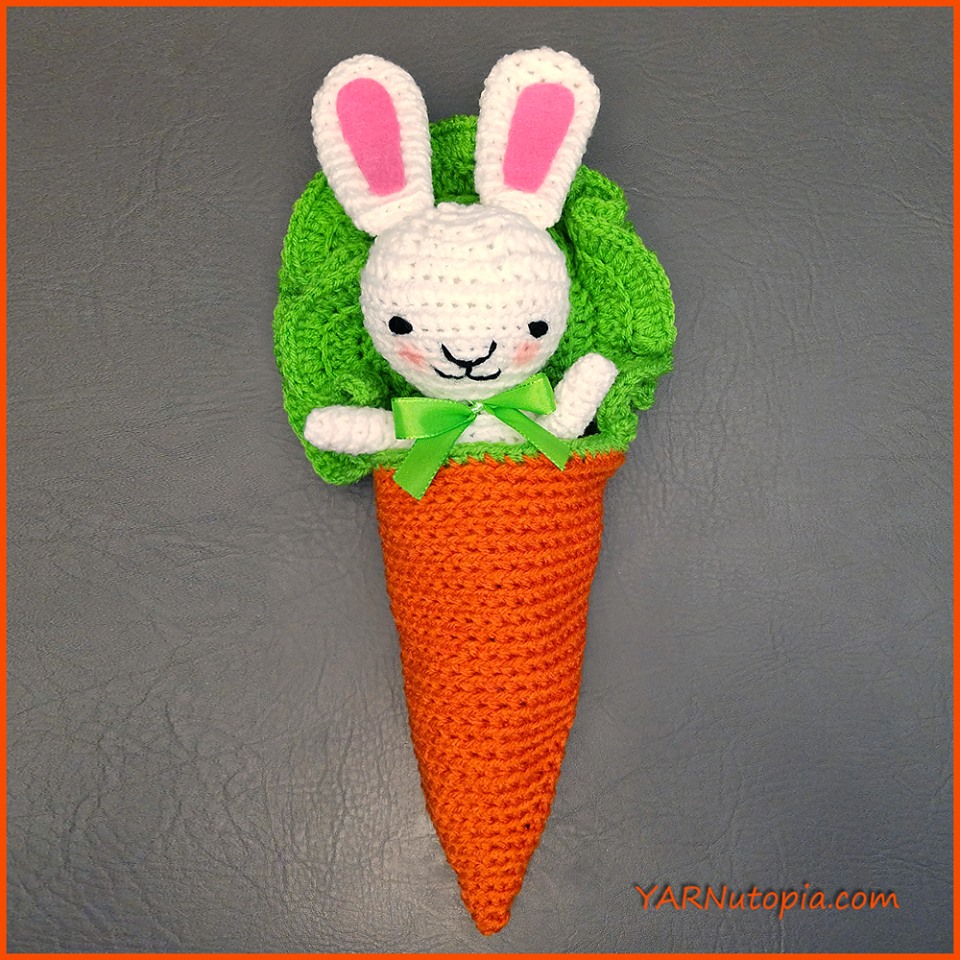
Crochet Tutorial: Bunny Amigurumi in a Carrot Cocoon
Crochet Tutorial: Gnome Amigurumi
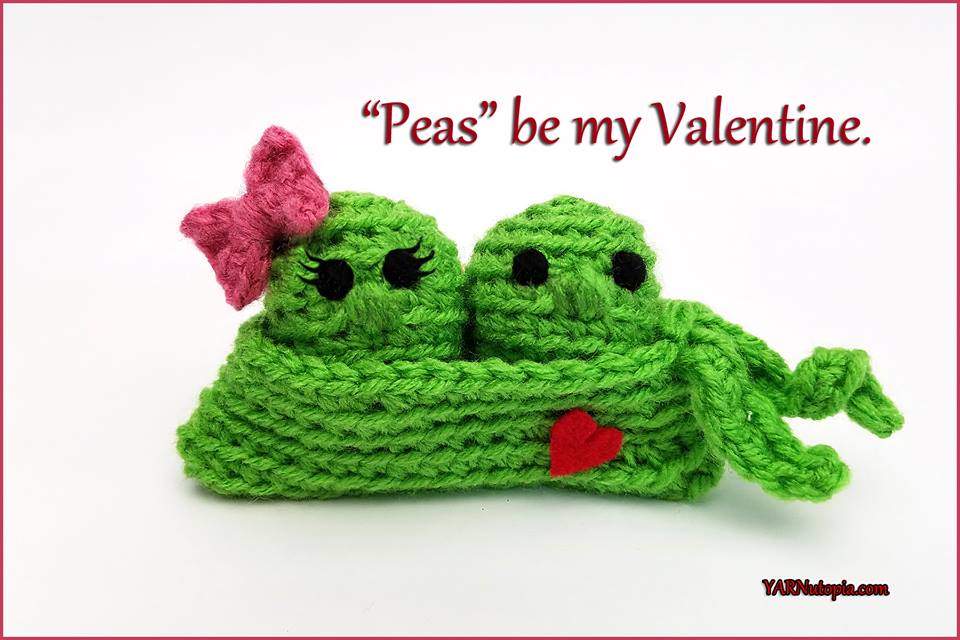
Crochet Tutorial: Two Peas in a Pod
Crochet Tutorial: Dolls-Bride and Groom
Loading Comments...
Write a Comment...
Email (Required)
Name (Required)
Website