Skip to content
YARNutopia & M0re
All things Yarn Related: Crochet, DIY, and Crafts
Blog
365 Days of Granny Squares
Stitch Gallery & Glossary
Crochet Video Tutorials
Frequently Asked Questions
Crochet Glossary: Learn the Lingo
Contact
Search
Search
character
YARNutoia & More
Crochet Tutorial: Vintage Inspired Pelerine Collar
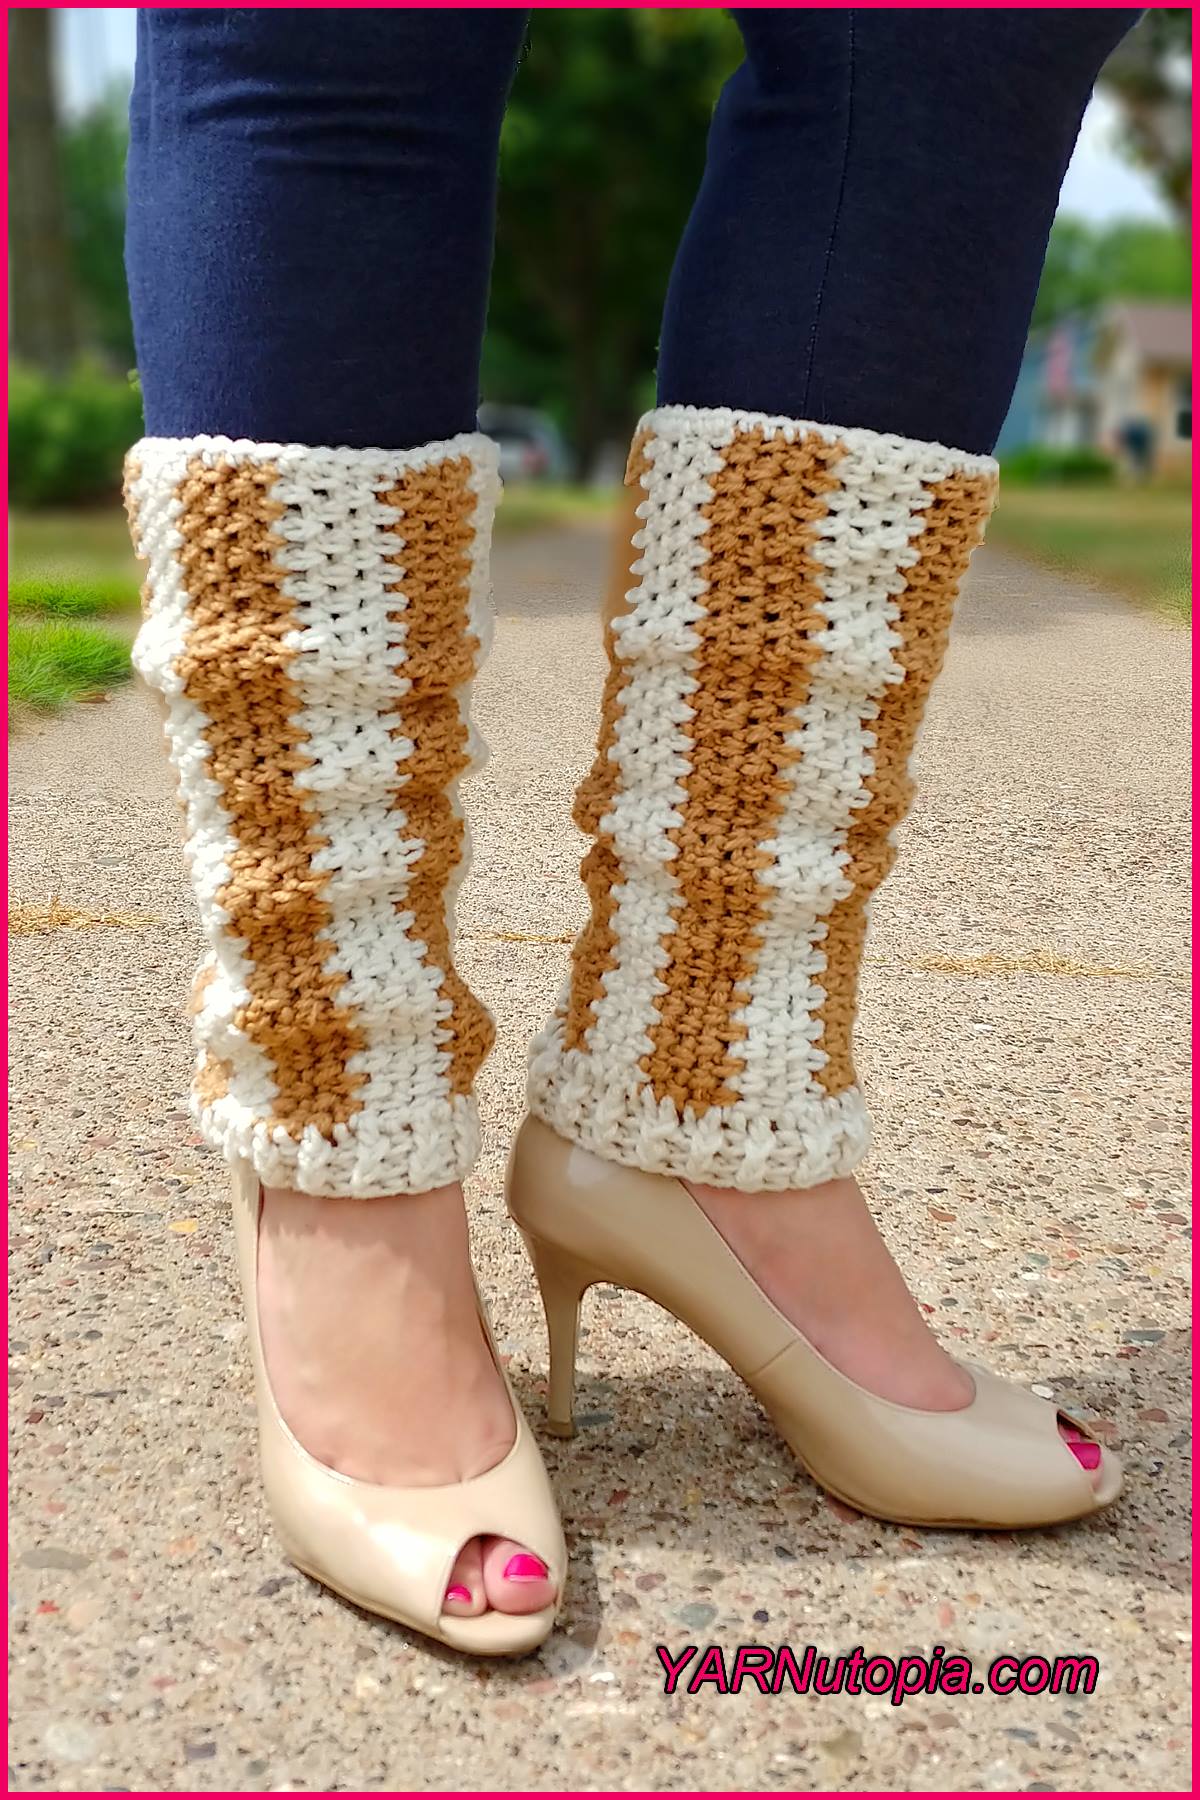
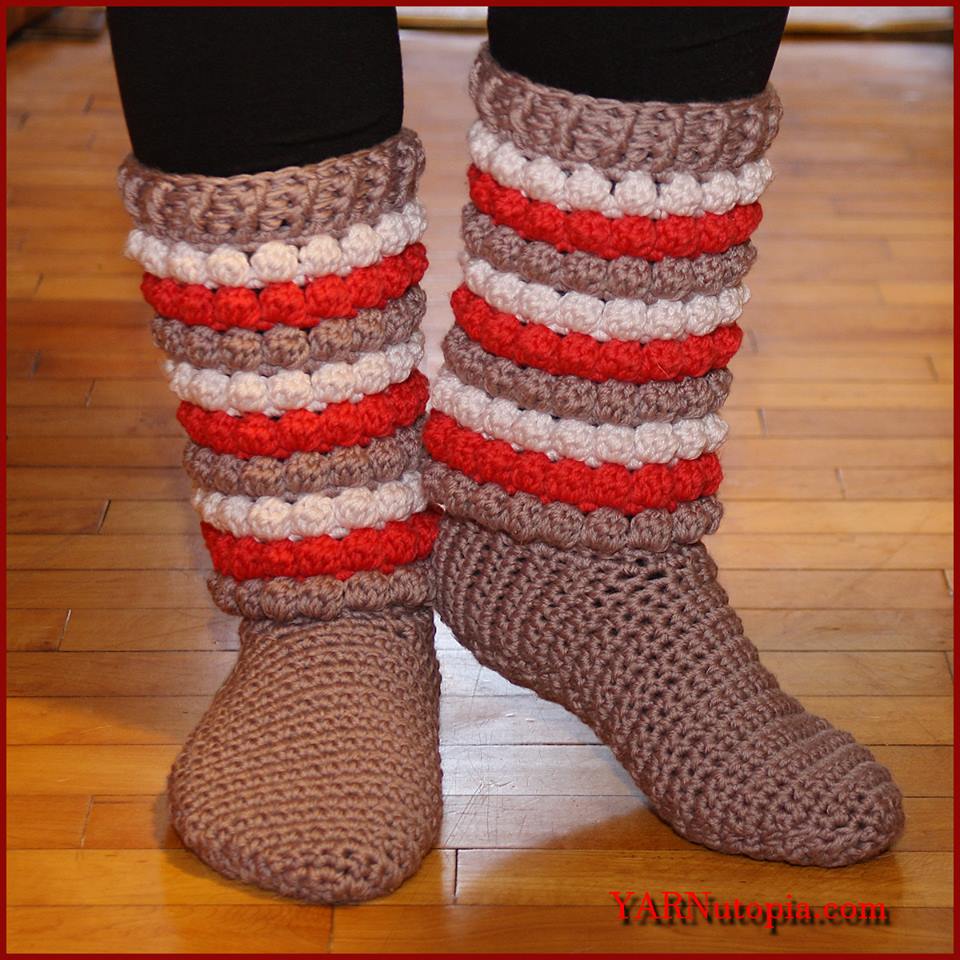
Crochet Tutorial: Vertical Striped Leg Warmers
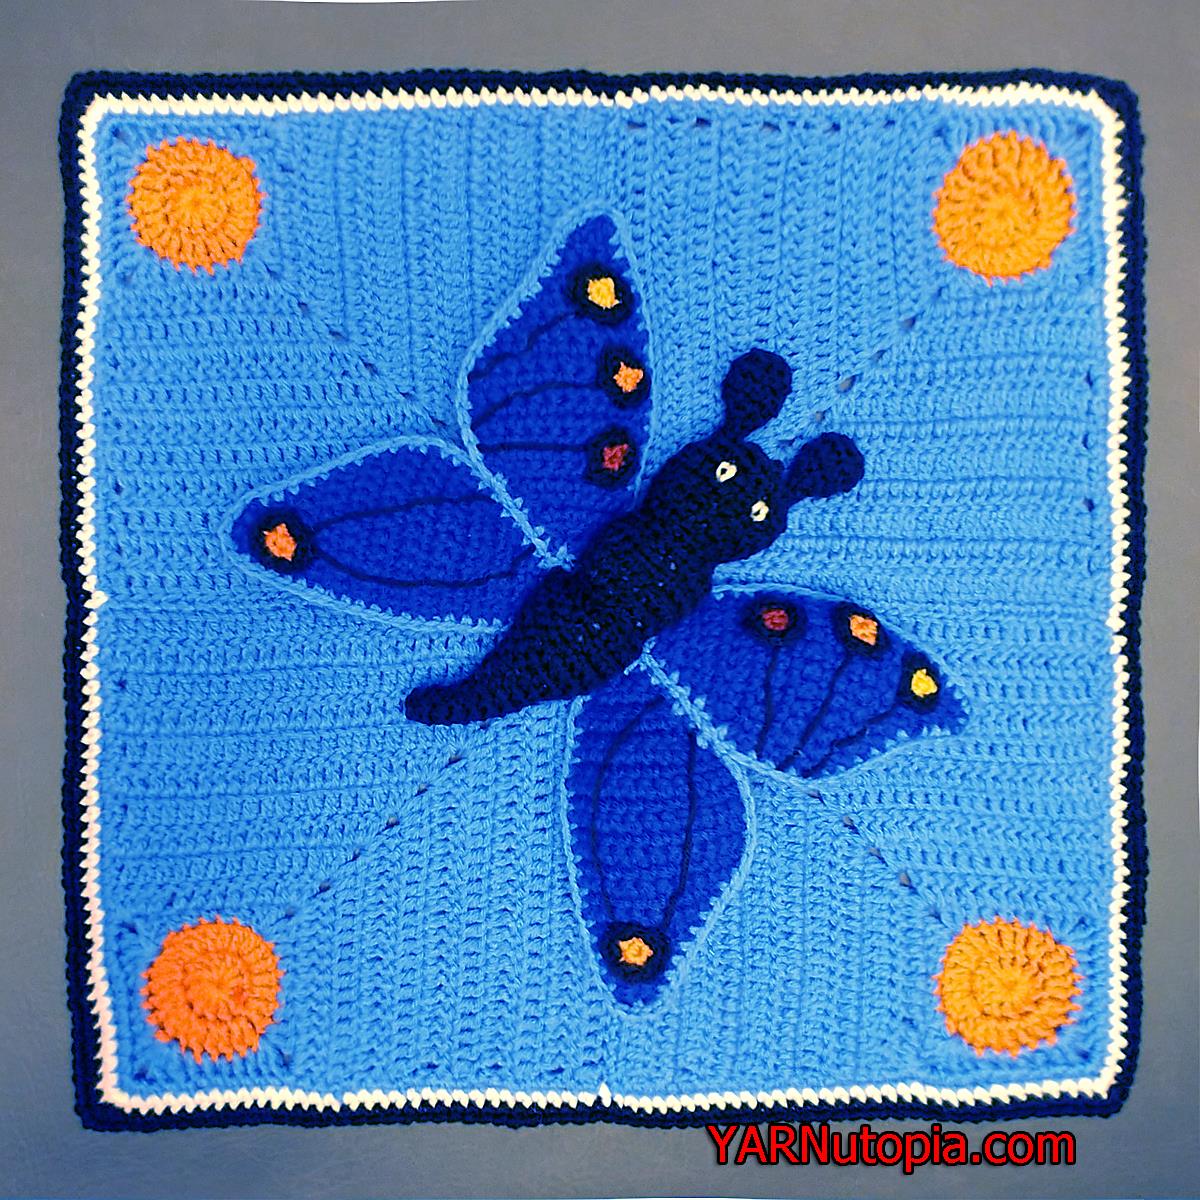
Crochet Tutorial: Butterfly Lovey
Help Make Turtles for Mental Health Awareness
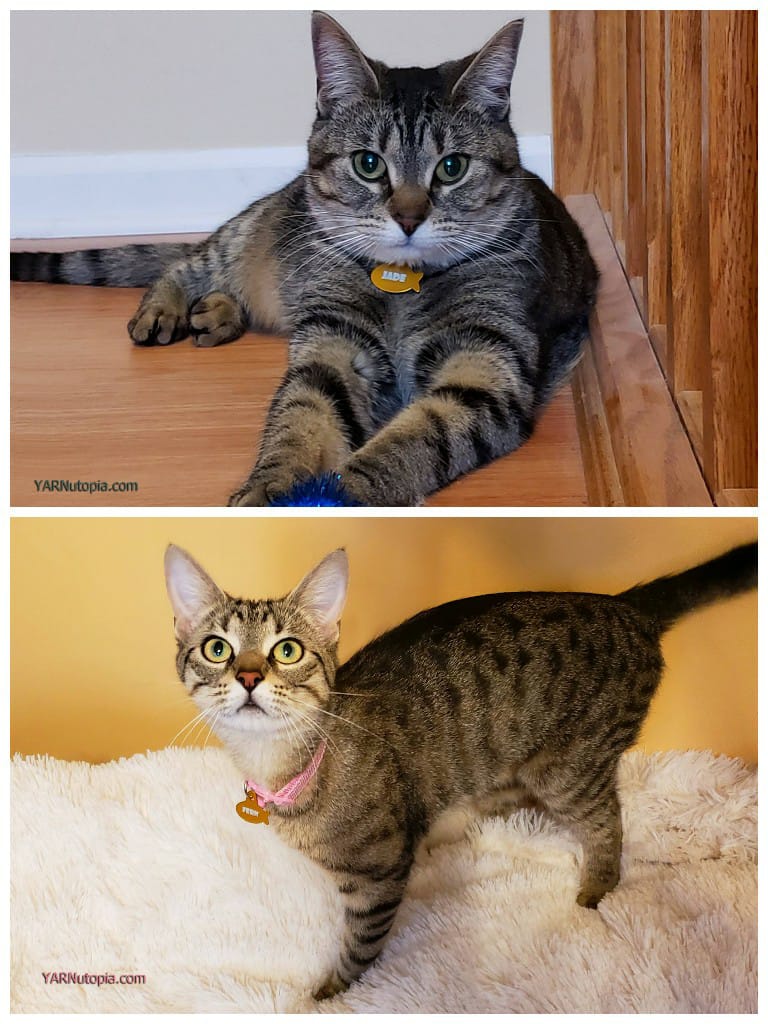
Meet Jade and Fern
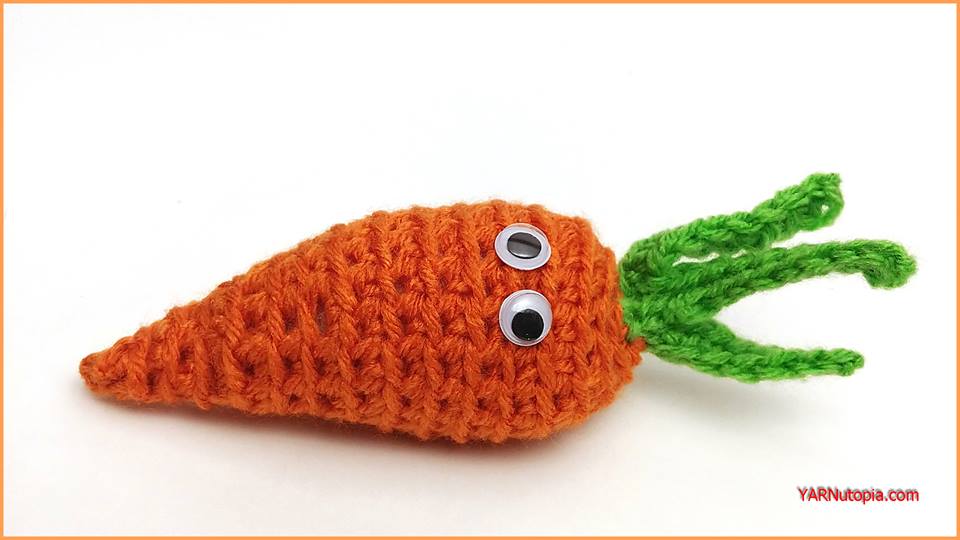
Crochet Tutorial: Carrot Amigurumi
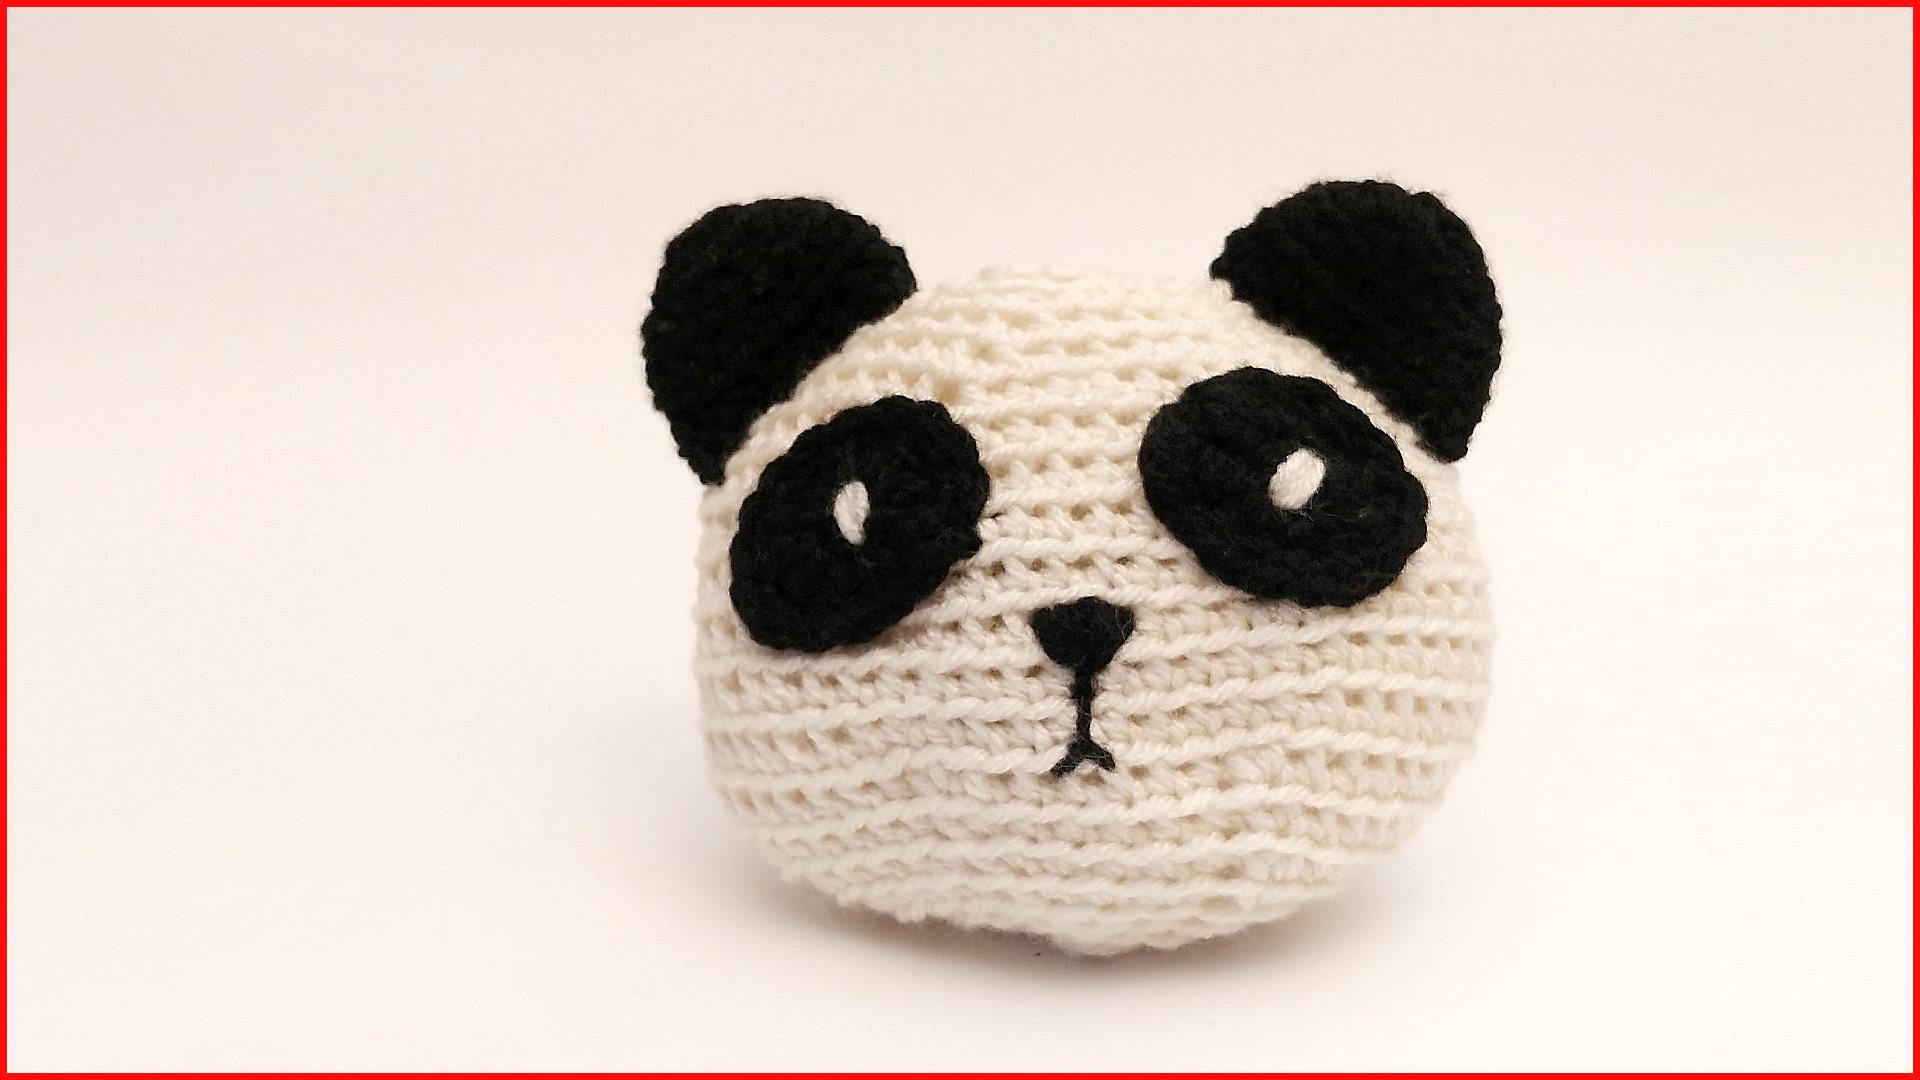
Crochet Tutorial: Panda Plush Amigurumi
My Top 10 Crochet Patterns of 2017
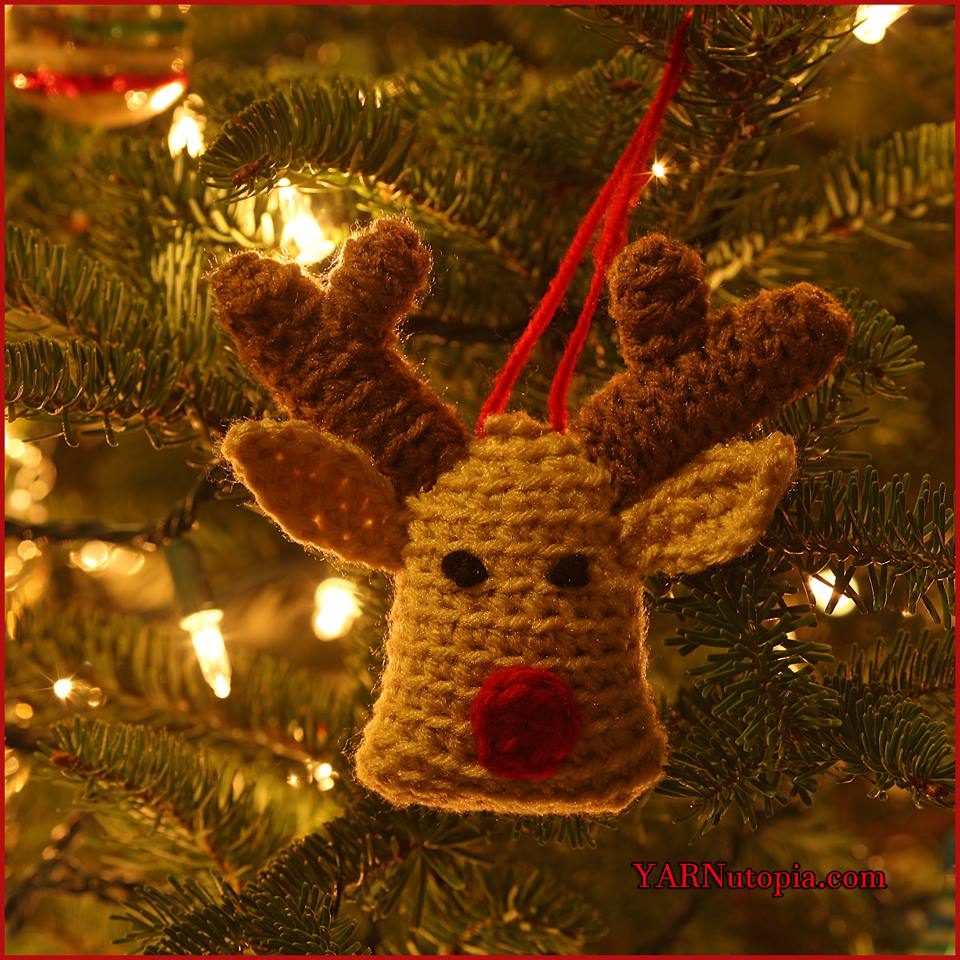
12 Days of Christmas: Reindeer Ornament
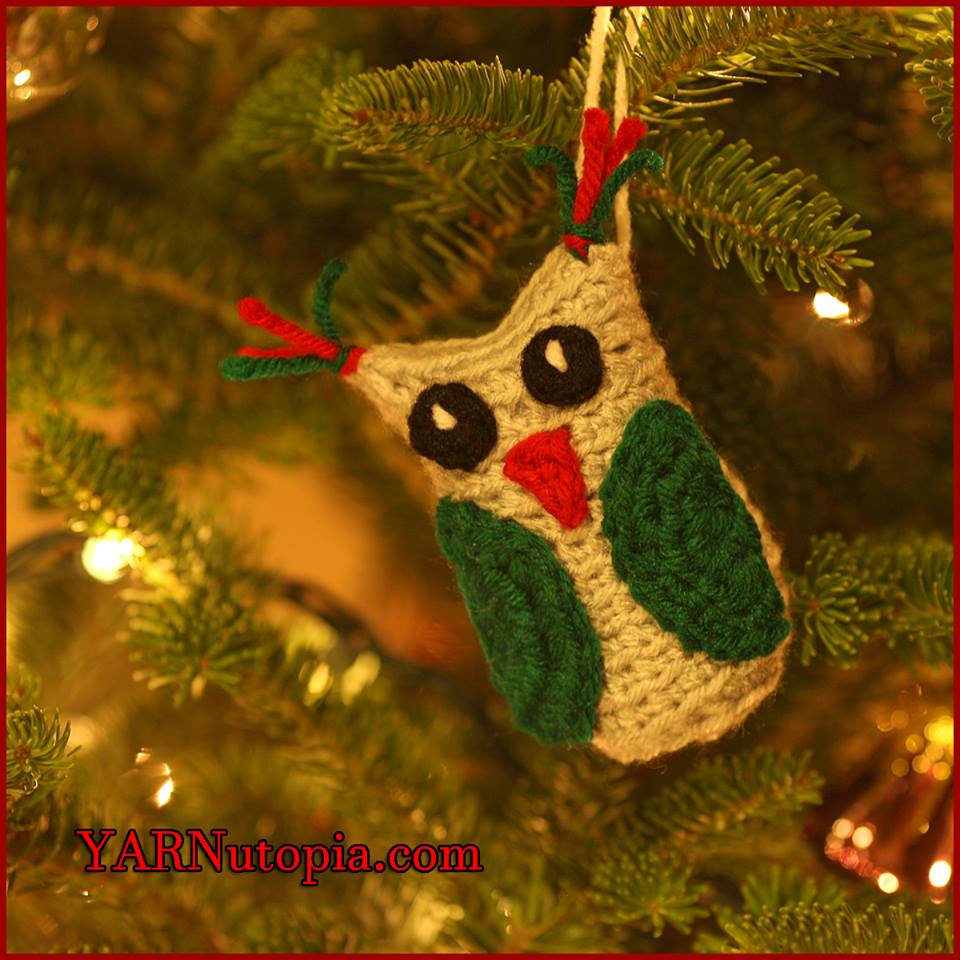
12 Days of Christmas: Owl Ornament
Crochet Tutorial: Winter Chic Slippers
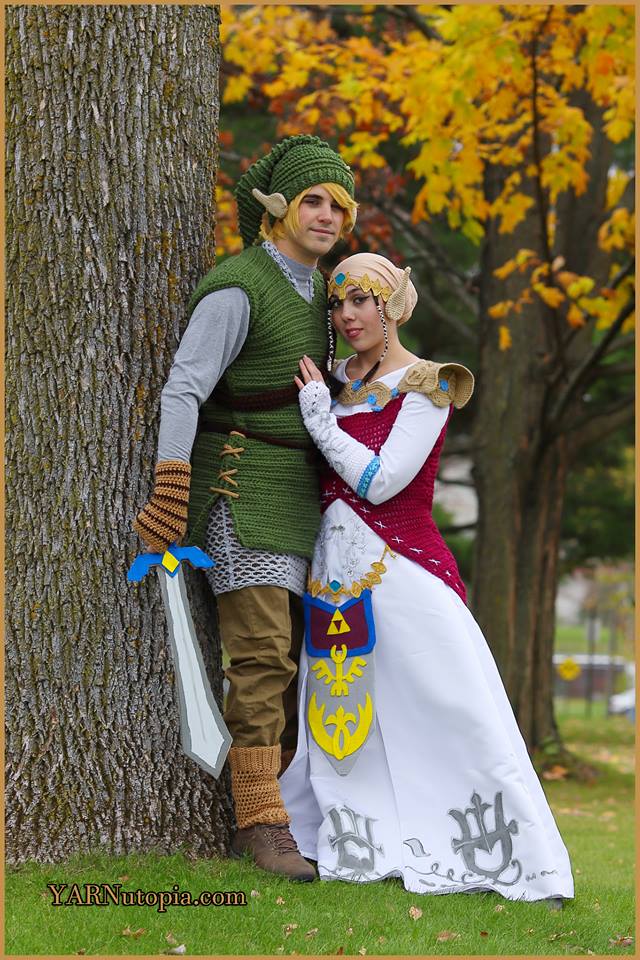
Happy Halloween from Link and Zelda!
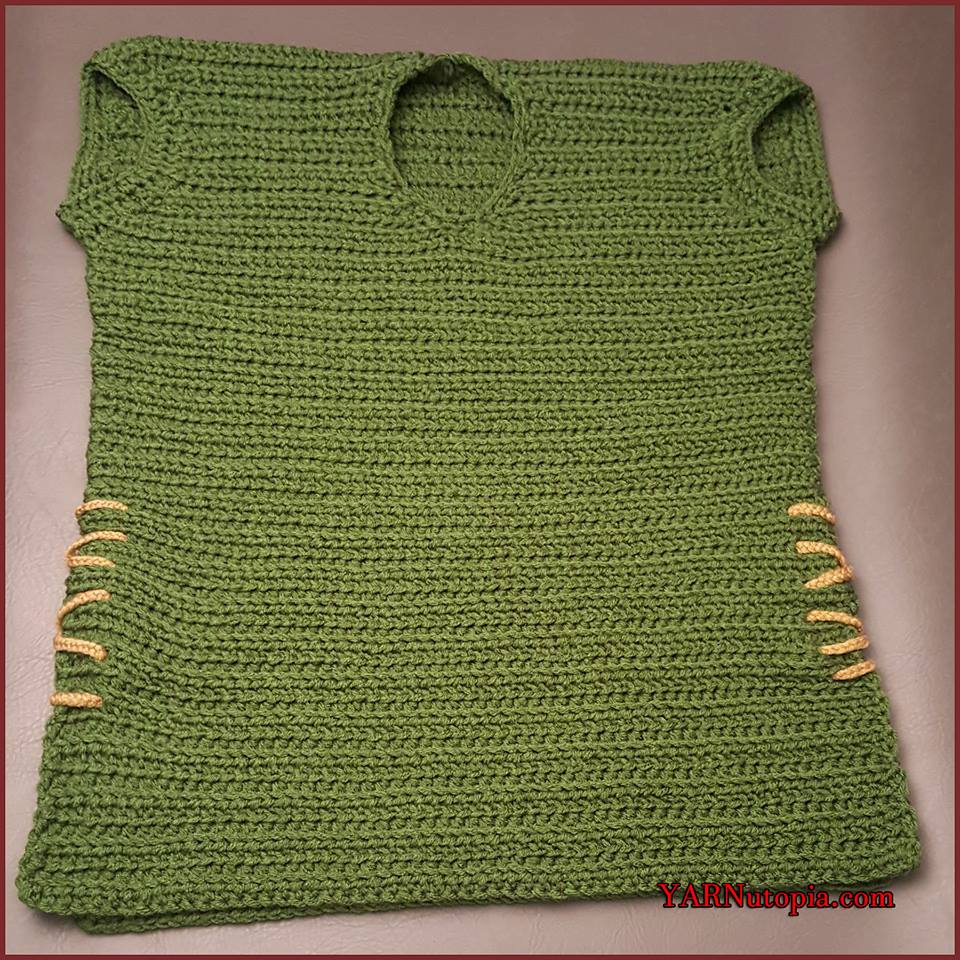
Crochet Tutorial: Fairy Tunic
Crochet Tutorial: Link to the Past Pullover Sweater Vest
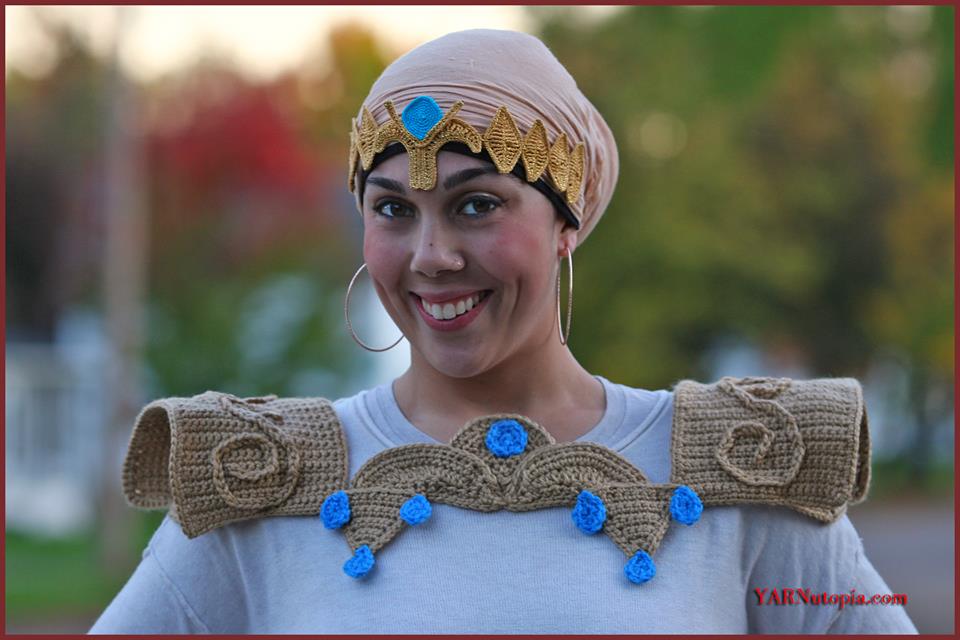
Crochet Tutorial: Princess Shoulder Armor
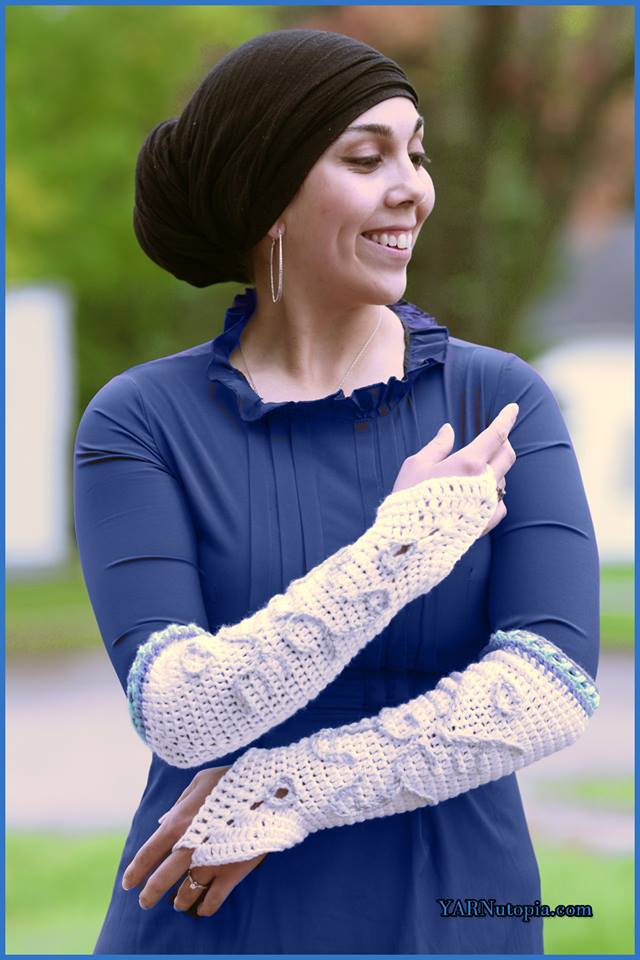
Crochet Tutorial: Princess Costume Gloves
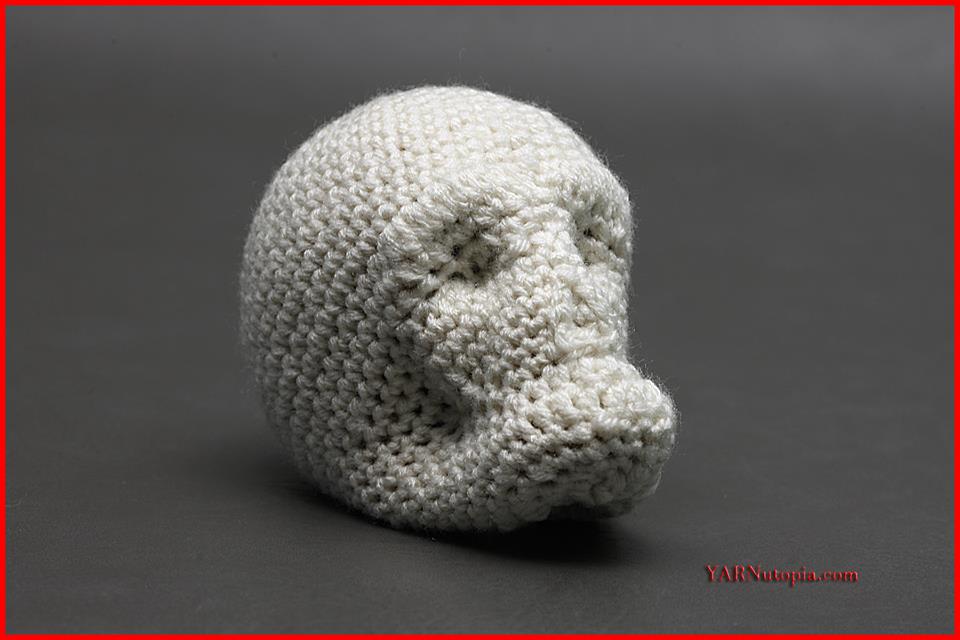
Crochet Tutorial: Crochet Around Mache-Skull
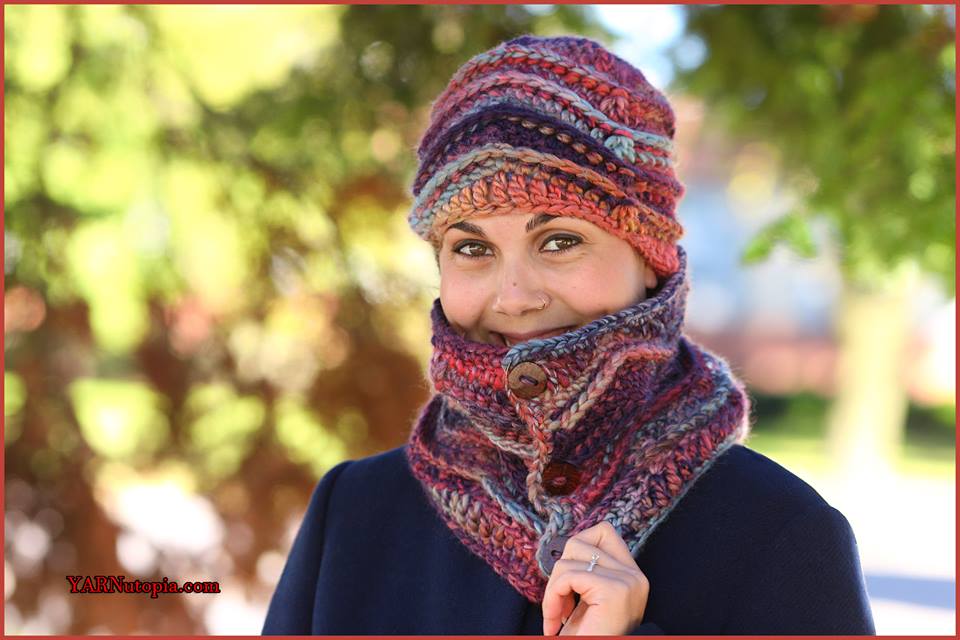
Crochet Tutorial: Grab n’ Go Cowl
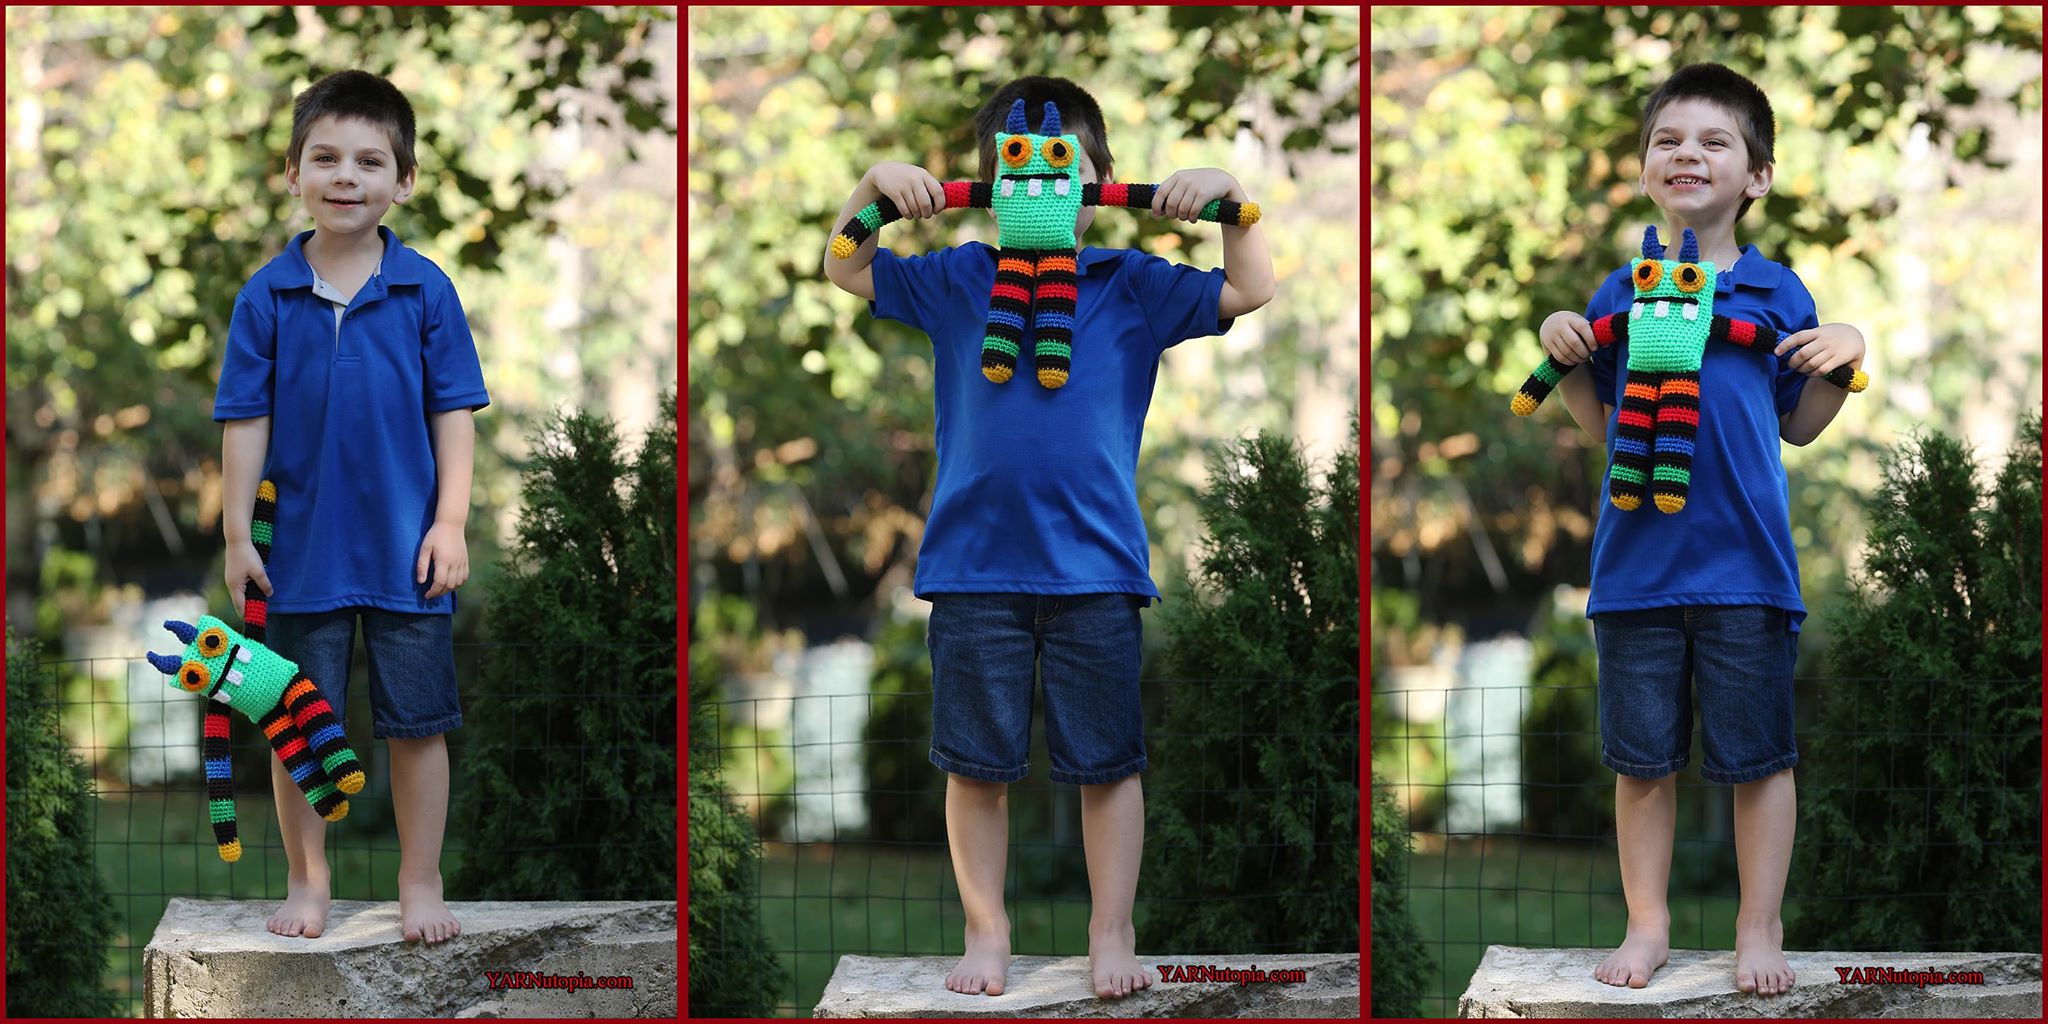
Crochet Tutorial: Frederick the Misfit Monster Toy
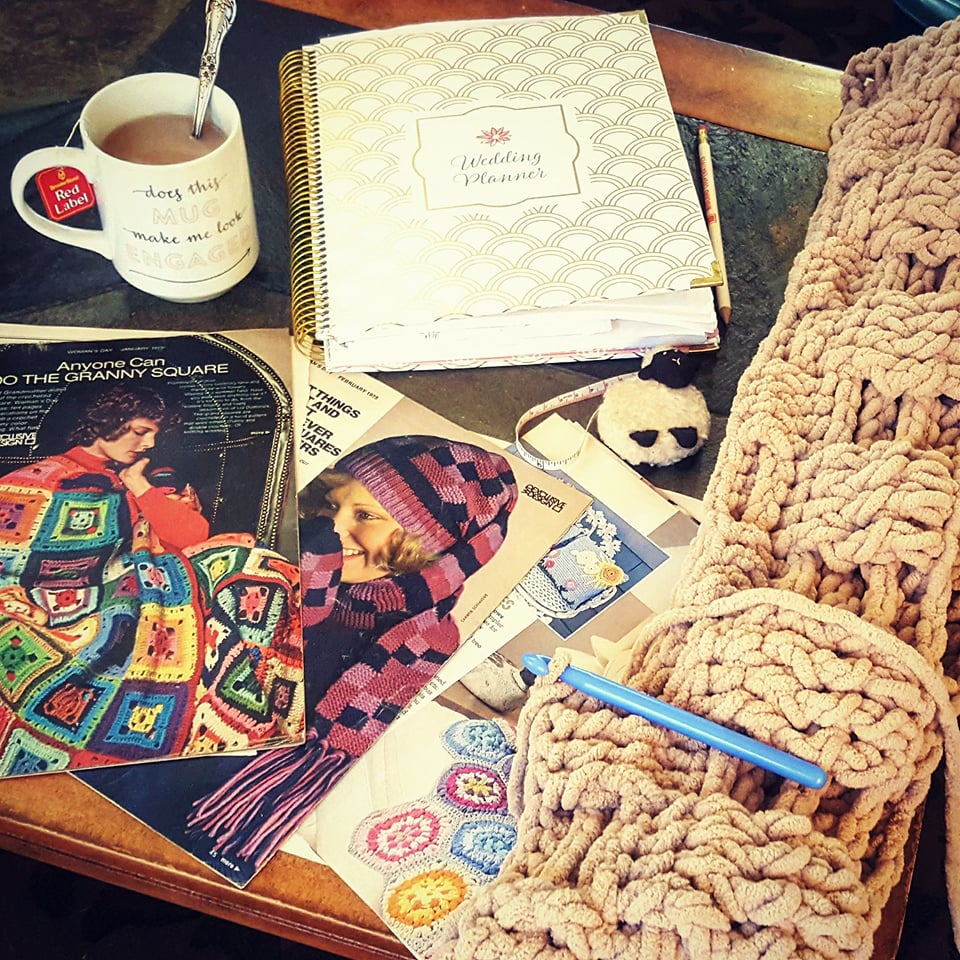
Weekend WIP
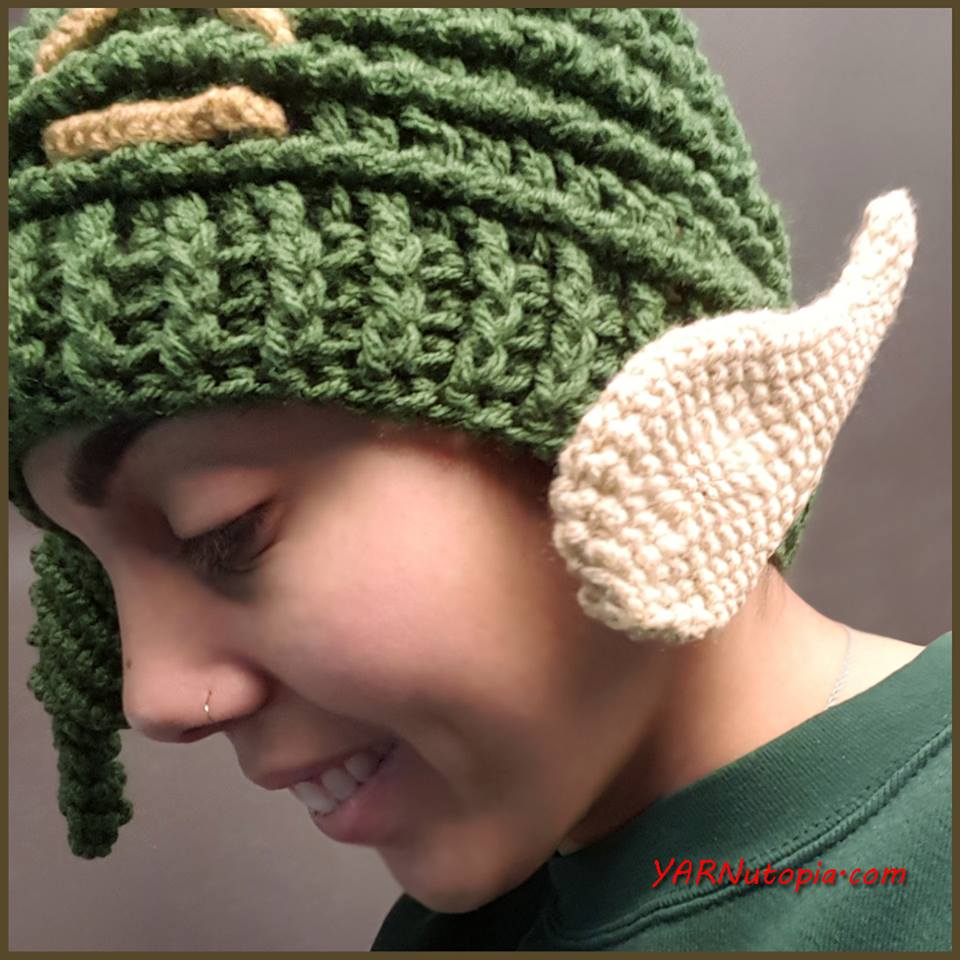
Crochet Tutorial: Elf Ears
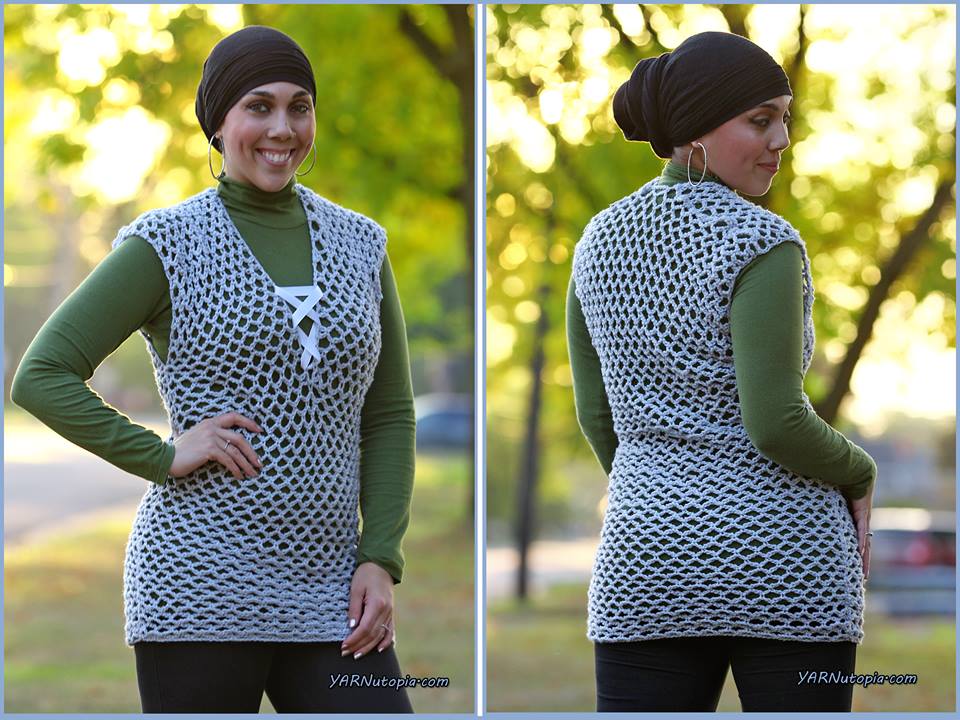
Crochet Tutorial: Chain-Link Tunic
Crochet Tutorial: Chunky Sport Hat
Tips on Homemade Gift Giving
Crochet Tutorial: Boho Pom Hat
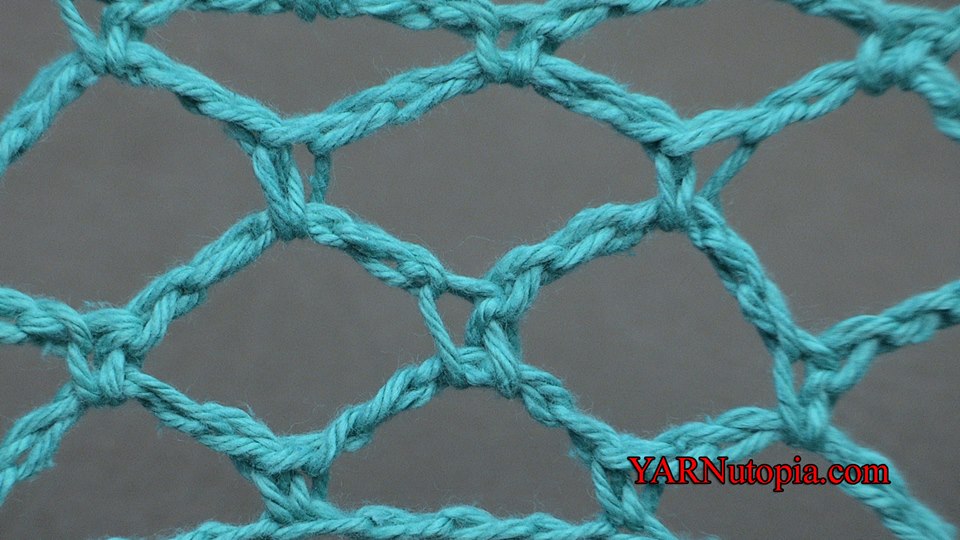
Stitch Gallery & Glossary Episode #11: Diamond Mesh Stitch
Crochet Tutorial: Munching Monster Laundry Bag
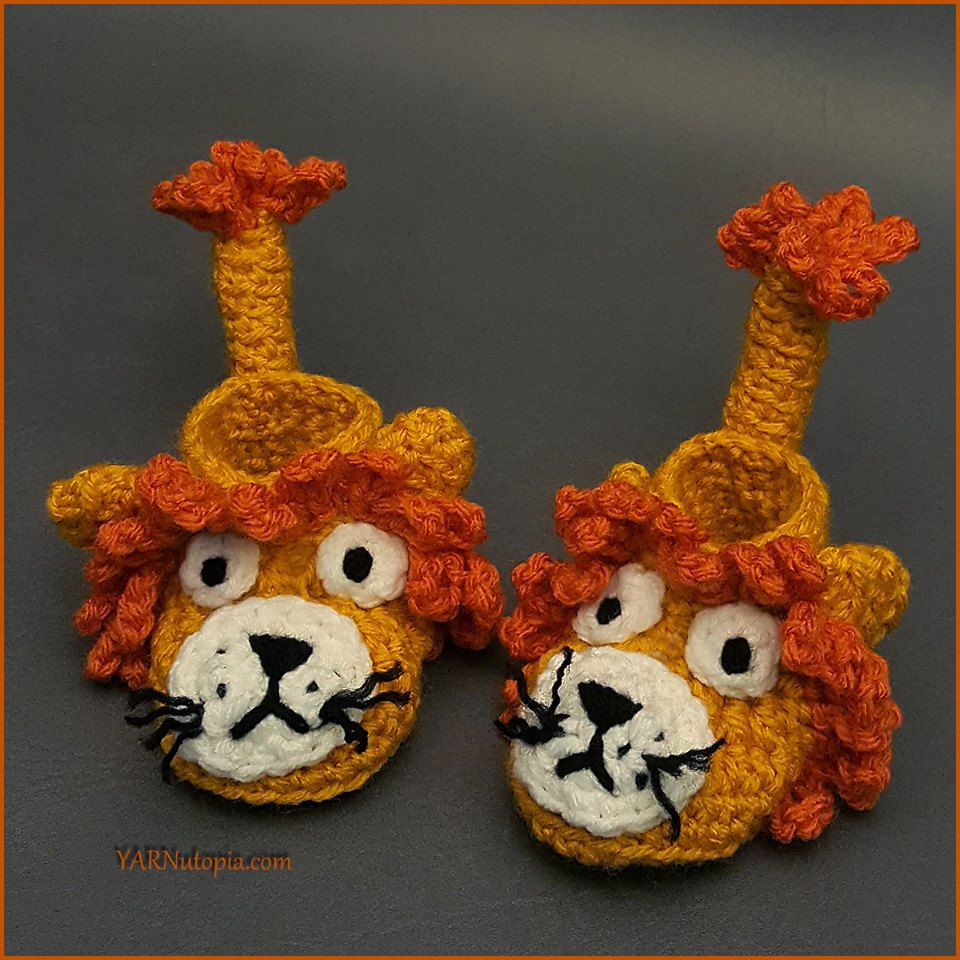
Crochet Tutorial: Little Lion Baby Booties
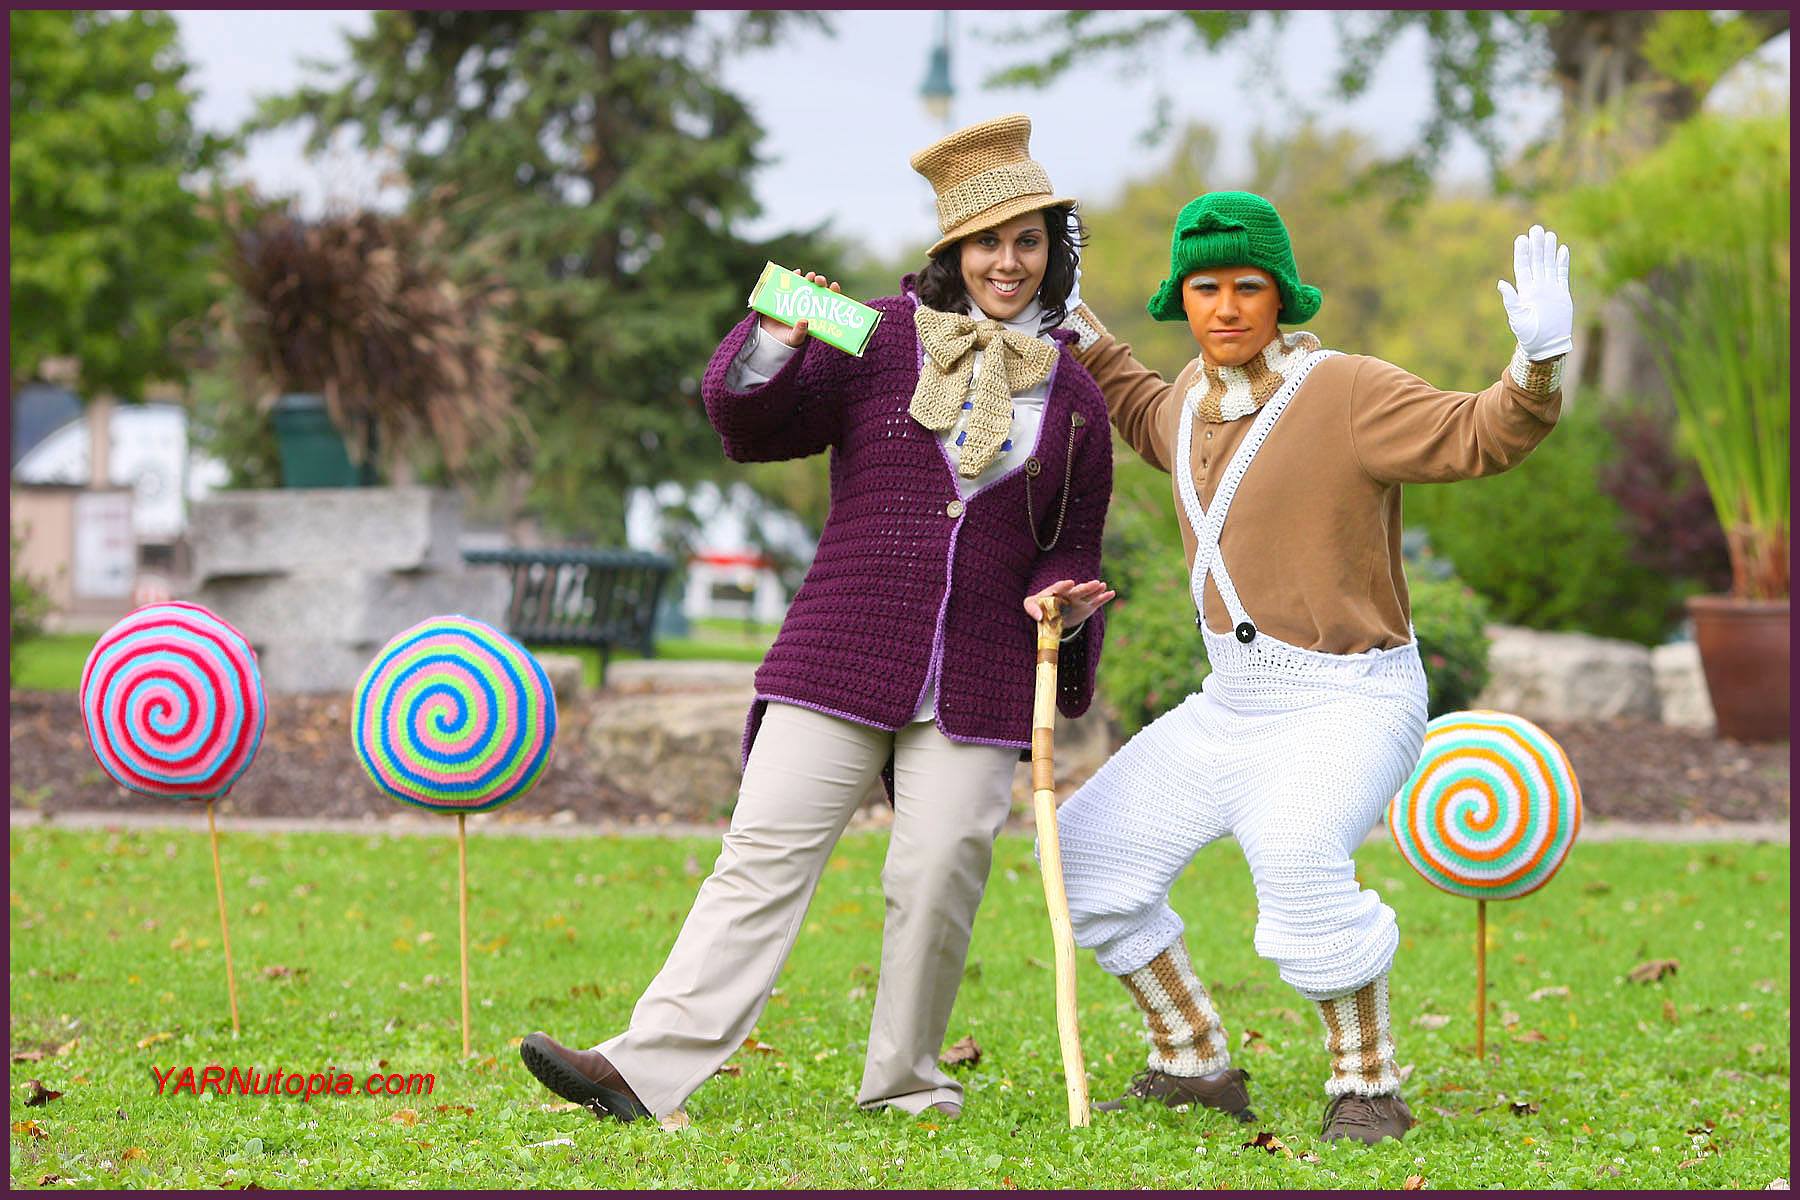
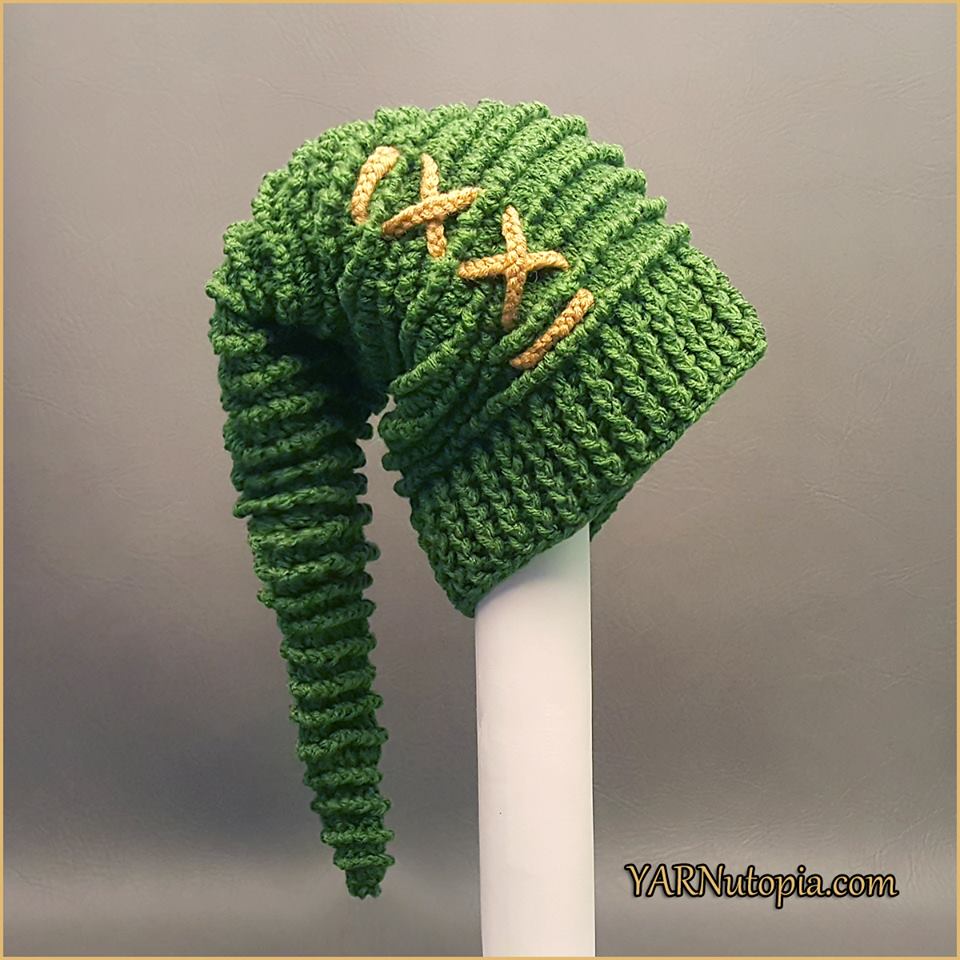
DIY Creative Crochet Costume Ideas
Crochet Tutorial: Destiny Headband
Crochet Tutorial: Easy Elephant Baby Booties
Crochet Tutorial: Link to the Past Stocking Cap
Ten Crochet Related Things You Probably Don’t Know About Me
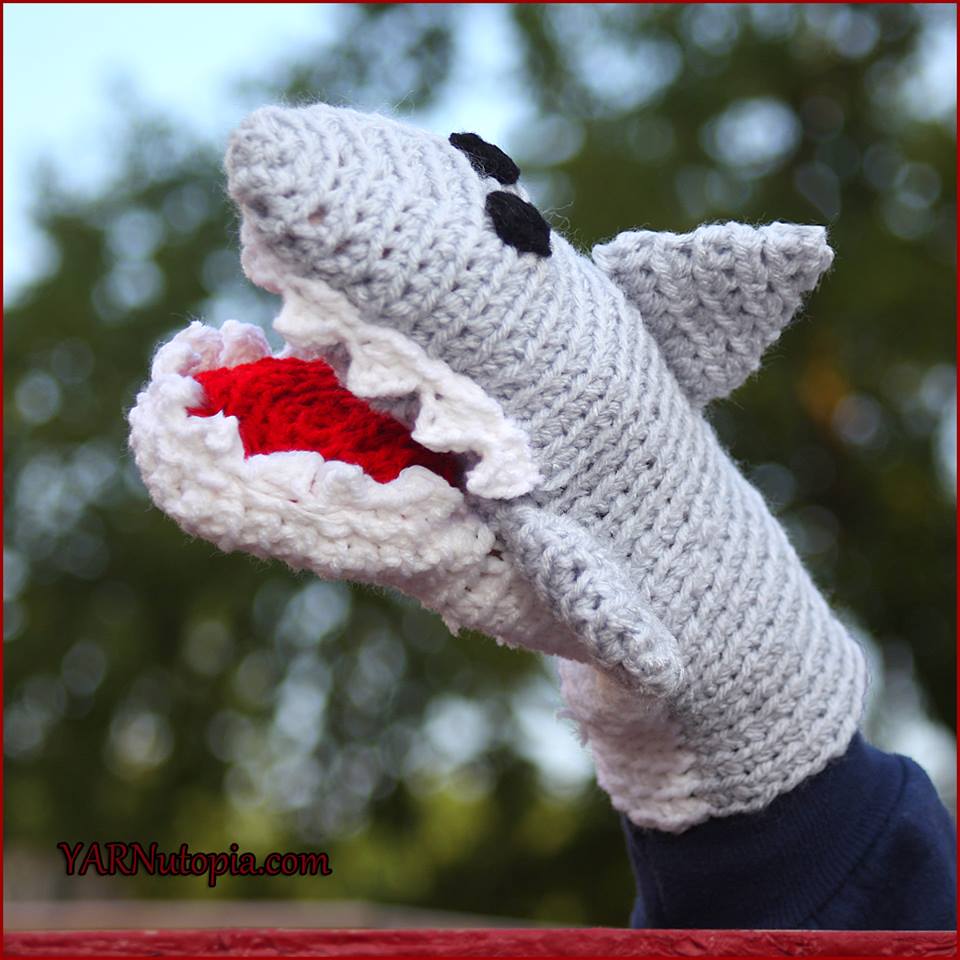
Crochet Tutorial: Great White Shark Hand Puppet
Shark Week Crochet Round-Up
Crochet Tutorial: Flamingo Feet Baby Booties
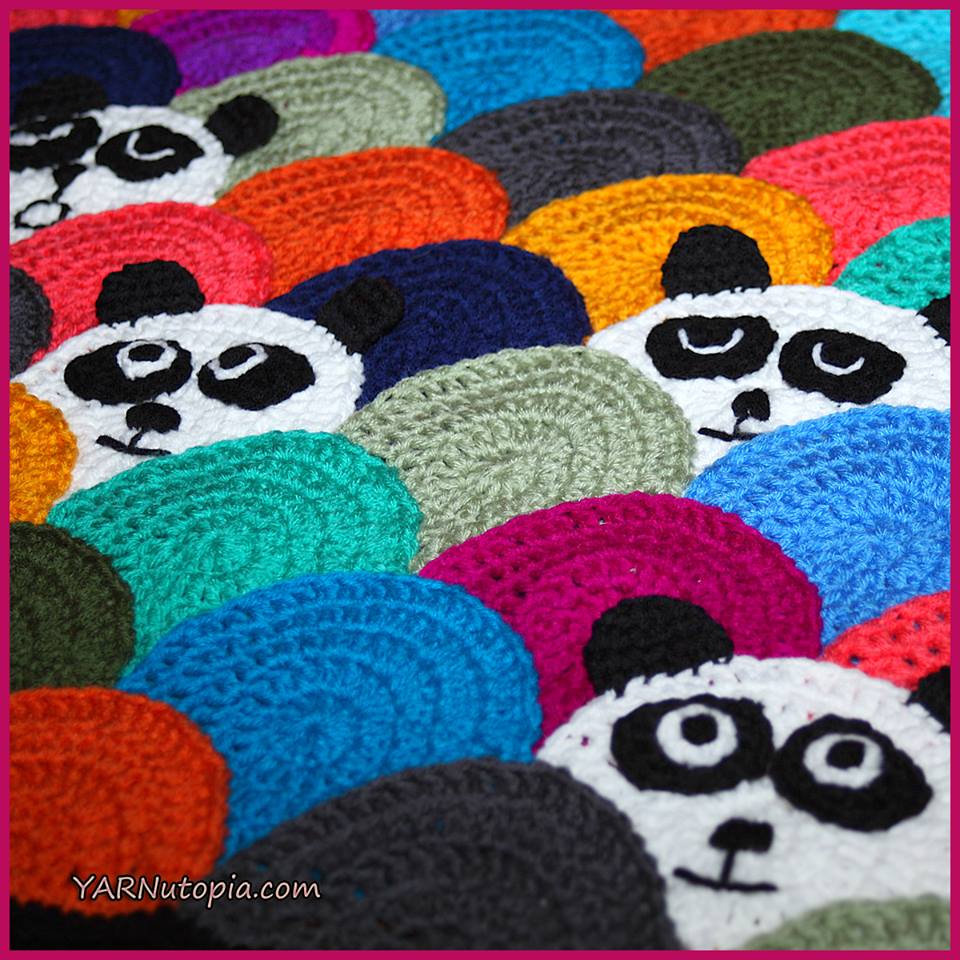
Crochet Tutorial: Roly Poly Panda Quilt
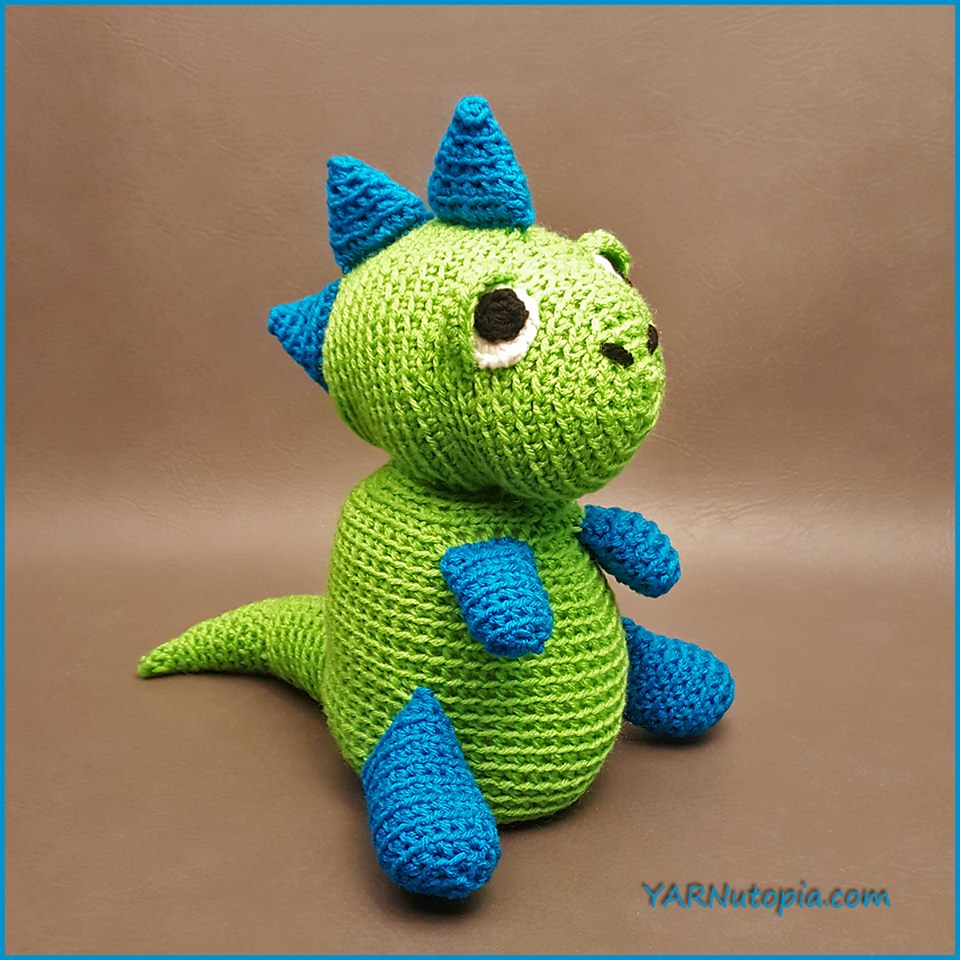
Crochet Tutorial: Spike the T-Rex Dinosaur Amigurumi
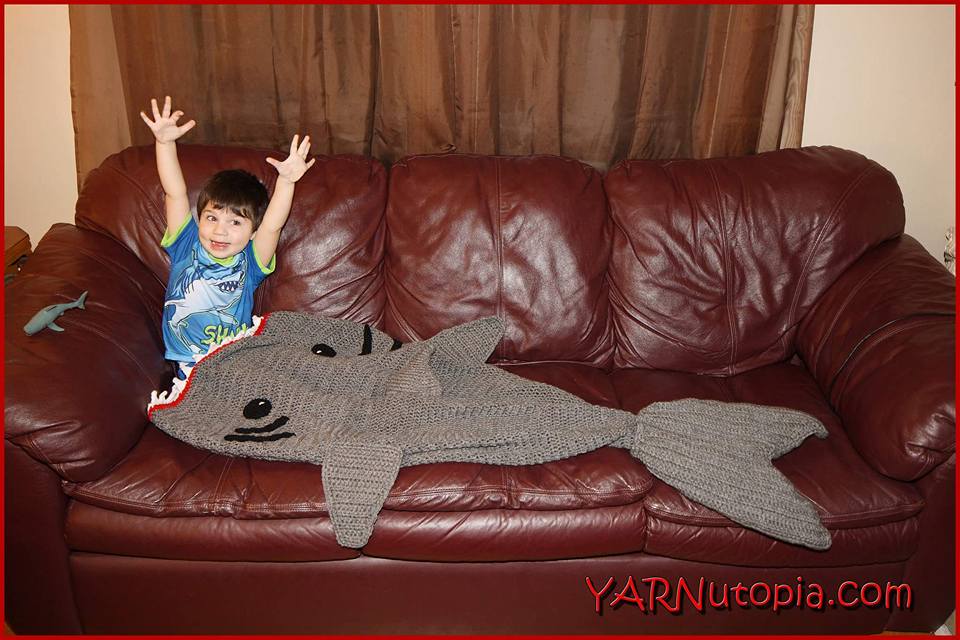
Crochet Tutorial: Shark Bag
Crochet Tutorial: Kitty Cat Poncho
Easter Pattern Round-Up
I made the One Skein Bunny!
All dogs go to heaven
Crochet Tutorial: Owl Mask
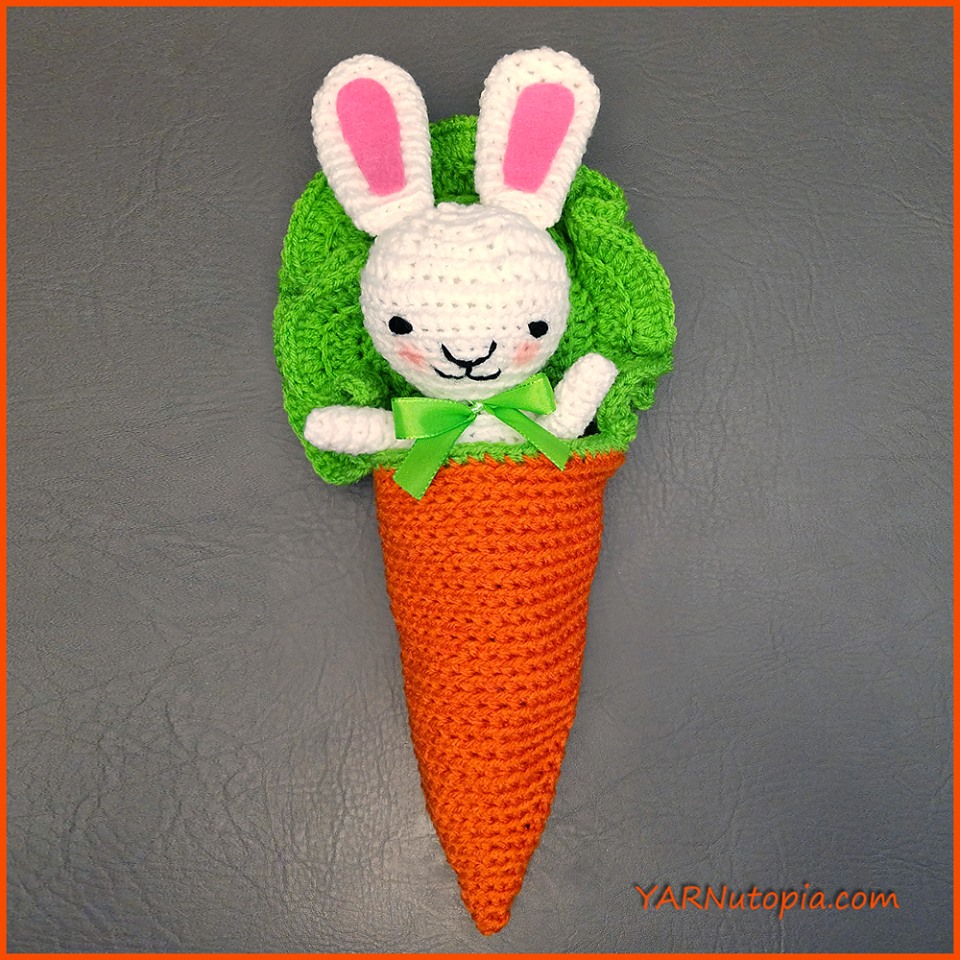
Crochet Tutorial: Bunny Amigurumi in a Carrot Cocoon
Crochet Tutorial: Fish Amigurumi
Crochet Tutorial: Bumble Bee Amigurumi
Crochet Tutorial: Winter Snowman Coasters
Crochet Tutorial: Berry Giving Granny Square
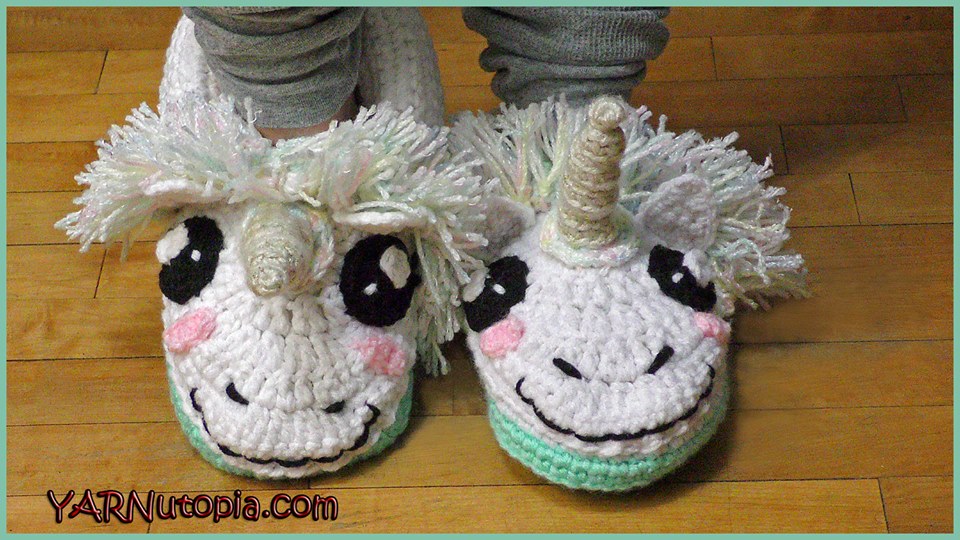
Crochet Tutorial: Unicorn Slippers
Previous Page
1
2
3
Next Page
Loading Comments...
Write a Comment...
Email (Required)
Name (Required)
Website