Skip to content
YARNutopia & M0re
All things Yarn Related: Crochet, DIY, and Crafts
Blog
365 Days of Granny Squares
Stitch Gallery & Glossary
Crochet Video Tutorials
Frequently Asked Questions
Crochet Glossary: Learn the Lingo
Contact
Search
Search
handmade
YARNutoia & More
I made the One Skein Bunny!
All dogs go to heaven
Set of 4 Character Masks
Crochet Tutorial: Fox Mask
Crochet Tutorial: Owl Mask
Crochet Tutorial: Fawn Mask
Crochet Tutorial: Bunny Rabbit Mask
Oh, my hands hurt!
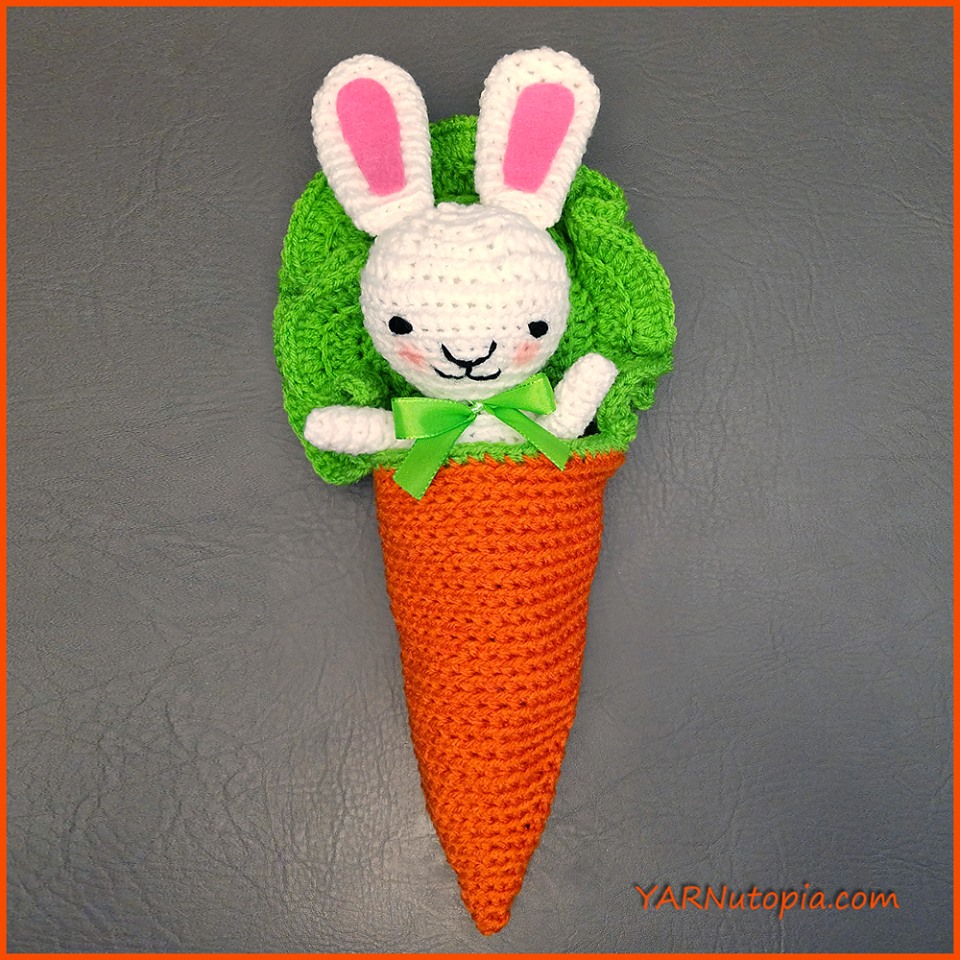
Crochet Tutorial: Bunny Amigurumi in a Carrot Cocoon
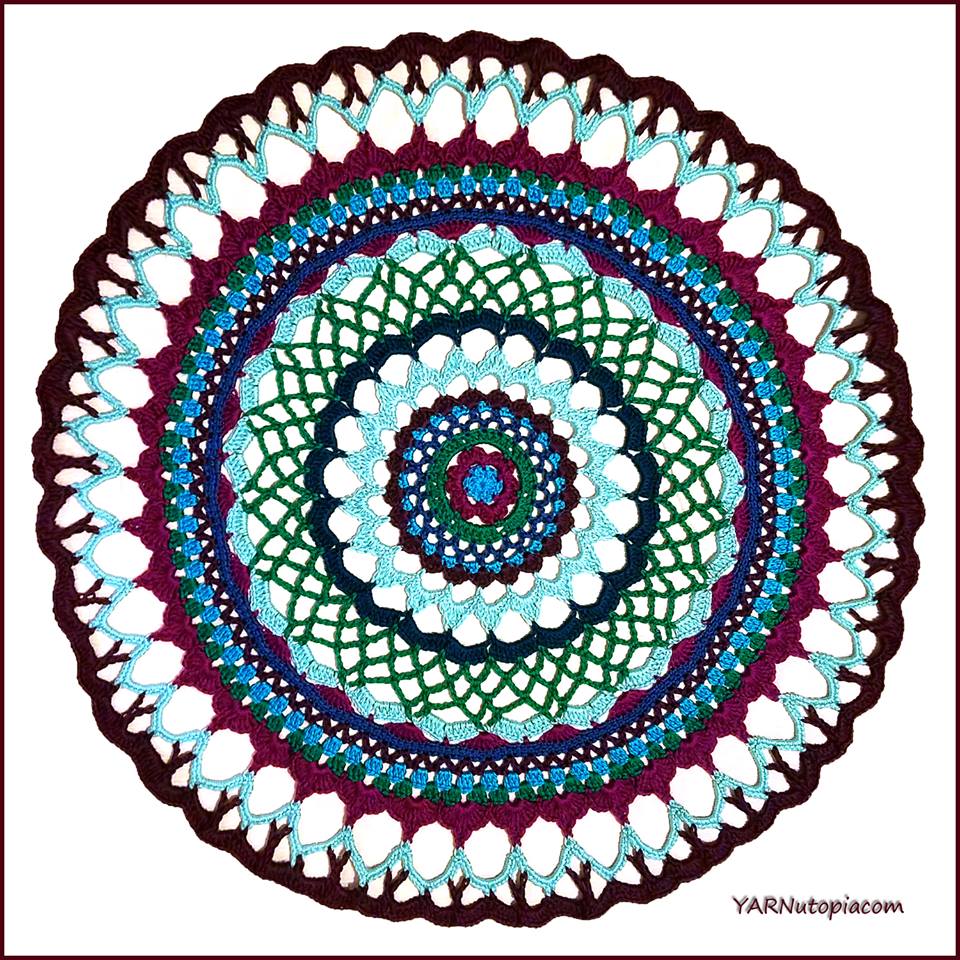
Crochet Tutorial: Henna Inspired Mandala
Crochet Tutorial: Make-up Brush Case
We’re tying the knot with yarn!
Crochet Tutorial: Something Blue Cowl
Crochet Tutorial: The Fur Chapeau
Four Piece Baby Boy Layette Set
Four Piece Mini Square Baby Layette Set
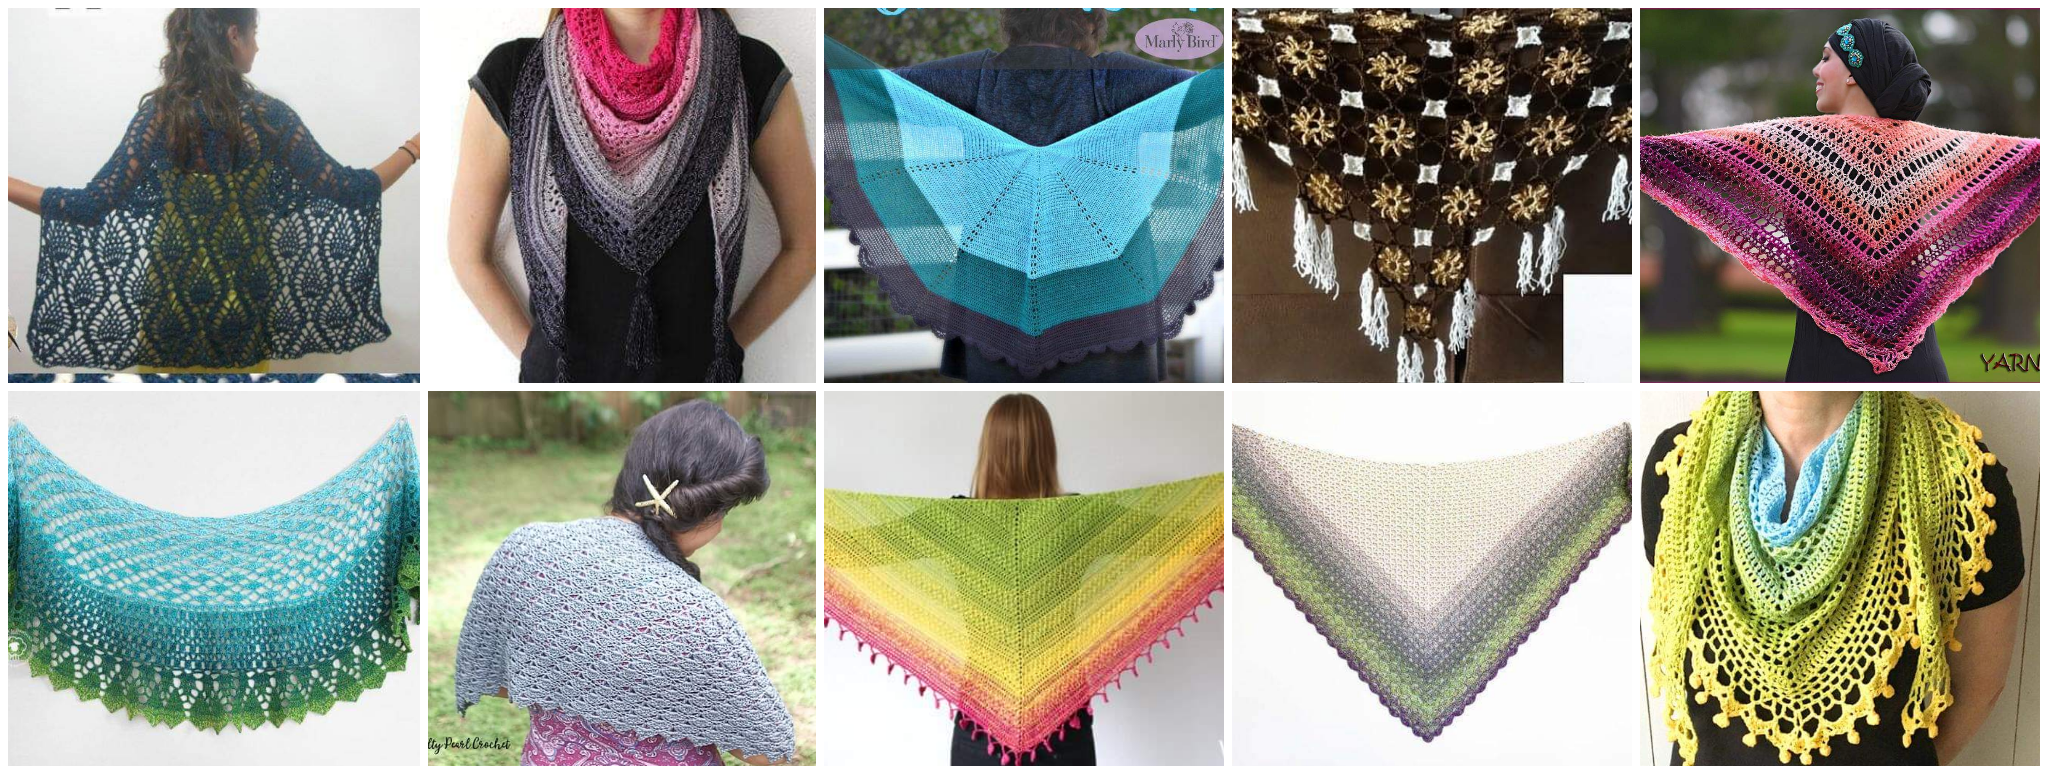
Free Shawl Pattern Round-Up: Great Ideas for Summer Wraps
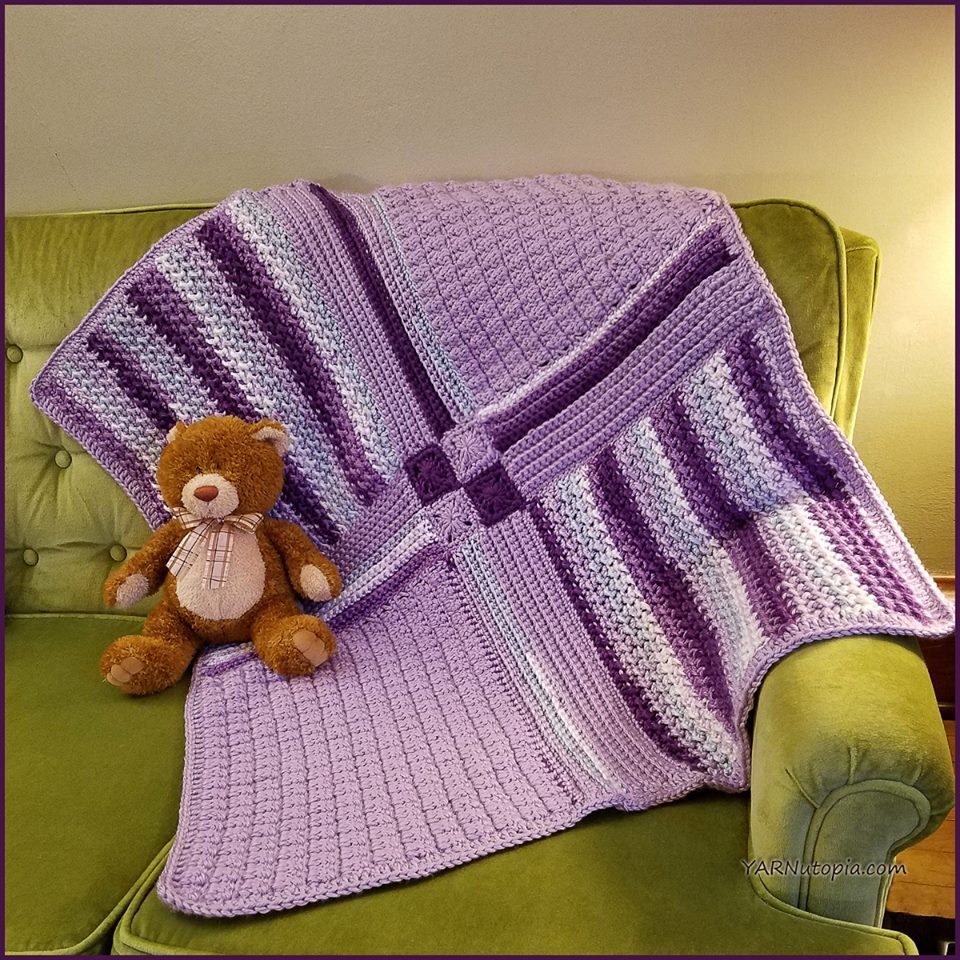
Crochet Tutorial: Patchwork Medley Baby Blanket
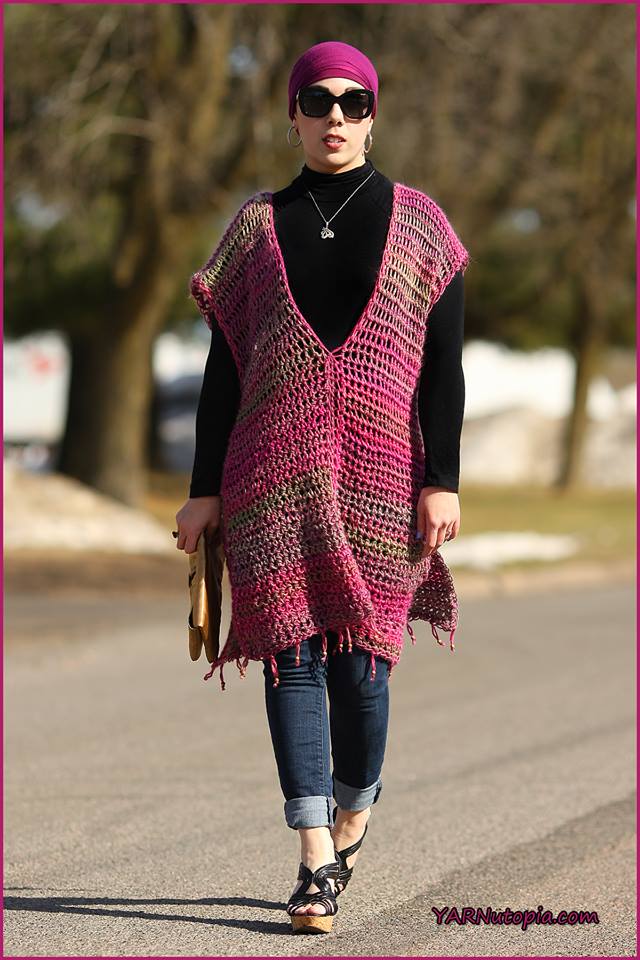
Crochet Tutorial: All Year Round Poncho
Crochet Tutorial: Lemons to Lemonade Pillow
Crochet Tutorial: Gnome Amigurumi
Crochet Tutorial: Scientist Amigurumi
Crochet Tutorial: Fish Amigurumi
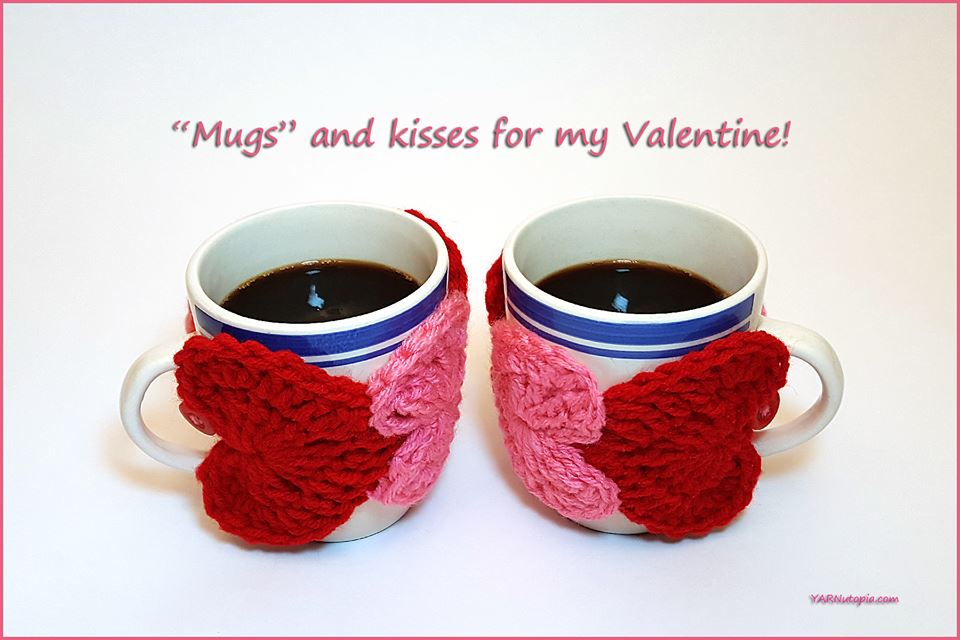
Crochet Tutorial: String of Hearts Cup Cozy
Crochet Tutorial: Bumble Bee Amigurumi
Crochet Tutorial: Tomato Amigurumi
Crochet Tutorial: Corn Amigurumi
Crochet Tutorial: Avocado Amigurumi
Crochet Tutorial: Mushroom Amigurumi
Crochet Tutorial: Mouse and Cheese Amigurumi
Crochet Tutorial: Leaf Applique
Crochet Tutorial: Volcano Bag
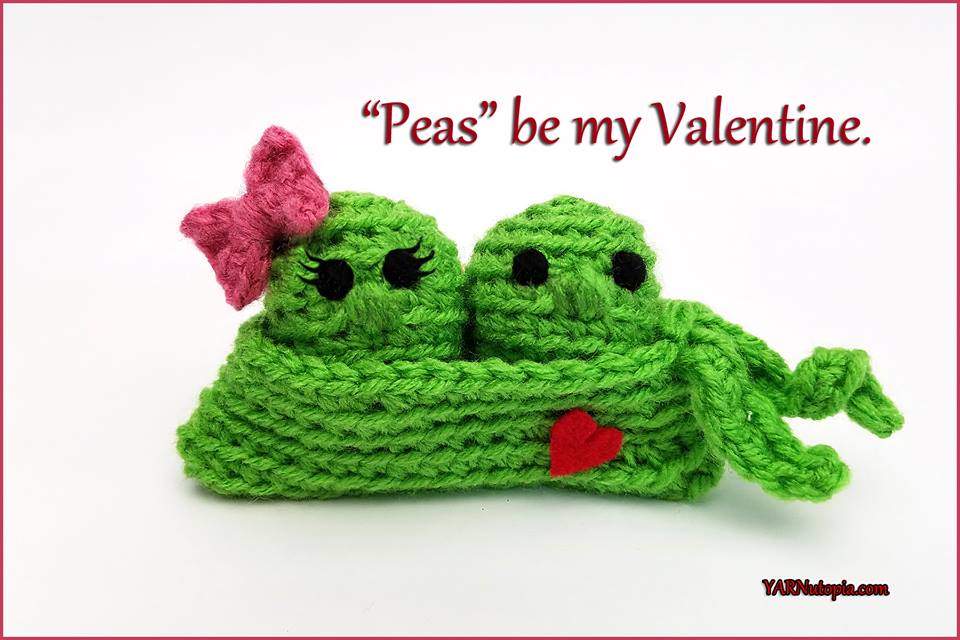
Crochet Tutorial: Two Peas in a Pod
Crochet Tutorial: Steampunk and Stars Cowl
Crochet Tutorial: Woven Dreams Baby Blanket
A Treasured Heirloom
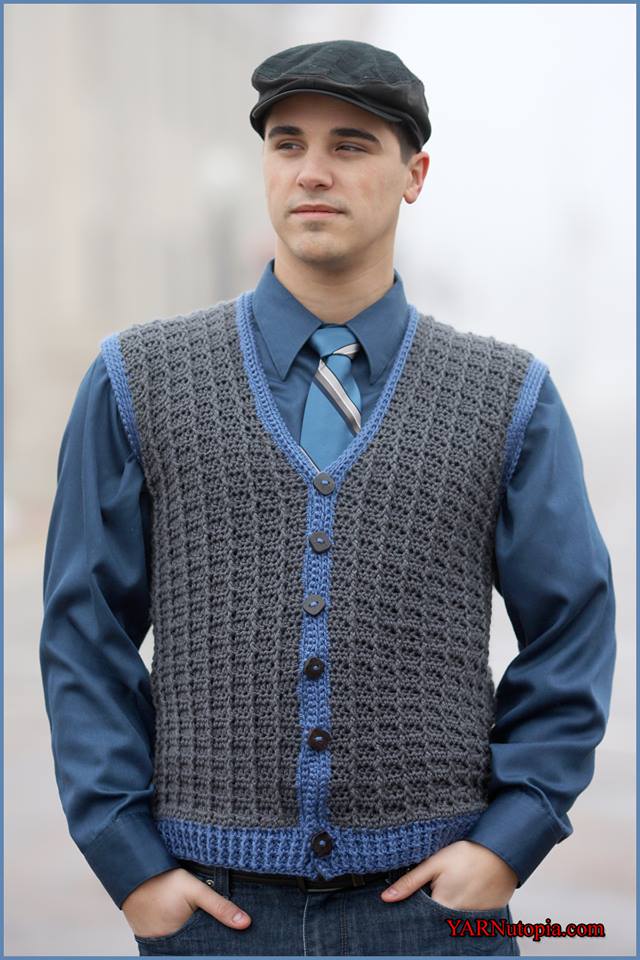
Crochet Tutorial: Sharp Dressed Man Vest
Crochet Tutorial: Warm Waffles Handwarmers
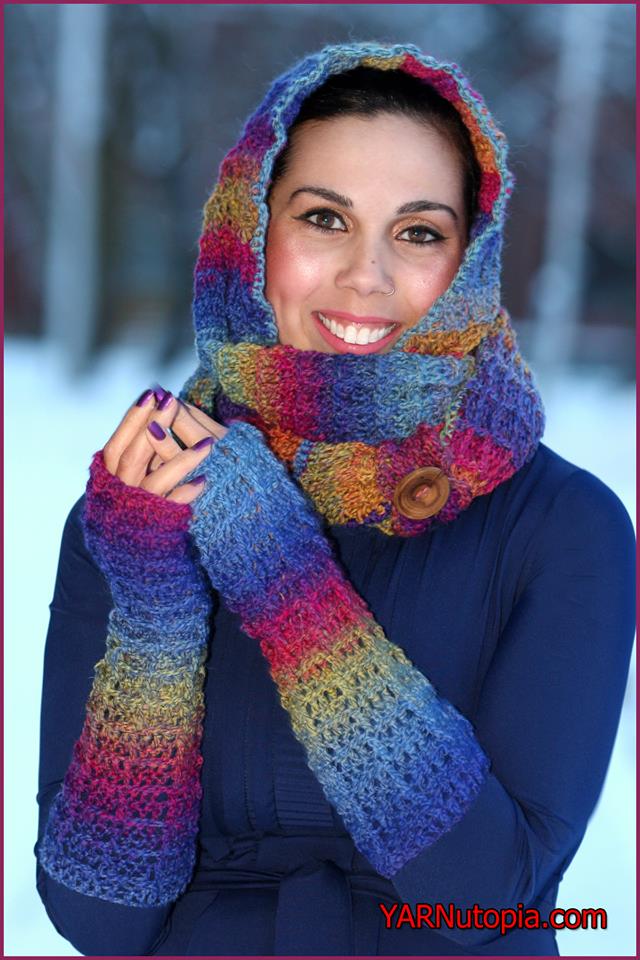
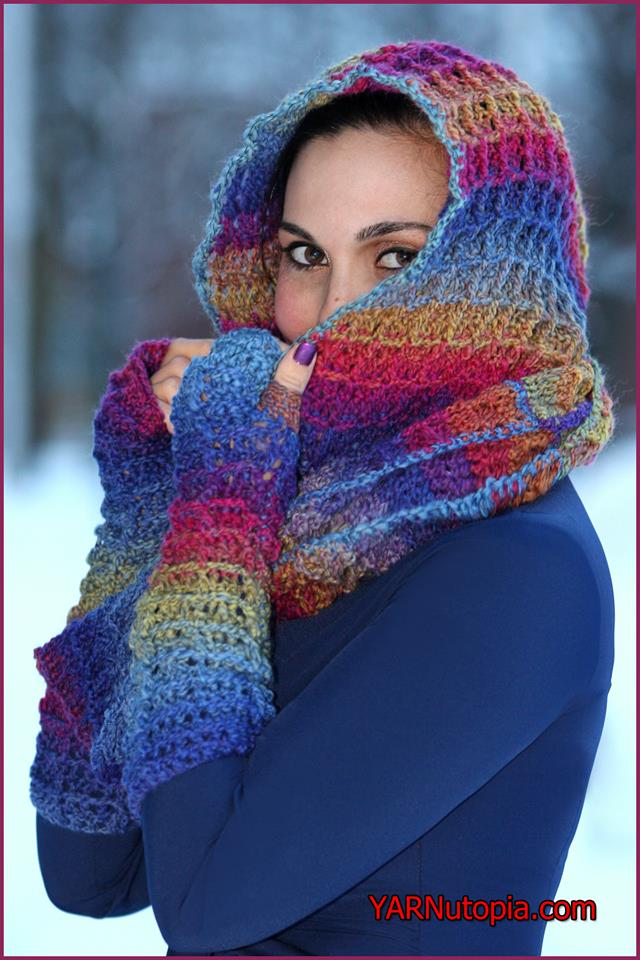
Crochet Tutorial: Warm Waffles Hooded Cowl
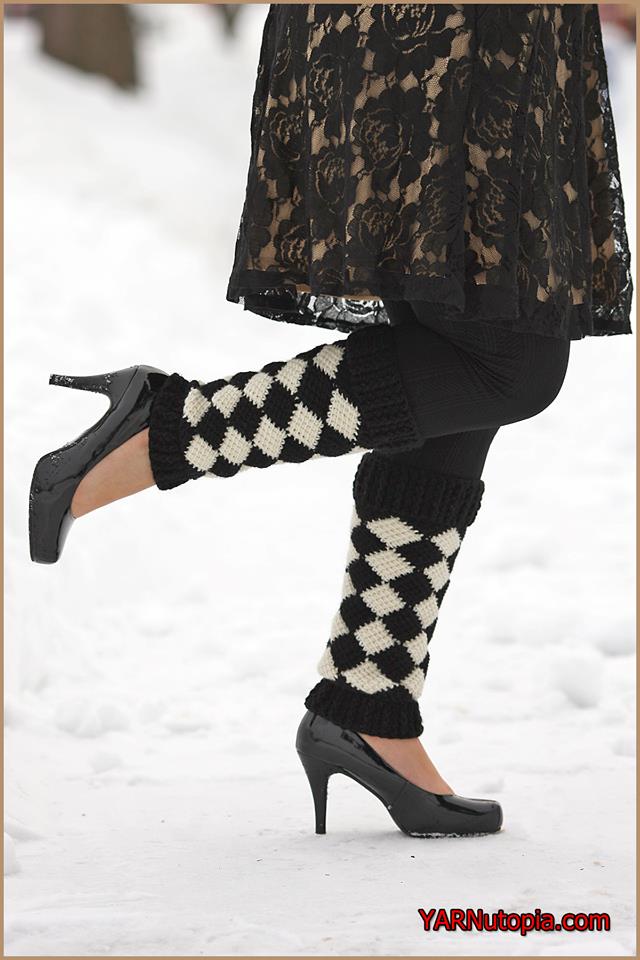
Crochet Tutorial: Harlequin Leg Warmers
Crochet Tutorial: Tutti Frutti Crochet Slippers
Crochet Tutorial: Let Your Buns Out Hat
Inner Peace Blanket
Yay! I did it!
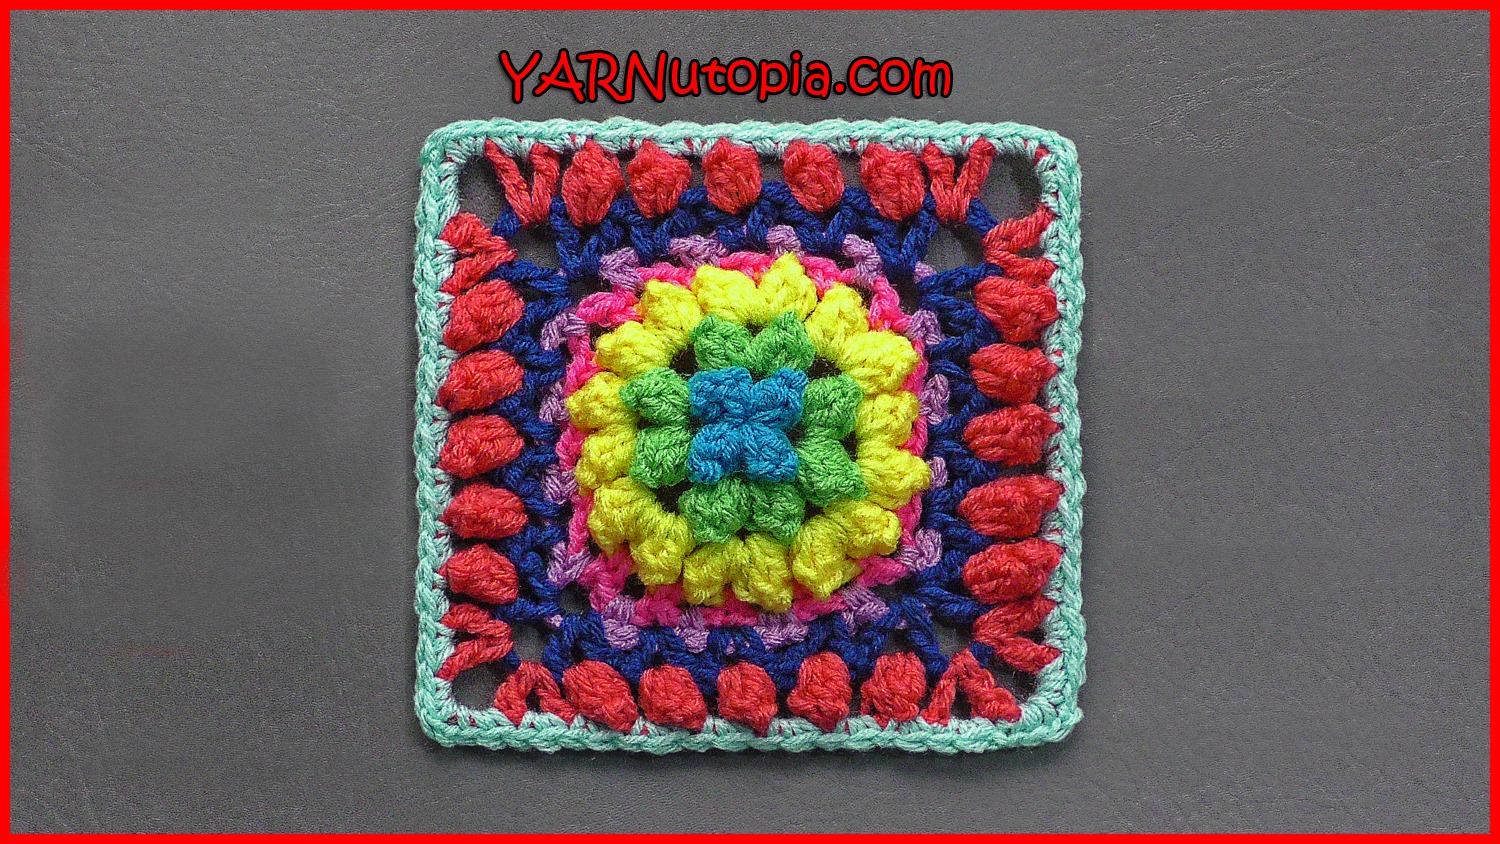
Crochet Tutorial: Firework Pop Granny Square
12 Days of Christmas
Crochet Tutorial: Let’s Bake a Cake Apron
Crochet Tutorial: Festive Pom Boot Cuffs
Crochet Tutorial: On the Fringe Cushion
Crochet Tutorial: Freestyle Fingerless Gloves
Previous Page
1
…
6
7
8
9
10
…
12
Next Page
Loading Comments...
Write a Comment...
Email (Required)
Name (Required)
Website