Skip to content
YARNutopia & M0re
All things Yarn Related: Crochet, DIY, and Crafts
Blog
365 Days of Granny Squares
Stitch Gallery & Glossary
Crochet Video Tutorials
Frequently Asked Questions
Crochet Glossary: Learn the Lingo
Contact
Search
Search
holiday
YARNutoia & More
The Beholder & Cthulhu Hats for Halloween
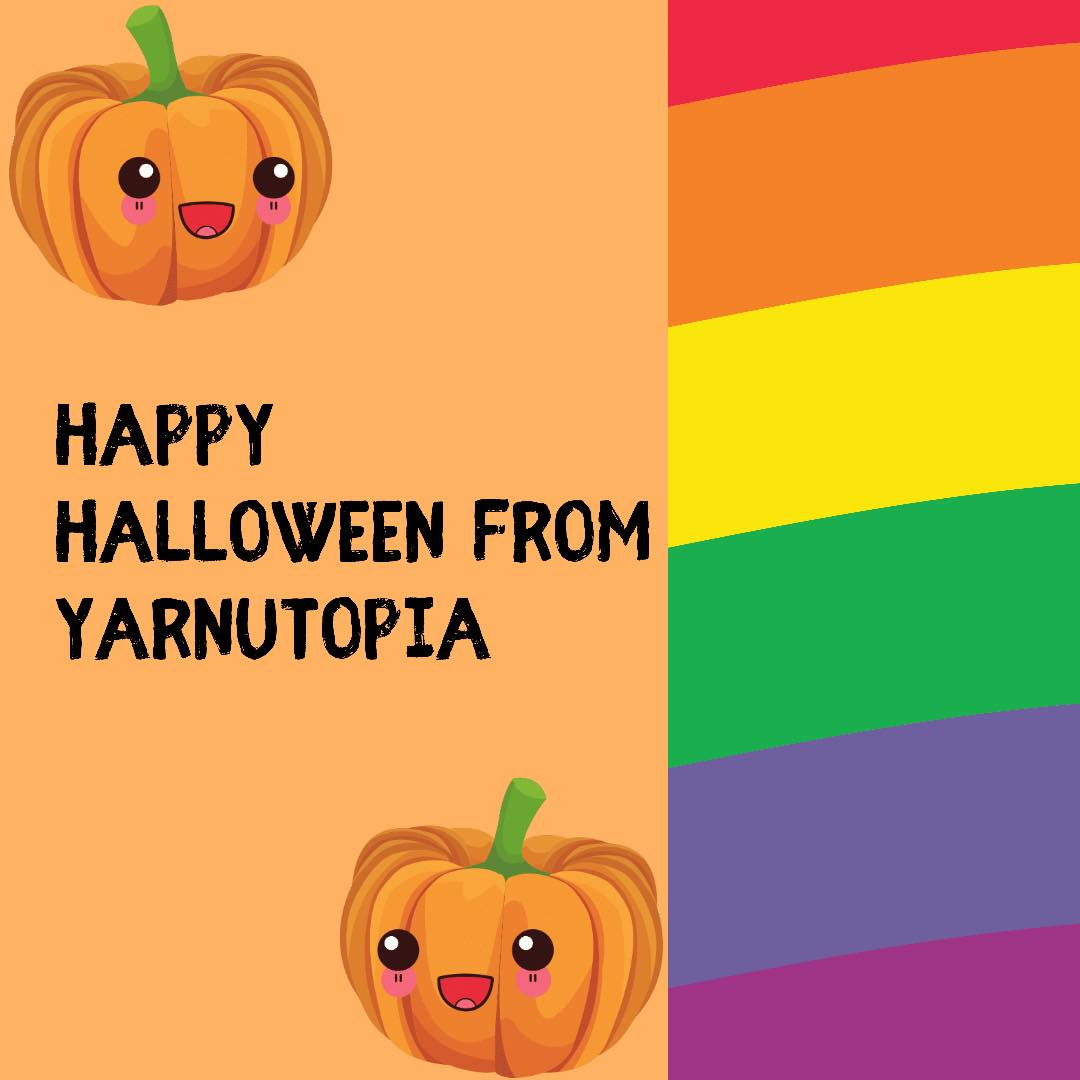
Happy Halloween 2025
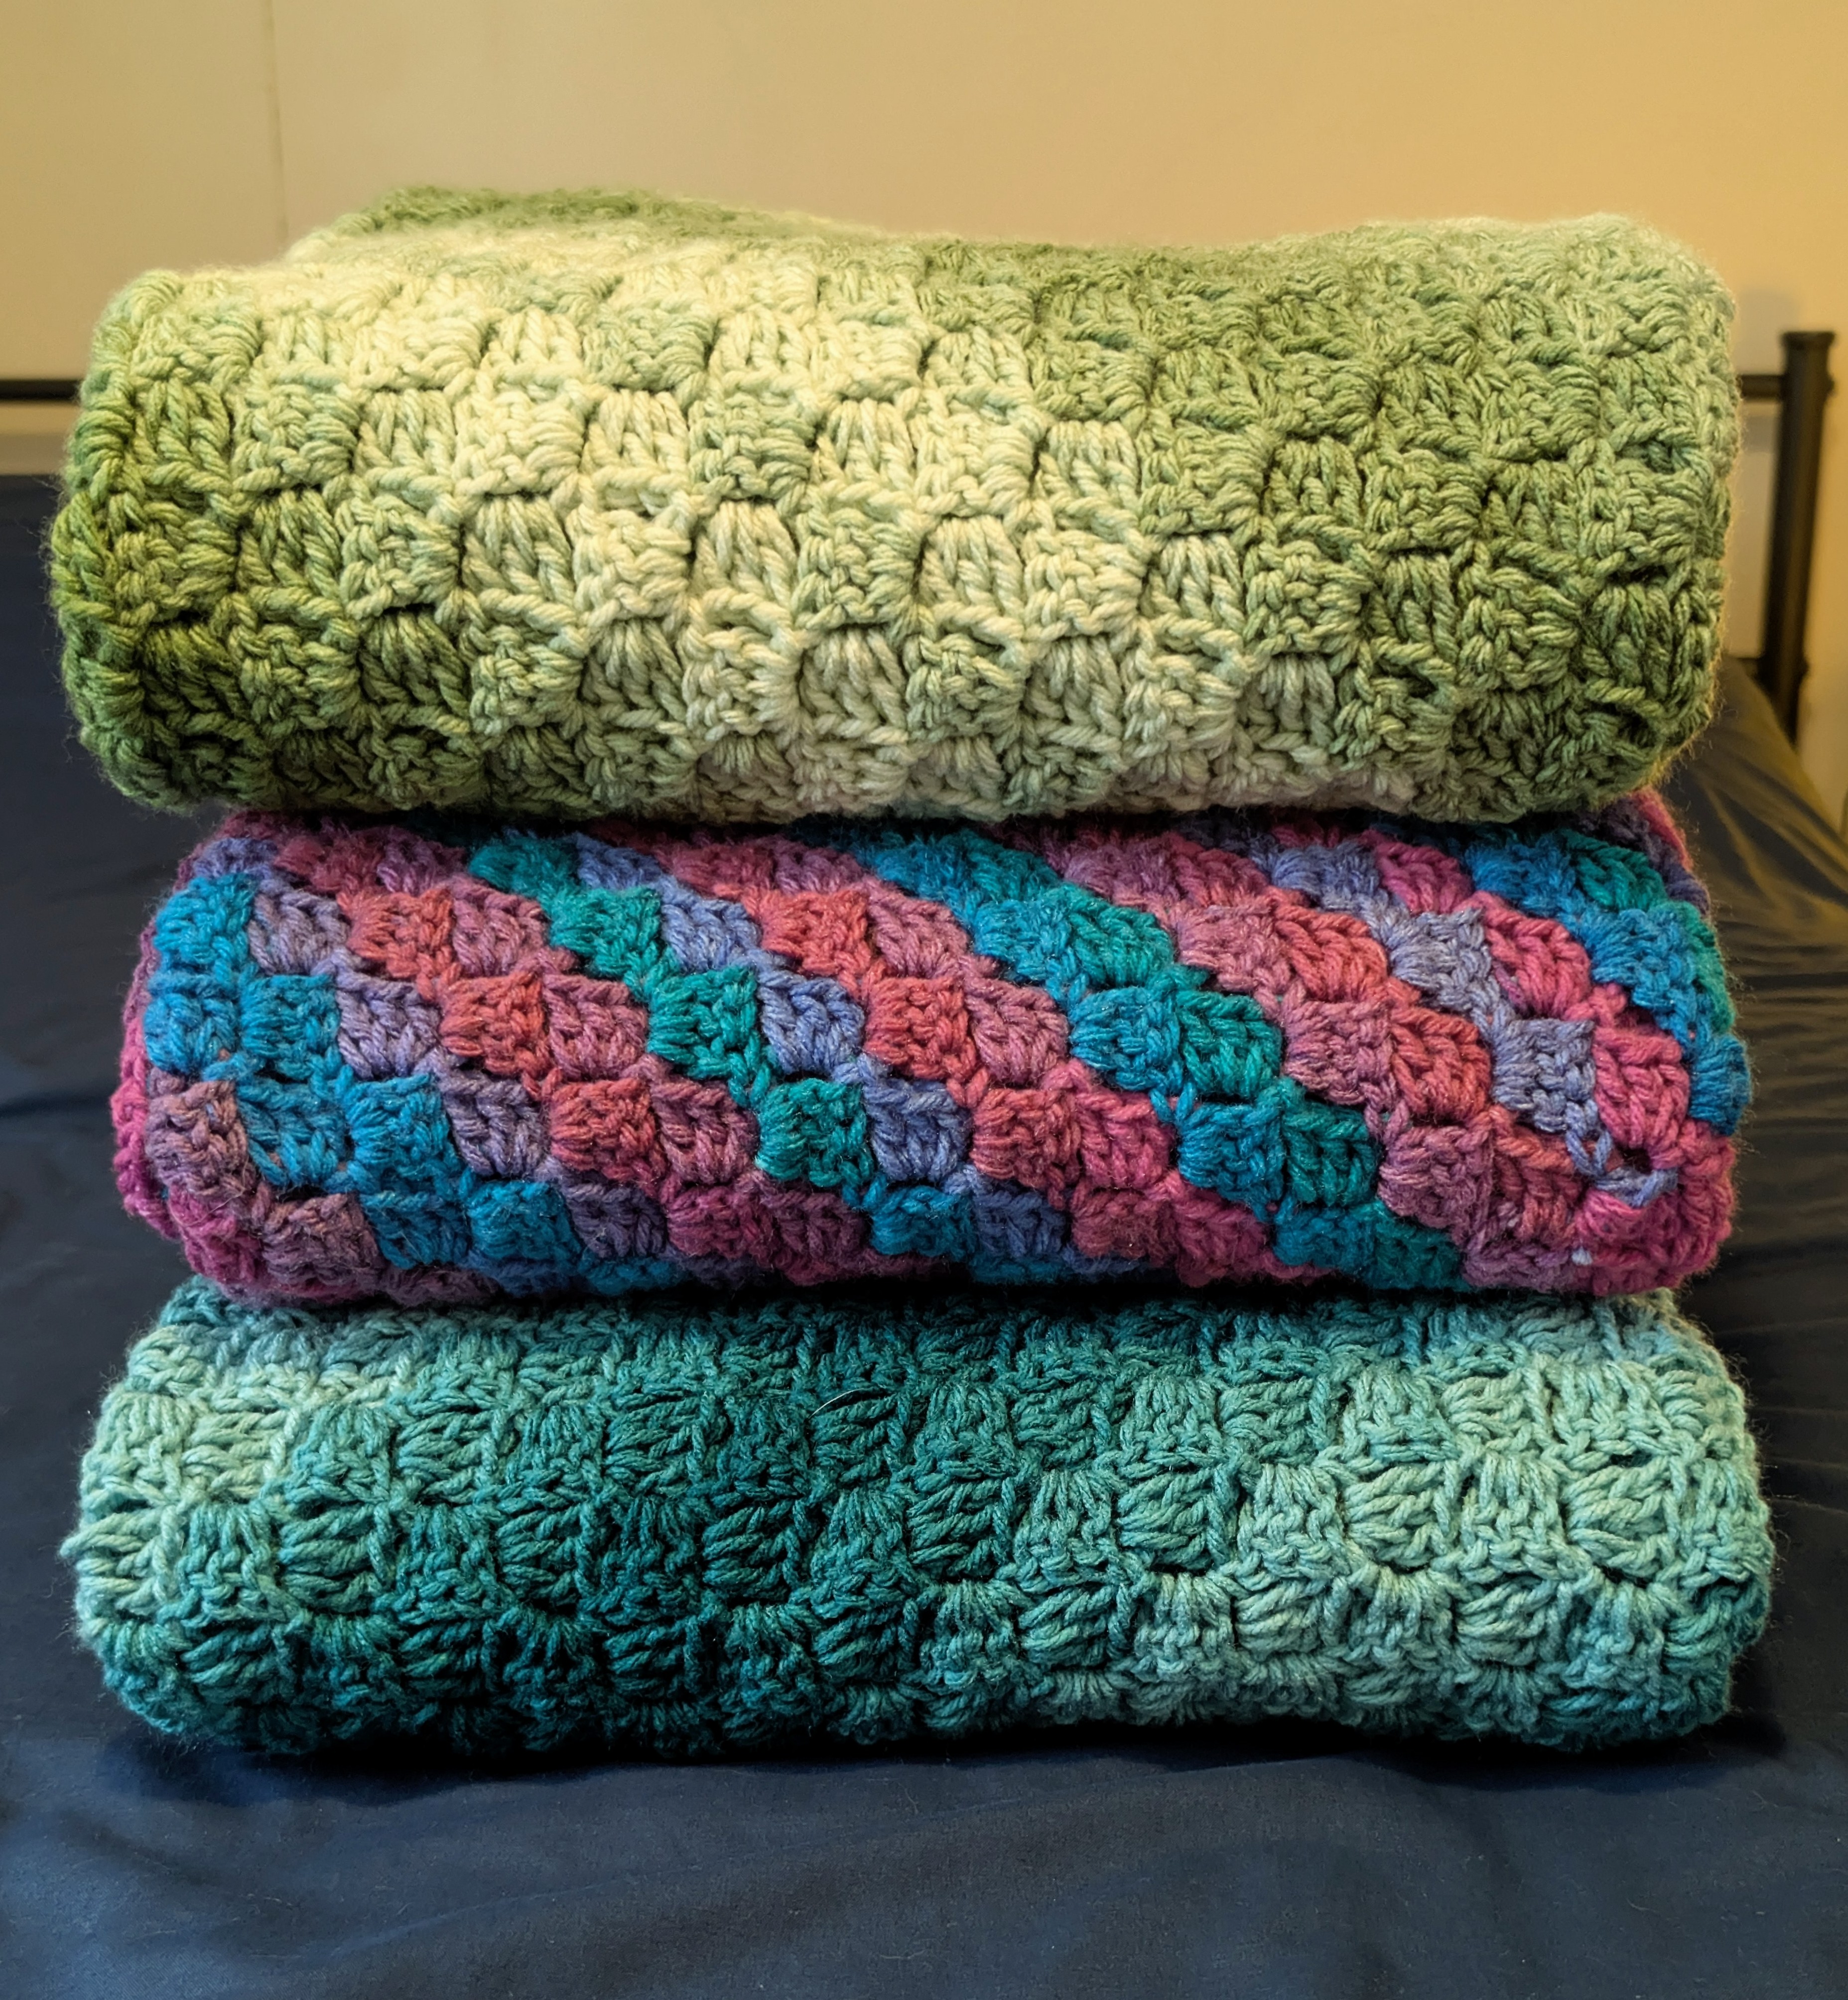
Gifting Crochet Blankets
Crafting Over the Weekend: A Stay-Home Retreat
Happy Halloween 2024 – PLUS FREE Crochet Pattern
How to: Make Homemade Vanilla Extract
FREE Written Crochet Pattern: Toddler Monster Costume
How to: Create Decor Using Mod Podge
FREE Written Crochet Pattern: Holiday Stocking Hat
Happy Halloween 2021
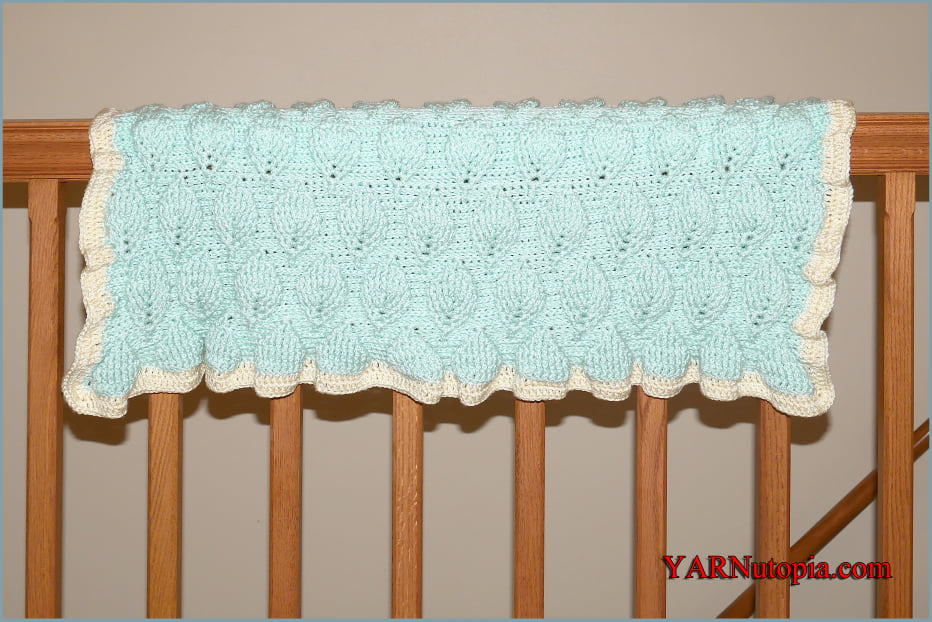
FREE Written Crochet Pattern: Aspen Baby Blanket
Stitch Gallery & Glossary Episode #25: Thermal Stitch (Single Crochet)
FREE Written Crochet Pattern: Happy Heart Stitch Leg Warmers
FREE Written Crochet Pattern: Winter Stripes Scarf
FREE Crochet Video Tutorial: Winter Stripes Scarf
Valentine’s Day Crochet Patterns
FREE Written Crochet Pattern: New Year, New Me Chunky Hat
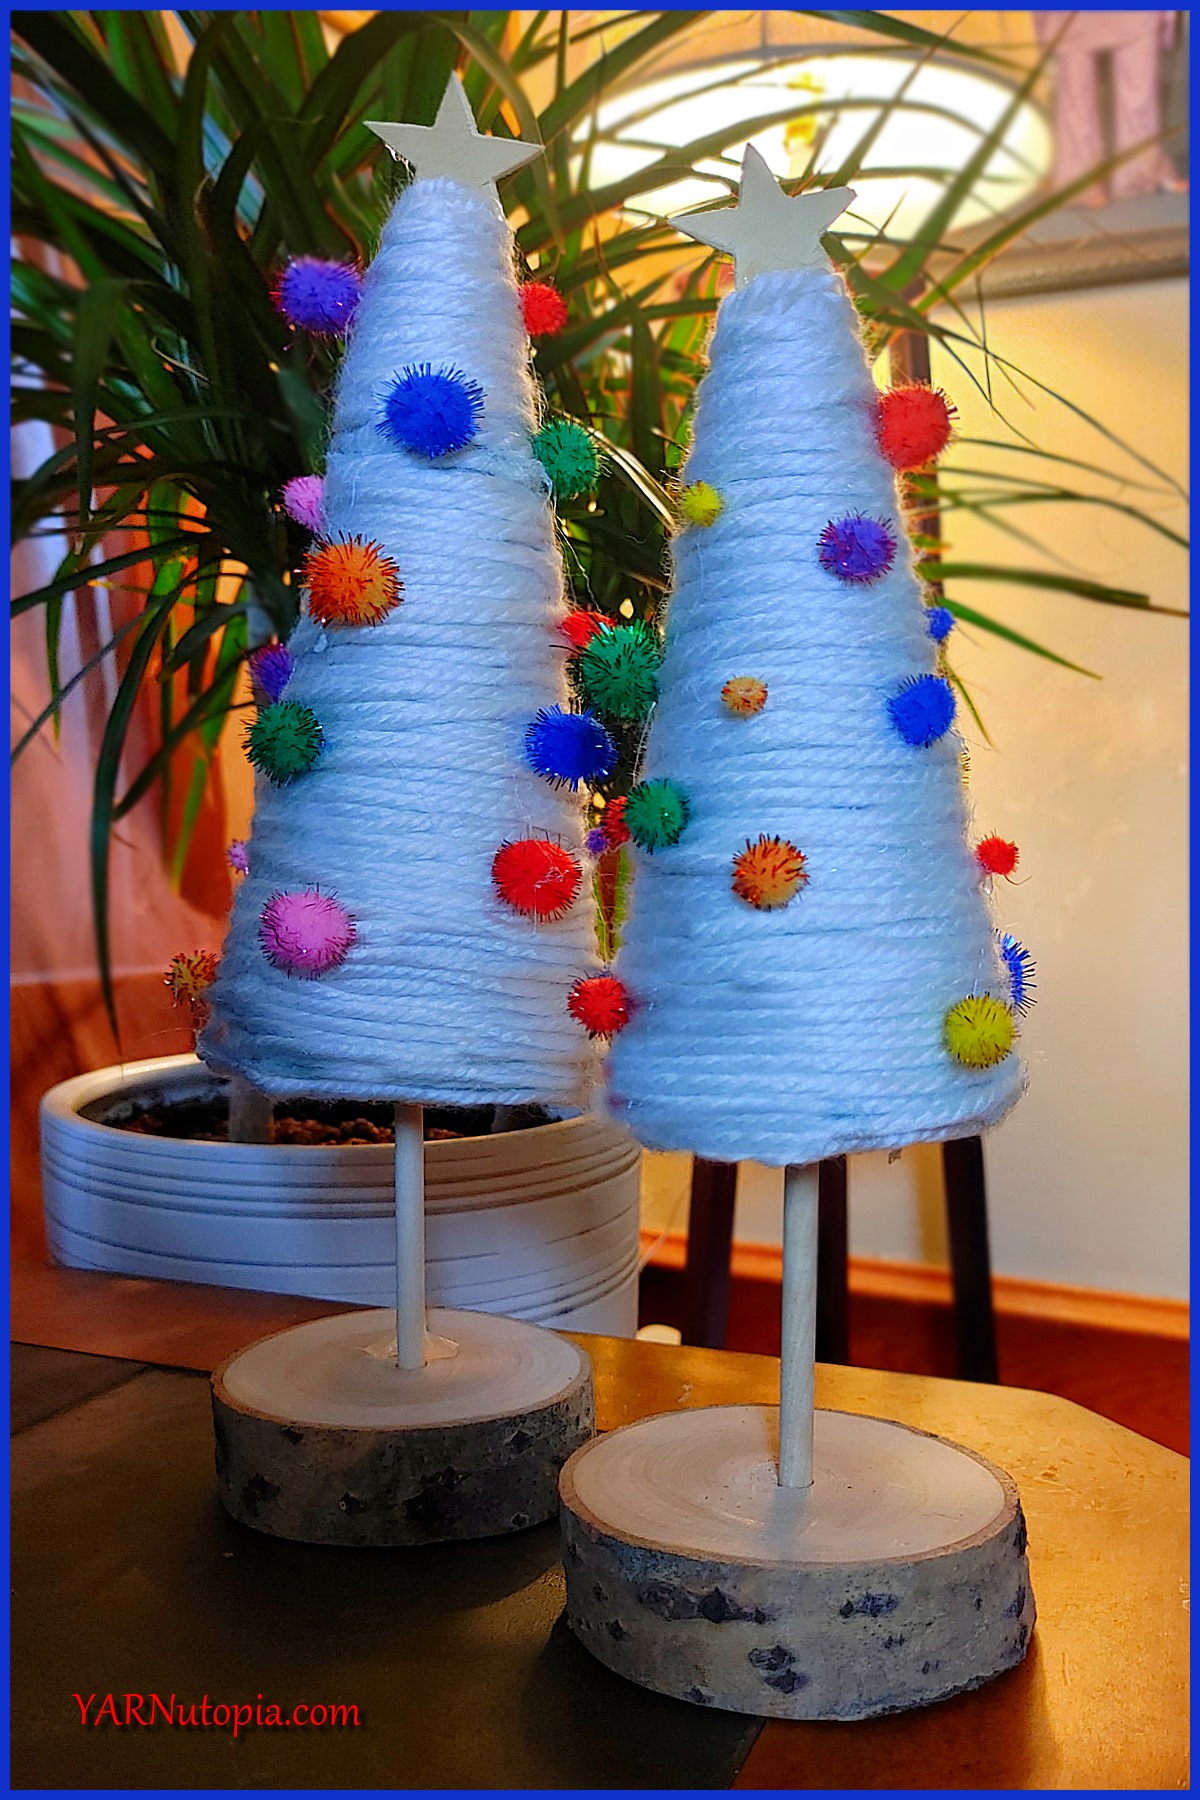
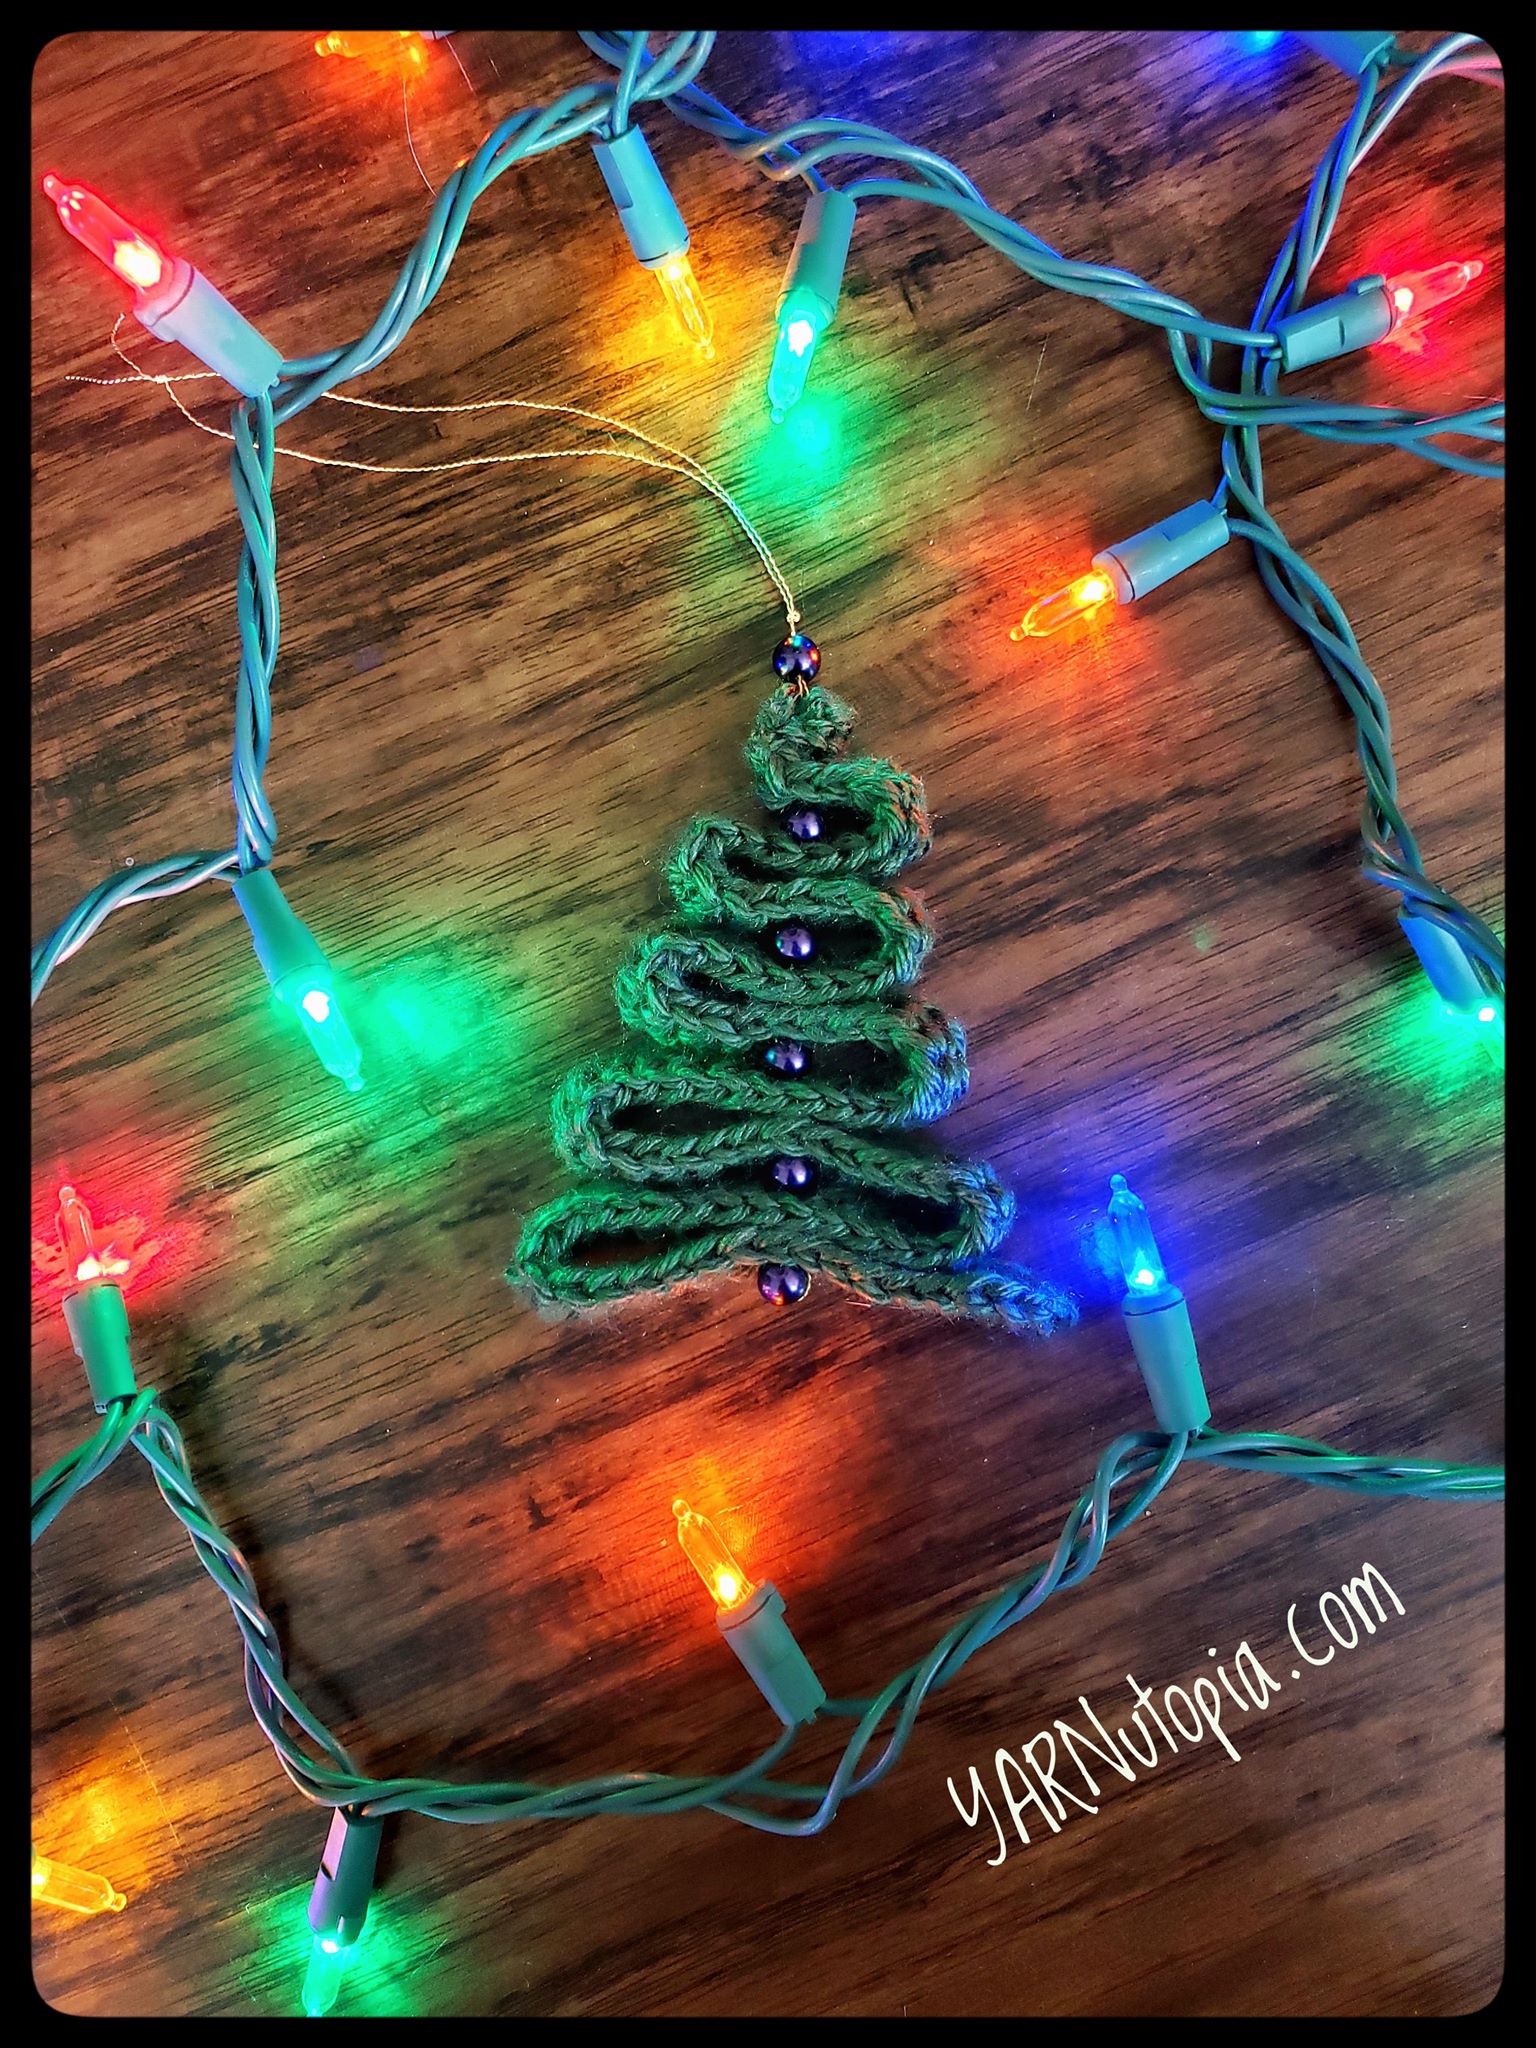
12 Days of Christmas: Yarn Art Jingle Trees
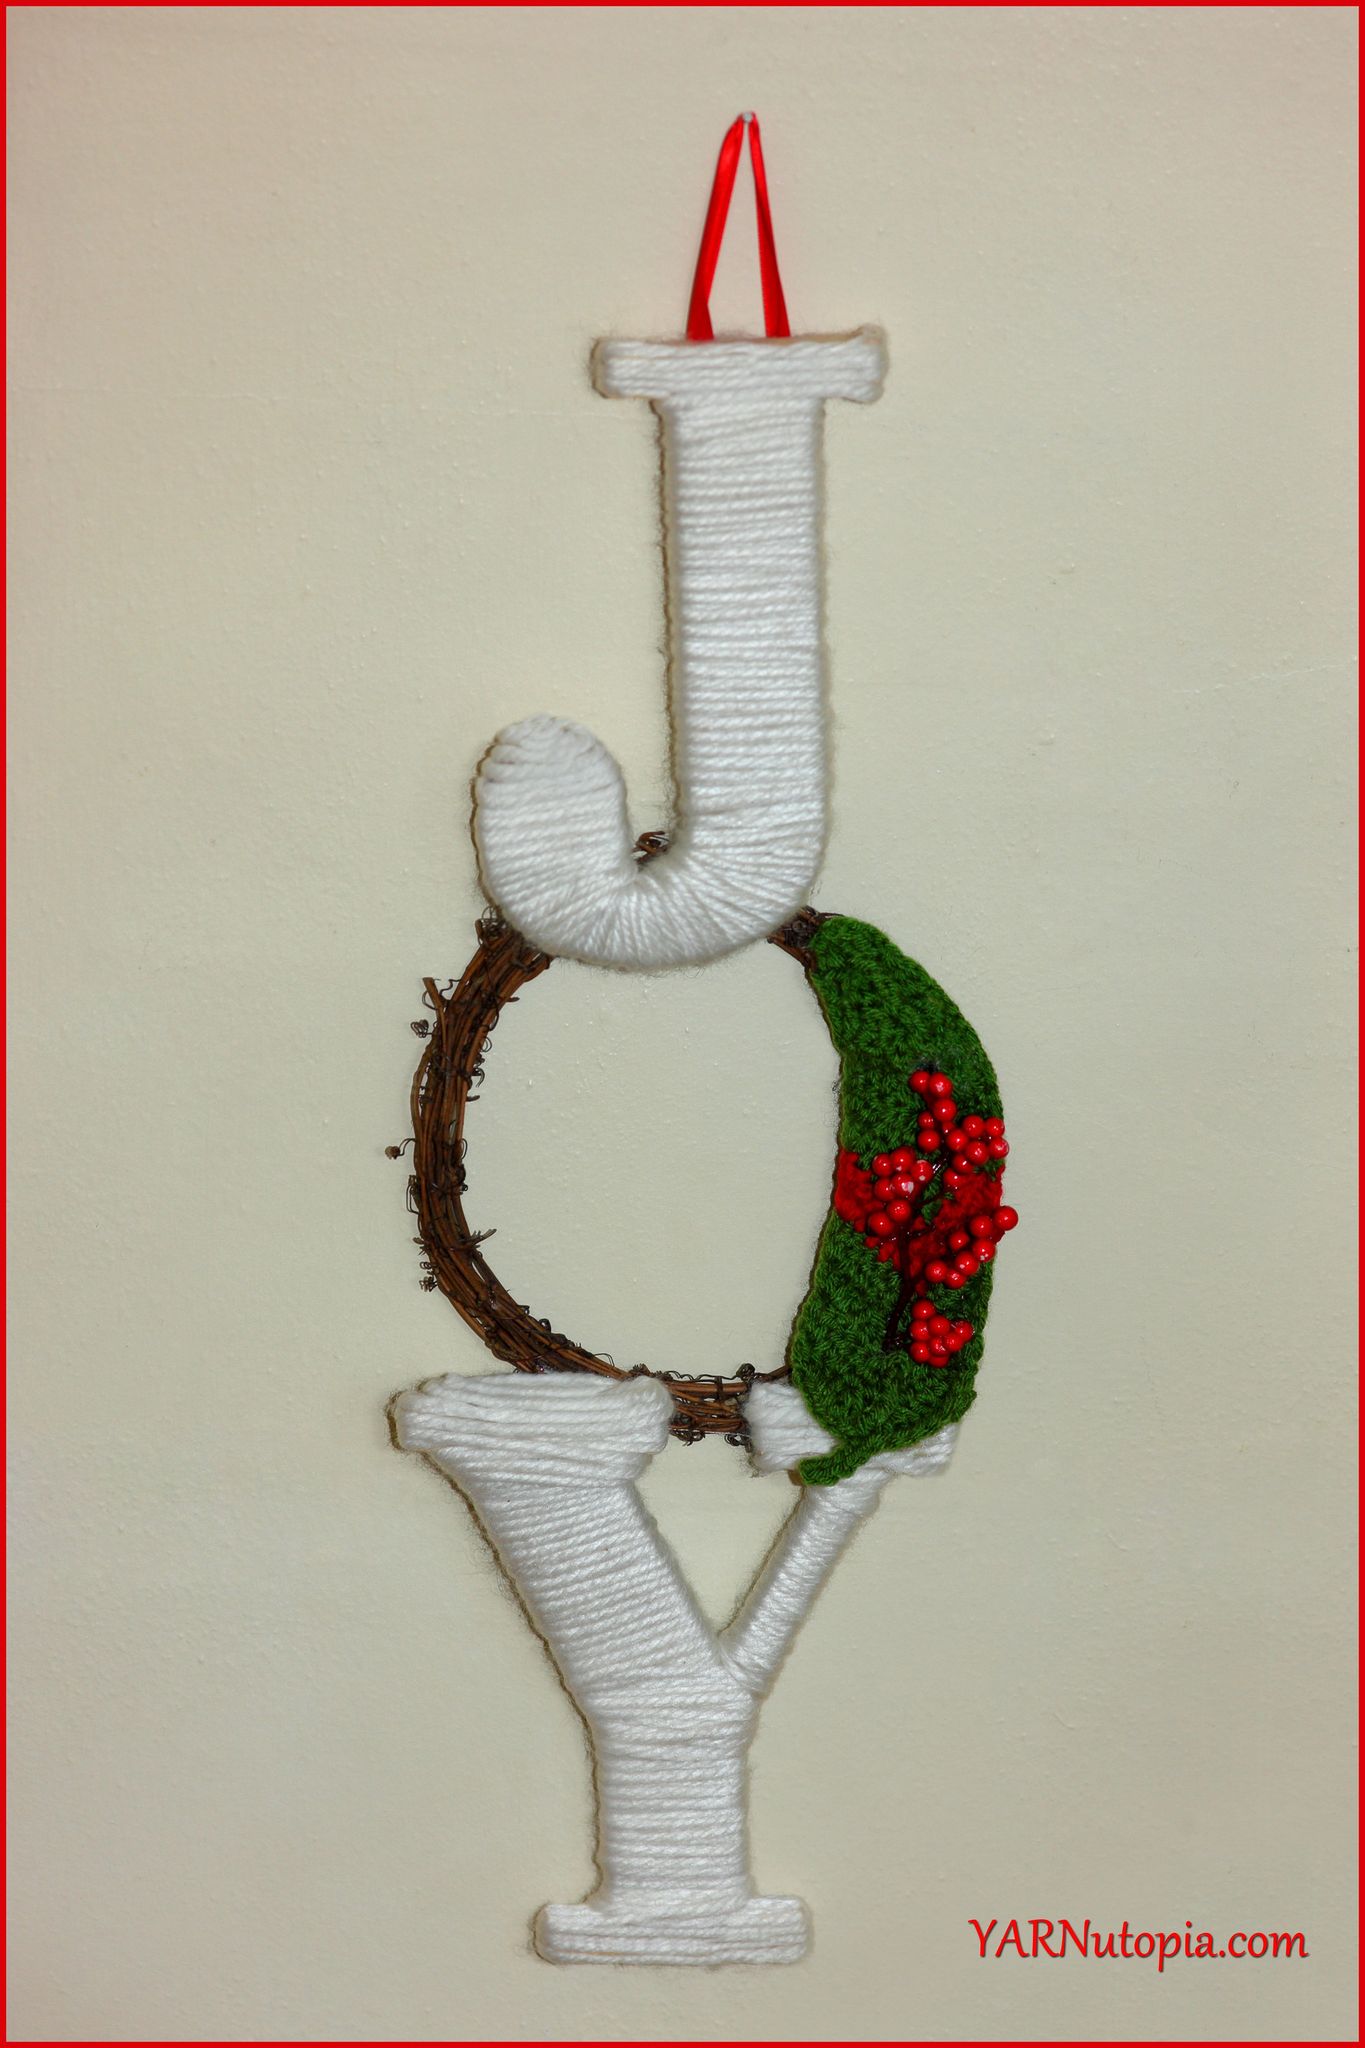
12 Days of Christmas: Festive Holiday JOY Wall Hanging (Photo Tutorial)
12 Days of Christmas: Shell Stitch Fingerless Gloves FREE CROCHET PATTERN
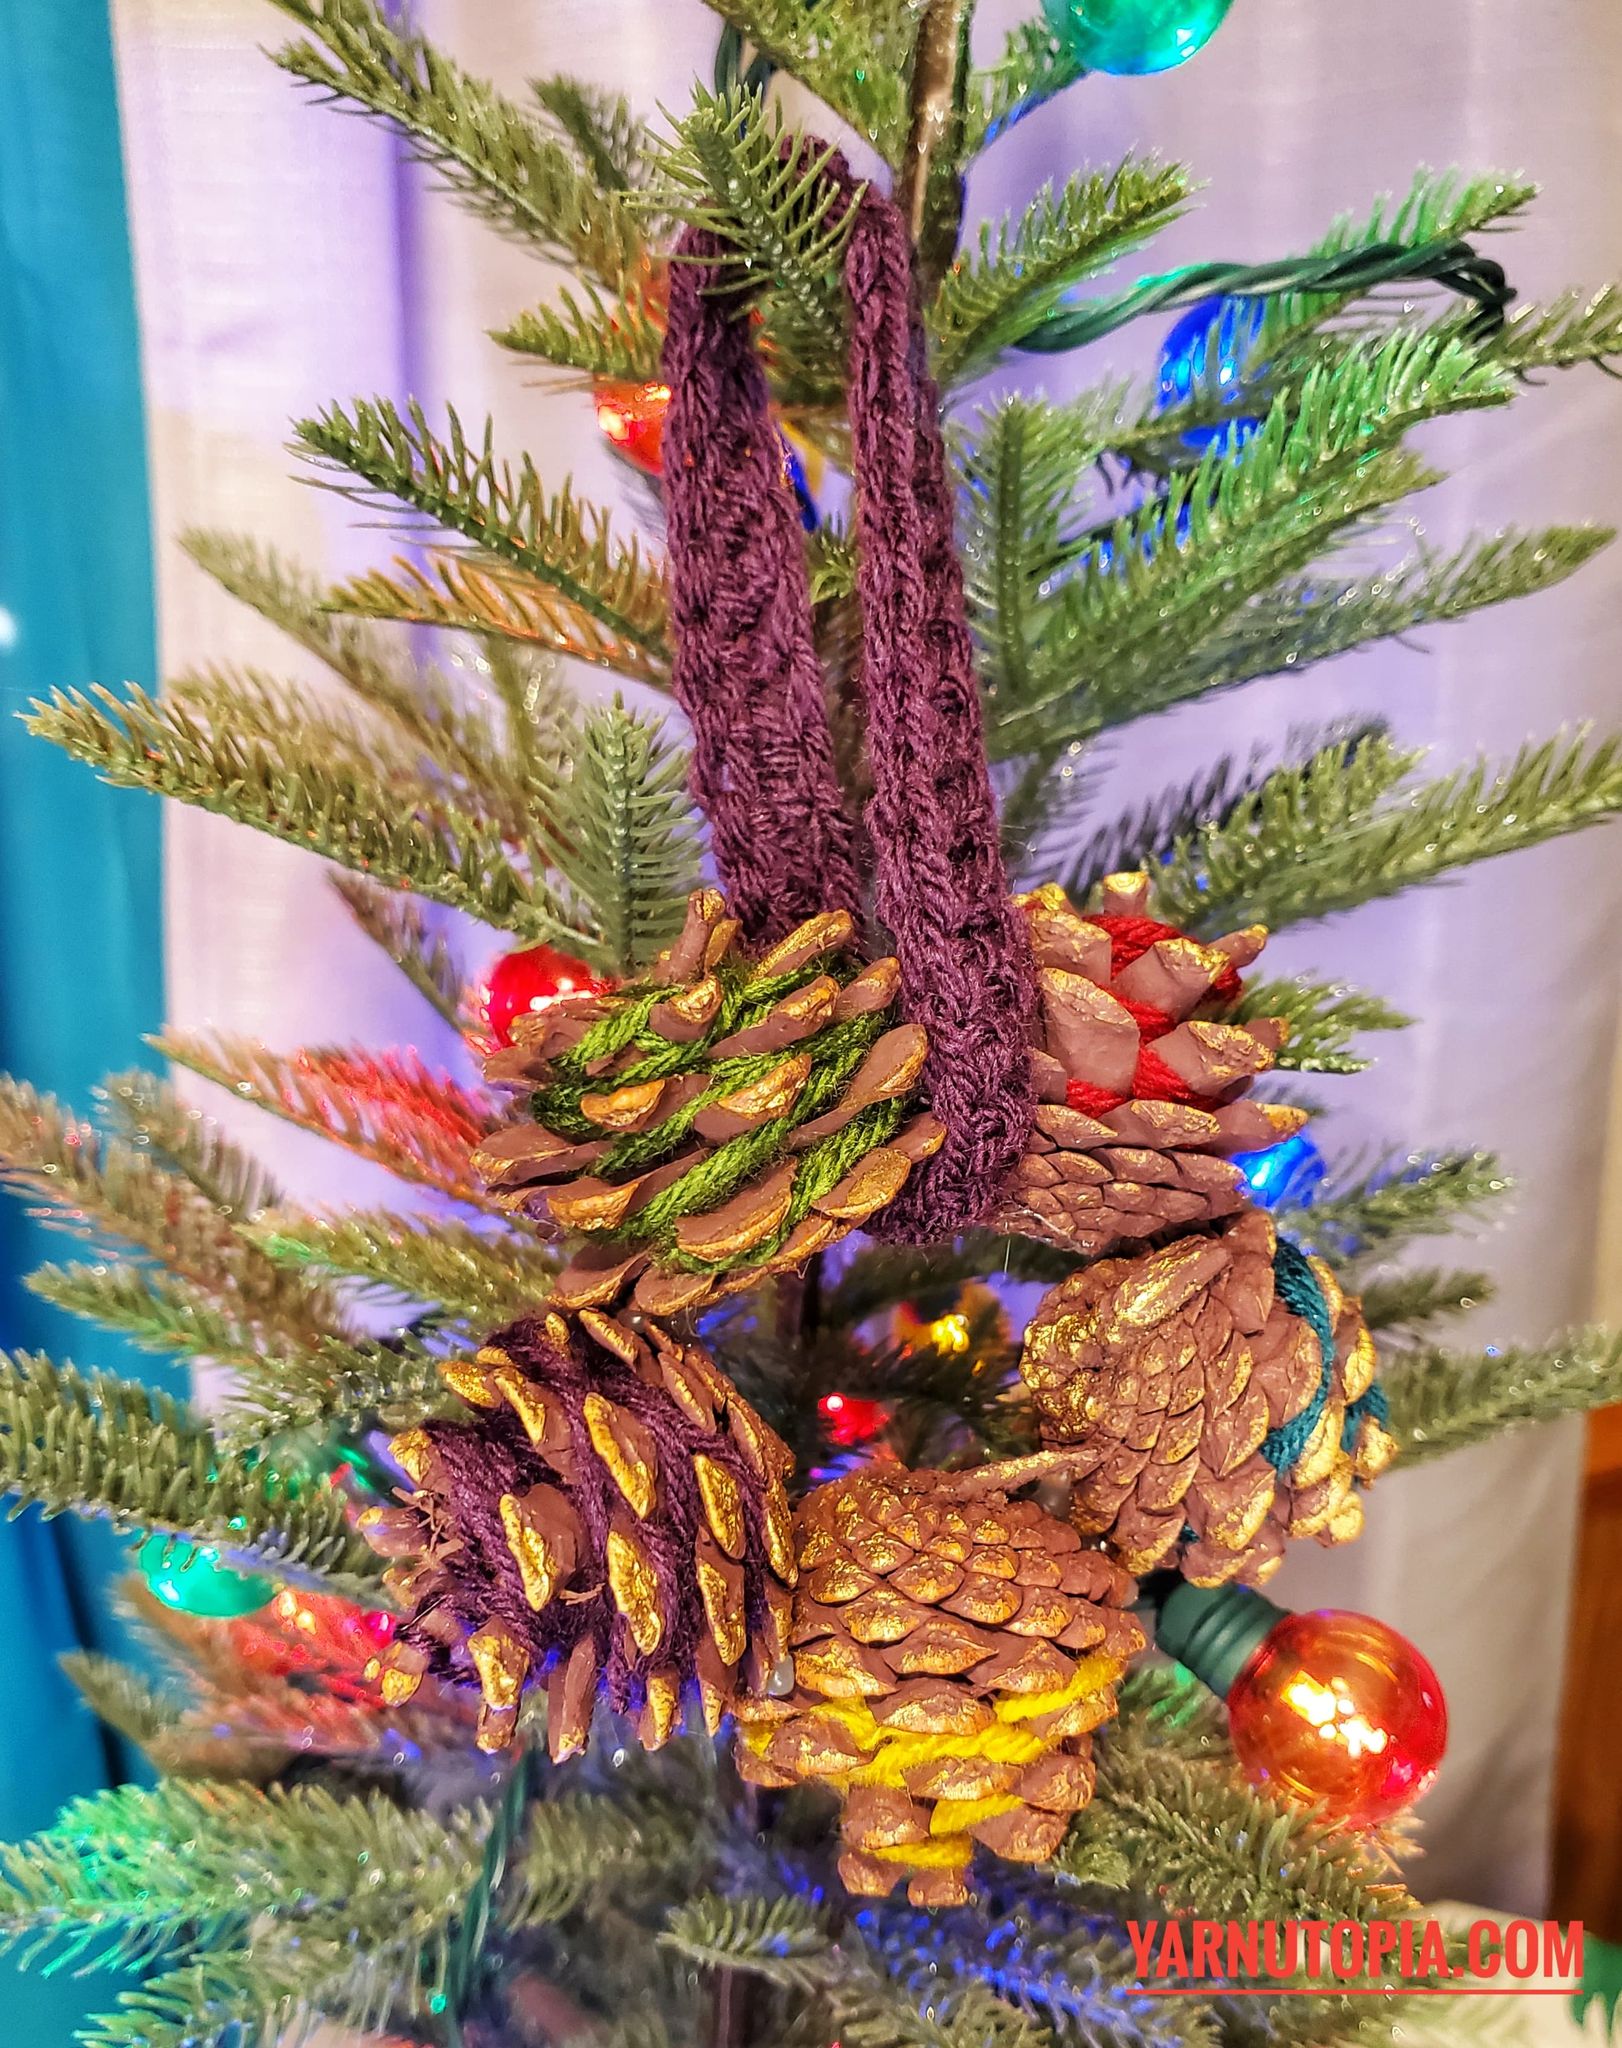
12 Days of Christmas: Pine Cone Wreath Ornament
12 Days of Christmas: Snowman Coasters
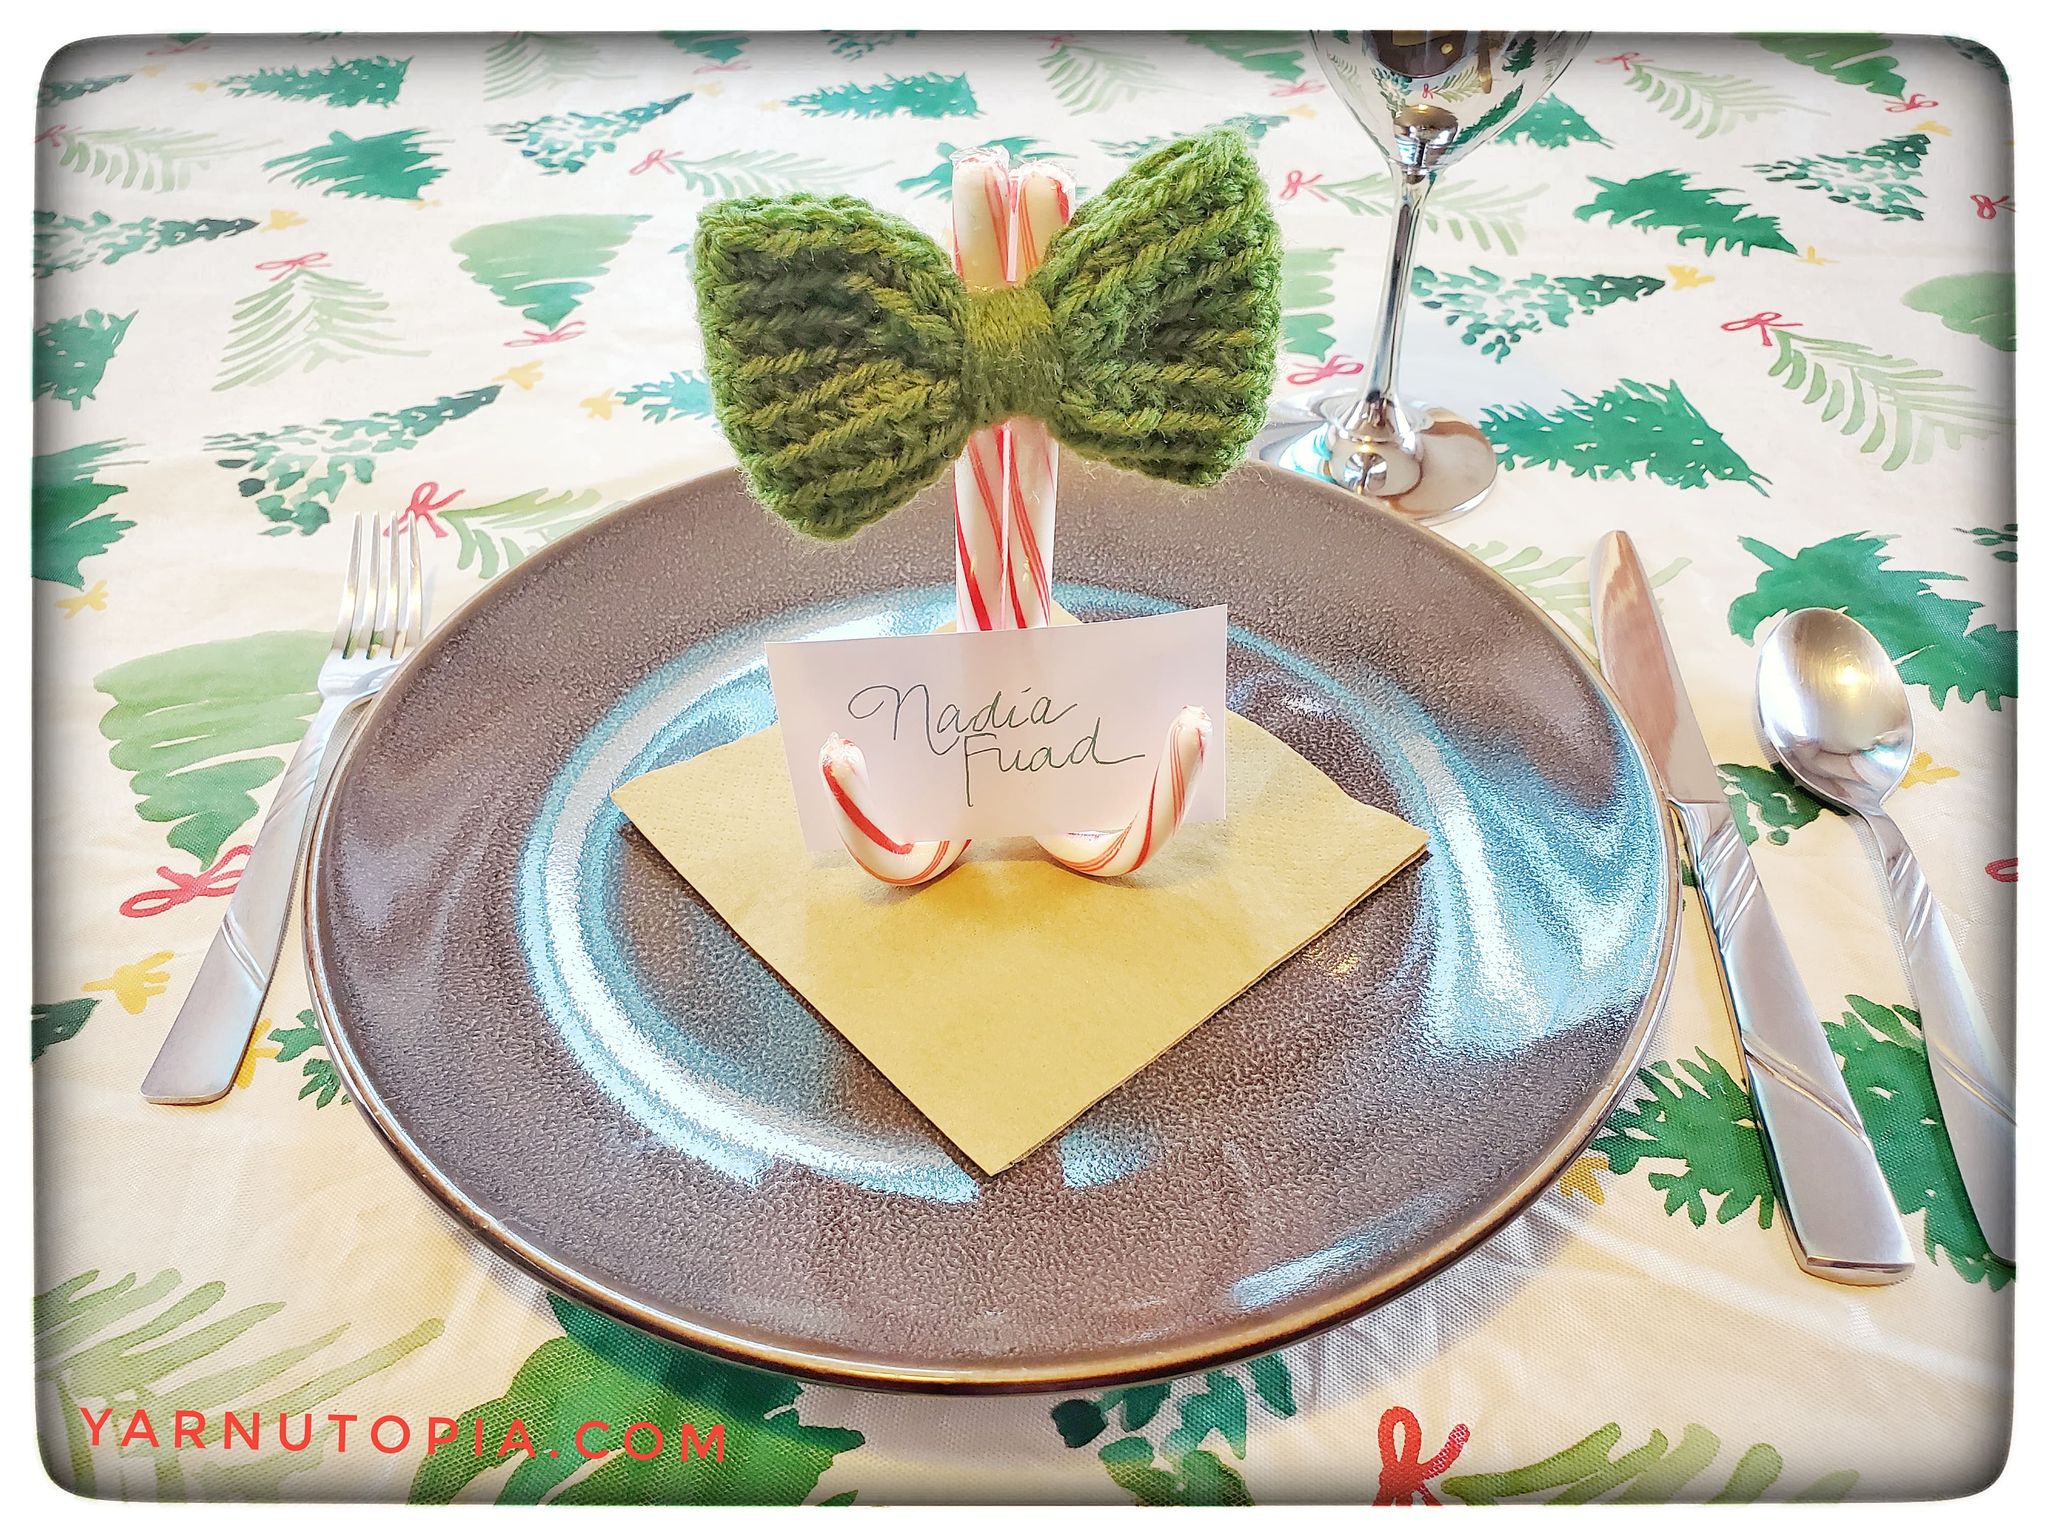
12 Days of Christmas: Candy Cane Place-card Holder with a Bow
FREE Crochet Video Tutorial: Blaze Orange Woodsman Hat
FREE Written Crochet Pattern: Blaze Orange Woodsman Hat
Happy Halloween 2020
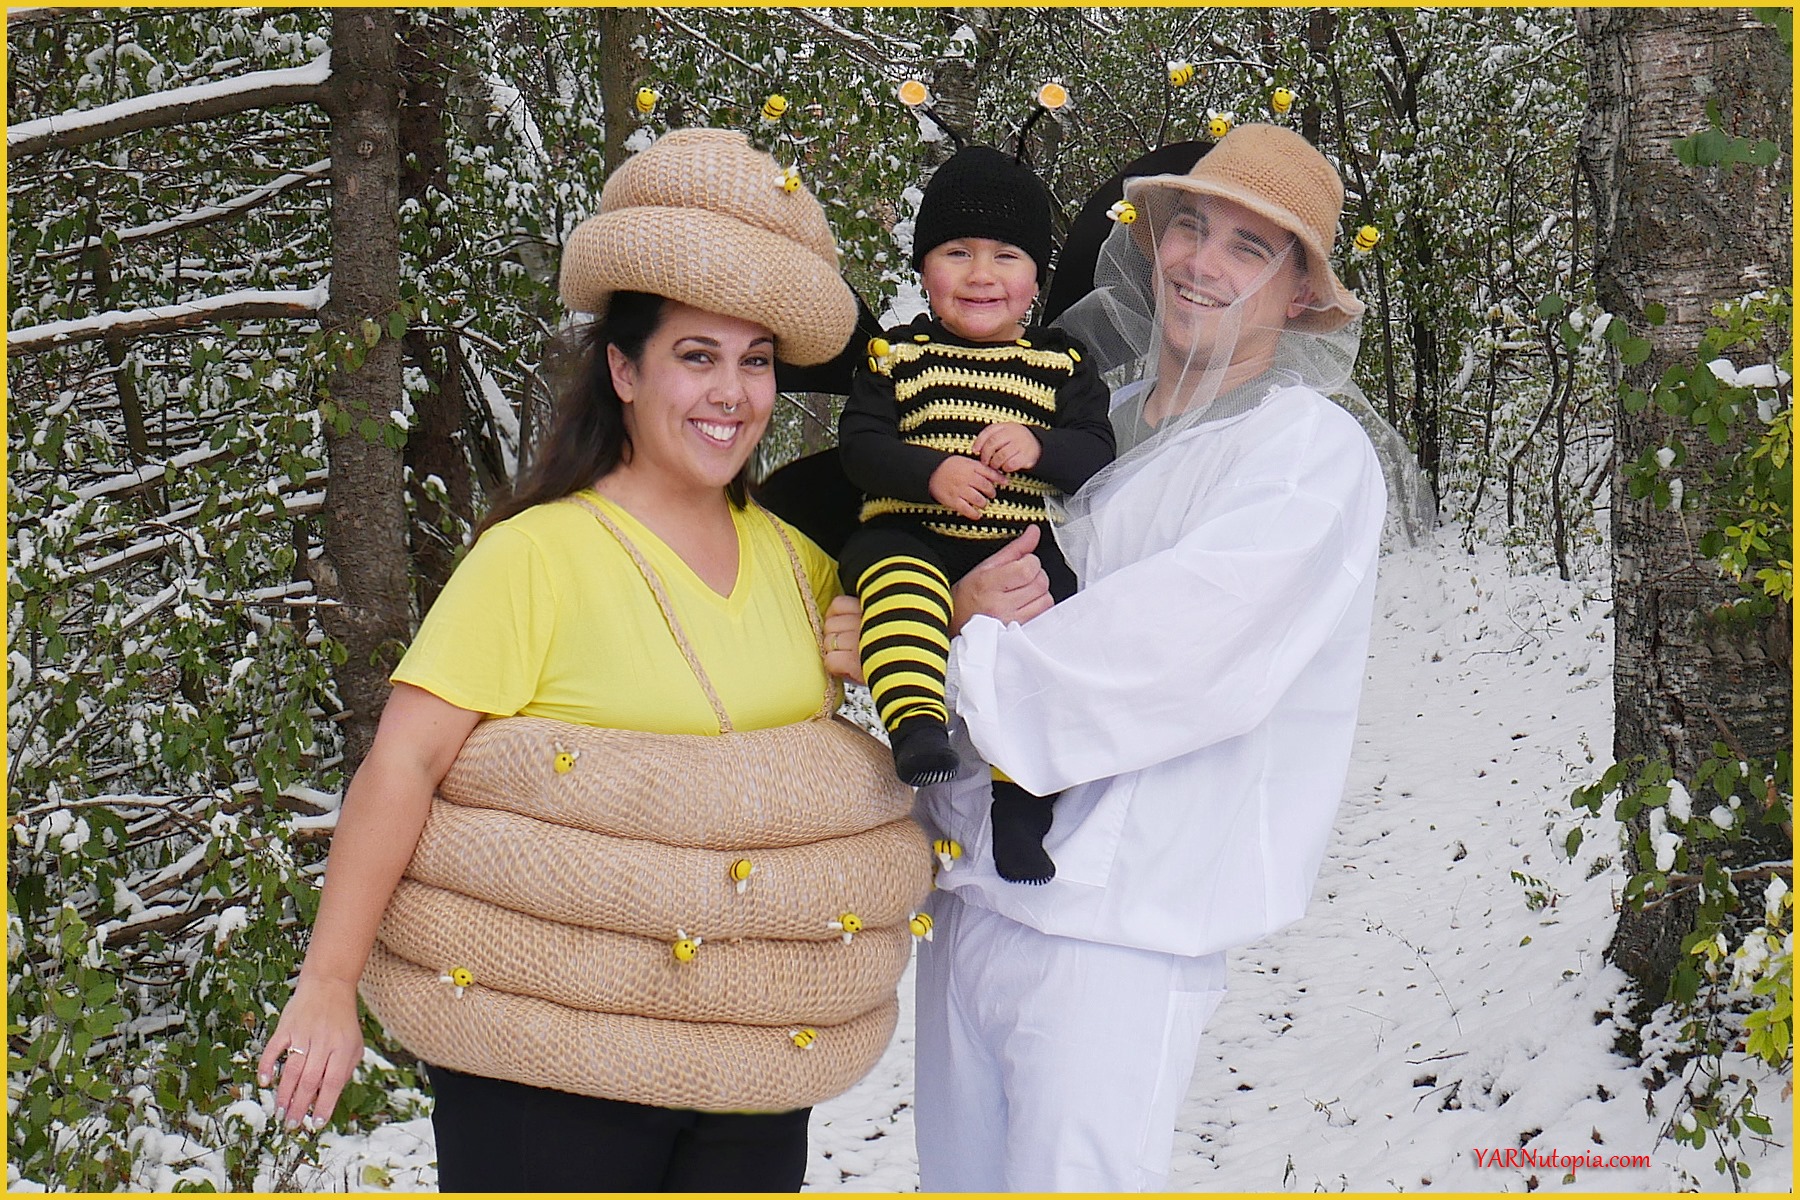
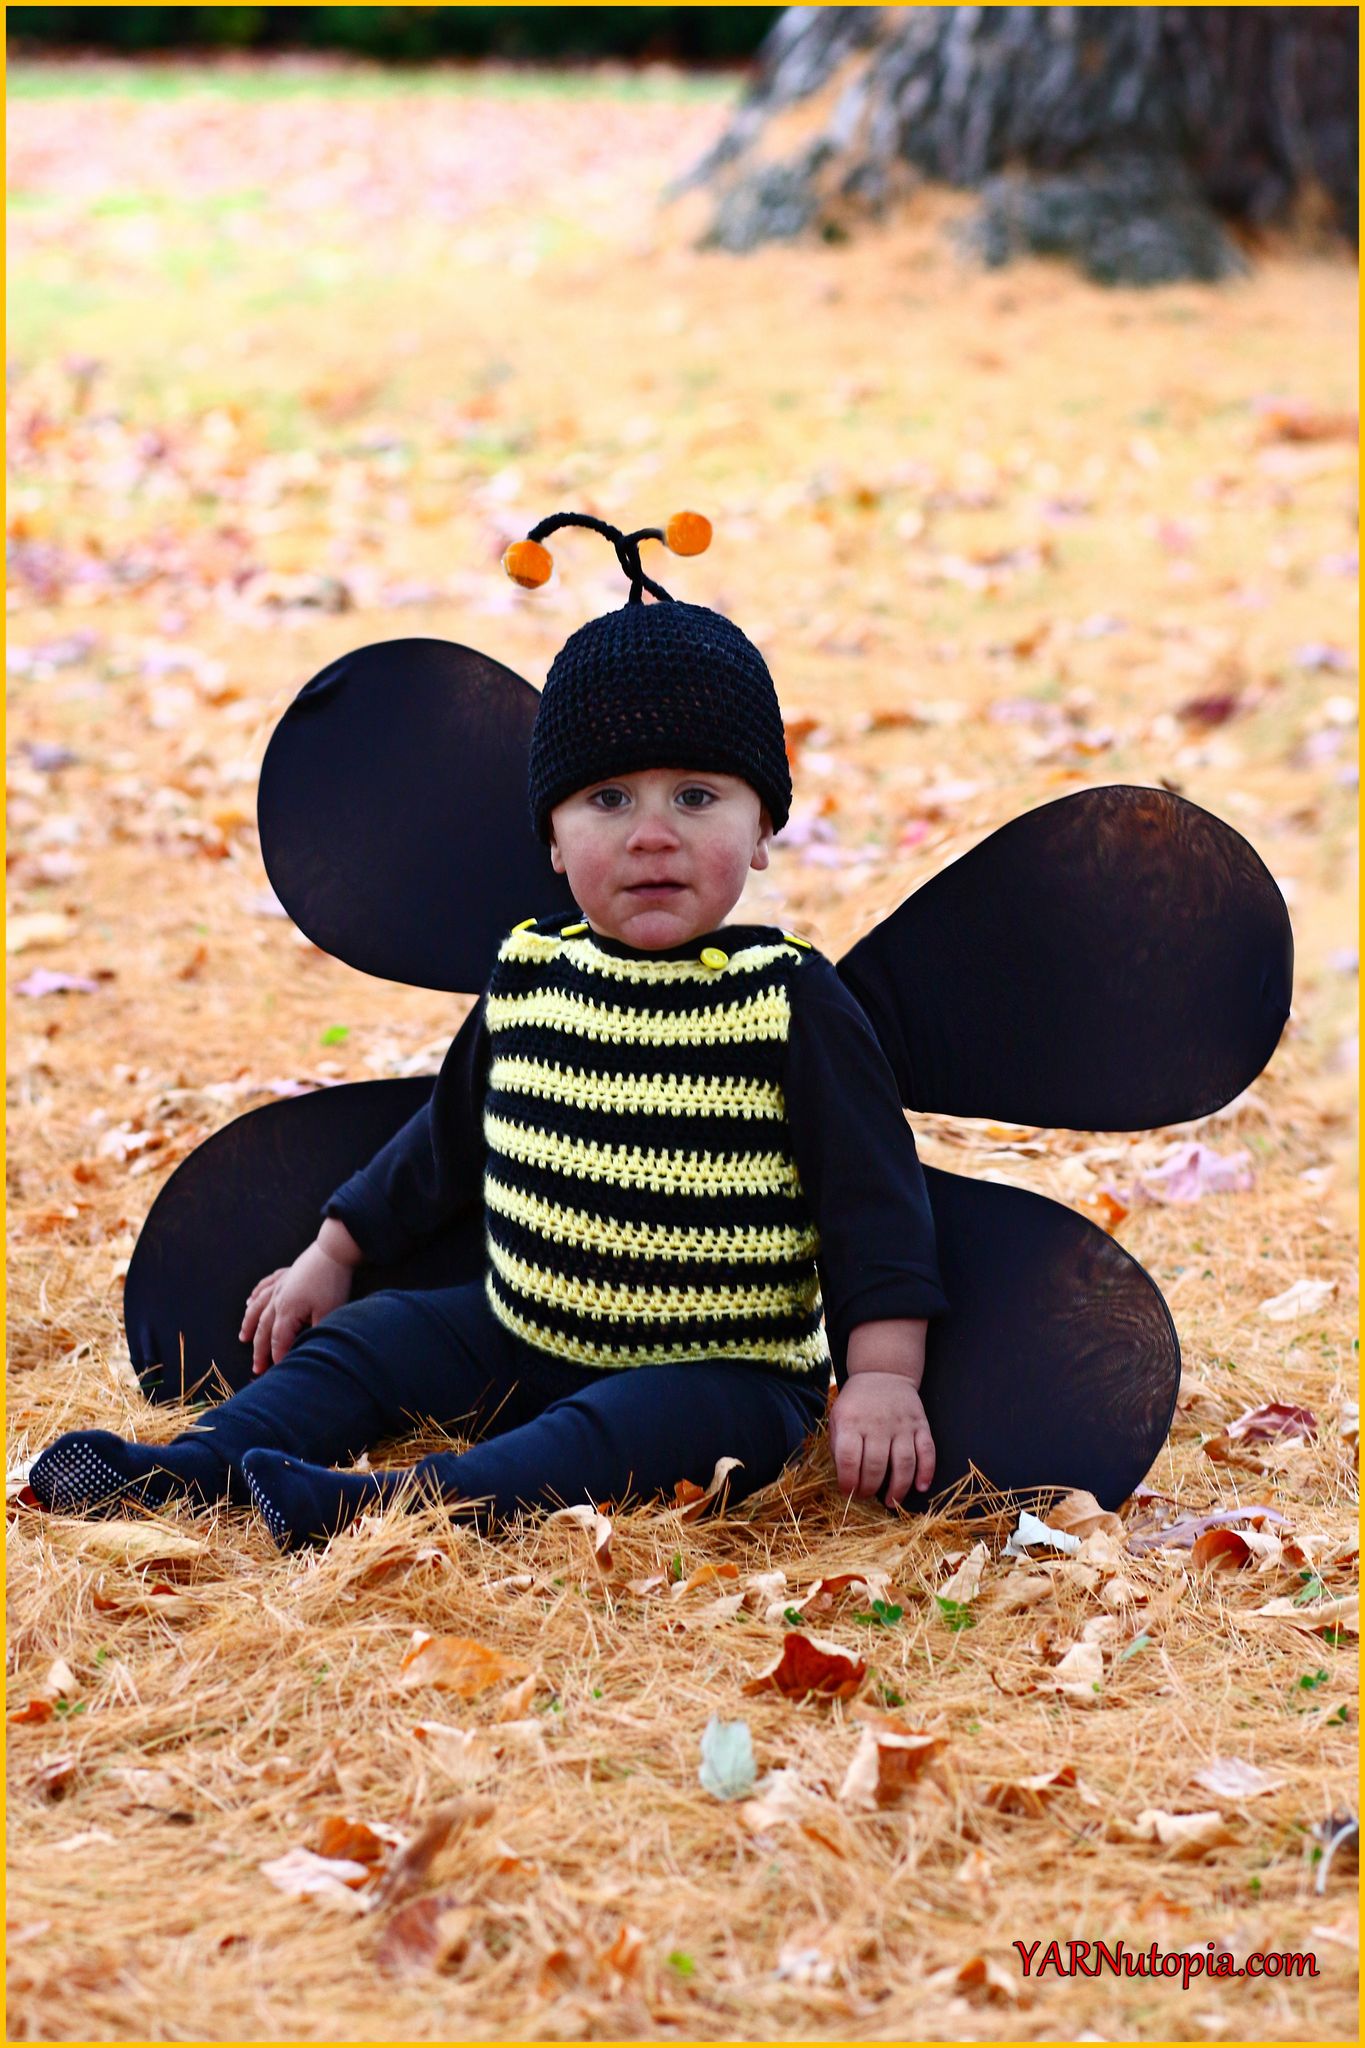
FREE Crochet Video Tutorial: Bumble Bee Romper and Beanie Costume
FREE Written Crochet Pattern: Bumble Bee Romper and Beanie Costume
FREE Written Crochet Pattern: Mystery Medley Tote Bag
FREE Written Crochet Pattern: Bundle Up Dog Sweater
FREE Crochet Video Tutorial: Stadium Pom Beanie
FREE Written Crochet Pattern: Stadium Pom Beanie
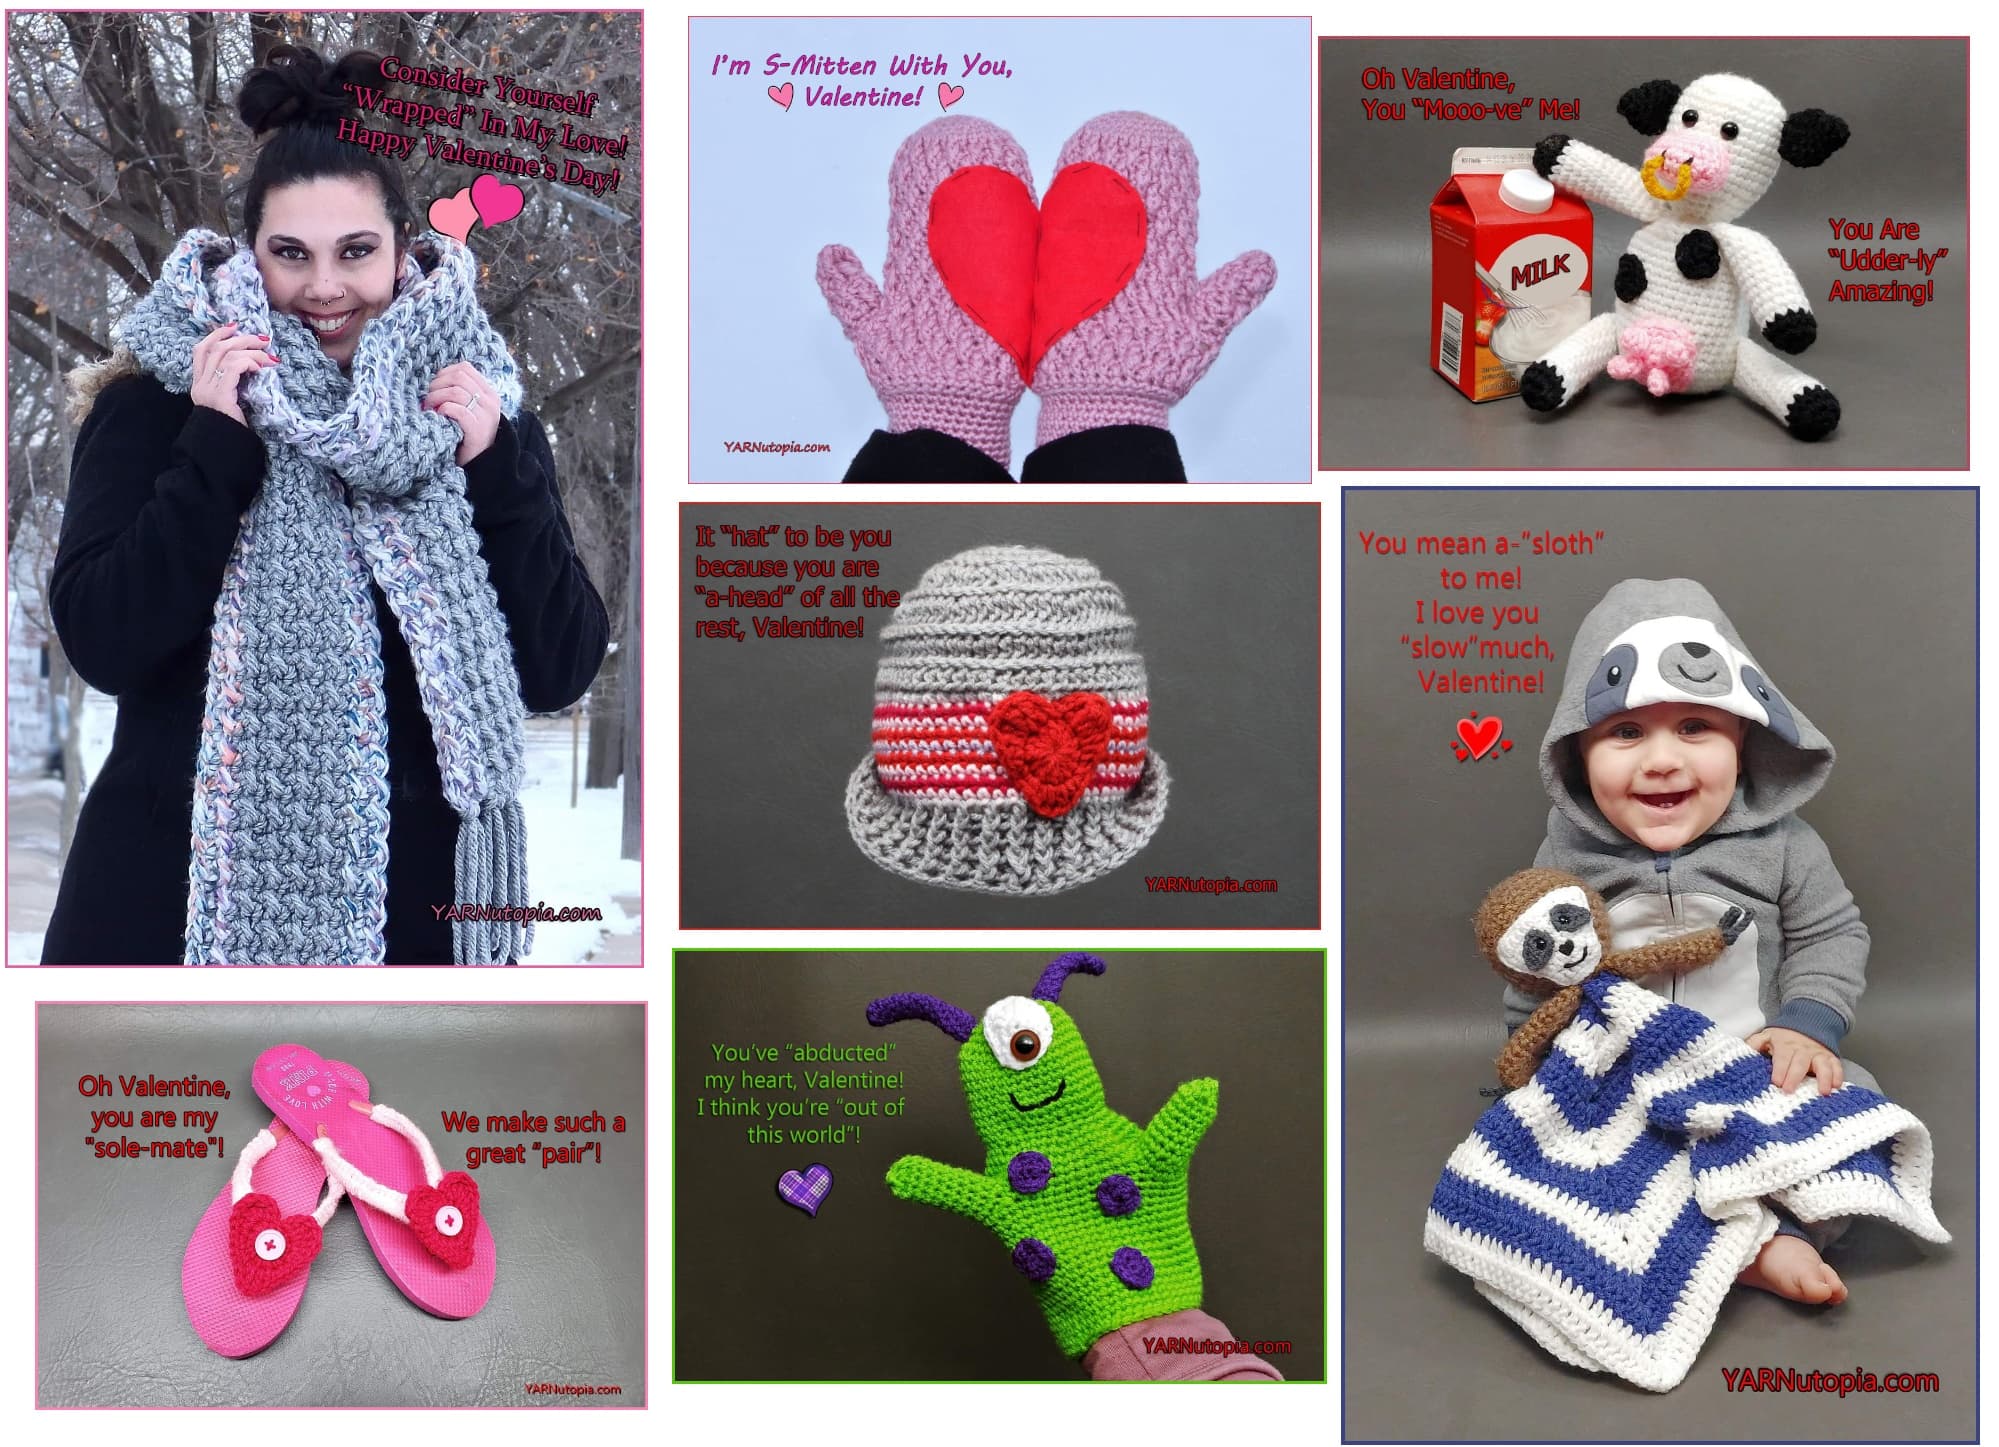
My Punny Valentine – Happy Valentine’s Day!
FREE Written Crochet Pattern: Alpine Stitch Mittens
12 Days of Christmas 2019
12 Days of Christmas: Simple Stocking Hat – FREE Crochet Video Tutorial
12 Days of Christmas: Simple Stocking Hat – FREE Written Crochet Pattern
12 Days of Christmas: Bow & Bauble Door Hanging – Photo Tutorial
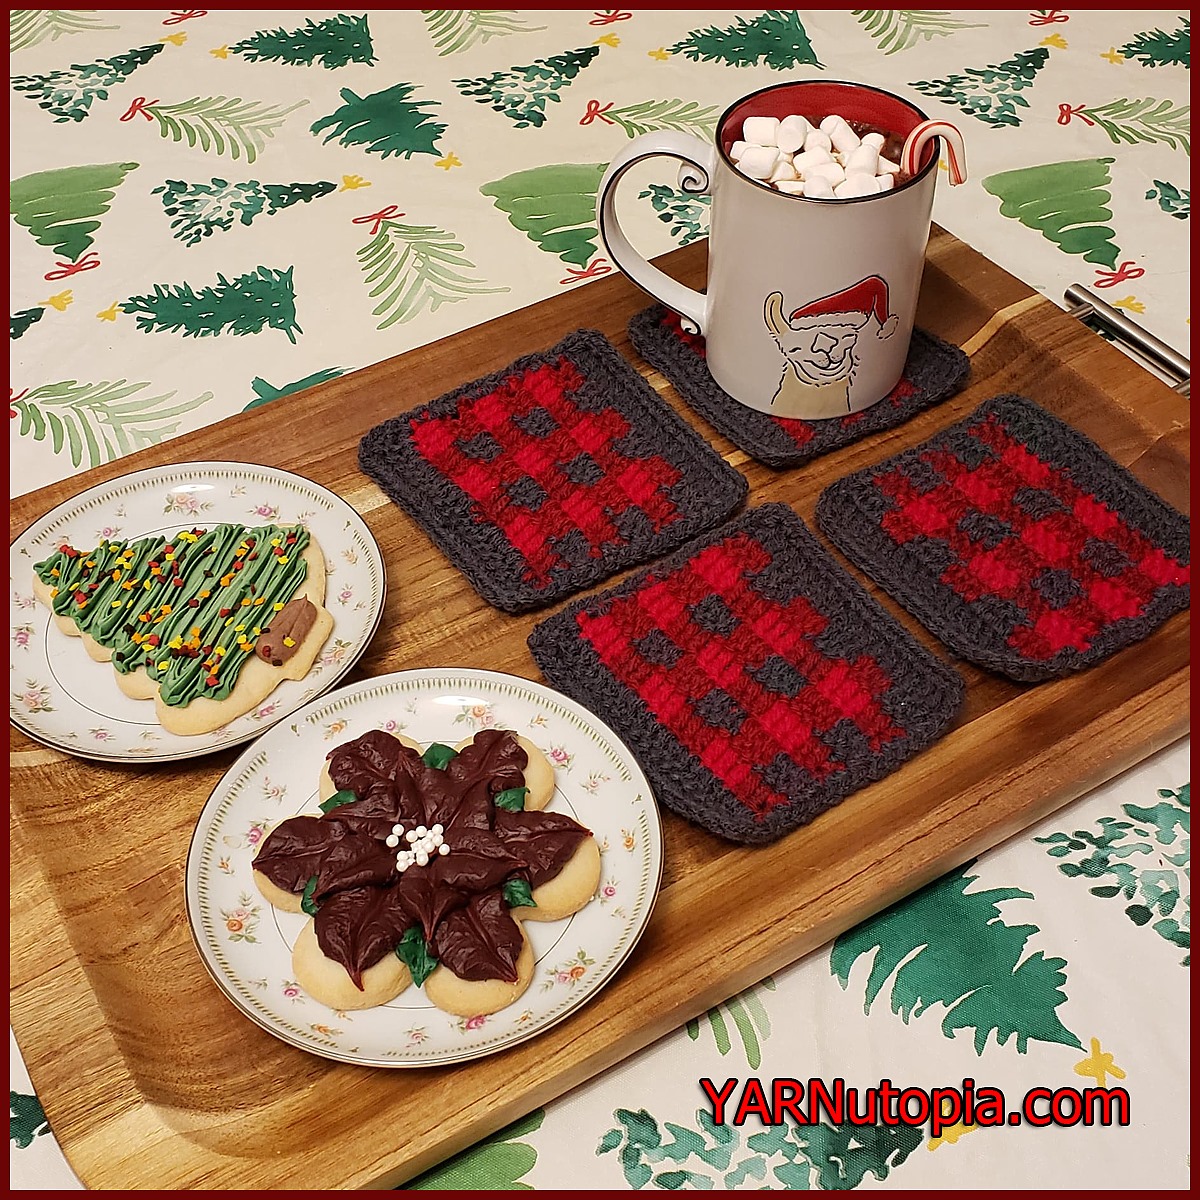
12 Days of Christmas: Buffalo Plaid Coasters – FREE Crochet Video Tutorial
12 Days of Christmas: Buffalo Plaid Coasters – FREE Written Crochet Pattern
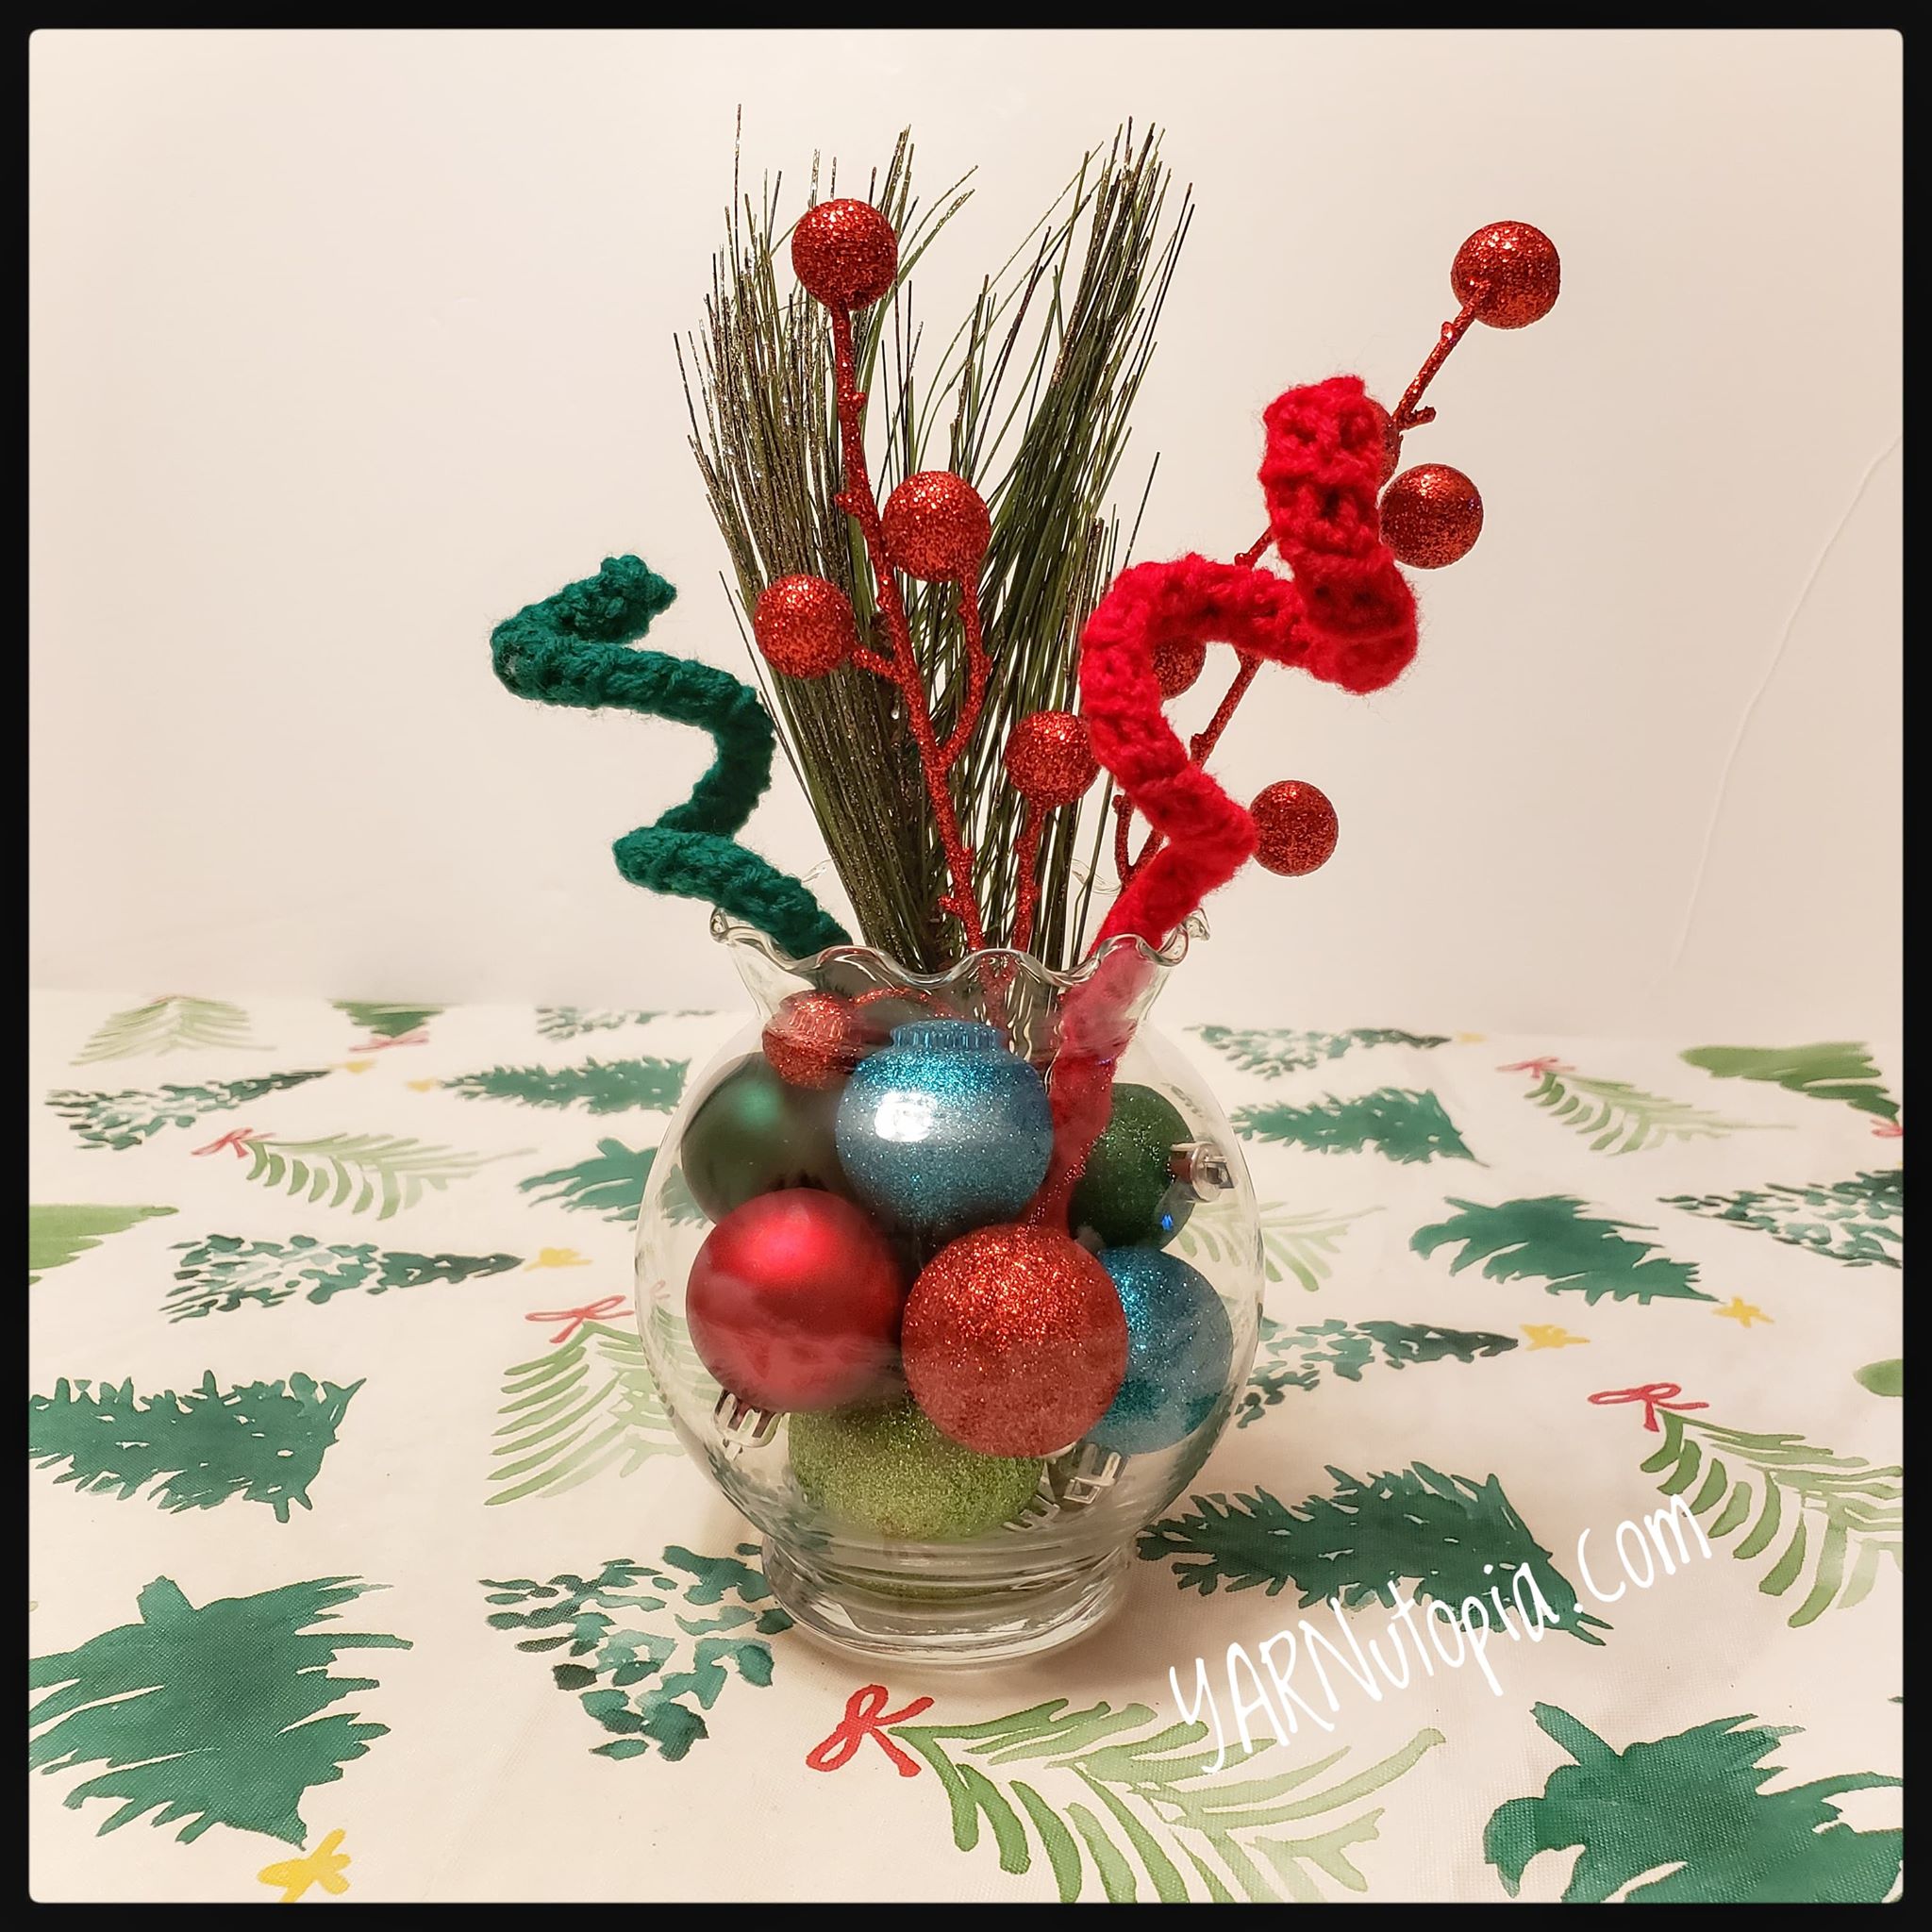
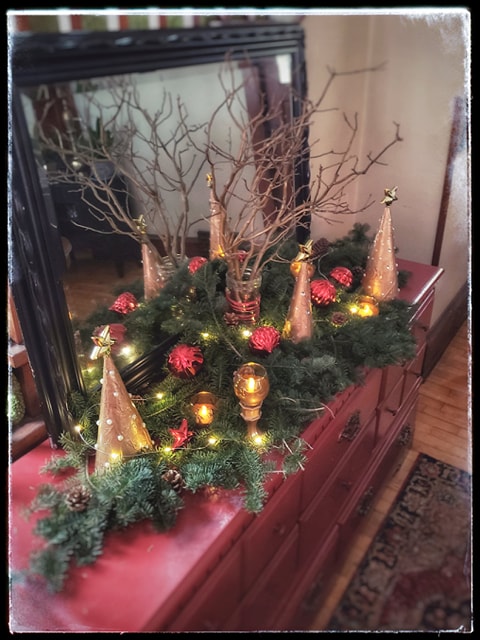
12 Days of Christmas: Holiday Centerpiece
St. Jude’s & Dollar General Holiday Decorating Challenge Collab
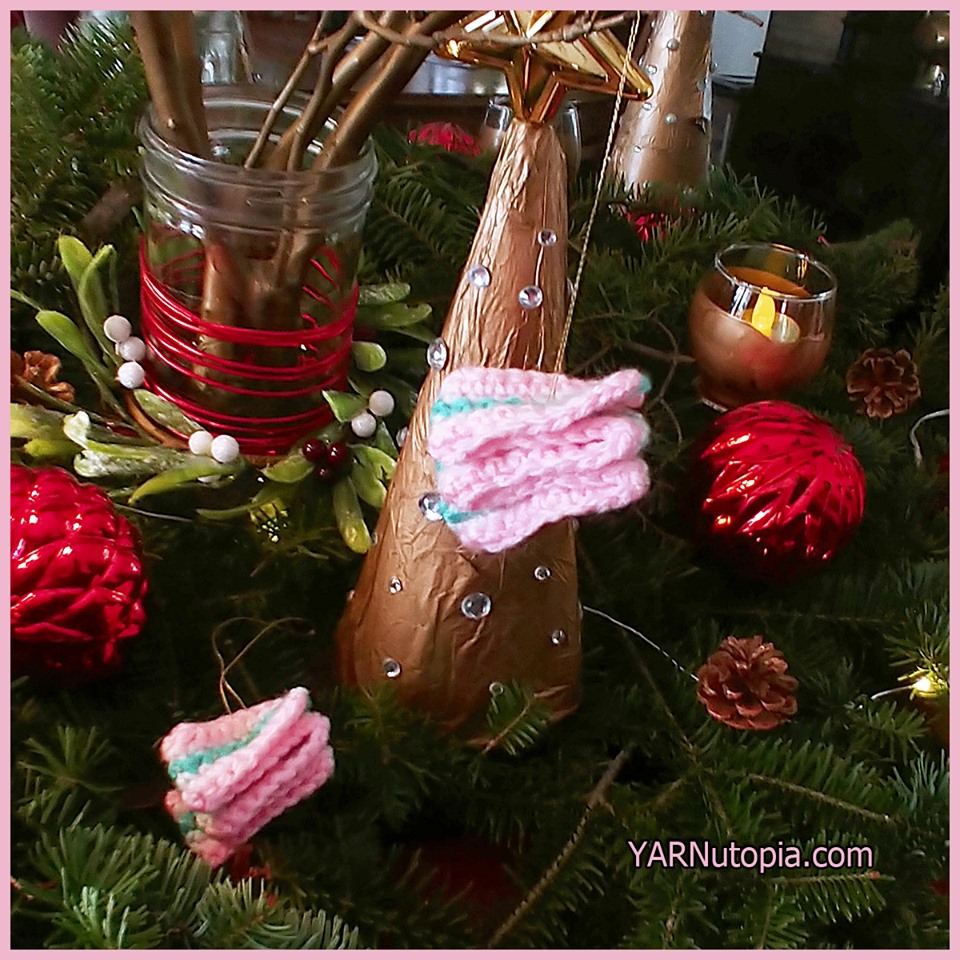
12 Days of Christmas: Candy Curl Swirl Ornament – FREE Written Crochet Pattern and Video Tutorial
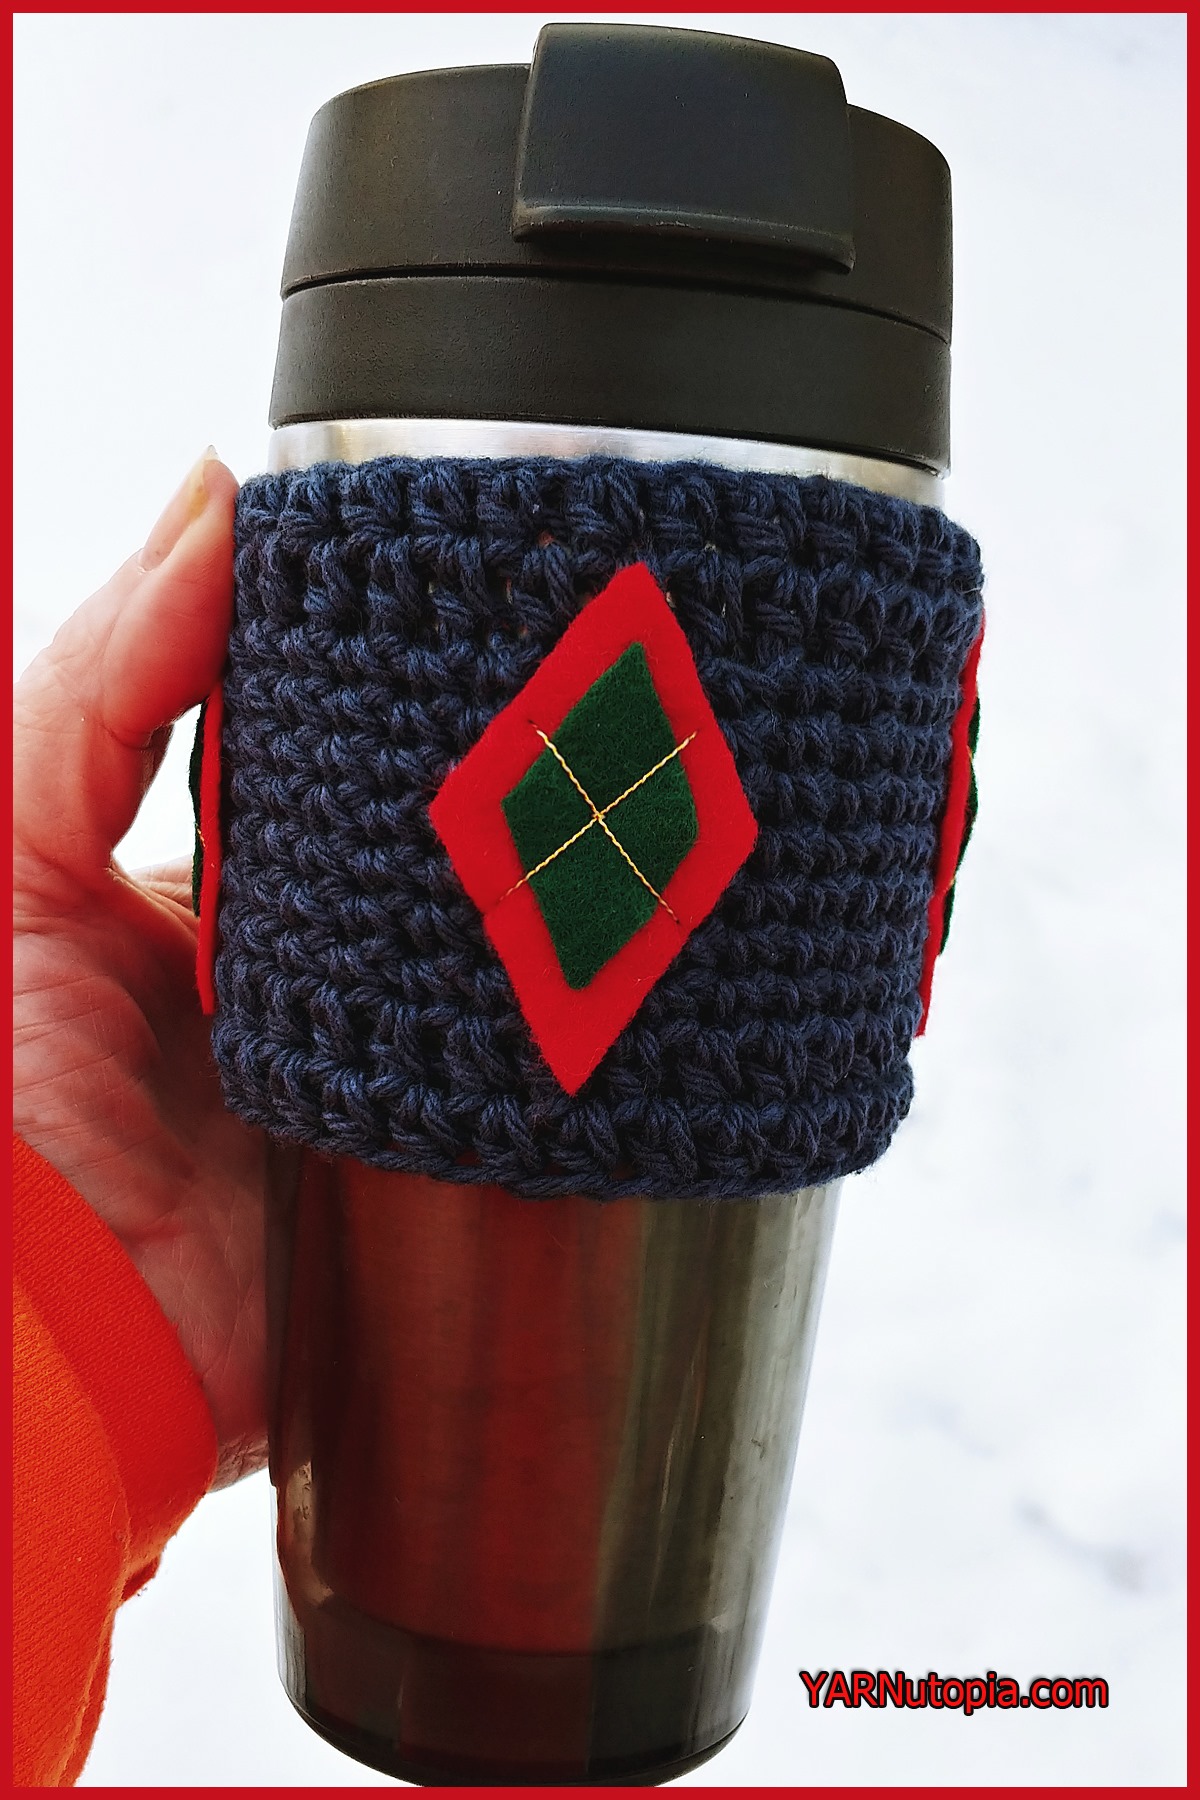
12 Days of Christmas: Argyle Cup Cozy – FREE Crochet Video Tutorial
12 Days of Christmas: Argyle Cup Cozy – FREE Written Crochet Pattern
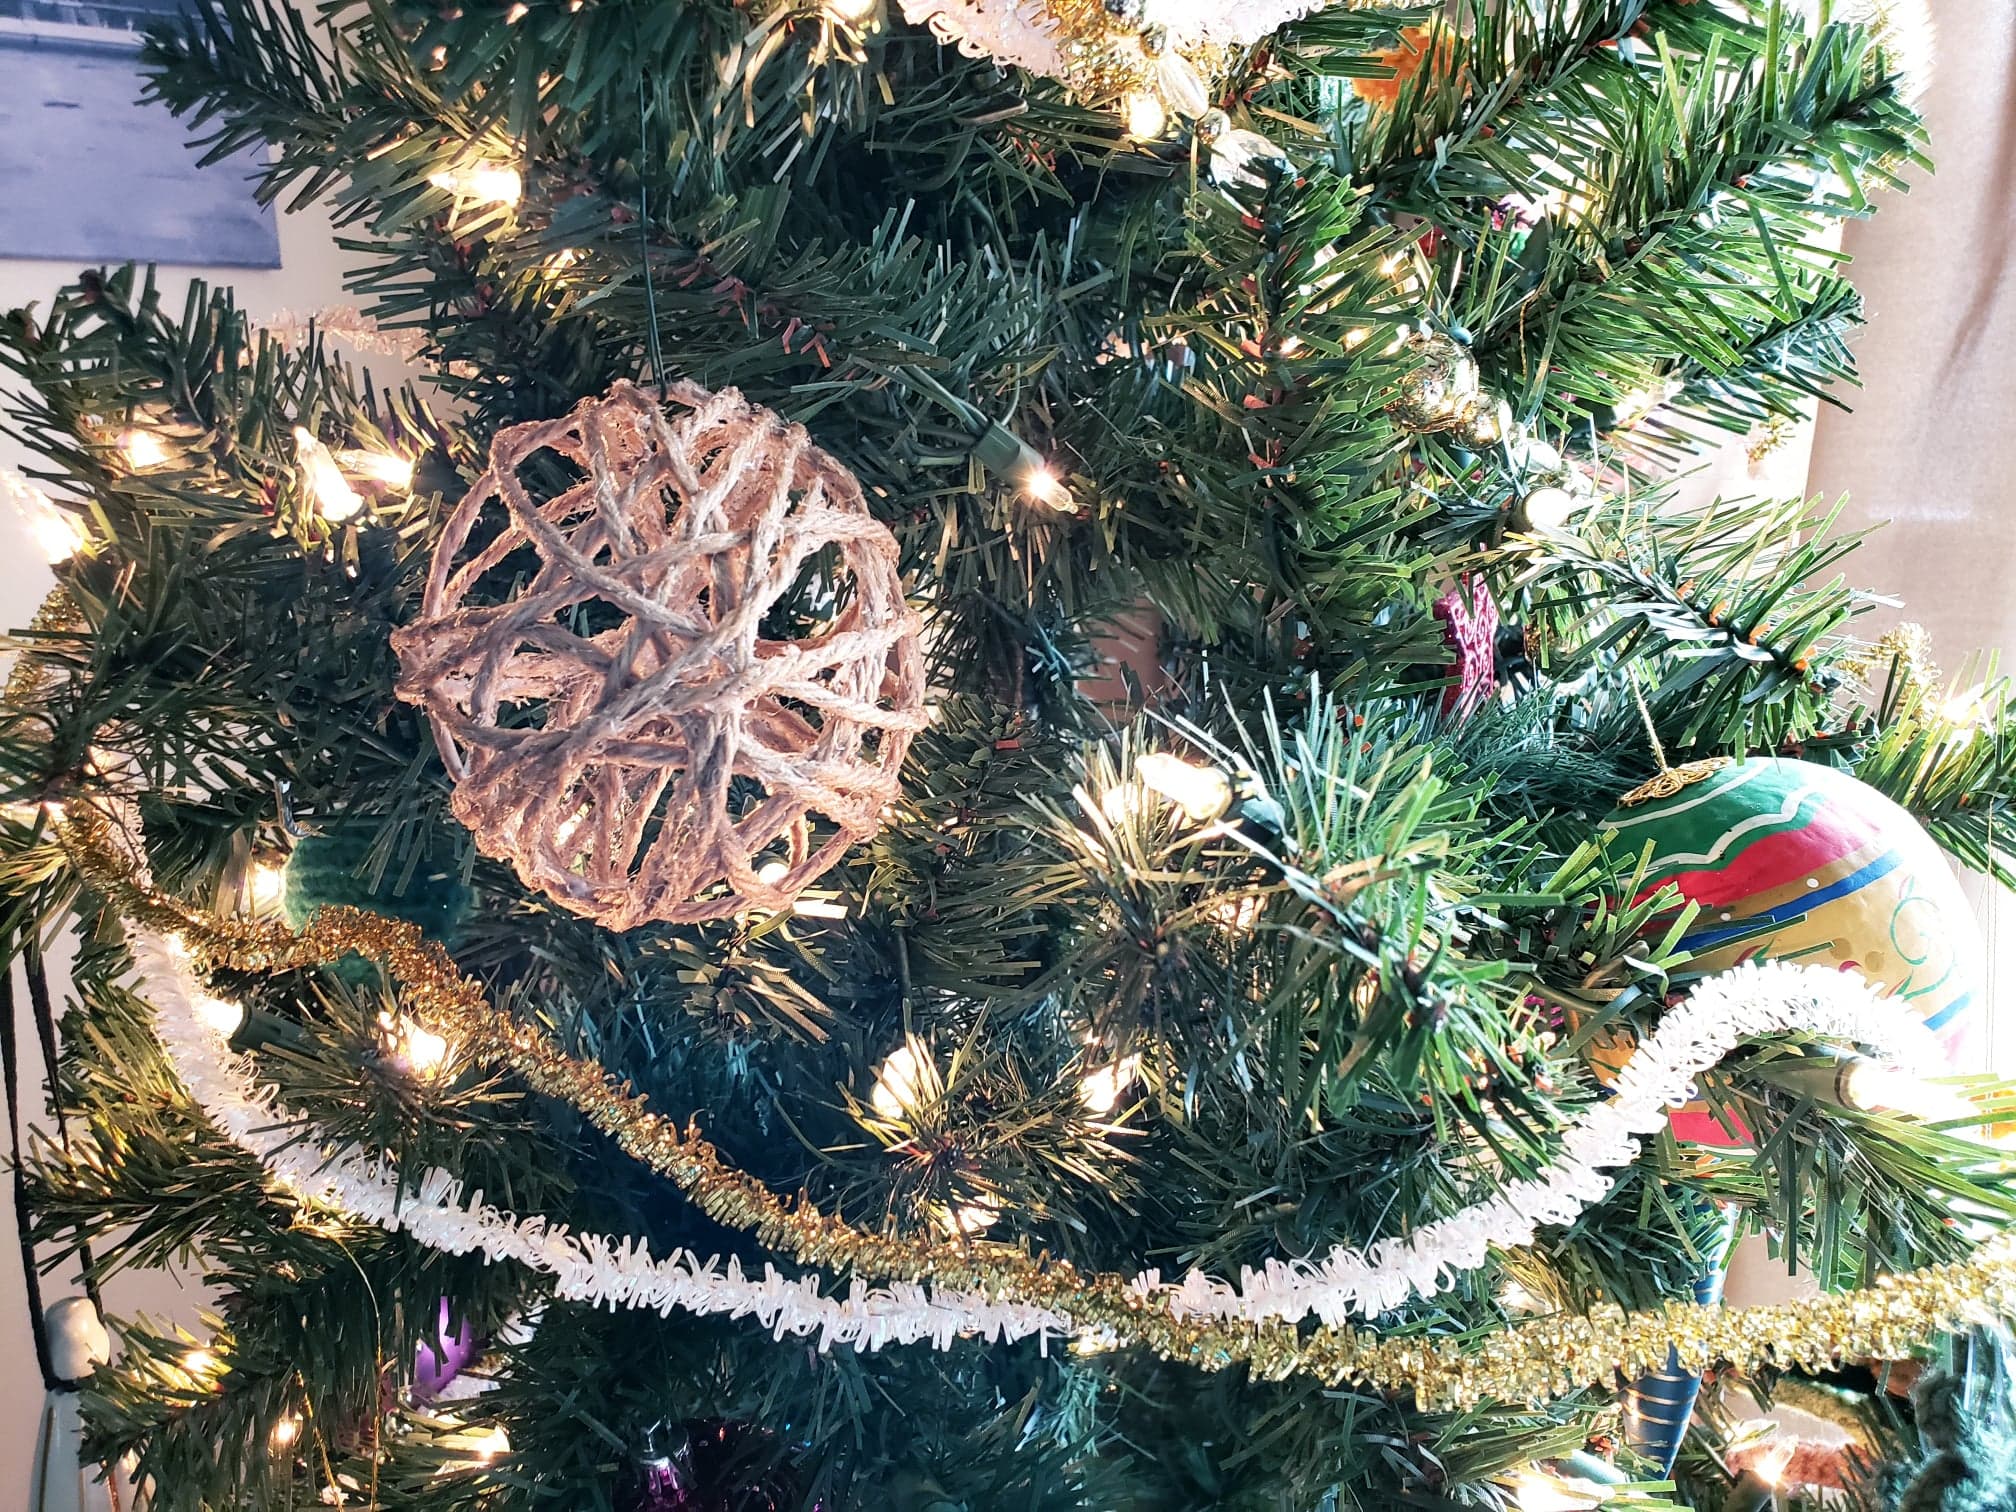
12 Days of Christmas: Rustic Holiday Decoration – Step by Step Photo Tutorial
12 Days of Christmas: Beanie with Bling – FREE Crochet Video Tutorial
12 Days of Christmas: Beanie with Bling – FREE Written Crochet Pattern
12 Days of Christmas: Winding Ribbon Tree Ornament – Photo Tutorial
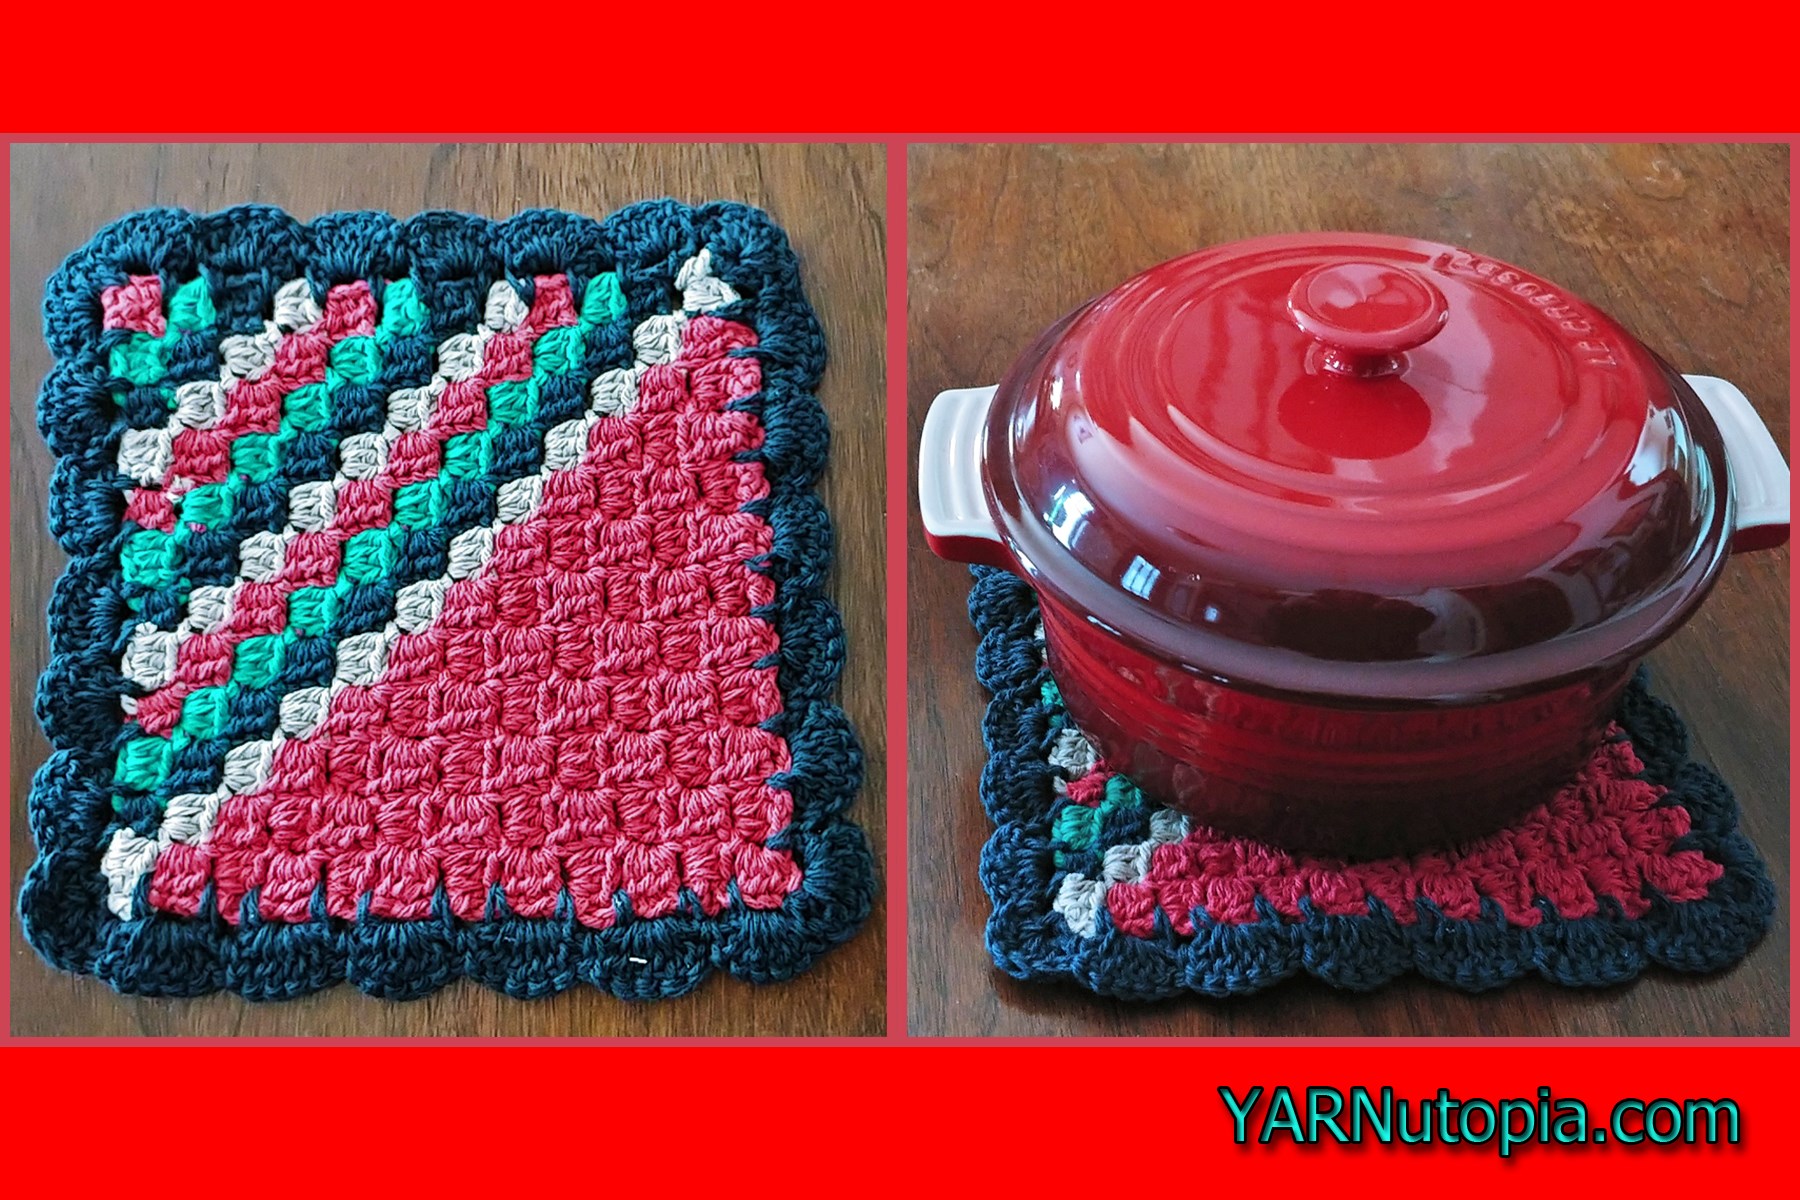
12 Days of Christmas: Corner to Corner (C2C) Holiday Hot Pad – FREE Crochet Video Tutorial
1
2
3
4
Next Page
Loading Comments...
Write a Comment...
Email (Required)
Name (Required)
Website