Skip to content
YARNutopia & M0re
All things Yarn Related: Crochet, DIY, and Crafts
Blog
365 Days of Granny Squares
Stitch Gallery & Glossary
Crochet Video Tutorials
Frequently Asked Questions
Crochet Glossary: Learn the Lingo
Contact
Search
Search
holiday
YARNutoia & More
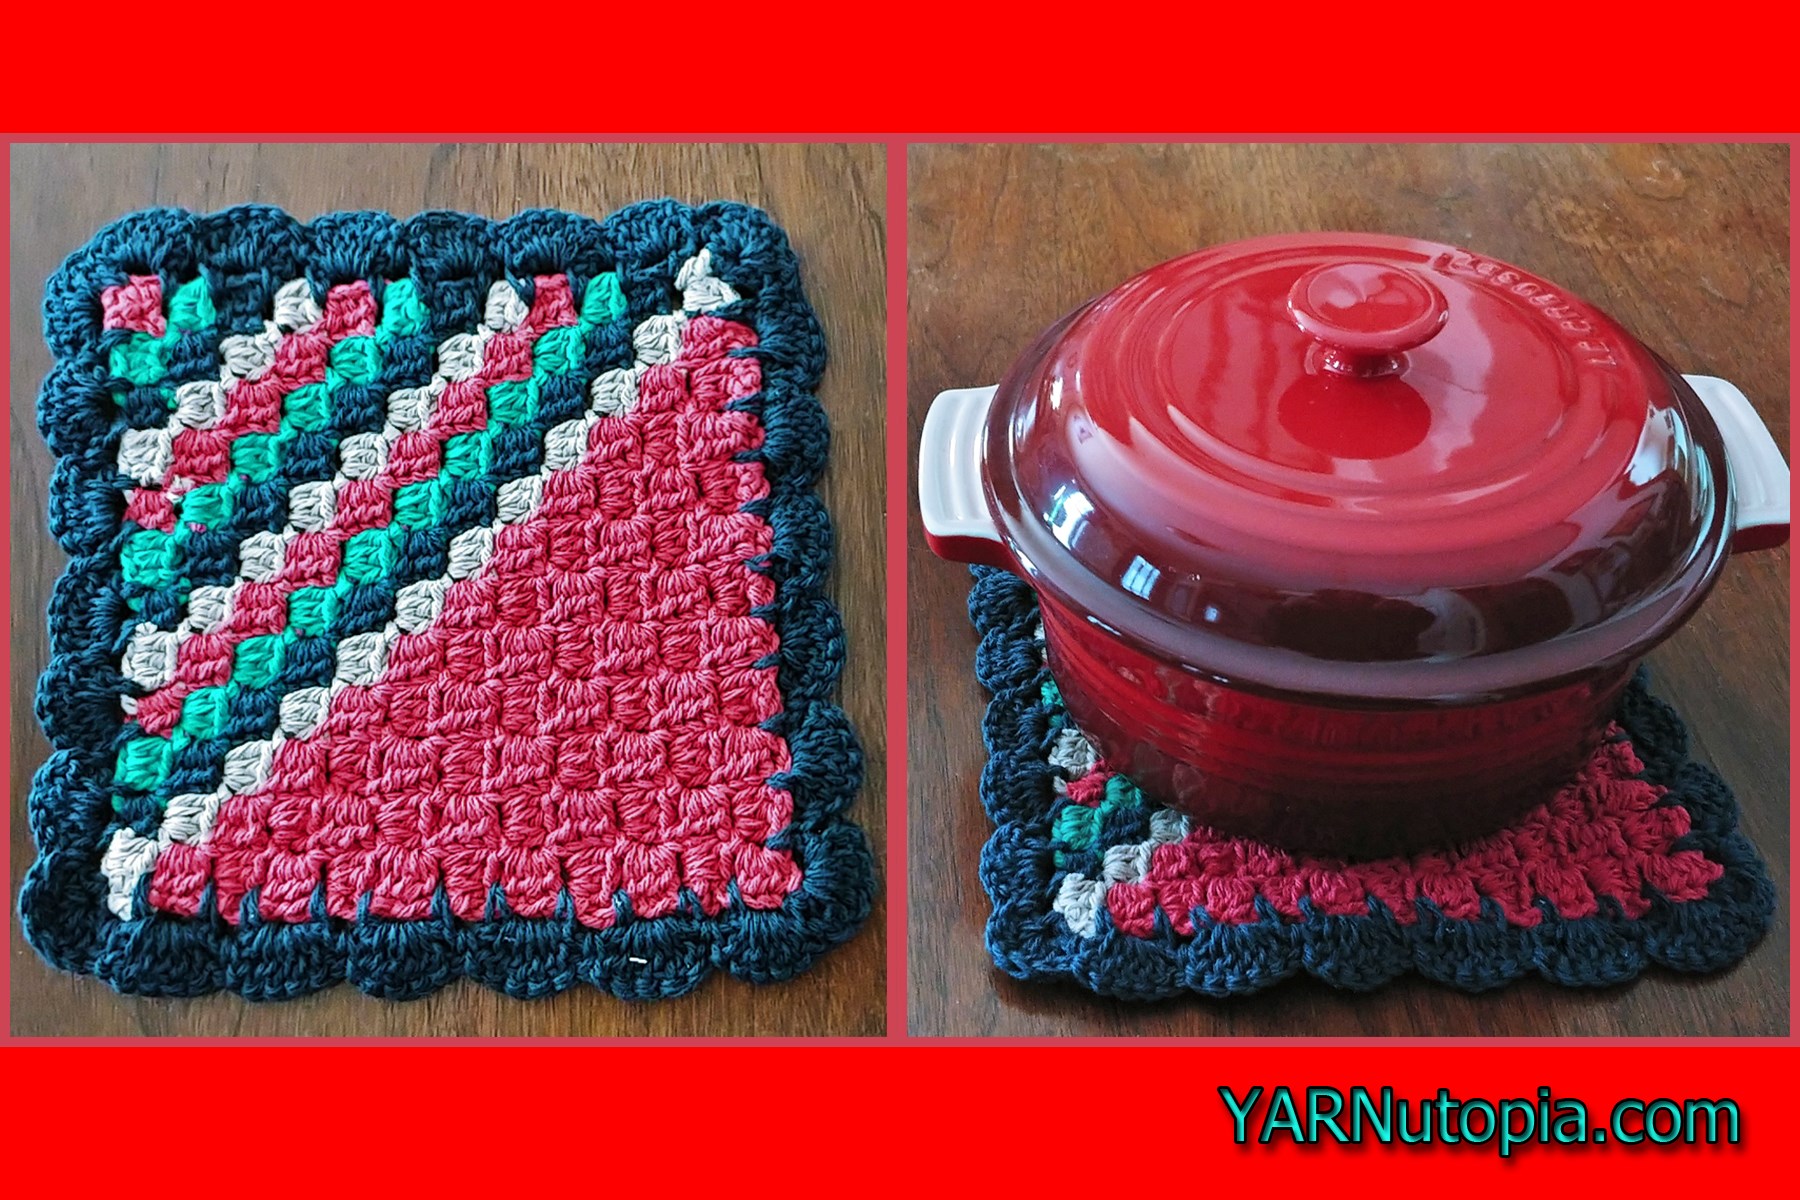
12 Days of Christmas: Corner to Corner (C2C) Holiday Hot Pad – FREE Written Crochet Pattern
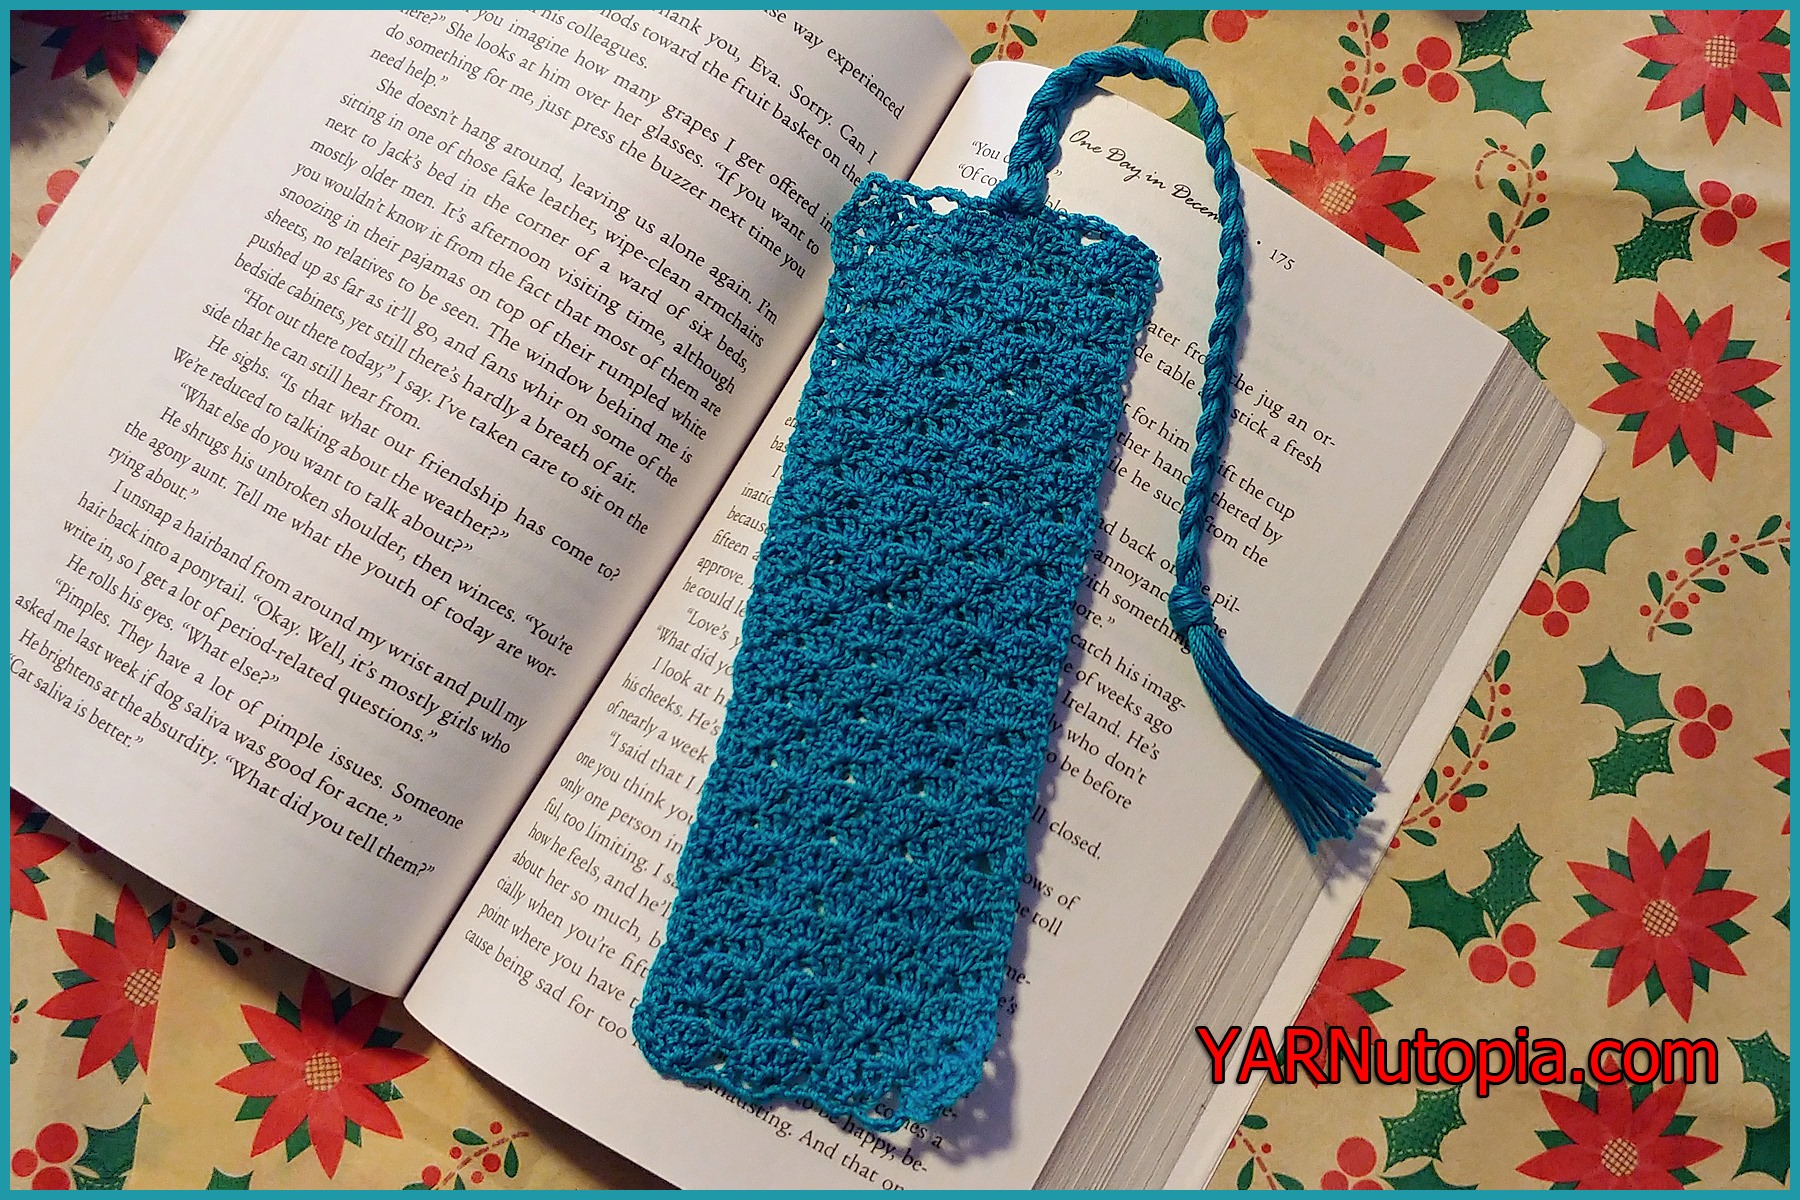
12 Days of Christmas: Lace Shell Bookmark – FREE Crochet Video Tutorial
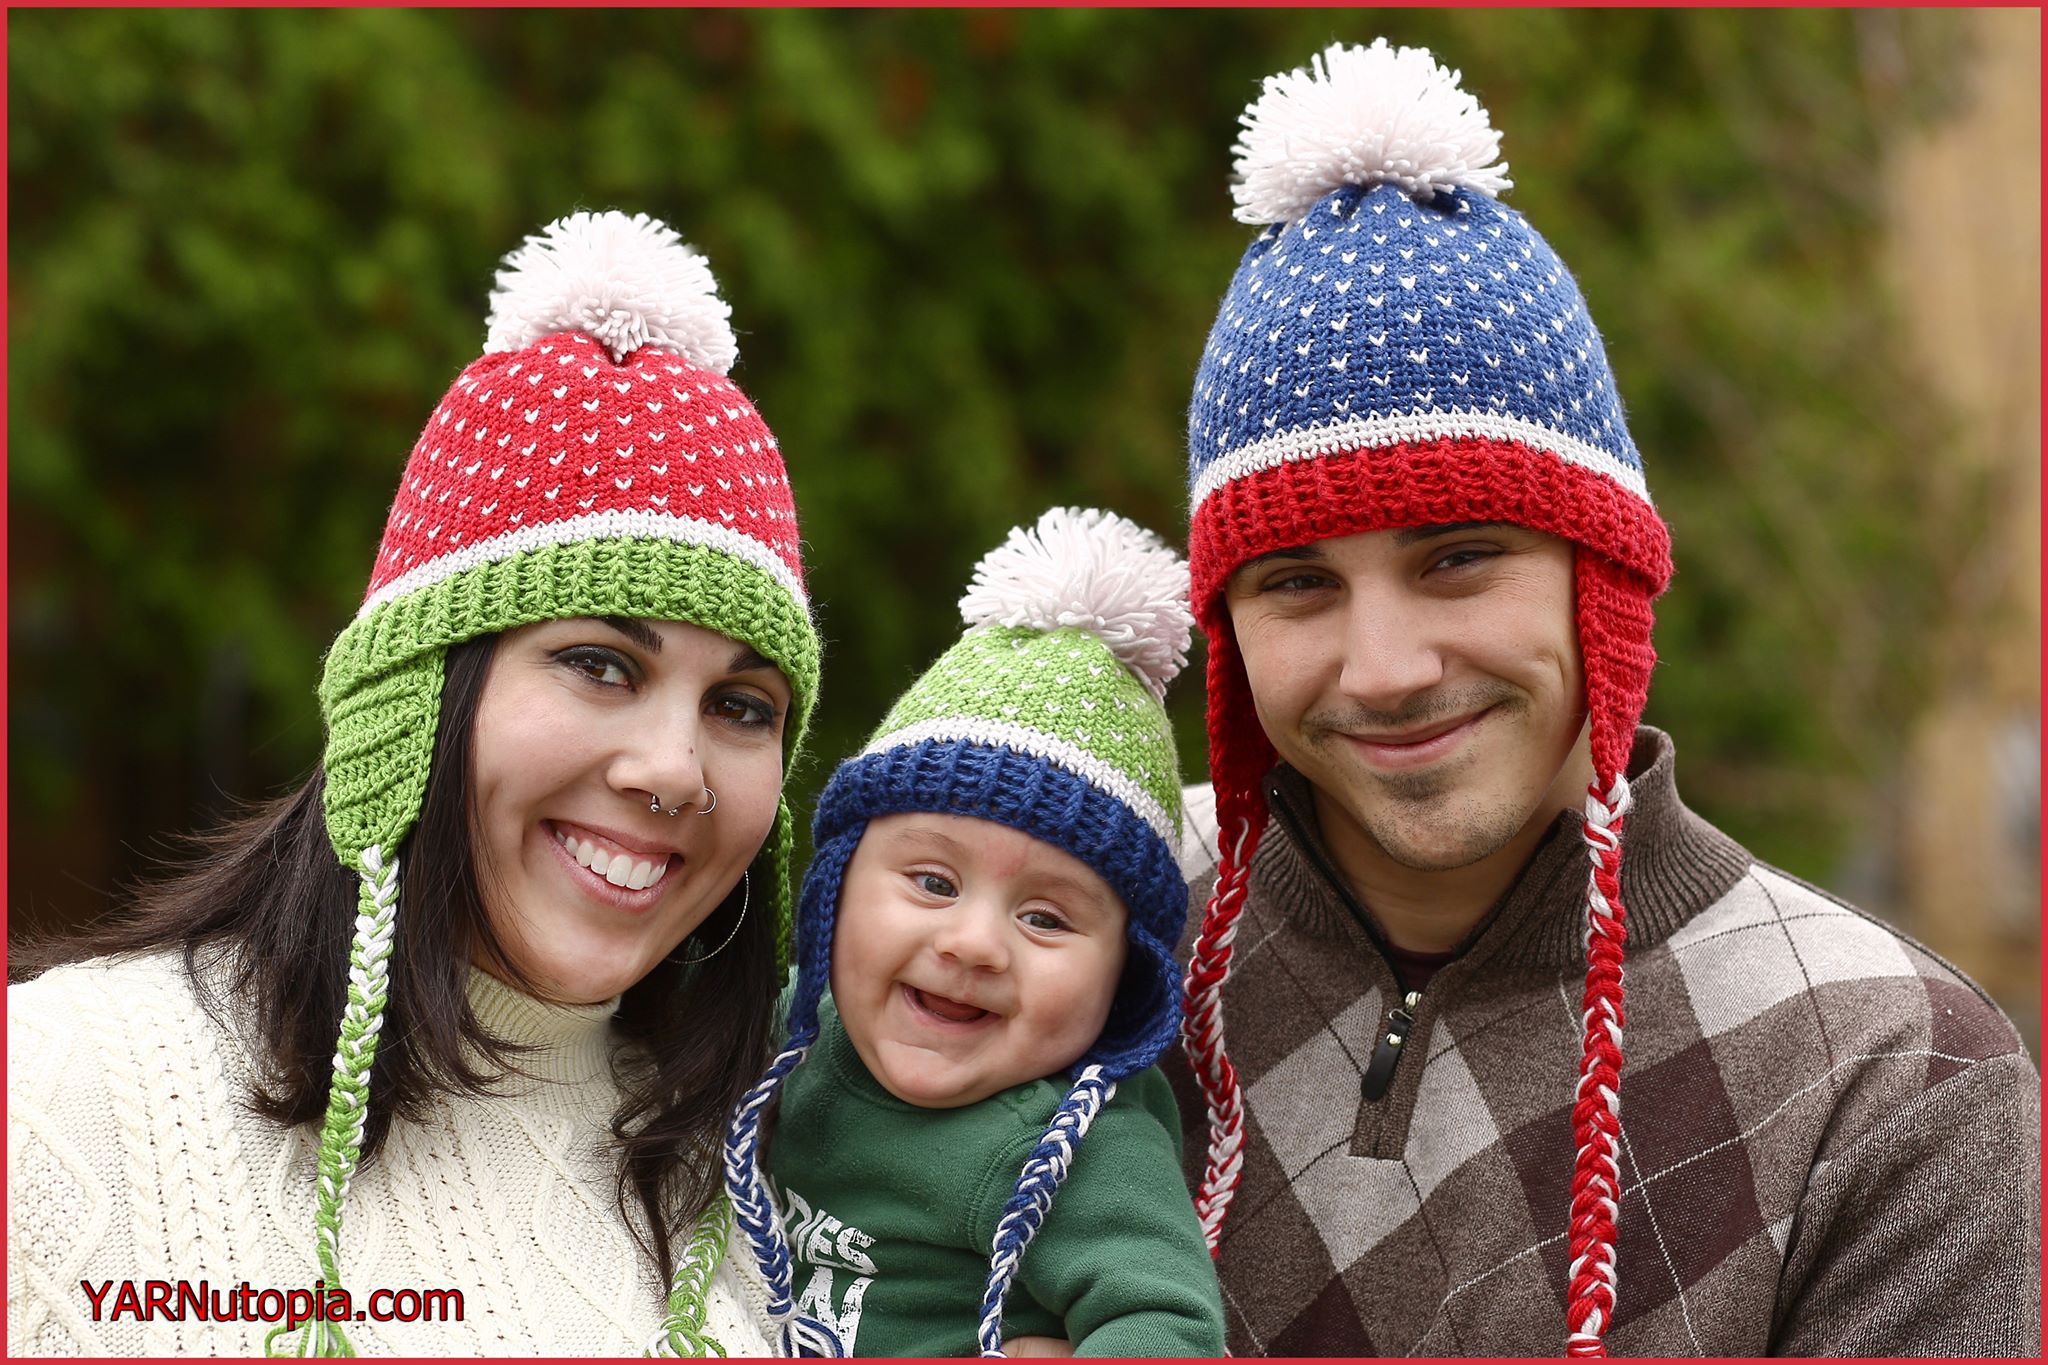
FREE Crochet Video Tutorial: Family Fair Isle Hat
FREE Written Crochet Pattern: Family Fair Isle Hat
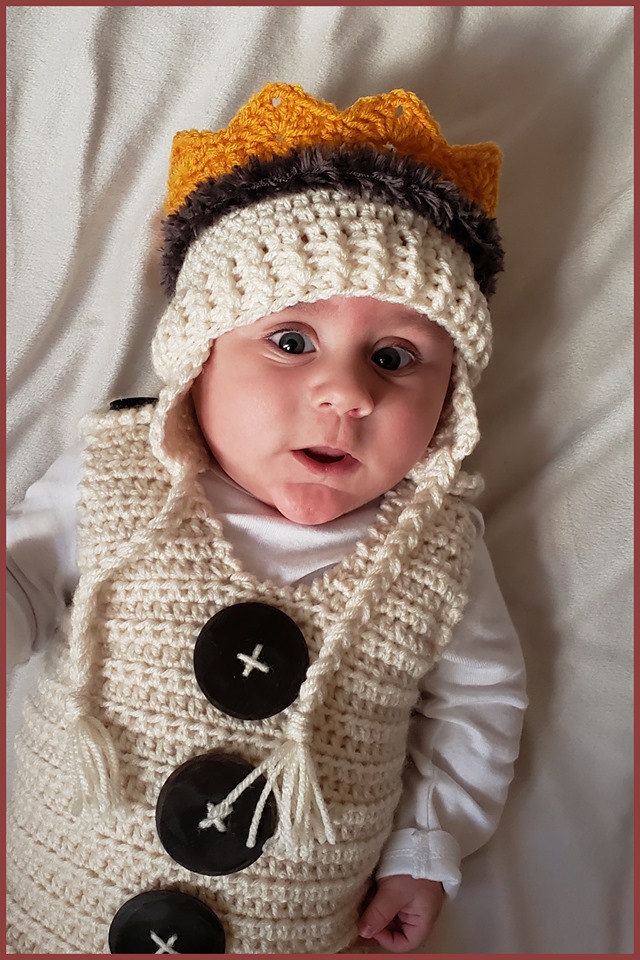
FREE Crochet Video Tutorial: Baby Crown Earflap Hat
FREE Written Crochet Pattern: The Baby Crown Earflap Hat
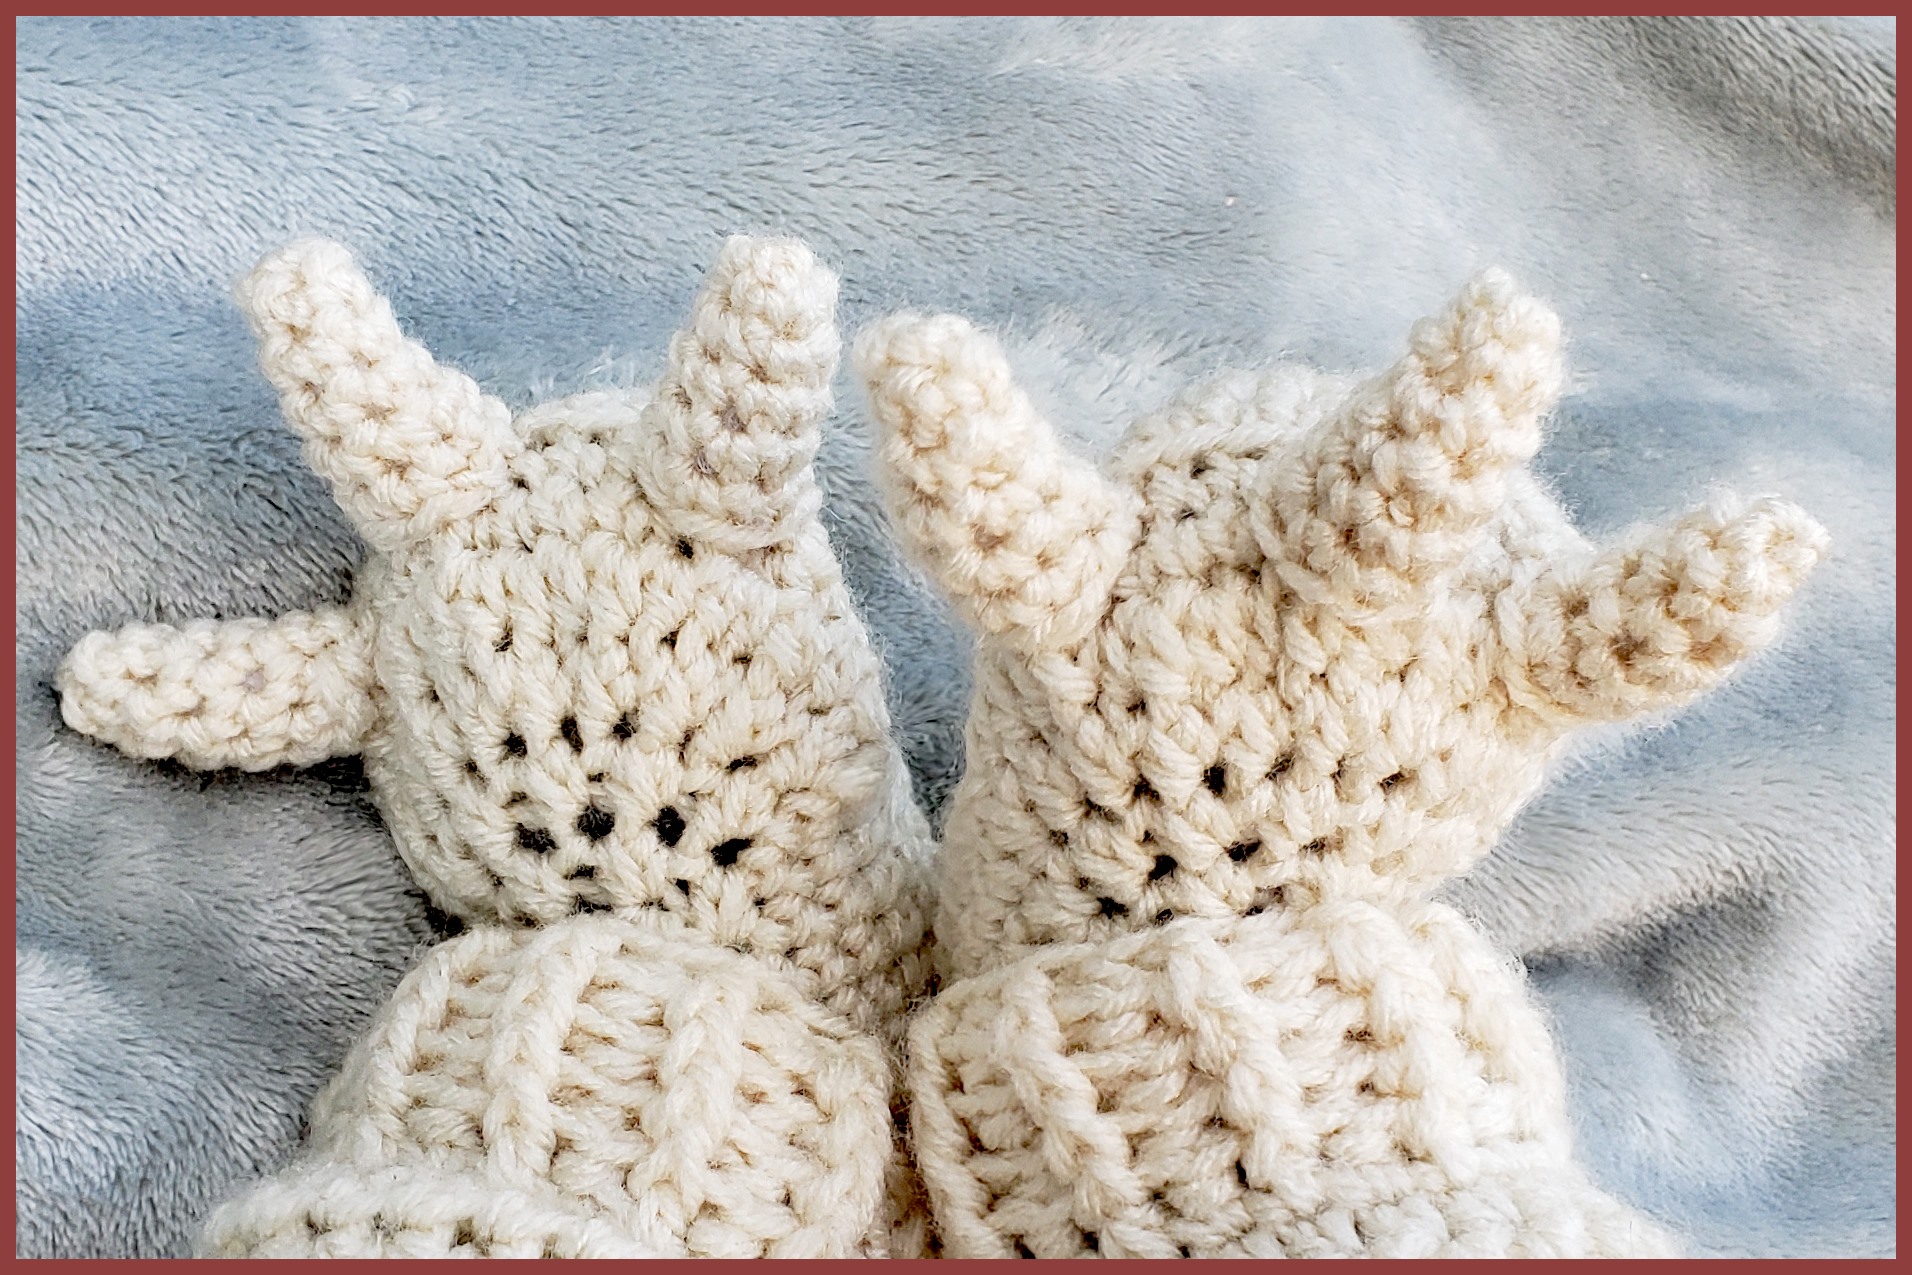
FREE Written Crochet Pattern: Monster Feet Baby Booties
FREE Crochet Video Tutorial: King Crown
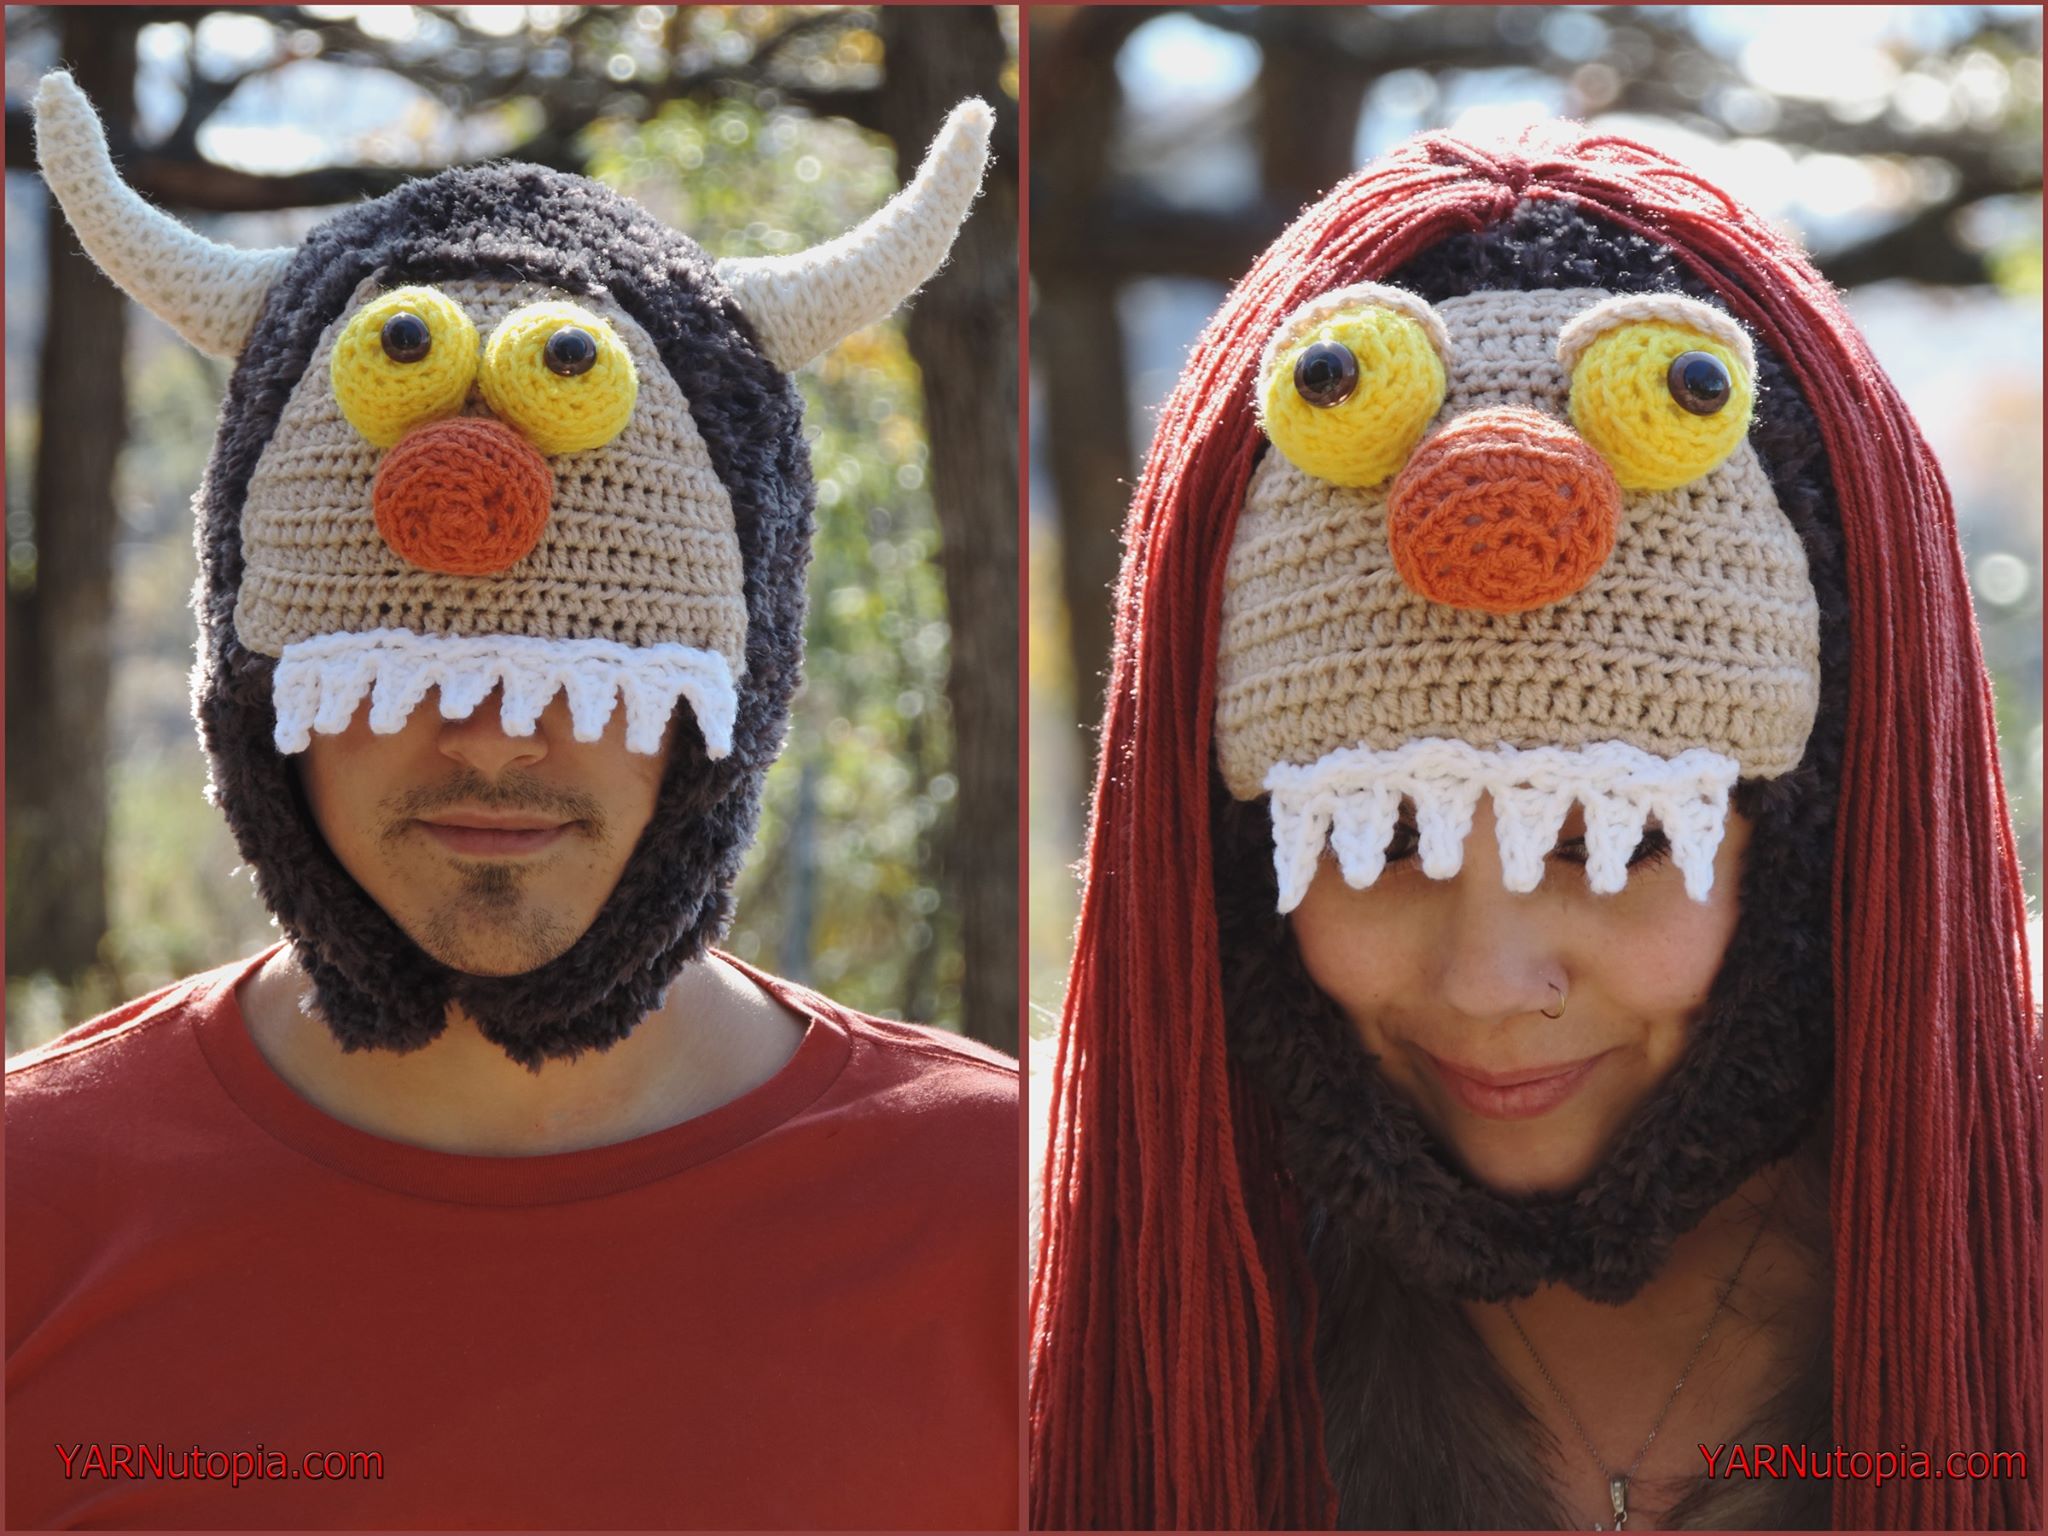
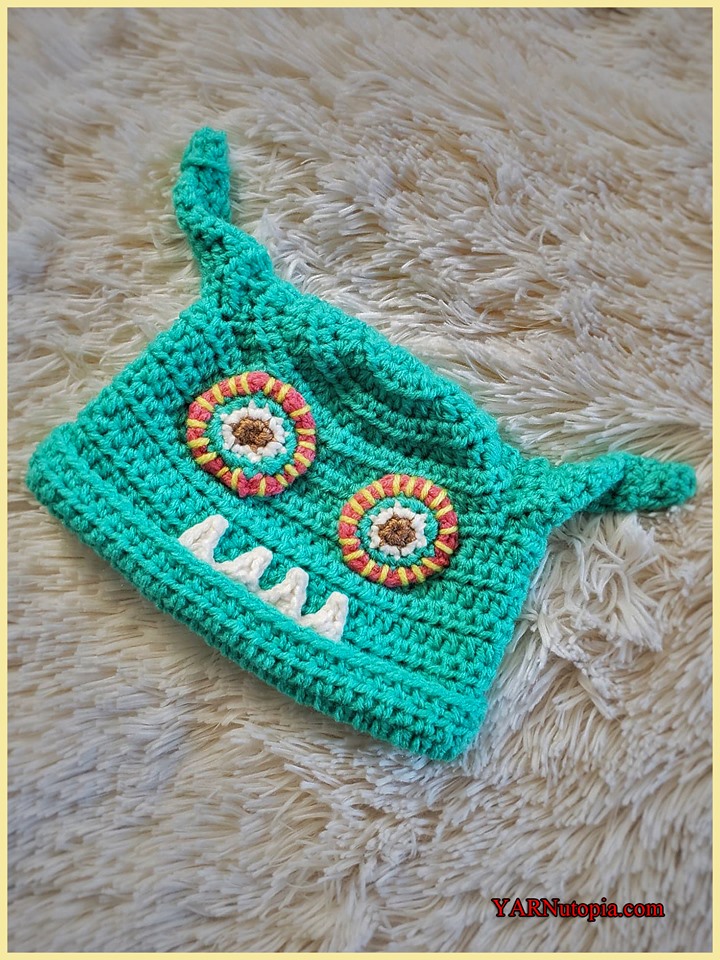
FREE Crochet Video Tutorial: Adult Sized Monster Hats (Male and Female Designs)
FREE Written Crochet Pattern: Adult Sized Monster Hats (Male and Female Designs)
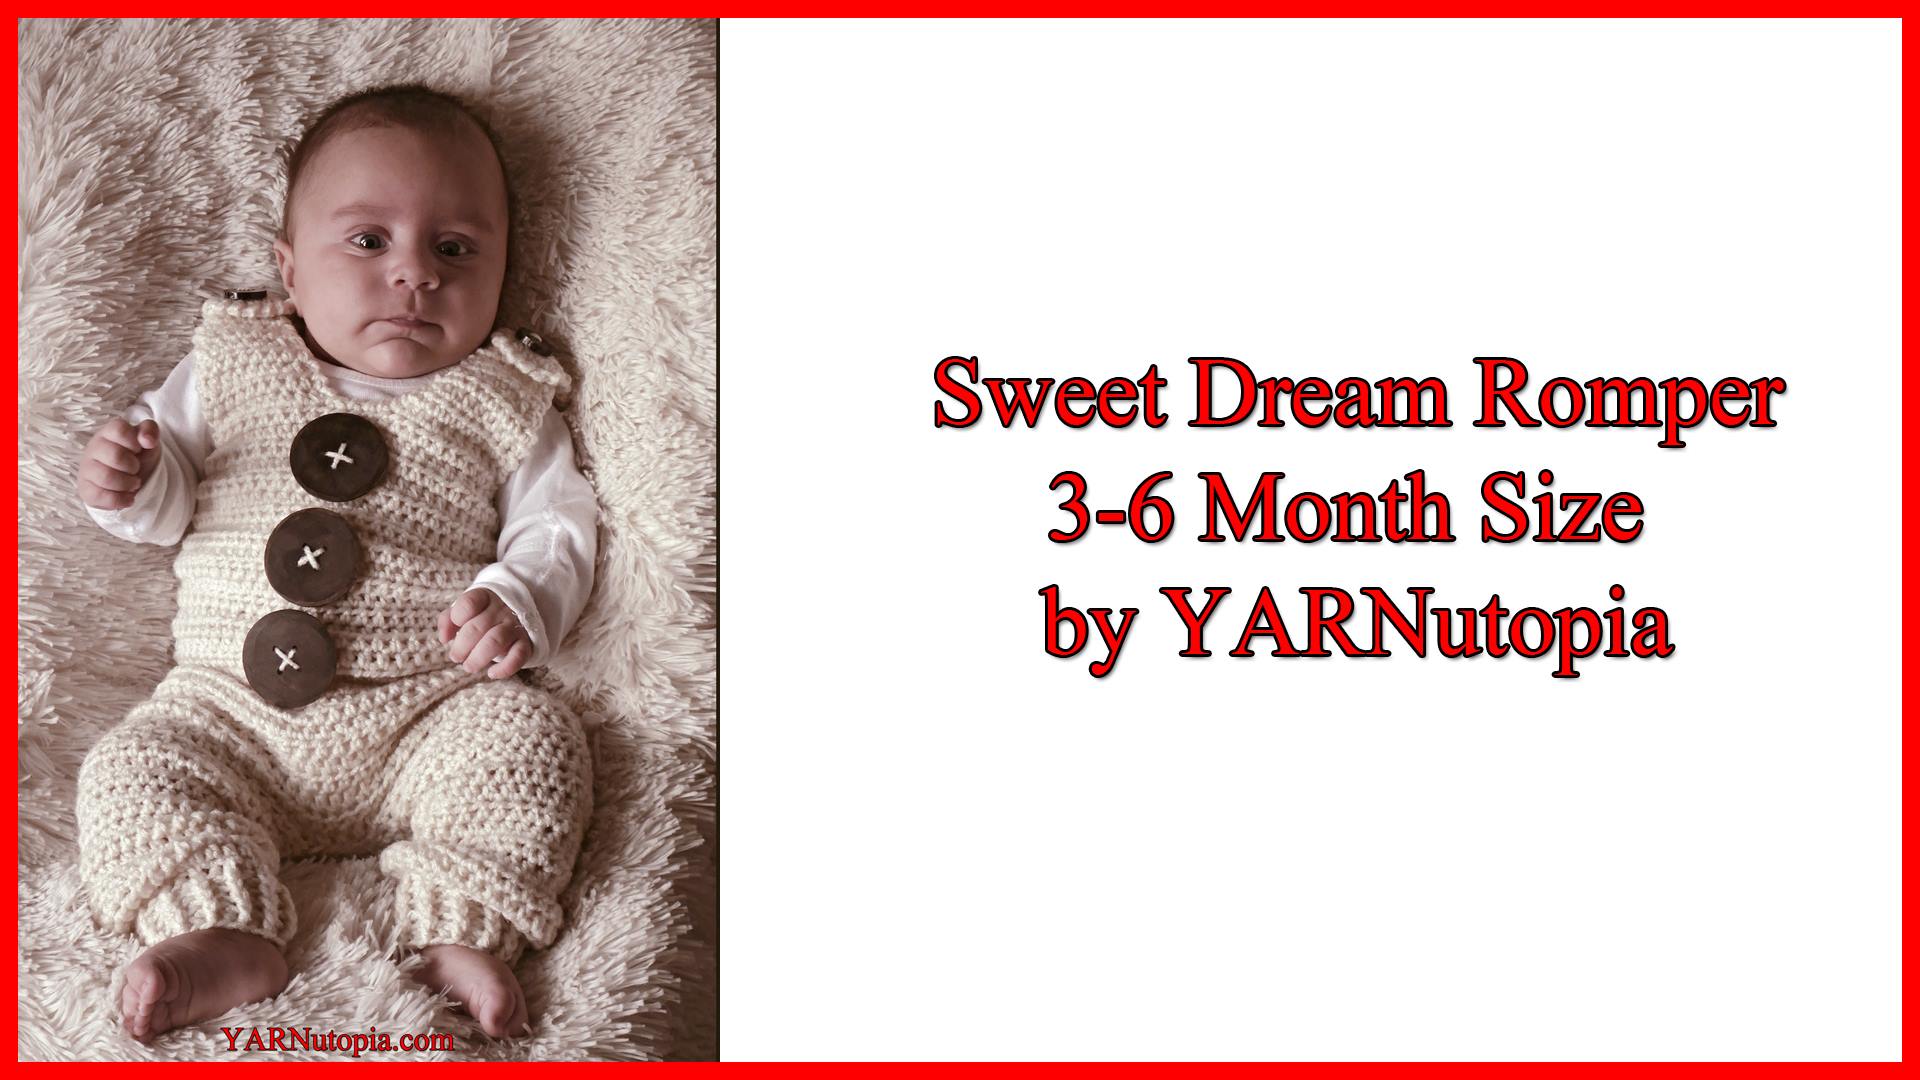
FREE Crochet Video Tutorial: Sweet Dream Romper
FREE Written Crochet Pattern: Sweet Dream Romper
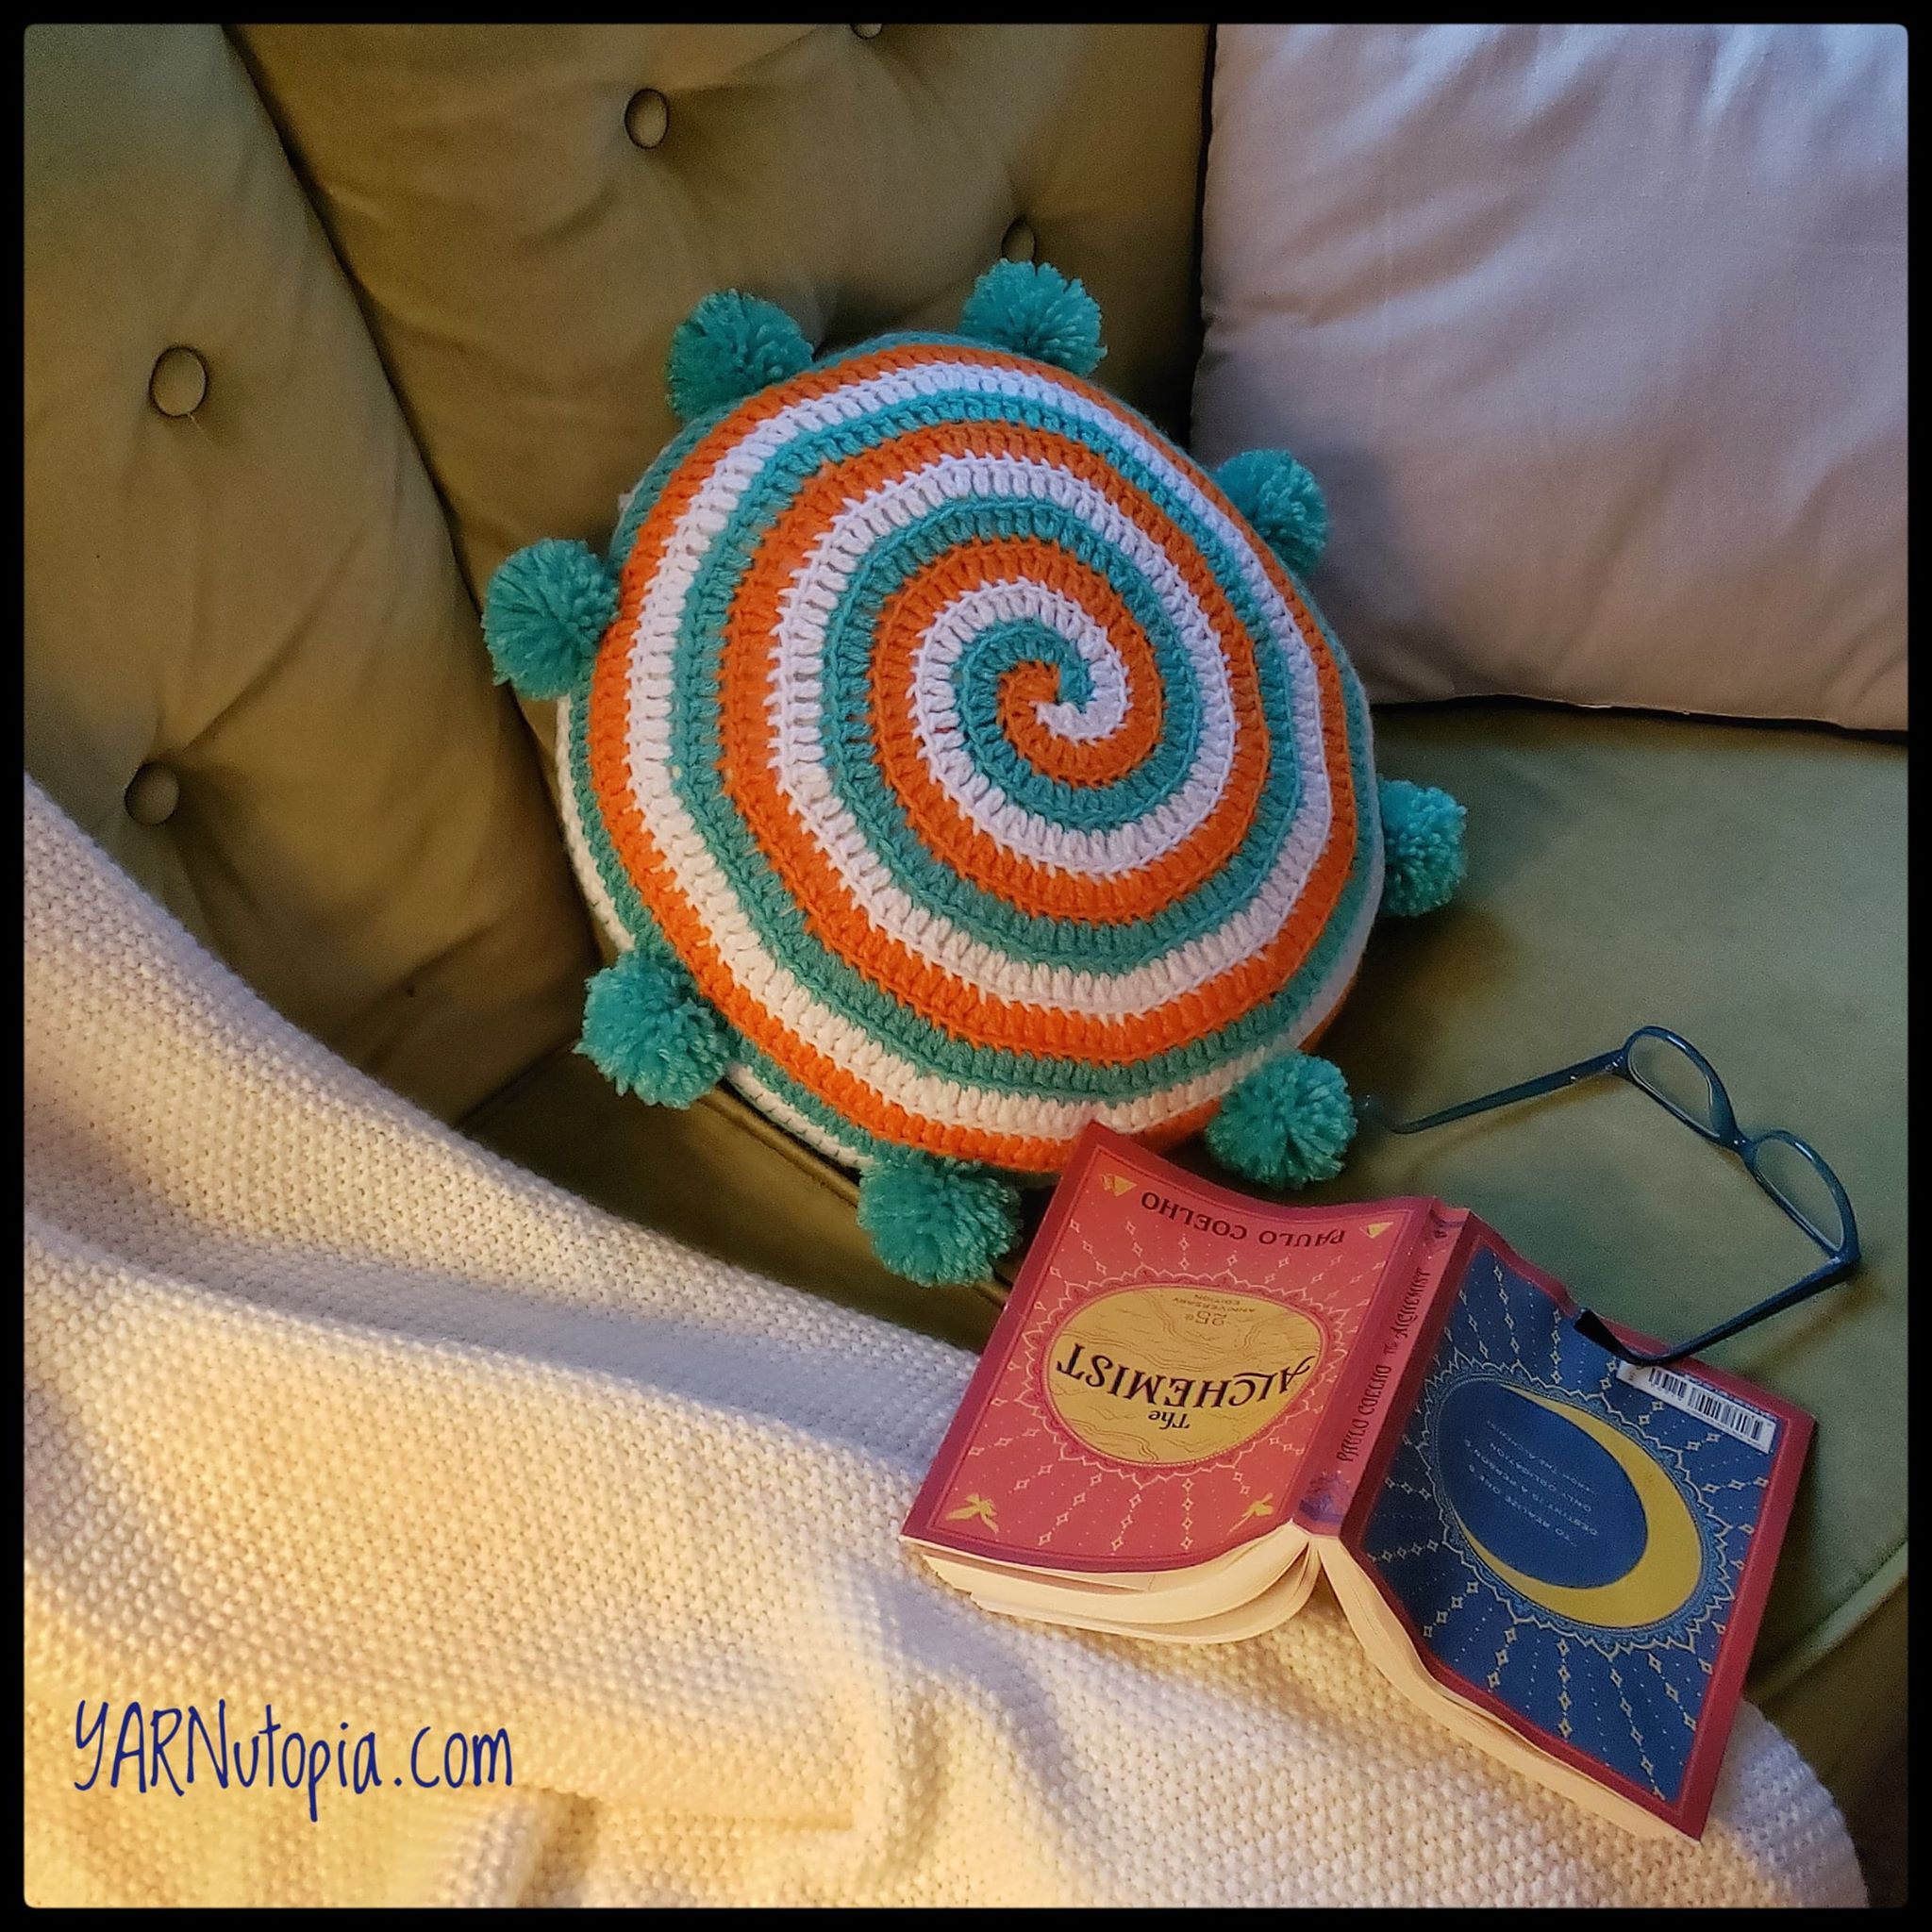
Candy Swirl Pillow Remix
Crochet Tutorial: Misfit Monster Hat
FREE Crochet Tutorial: Happy Hues Sampler Baby Blanket
Crochet Tutorial: Clam Shell Amigurumi with Pearl Bead
Crochet Tutorial: Octopus Keychain
Crochet Tutorial: Cupcake Amigurumi
Crochet Tutorial: Simple Infant Booties
Crochet Tutorial: Owl Be Warm Hat
Memory Lane 2018
12 Days of Christmas: Holiday Festive Wreath
12 Days of Christmas: Holiday Mitten Gift Card Holder
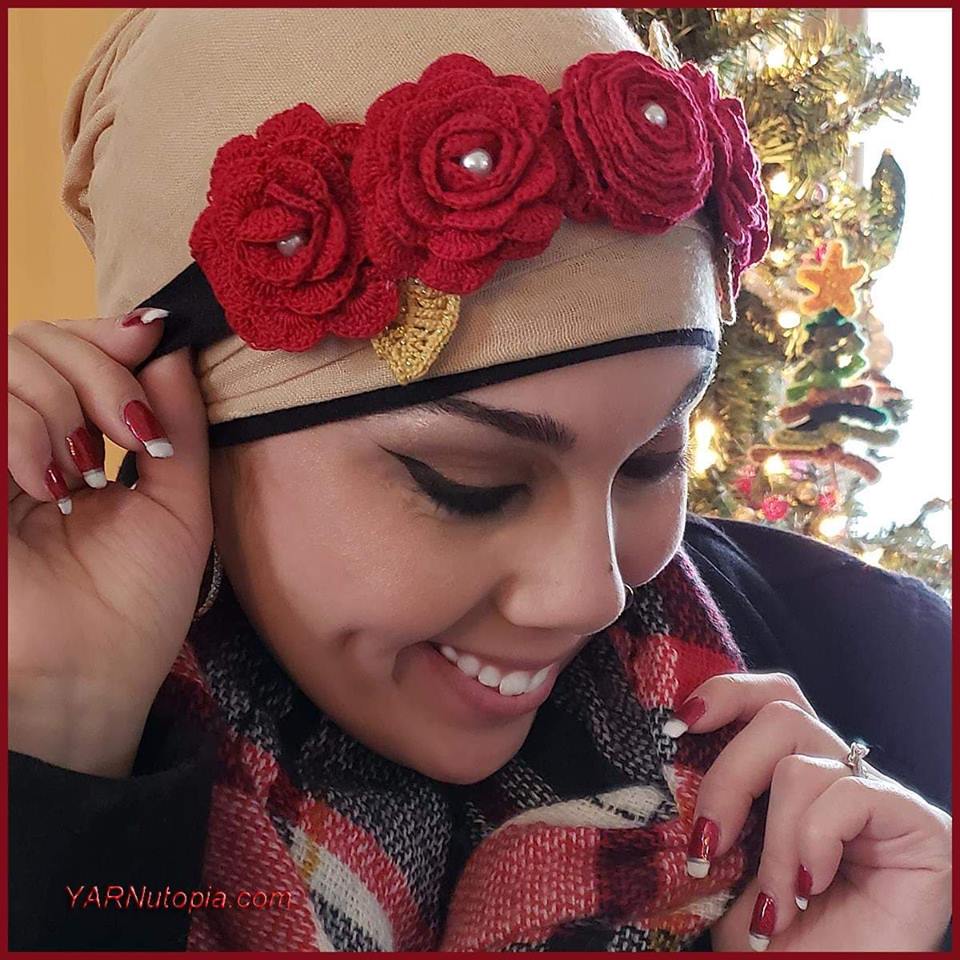
How to Crochet Tutorial: Rose Flower Headband & Floral Wedding Bouquet
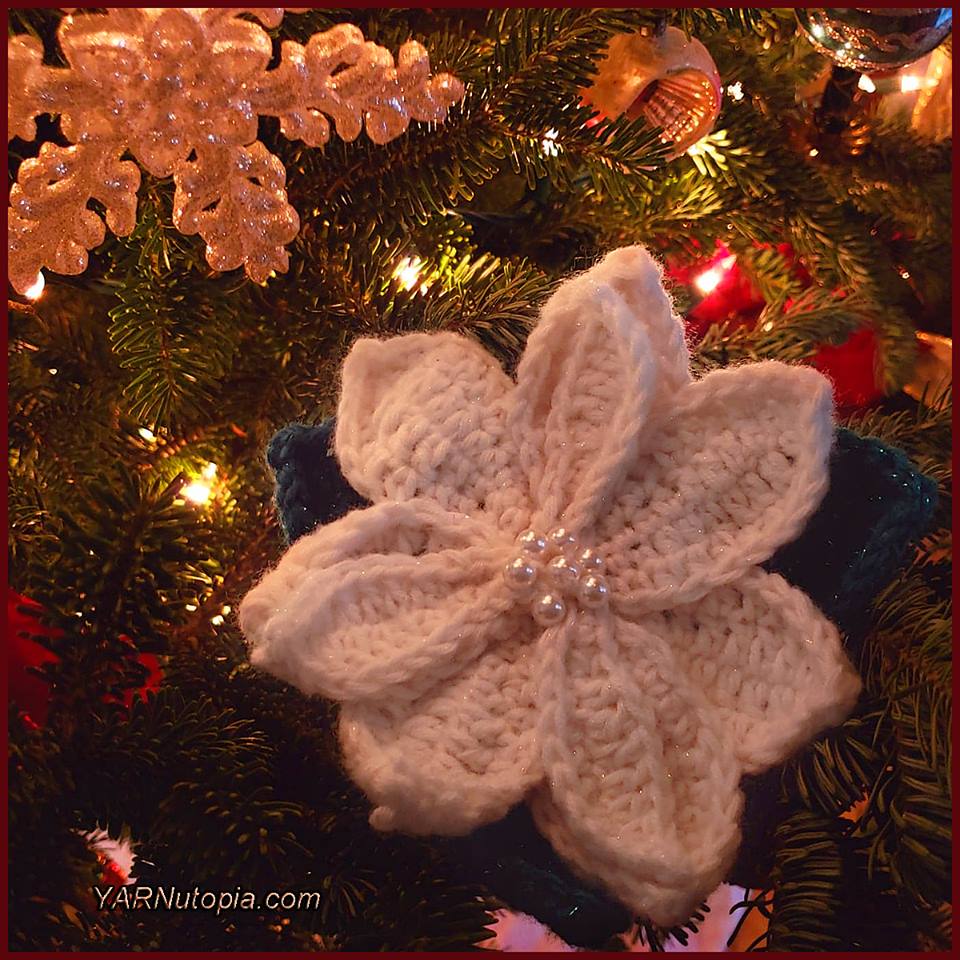
12 Days of Christmas: Poinsettia with Pearls
12 Days of Christmas: Peppermint Candy Garland
12 Days of Christmas: Paw Print Ornament
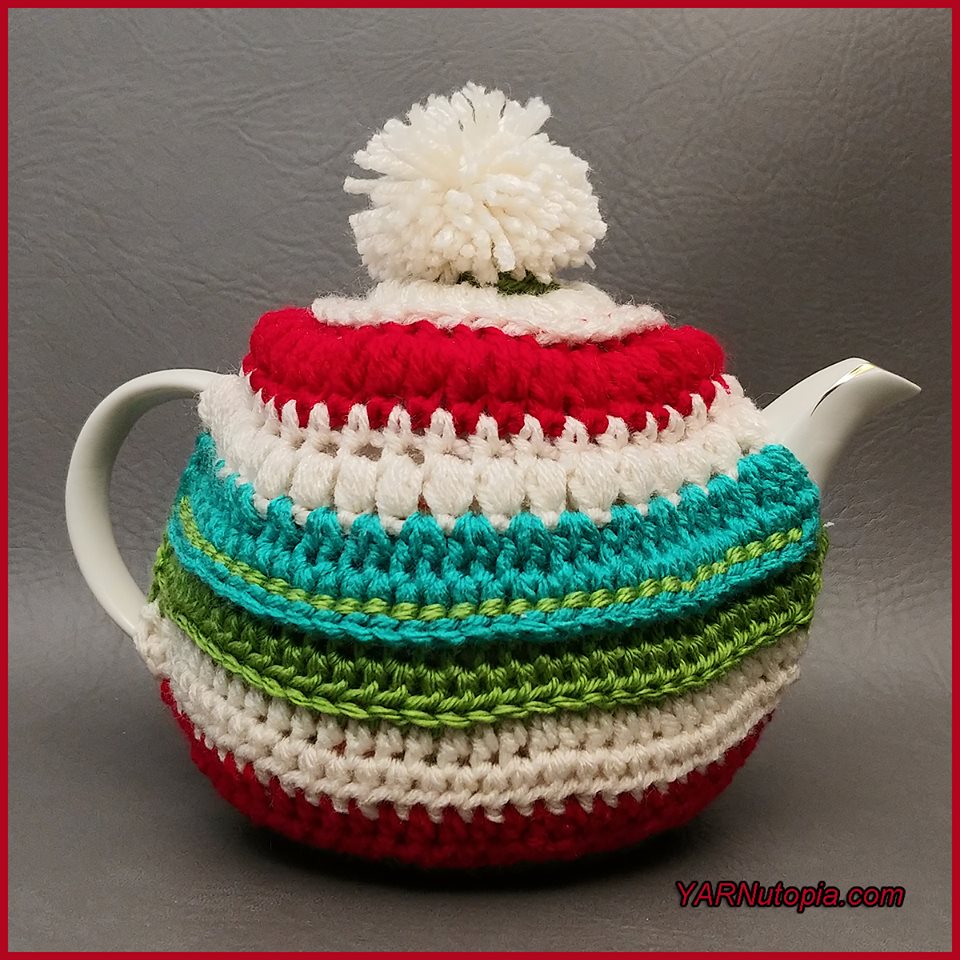
12 Days of Christmas: Festive Teapot Cozy
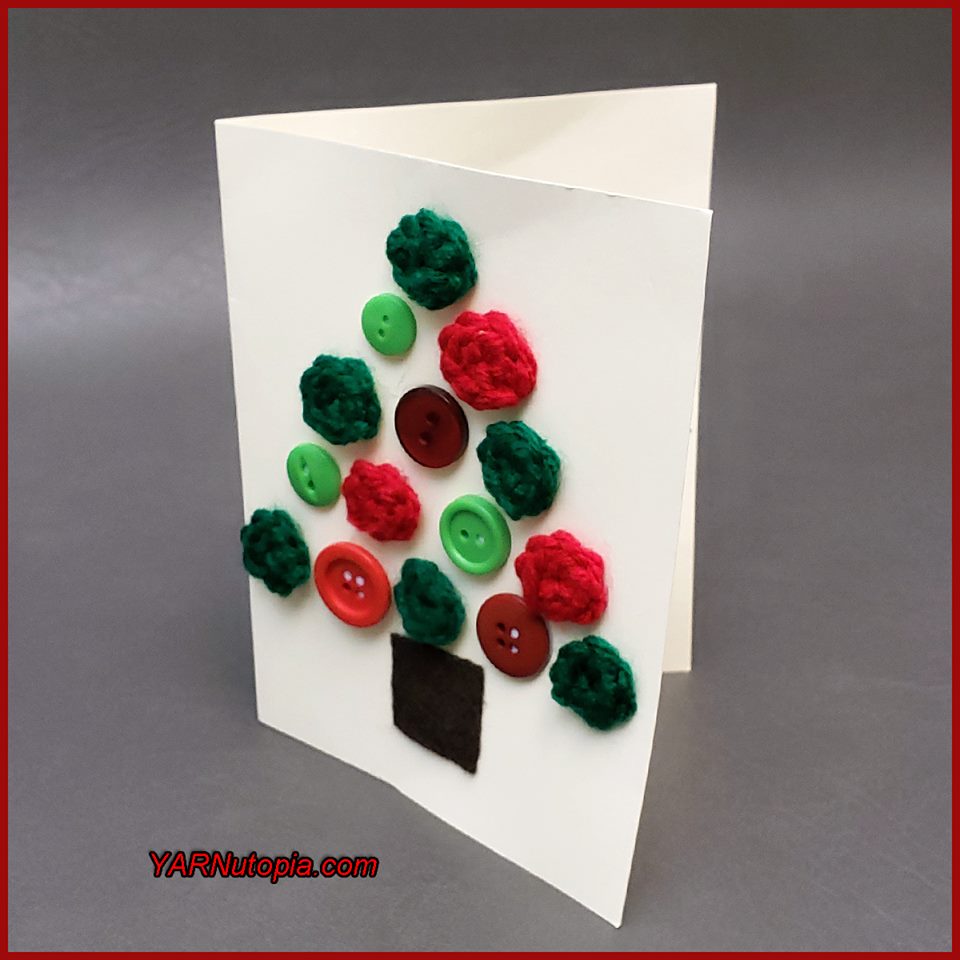
12 Days of Christmas: Christmas Tree Greeting Card
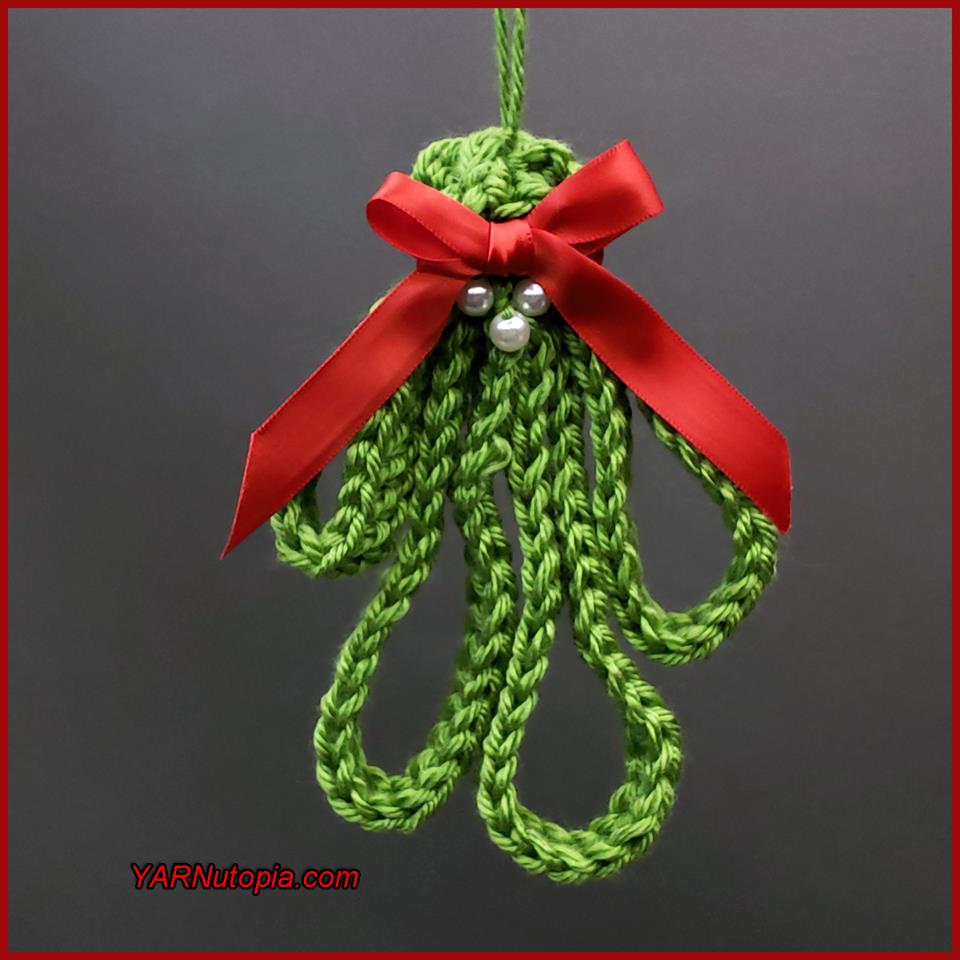
12 Days of Christmas: Mistletoe Sprig
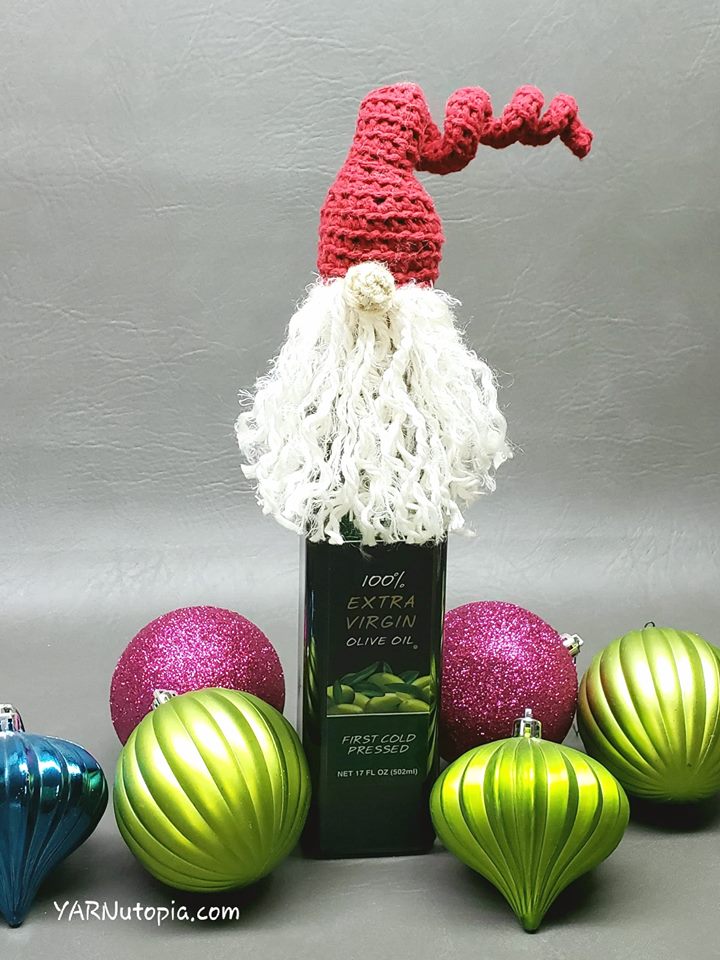
12 Days of Christmas: Santa Bottle Topper
12 Days of Christmas: Christmas Tree Canvas Art
12 Days of Christmas: Polar Bear Cup Cozy
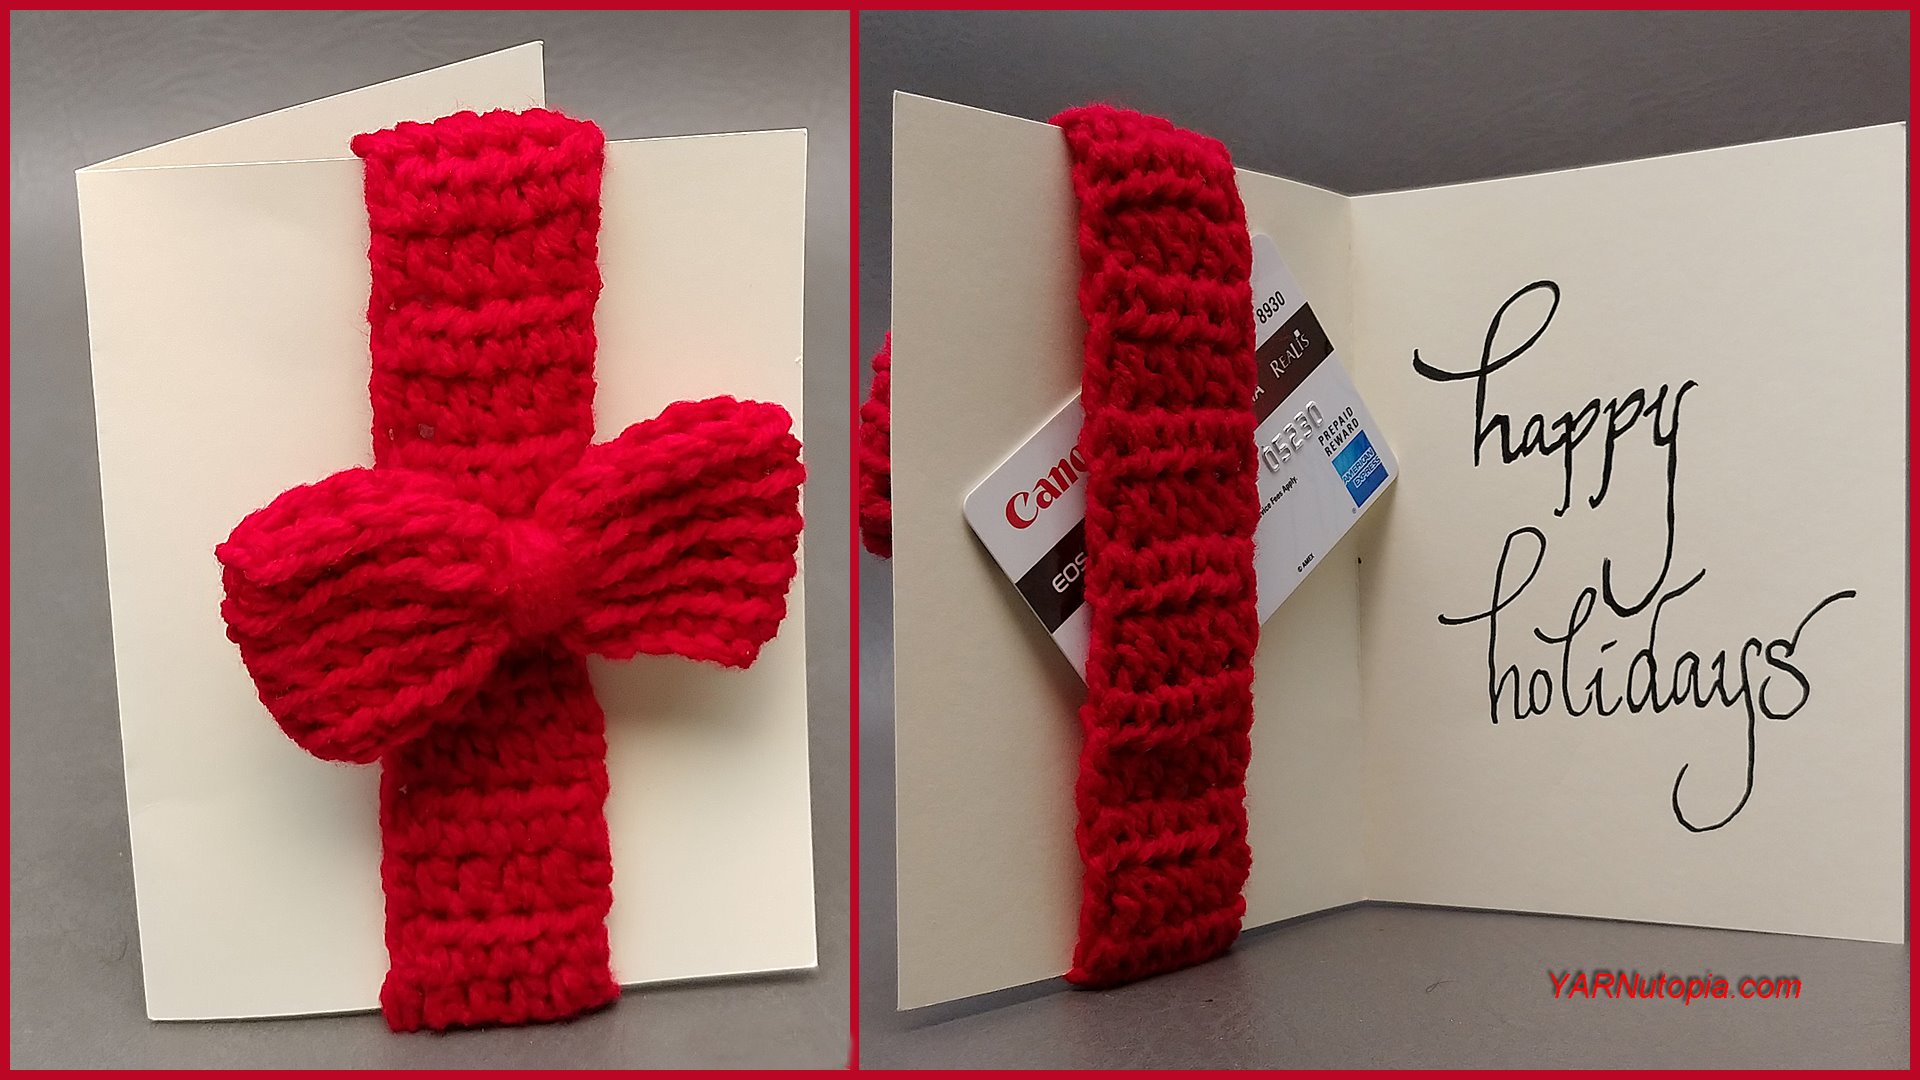
How to Crochet Tutorial: Bow Greeting Card with Gift Card Holder
How to Crochet Tutorial: Lion Mane Cat Hat Costume
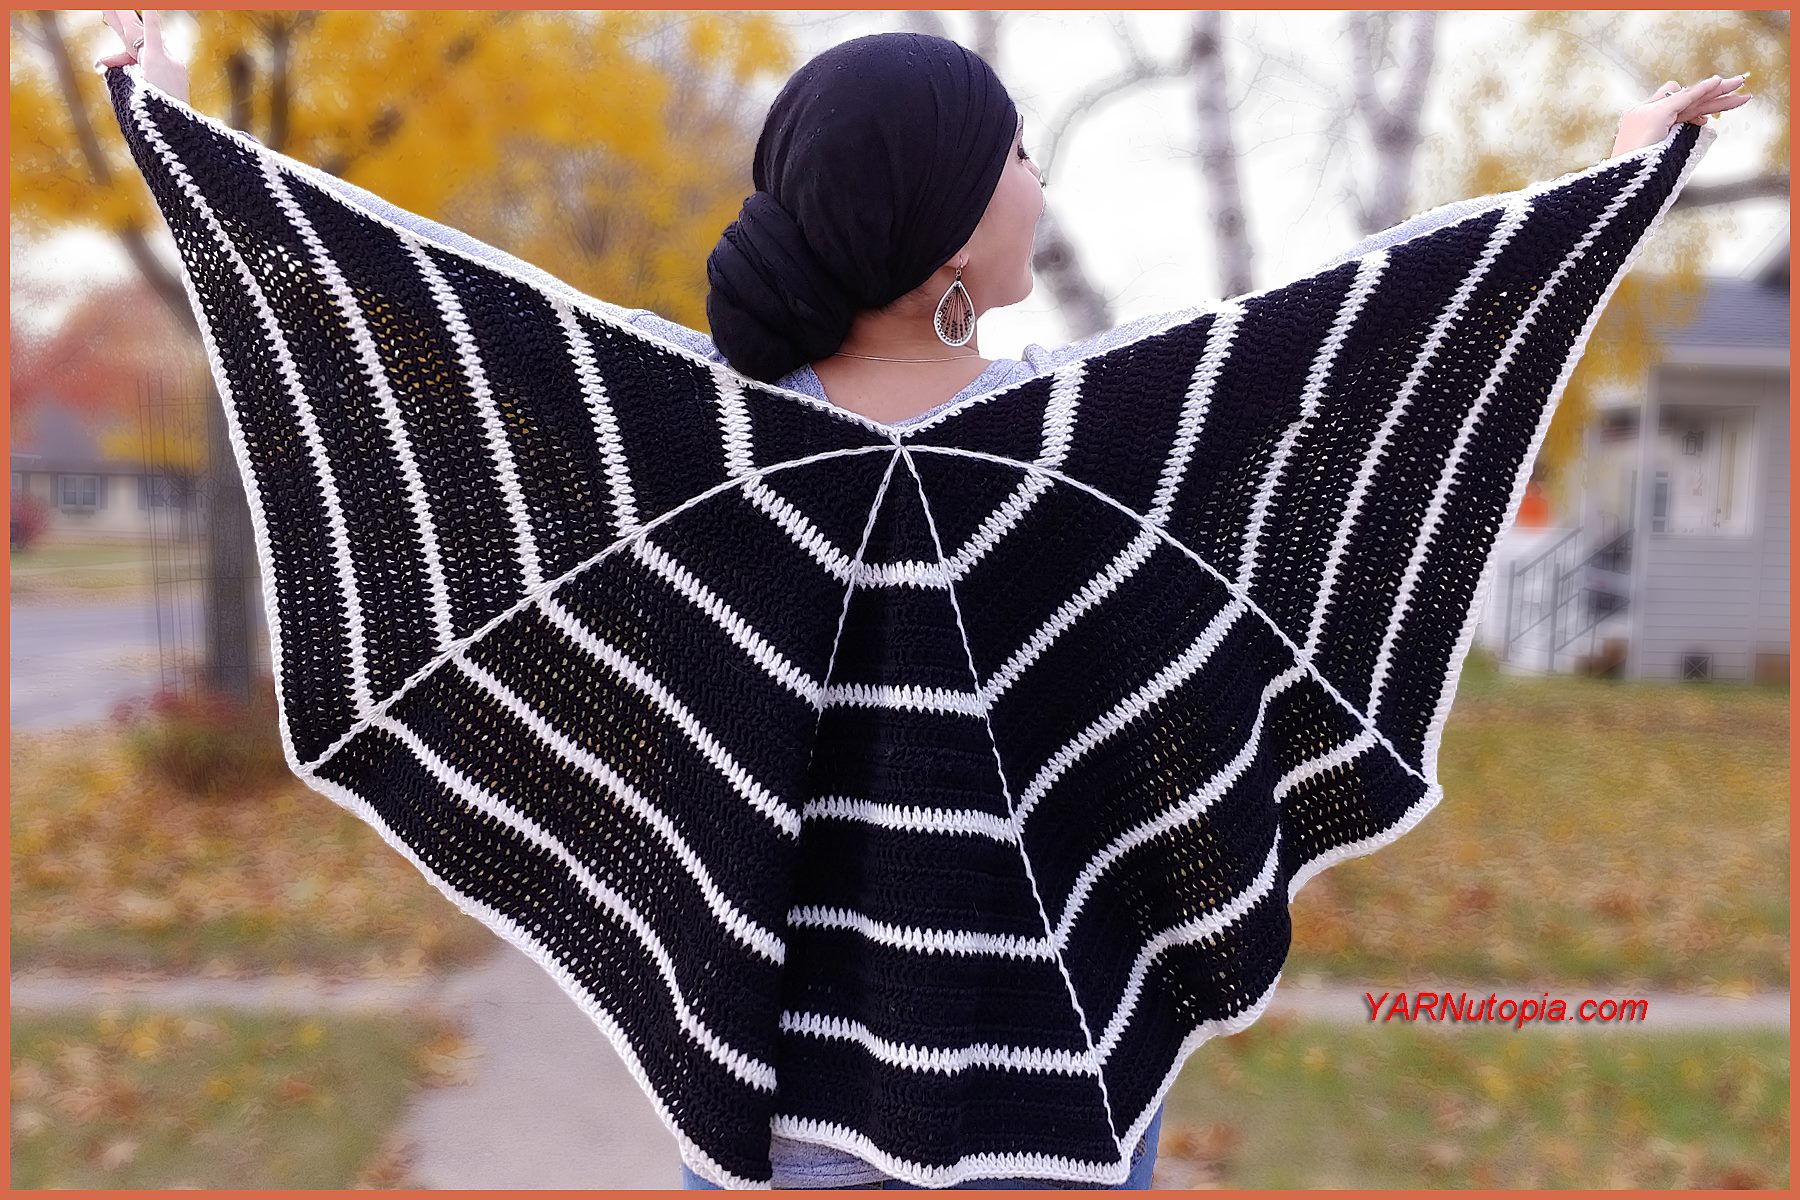
How to Crochet Tutorial: Spider Web Wrap
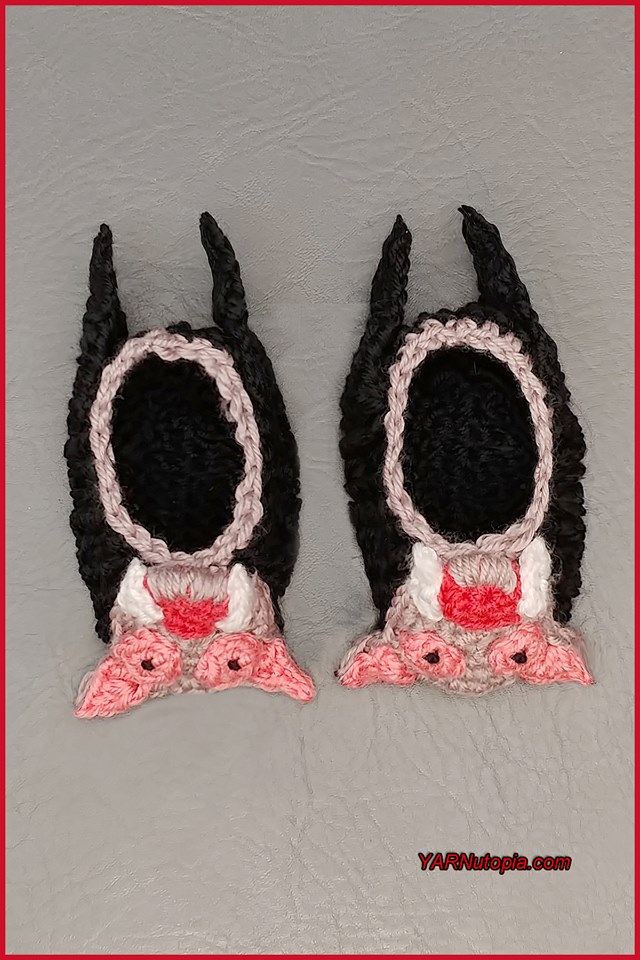
How to Crochet Tutorial: Vampire Bat Baby Booties
YARNutopia’s 50K Facebook GIVEAWAY!!! (Closed–we have a winner!)
Happy Halloween 2018
How to Crochet Tutorial: Steampunk Cardigan
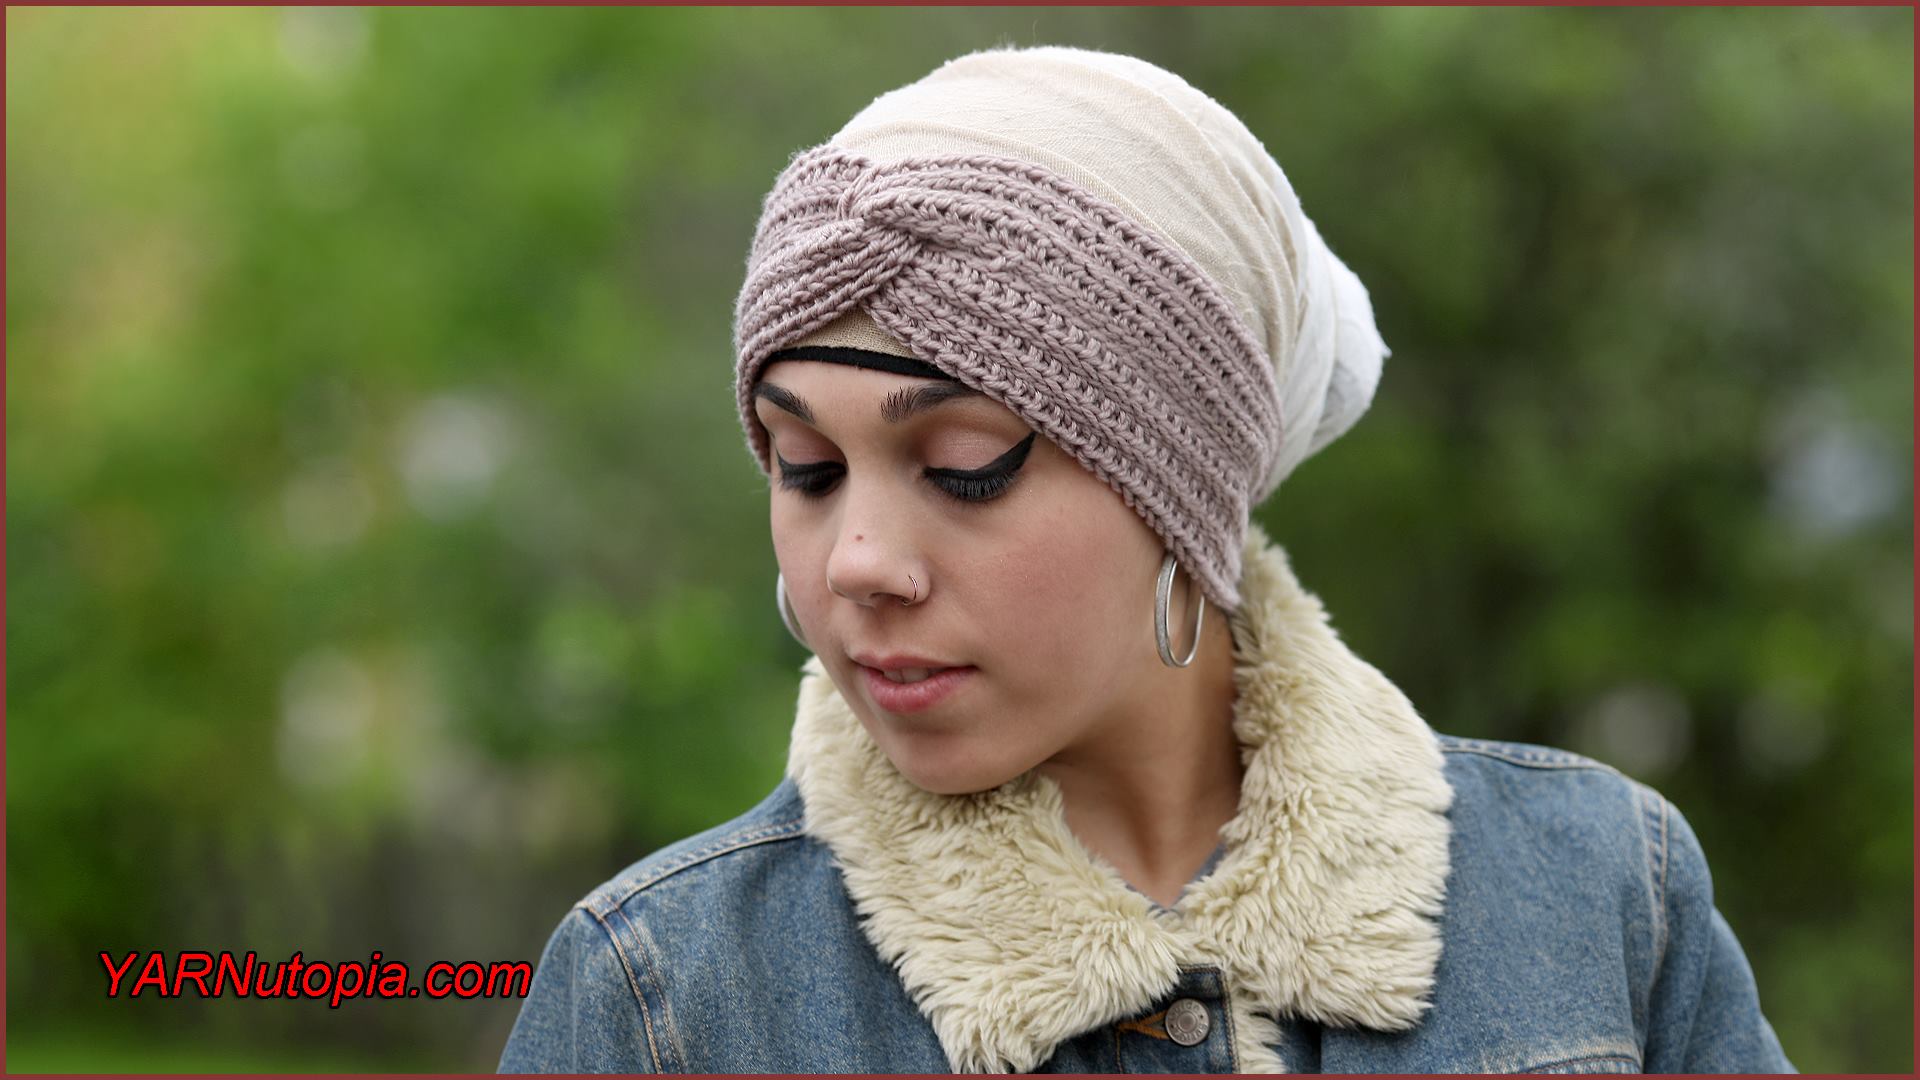
How to Crochet Tutorial: Chic Twist Headwrap
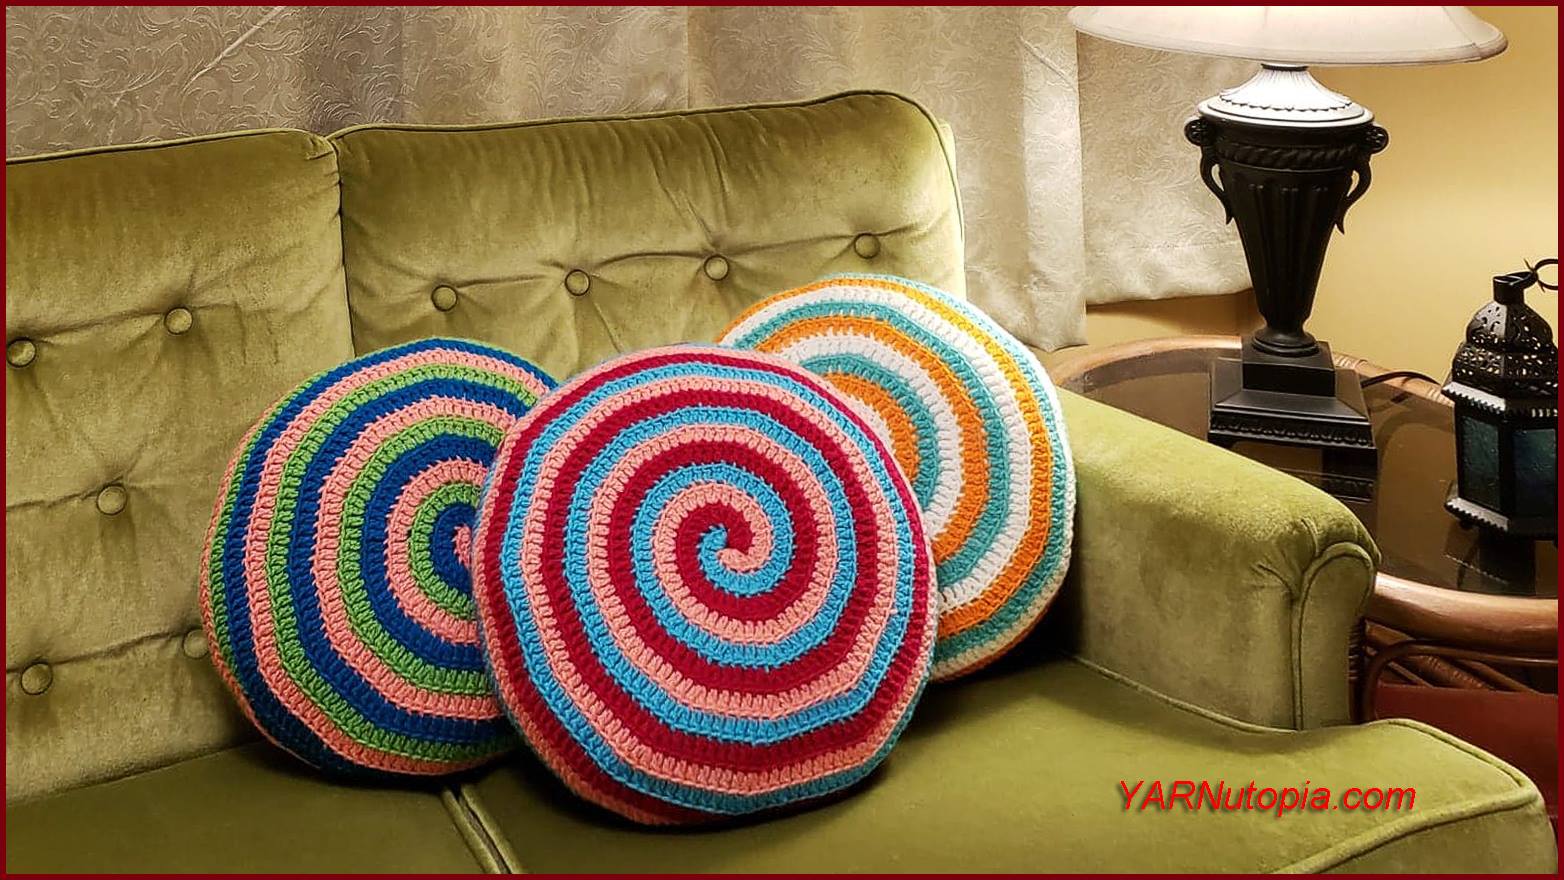
How to Crochet Tutorial: Candy Swirl Pillow
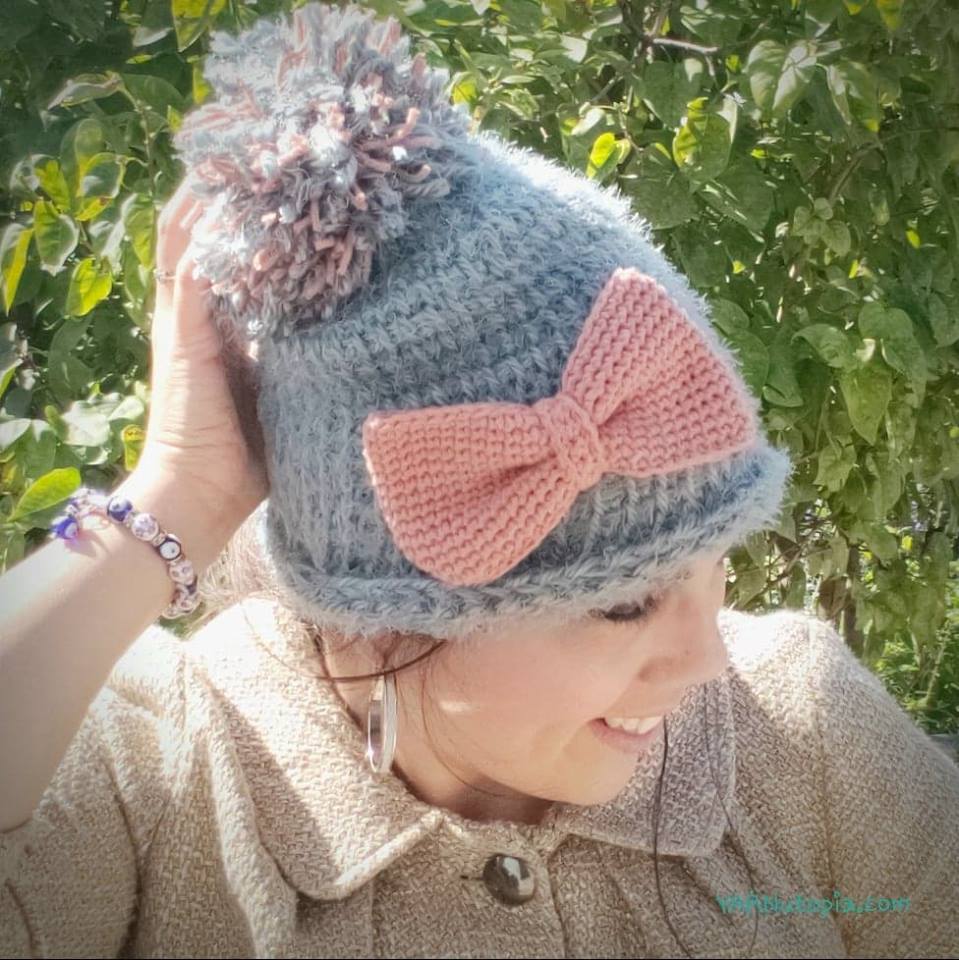
Crochet Tutorial: Soft Hygge Beanie Hat
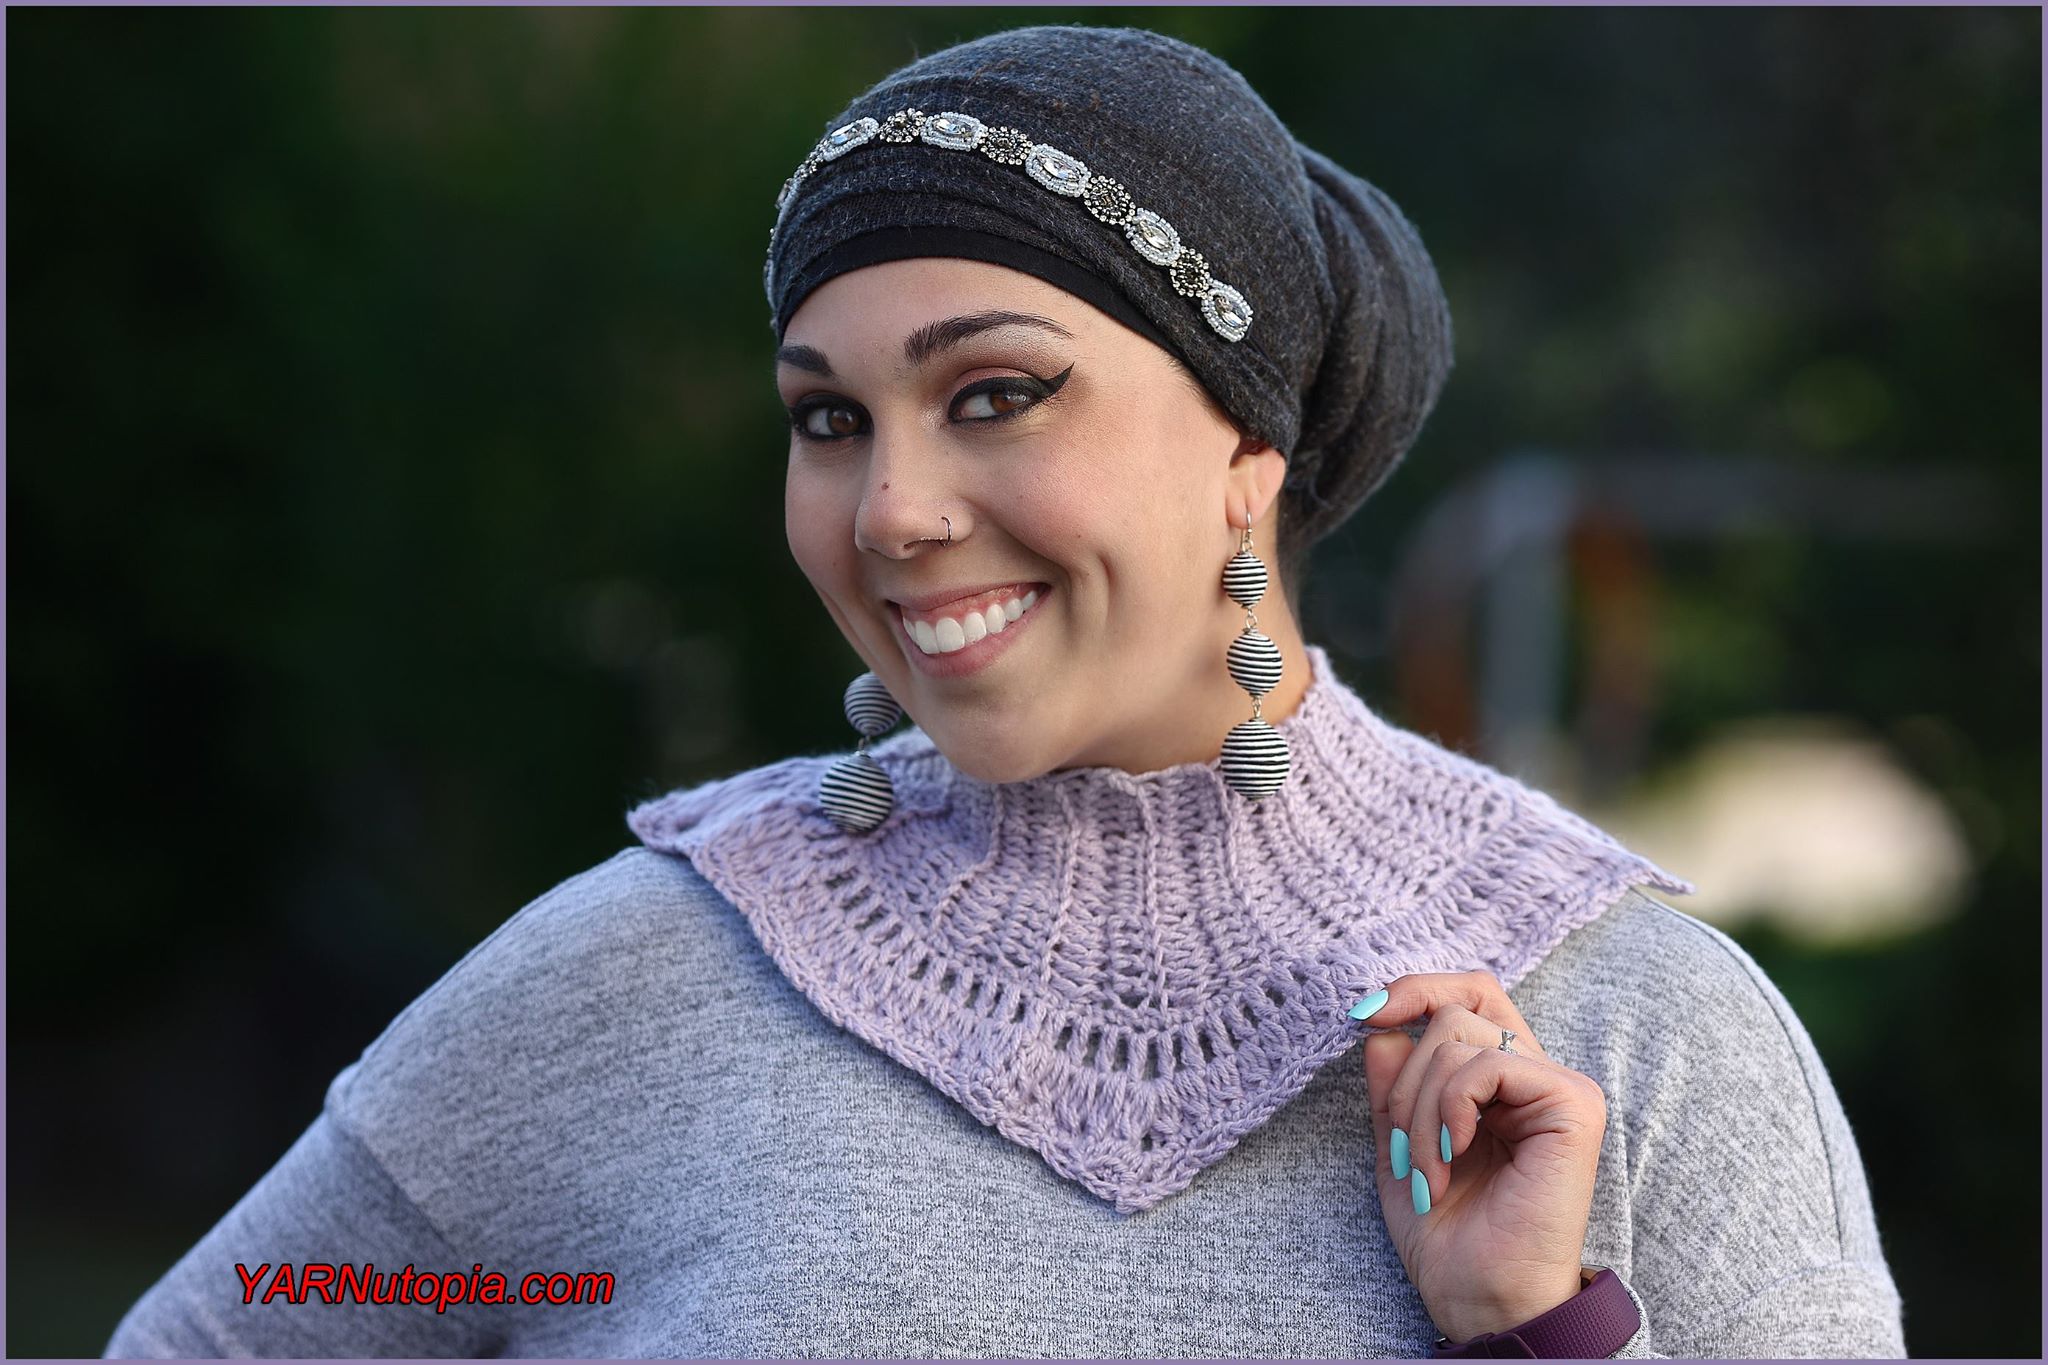
Crochet Tutorial: Vintage Inspired Pelerine Collar
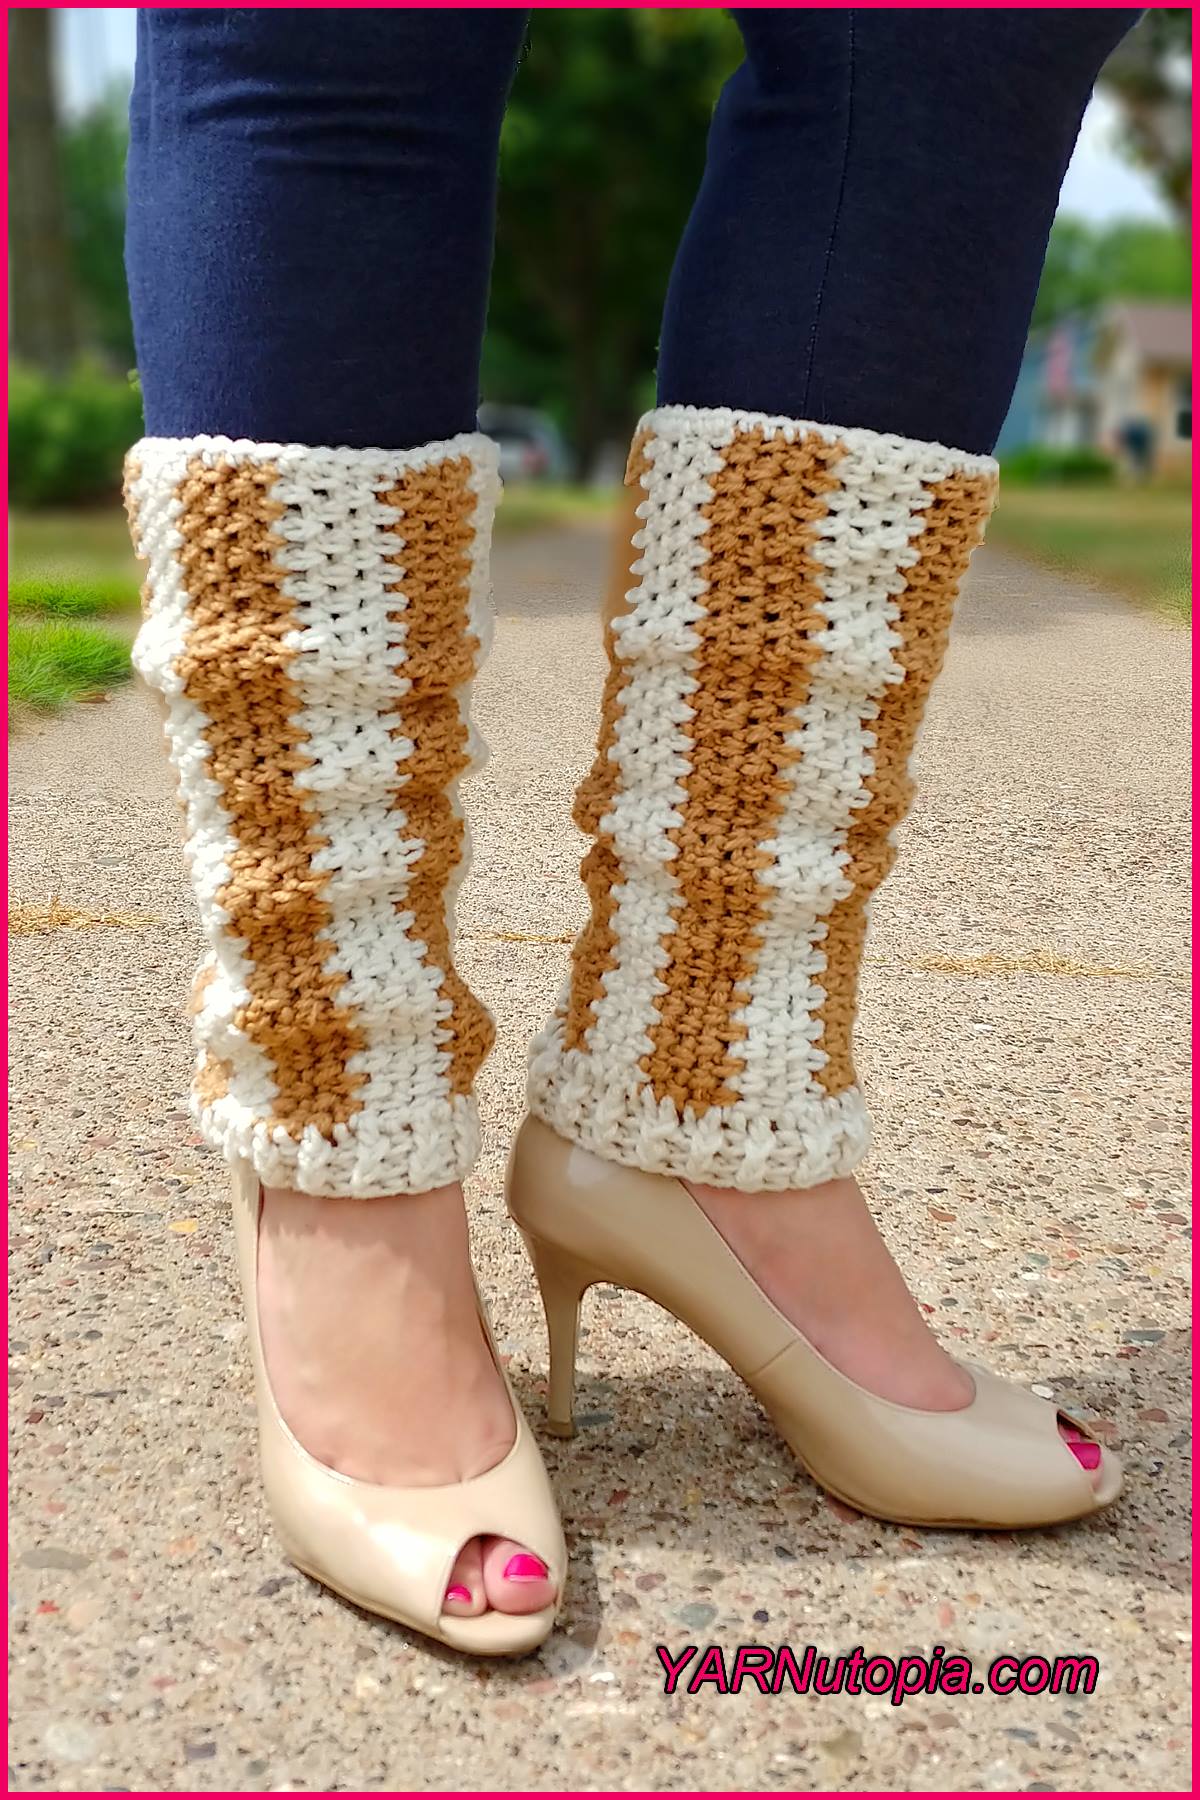
Crochet Tutorial: Vertical Striped Leg Warmers
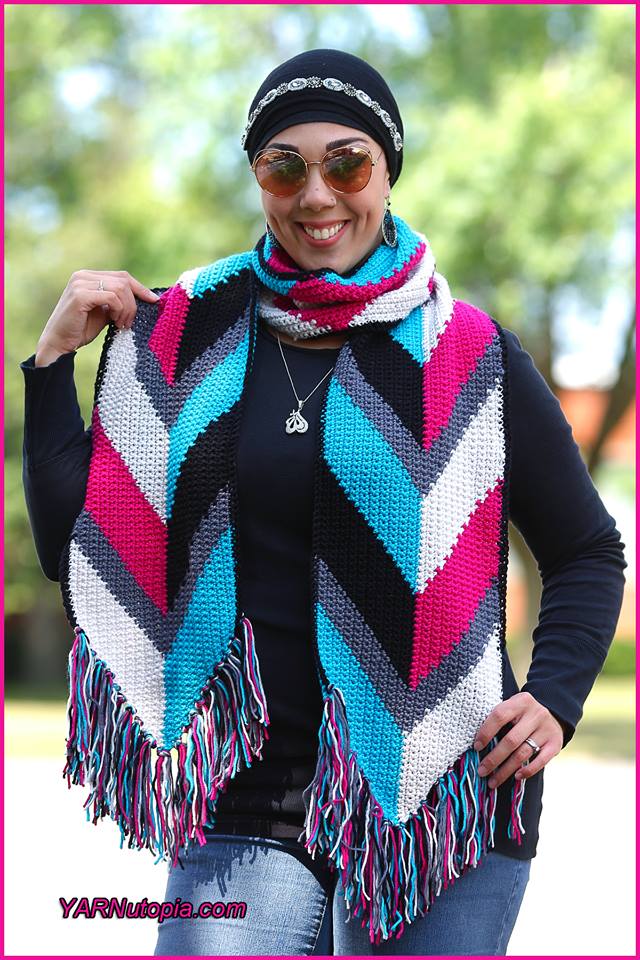
Crochet Tutorial: Arrows and Fringe Boho Fashion Scarf
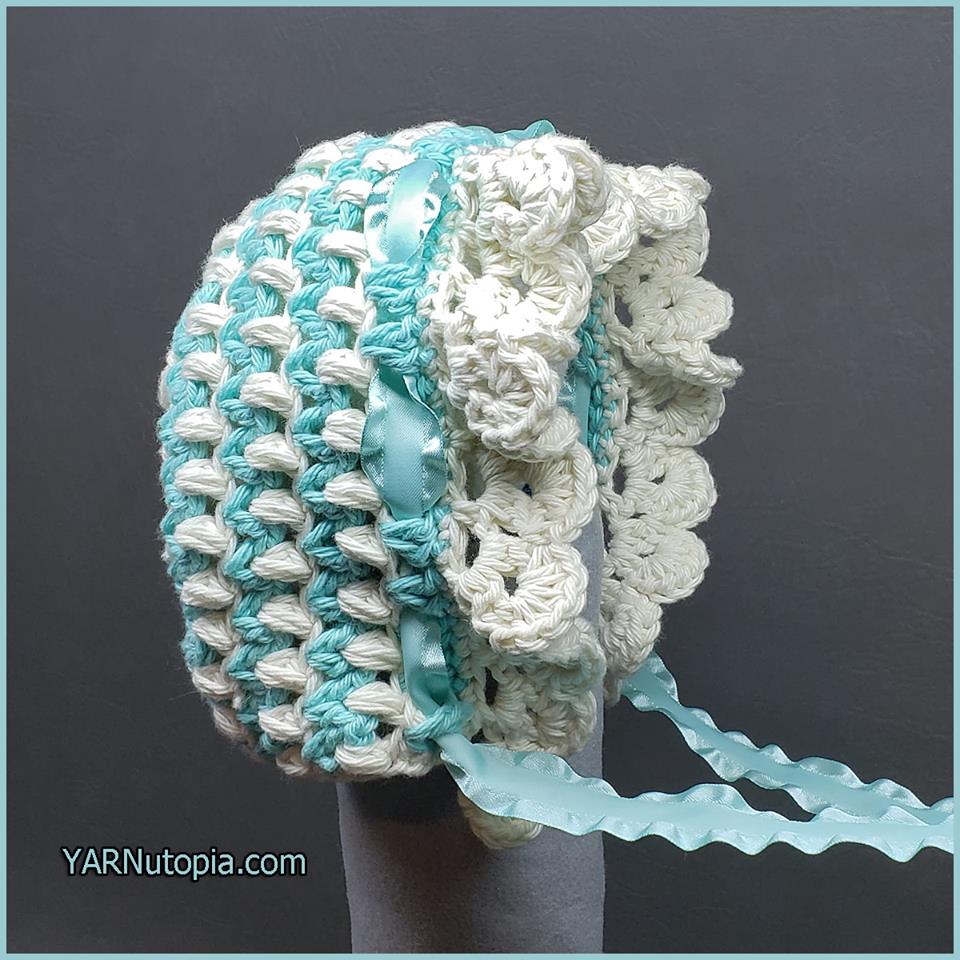
Crochet Tutorial: Vintage Style Baby Bonnet
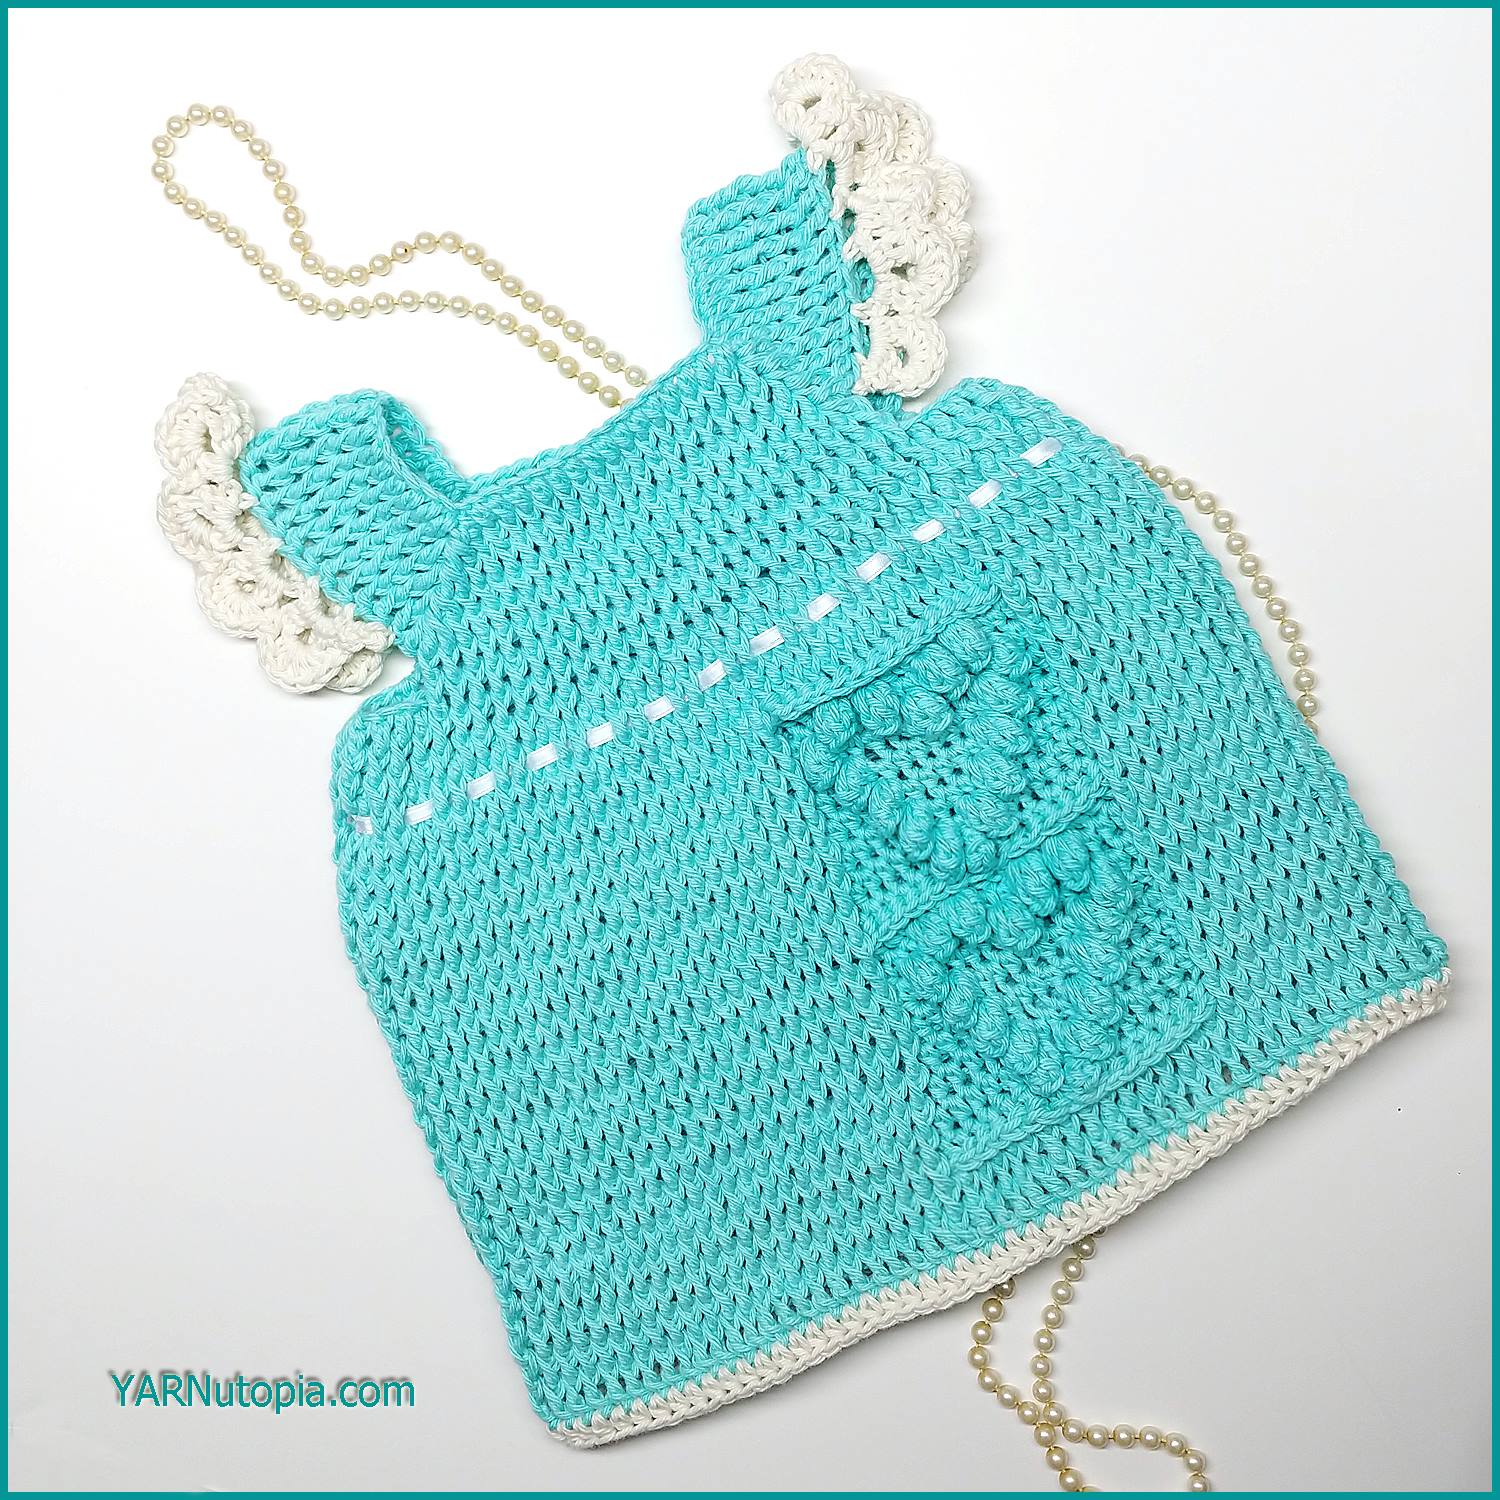
Crochet Tutorial: Happy Hearts Baby Dress
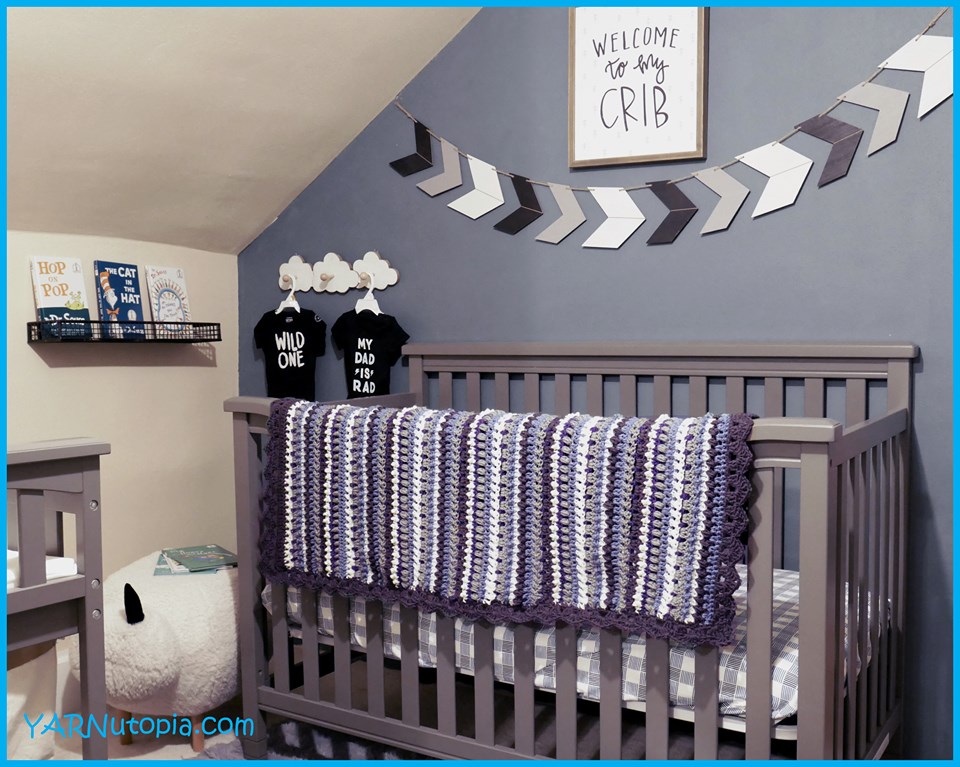
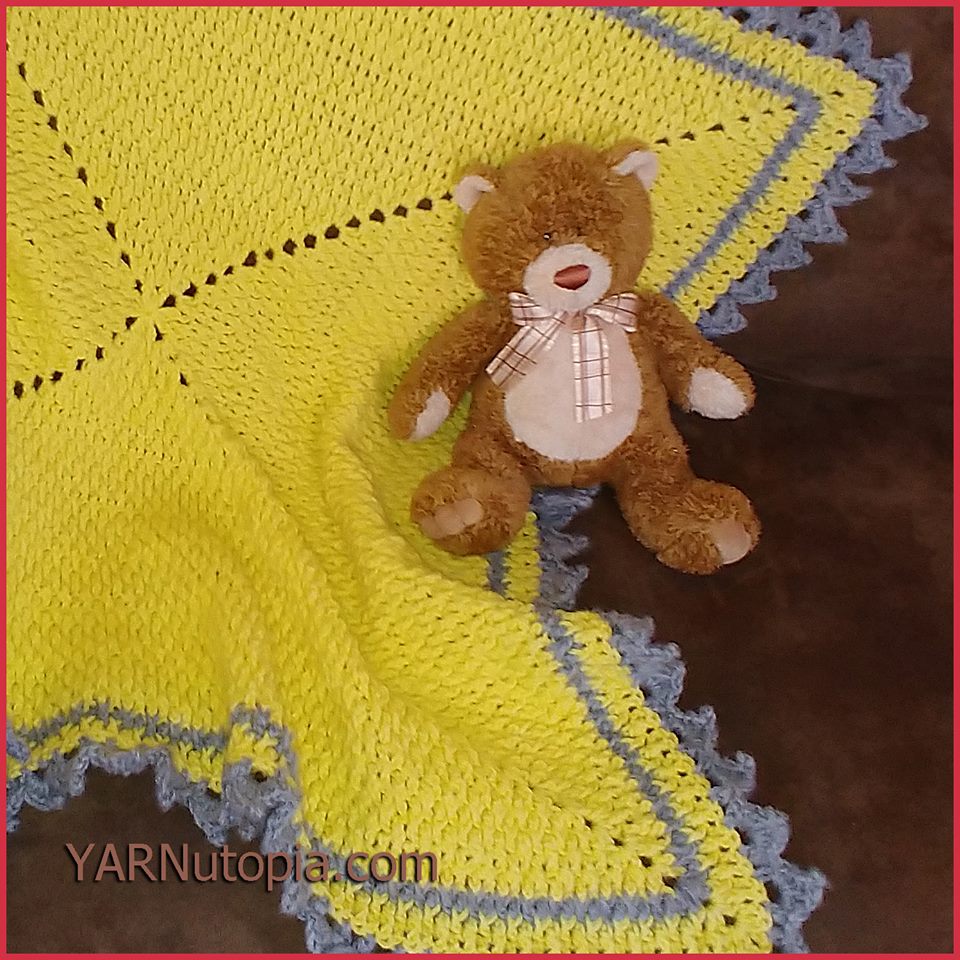
Crochet Tutorial: Love & Sunshine Baby Blanket
Crochet Tutorial: Bunny Ear Headband
Previous Page
1
2
3
4
Next Page
Loading Comments...
Write a Comment...
Email (Required)
Name (Required)
Website