Skip to content
YARNutopia & M0re
All things Yarn Related: Crochet, DIY, and Crafts
Blog
365 Days of Granny Squares
Stitch Gallery & Glossary
Crochet Video Tutorials
Frequently Asked Questions
Crochet Glossary: Learn the Lingo
Contact
Search
Search
holiday
YARNutoia & More
Crochet Tutorial: Pommin’ Around Cowl
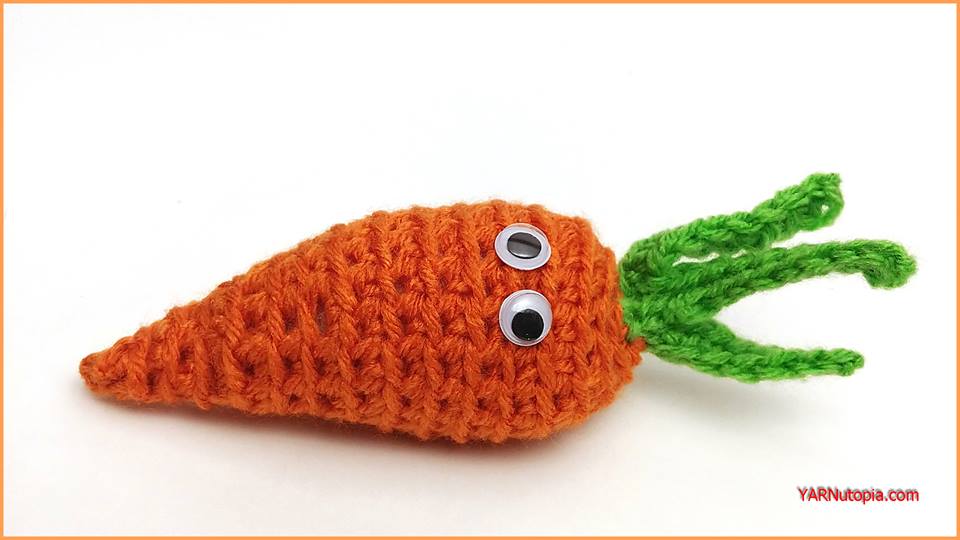
Crochet Tutorial: Carrot Amigurumi
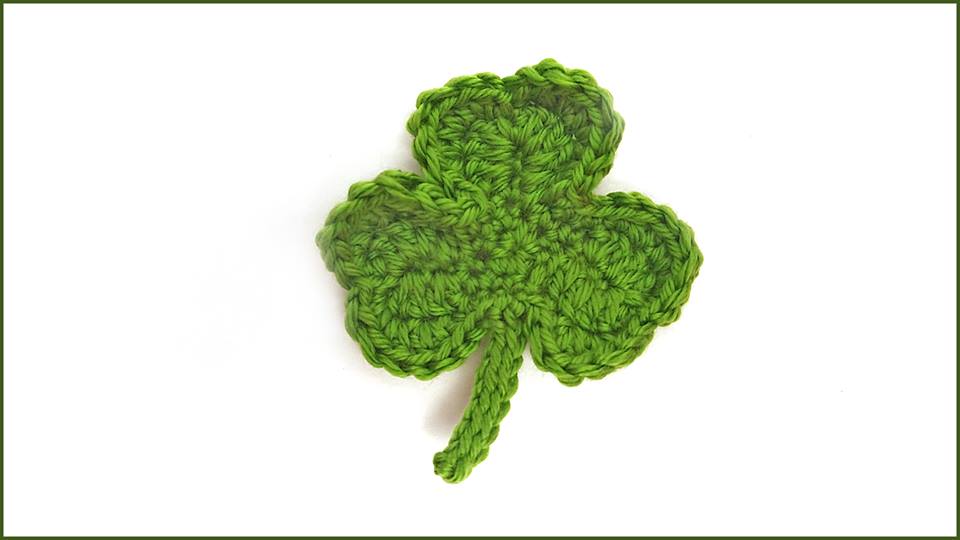
Crochet Tutorial: Shamrock Appliqué
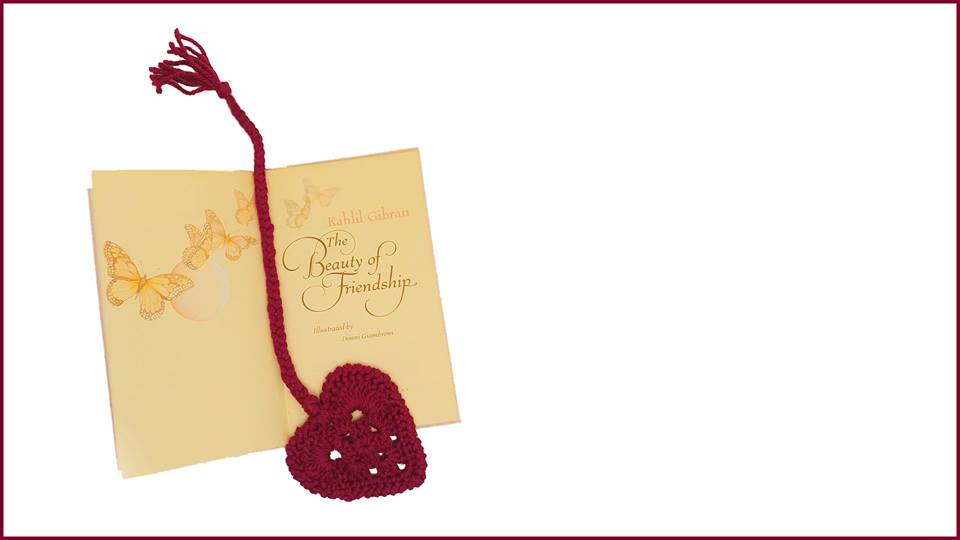
Crochet Tutorial: Heart Bookmark
Crochet Tutorial: Pickle Amigurumi
Crochet Tutorial: Watermelon Scrubby
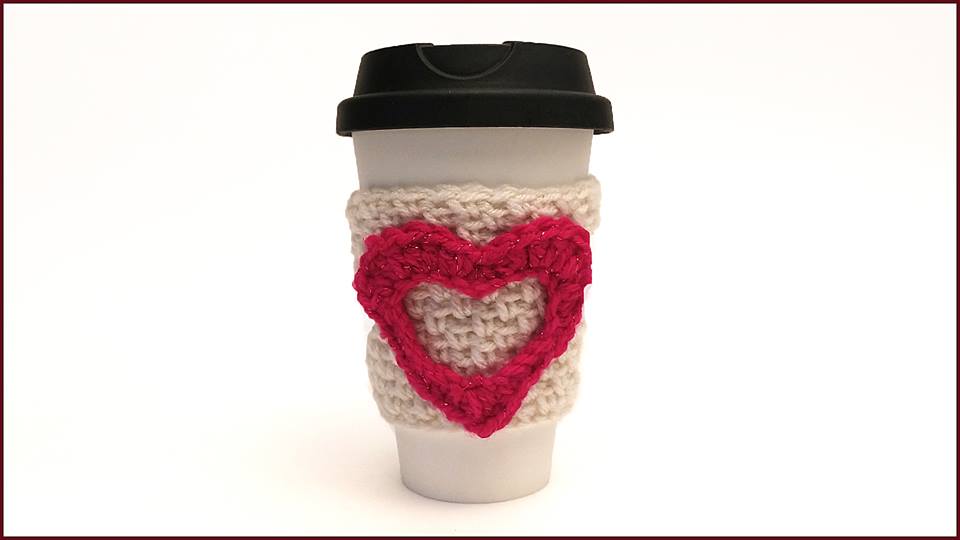
Crochet Tutorial: Open Heart Cup Cozy
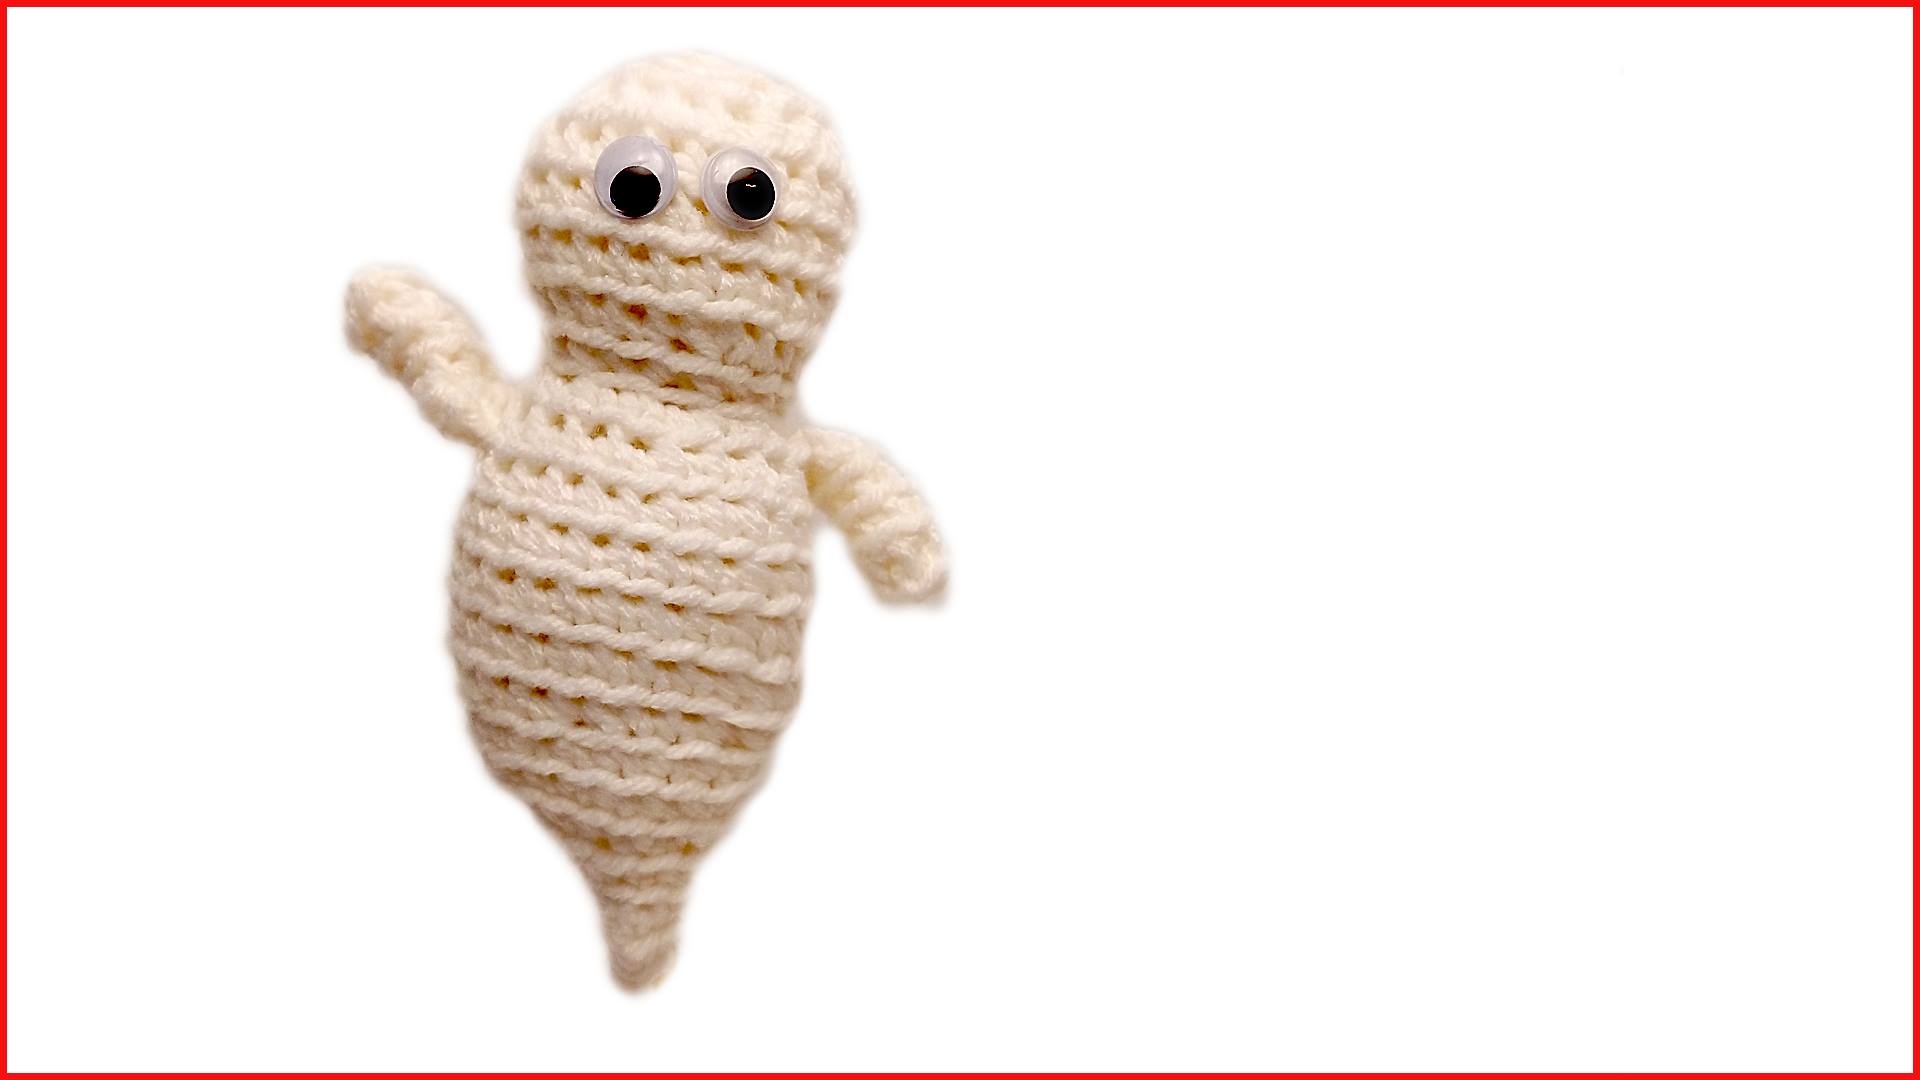
Crochet Tutorial: Ghost Amigurumi
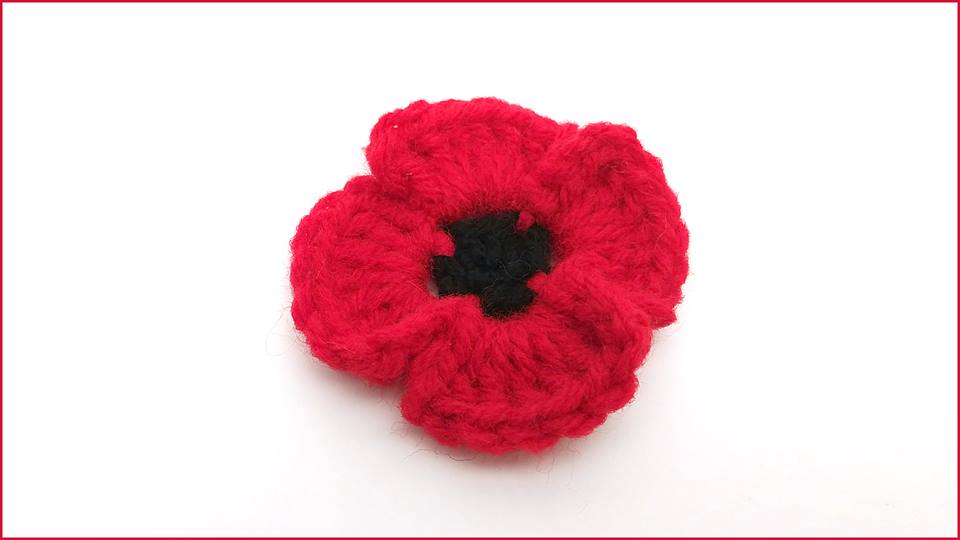
Crochet Tutorial: Poppy Flower
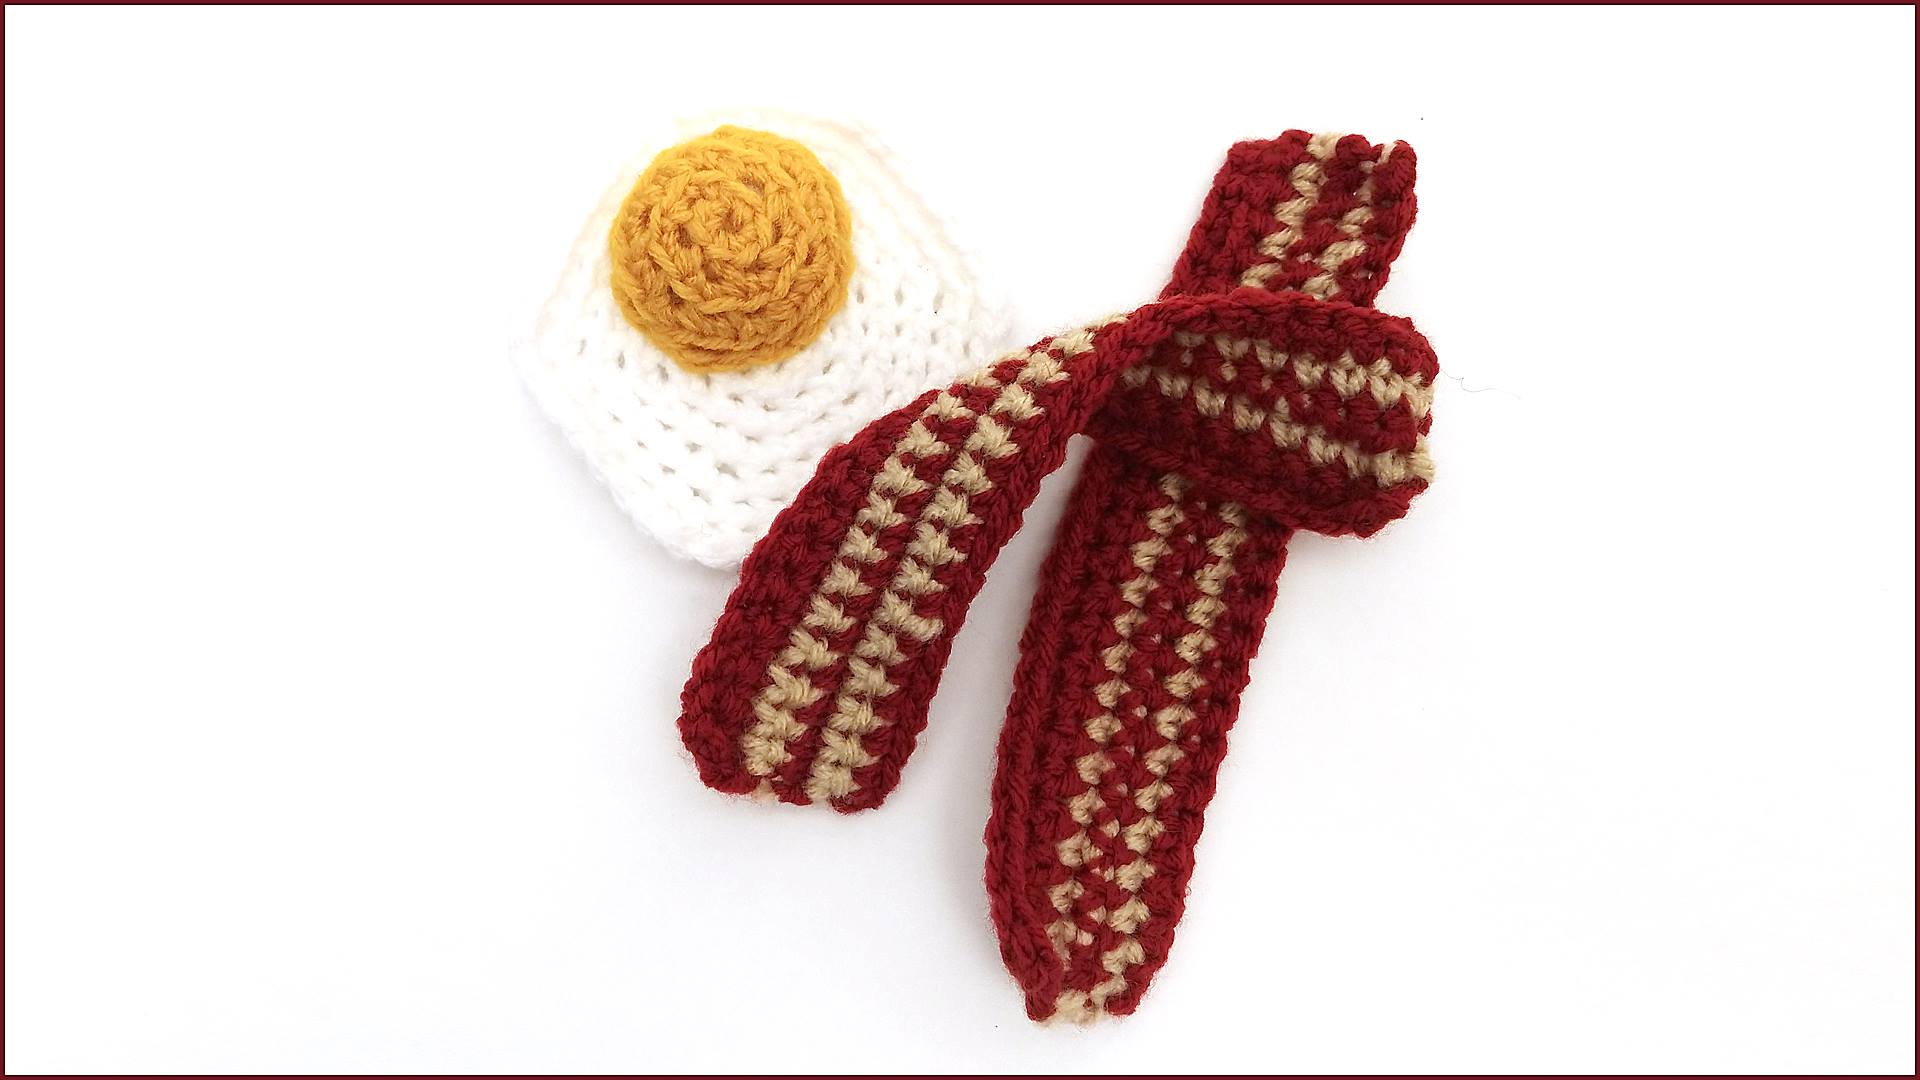
Crochet Tutorial: Bacon and Eggs Amigurumi
Crochet Tutorial: Warm and Fuzzy Headband
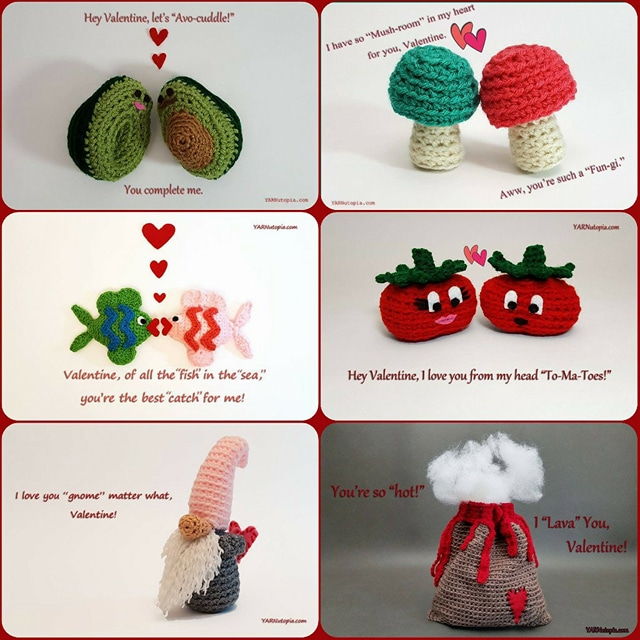
Punny Valentine’s: “Love” a Good Pun
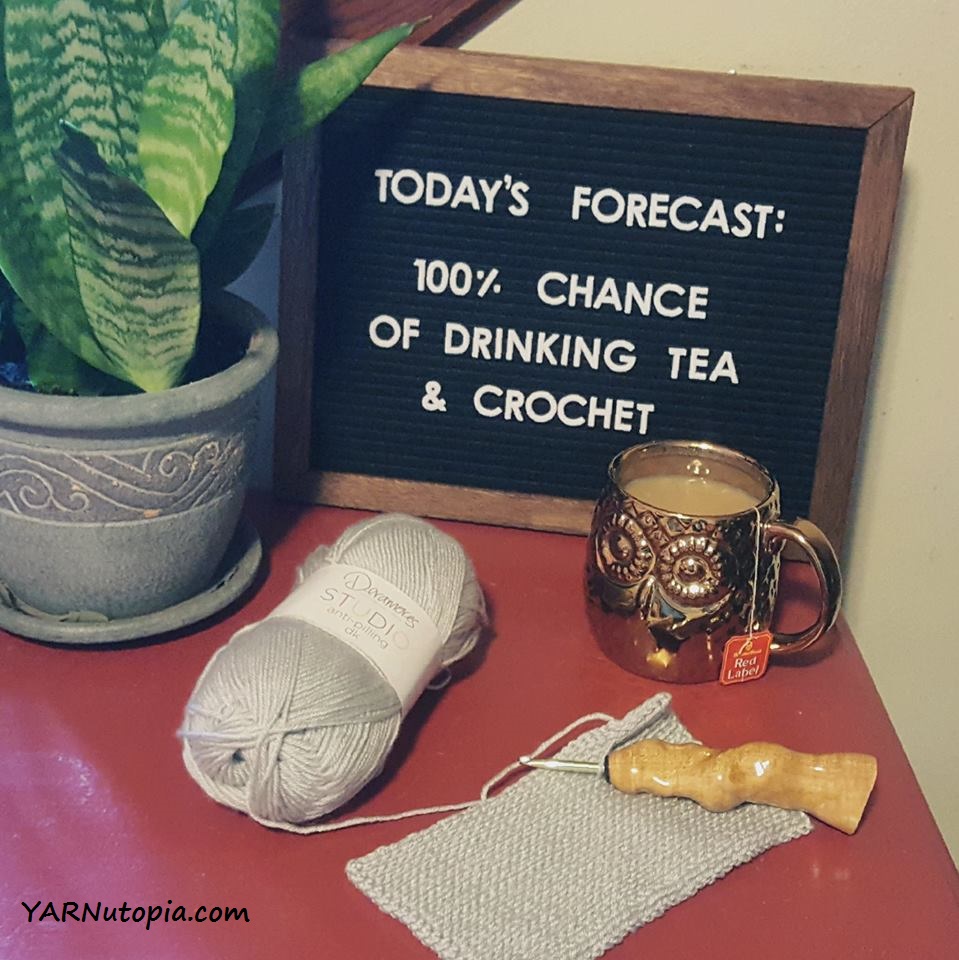
Letterboard Inspiration
Crochet Tutorial: Nadia’s Wonderfully Warm Mittens
My Top 10 Crochet Patterns of 2017
Crochet Tutorial: Houndstooth Stocking Hat
12 Days of Christmas Ornament Collection
12 Days of Christmas: Penguin Ornament
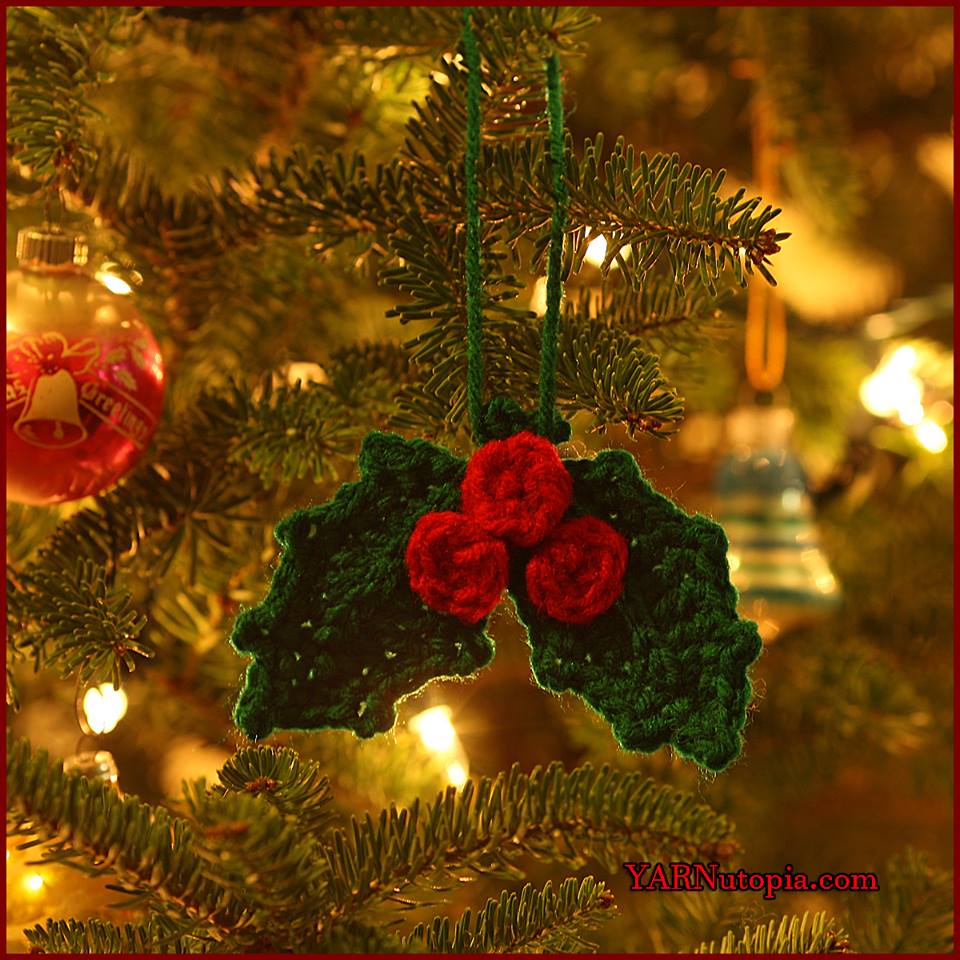
12 Days of Christmas: Holly and Berries Ornament
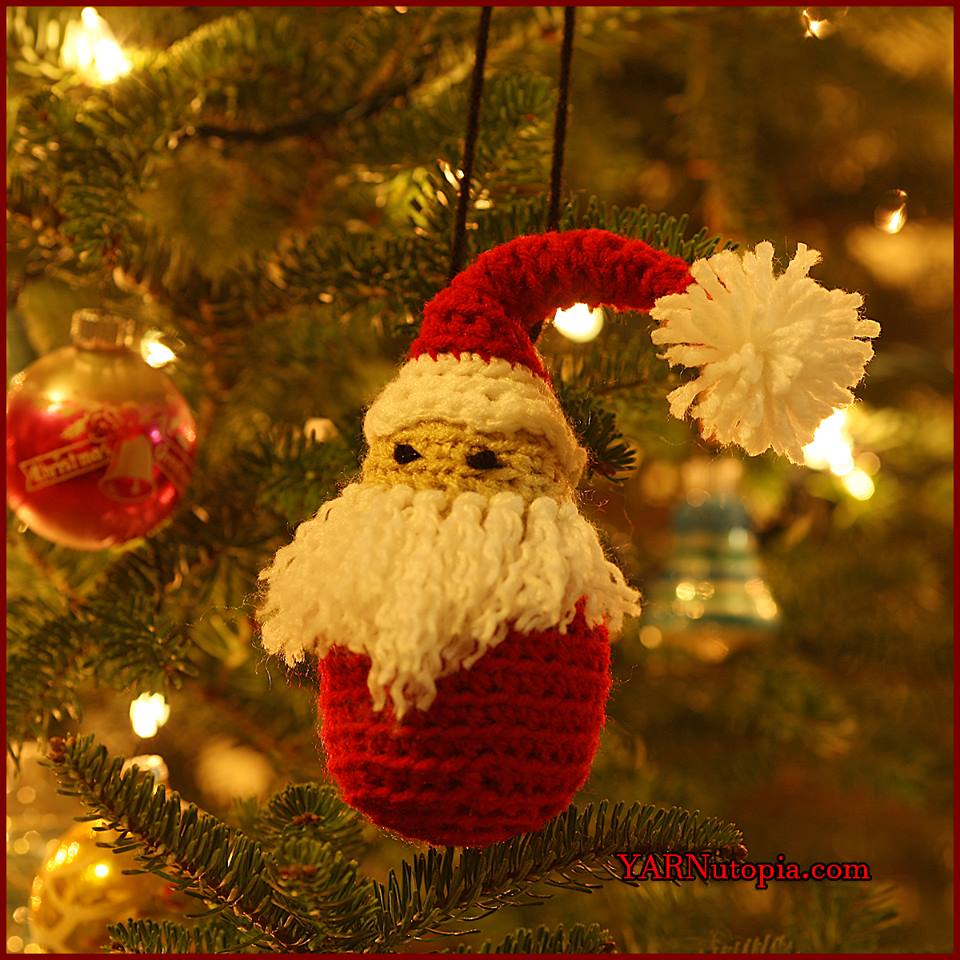
12 Days of Christmas: Santa Ornament
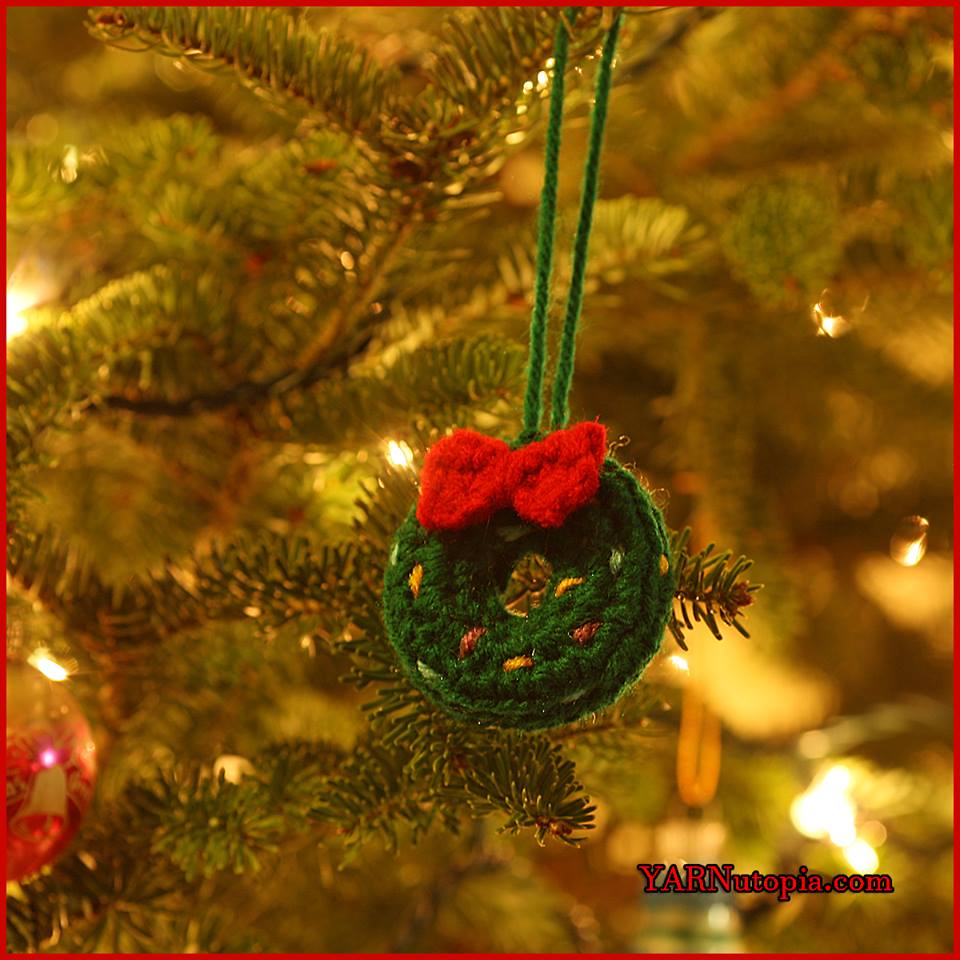
12 Days of Christmas: Wreath Ornament
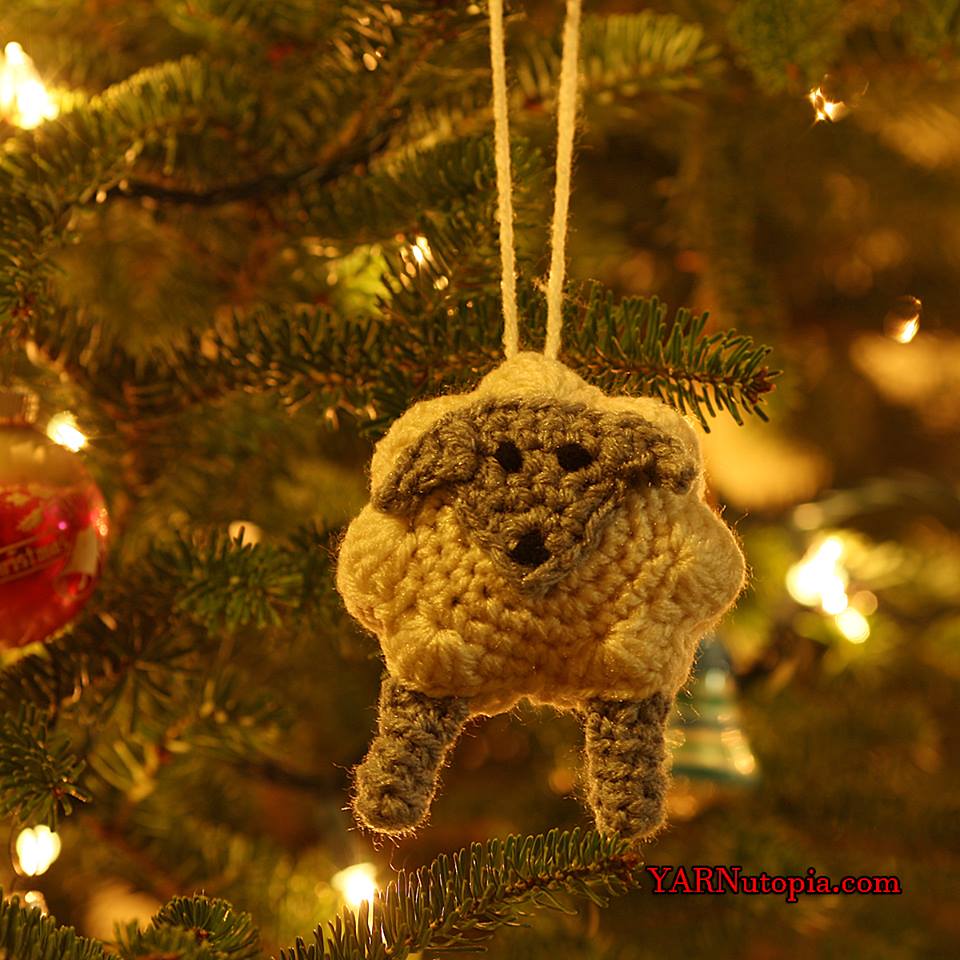
12 Days of Christmas: Sheep Ornament
12 Days of Christmas: Cactus Ornament
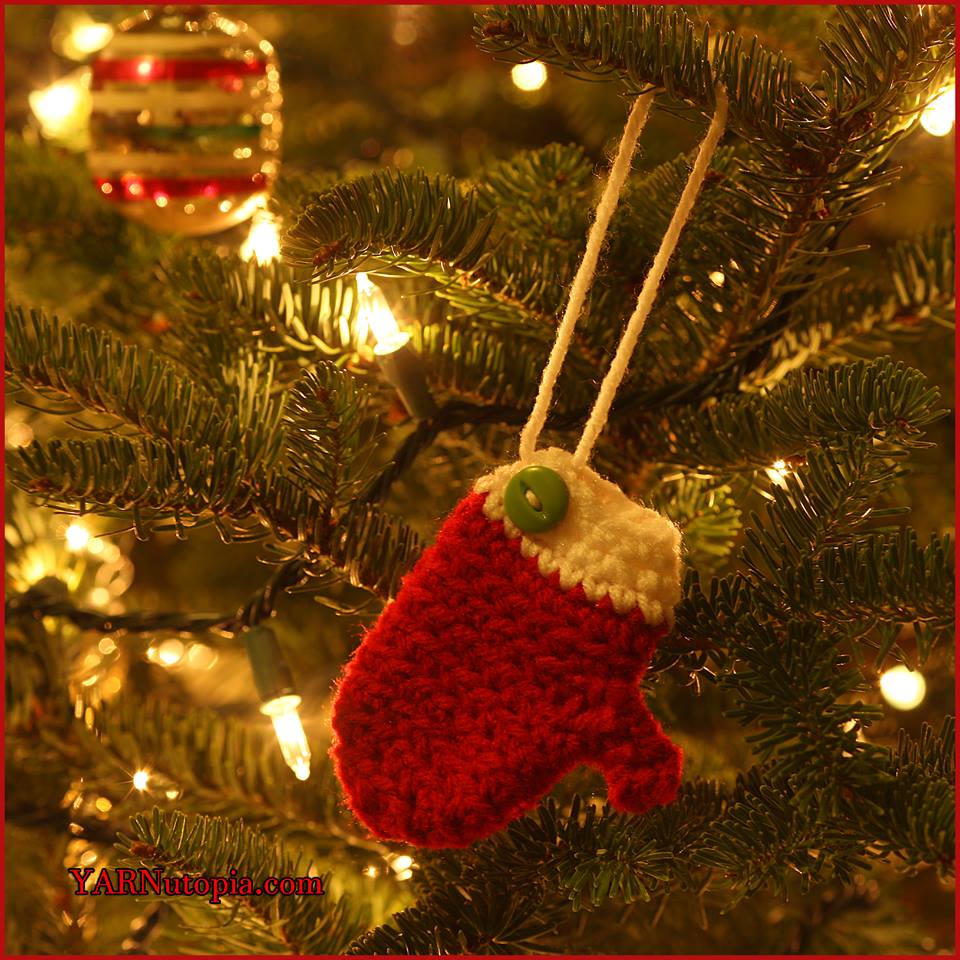
12 Days of Christmas: Mitten Ornament
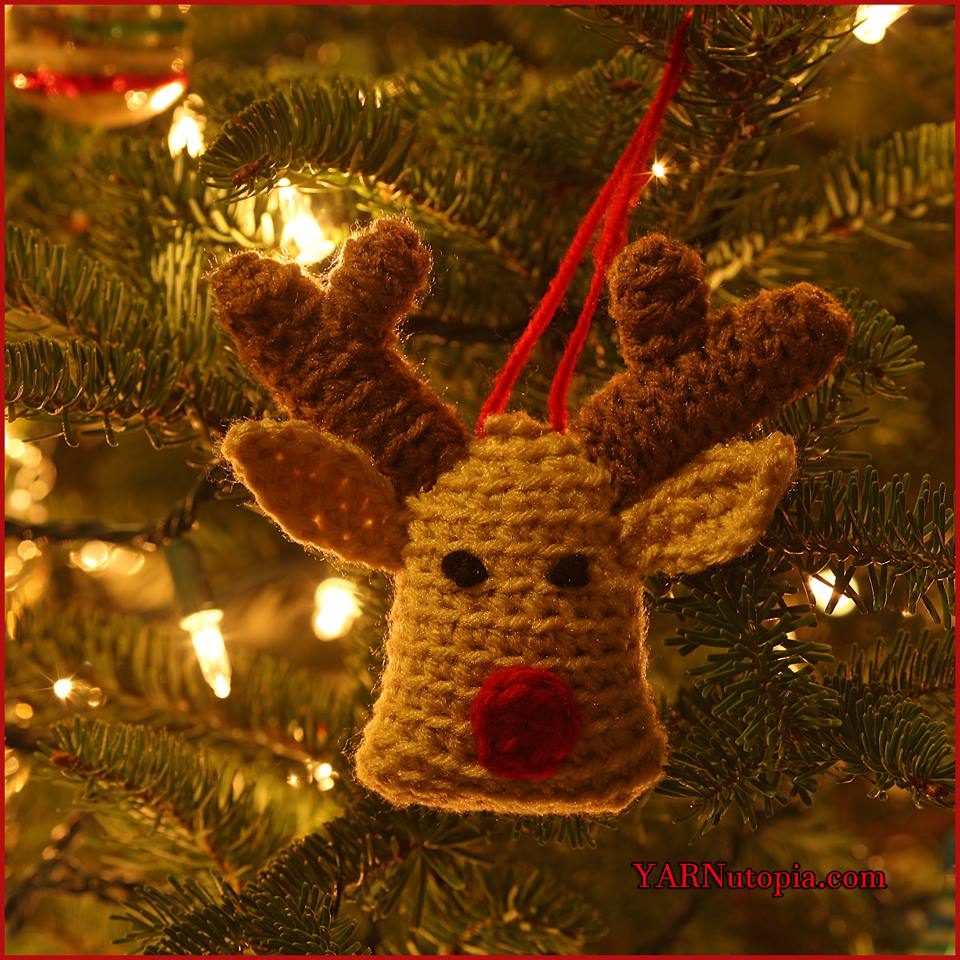
12 Days of Christmas: Reindeer Ornament
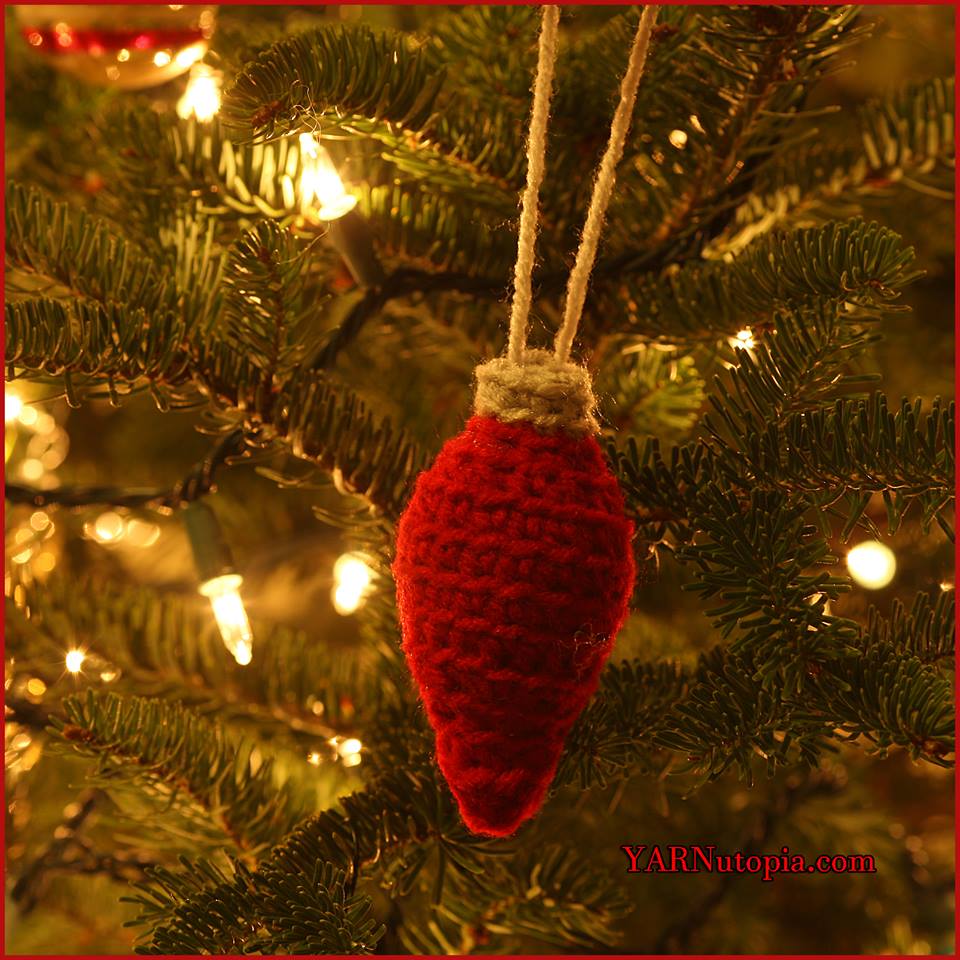
12 Days of Christmas: Christmas Bulb Ornament
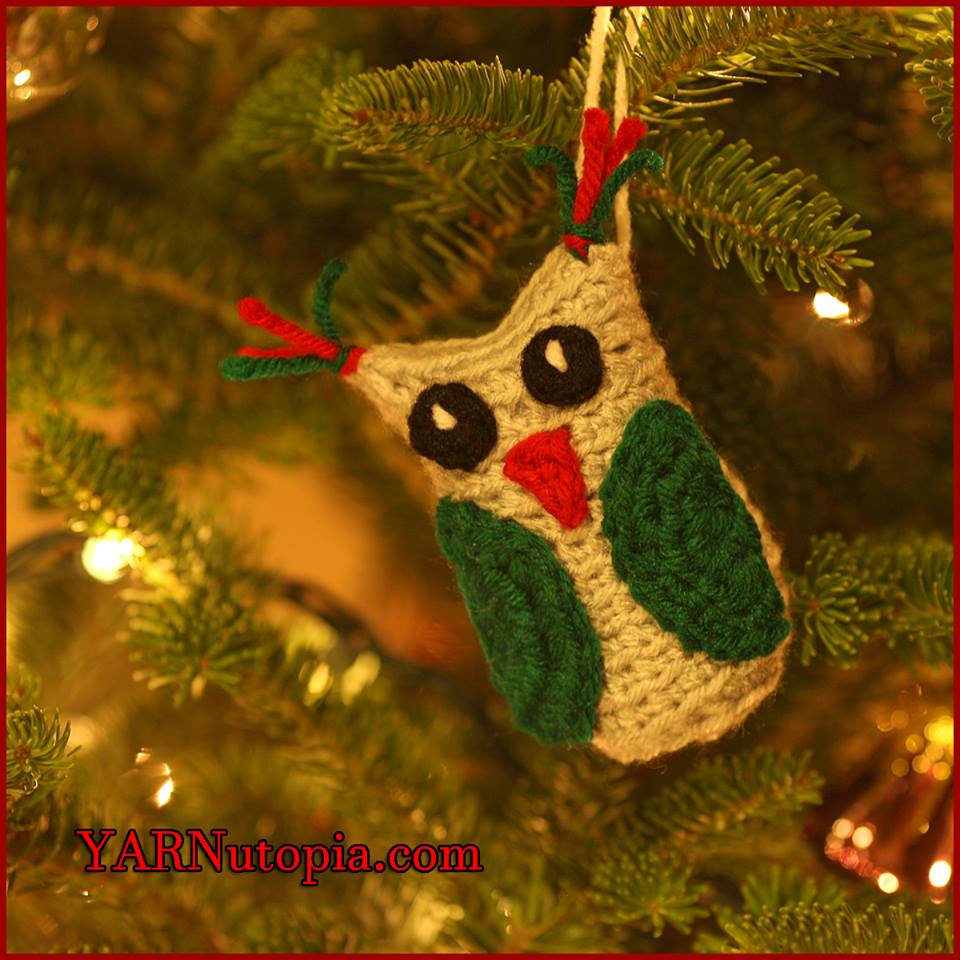
12 Days of Christmas: Owl Ornament
12 Days of Christmas: Colorful Tree Ornament
12 Days of Christmas: Gift Box Ornament
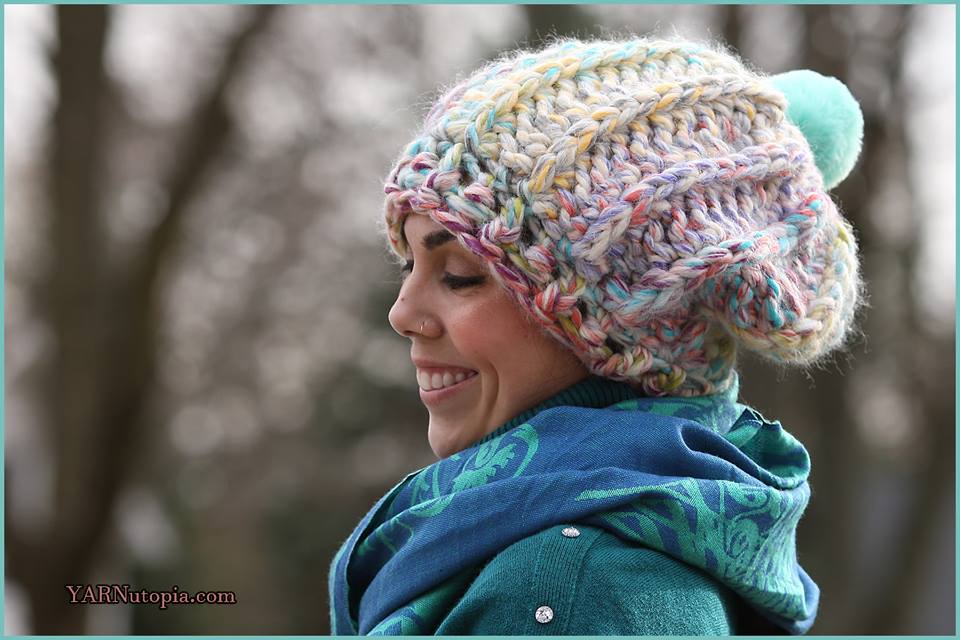
Crochet Tutorial: Razzle Dazzle Chunky Hat
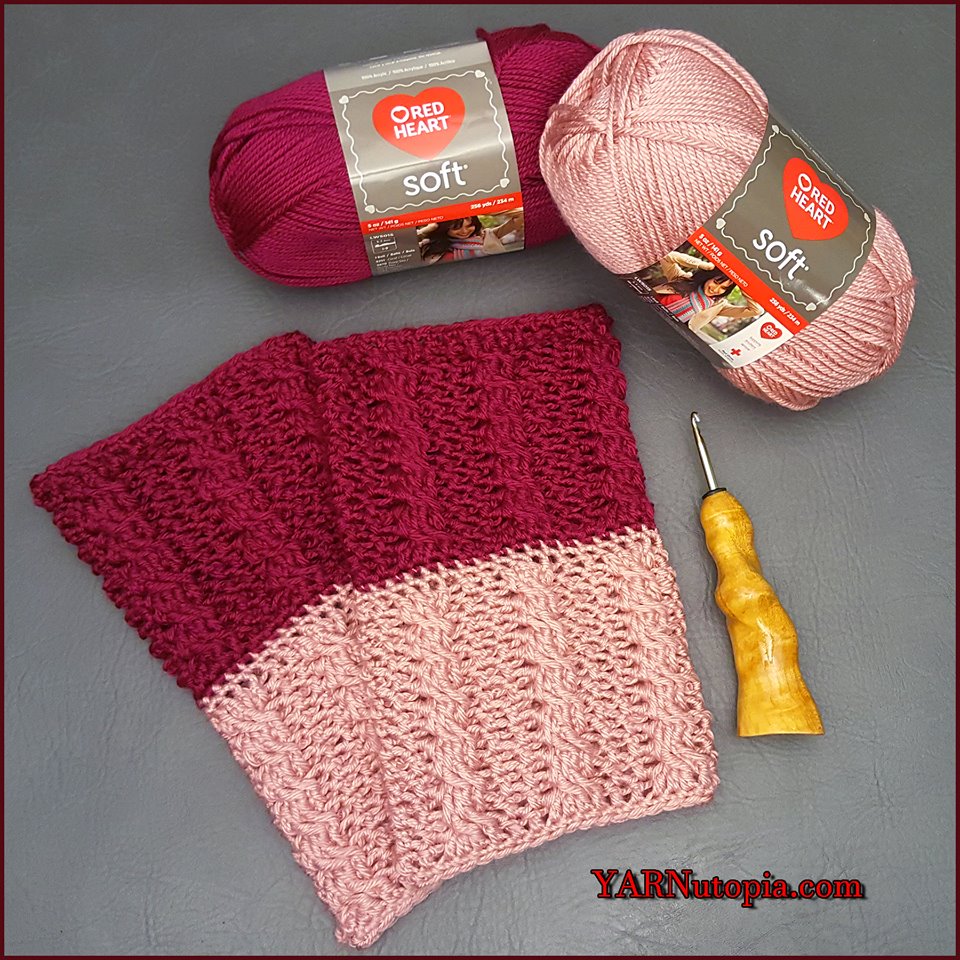
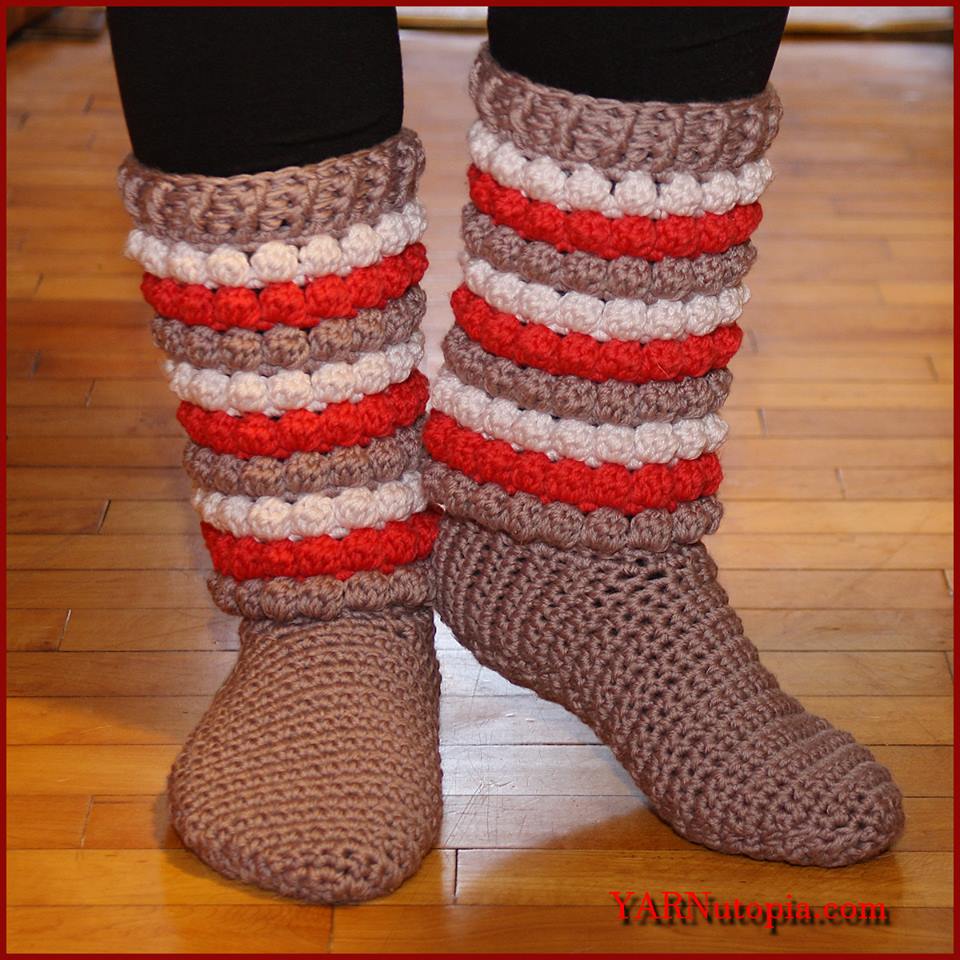
Crochet Tutorial: Two-Toned Cable Boot Cuffs
Crochet Tutorial: Winter Chic Slippers
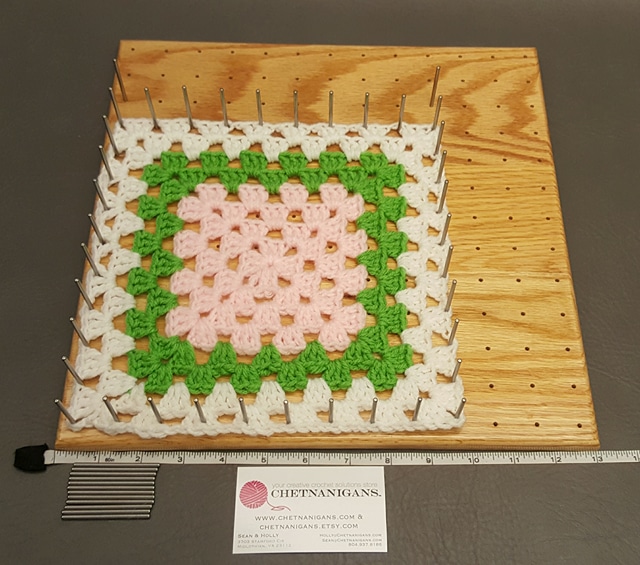
My New Blocking Station Product Review
Public Speaking for a Media Summit
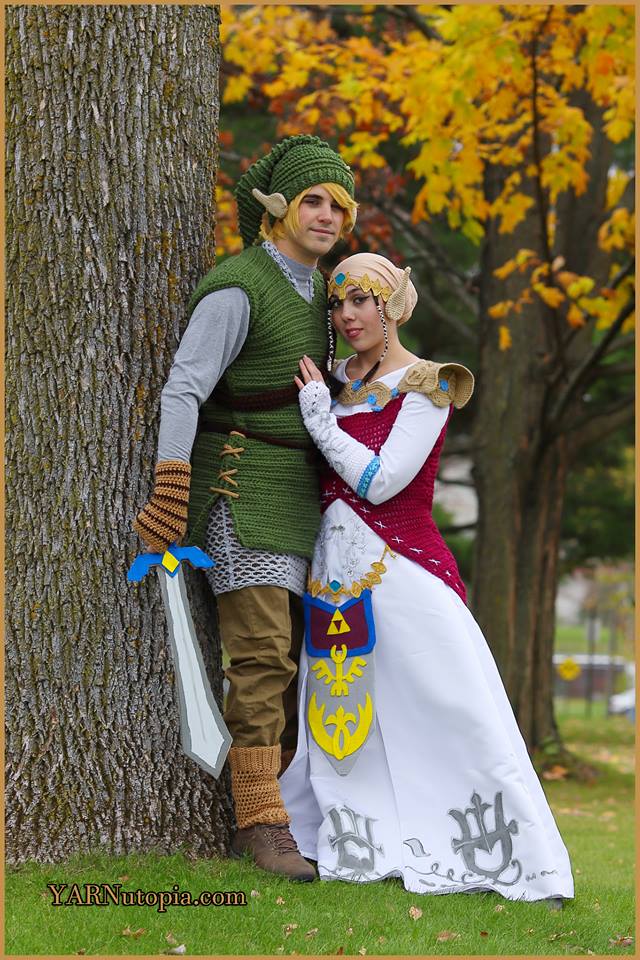
Happy Halloween from Link and Zelda!
Crochet Tutorial: Link to the Past Pullover Sweater Vest
My Crafty Wishlist
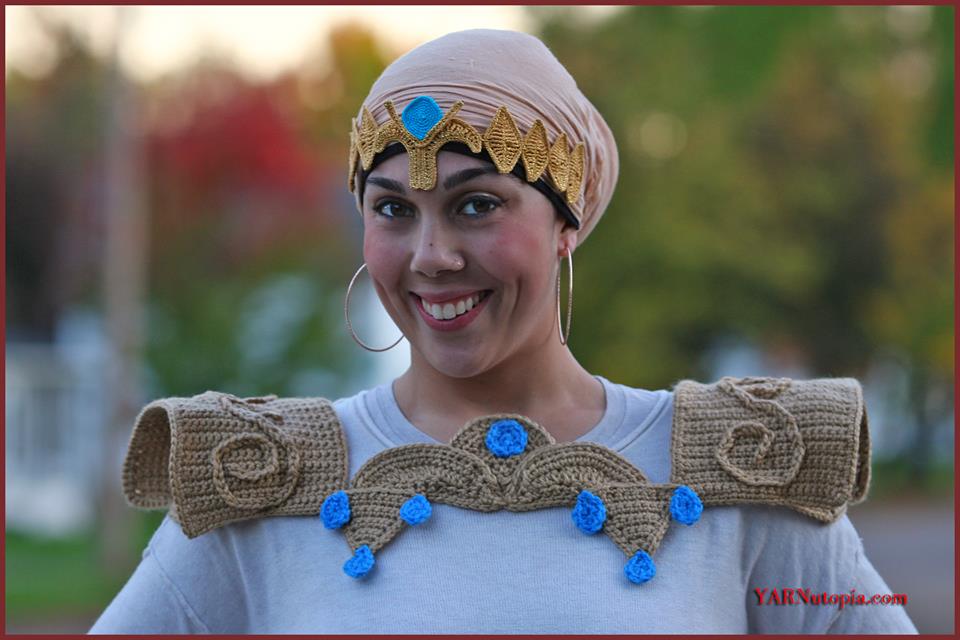
Crochet Tutorial: Princess Shoulder Armor
Crochet Tutorial: Princess Costume Gloves
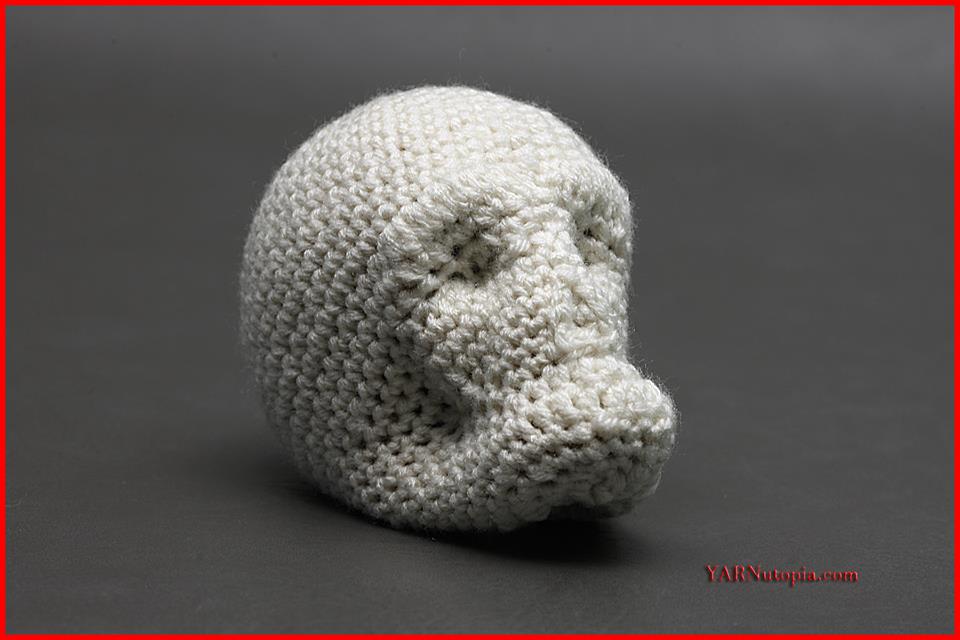
Crochet Tutorial: Crochet Around Mache-Skull
Crochet Tutorial: Grab n’ Go Hat
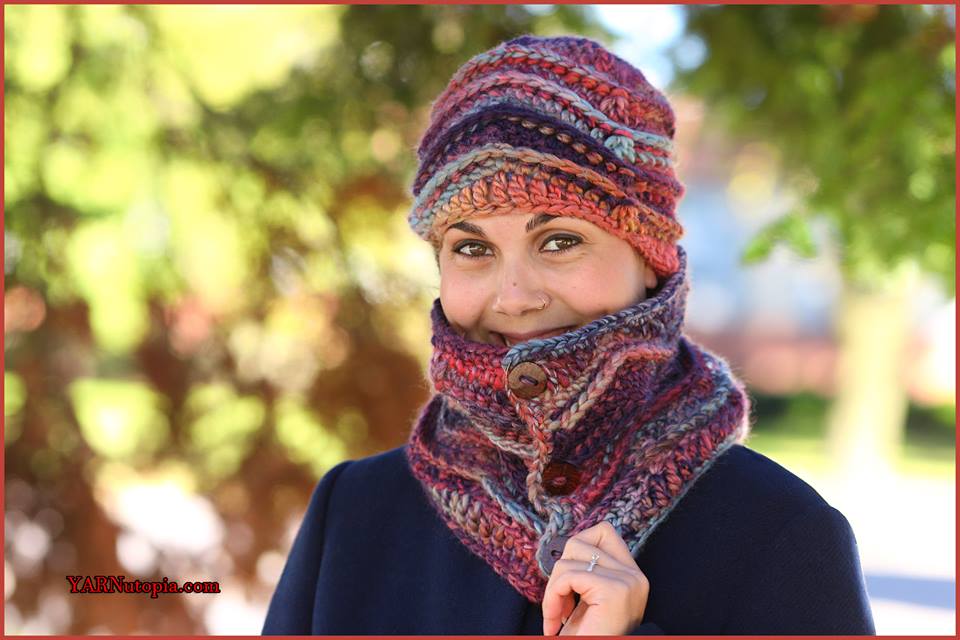
Crochet Tutorial: Grab n’ Go Cowl
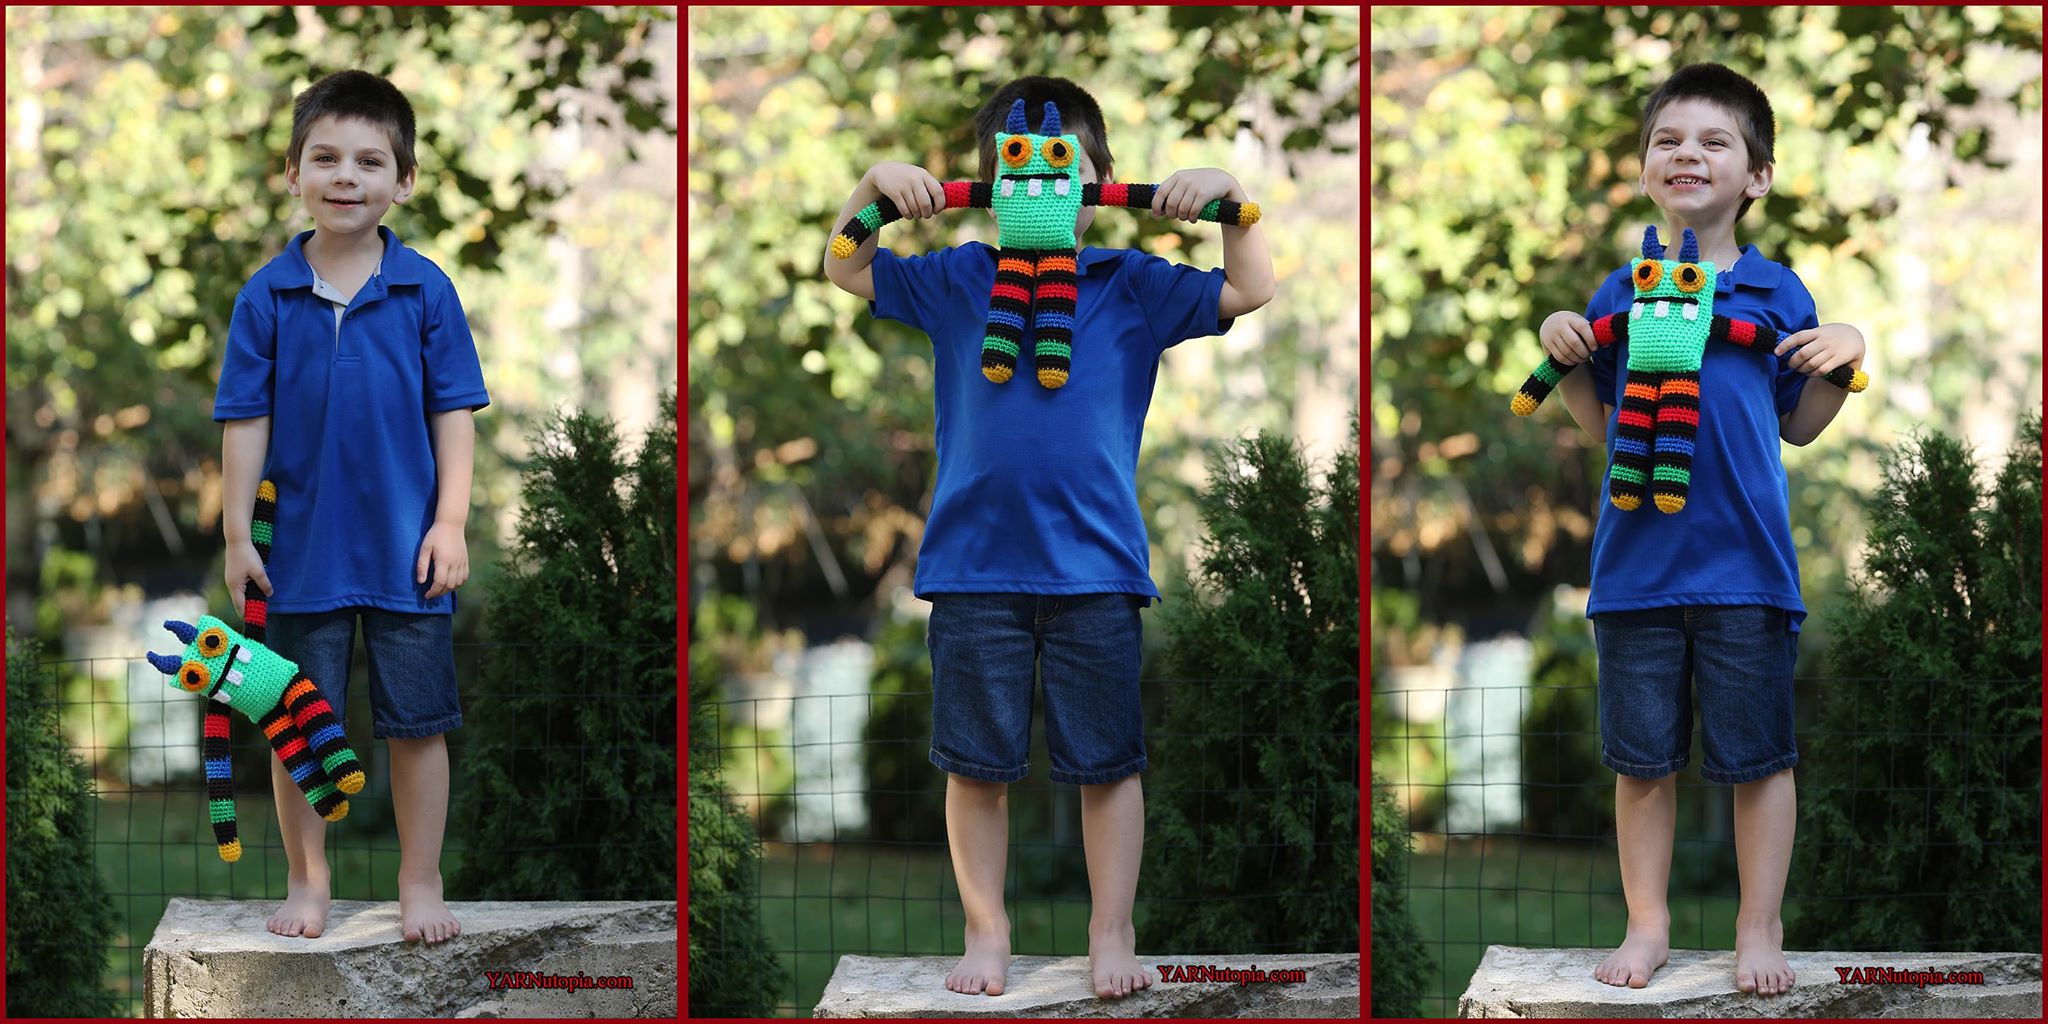
Crochet Tutorial: Frederick the Misfit Monster Toy
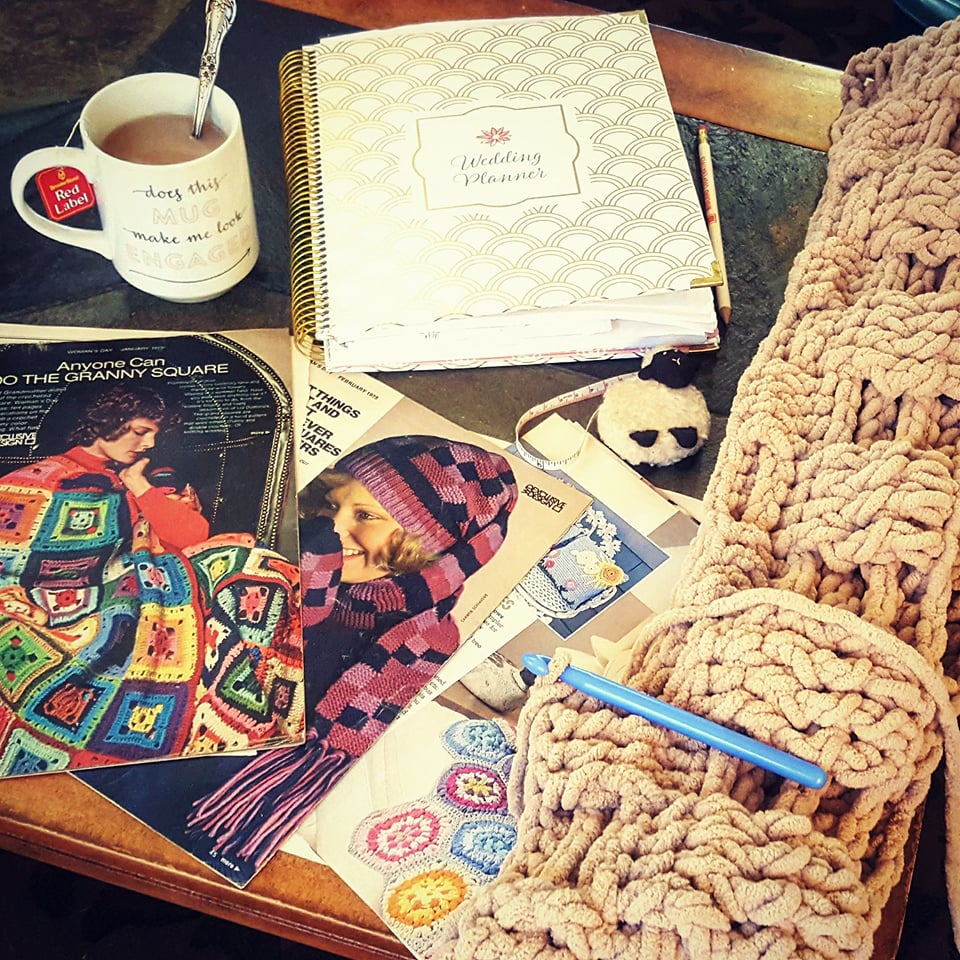
Weekend WIP
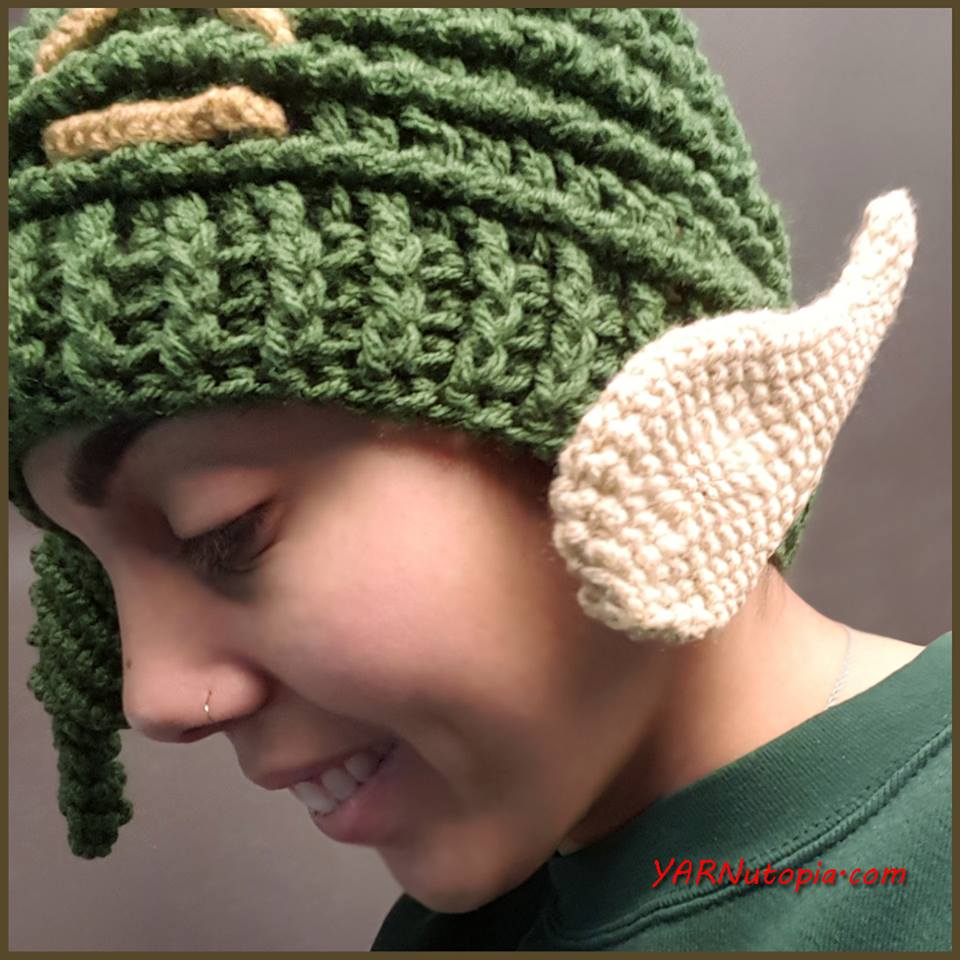
Crochet Tutorial: Elf Ears
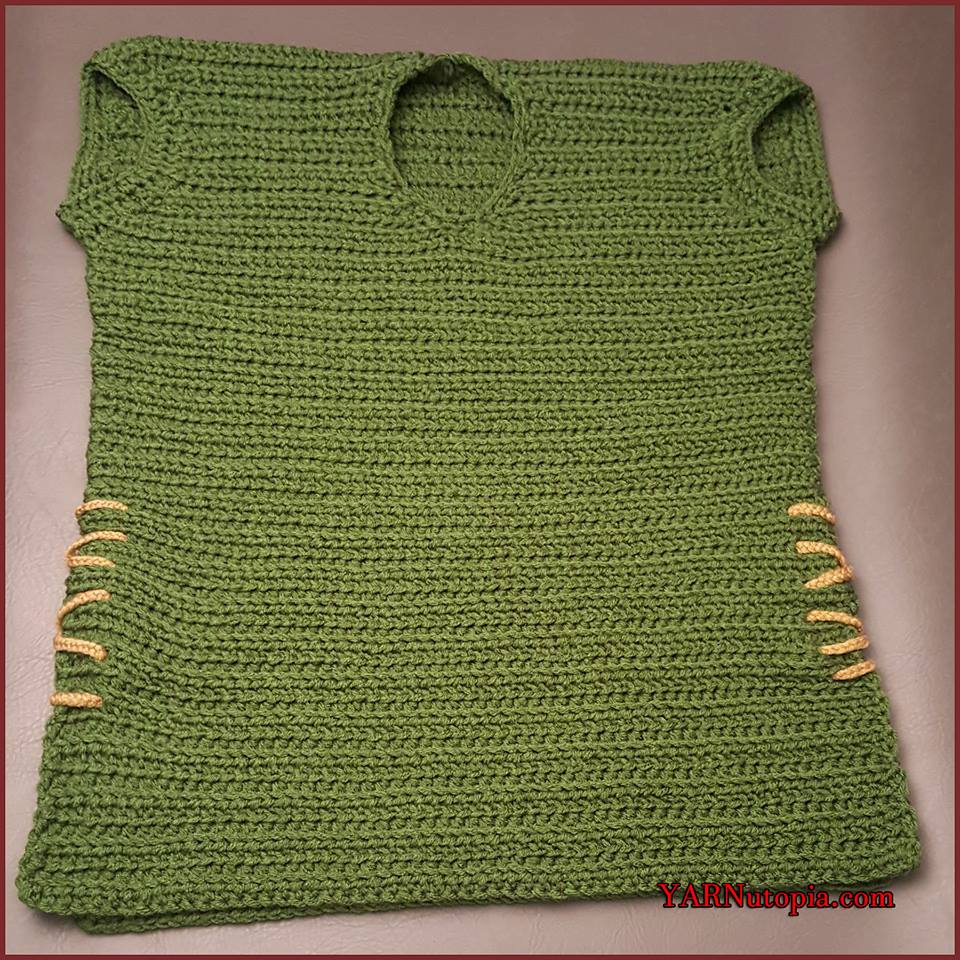
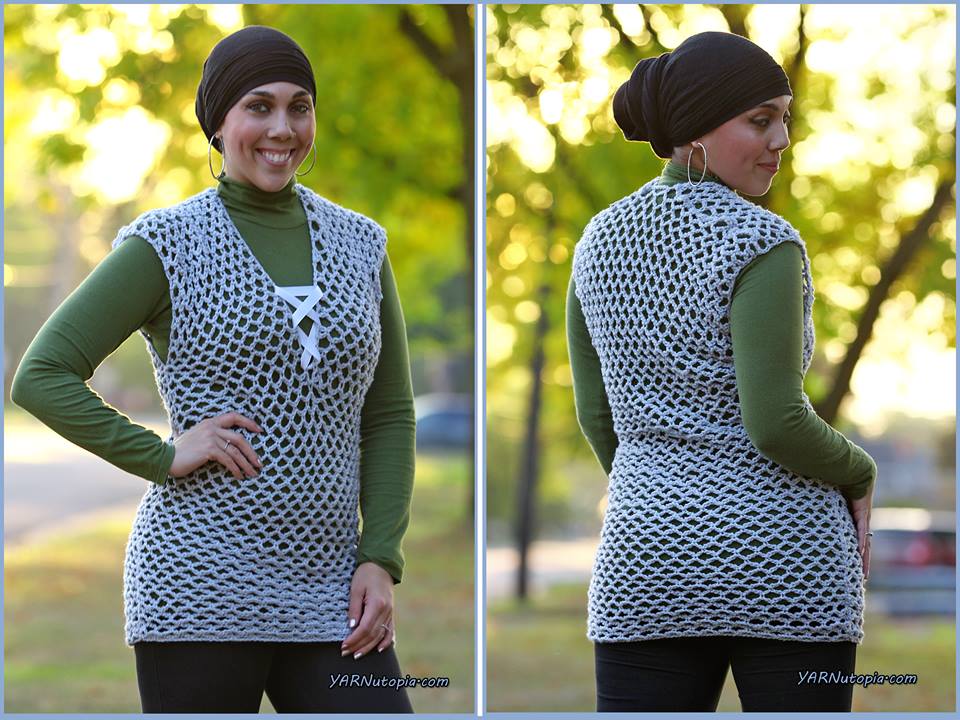
Crochet Tutorial: Chain-Link Tunic
GIVEAWAY ENDED: Yarn Pooling Made Easy Blog Tour & Book Review
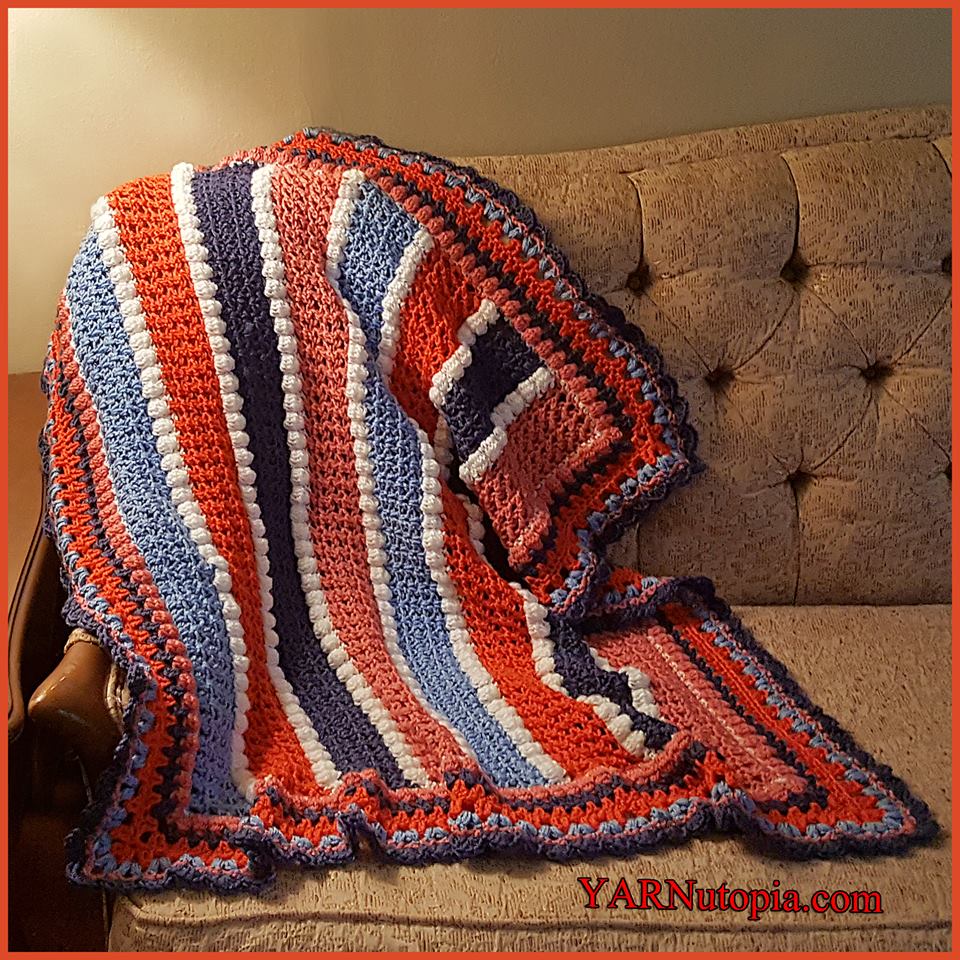
Crochet Tutorial: Destiny Sampler Baby Blanket
Tips on Homemade Gift Giving
Crochet Tutorial: Boho Pom Hat
Previous Page
1
2
3
4
Next Page
Loading Comments...
Write a Comment...
Email (Required)
Name (Required)
Website