YARNutopia & M0re
All things Yarn Related: Crochet, DIY, and Crafts
Blog
365 Days of Granny Squares
Stitch Gallery & Glossary
Crochet Video Tutorials
Frequently Asked Questions
Crochet Glossary: Learn the Lingo
Contact
Search
Search
365 days of granny squares
YARNutoia & More
Inner Peace Blanket
Yay! I did it!
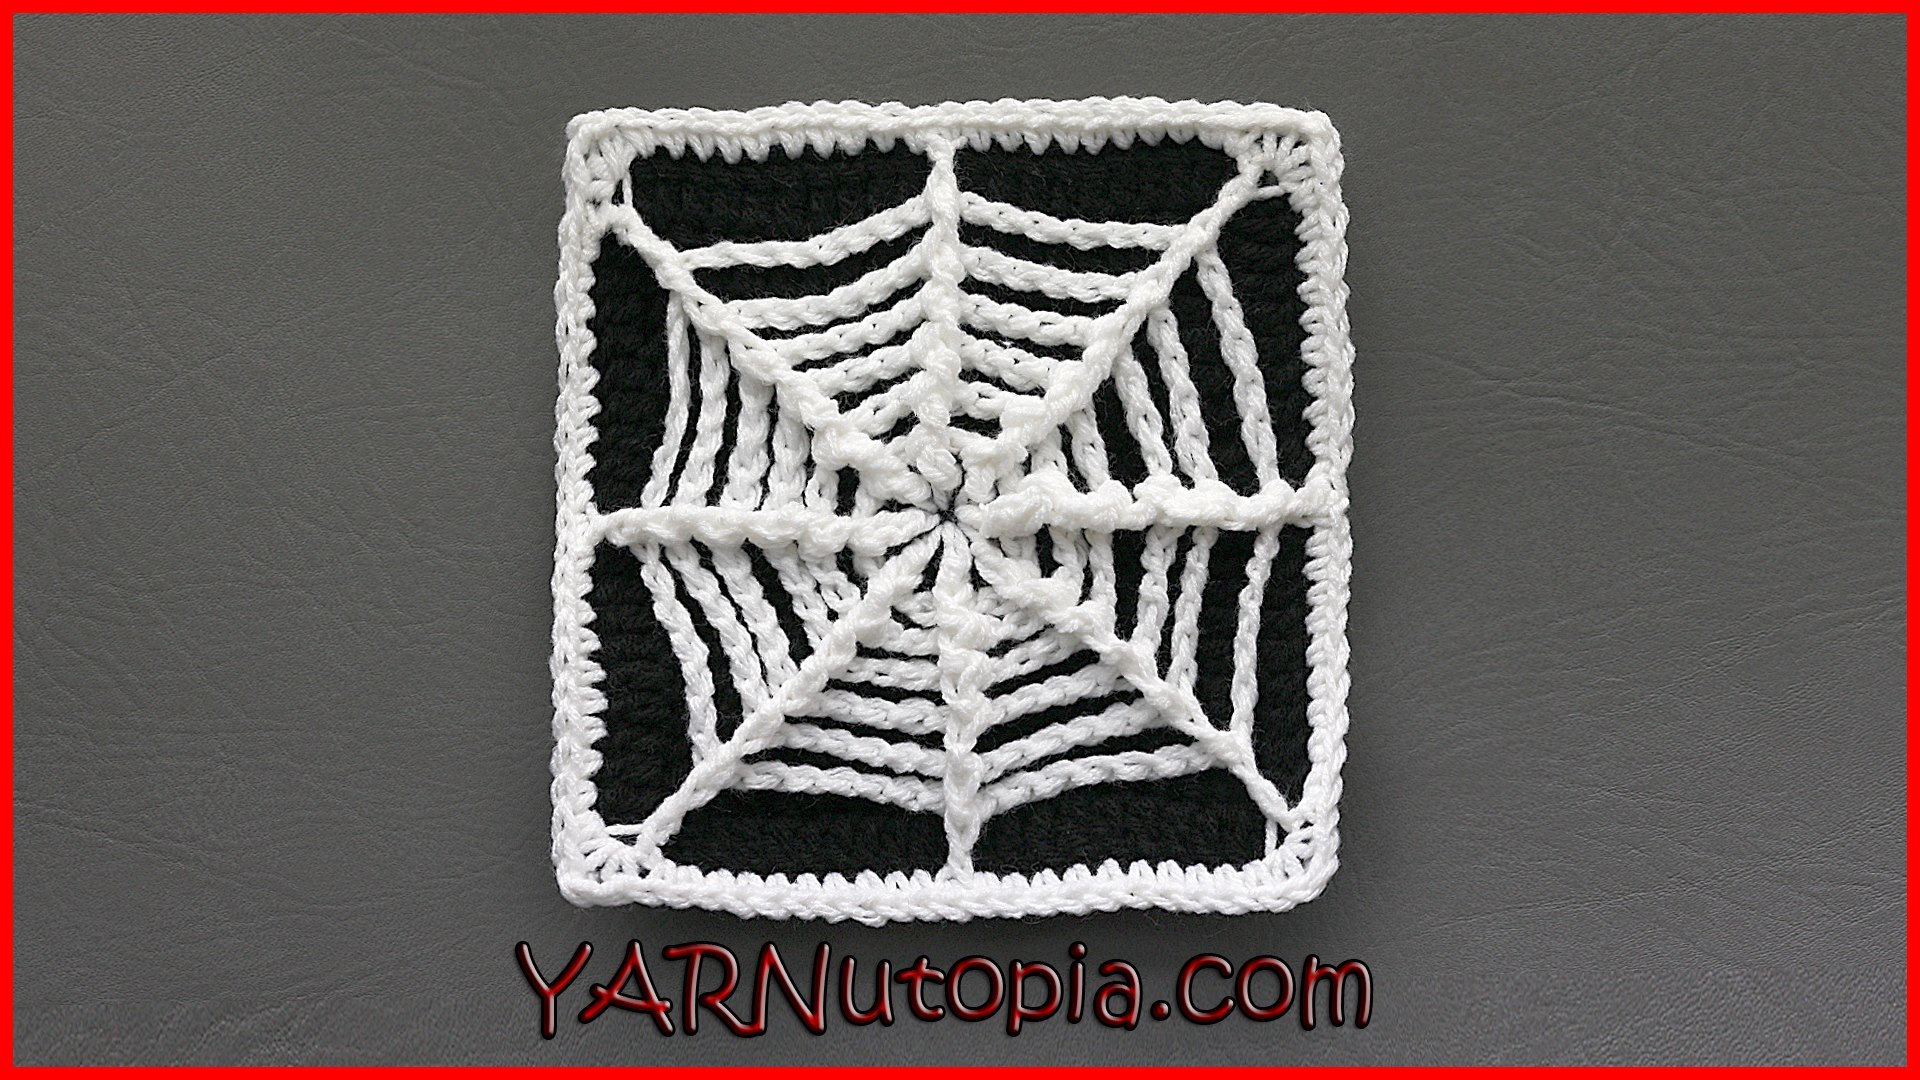
Crochet Tutorial: The Web We Weave Granny Square
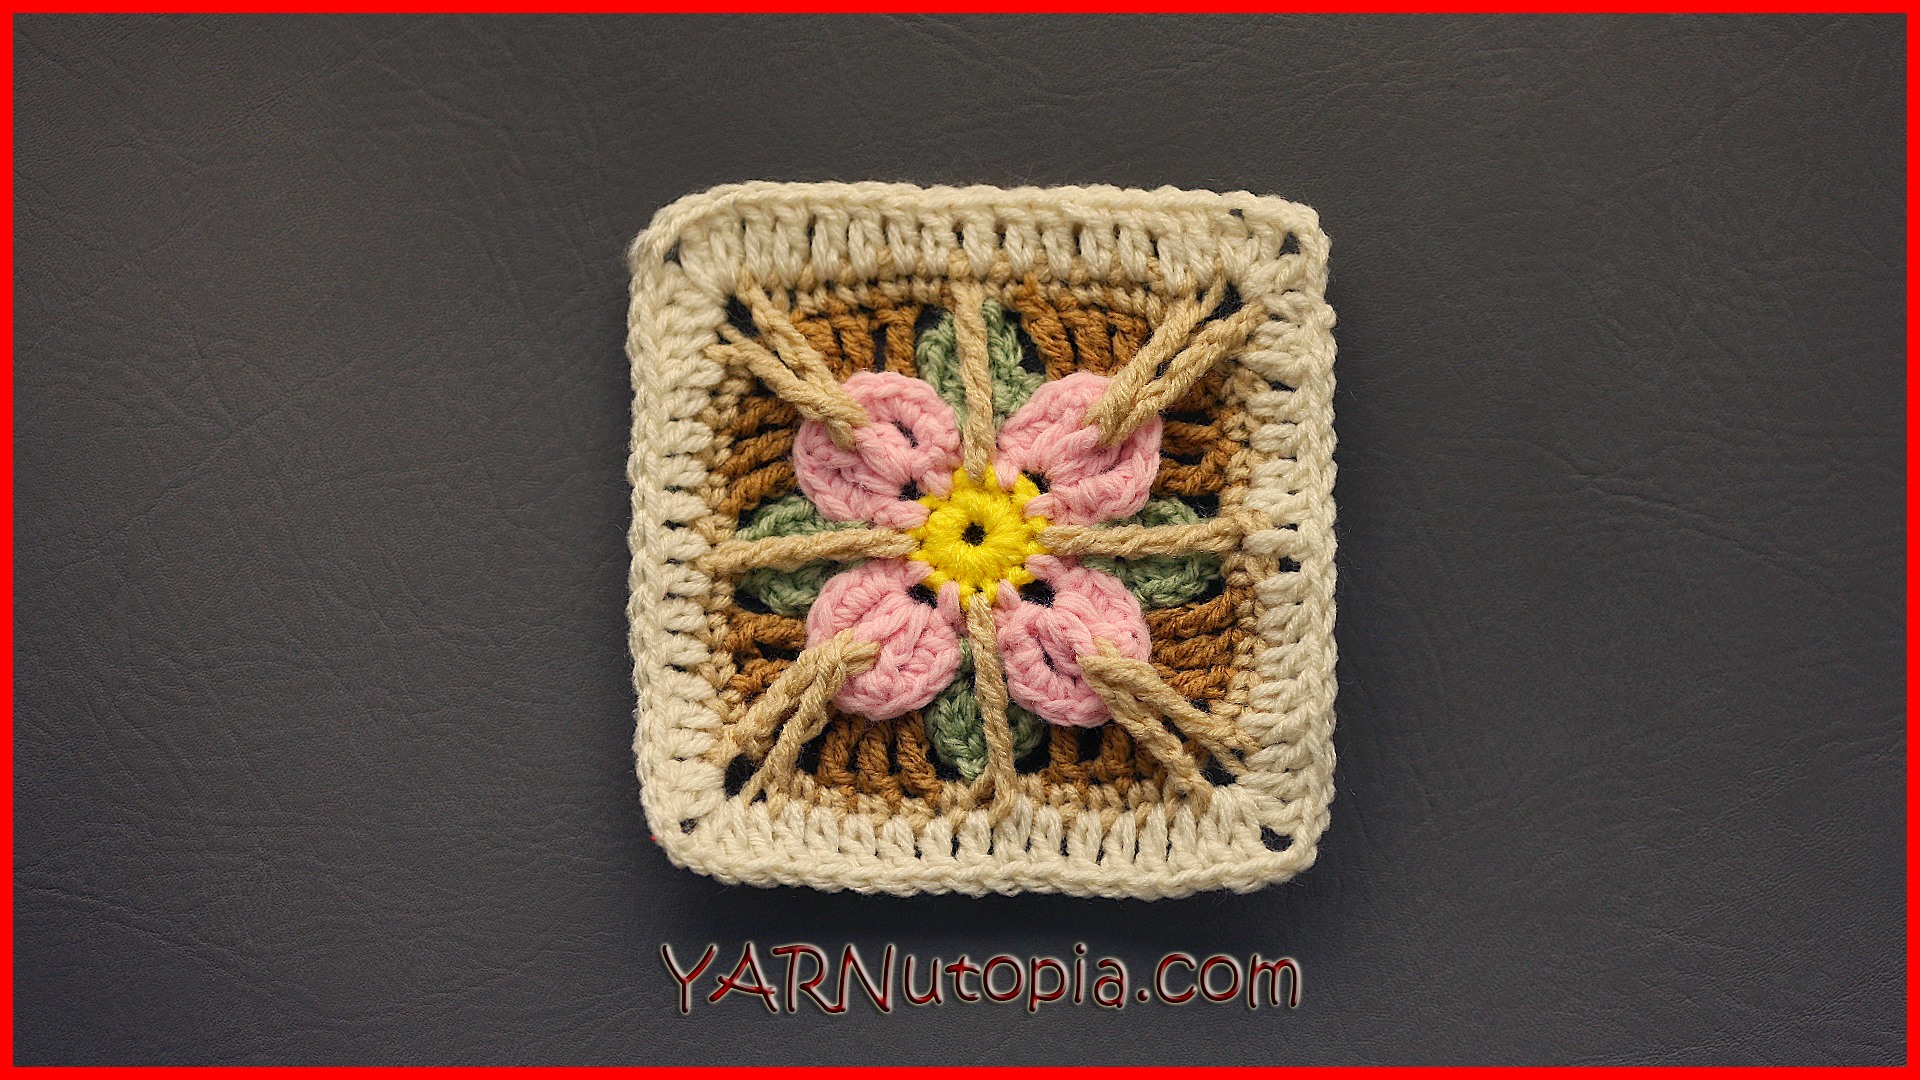
Crochet Tutorial: In the Garden Granny Square
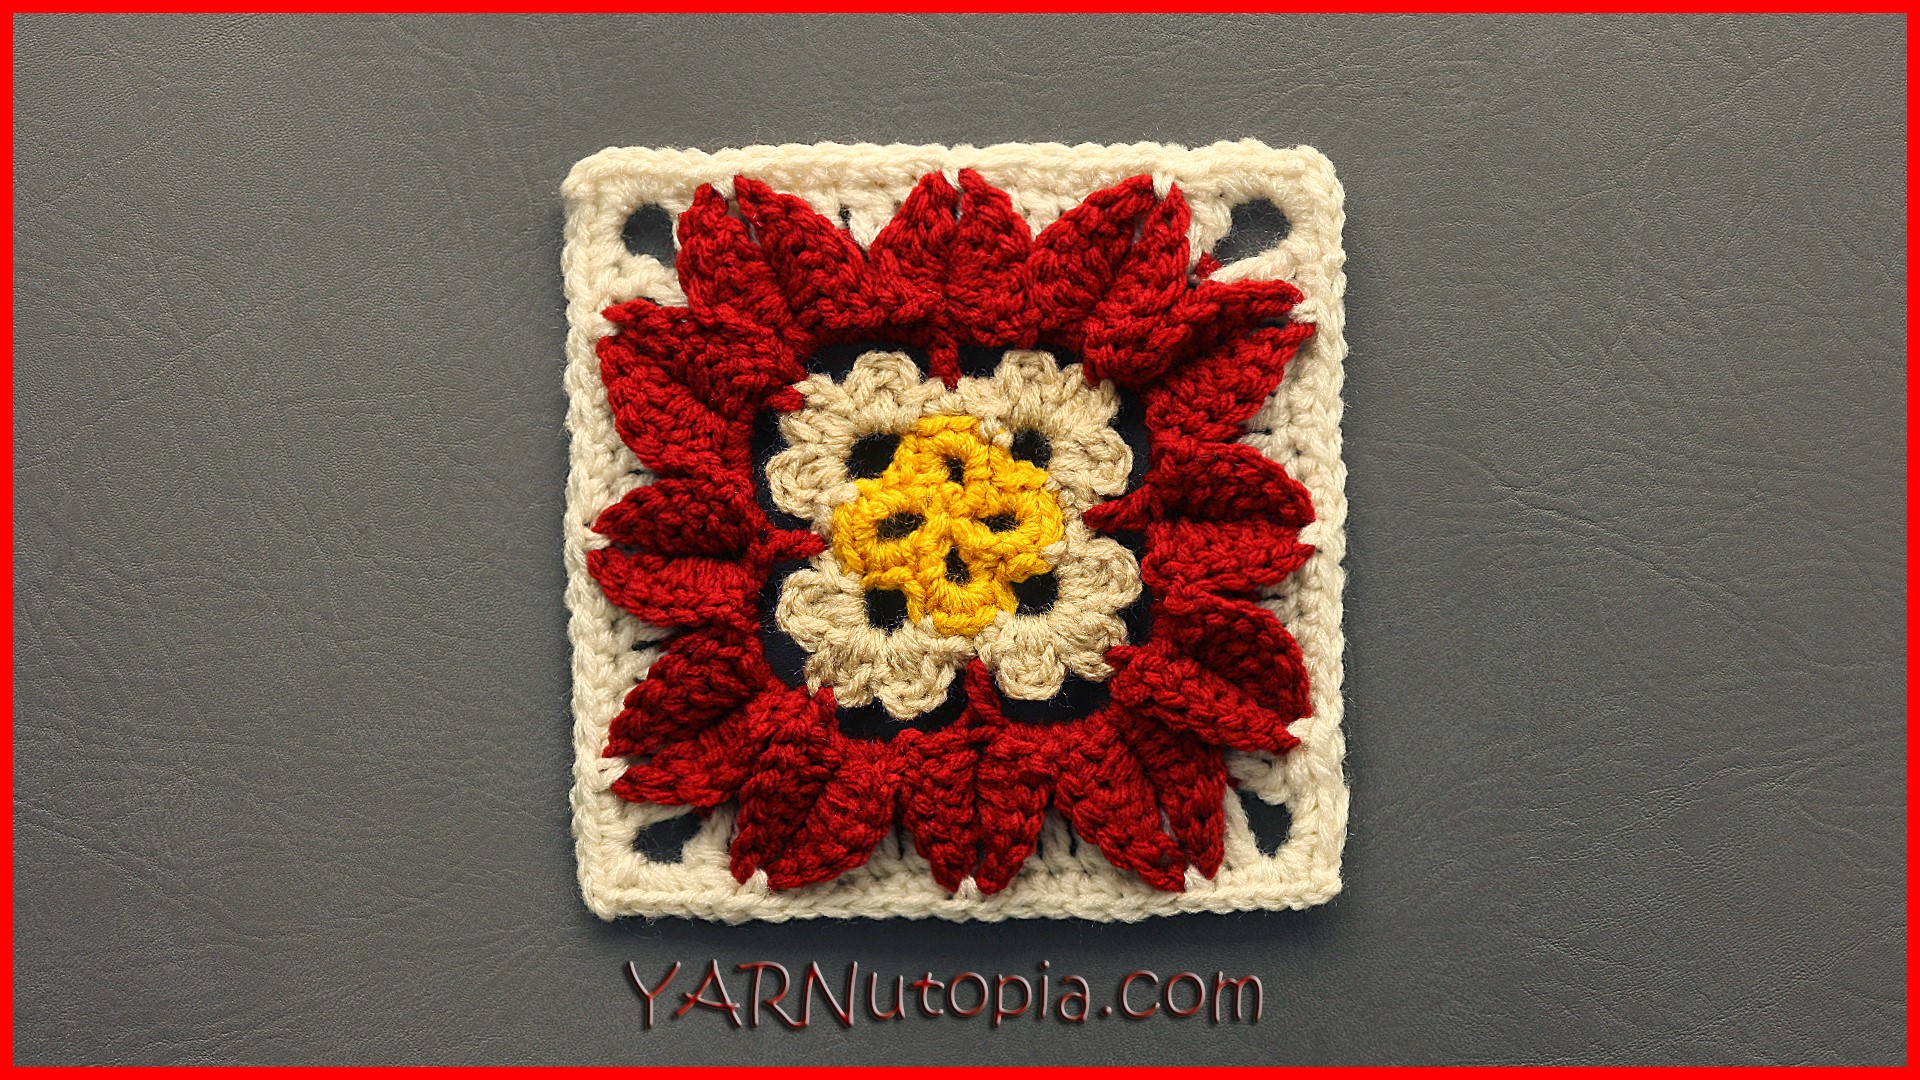
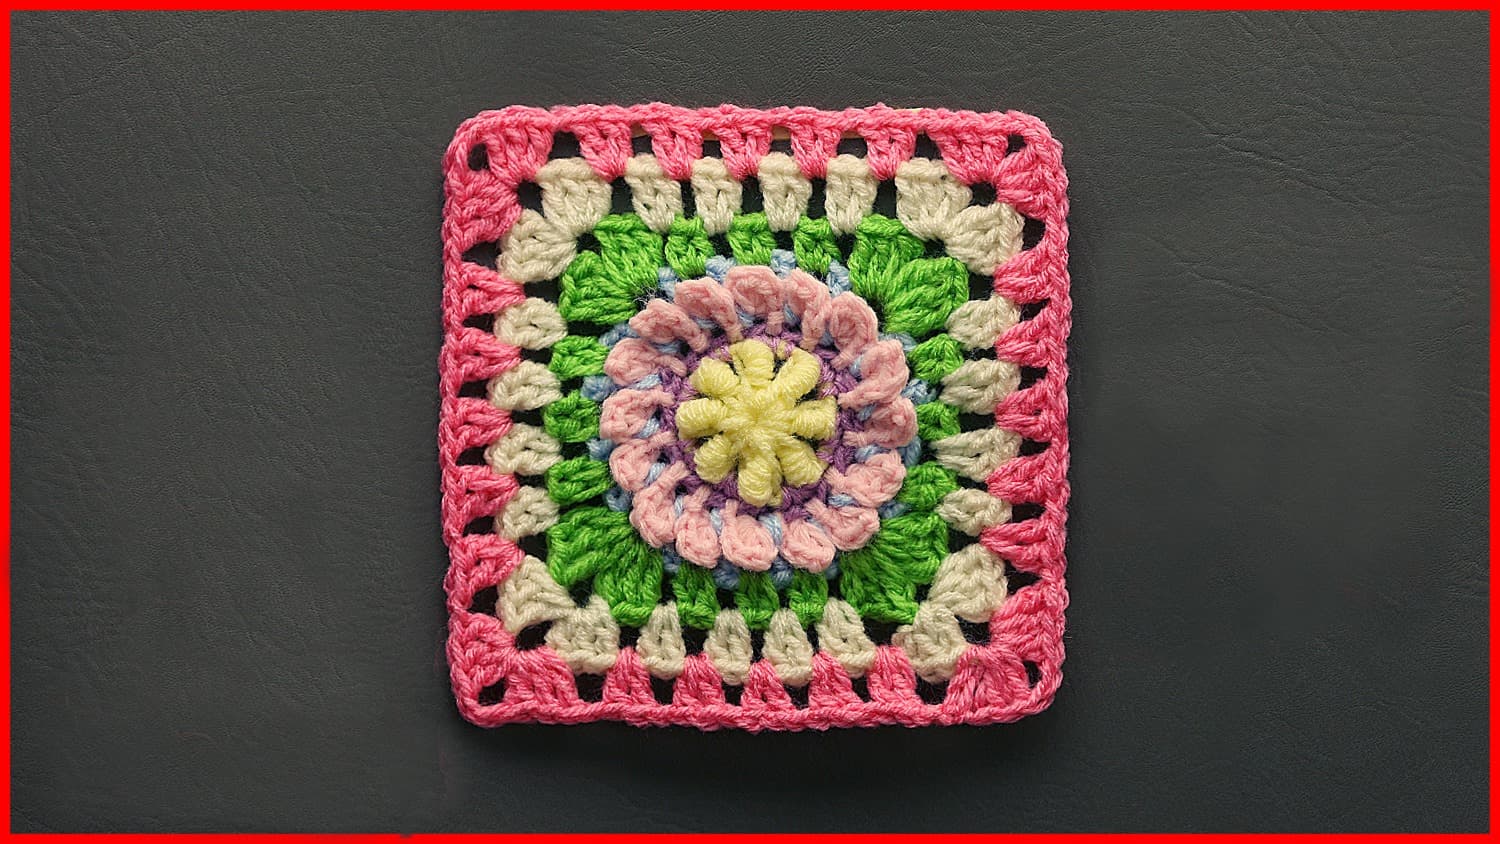
Crochet Tutorial: In Full Bloom Granny Square
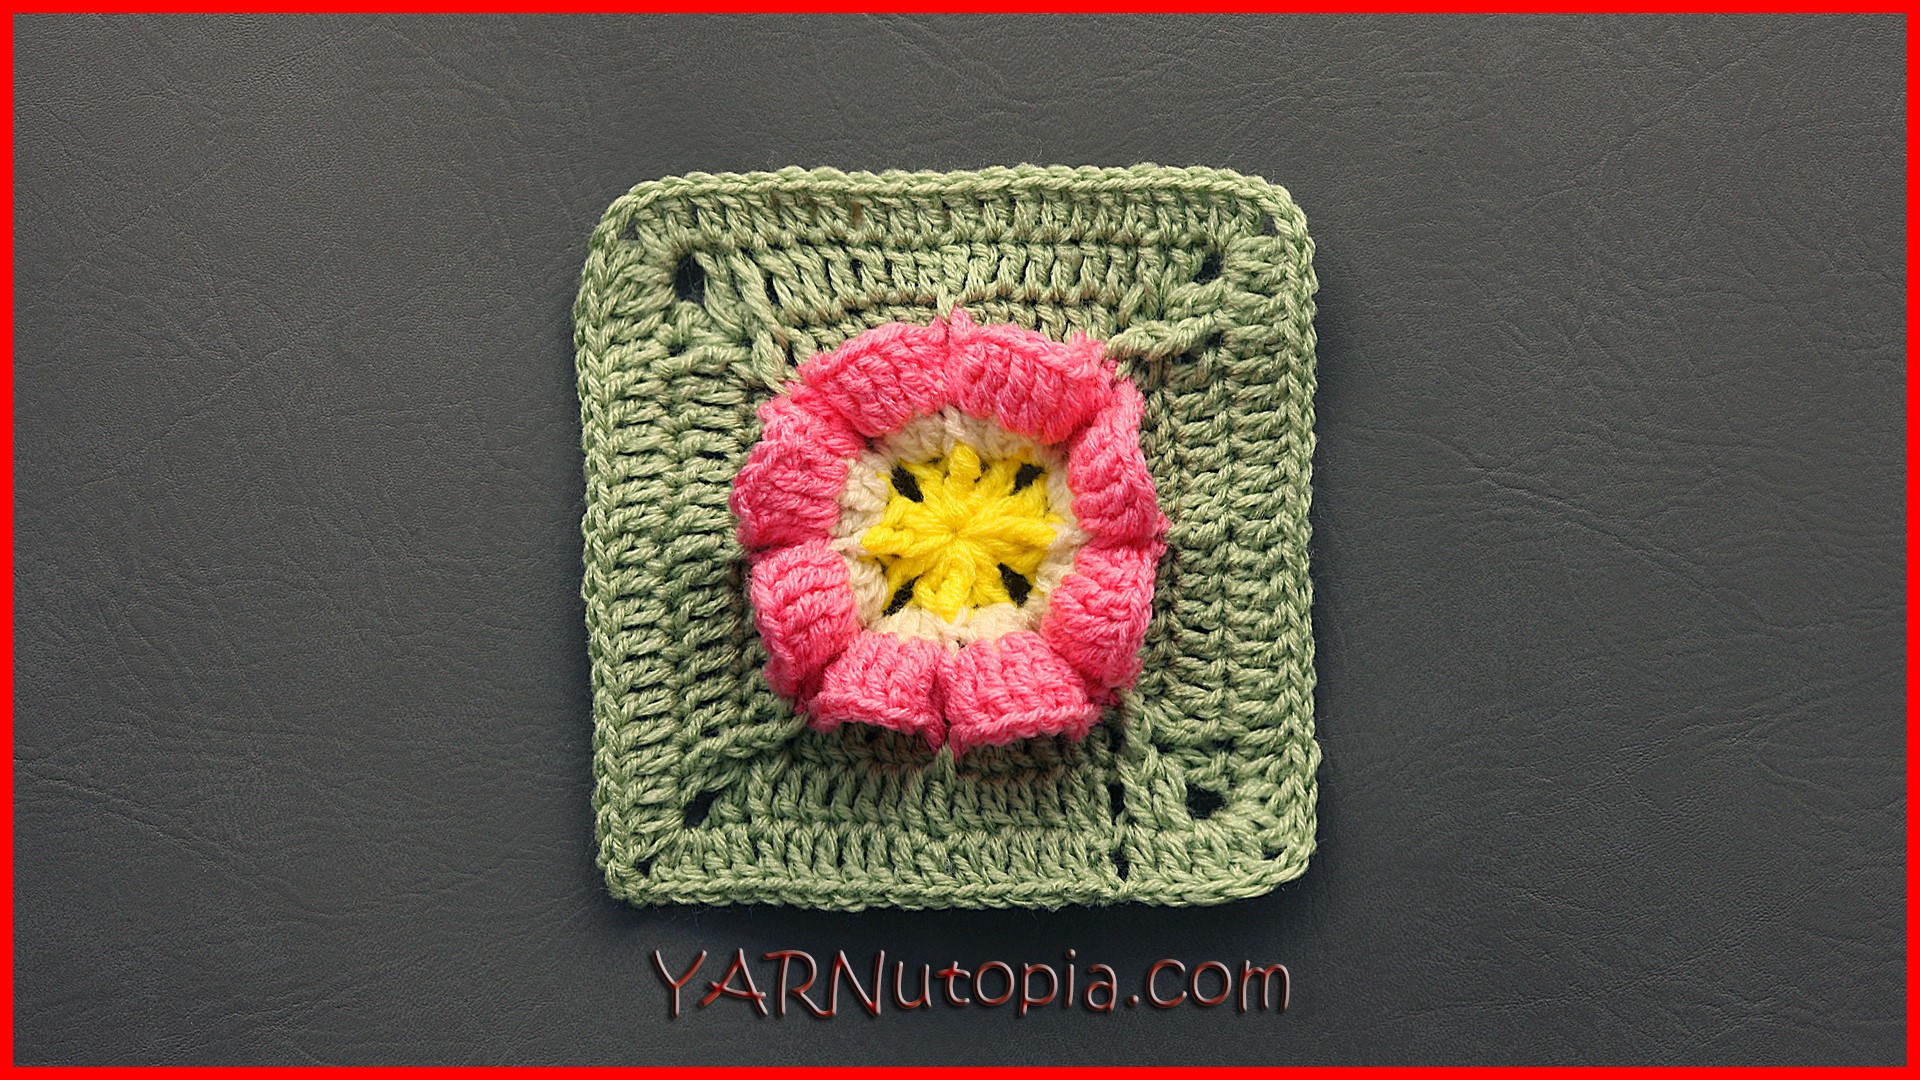
Crochet Tutorial: Wrinkled Rose Granny Square
Crochet Tutorial: Charming Chain Granny Square
Crochet Tutorial: Flower Bunch Granny Square
Crochet Tutorial: Cornershop Granny Square
Island in the Sea Blanket
Crochet Tutorial: Hey Daisy Bouquet Granny Square
Loading Comments...
Write a Comment...
Email (Required)
Name (Required)
Website