YARNutopia & M0re
All things Yarn Related: Crochet, DIY, and Crafts
Blog
365 Days of Granny Squares
Stitch Gallery & Glossary
Crochet Video Tutorials
Frequently Asked Questions
Crochet Glossary: Learn the Lingo
Contact
Search
Search
babies
YARNutoia & More
FREE Written Crochet Pattern: Ghost Hat
FREE Crochet Video Tutorial: Evergreen Ski Hat
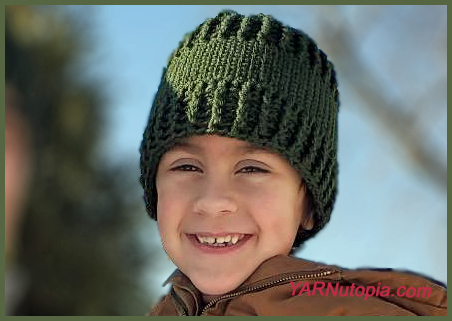
FREE Written Crochet Pattern: Evergreen Ski Hat
FREE Crochet Video Tutorial: Cuddle Up Baby Blanket
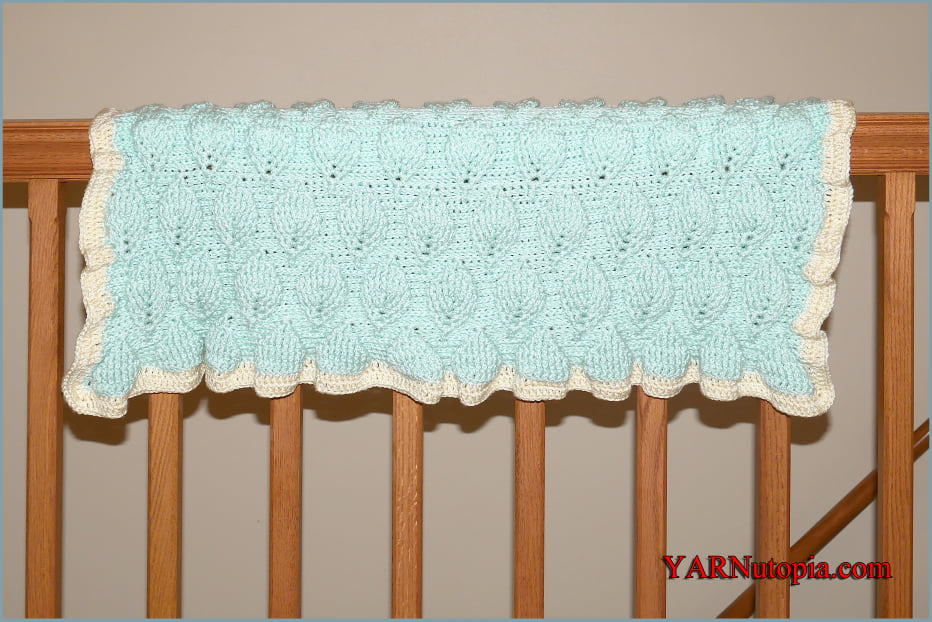
FREE Written Crochet Pattern: Cuddle Up Baby Blanket
FREE Crochet Video Tutorial: Catchin’ Waves Crop Top
FREE Written Crochet Pattern: Snuggle Me Up Baby Blanket
FREE Crochet Video Tutorial: Snuggle Me Up Baby Blanket
Happy Halloween 2021
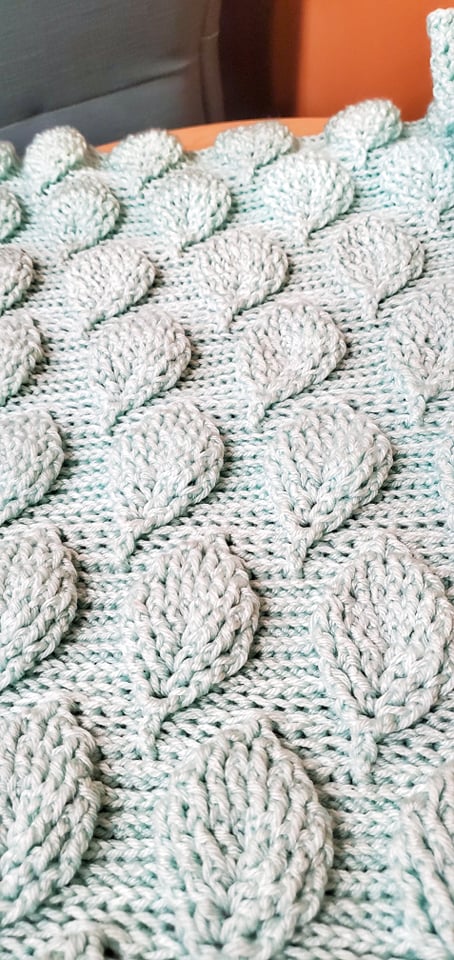
FREE Written Crochet Pattern: Aspen Baby Blanket
Time to Change Direction
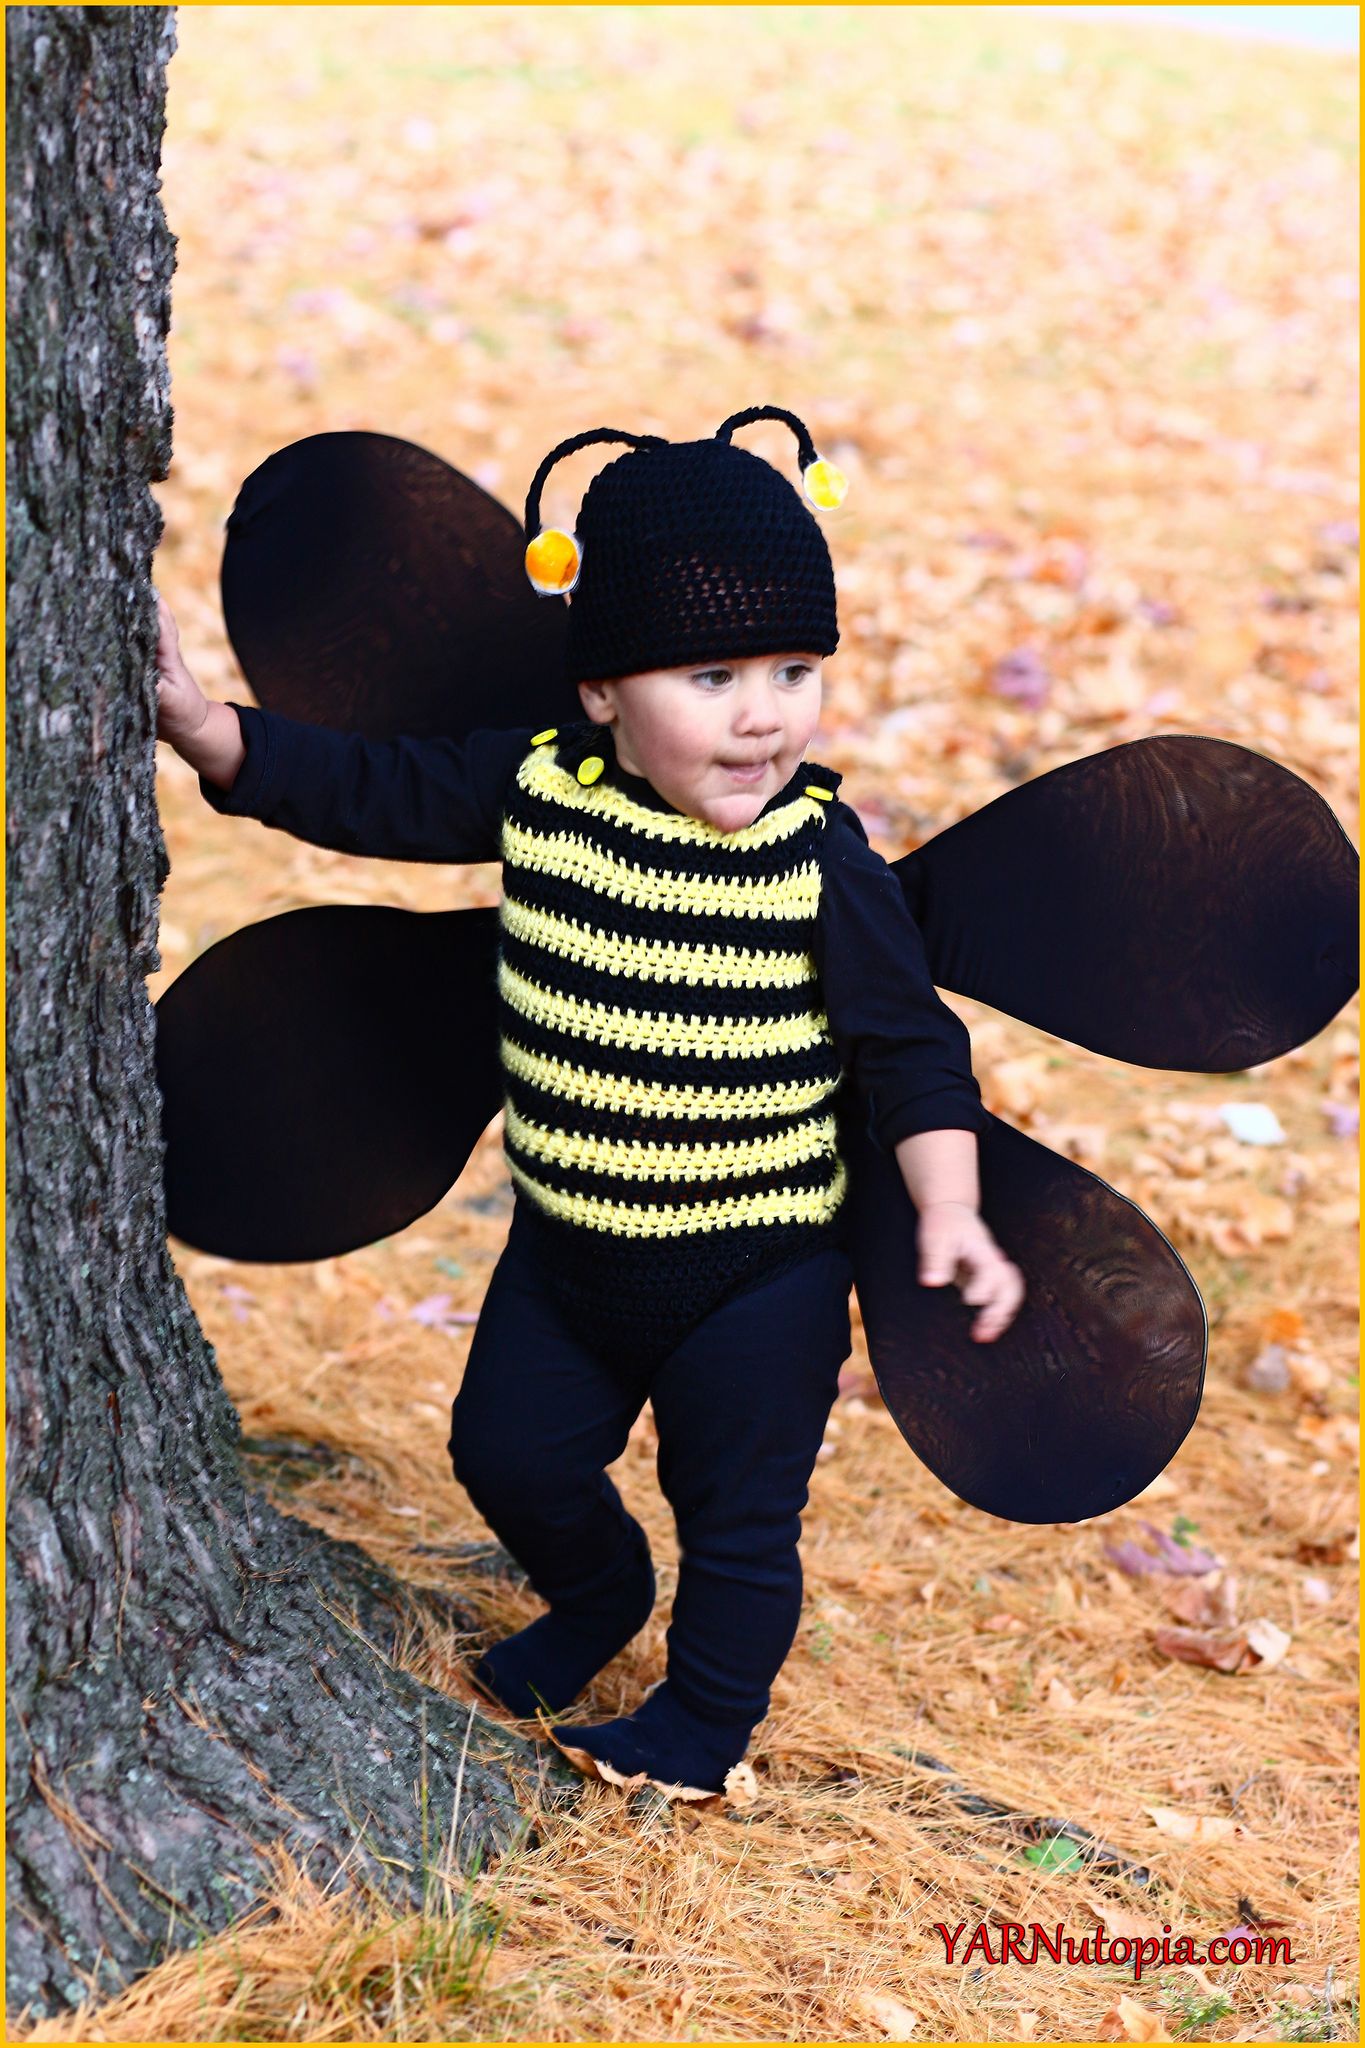
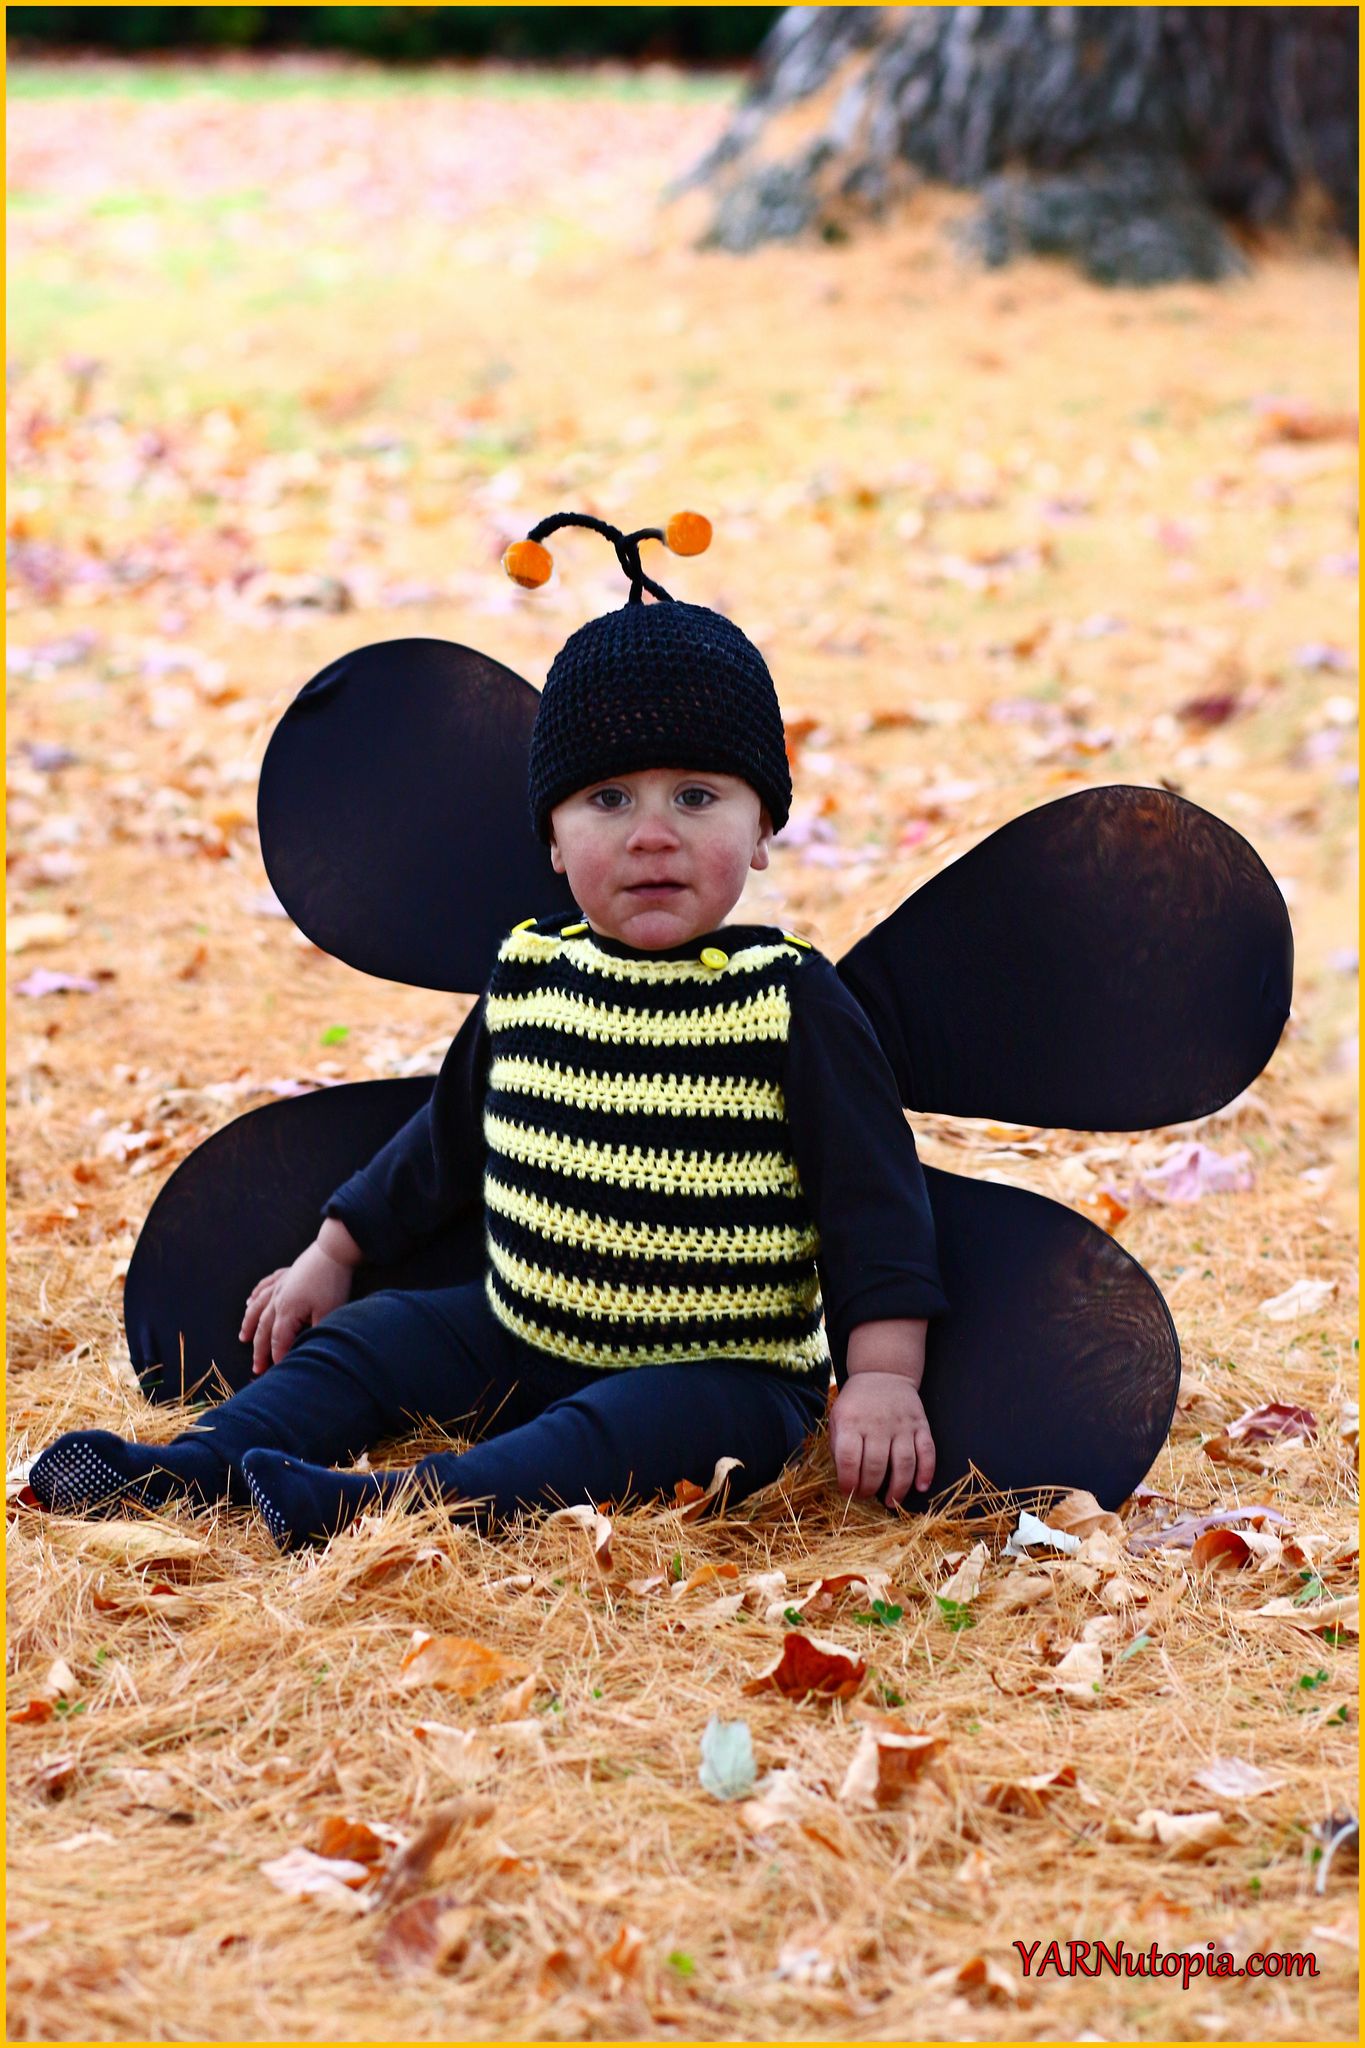
FREE Crochet Video Tutorial: Bumble Bee Romper and Beanie Costume
FREE Written Crochet Pattern: Bumble Bee Romper and Beanie Costume
FREE Written Crochet Pattern: Bundle Up Dog Sweater
FREE Crochet Video Tutorial: Offbeat Baby Cardigan
FREE Written Crochet Pattern: Offbeat Baby Cardigan
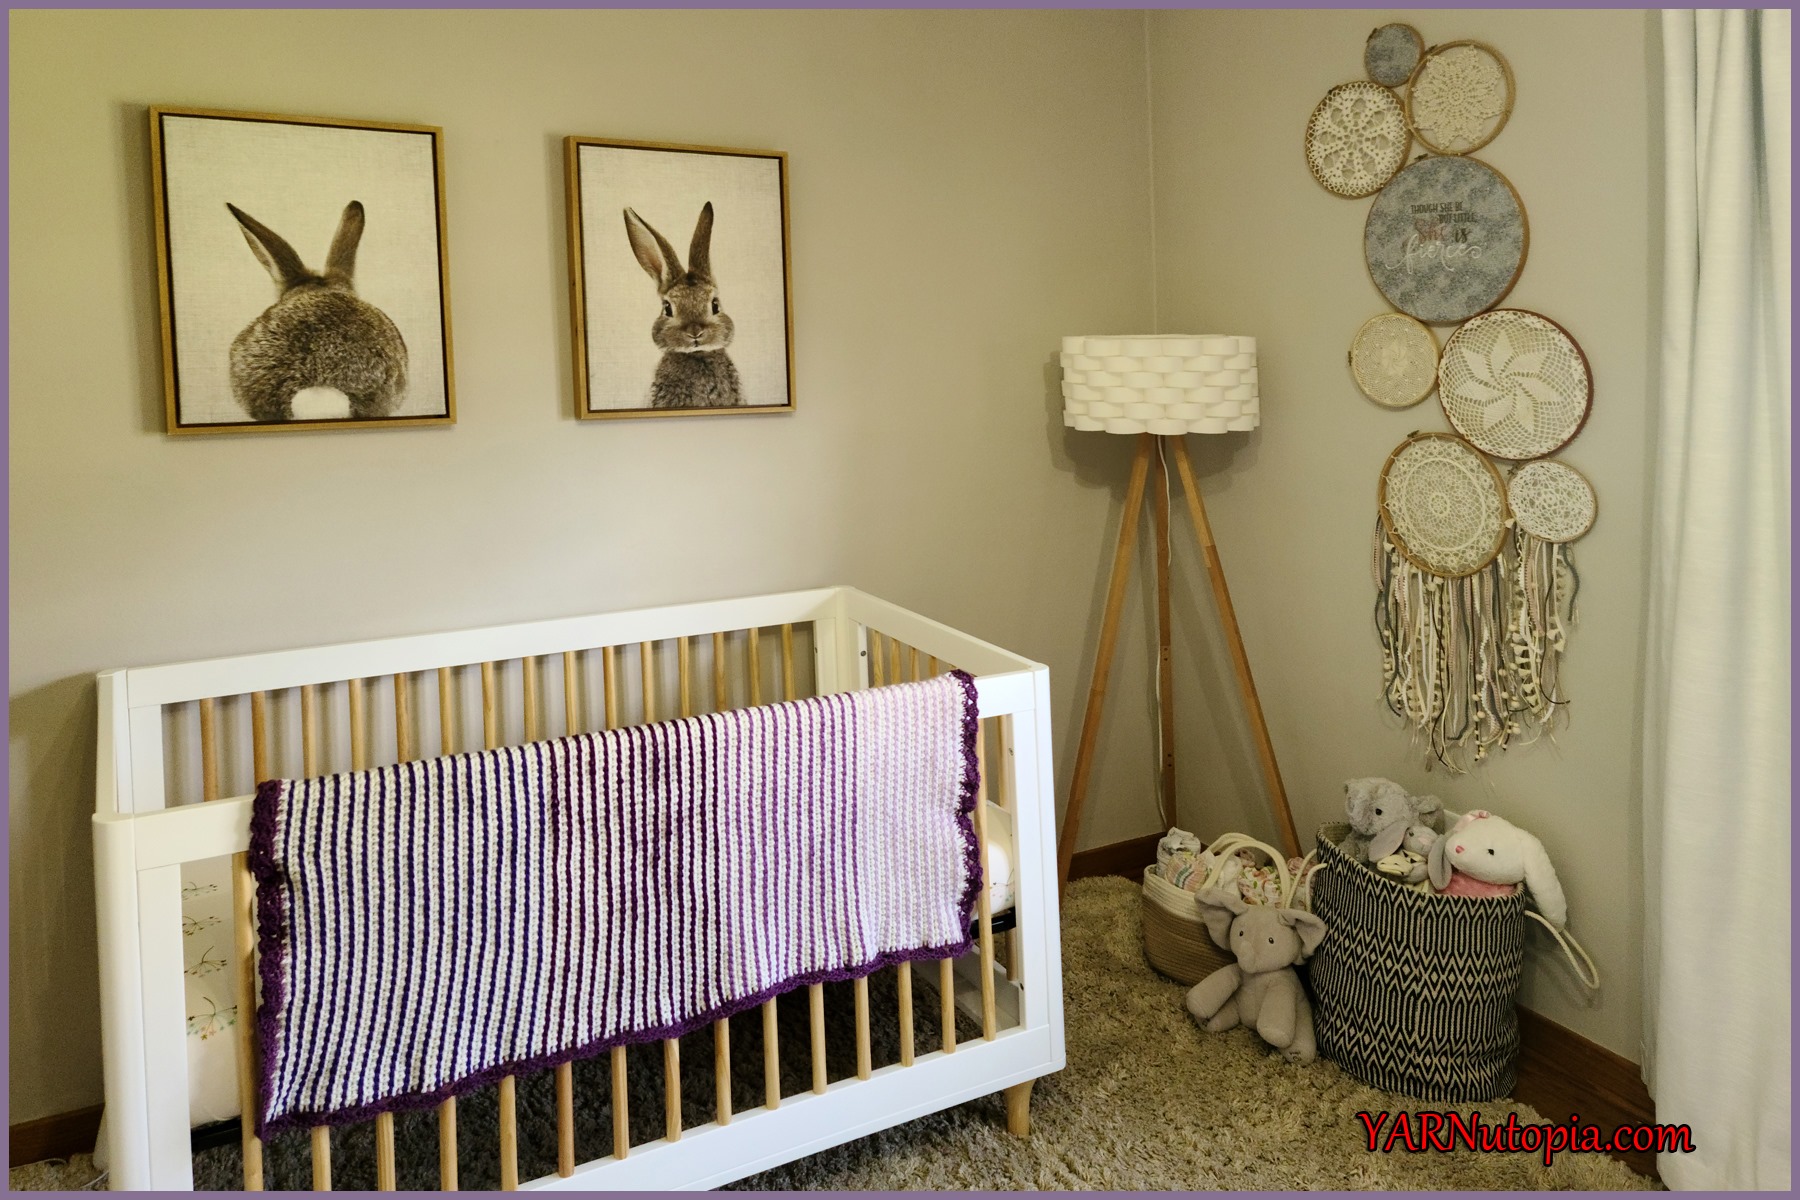
FREE Written Crochet Pattern: Ombre Striped Baby Blanket
FREE Crochet Video Tutorial: Ombre Striped Baby Blanket
FREE Written Crochet Pattern: Tiger Hat with Earflaps
FREE Crochet Video Tutorial: Wee One Baby Bonnet
FREE Written Crochet Pattern: Wee One Baby Bonnet
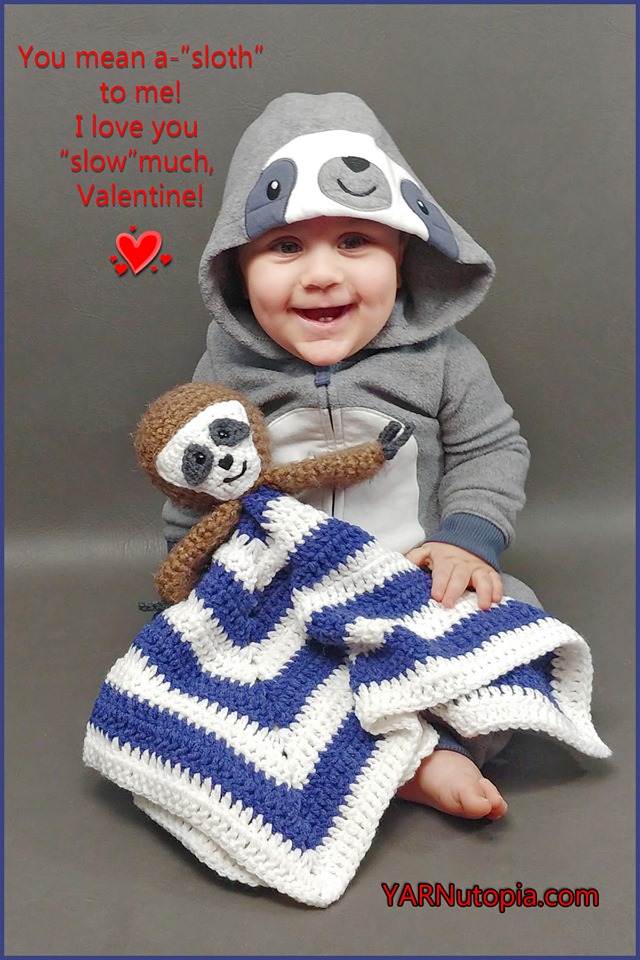
FREE Crochet Video Tutorial: Sloth Lovey
FREE Written Crochet Pattern: Sloth Lovey
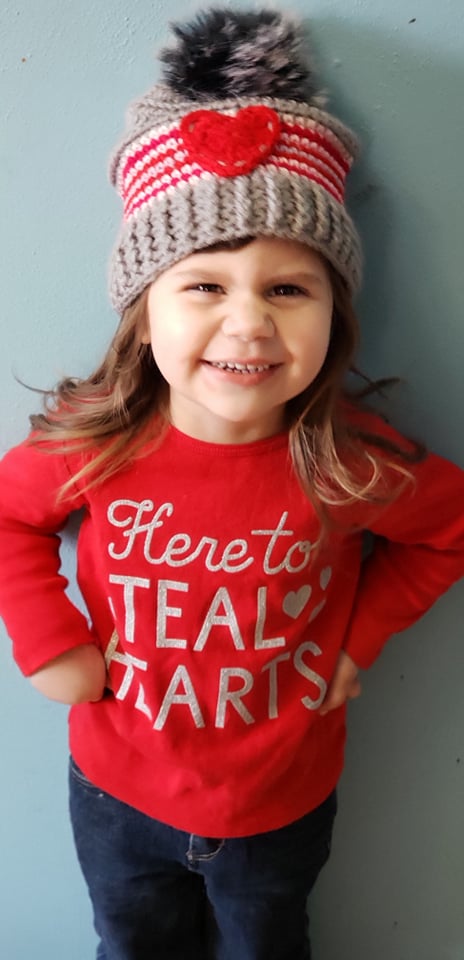
FREE Written Crochet Pattern: Sweetheart Baby Hat
FREE Crochet Video Tutorial: Sweetheart Baby Hat
12 Days of Christmas 2019
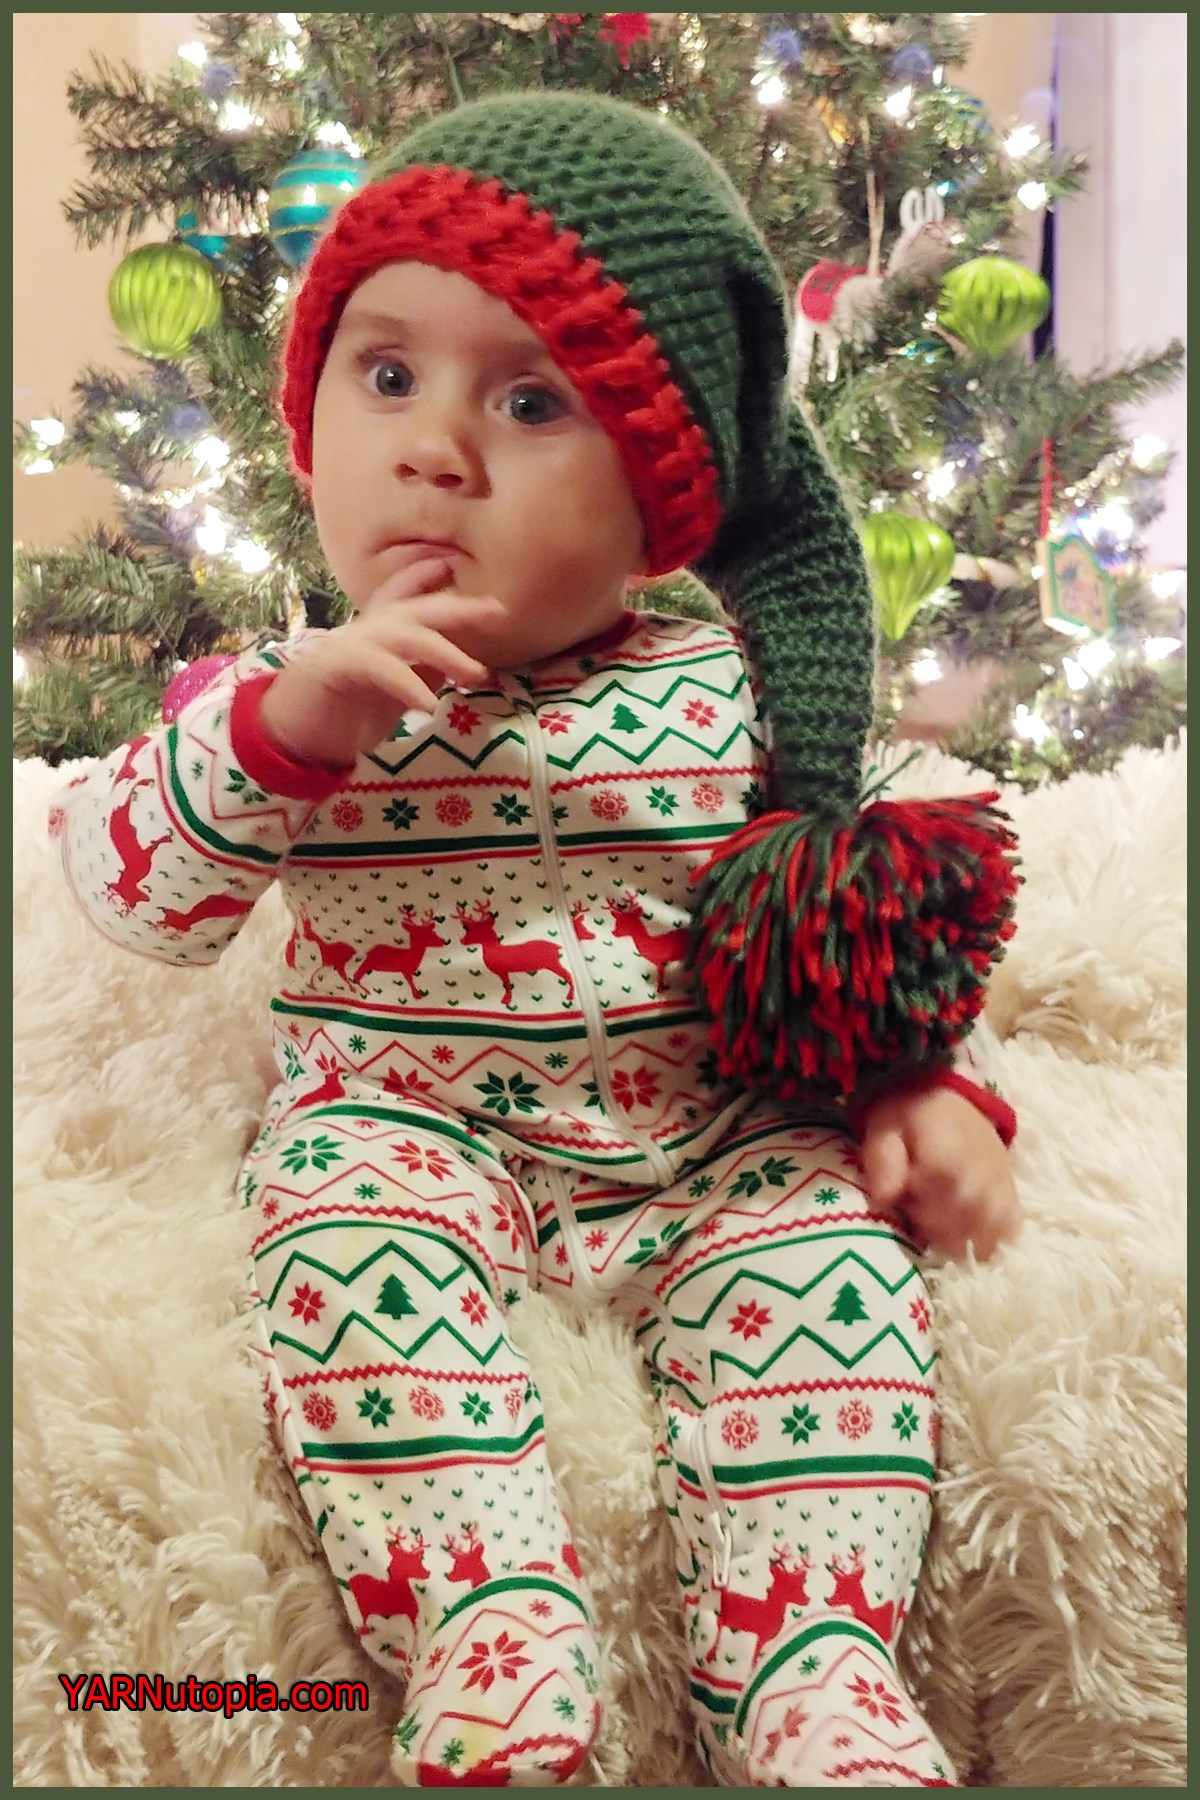
12 Days of Christmas: Simple Stocking Hat – FREE Crochet Video Tutorial
12 Days of Christmas: Simple Stocking Hat – FREE Written Crochet Pattern
12 Days of Christmas: Beanie with Bling – FREE Crochet Video Tutorial
12 Days of Christmas: Beanie with Bling – FREE Written Crochet Pattern
FREE Crochet Video Tutorial: Family Fair Isle Hat
FREE Written Crochet Pattern: Family Fair Isle Hat
Hard Work and Baby Giggles
FREE Crochet Video Tutorial: Baby Crown Earflap Hat
FREE Written Crochet Pattern: The Baby Crown Earflap Hat
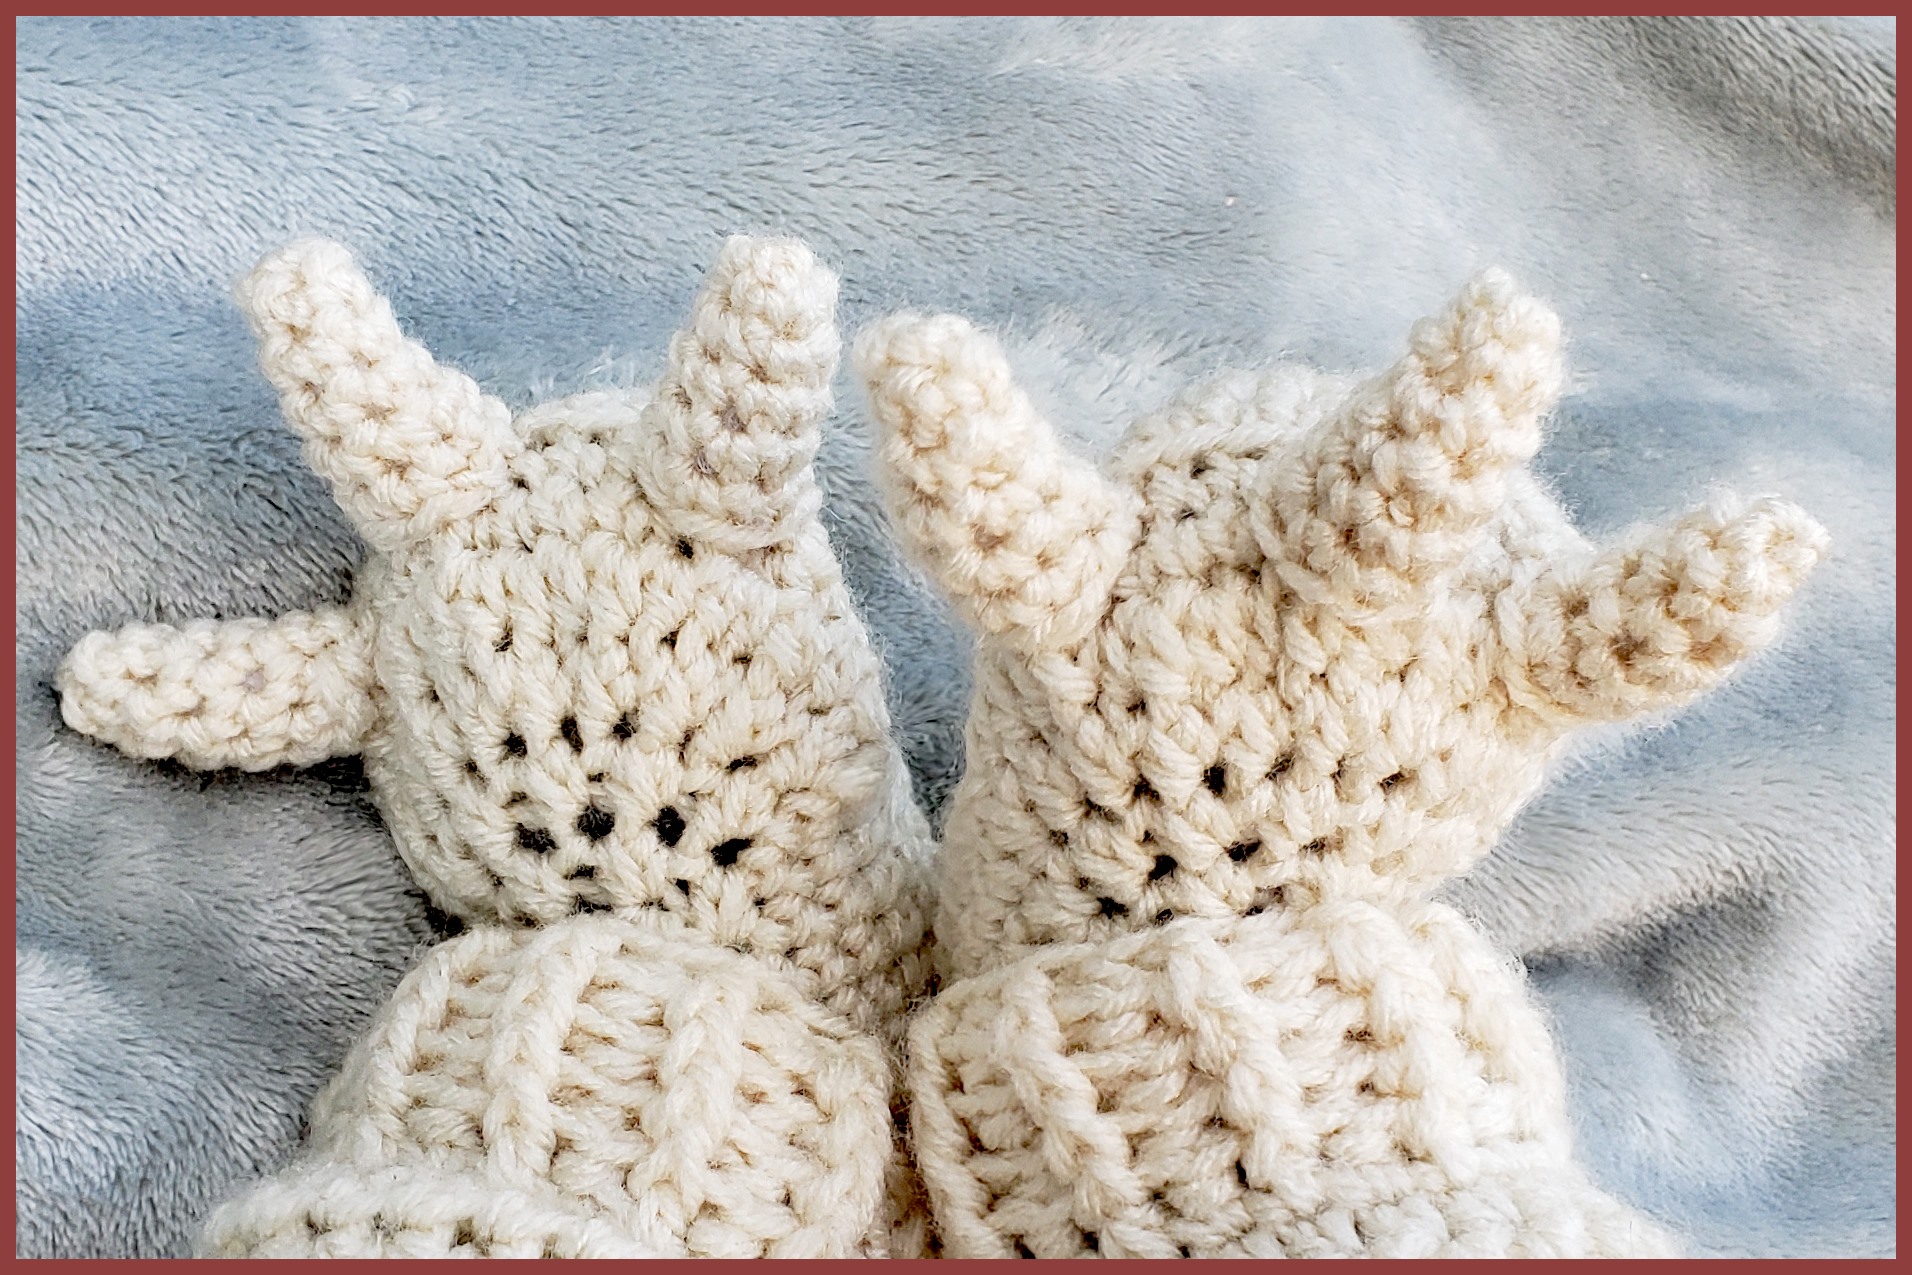
FREE Written Crochet Pattern: Monster Feet Baby Booties
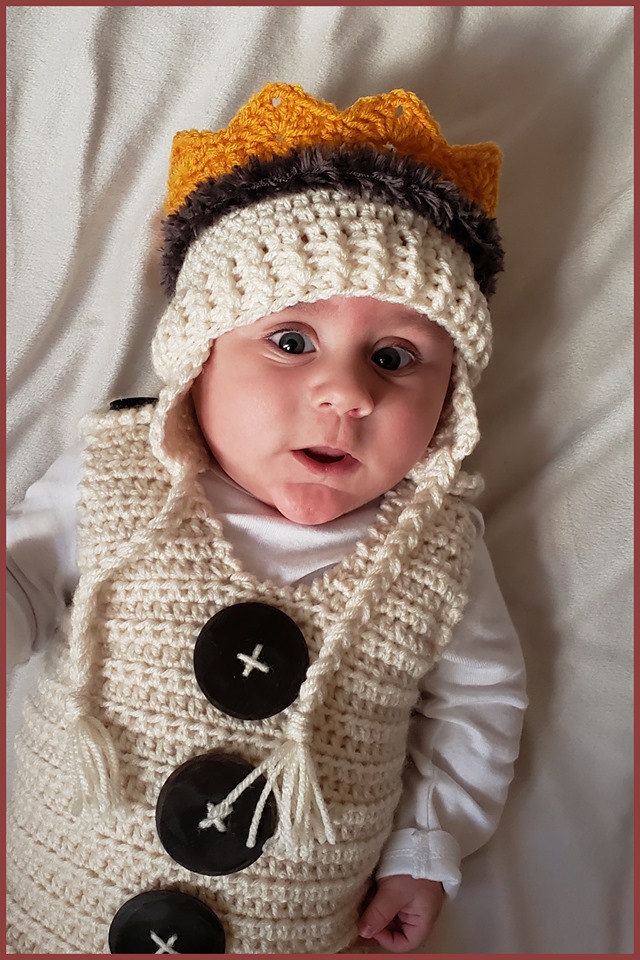
FREE Written Crochet Pattern: King Crown
FREE Crochet Video Tutorial: King Crown
FREE Crochet Video Tutorial: The Sweet Dream Bonnet
FREE Written Crochet Pattern: The Sweet Dream Bonnet
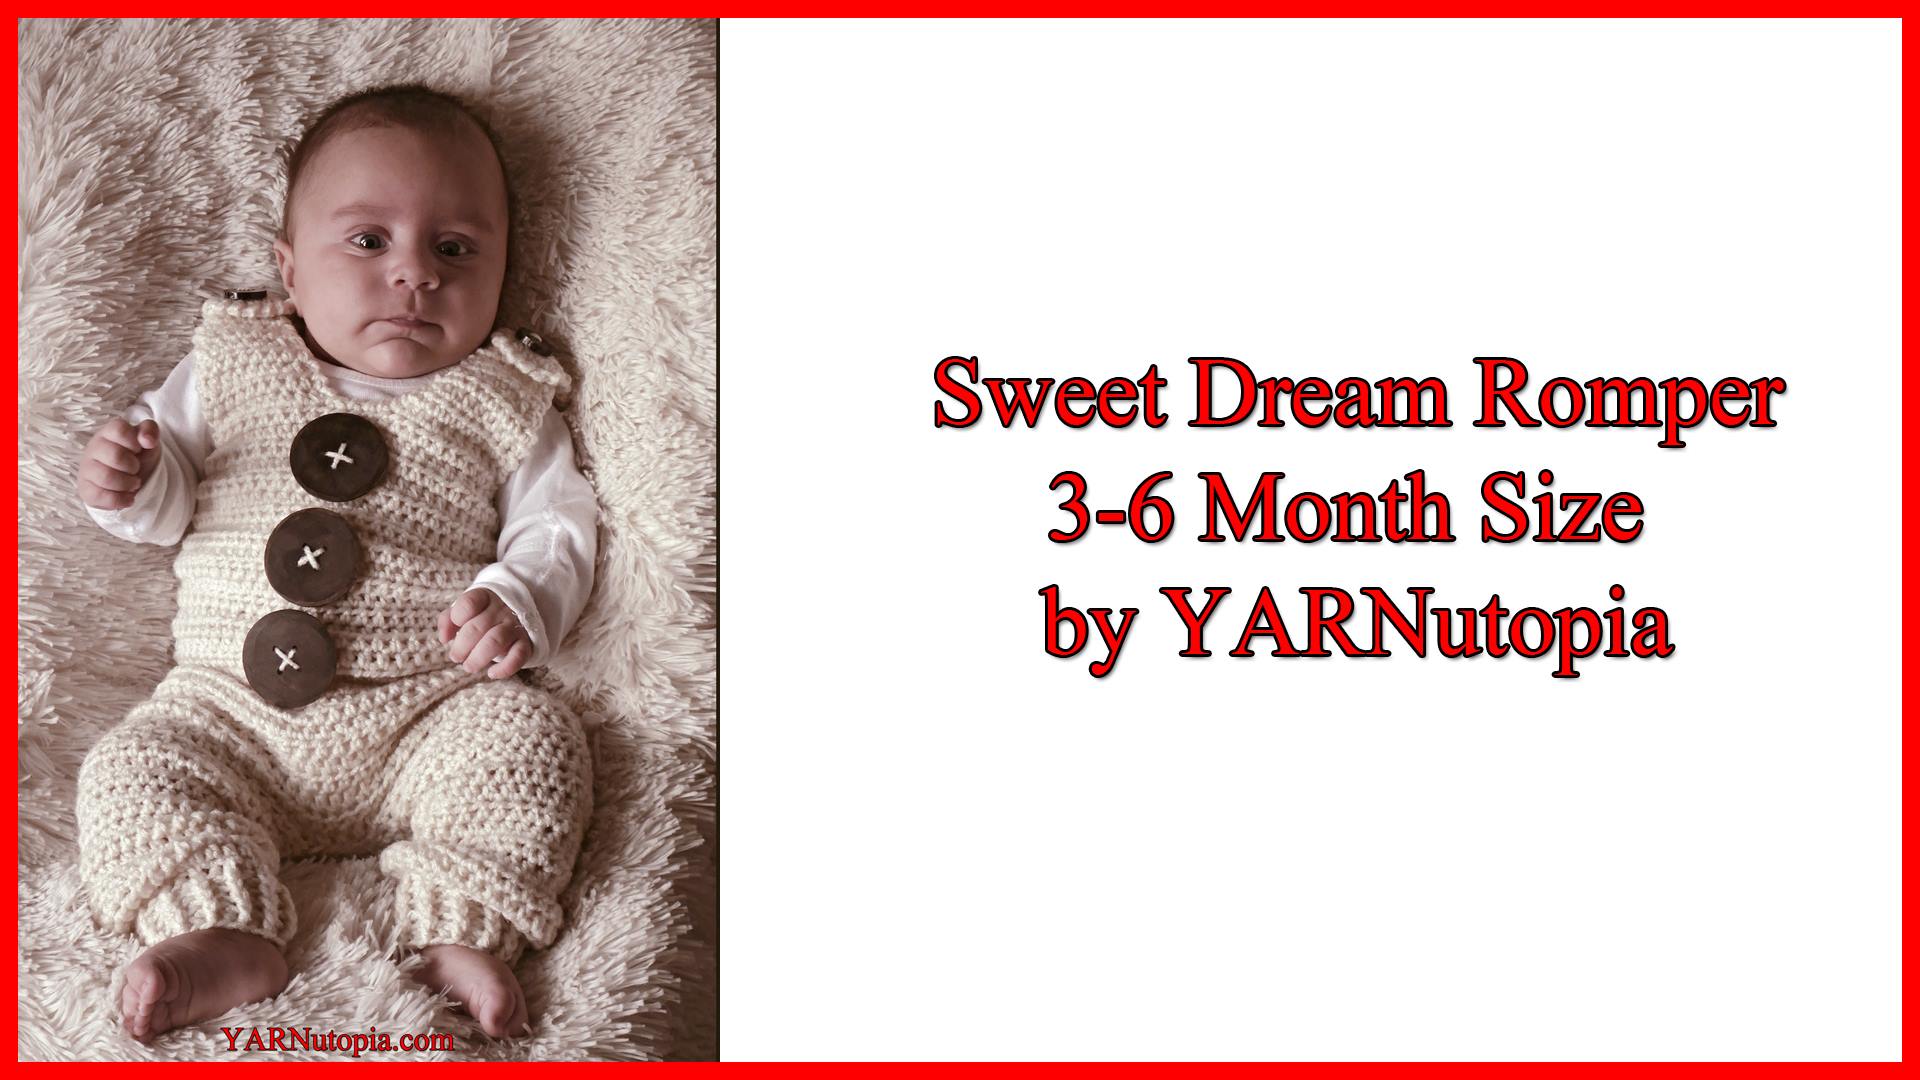
FREE Crochet Video Tutorial: Sweet Dream Romper
FREE Written Crochet Pattern: Sweet Dream Romper
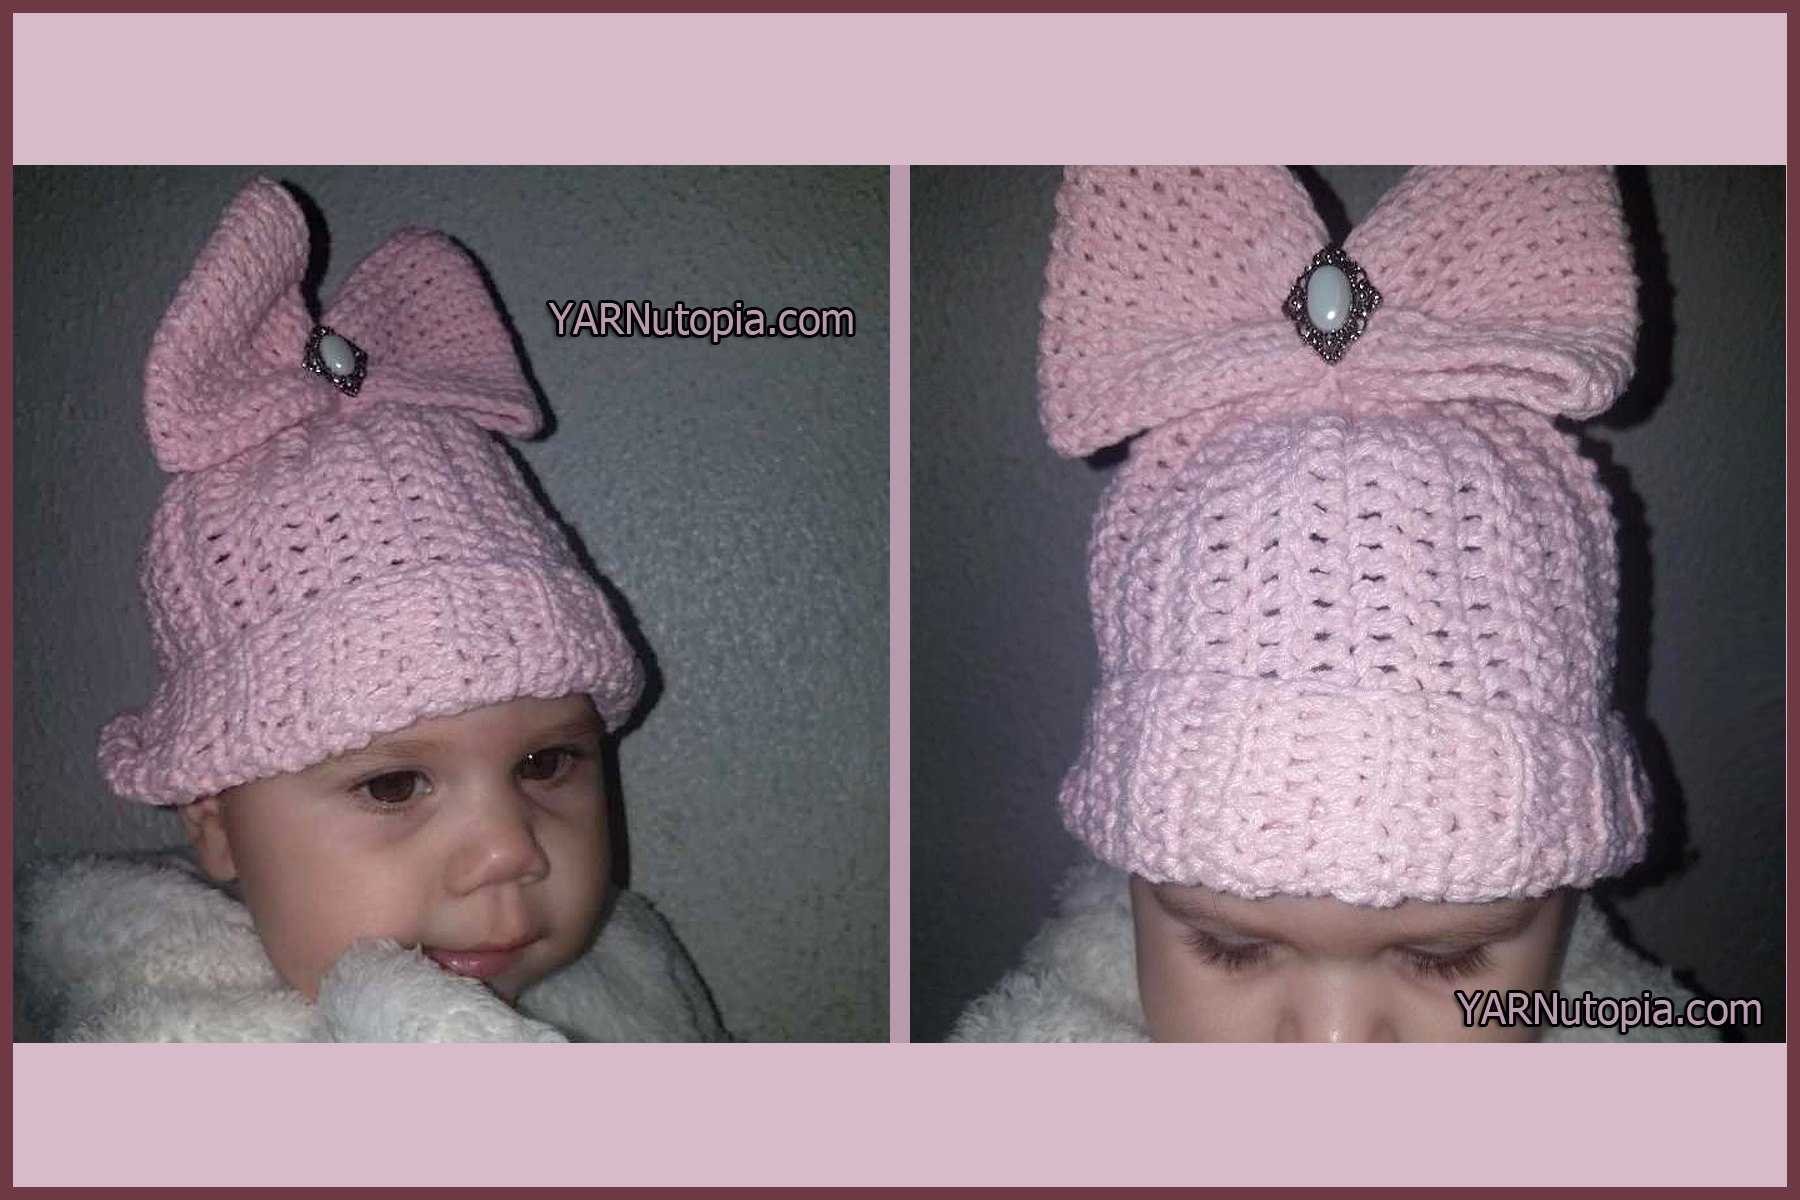
Crochet Tutorial: The Bow-tastic Hat
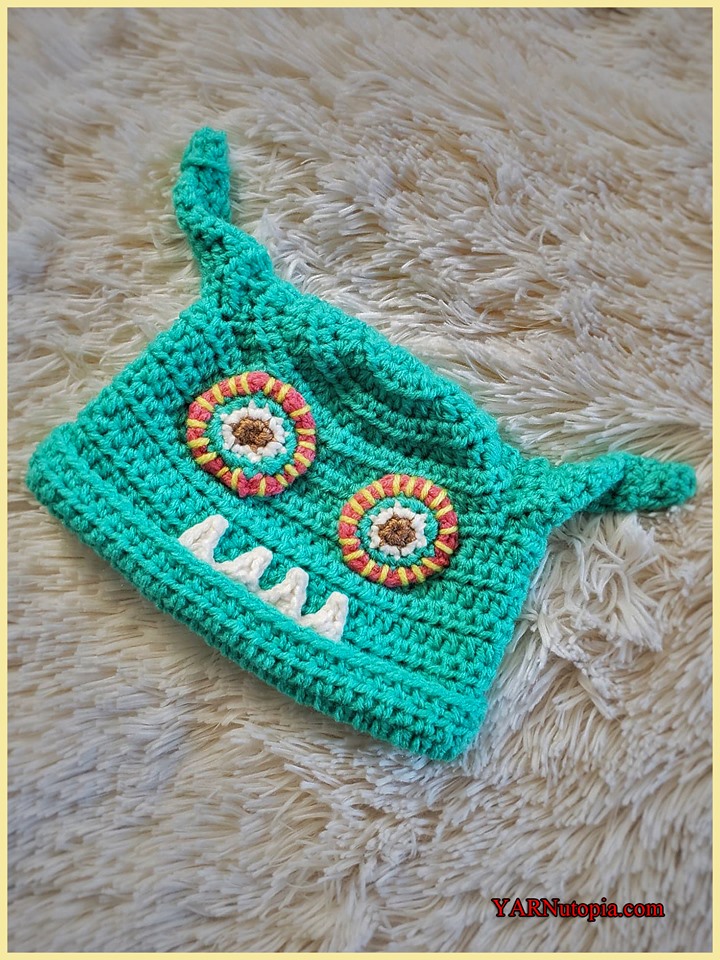
Crochet Tutorial: Misfit Monster Hat
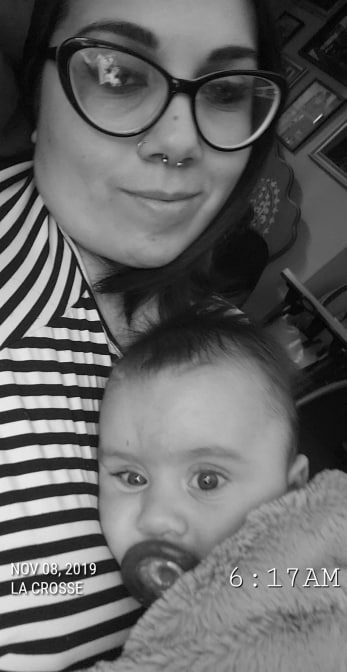
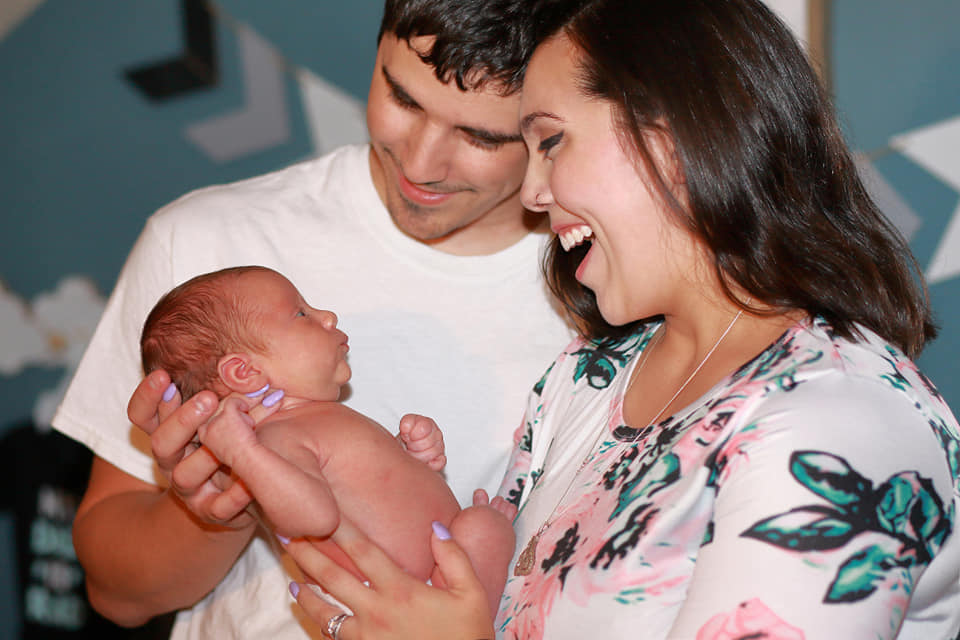
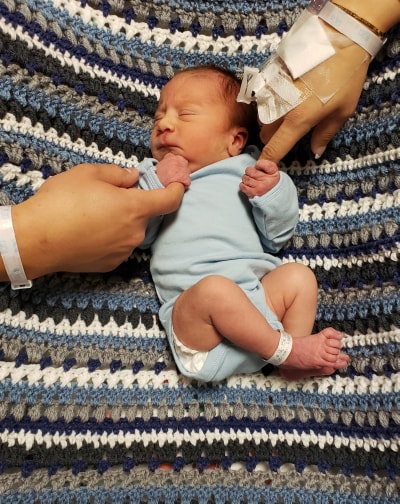
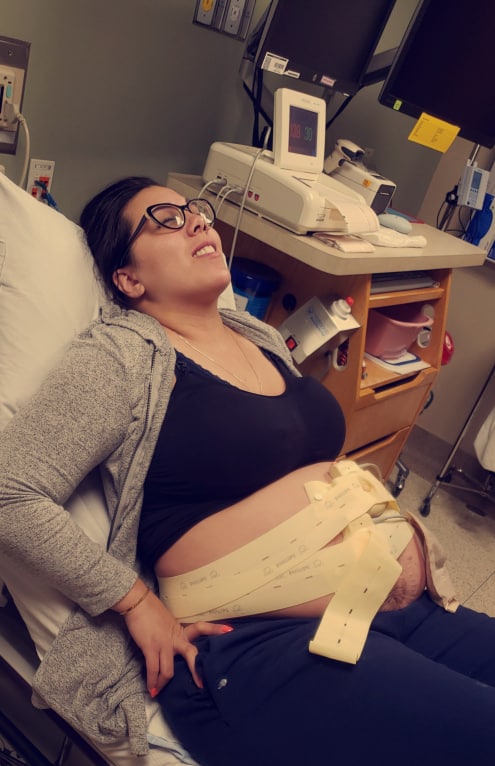
Why Nasir Came Early
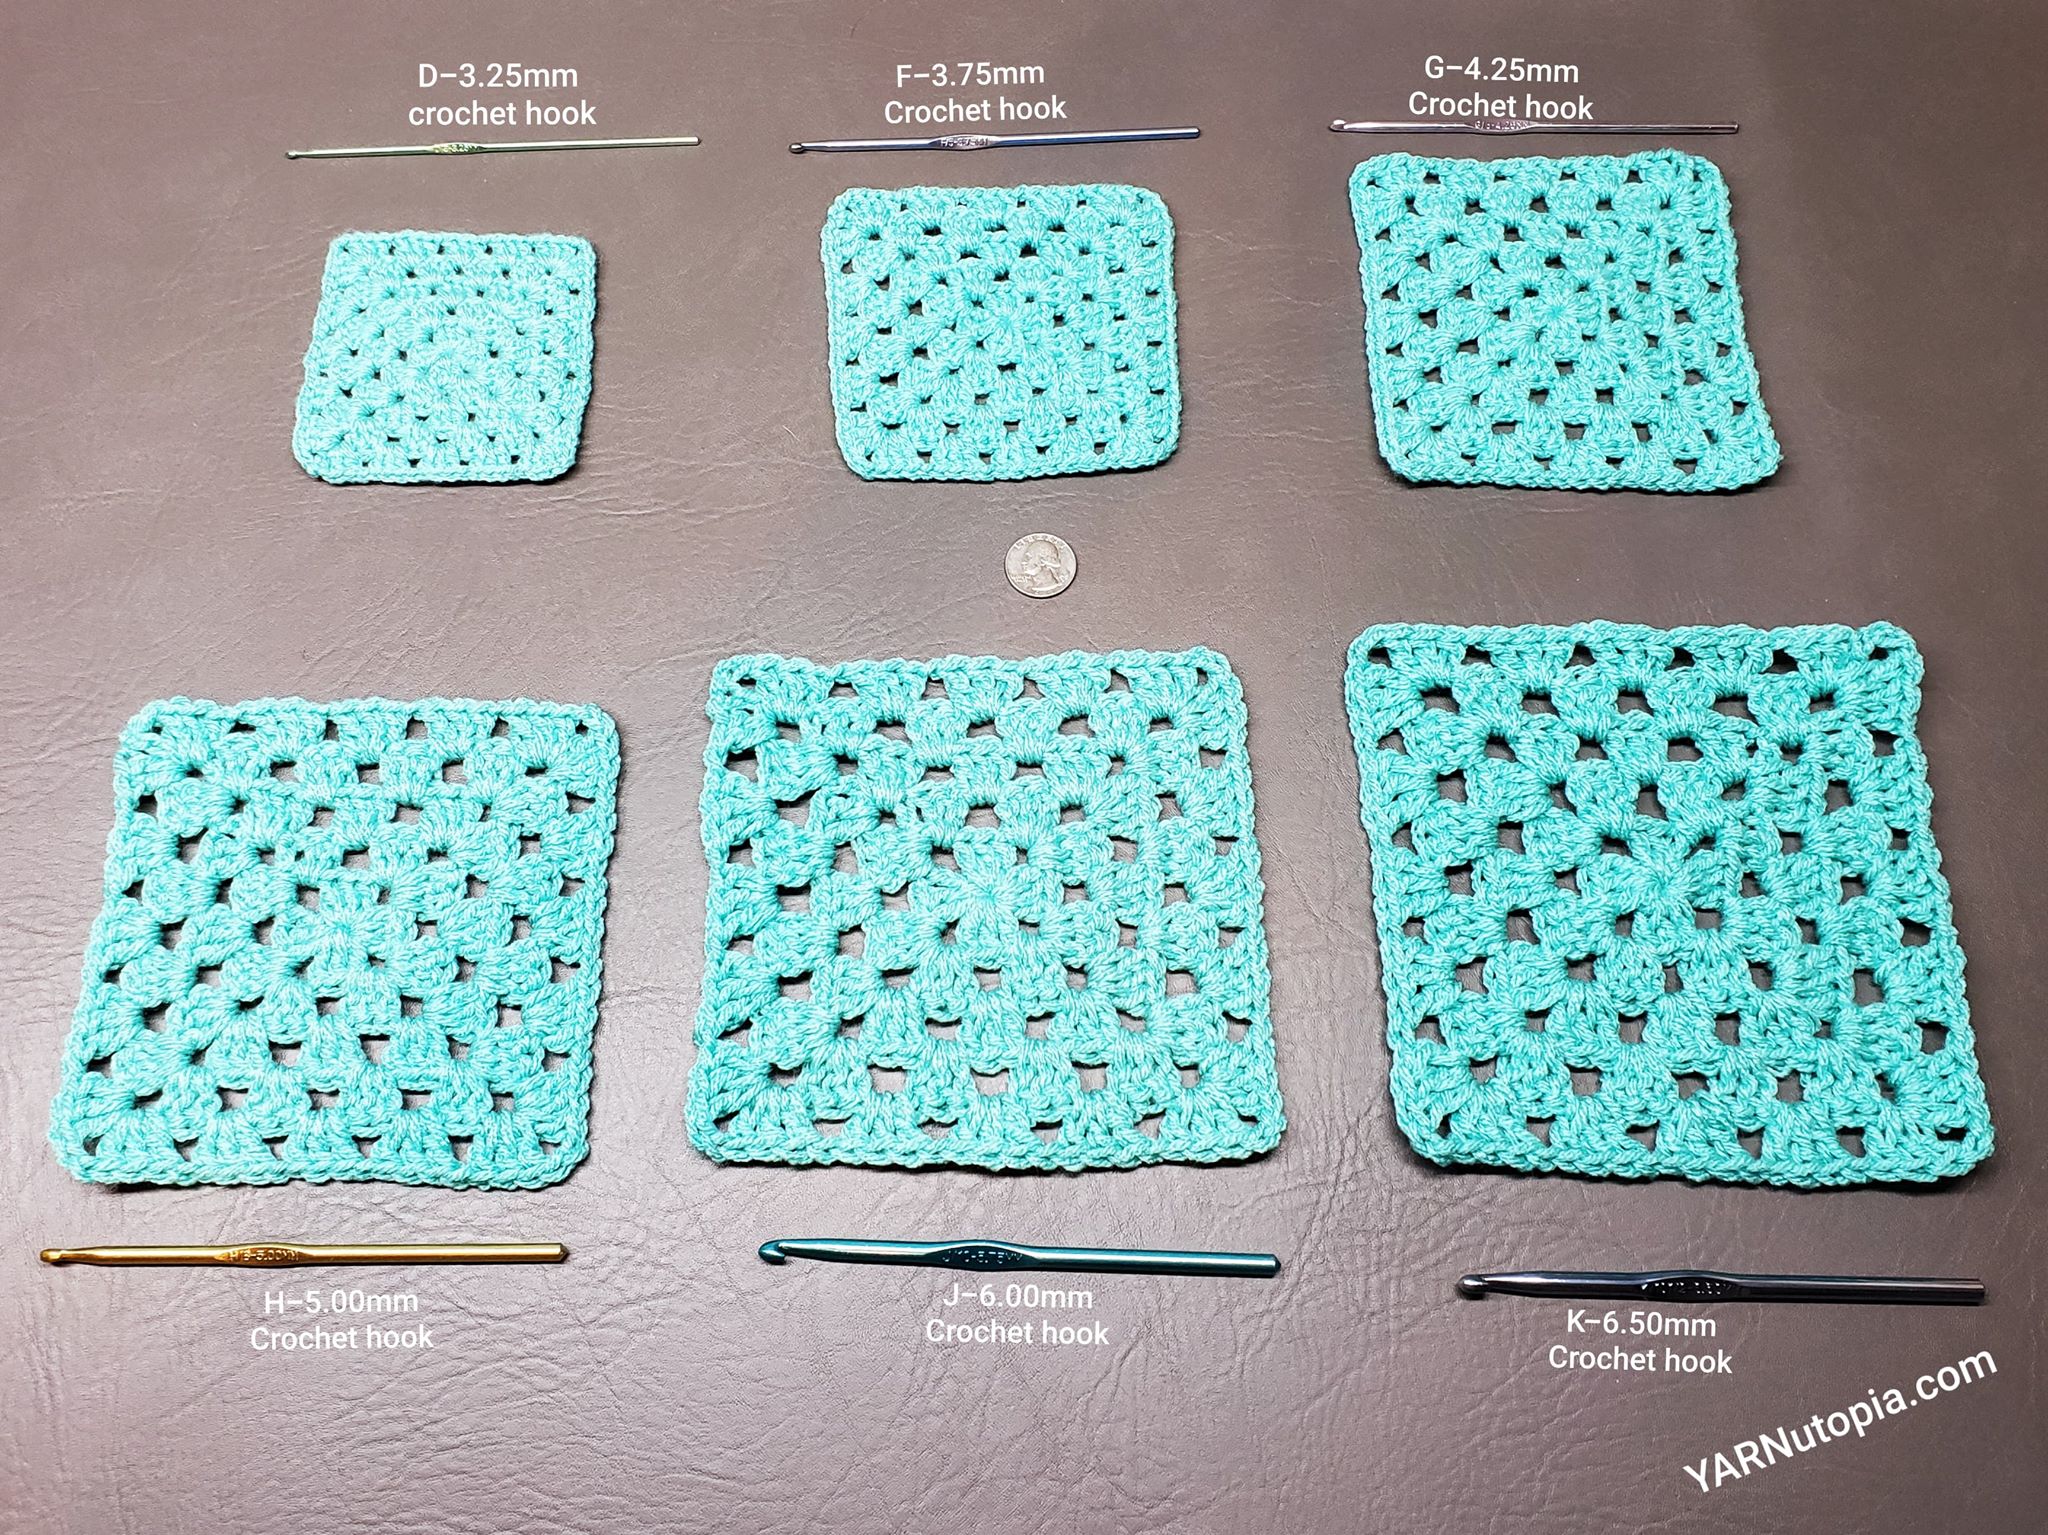
Changing Gauge to Adjust Size
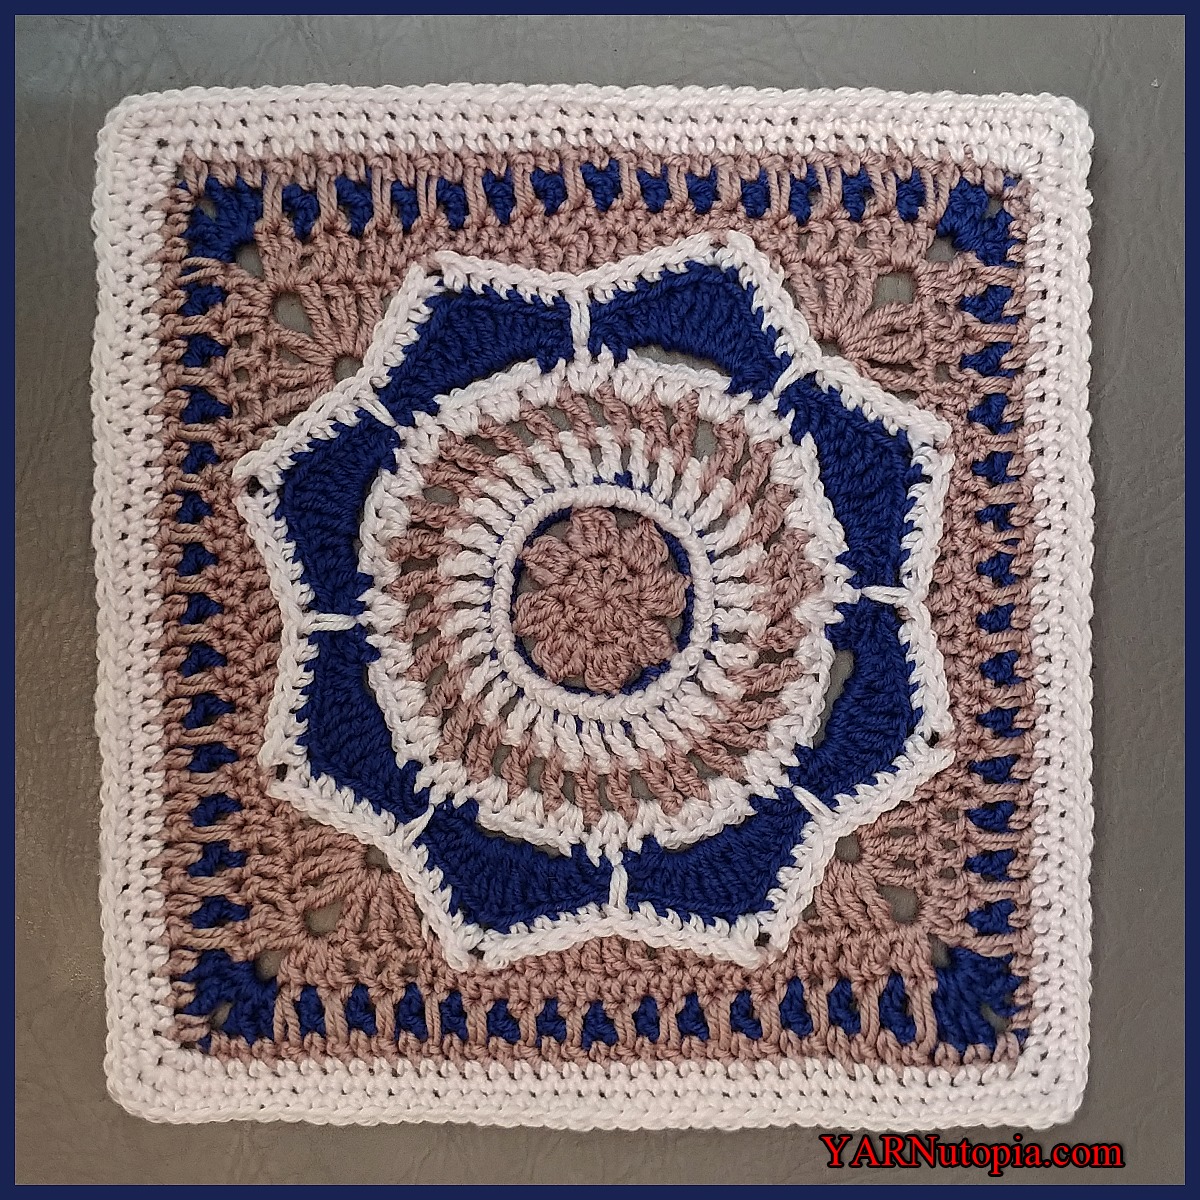
Crochet Tutorial: Where Love Grows Afghan Block
He’s Here: Our Newest YARNutopian
A Temporary Transition
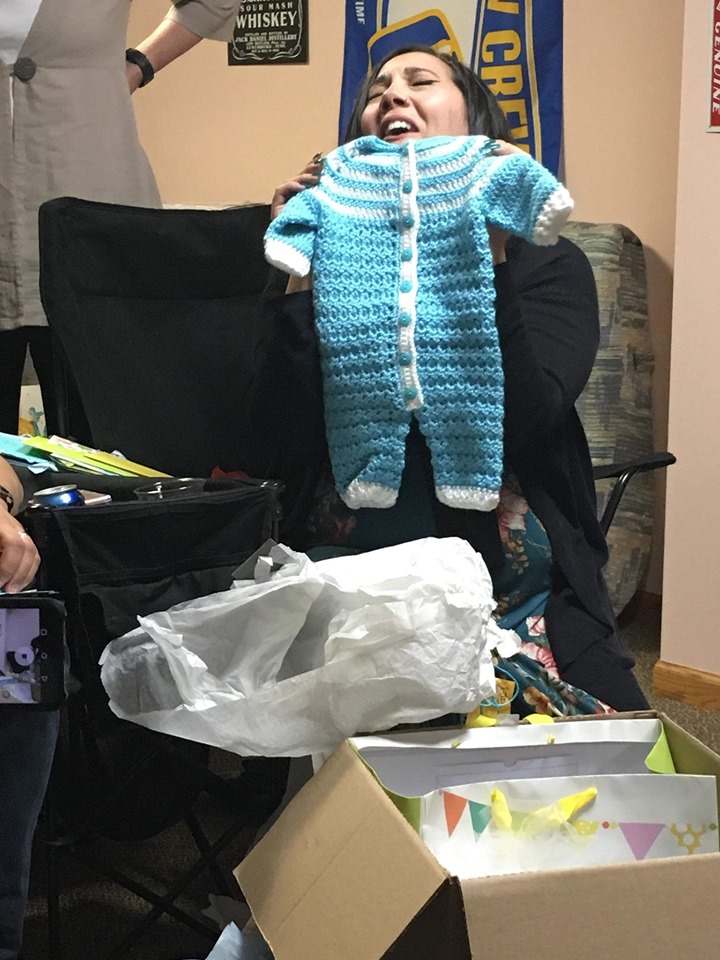
Special Baby Shower Surprise
1
2
3
4
Next Page
Loading Comments...
Write a Comment...
Email (Required)
Name (Required)
Website