Skip to content
YARNutopia & M0re
All things Yarn Related: Crochet, DIY, and Crafts
Blog
365 Days of Granny Squares
Stitch Gallery & Glossary
Crochet Video Tutorials
Frequently Asked Questions
Crochet Glossary: Learn the Lingo
Contact
Search
Search
blanket
YARNutoia & More
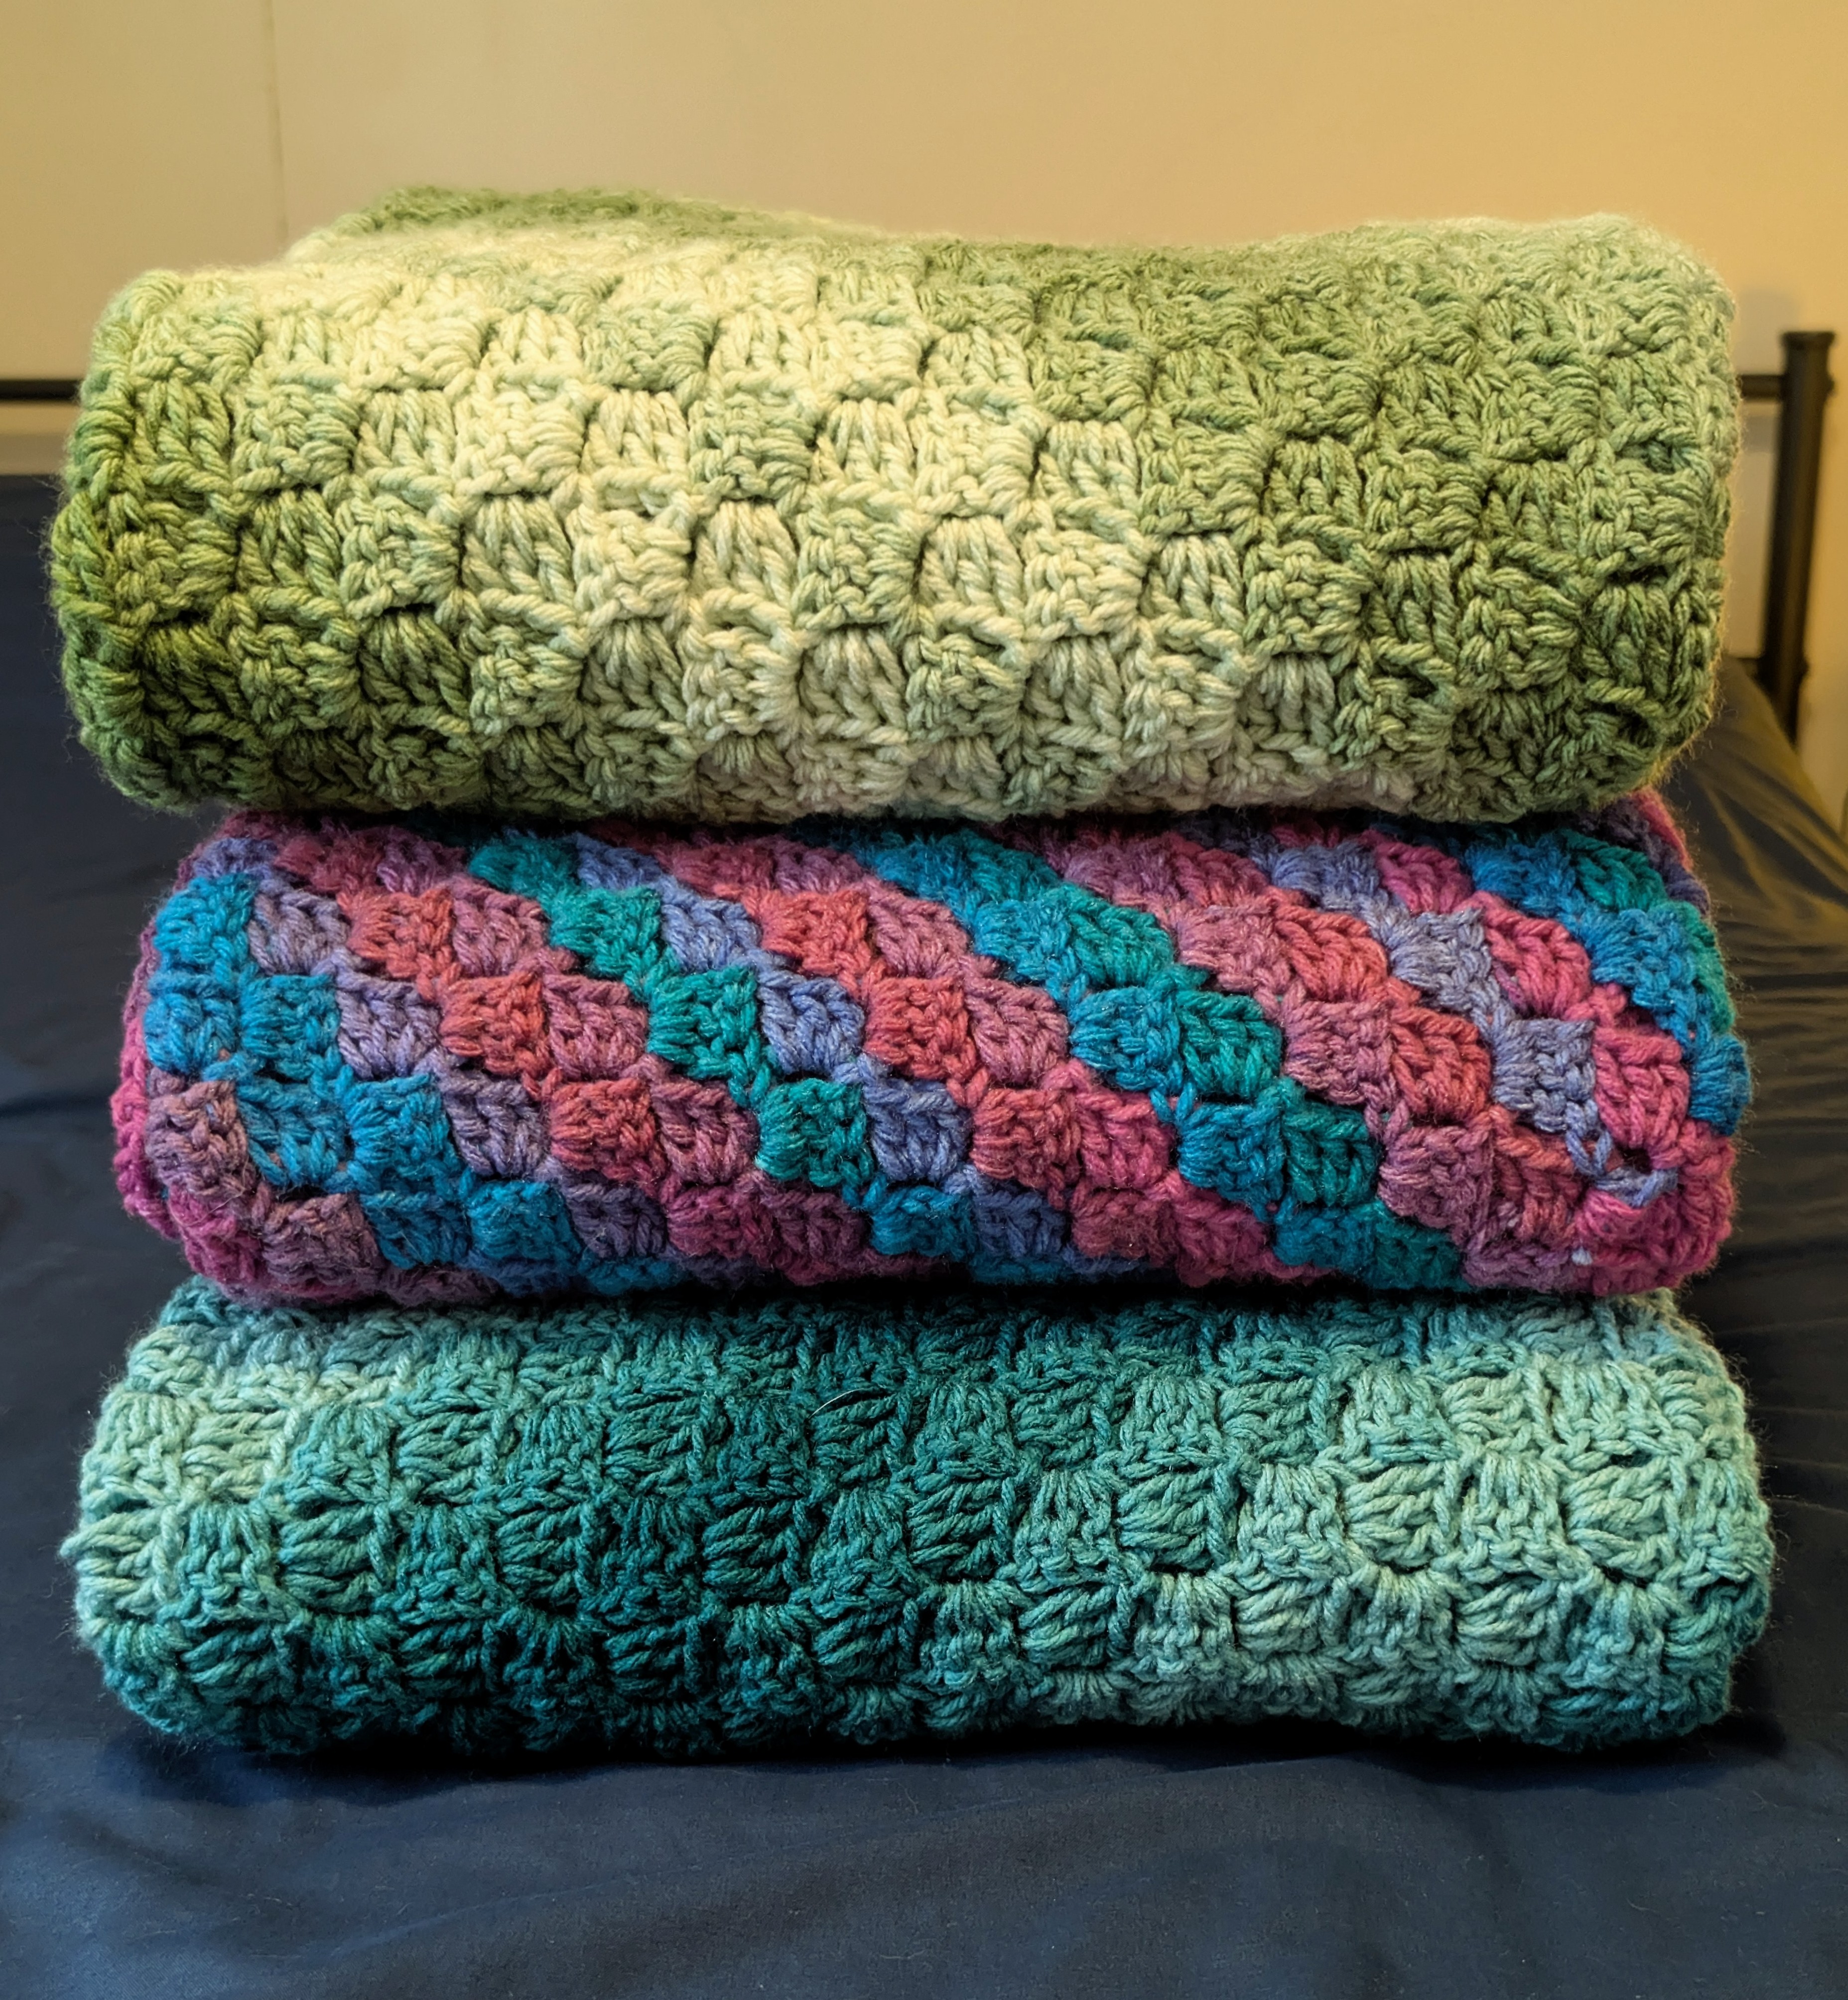
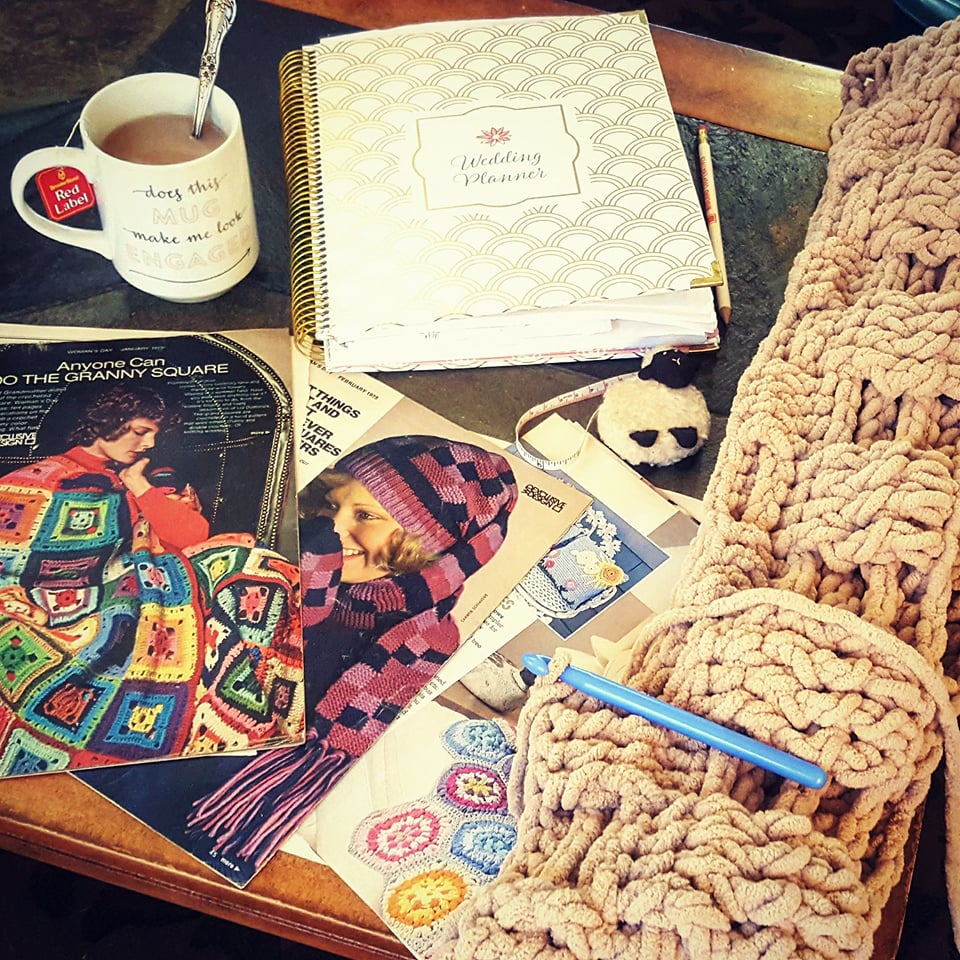
Gifting Crochet Blankets
FREE Crochet Video Tutorial: Cuddle Up Baby Blanket
FREE Written Crochet Pattern: Cuddle Up Baby Blanket
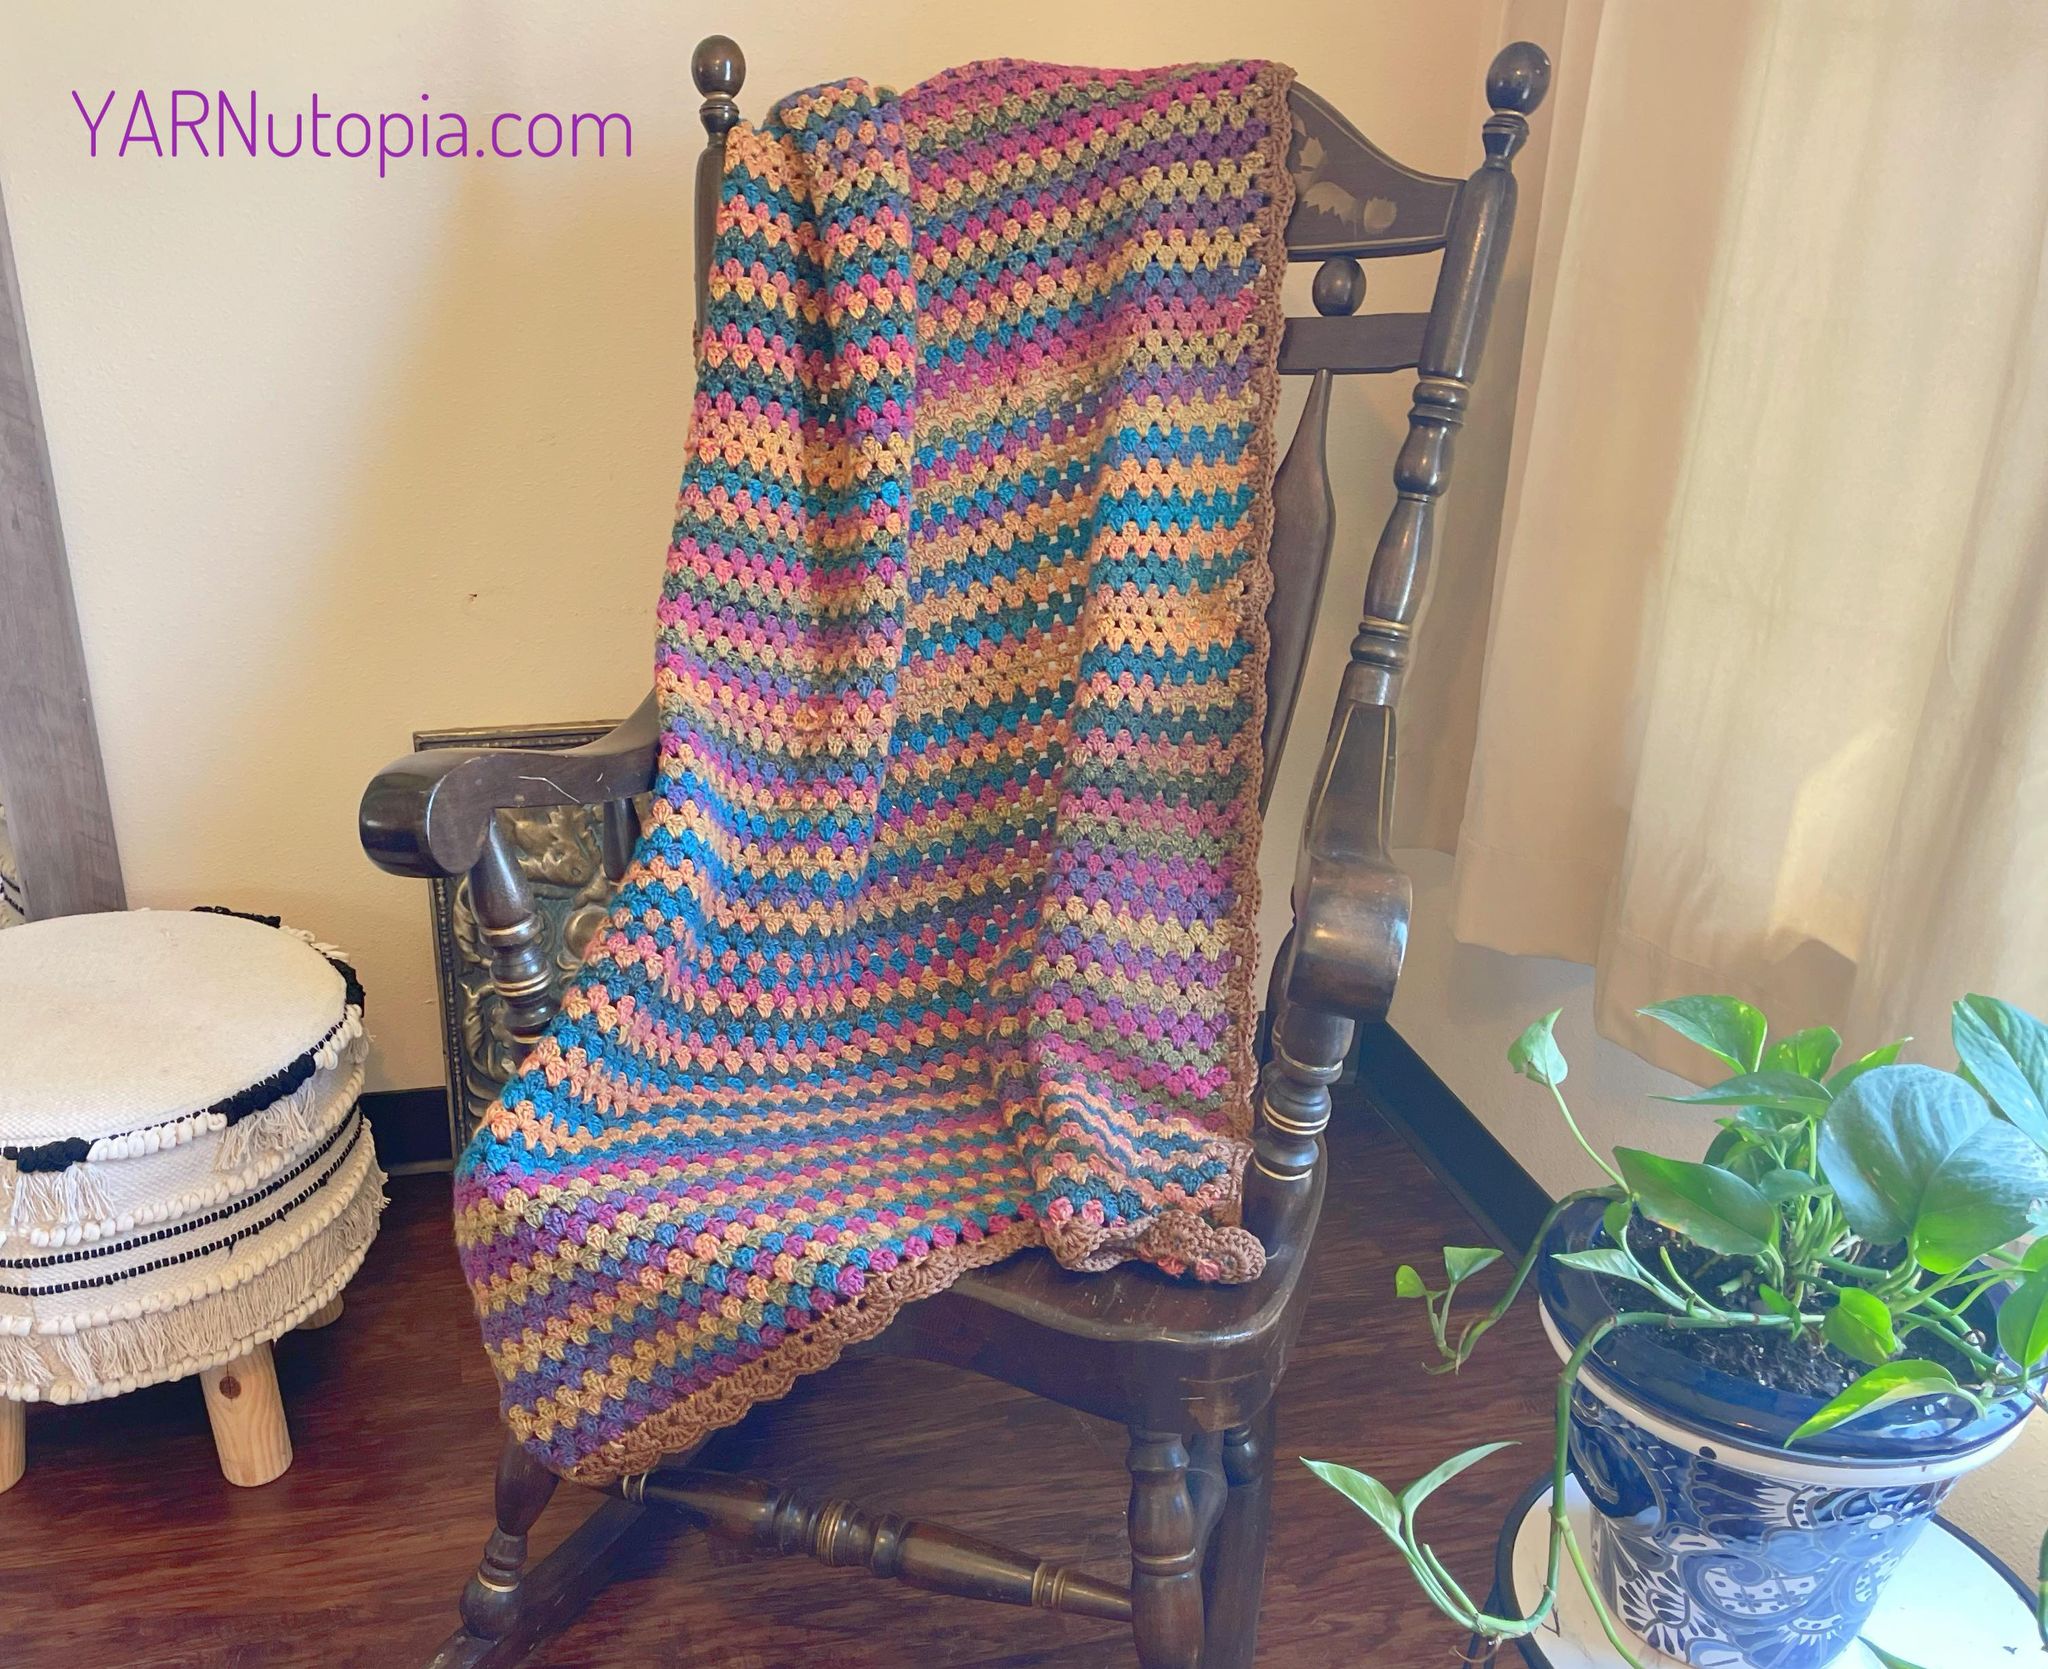
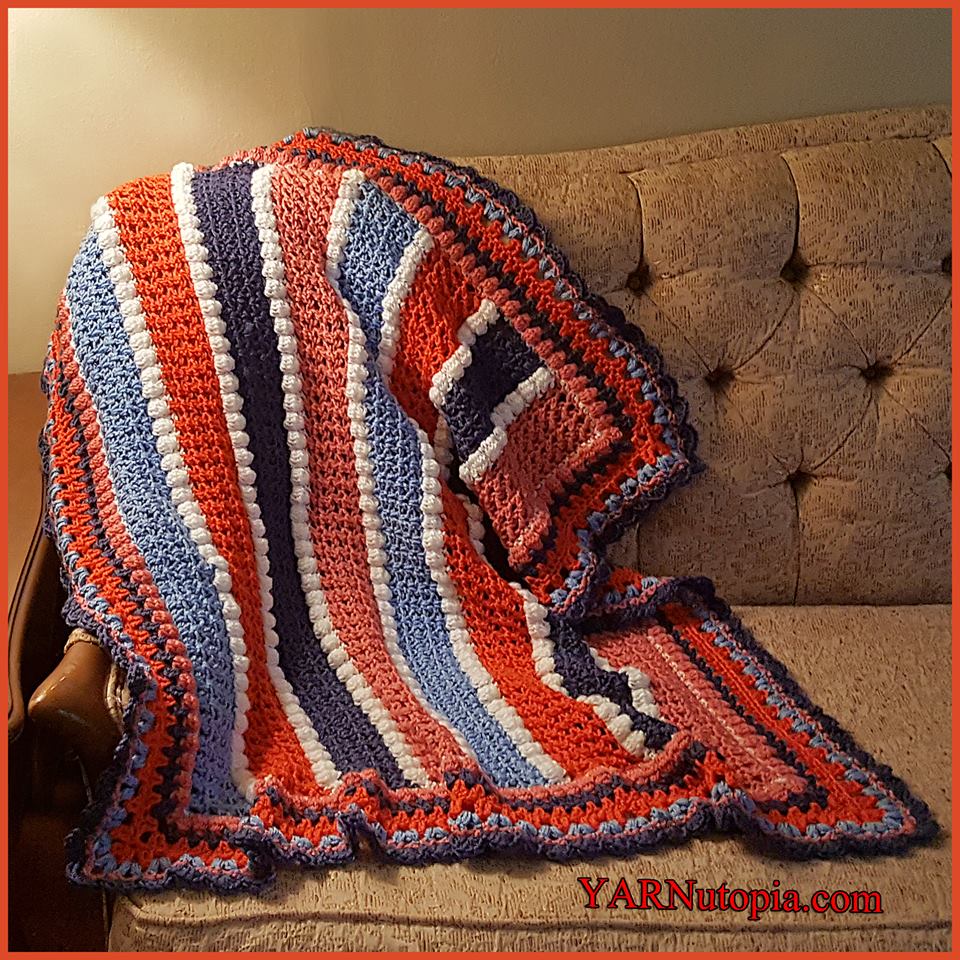
FREE Written Crochet Pattern: Boho Throw Blanket
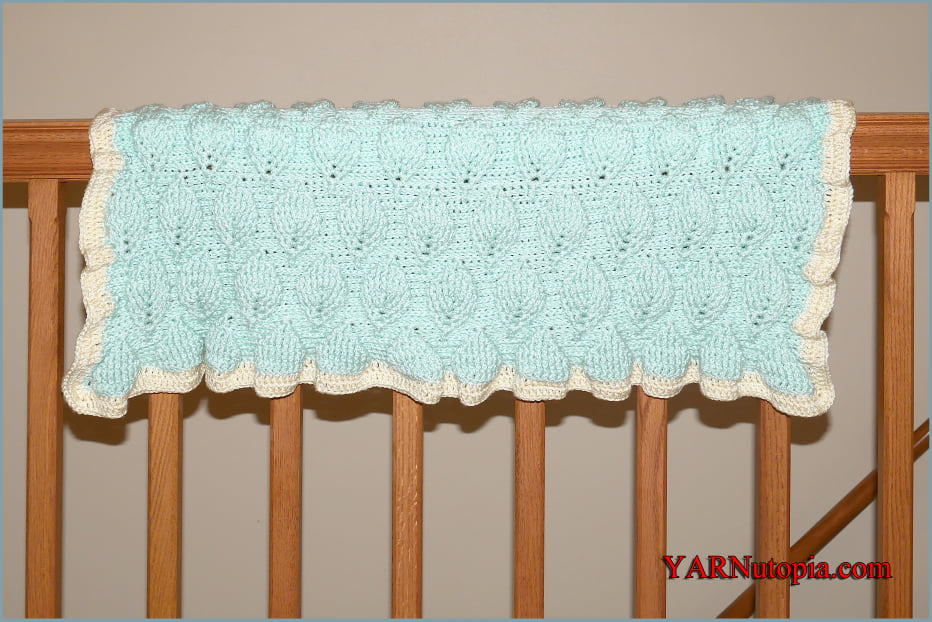
FREE Written Crochet Pattern: Snuggle Me Up Baby Blanket
FREE Crochet Video Tutorial: Snuggle Me Up Baby Blanket
FREE Written Crochet Pattern: Aspen Baby Blanket
FREE Crochet Video Tutorial: Simply Bright Granny Square
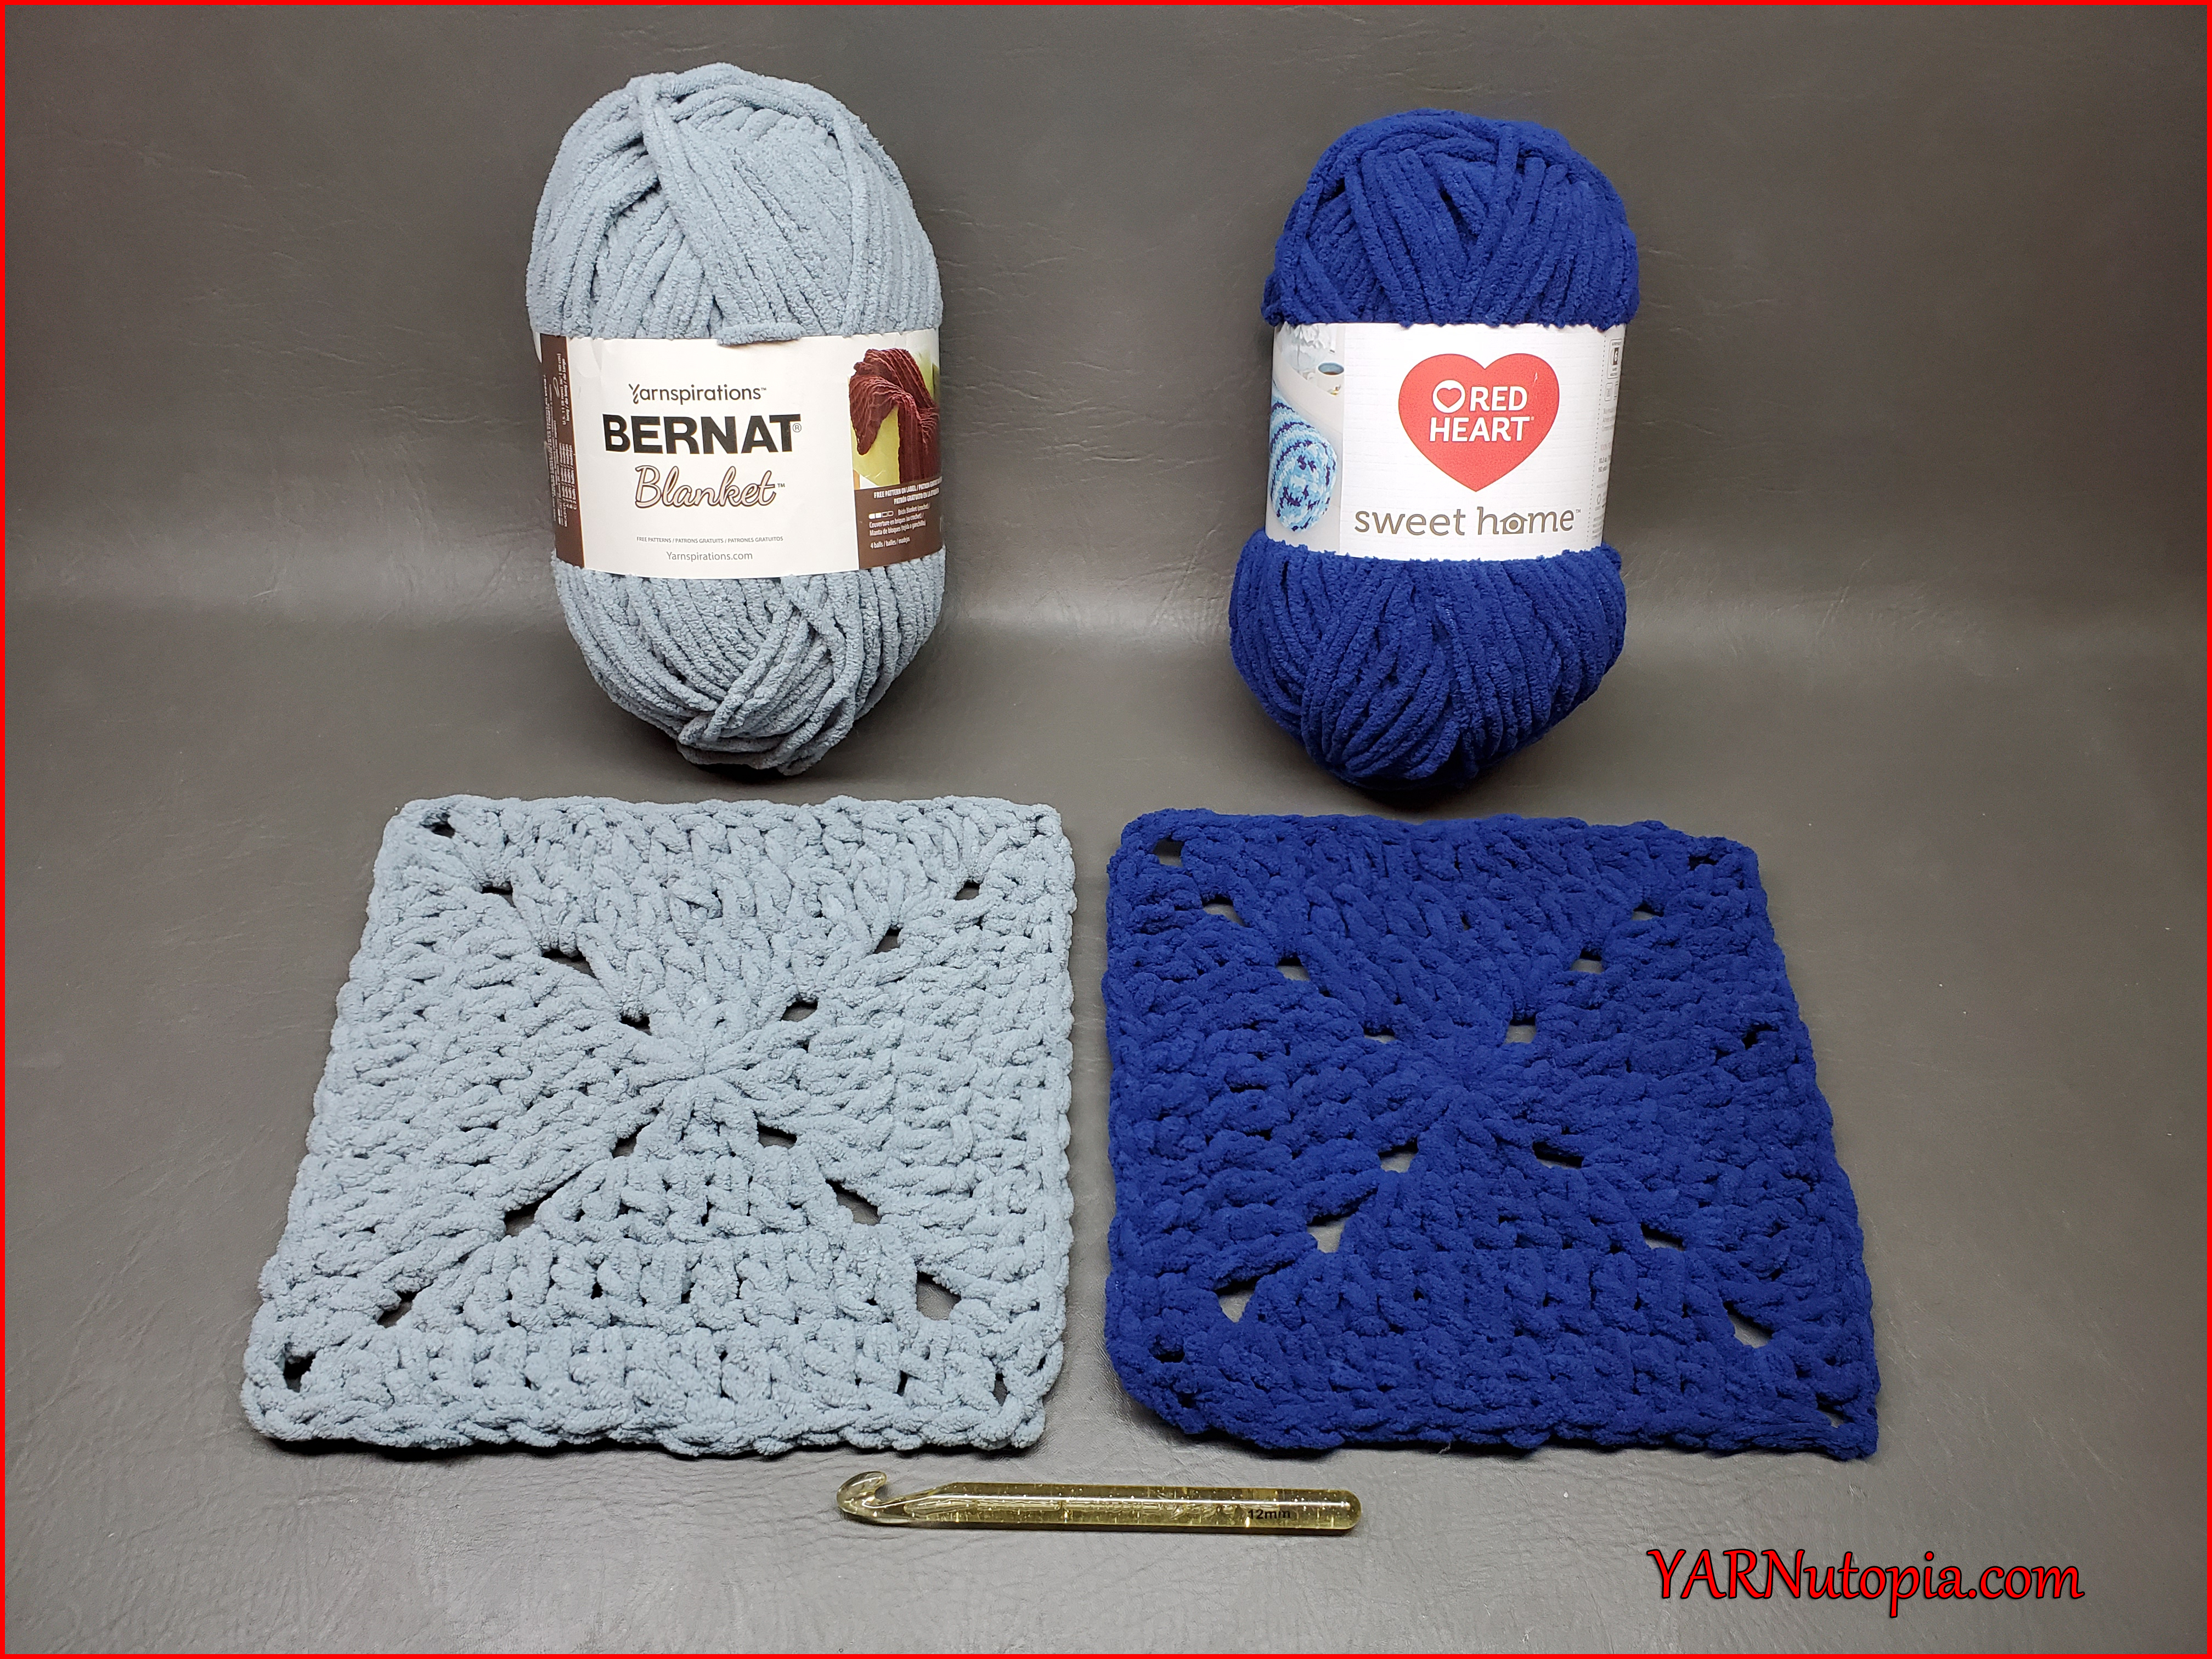
Compare & Contrast: Red Heart Yarns Sweet Home vs. Bernat Blanket Yarn
FREE Crochet Video Tutorial: Ombre Striped Baby Blanket
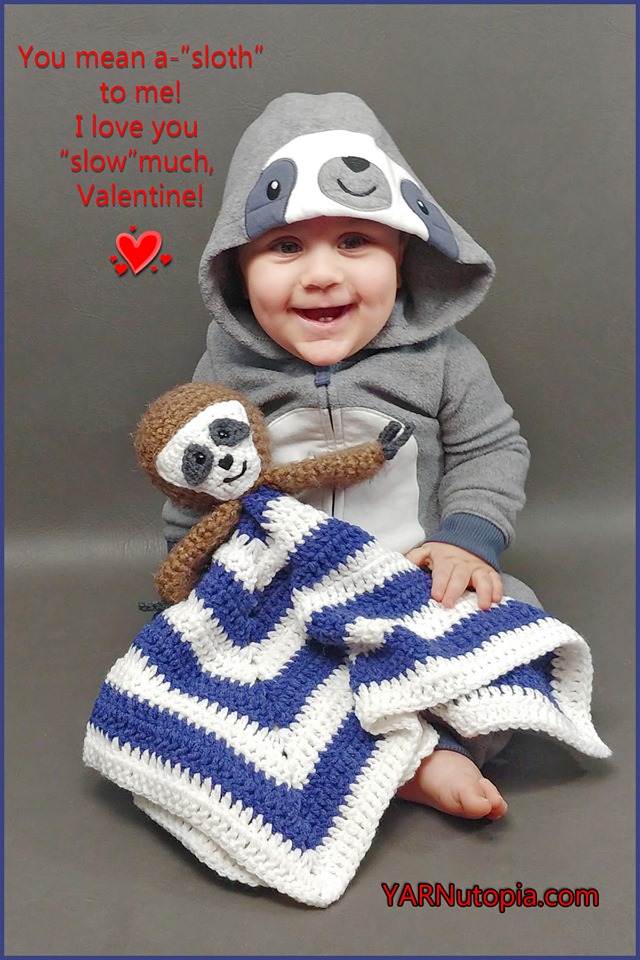
FREE Crochet Video Tutorial: Sloth Lovey
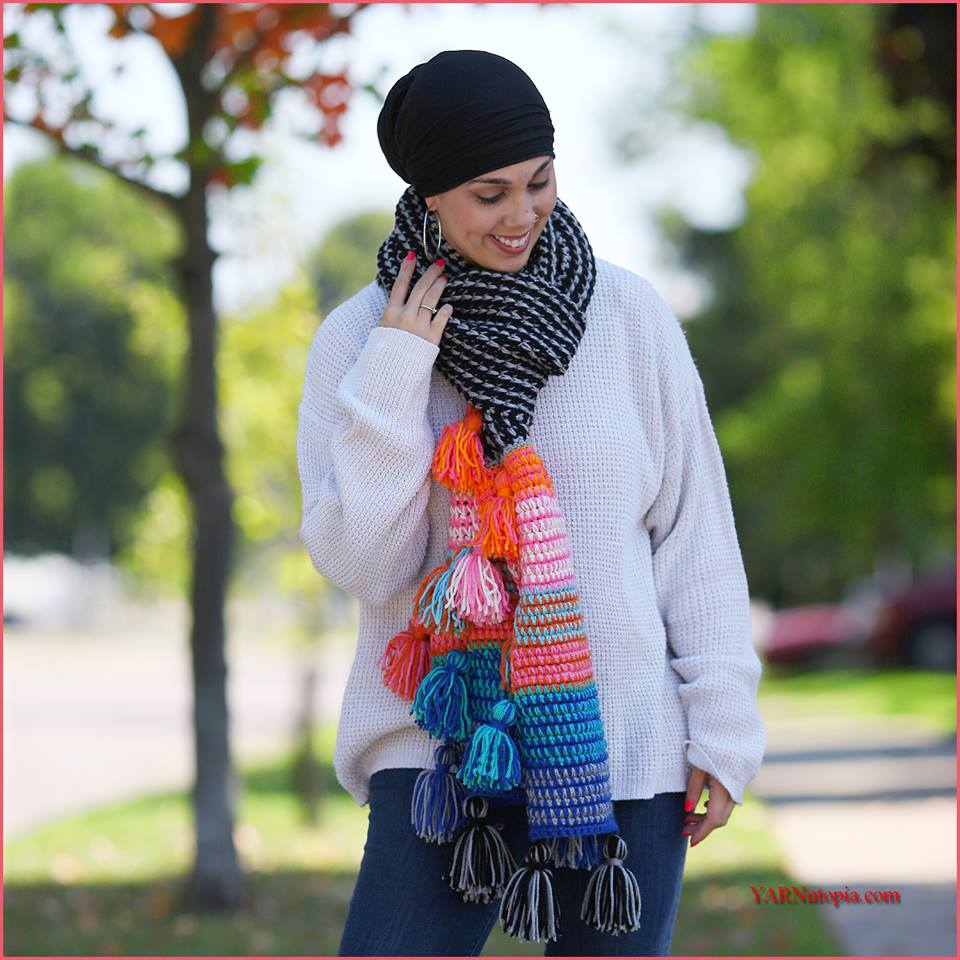
FREE Crochet Video Tutorial: The Uptown Blanket Scarf
FREE Written Crochet Pattern: The Uptown Blanket Scarf
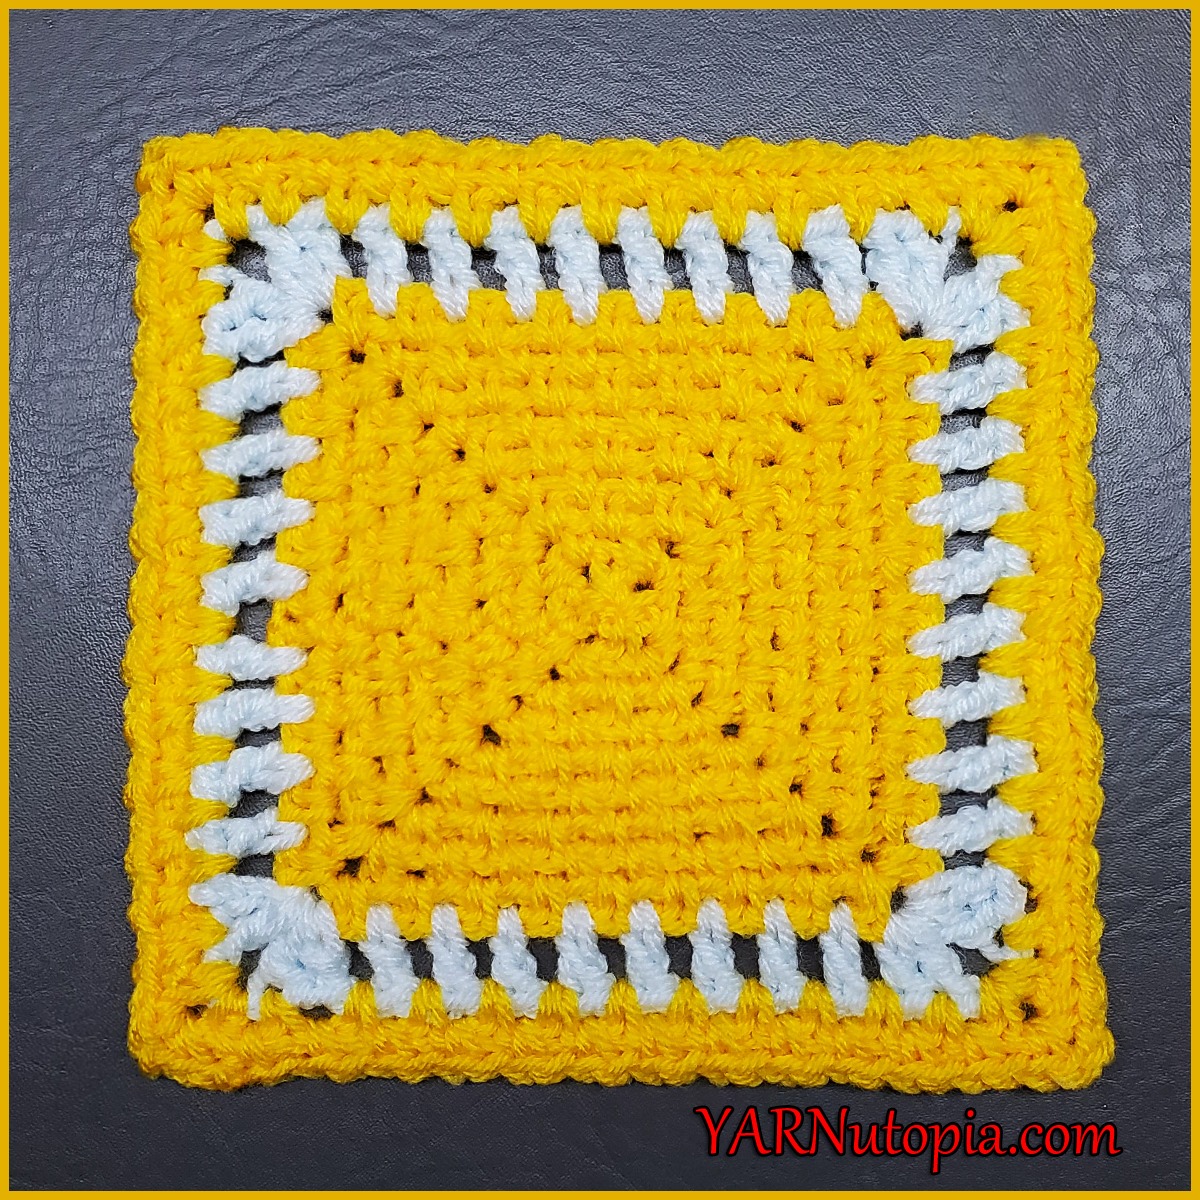
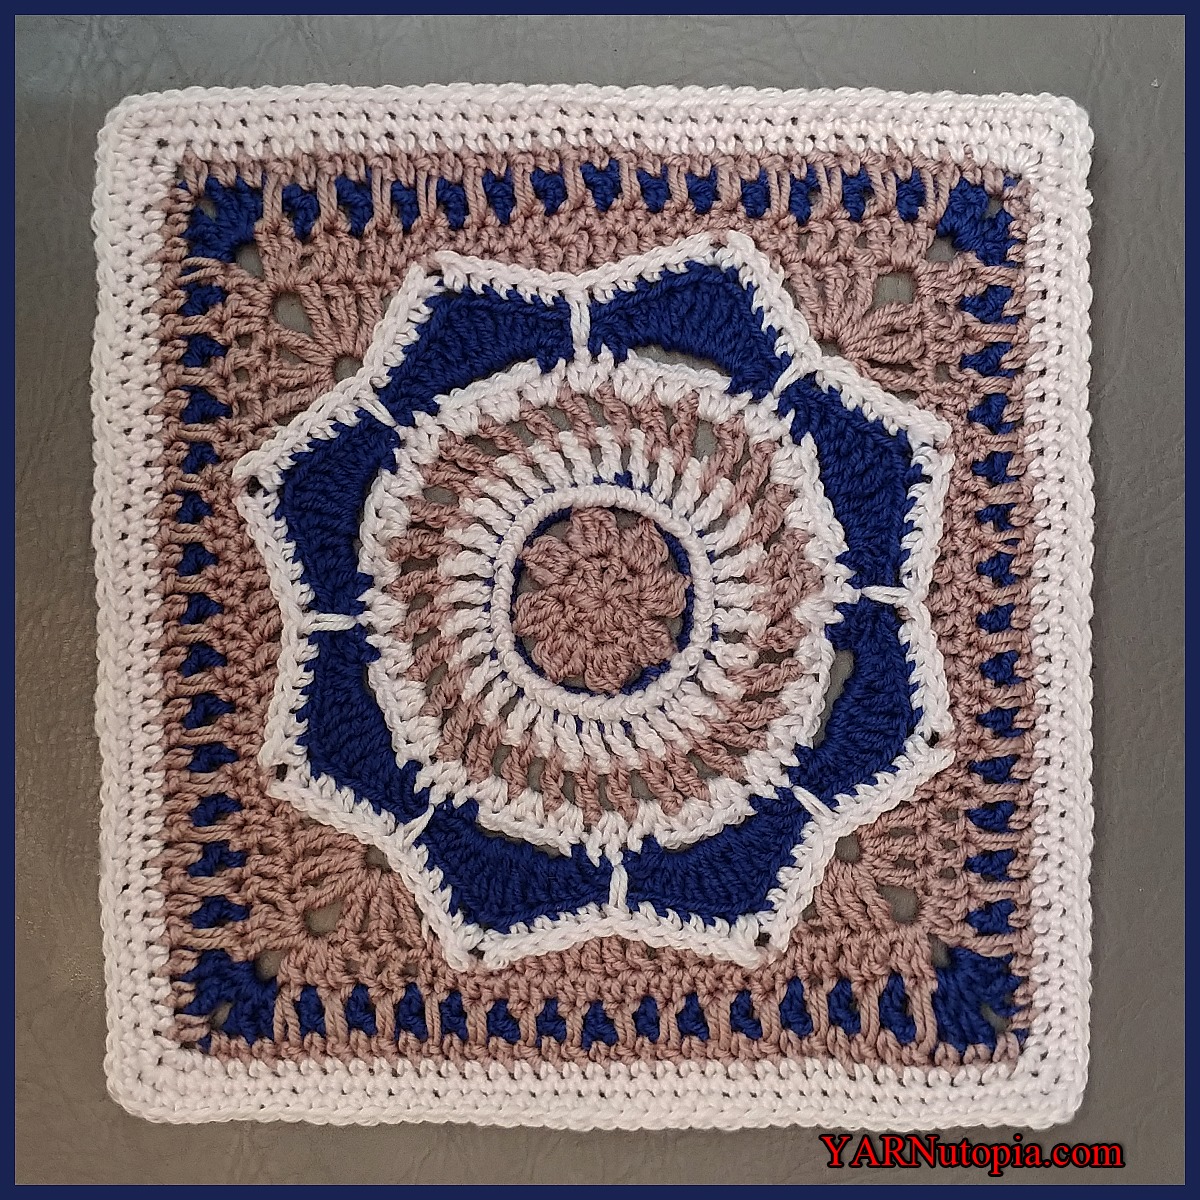
Crochet Tutorial: Where Love Grows Afghan Block
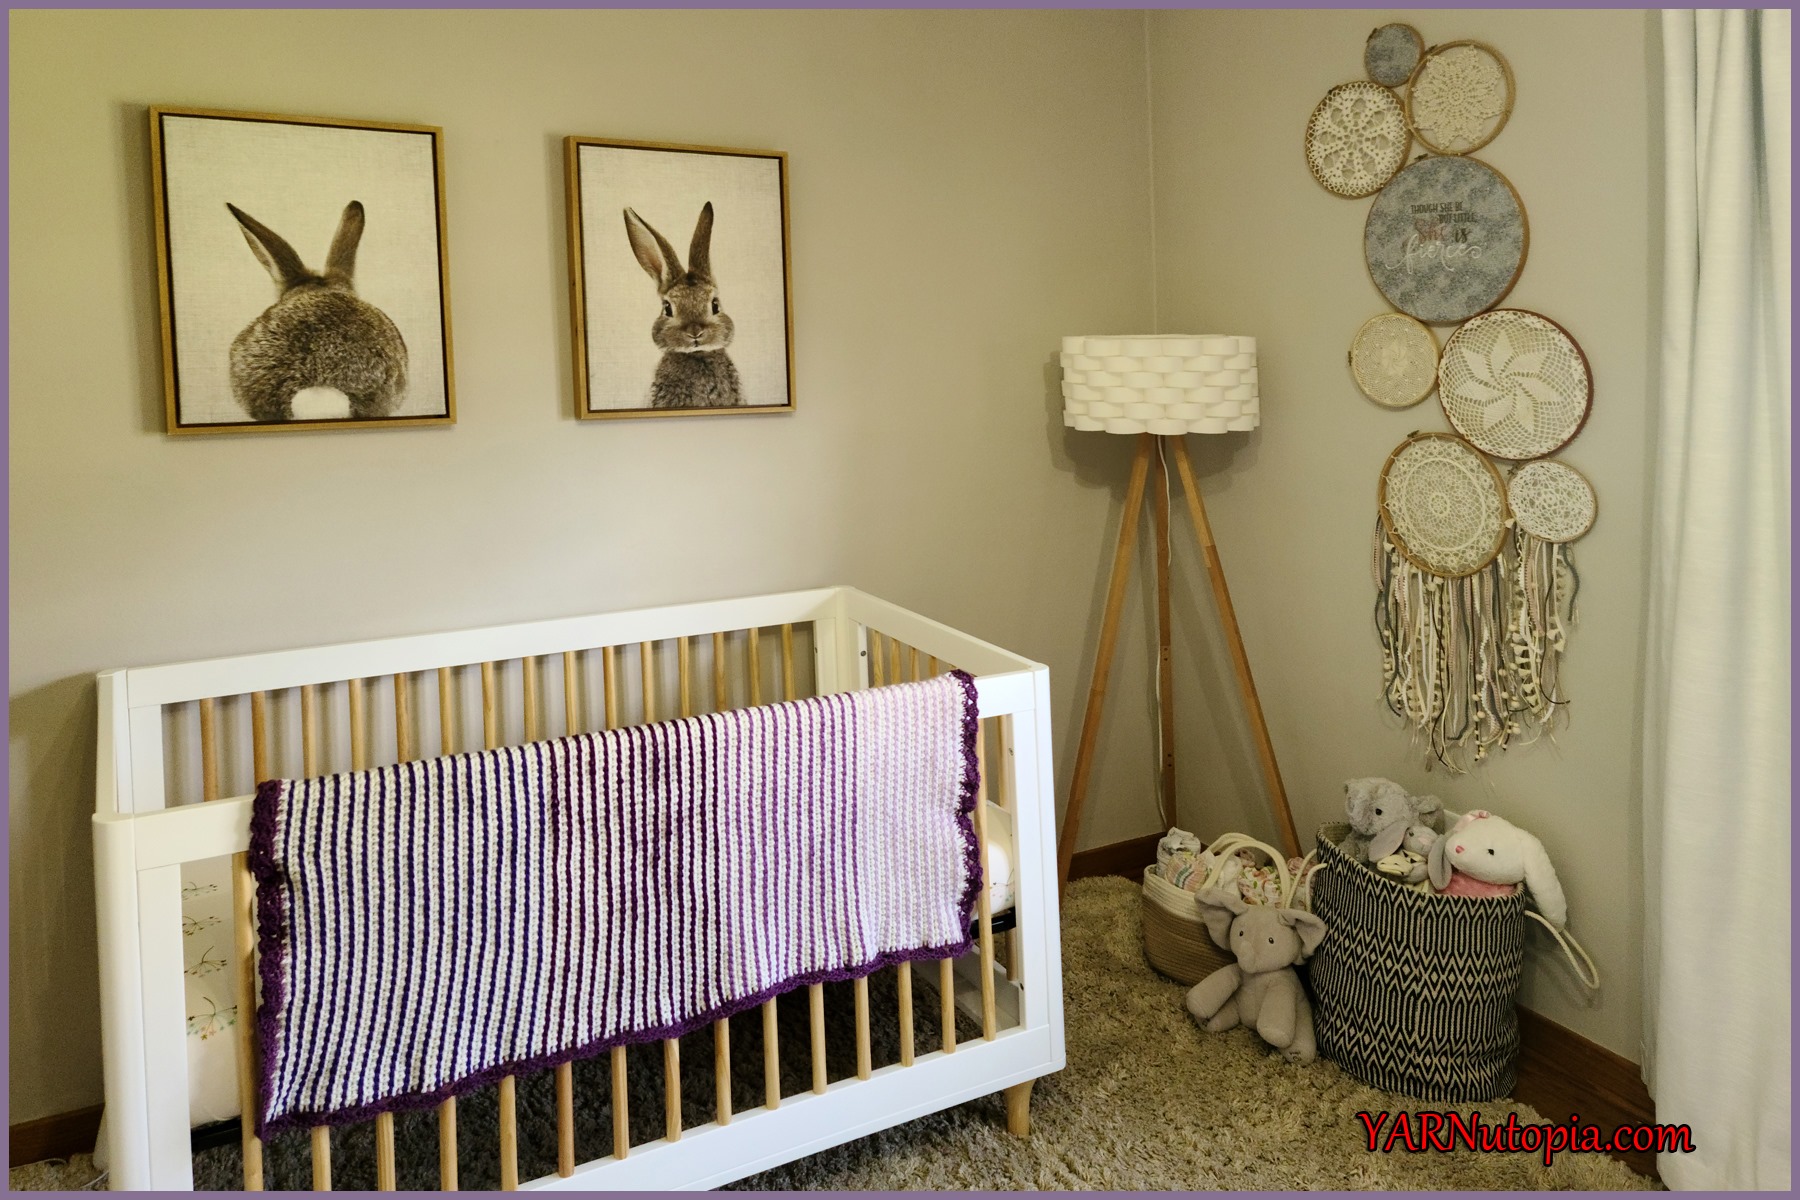
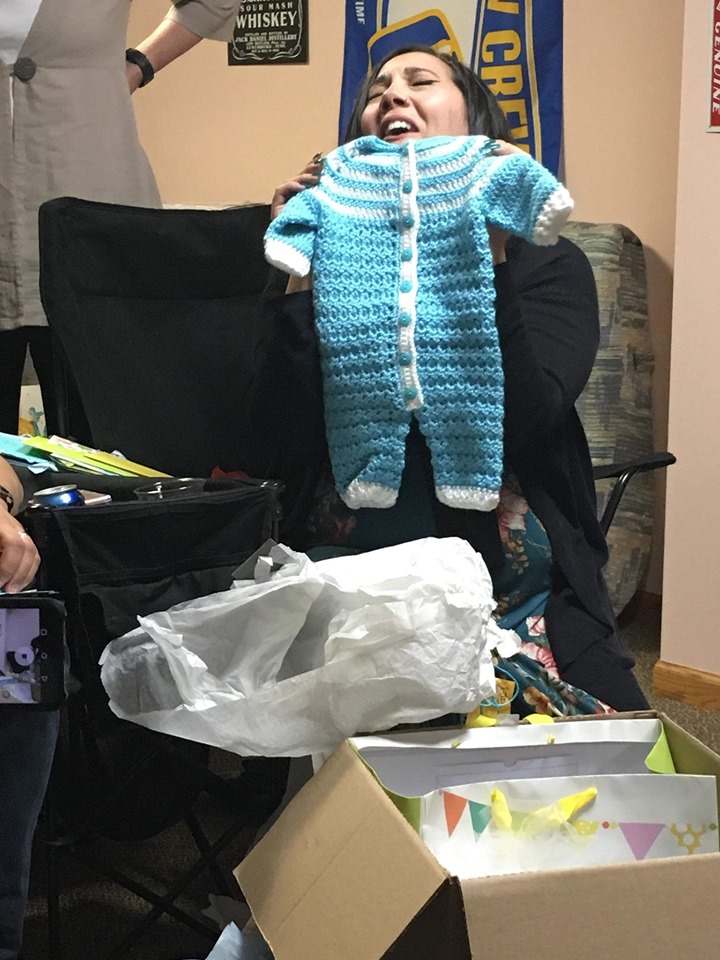
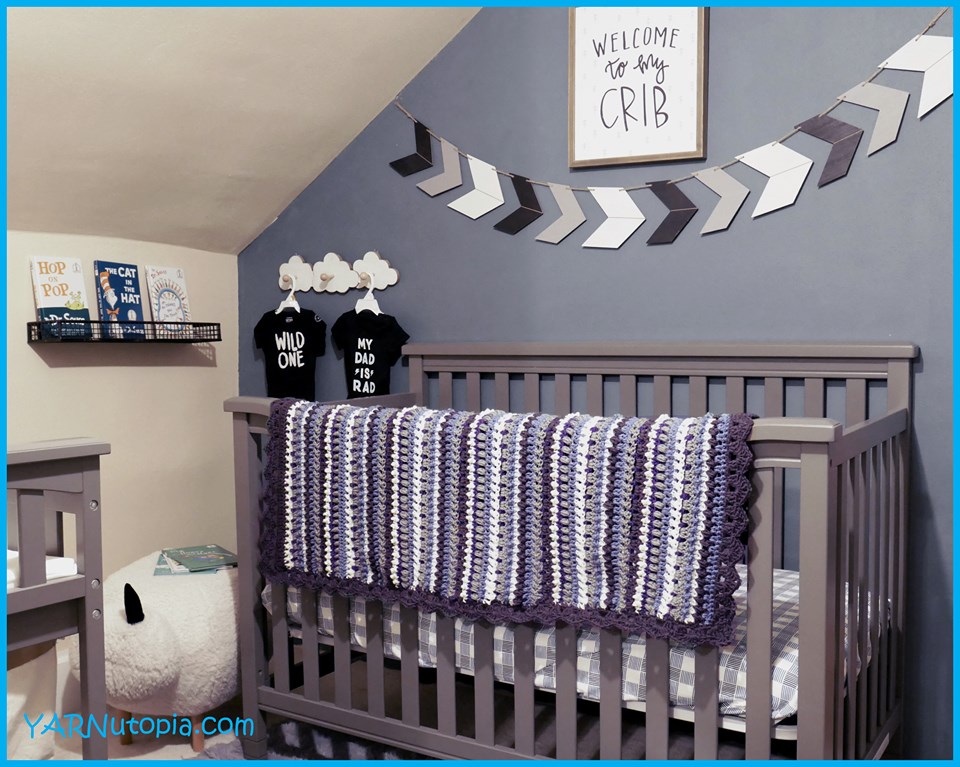
Special Baby Shower Surprise
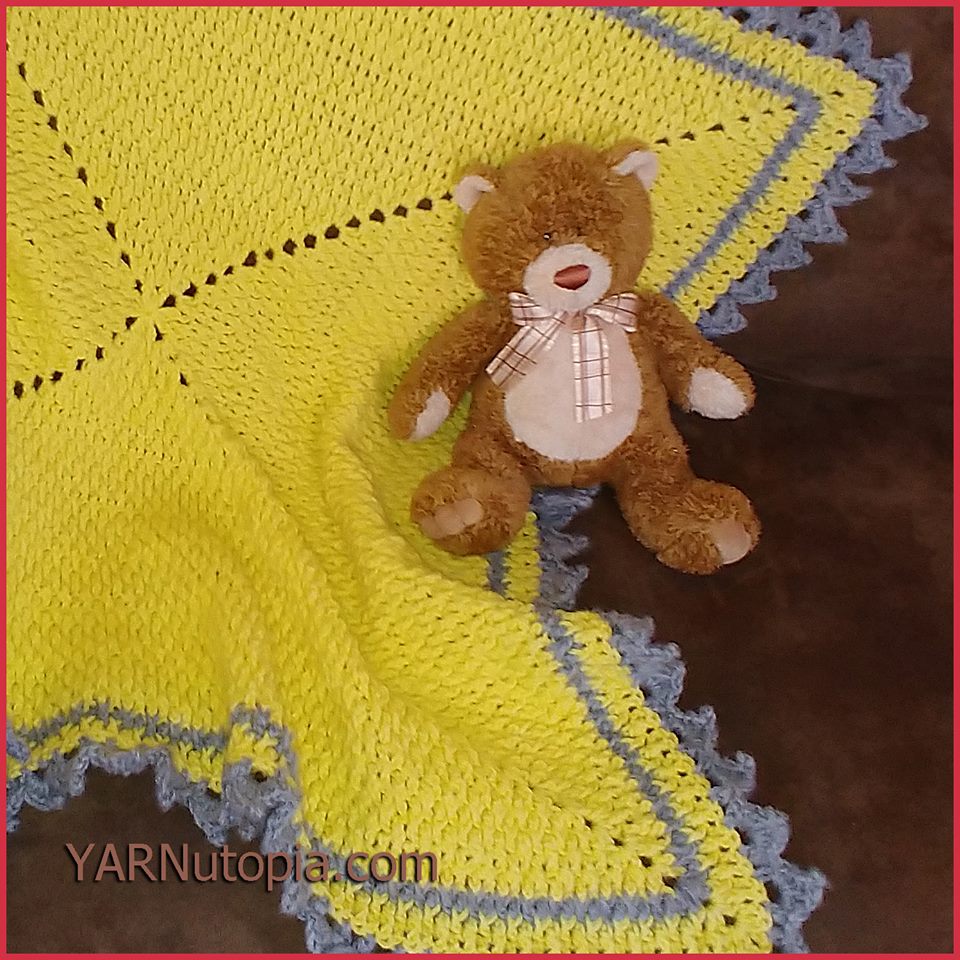
FREE Crochet Tutorial: Happy Hues Sampler Baby Blanket
Crochet Tutorial: Wiggles & Giggles Baby Blanket
Video Tutorial: Make Your Mark Bookmark
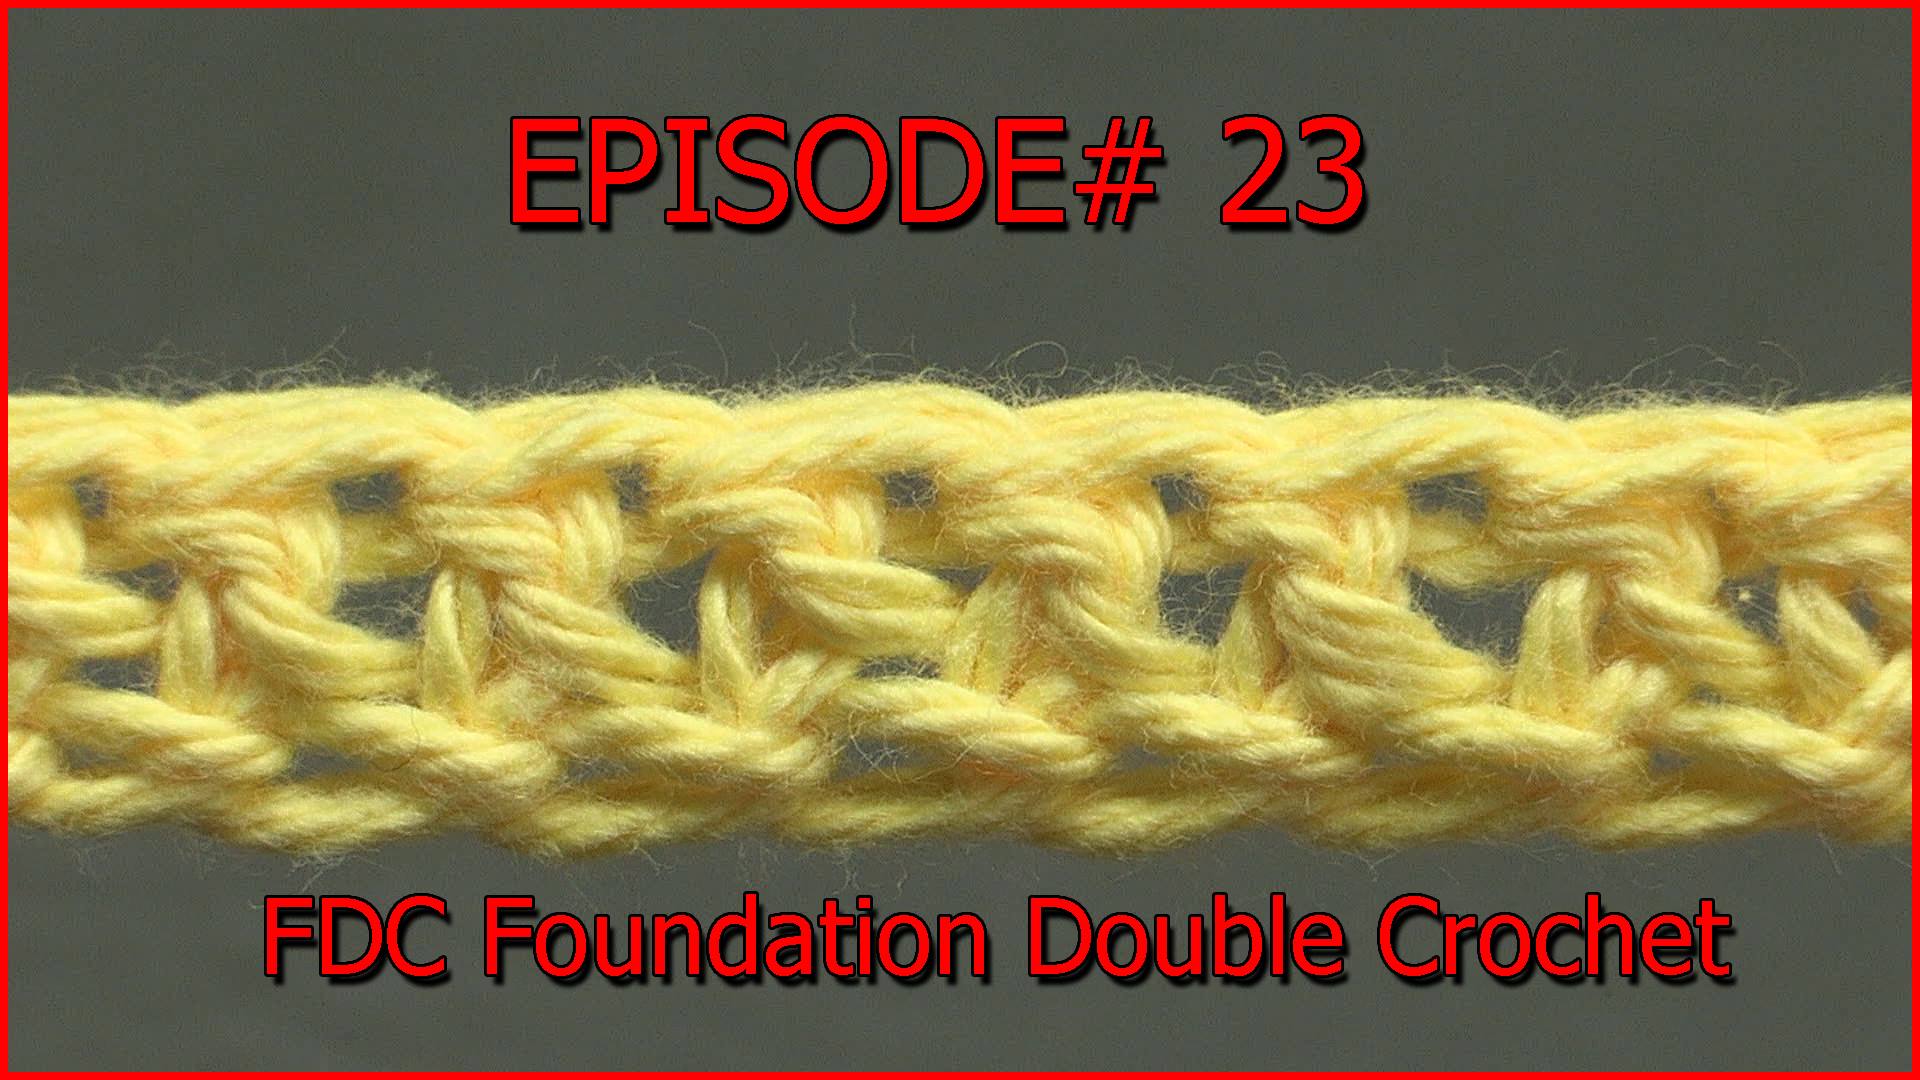
Stitch Gallery & Glossary Episode #23: Foundation Double Crochet
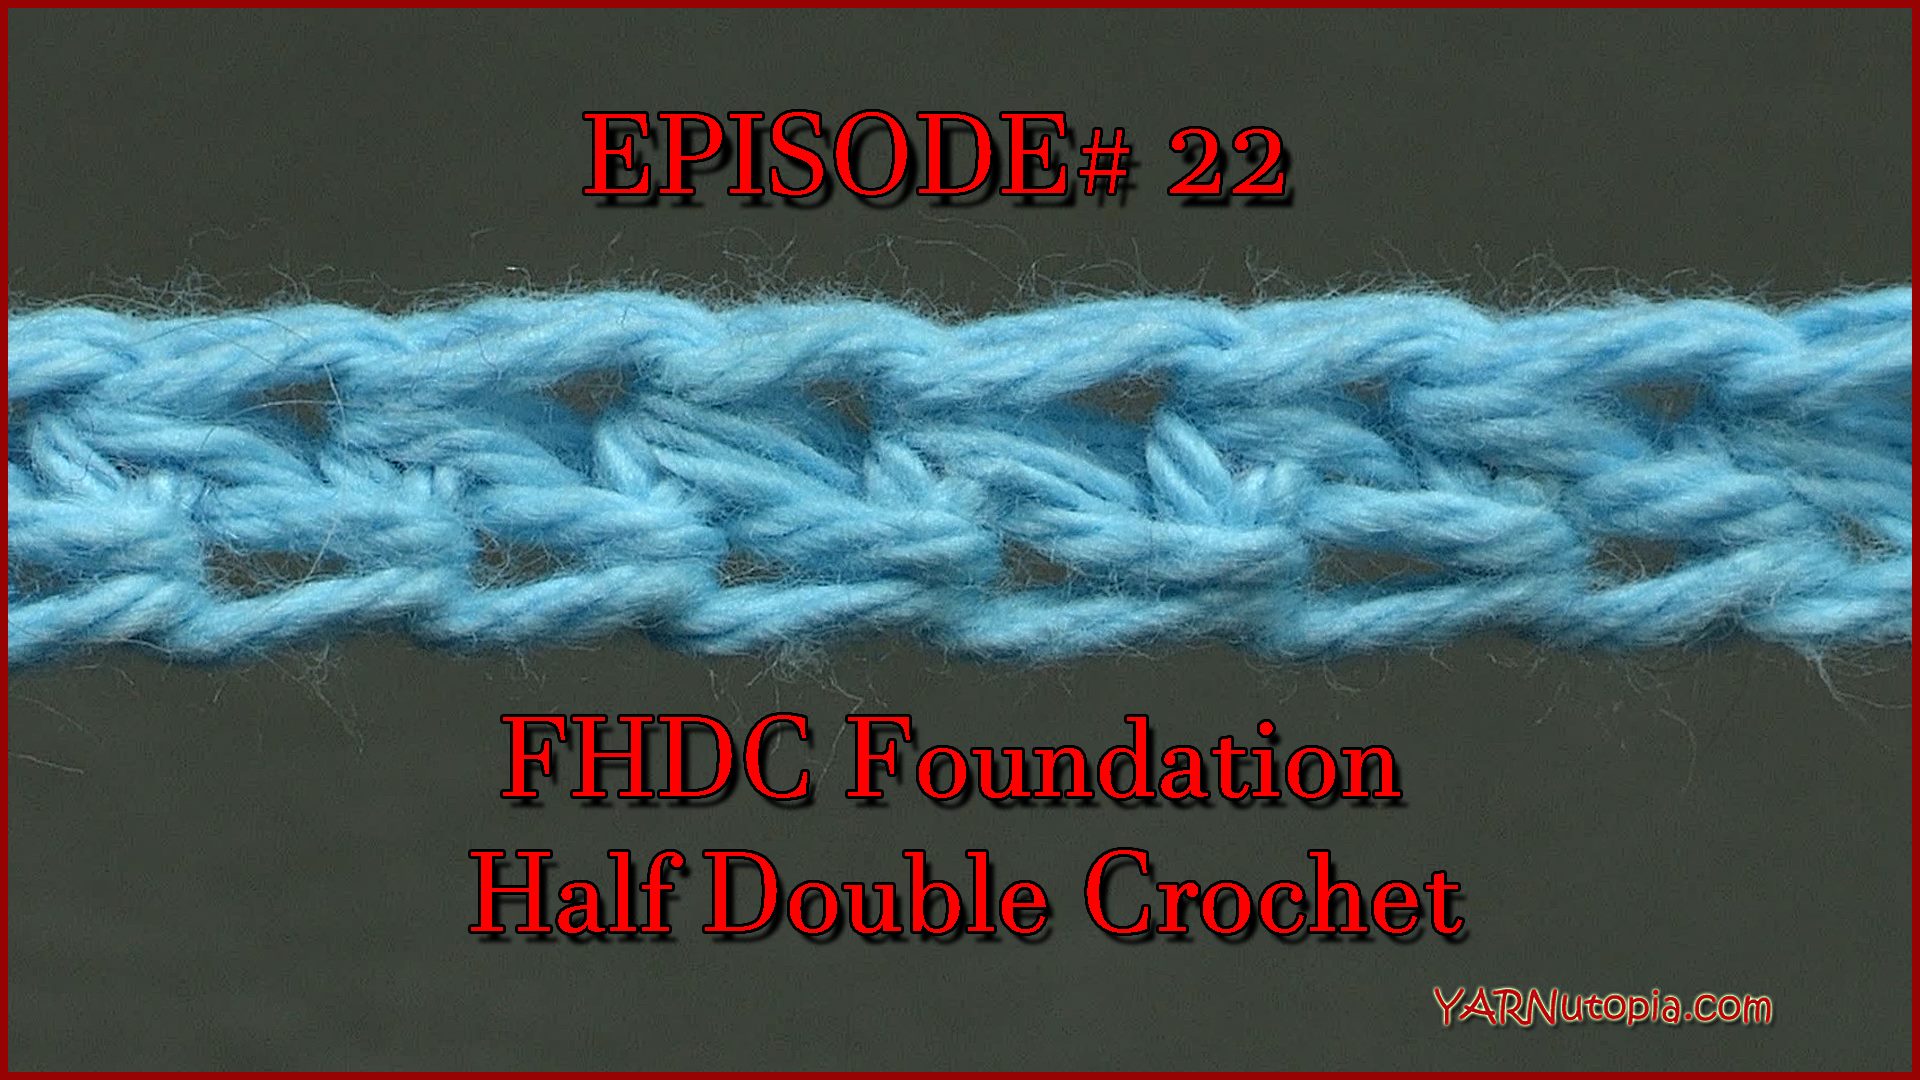
Stitch Gallery & Glossary Episode #22: Foundation Half-Double Crochet
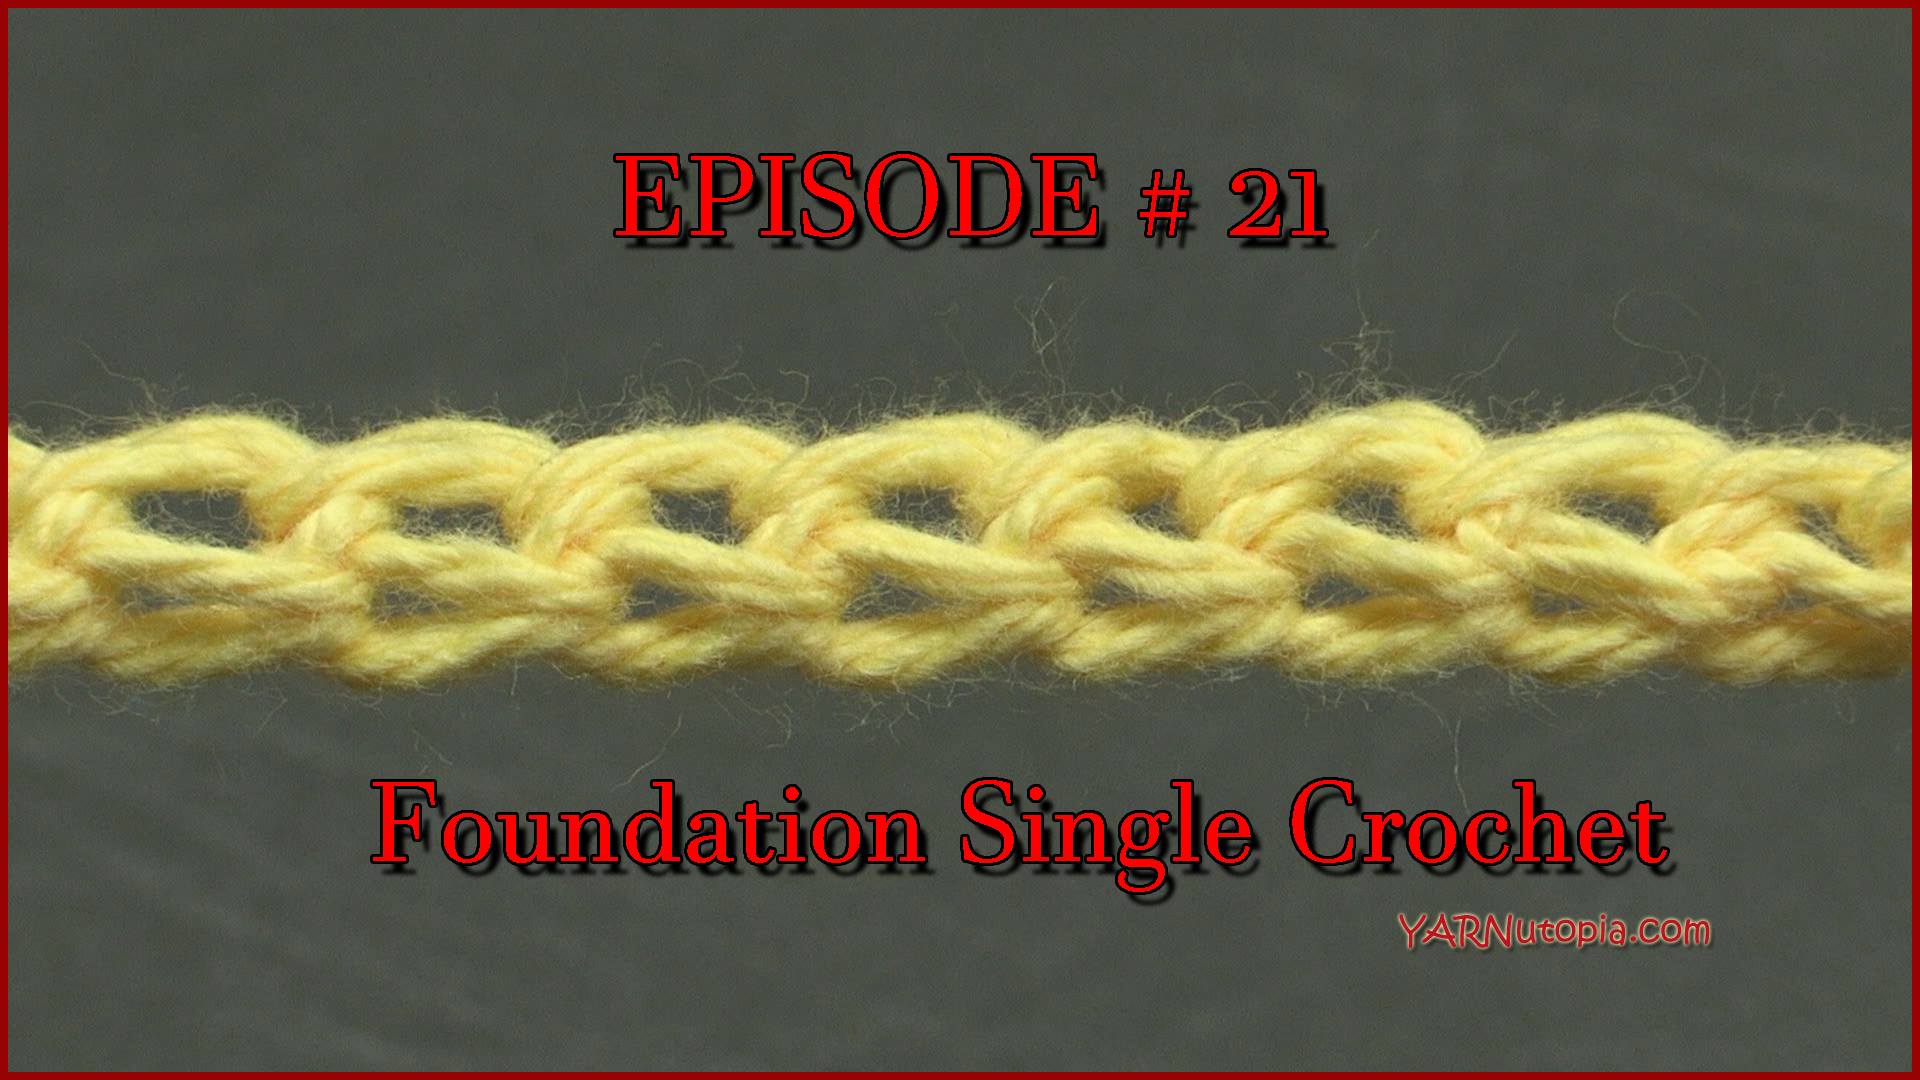
Stitch Gallery & Glossary Episode #21: Foundation Single Crochet
Crochet Tutorial: Colorful Visions Afghan
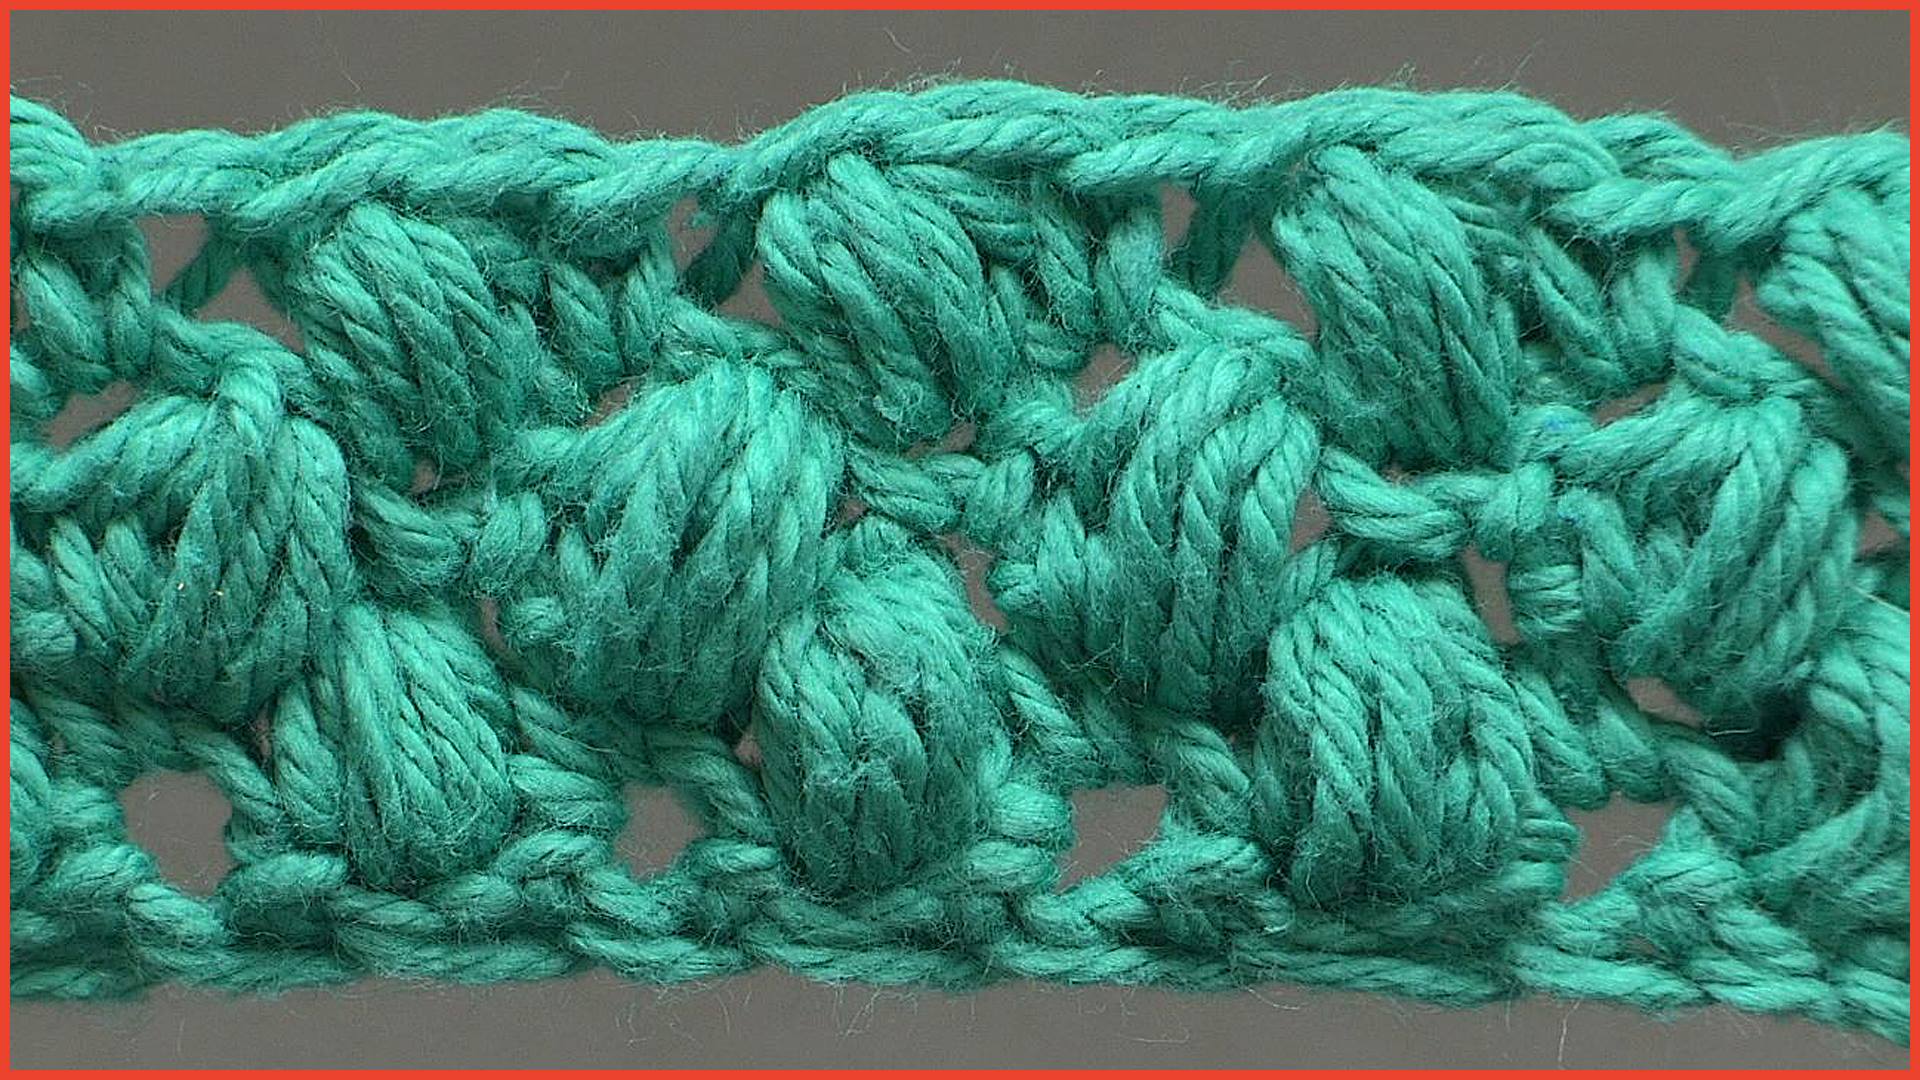
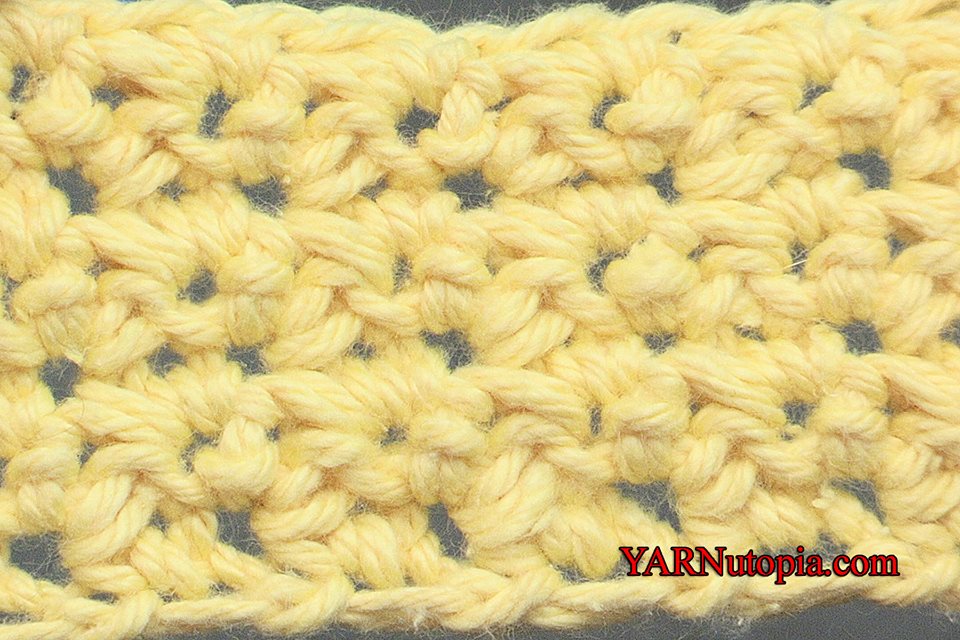
Stitch Gallery & Glossary Episode #19: Puff Stitch
Crochet Tutorial: Love & Sunshine Baby Blanket
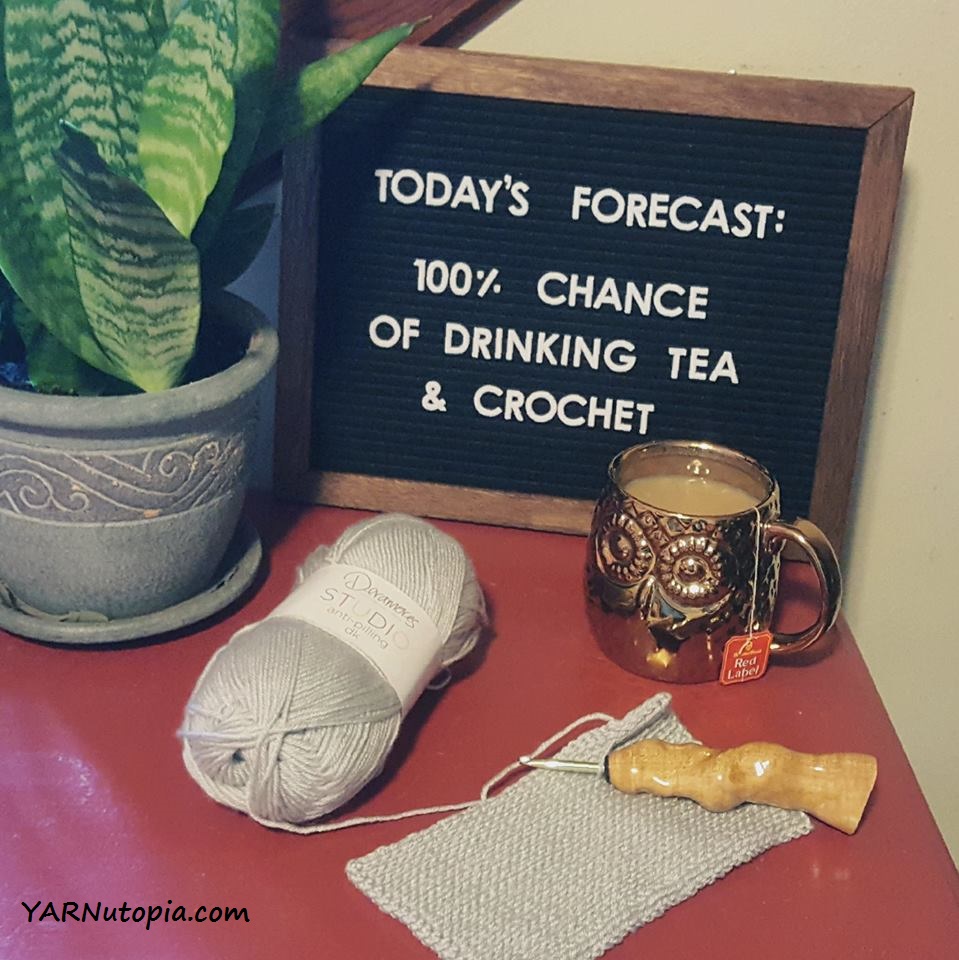
Letterboard Inspiration
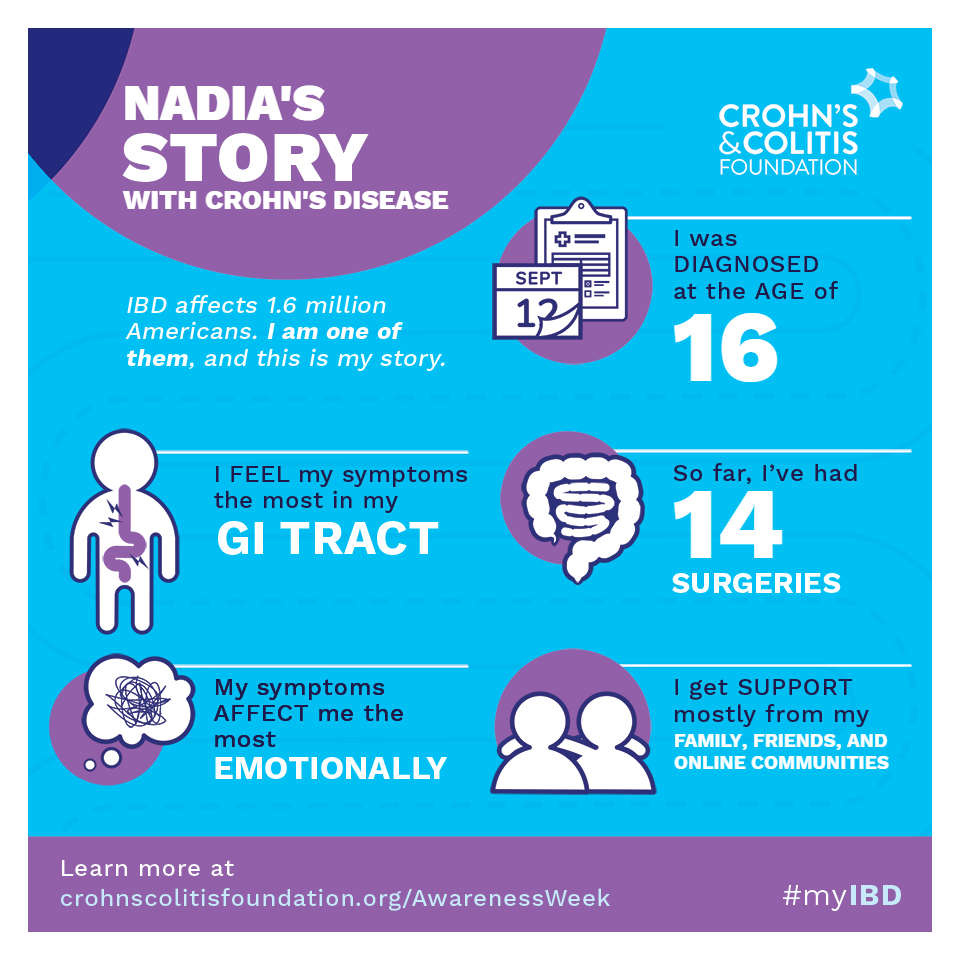
Crohn’s Disease and Ulcerative Colitis Awareness Week December 1-7
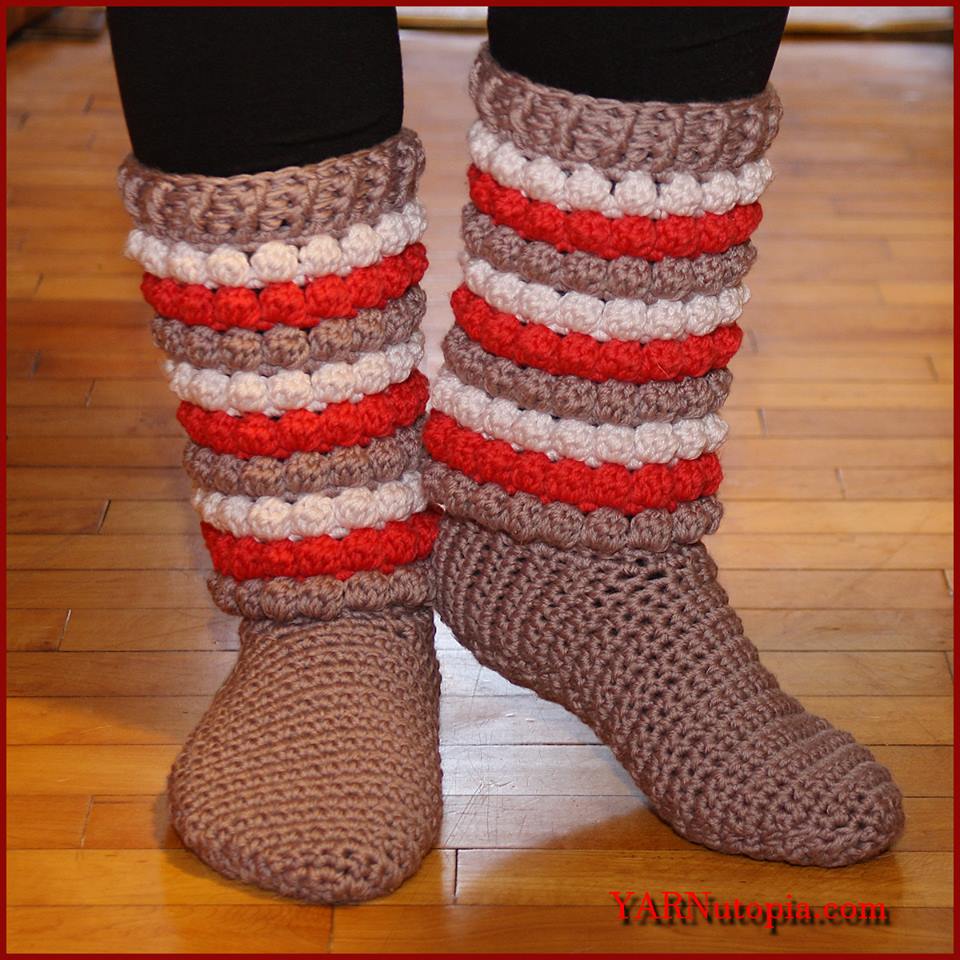
Crochet Tutorial: Winter Chic Slippers
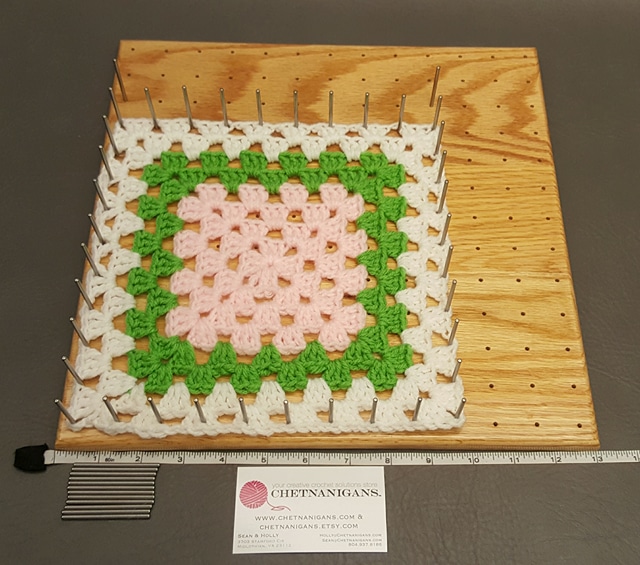
My New Blocking Station Product Review
Stitch Gallery & Glossary Episode #18: Grit Stitch
Weekend WIP
Crochet Tutorial: Destiny Sampler Baby Blanket
Crochet Tutorial: Boho Tassel Scarf
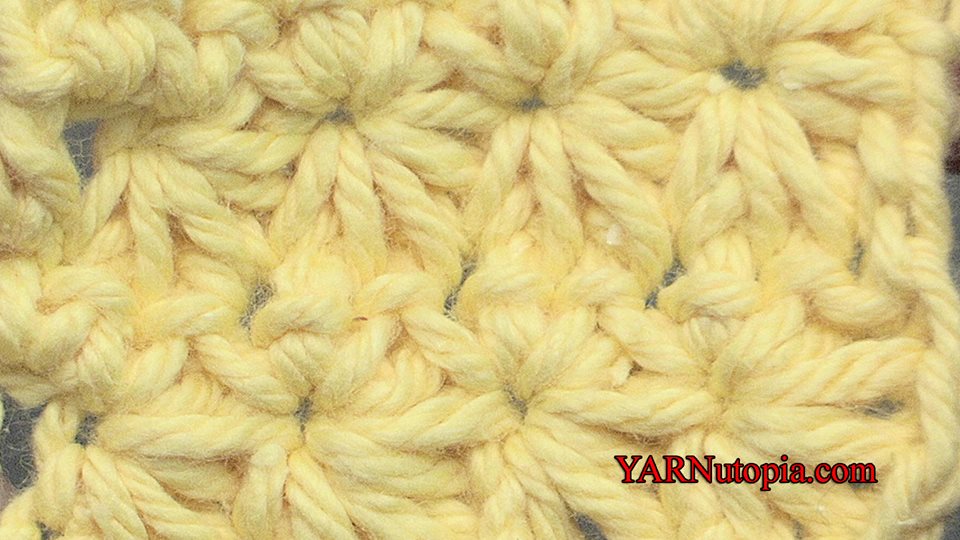
Stitch Gallery & Glossary Episode #9: Star Stitch
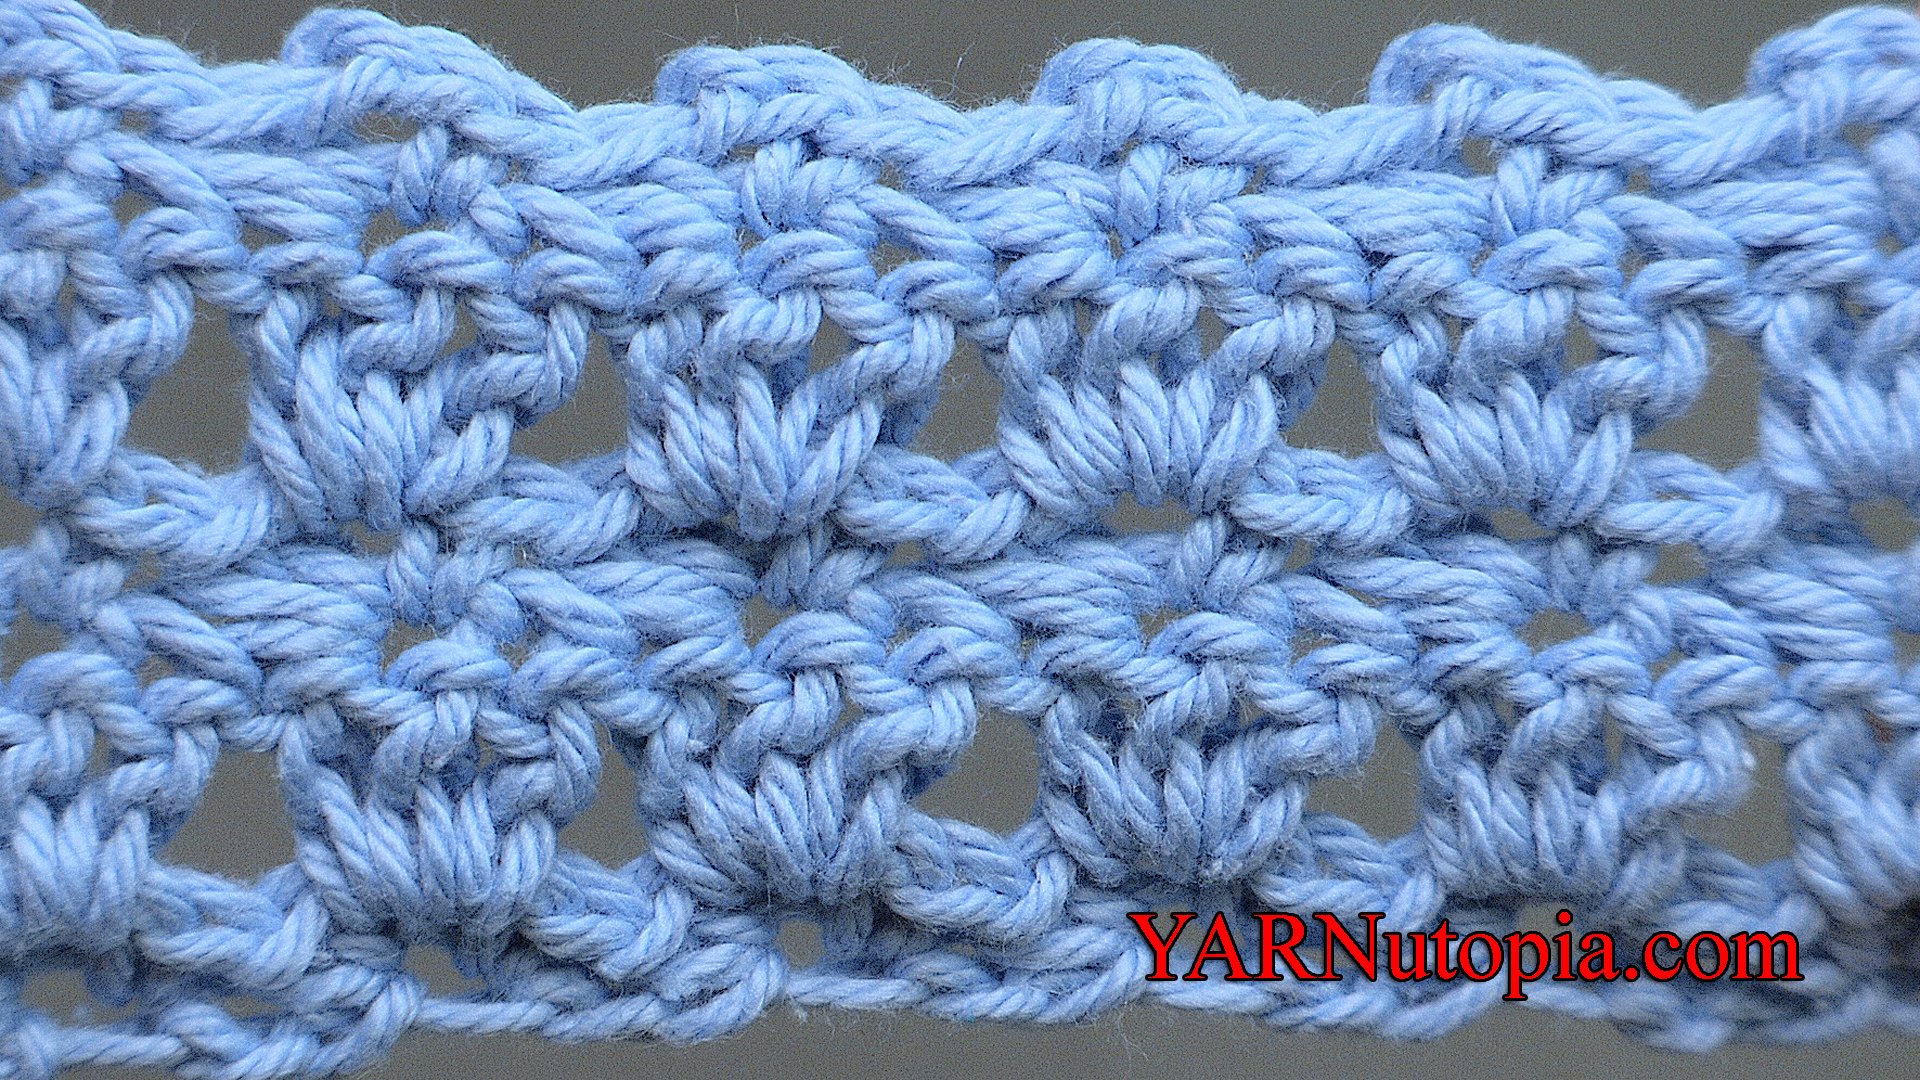
Stitch Gallery & Glossary Episode #6: Primrose Stitch
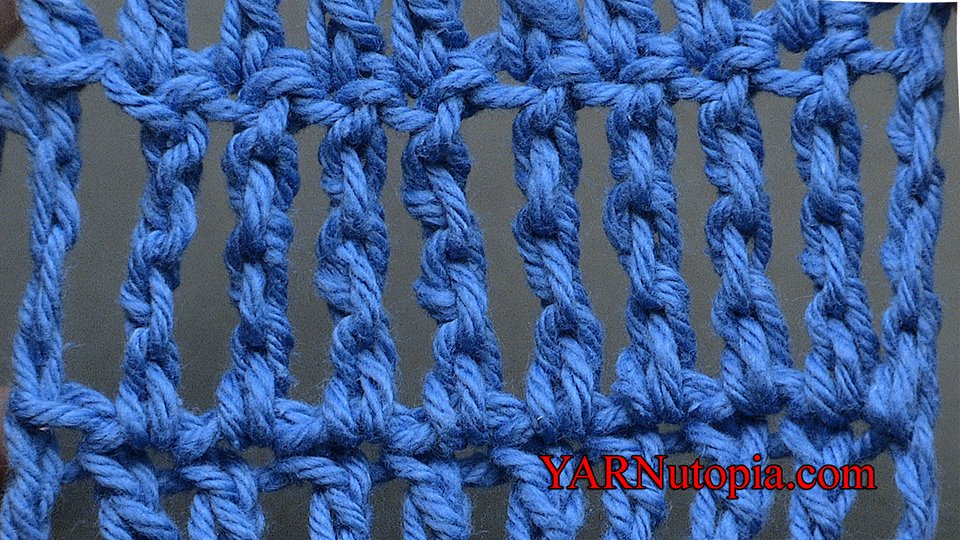
Stitch Gallery & Glossary Episode #5: Double-Treble Crochet
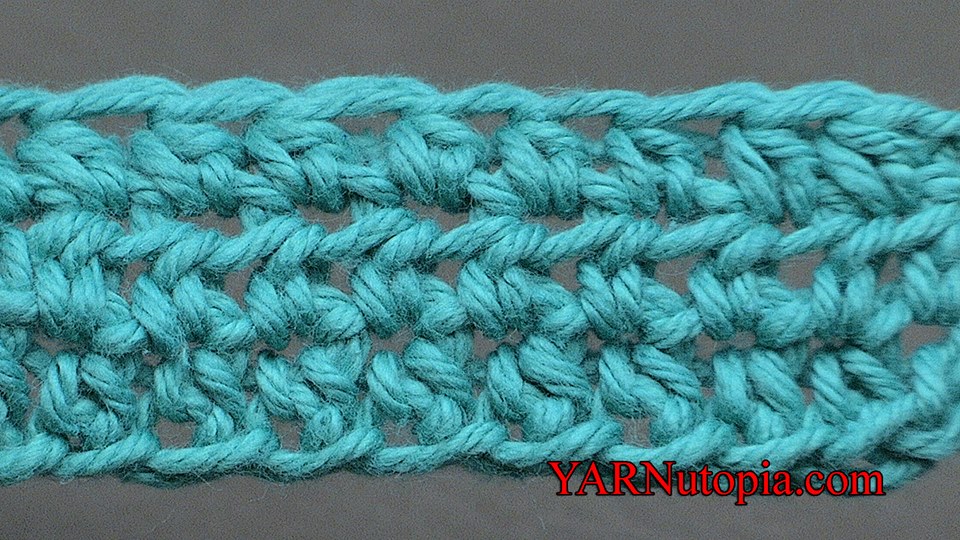
Stitch Gallery & Glossary Episode #3: Double Crochet
Stitch Gallery & Glossary Episode #2: Half-Double Crochet
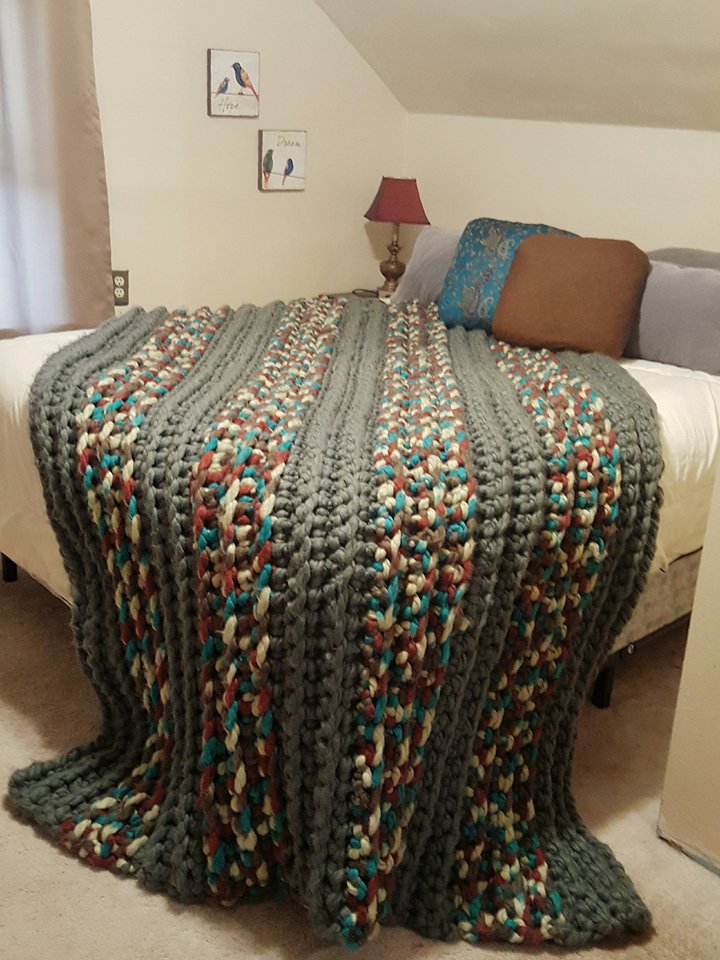
Crochet Tutorial: The Cozy Colossal Blanket
WIP in Hand: To Commit or To Quit?
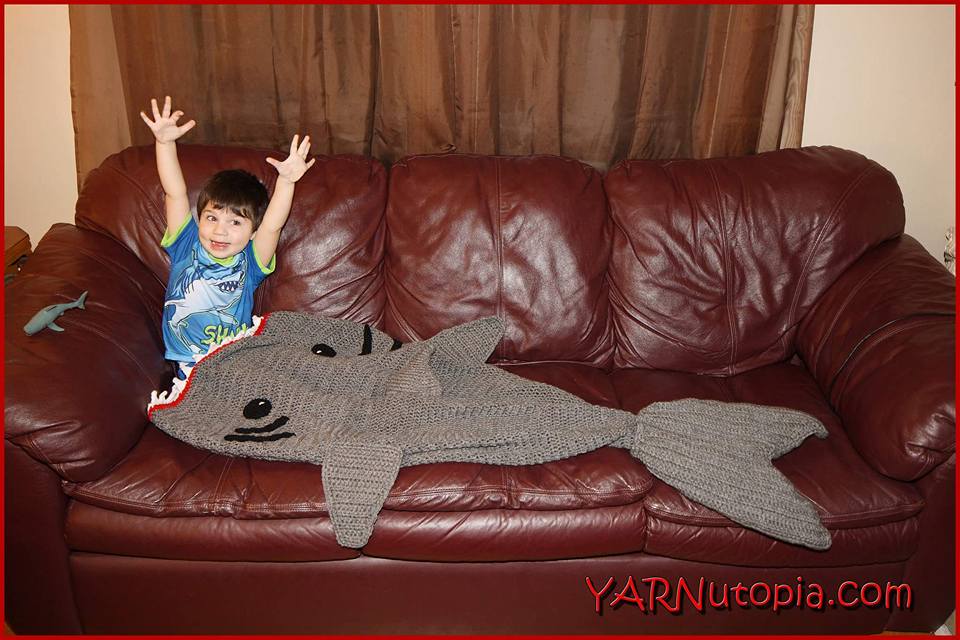
Shark Week Crochet Round-Up
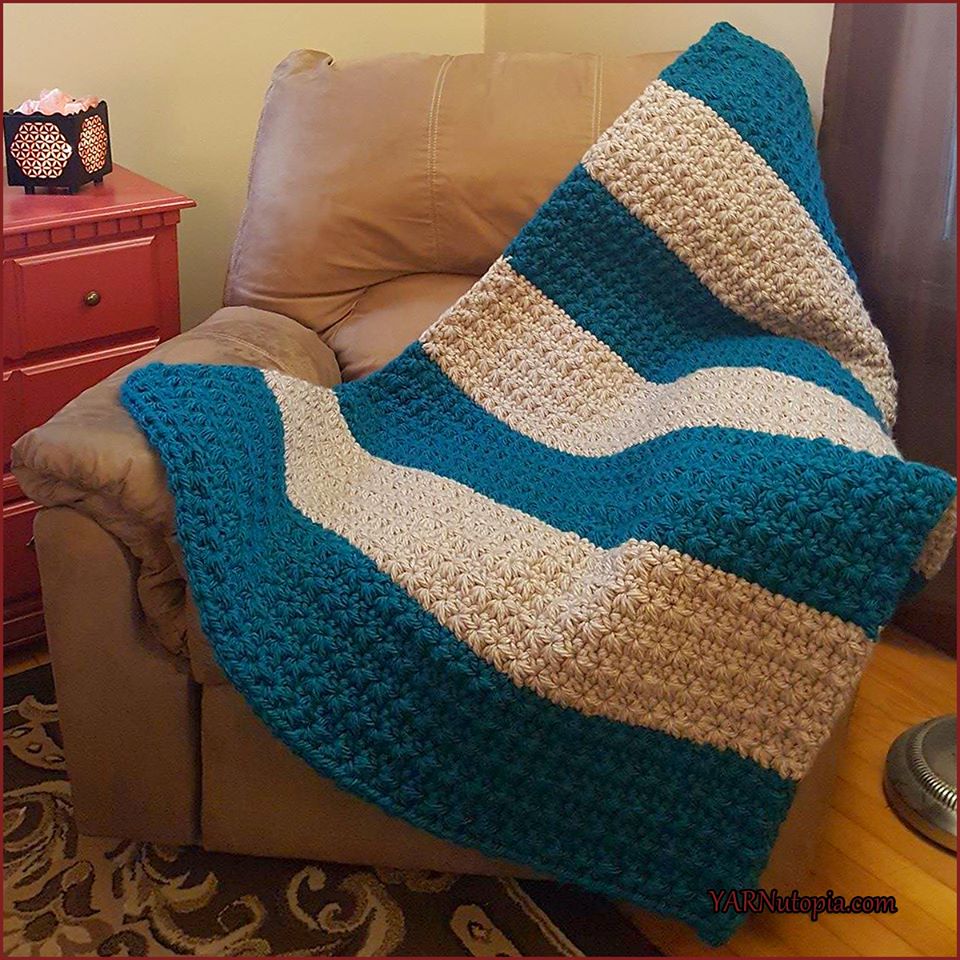
Crochet Tutorial: Star Stitches and Stripes Chunky Blanket
Crochet Tutorial: New Beginnings Afghan Block
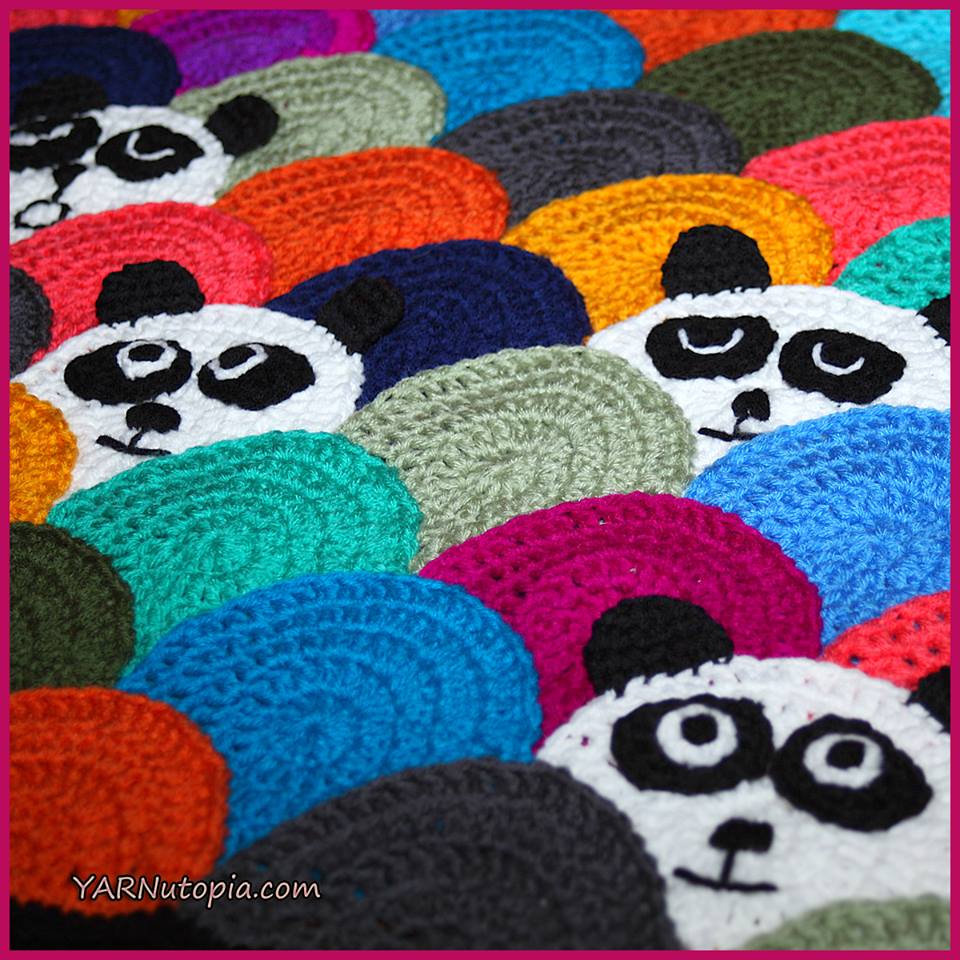
Crochet Tutorial: Roly Poly Panda Quilt
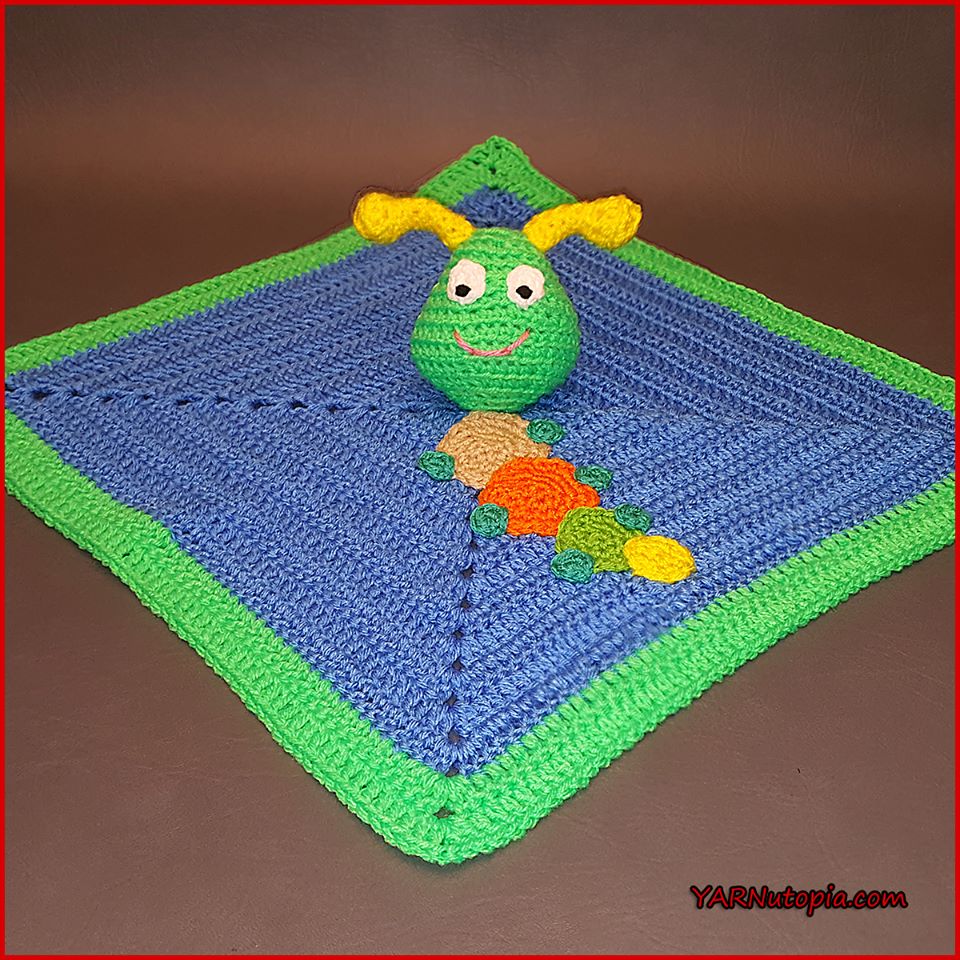
Crochet Tutorial: Caterpillar Lovey
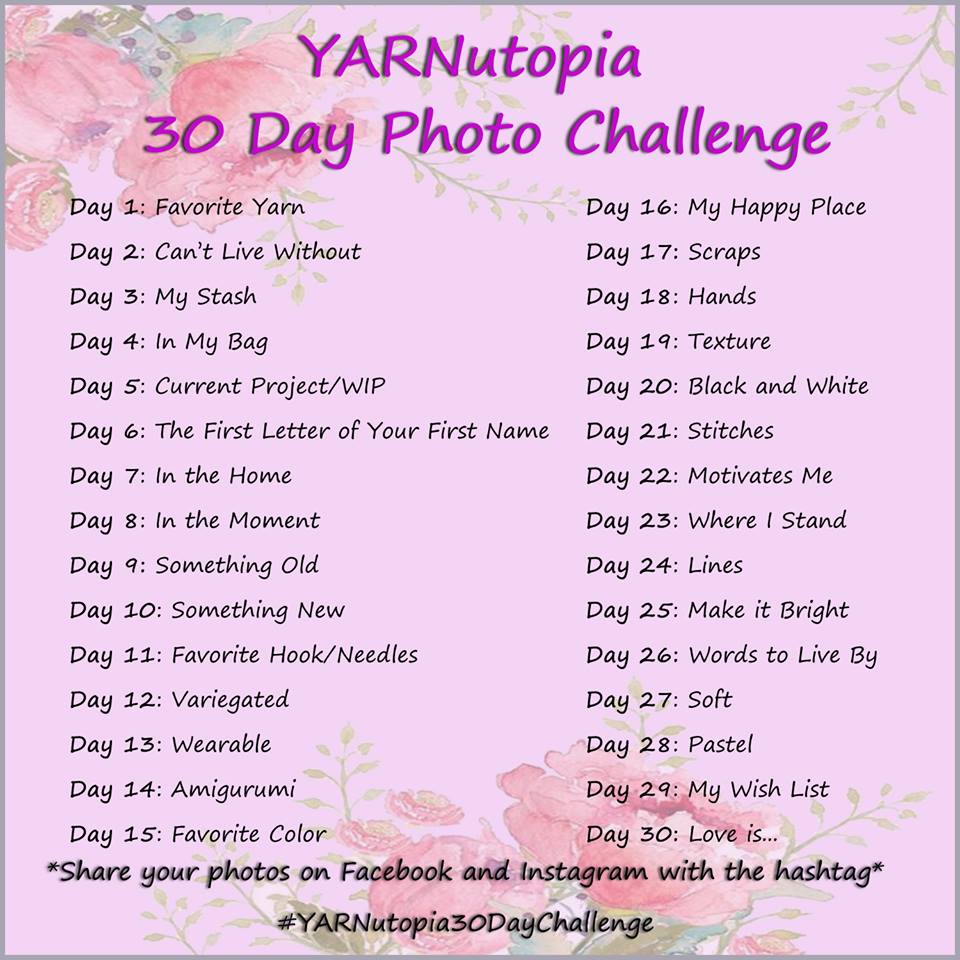
YARNutopia 30 Day Photo Challenge
Crochet Tutorial: Dream-Time Mosaic Baby Quilt
Easter Pattern Round-Up
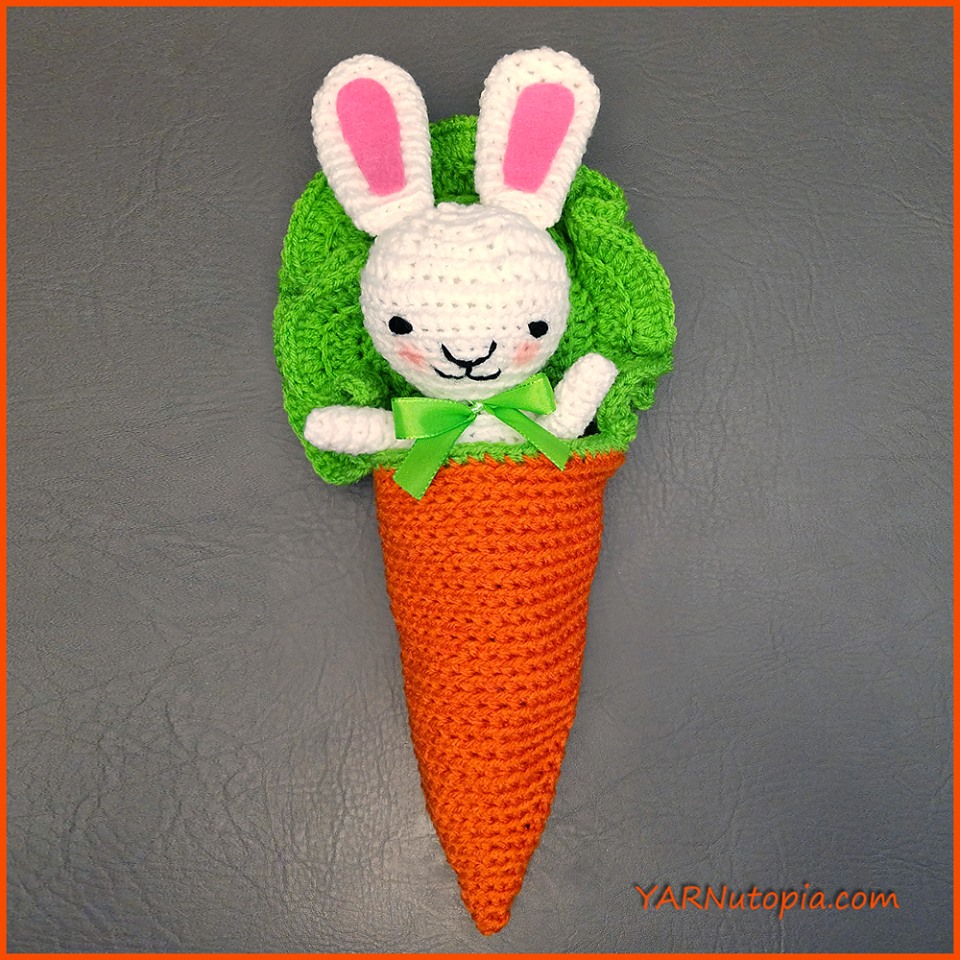
Crochet Tutorial: Bunny Amigurumi in a Carrot Cocoon
Four Piece Mini Square Baby Layette Set
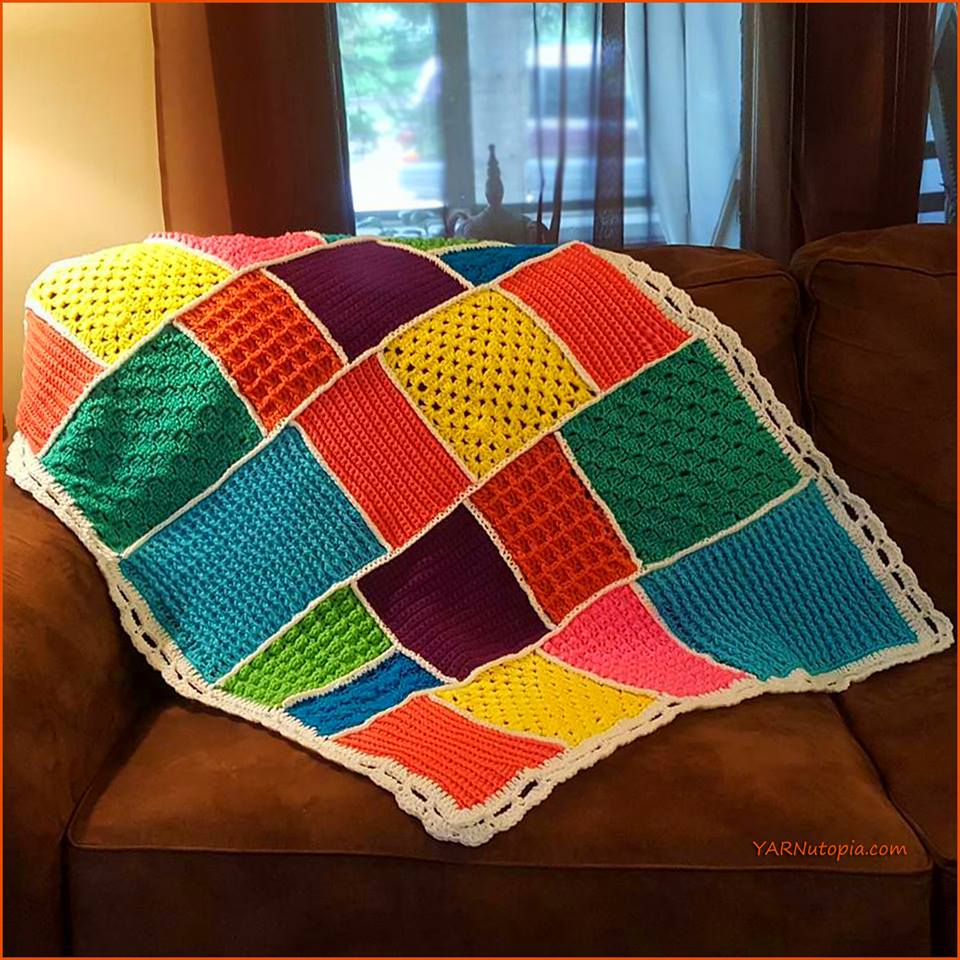
Crochet Tutorial: Patchwork Medley Baby Blanket
1
2
Next Page
Loading Comments...
Write a Comment...
Email (Required)
Name (Required)
Website