Skip to content
YARNutopia & M0re
All things Yarn Related: Crochet, DIY, and Crafts
Blog
365 Days of Granny Squares
Stitch Gallery & Glossary
Crochet Video Tutorials
Frequently Asked Questions
Crochet Glossary: Learn the Lingo
Contact
Search
Search
crafty
YARNutoia & More
How to: Create Decor Using Mod Podge
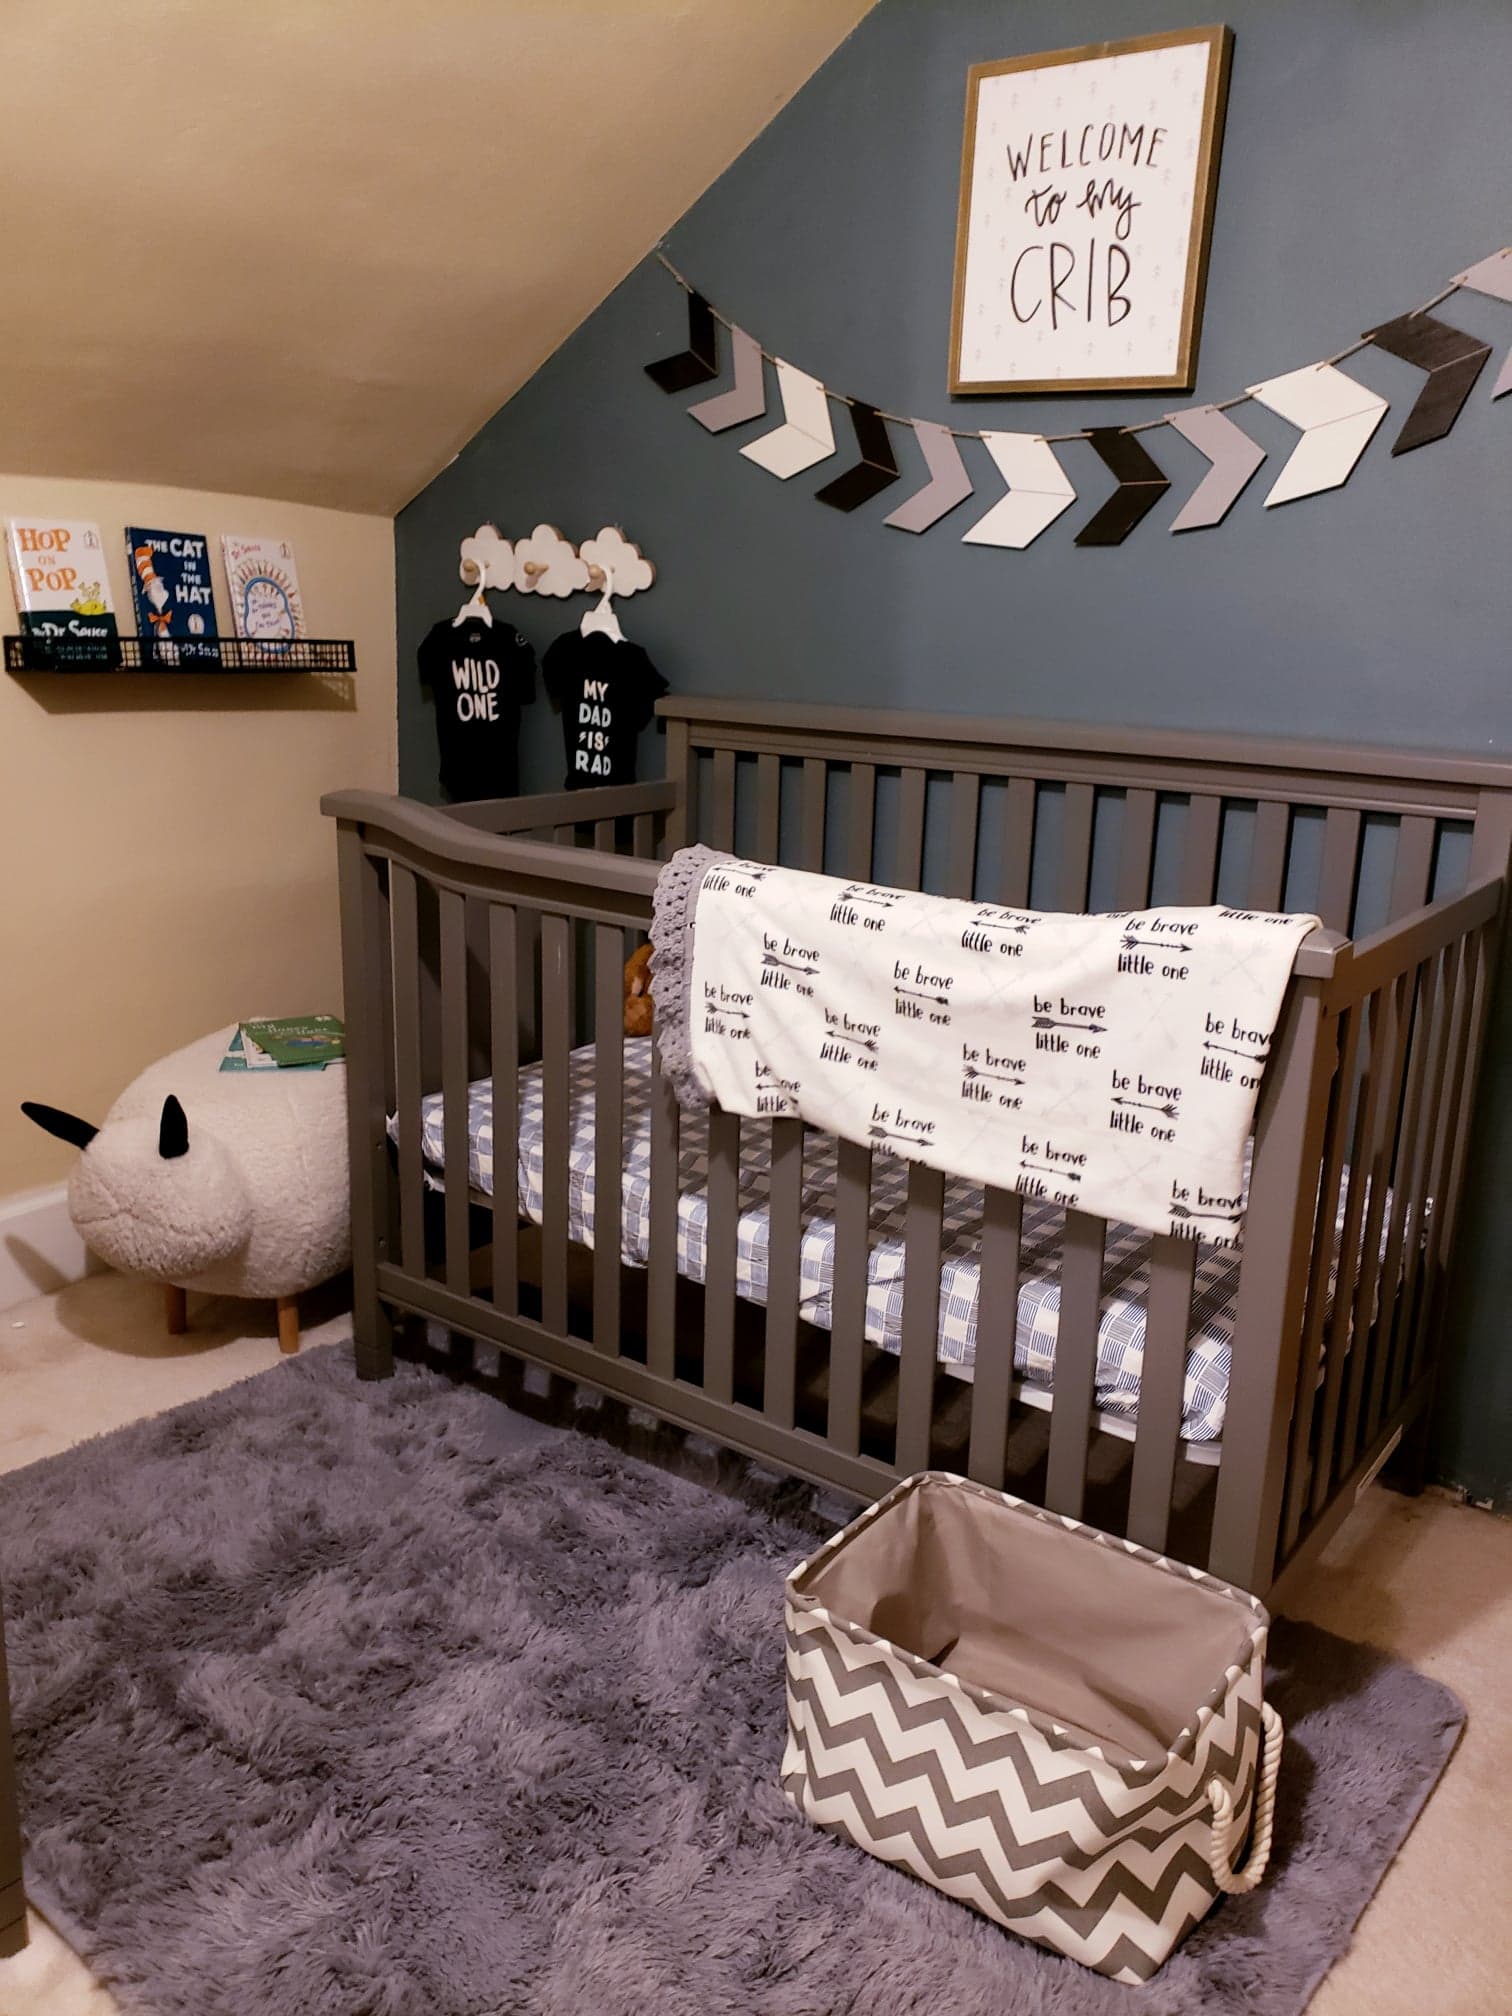
Nursery Sneak Peek!
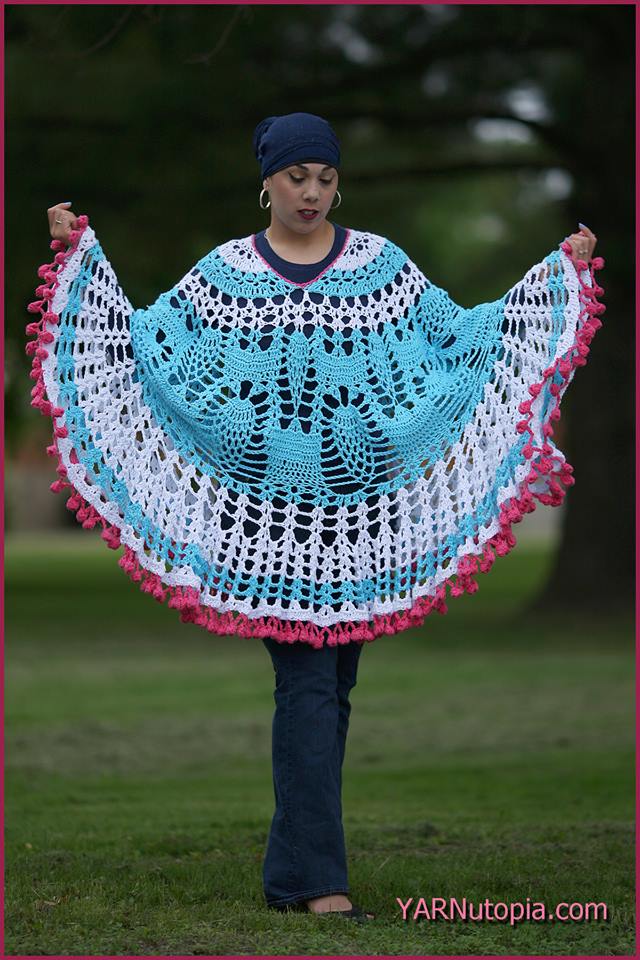
Crochet Tutorial: Pom Poms and Pineapples Poncho
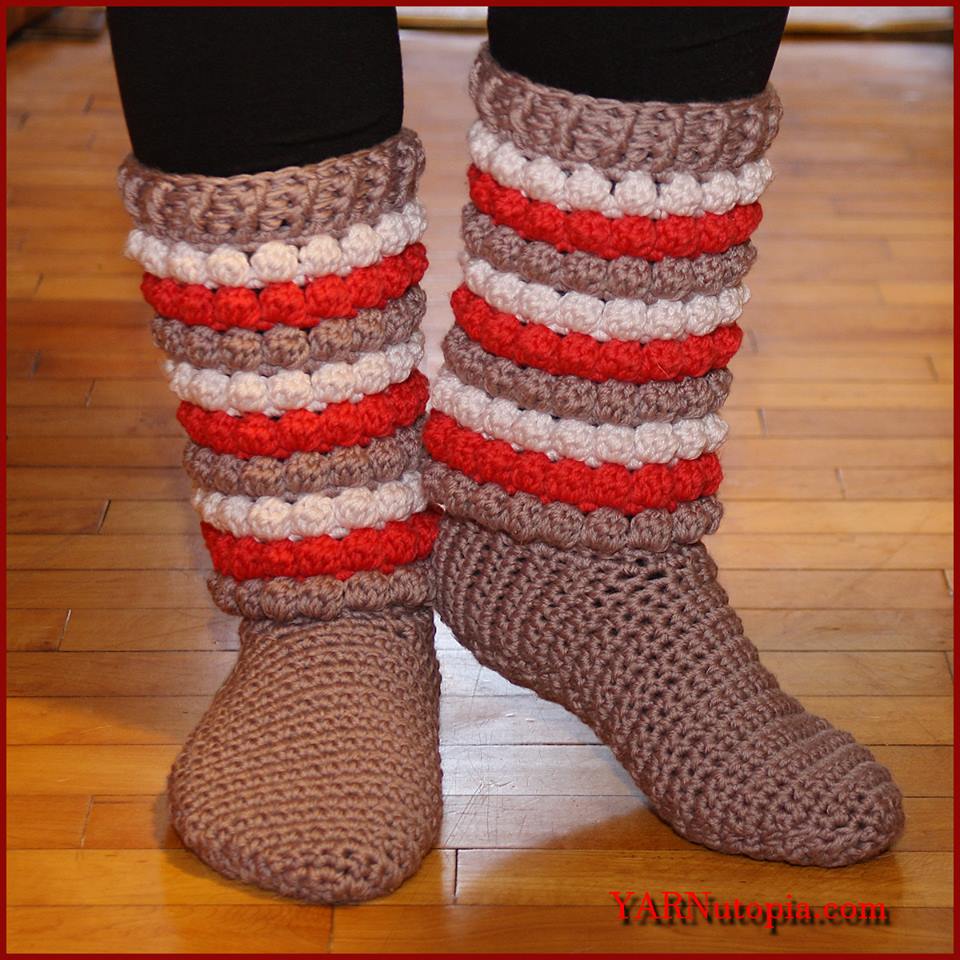
Crochet Tutorial: Winter Chic Slippers
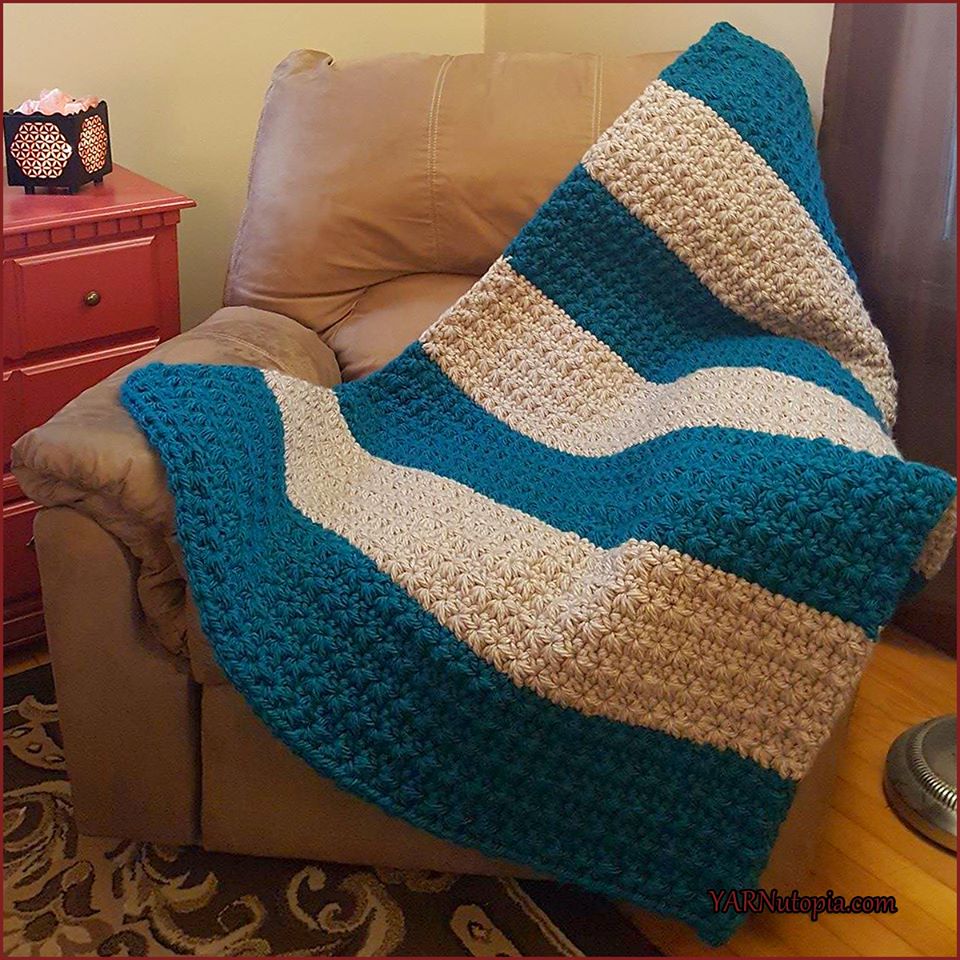
Crochet Tutorial: Star Stitches and Stripes Chunky Blanket
Crochet Tutorial: The Panda Clutch Purse
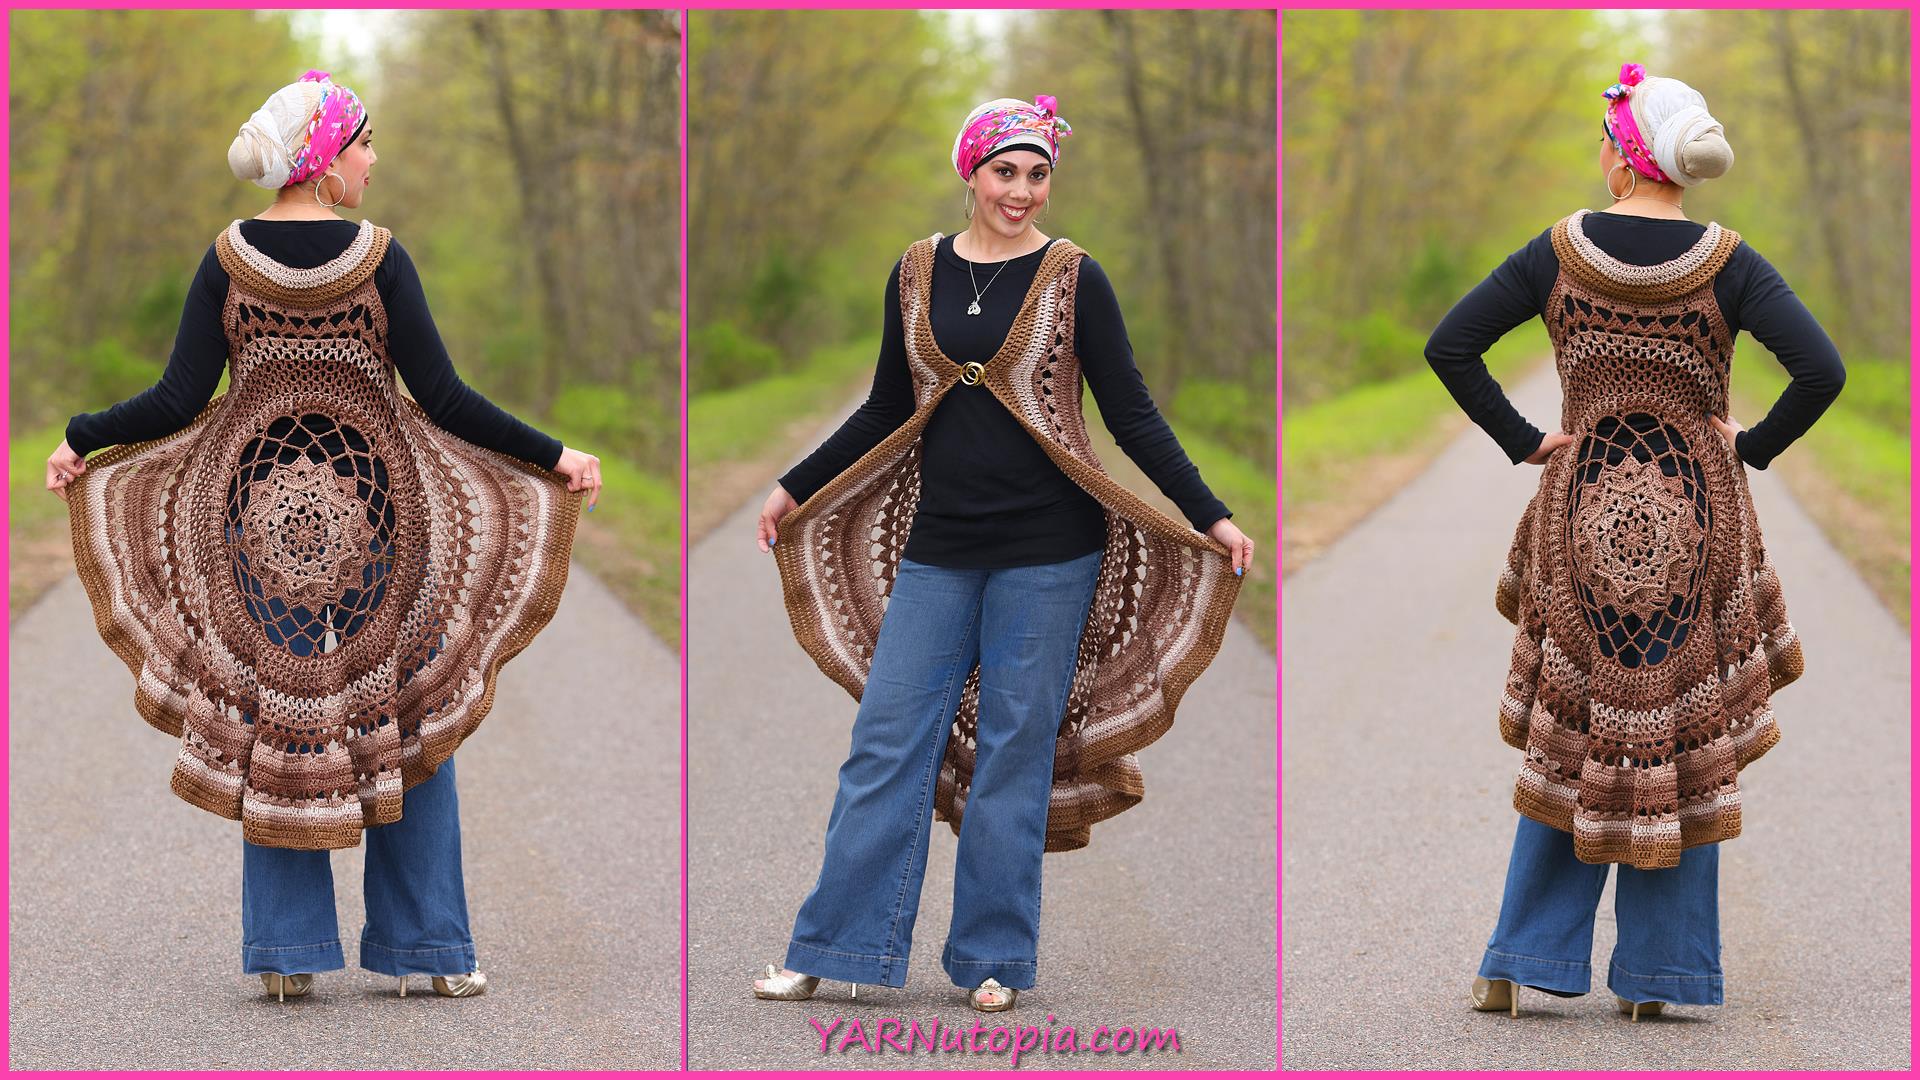
Crochet Tutorial: Spring Sun Mandala Vest
Crochet Tutorial: Winter Snowman Coasters
Crochet Tutorial: Rustic Evergreen Ornament
Happy Halloween!
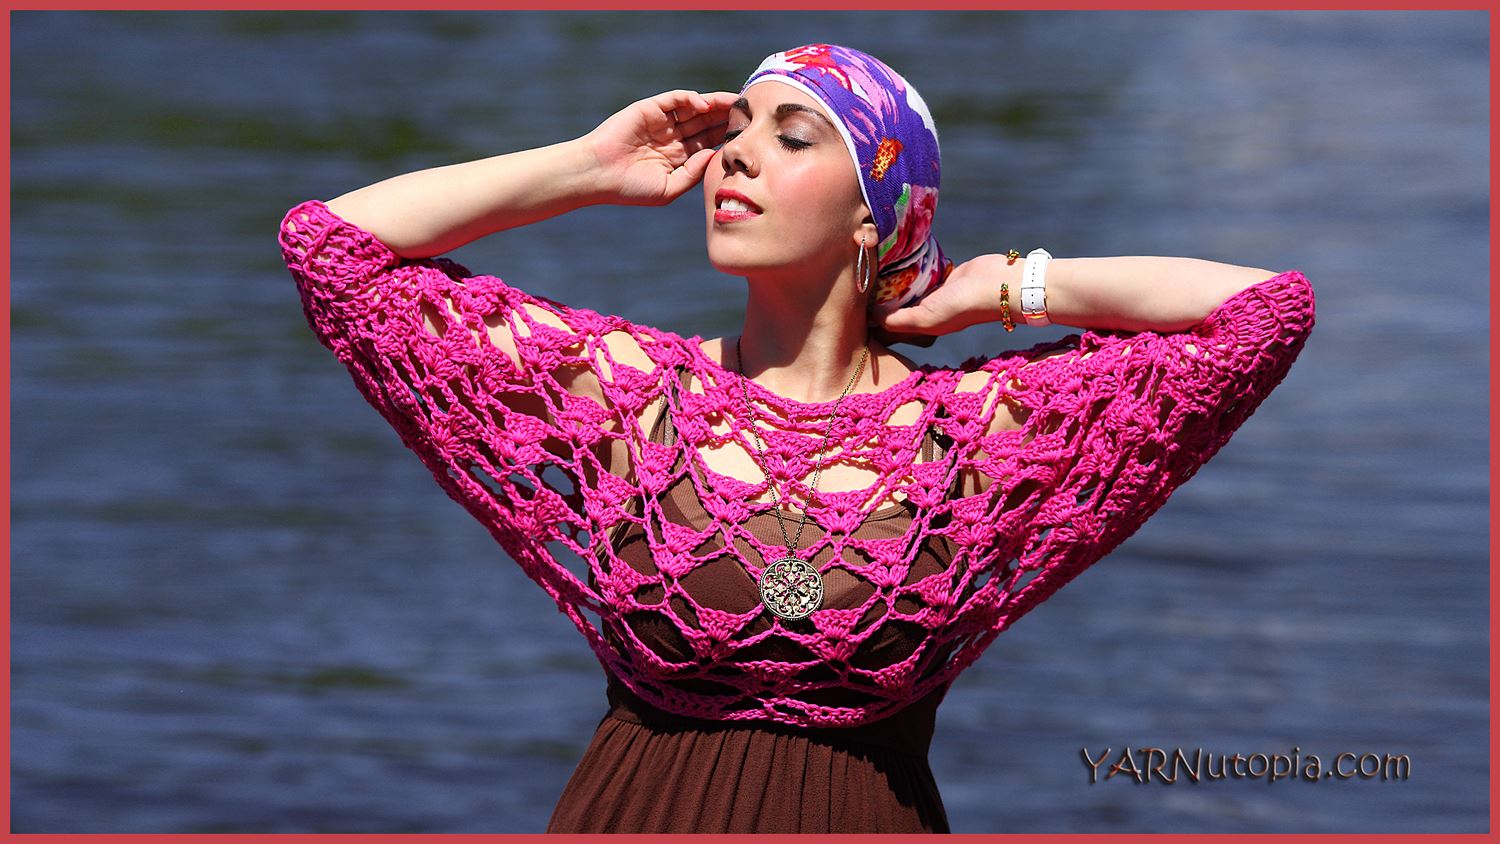
Crochet Tutorial: Sun-Kissed Crop Top
Yarn-Shui: The art of organizing and not obsessing
DIY: Repurposing a Rocking Chair
Crochet Tutorial: How to Crochet a Badger Hat
Loading Comments...
Write a Comment...
Email (Required)
Name (Required)
Website