Skip to content
YARNutopia & M0re
All things Yarn Related: Crochet, DIY, and Crafts
Blog
365 Days of Granny Squares
Stitch Gallery & Glossary
Crochet Video Tutorials
Frequently Asked Questions
Crochet Glossary: Learn the Lingo
Contact
Search
Search
child
YARNutoia & More
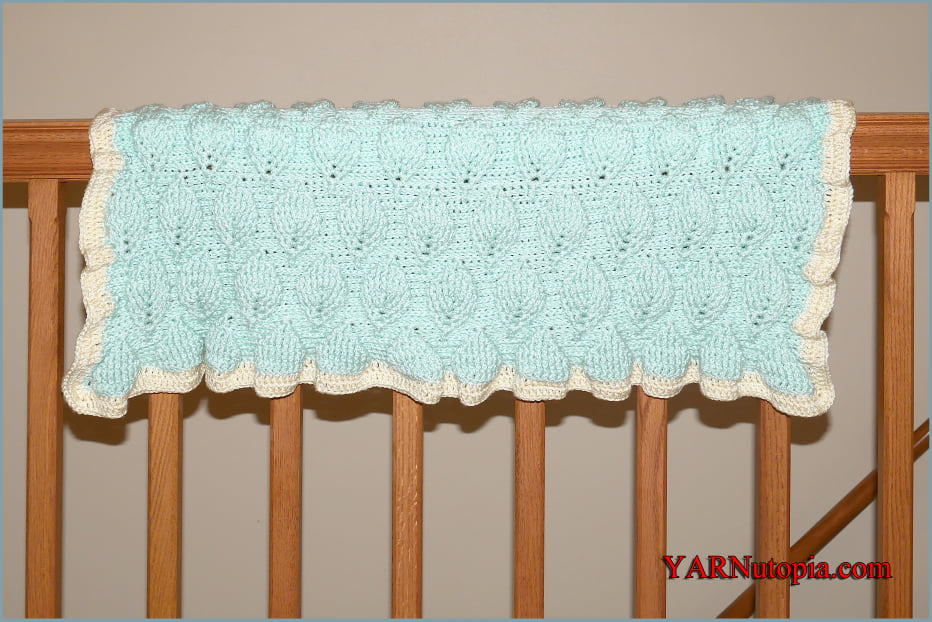
FREE Written Crochet Pattern: Aspen Baby Blanket
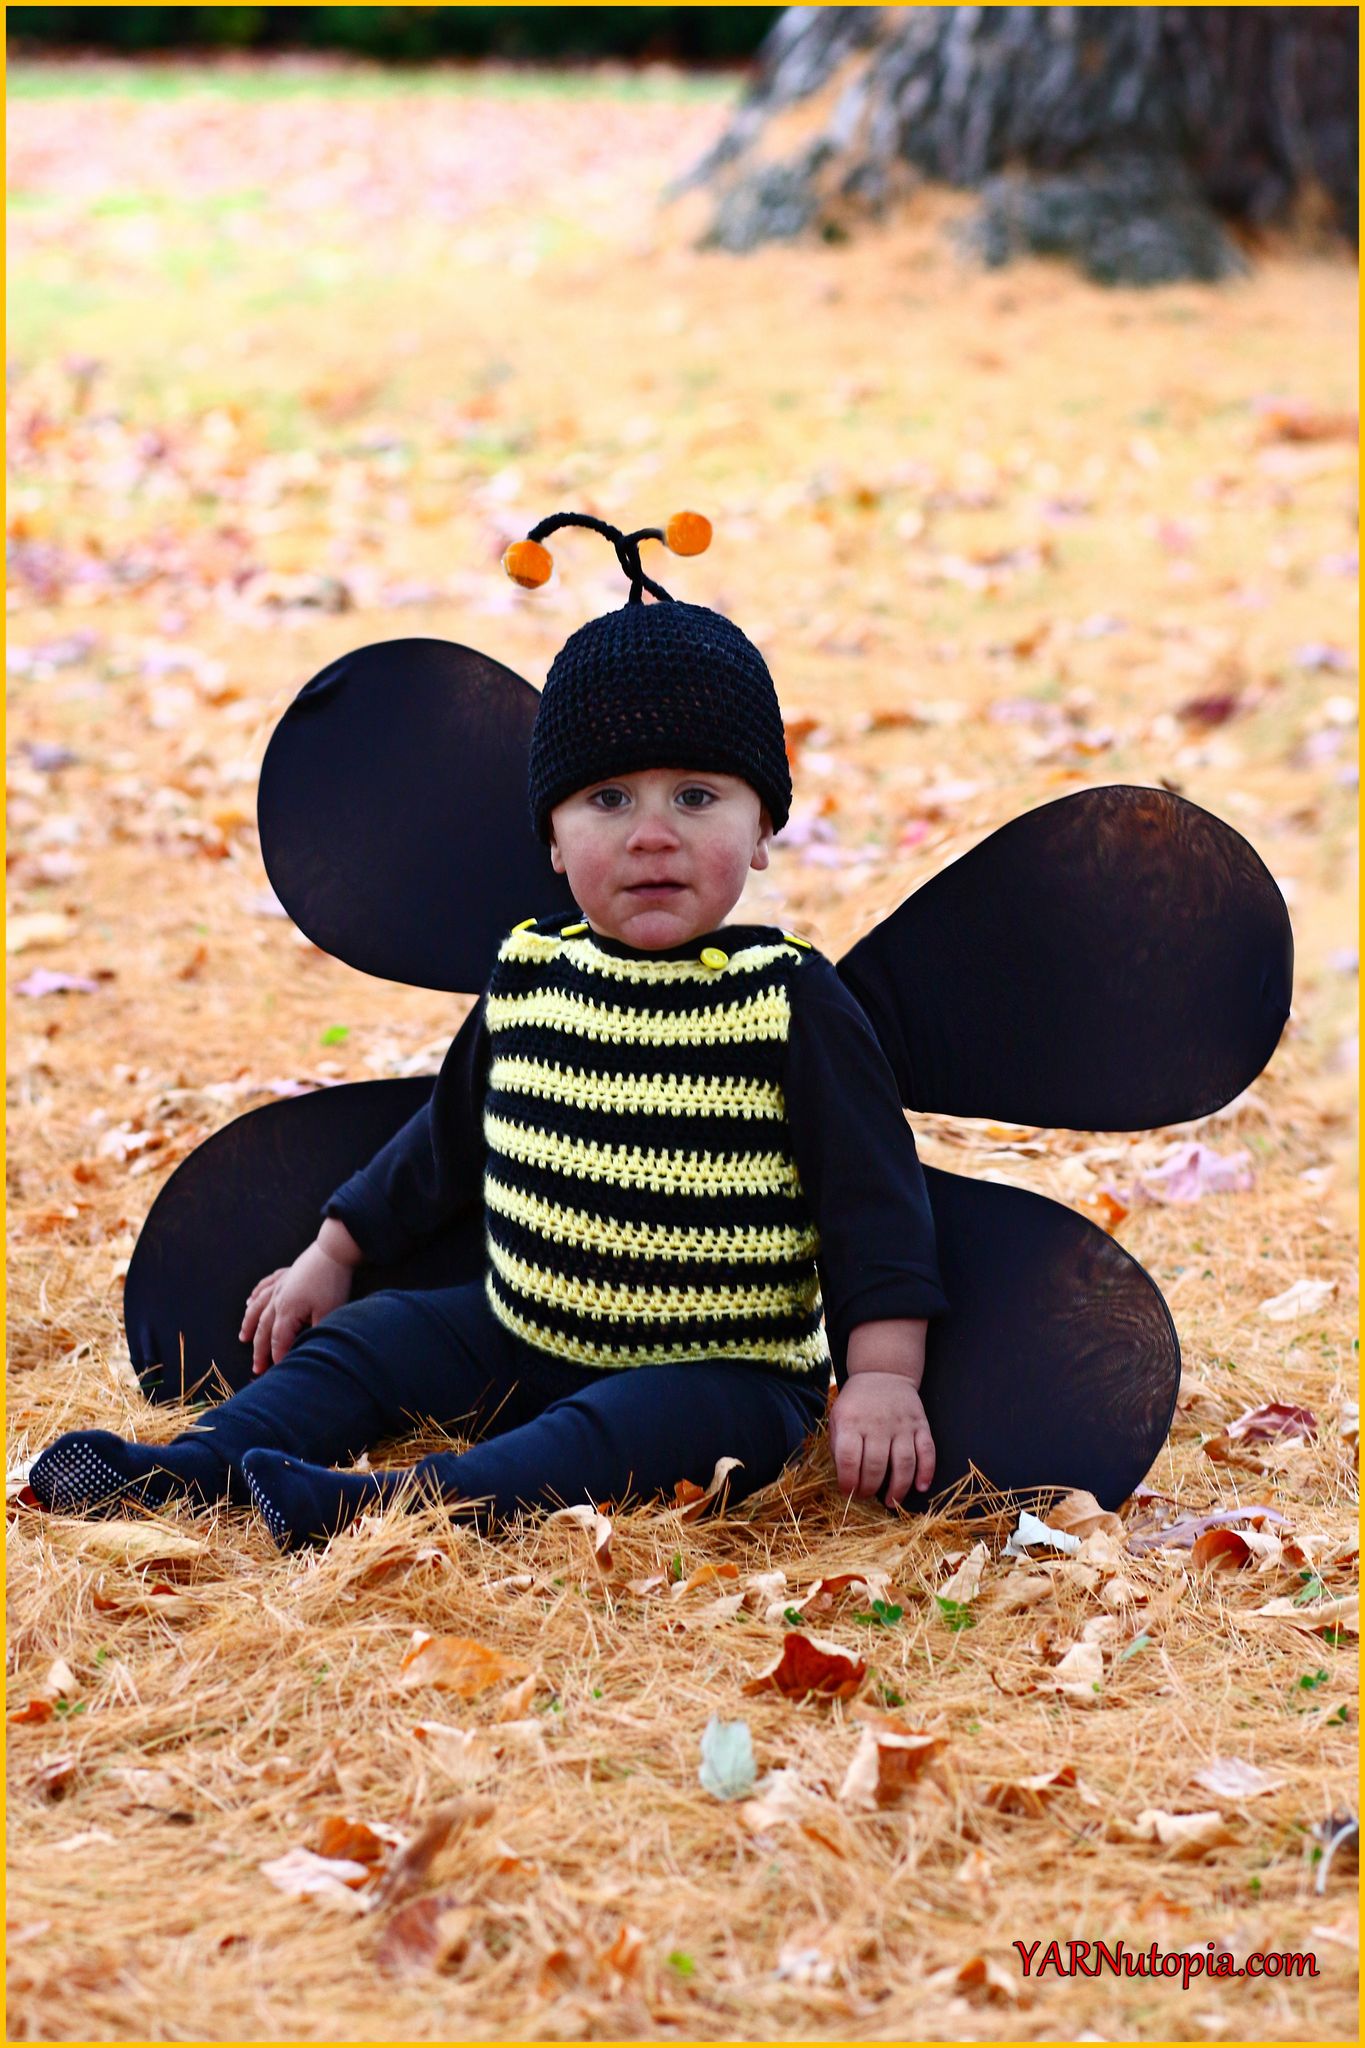
FREE Written Crochet Pattern: Bumble Bee Romper and Beanie Costume
FREE Crochet Video Tutorial: Offbeat Baby Cardigan
FREE Written Crochet Pattern: Offbeat Baby Cardigan
FREE Written Crochet Pattern: Ombre Striped Baby Blanket
FREE Crochet Video Tutorial: Ombre Striped Baby Blanket
FREE Crochet Video Tutorial: Wee One Baby Bonnet
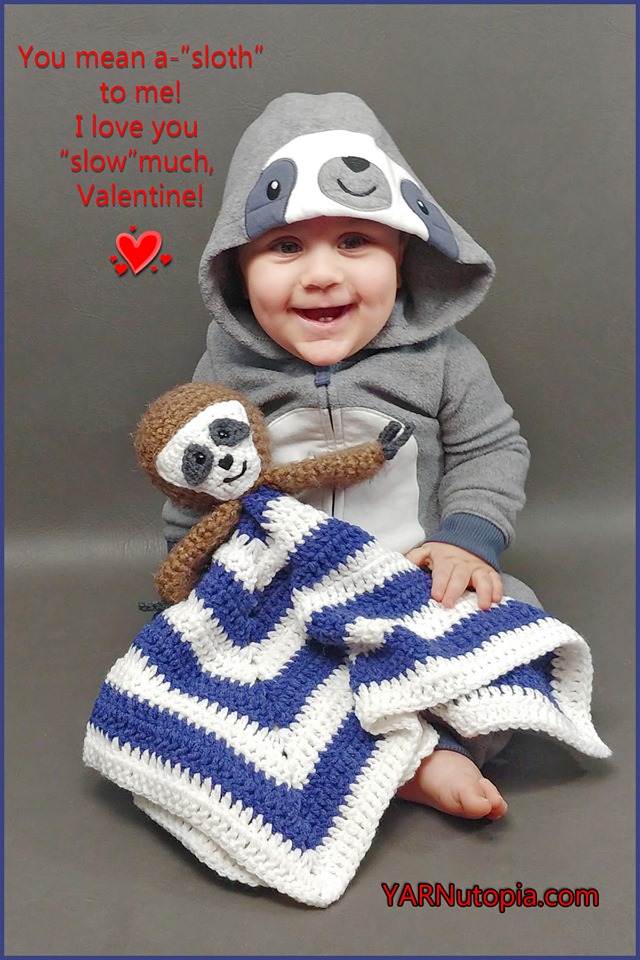
FREE Written Crochet Pattern: Sloth Lovey
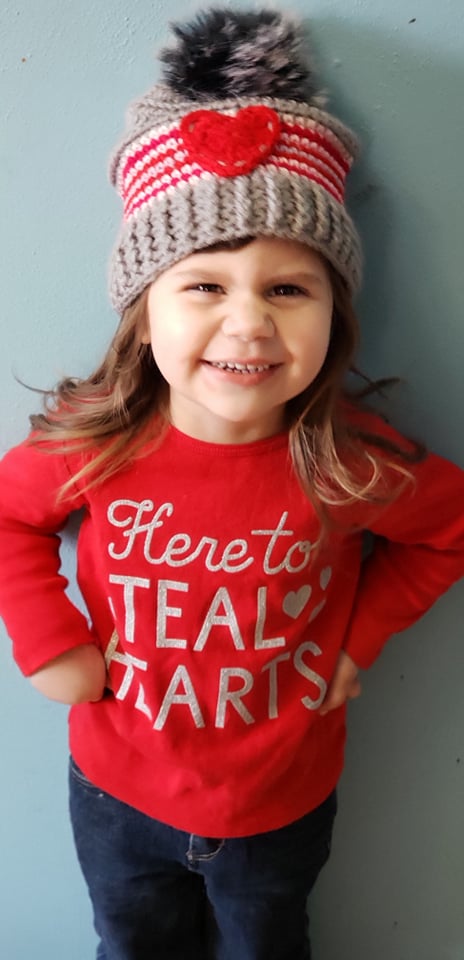
FREE Written Crochet Pattern: Sweetheart Baby Hat
FREE Crochet Video Tutorial: Sweetheart Baby Hat
FREE Written Crochet Pattern: The Sweet Dream Bonnet
FREE Crochet Video Tutorial: Sweet Dream Romper
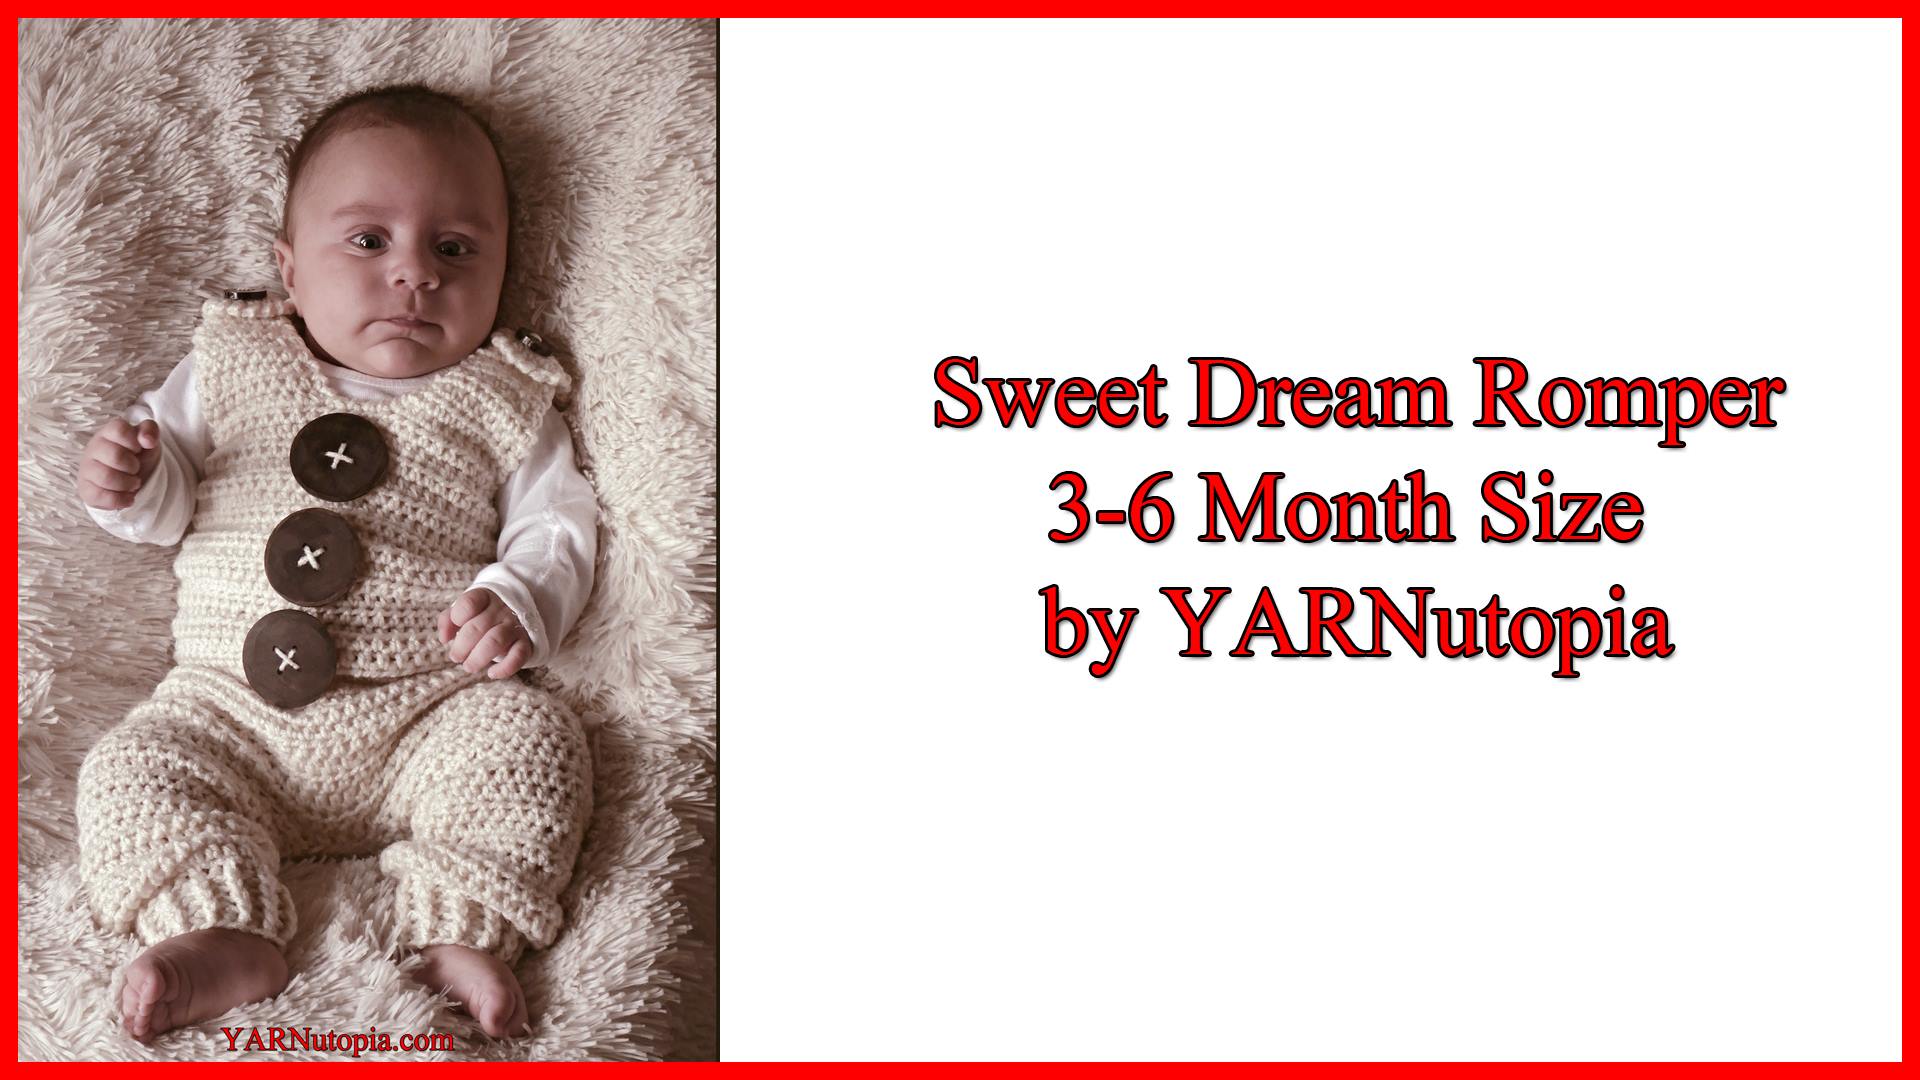
FREE Written Crochet Pattern: Sweet Dream Romper
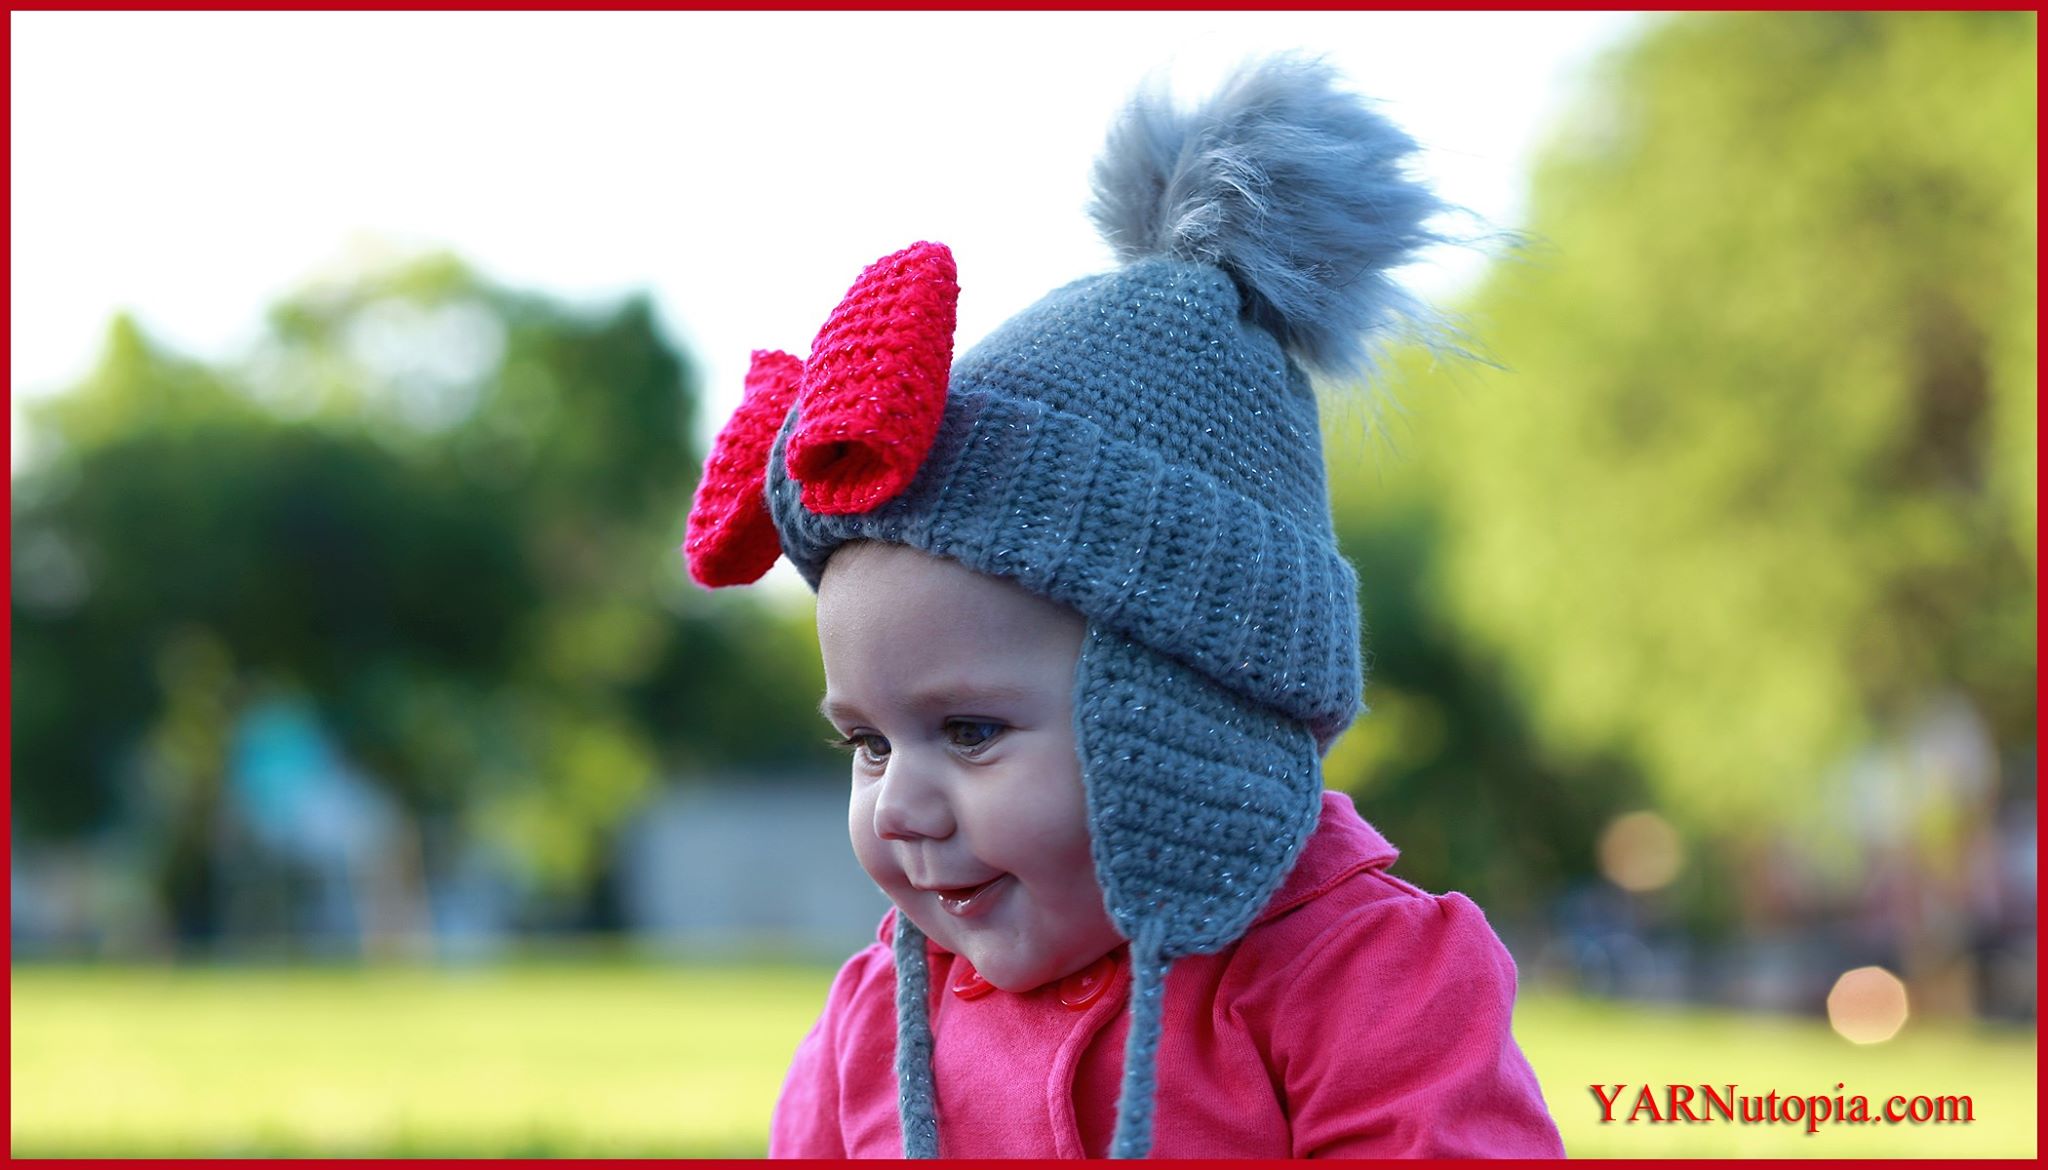
Crochet Tutorial: The Bow-tastic Hat
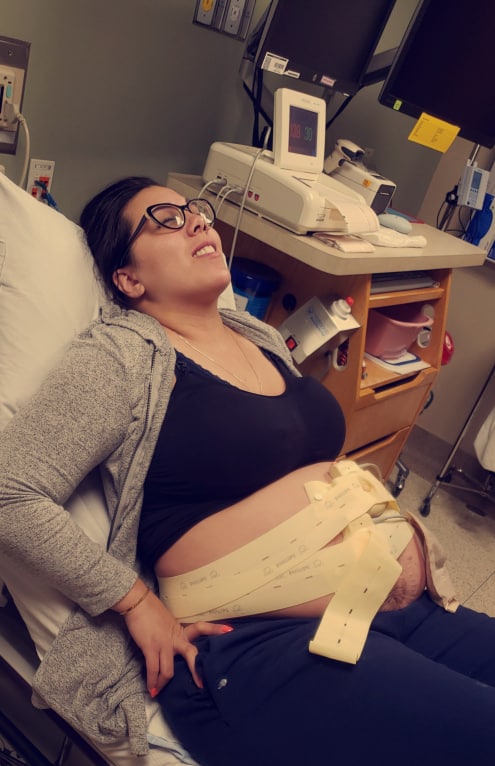
Why Nasir Came Early
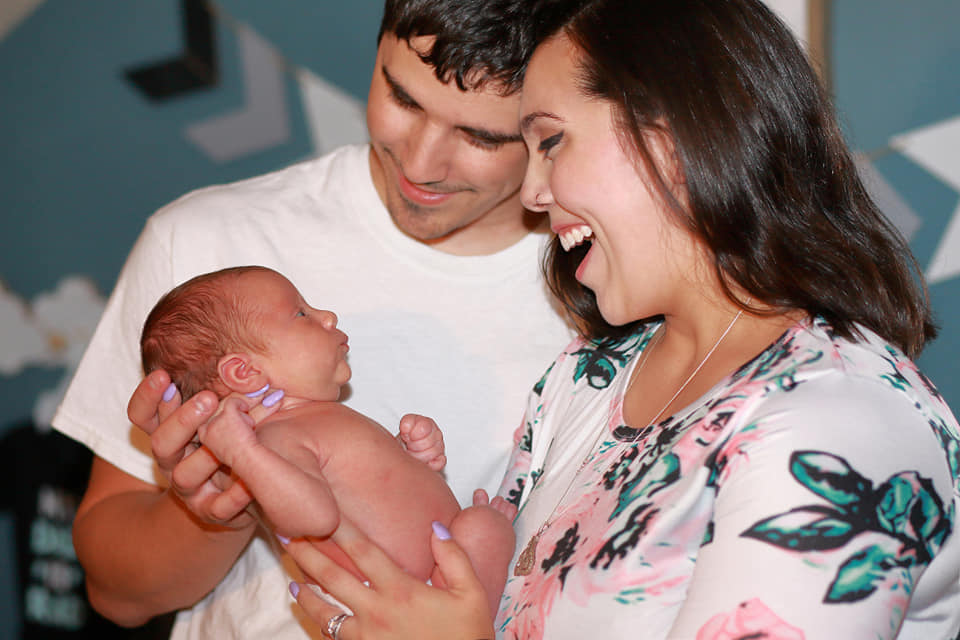
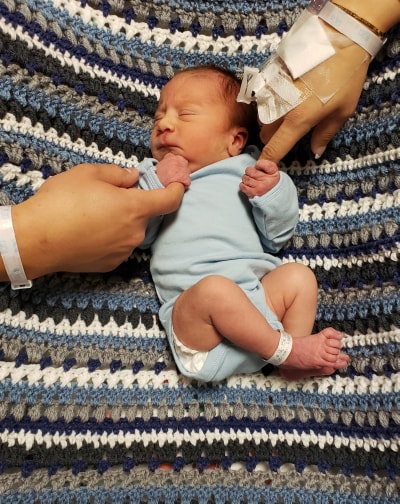
He’s Here: Our Newest YARNutopian
A Temporary Transition
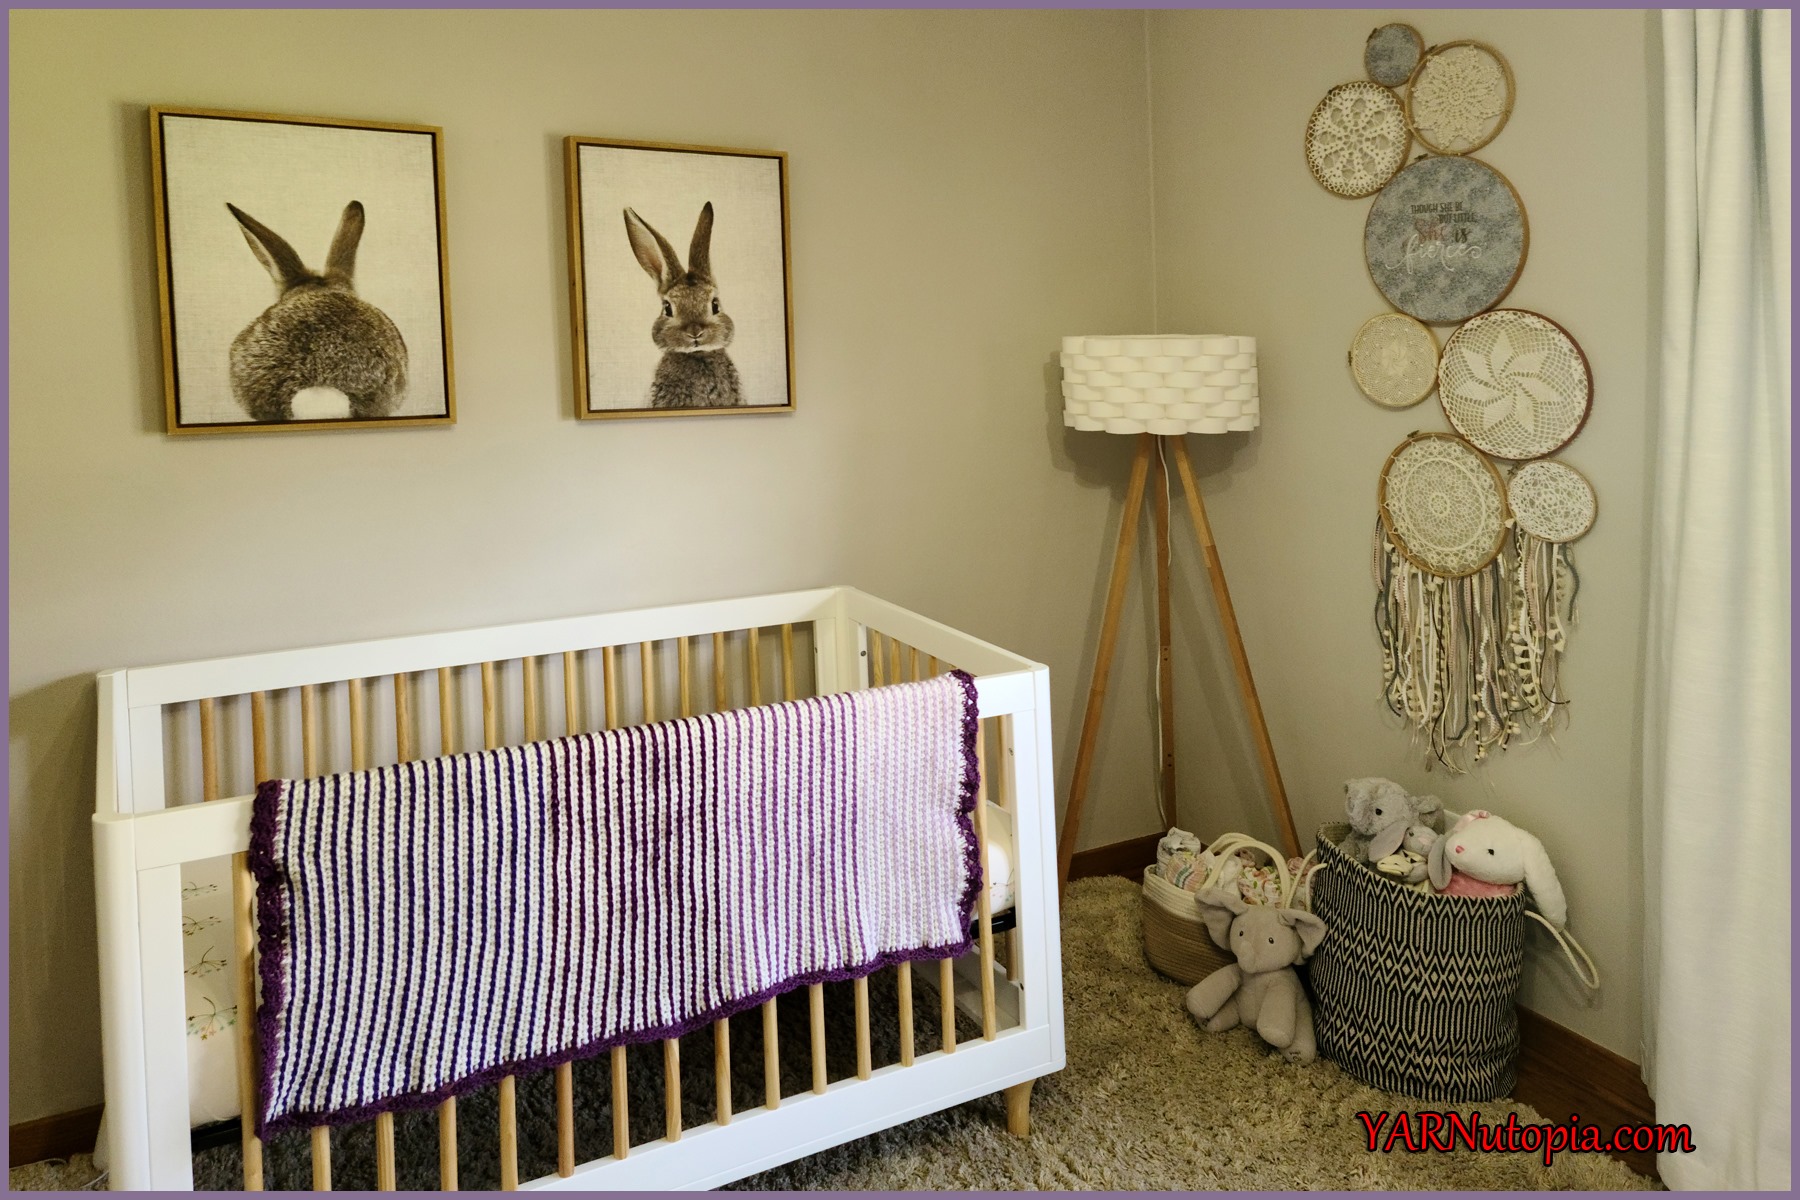
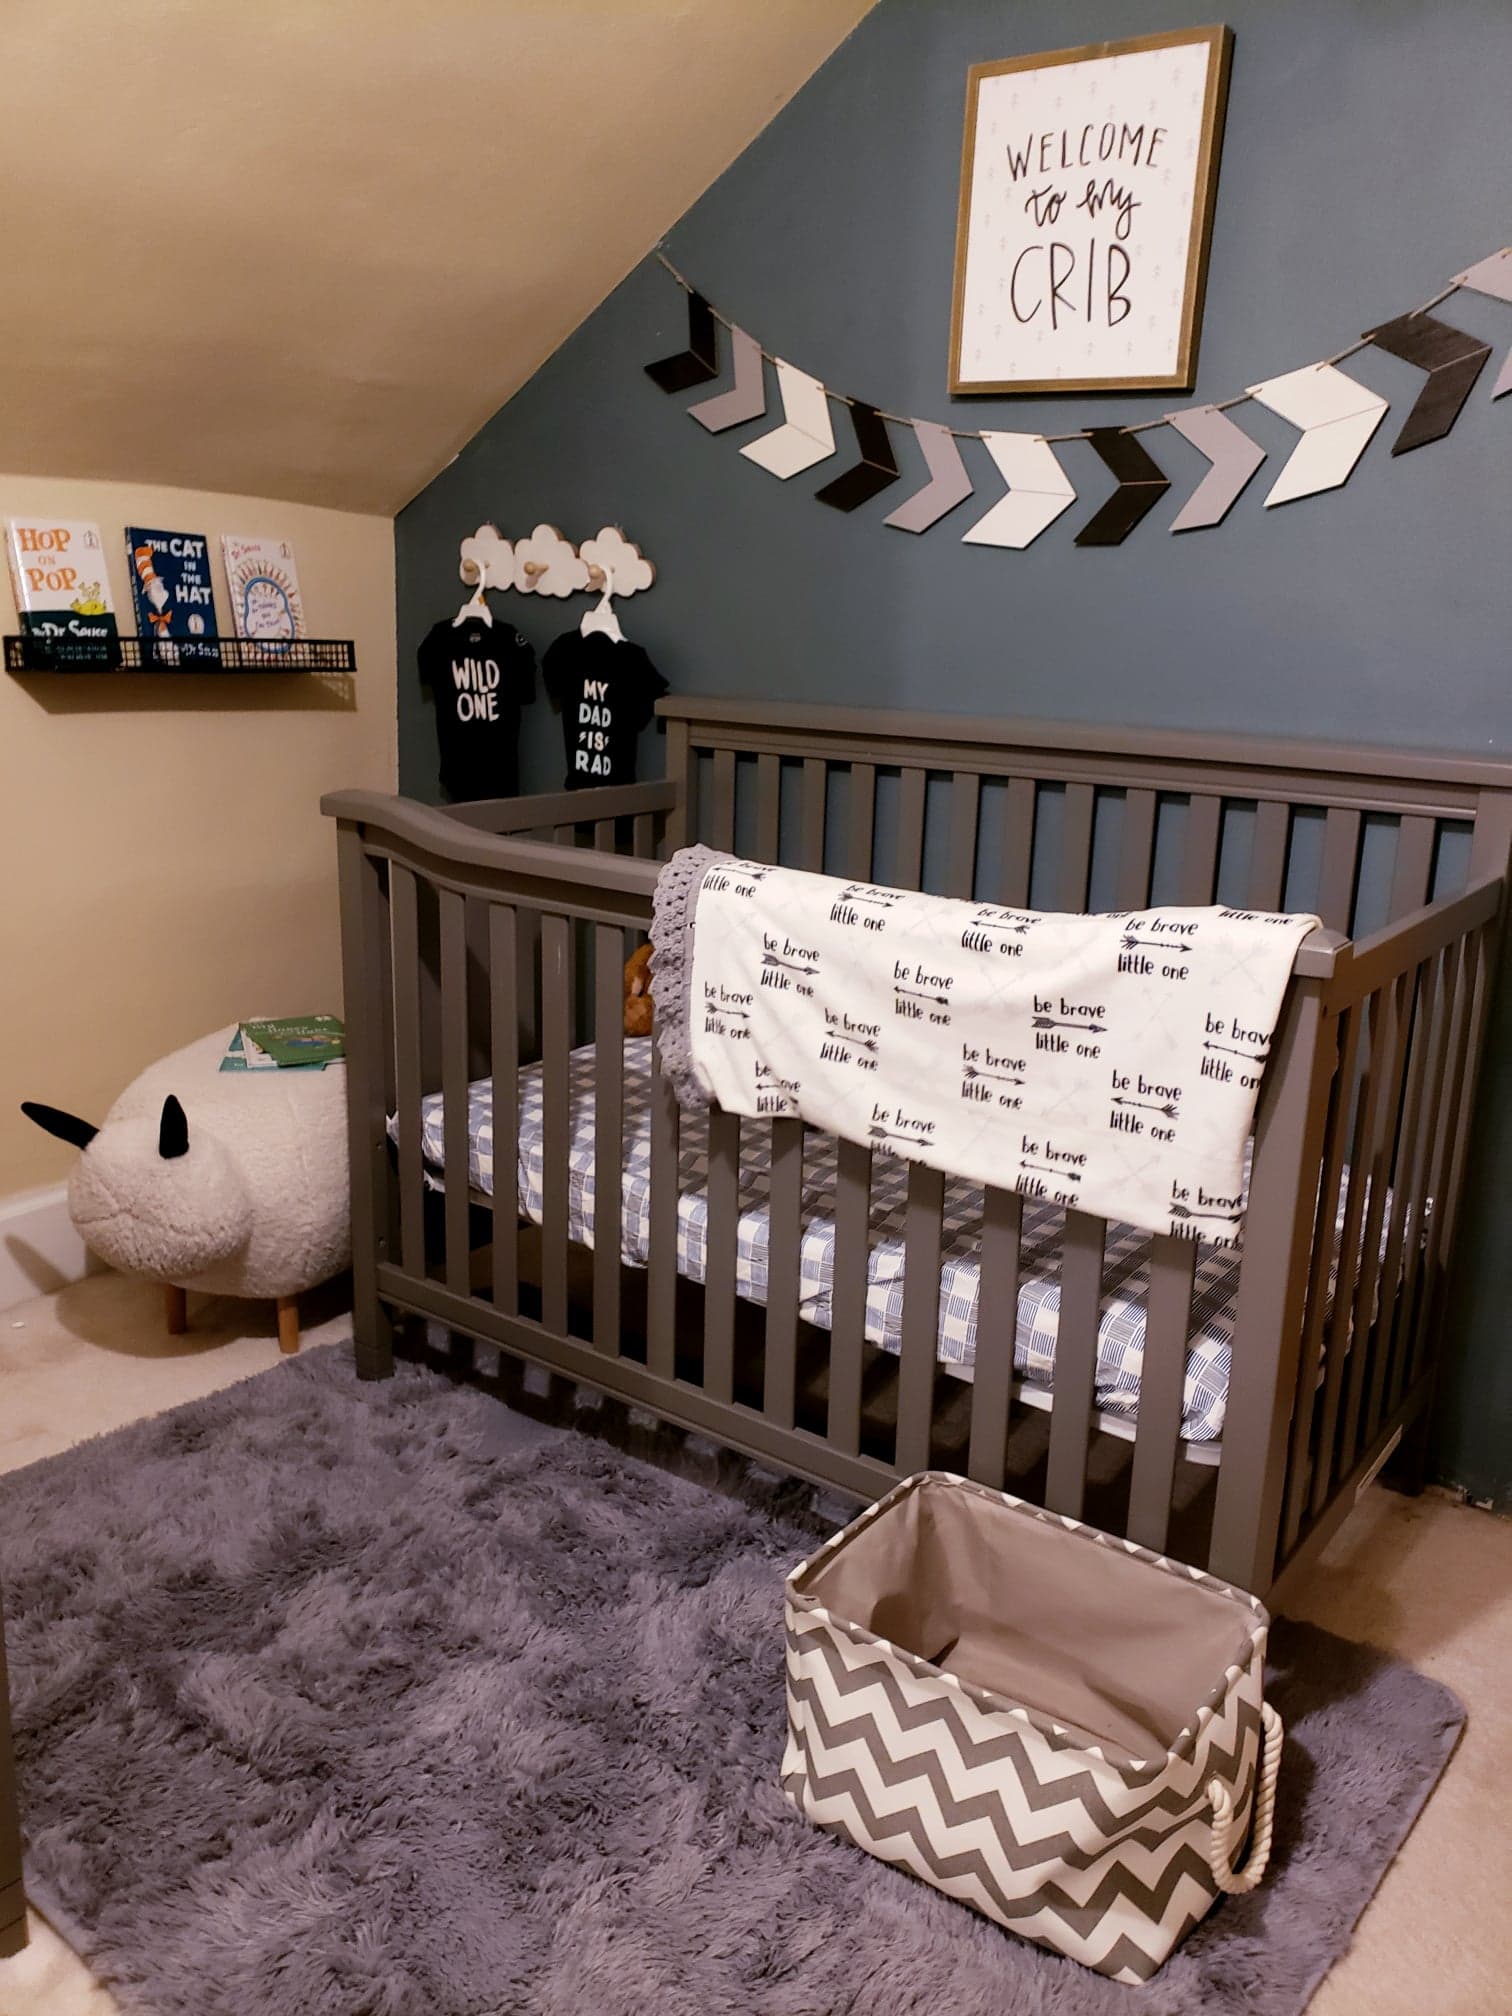
Nursery Sneak Peek!
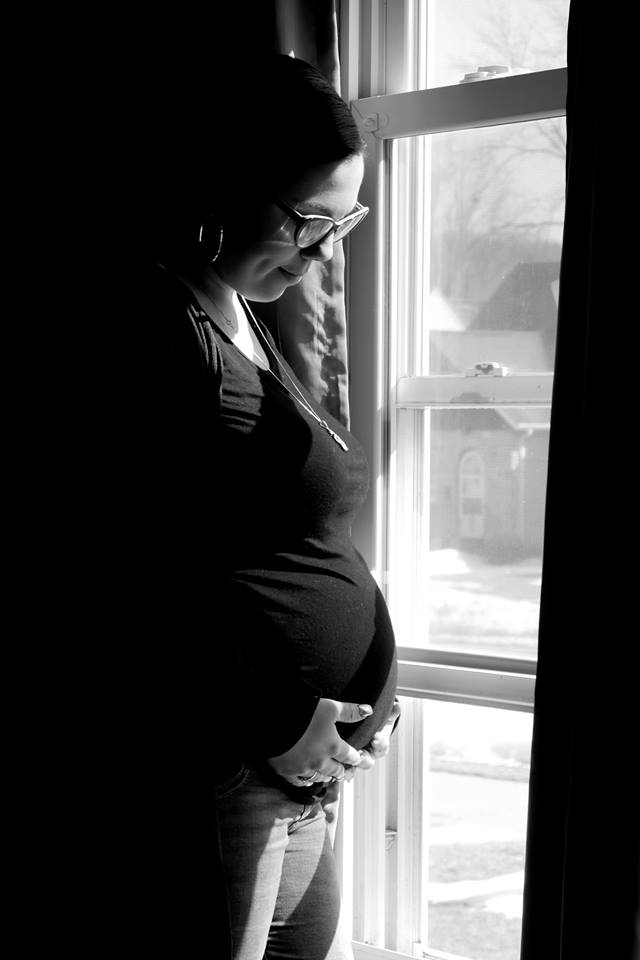
A Precious Miracle
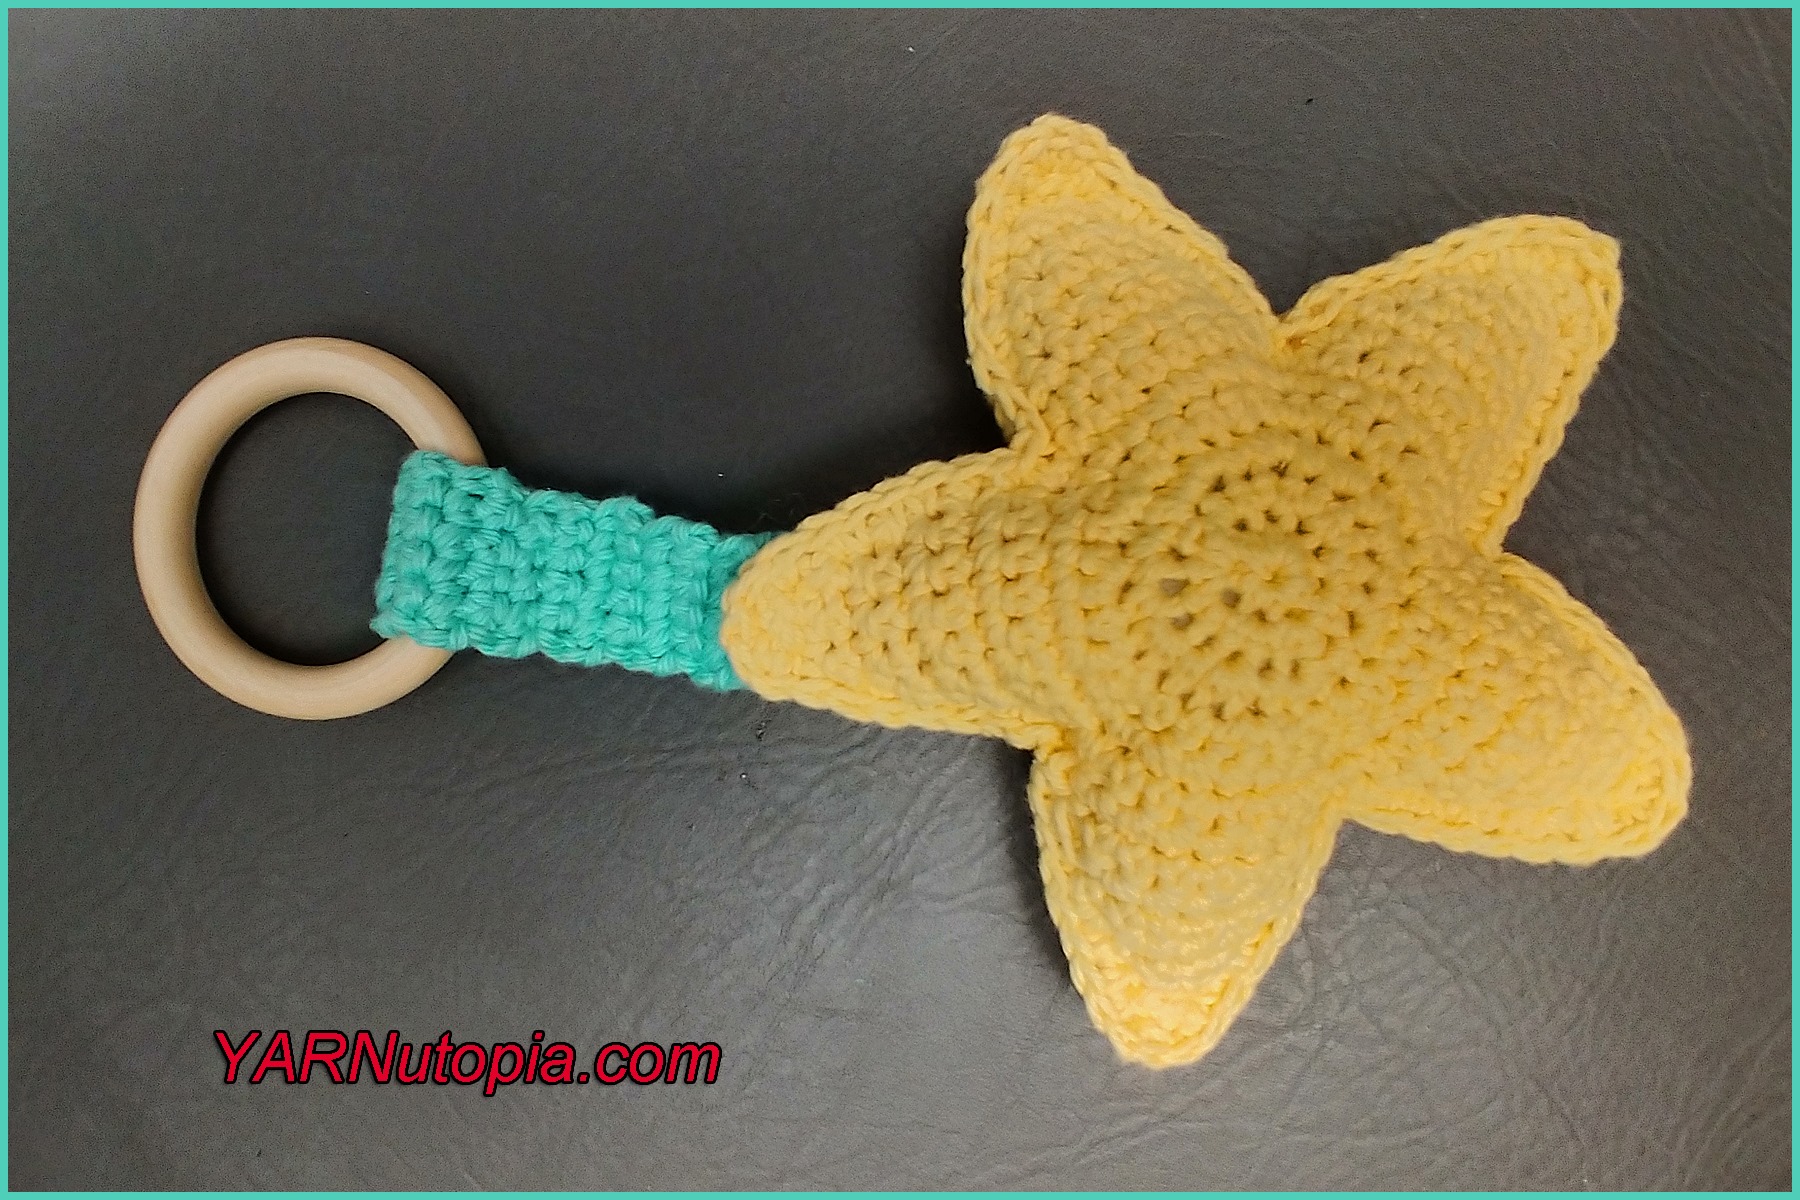
Crochet Tutorial: Star Ring Rattle Teething Toy
I Know I’m Not Alone
Crochet Tutorial: Baby Hiking Sandals
It’s a…. Gender Reveal!!!
Crochet Tutorial: Wiggles & Giggles Baby Blanket
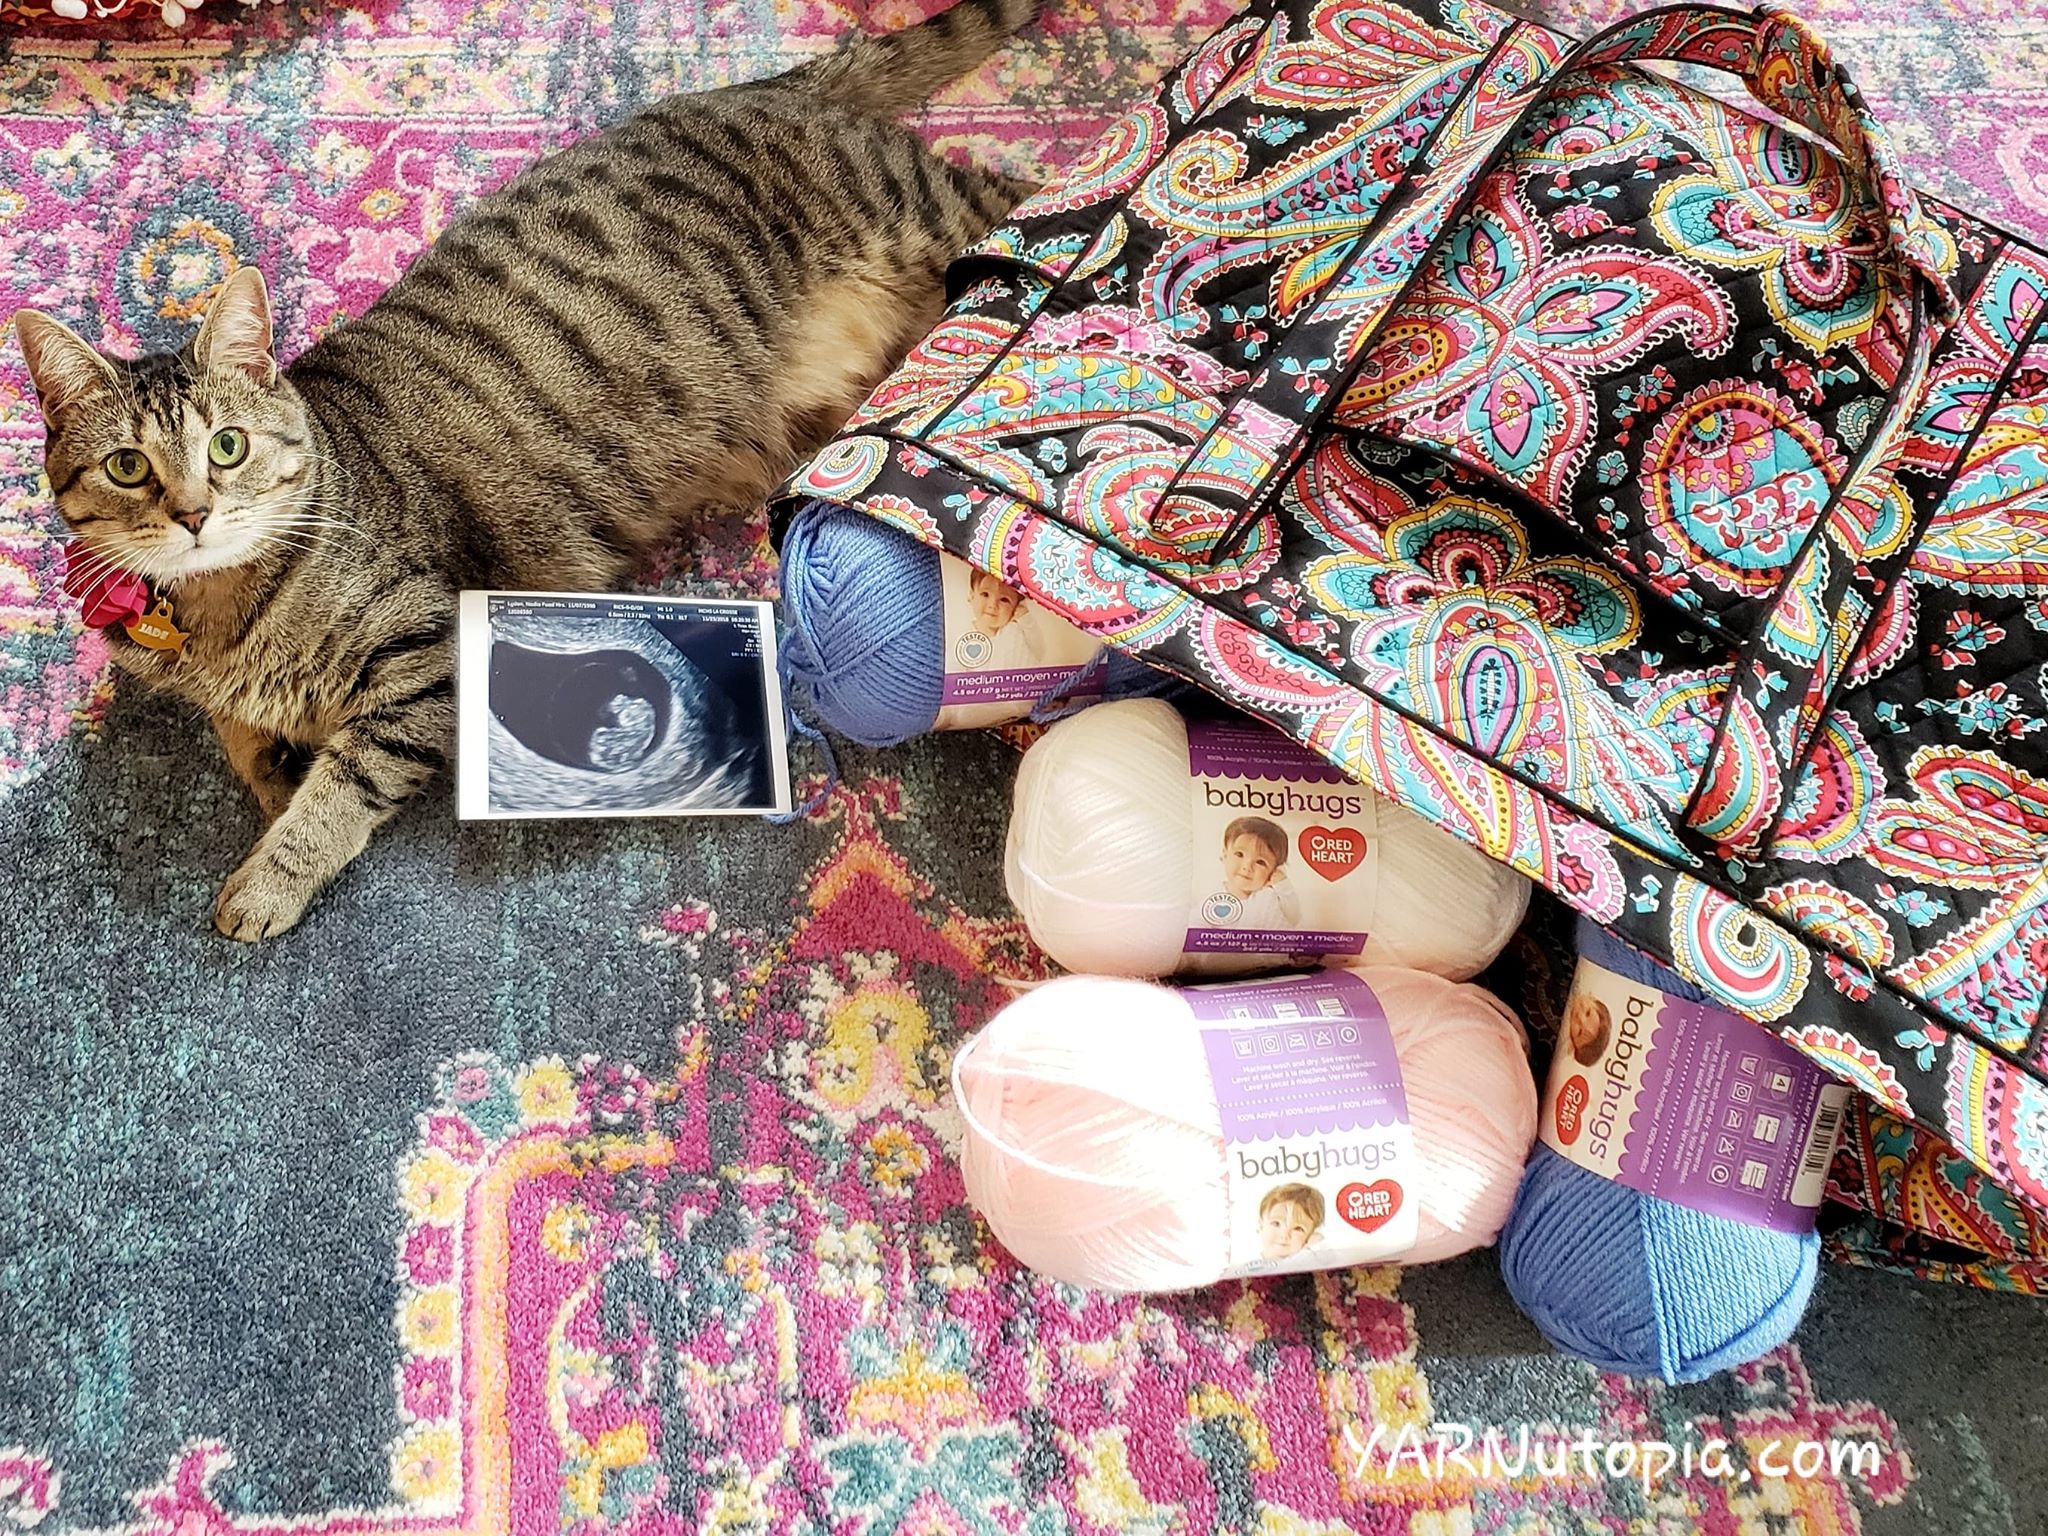
The Cat’s Out of the (YARN) Bag!
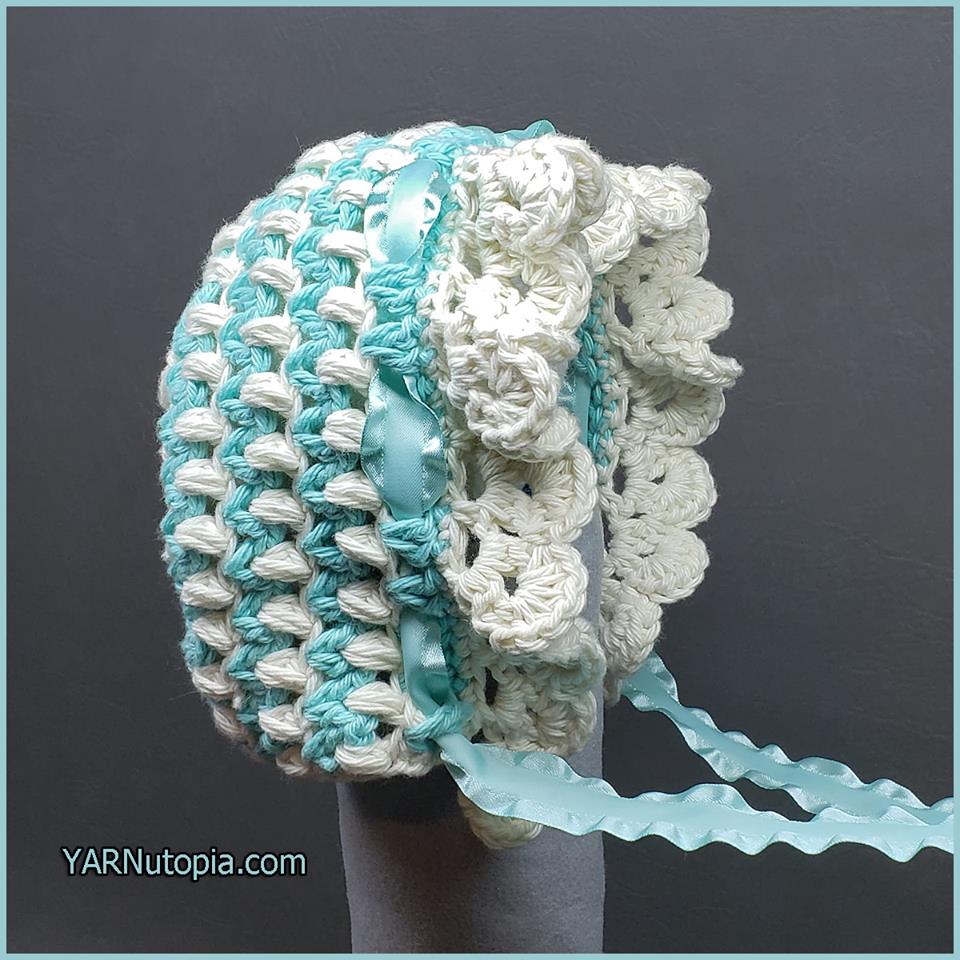
Crochet Tutorial: Vintage Style Baby Bonnet
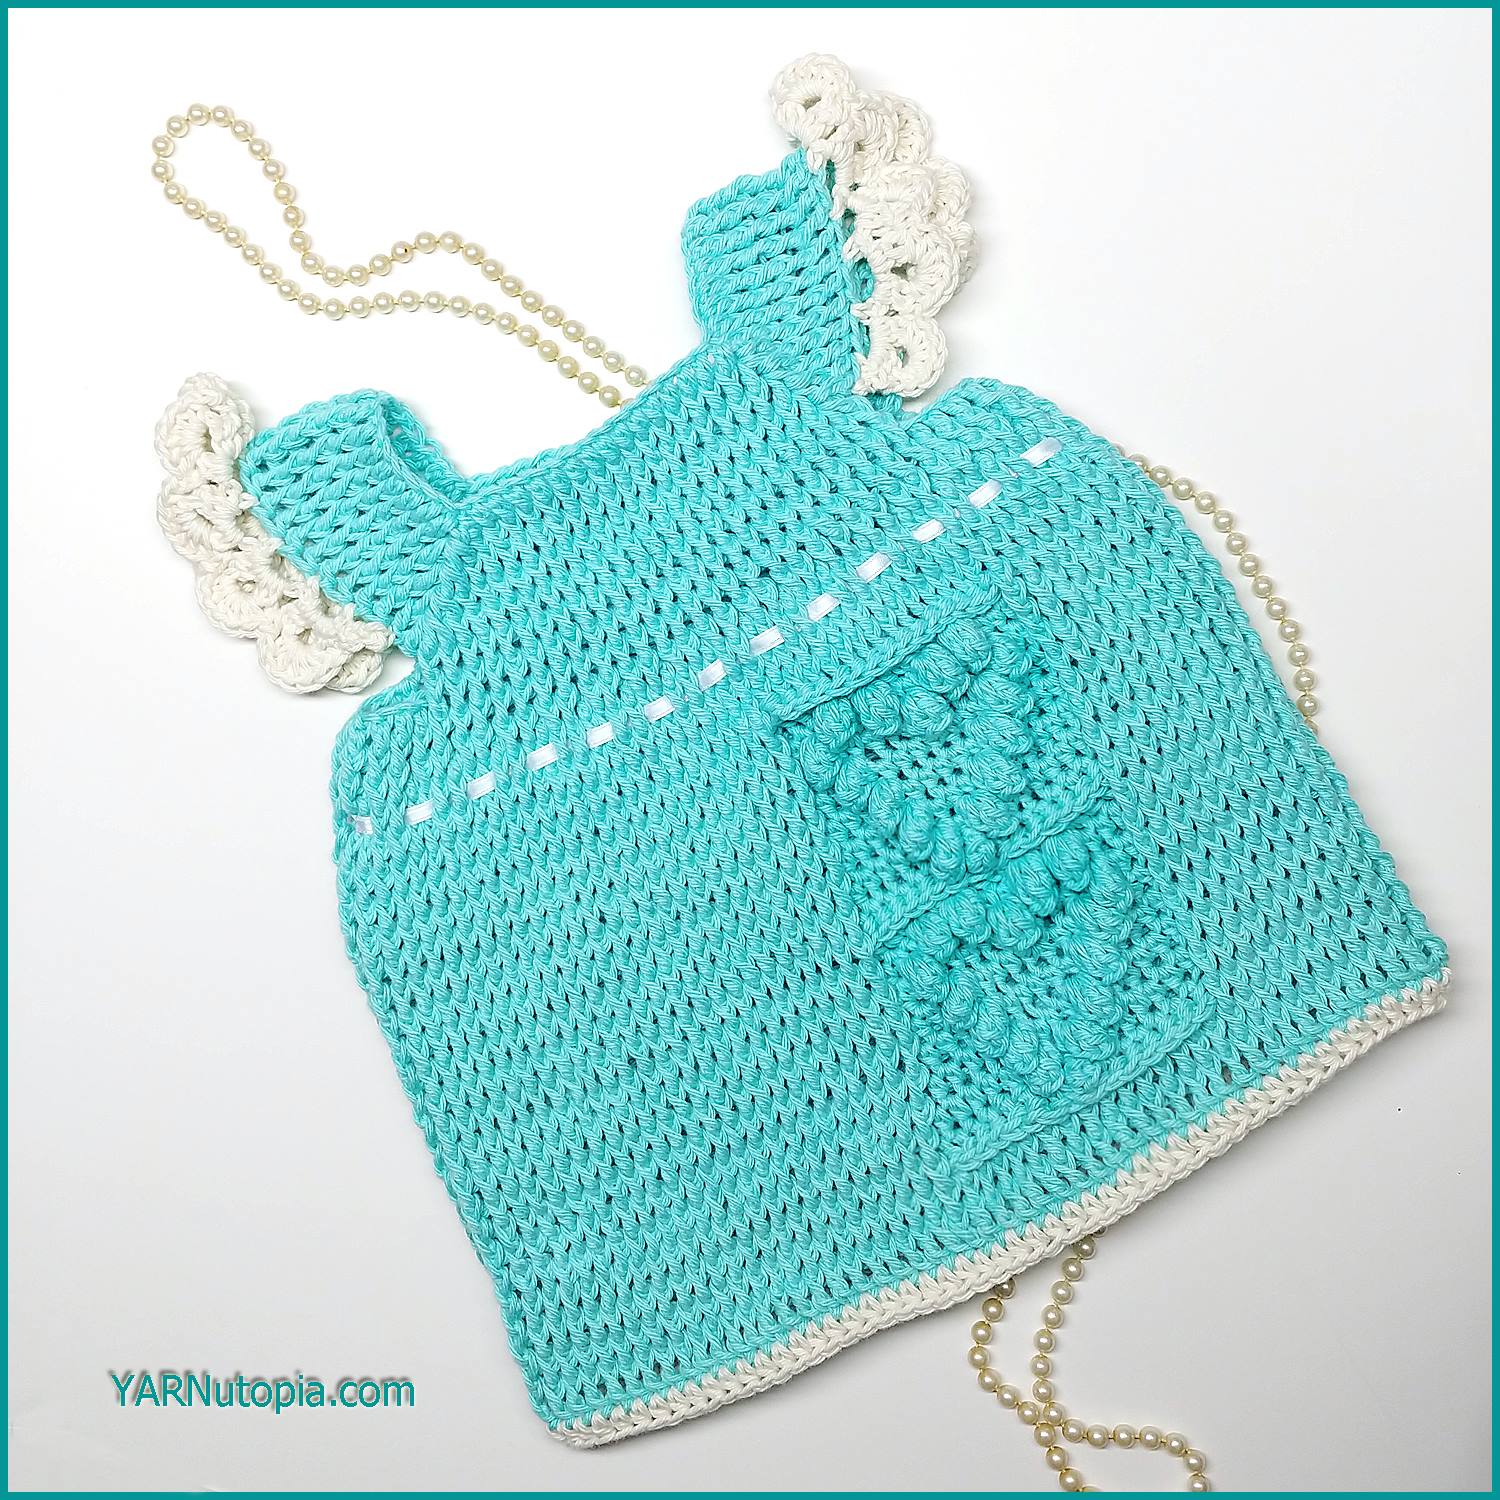
Crochet Tutorial: Happy Hearts Baby Dress
Crochet Tutorial: Winter Winds Ski Cap
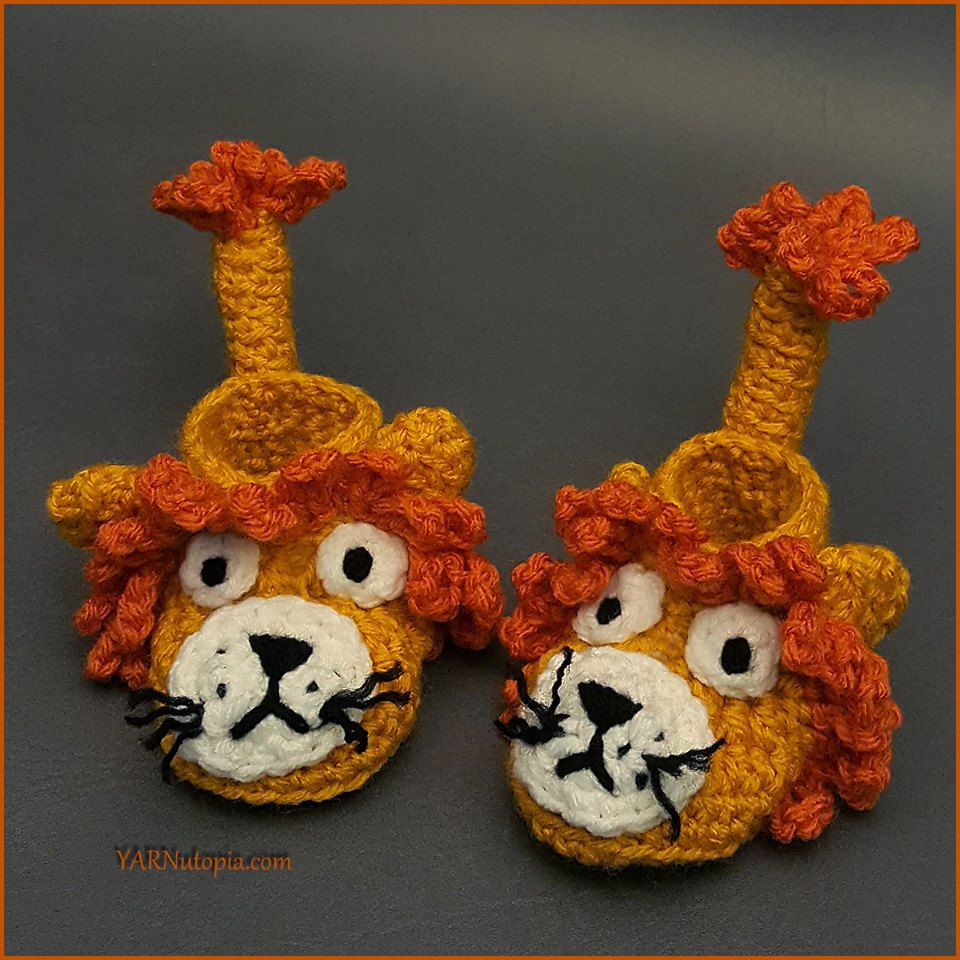
Crochet Tutorial: Little Lion Baby Booties
Crochet Tutorial: Easy Elephant Baby Booties
Crochet Tutorial: Flamingo Feet Baby Booties
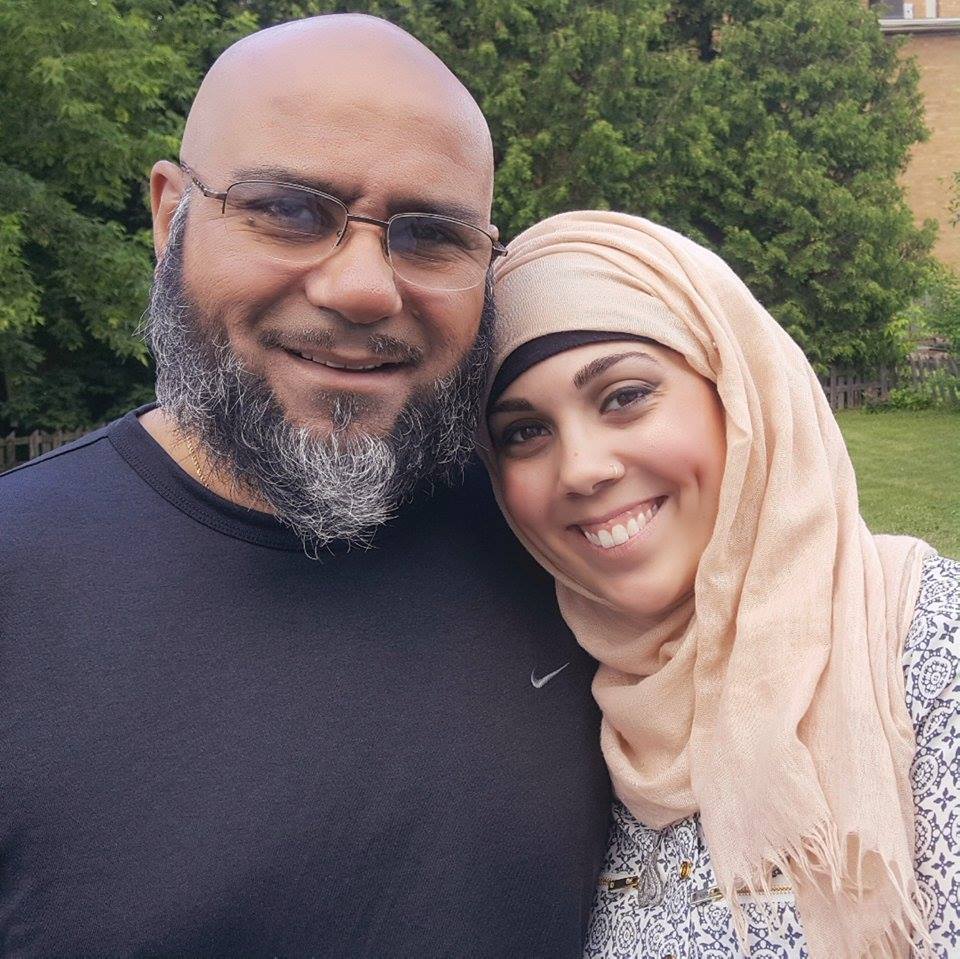
Happy Father’s Day, Daddy!
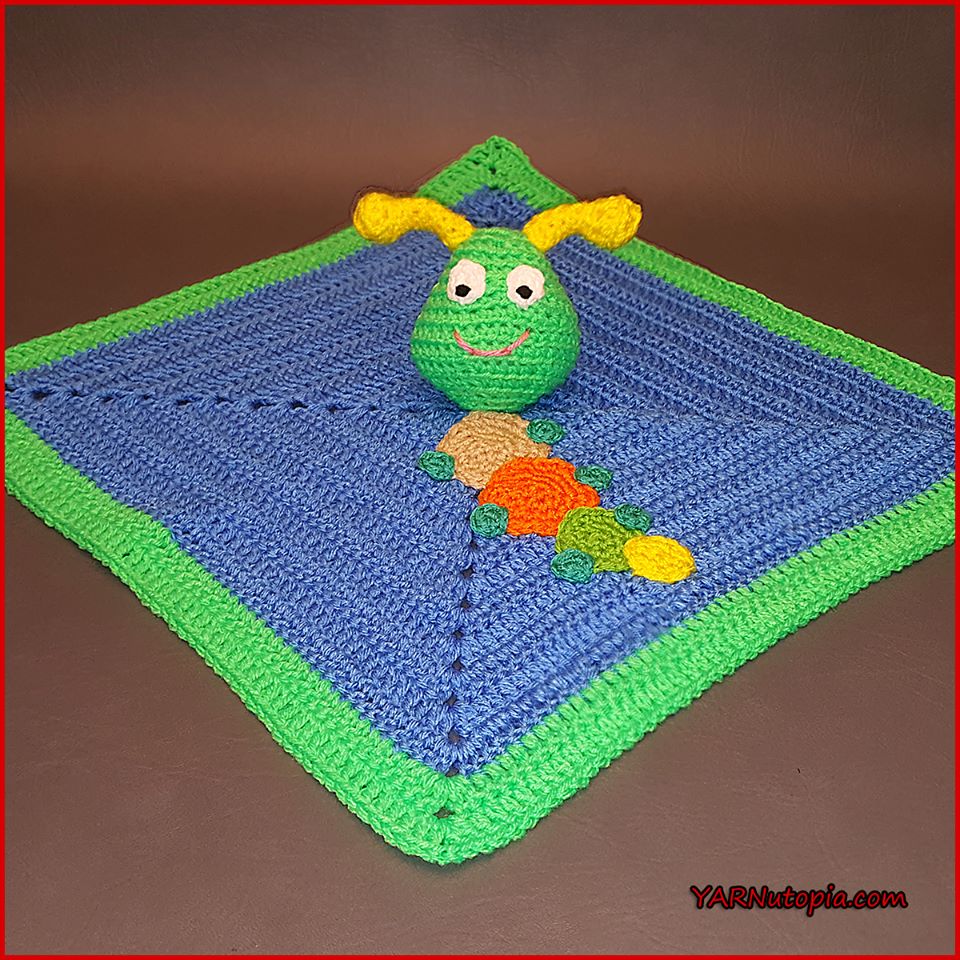
Crochet Tutorial: Caterpillar Lovey
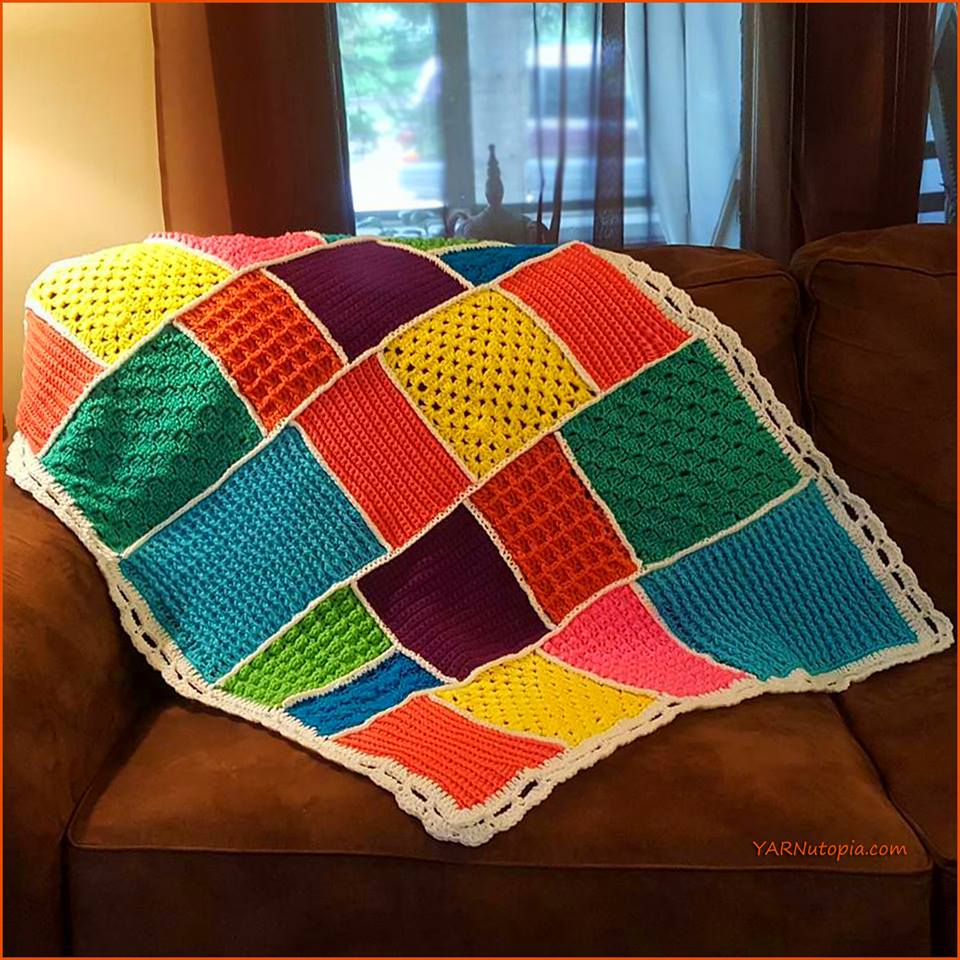
Crochet Tutorial: Dream-Time Mosaic Baby Quilt
Crochet Tutorial: Happy Hubert the Hippo Pillow
I made the One Skein Bunny!
Crochet Tutorial: Infant Pullover Hoodie
Loading Comments...
Write a Comment...
Email (Required)
Name (Required)
Website