Skip to content
YARNutopia & M0re
All things Yarn Related: Crochet, DIY, and Crafts
Blog
365 Days of Granny Squares
Stitch Gallery & Glossary
Crochet Video Tutorials
Frequently Asked Questions
Crochet Glossary: Learn the Lingo
Contact
Search
Search
love
YARNutoia & More
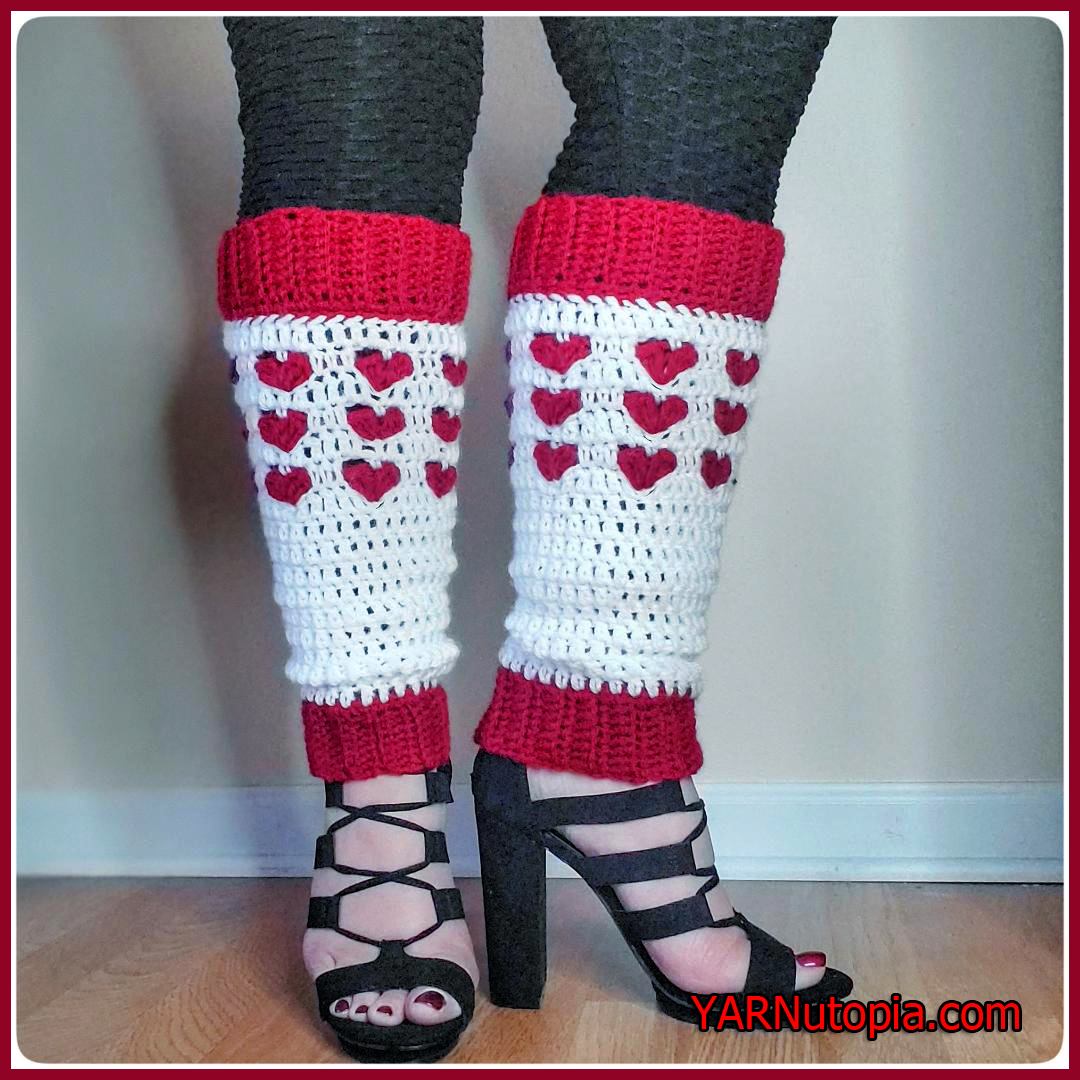
FREE Written Crochet Pattern: Happy Heart Stitch Leg Warmers
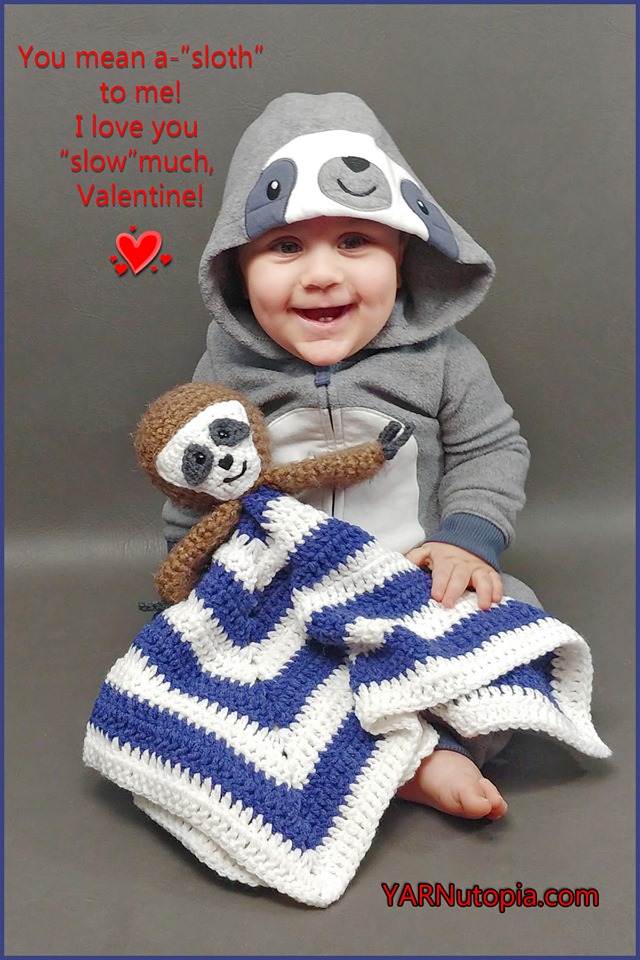
FREE Crochet Video Tutorial: Sloth Lovey
FREE Written Crochet Pattern: Sloth Lovey
FREE Crochet Photo Tutorial: Have A Heart Flip Flops
I Know I’m Not Alone
Crochet Tutorial: Octopus Keychain
Crochet Tutorial: Cupcake Amigurumi
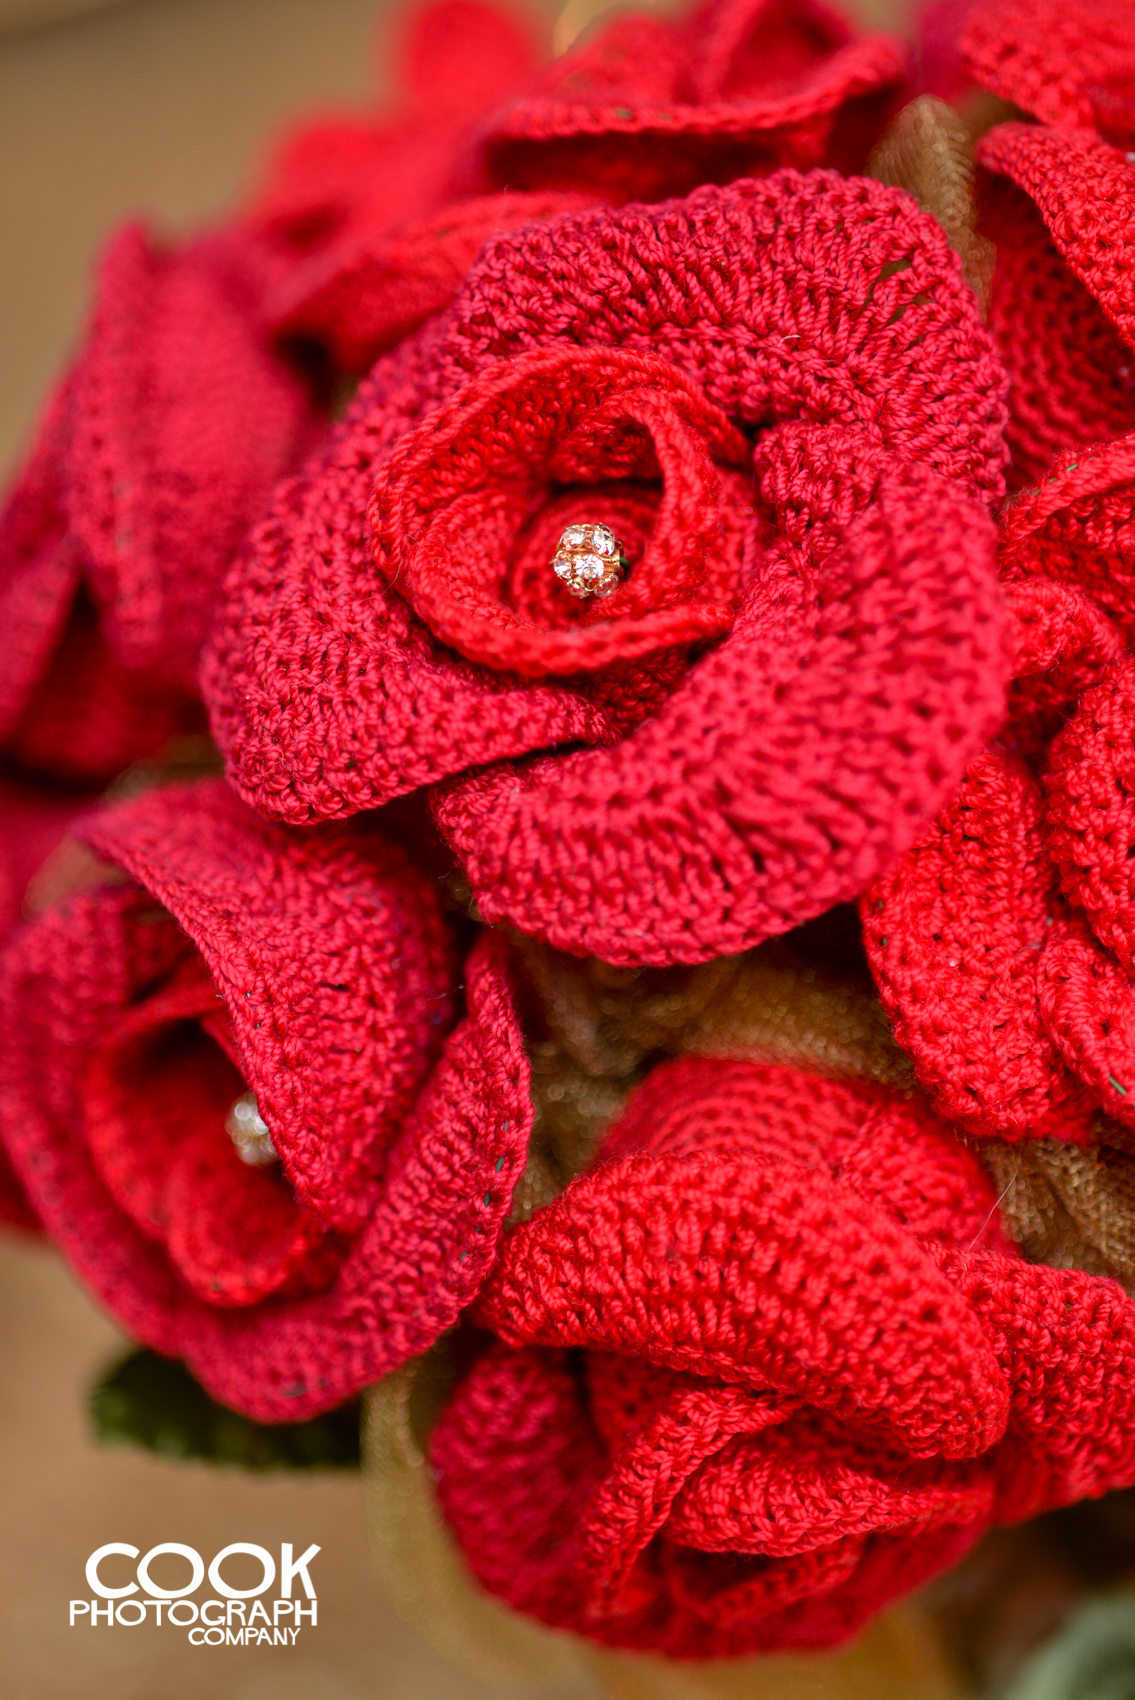
It’s All in the Details: Crochet Wedding Flowers
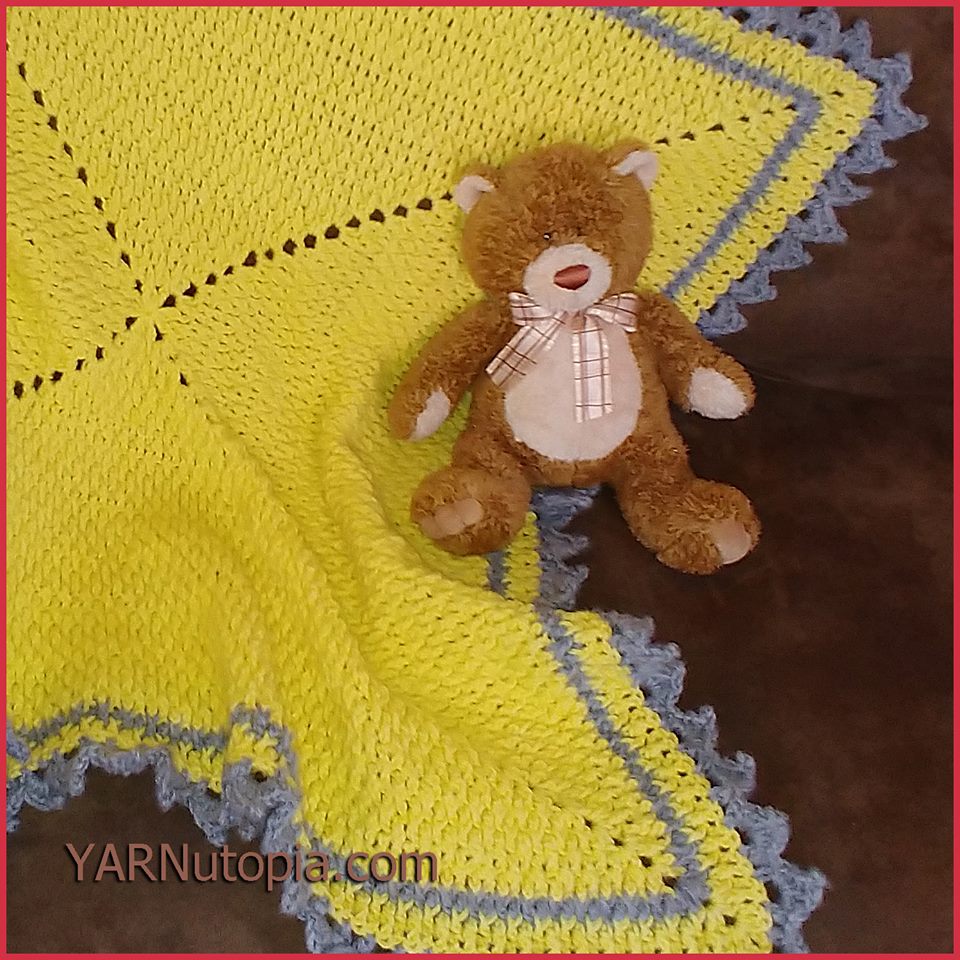
Crochet Tutorial: Love & Sunshine Baby Blanket
Crochet Tutorial: Anatomical Heart Amigurumi
Crochet Tutorial: Fortune Cookie
Crochet Tutorial: Love Bunny Amigurumi
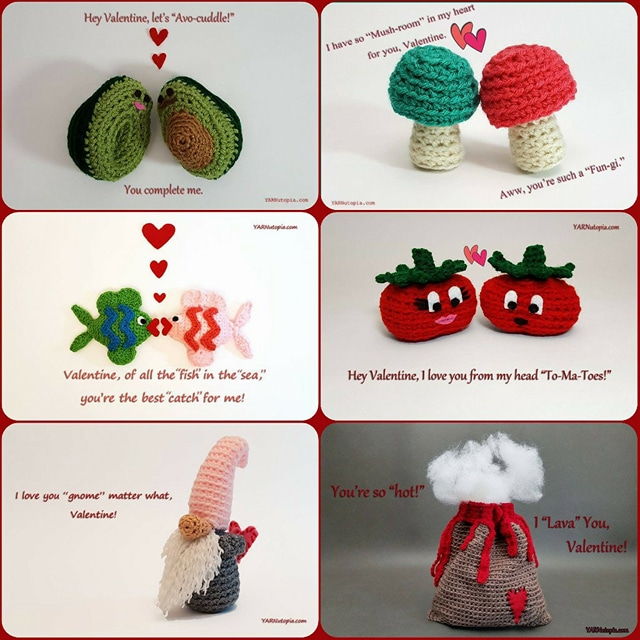
Punny Valentine’s: “Love” a Good Pun
Happy Father’s Day, Daddy!
Broken Roads Point the Way
Happy Mother’s Day
We’re tying the knot with yarn!
Crochet Tutorial: Lemons to Lemonade Pillow
Crochet Tutorial: Gnome Amigurumi
Crochet Tutorial: Scientist Amigurumi
Crochet Tutorial: Fish Amigurumi
Crochet Tutorial: String of Hearts Cup Cozy
Crochet Tutorial: Bumble Bee Amigurumi
Crochet Tutorial: Corn Amigurumi
Crochet Tutorial: Mushroom Amigurumi
Crochet Tutorial: Leaf Applique
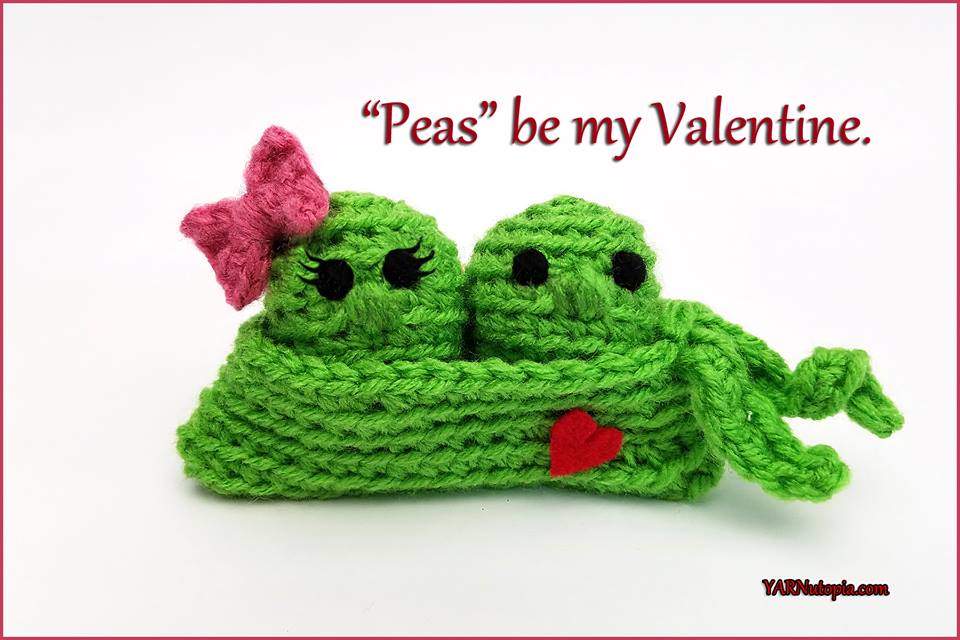
Crochet Tutorial: Two Peas in a Pod
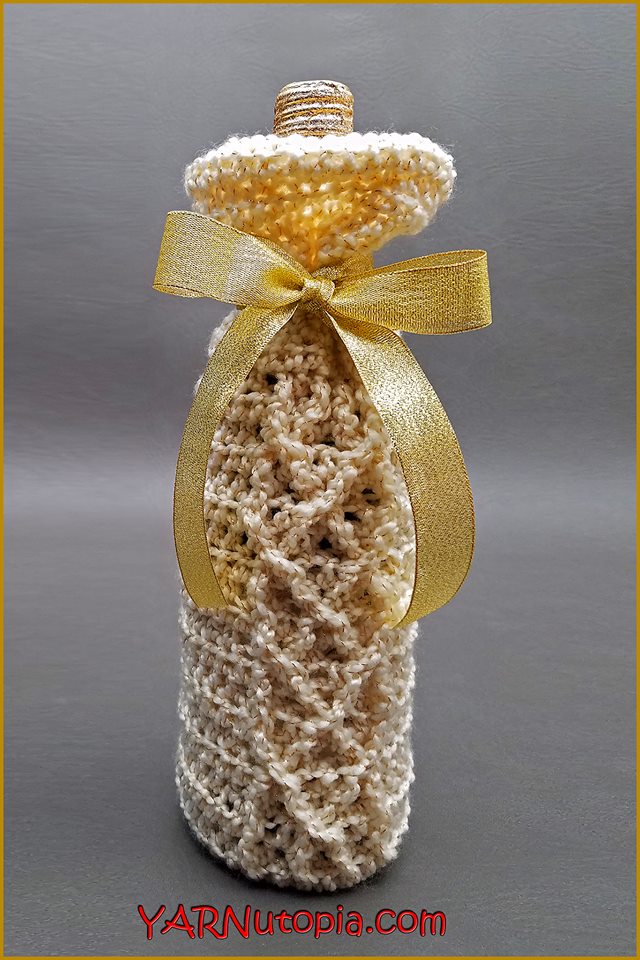
Crochet Tutorial: Sparkling Wine Beverage Bag
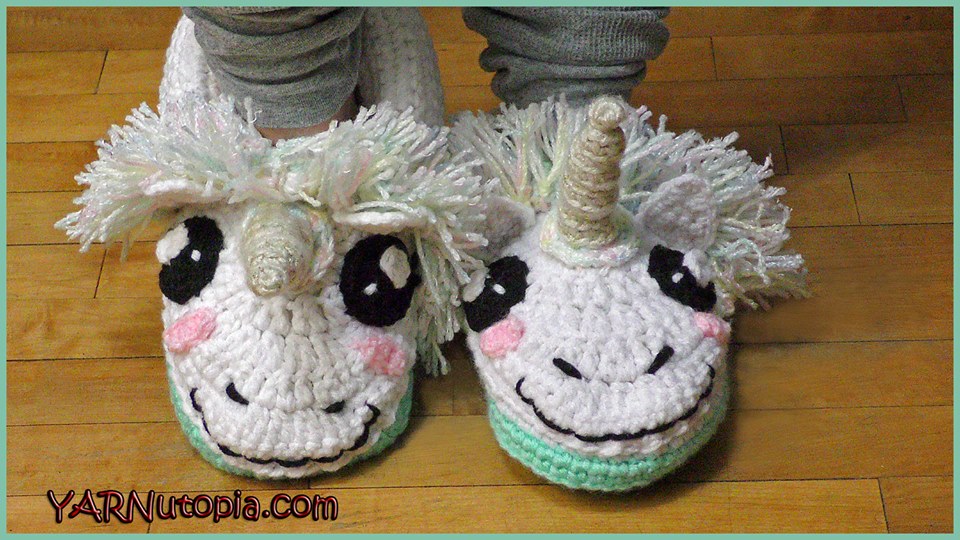
Crochet Tutorial: Unicorn Slippers
My Punny Valentine!
Crochet Tutorial: Two-Video Combo–How to Crochet Heart Appliques
Loading Comments...
Write a Comment...
Email (Required)
Name (Required)
Website